Making an Acoustic Guitar with Michael Bashkin
Join us as we travel to Michael Bashkin's workshop to make an acoustic guitar from scratch. Michael is not only a master luthier, but one of the top names in the world when it comes to building a finely-made steel string acoustic guitar. He's generously invited the StewMac team in for a peek behind the curtain into his process. Special thanks to Michael Bashkin and musician Sean McGowan.
We hope you enjoy this full-length movie! Watch the trailer
Video Transcription
Table of Contents
- Choosing your wood
- Joining the back and sides
- The rosette
- Bending sides
- Linings
- Bracing
- Gluing the back on
- Voicing the open box
- Gluing the top on
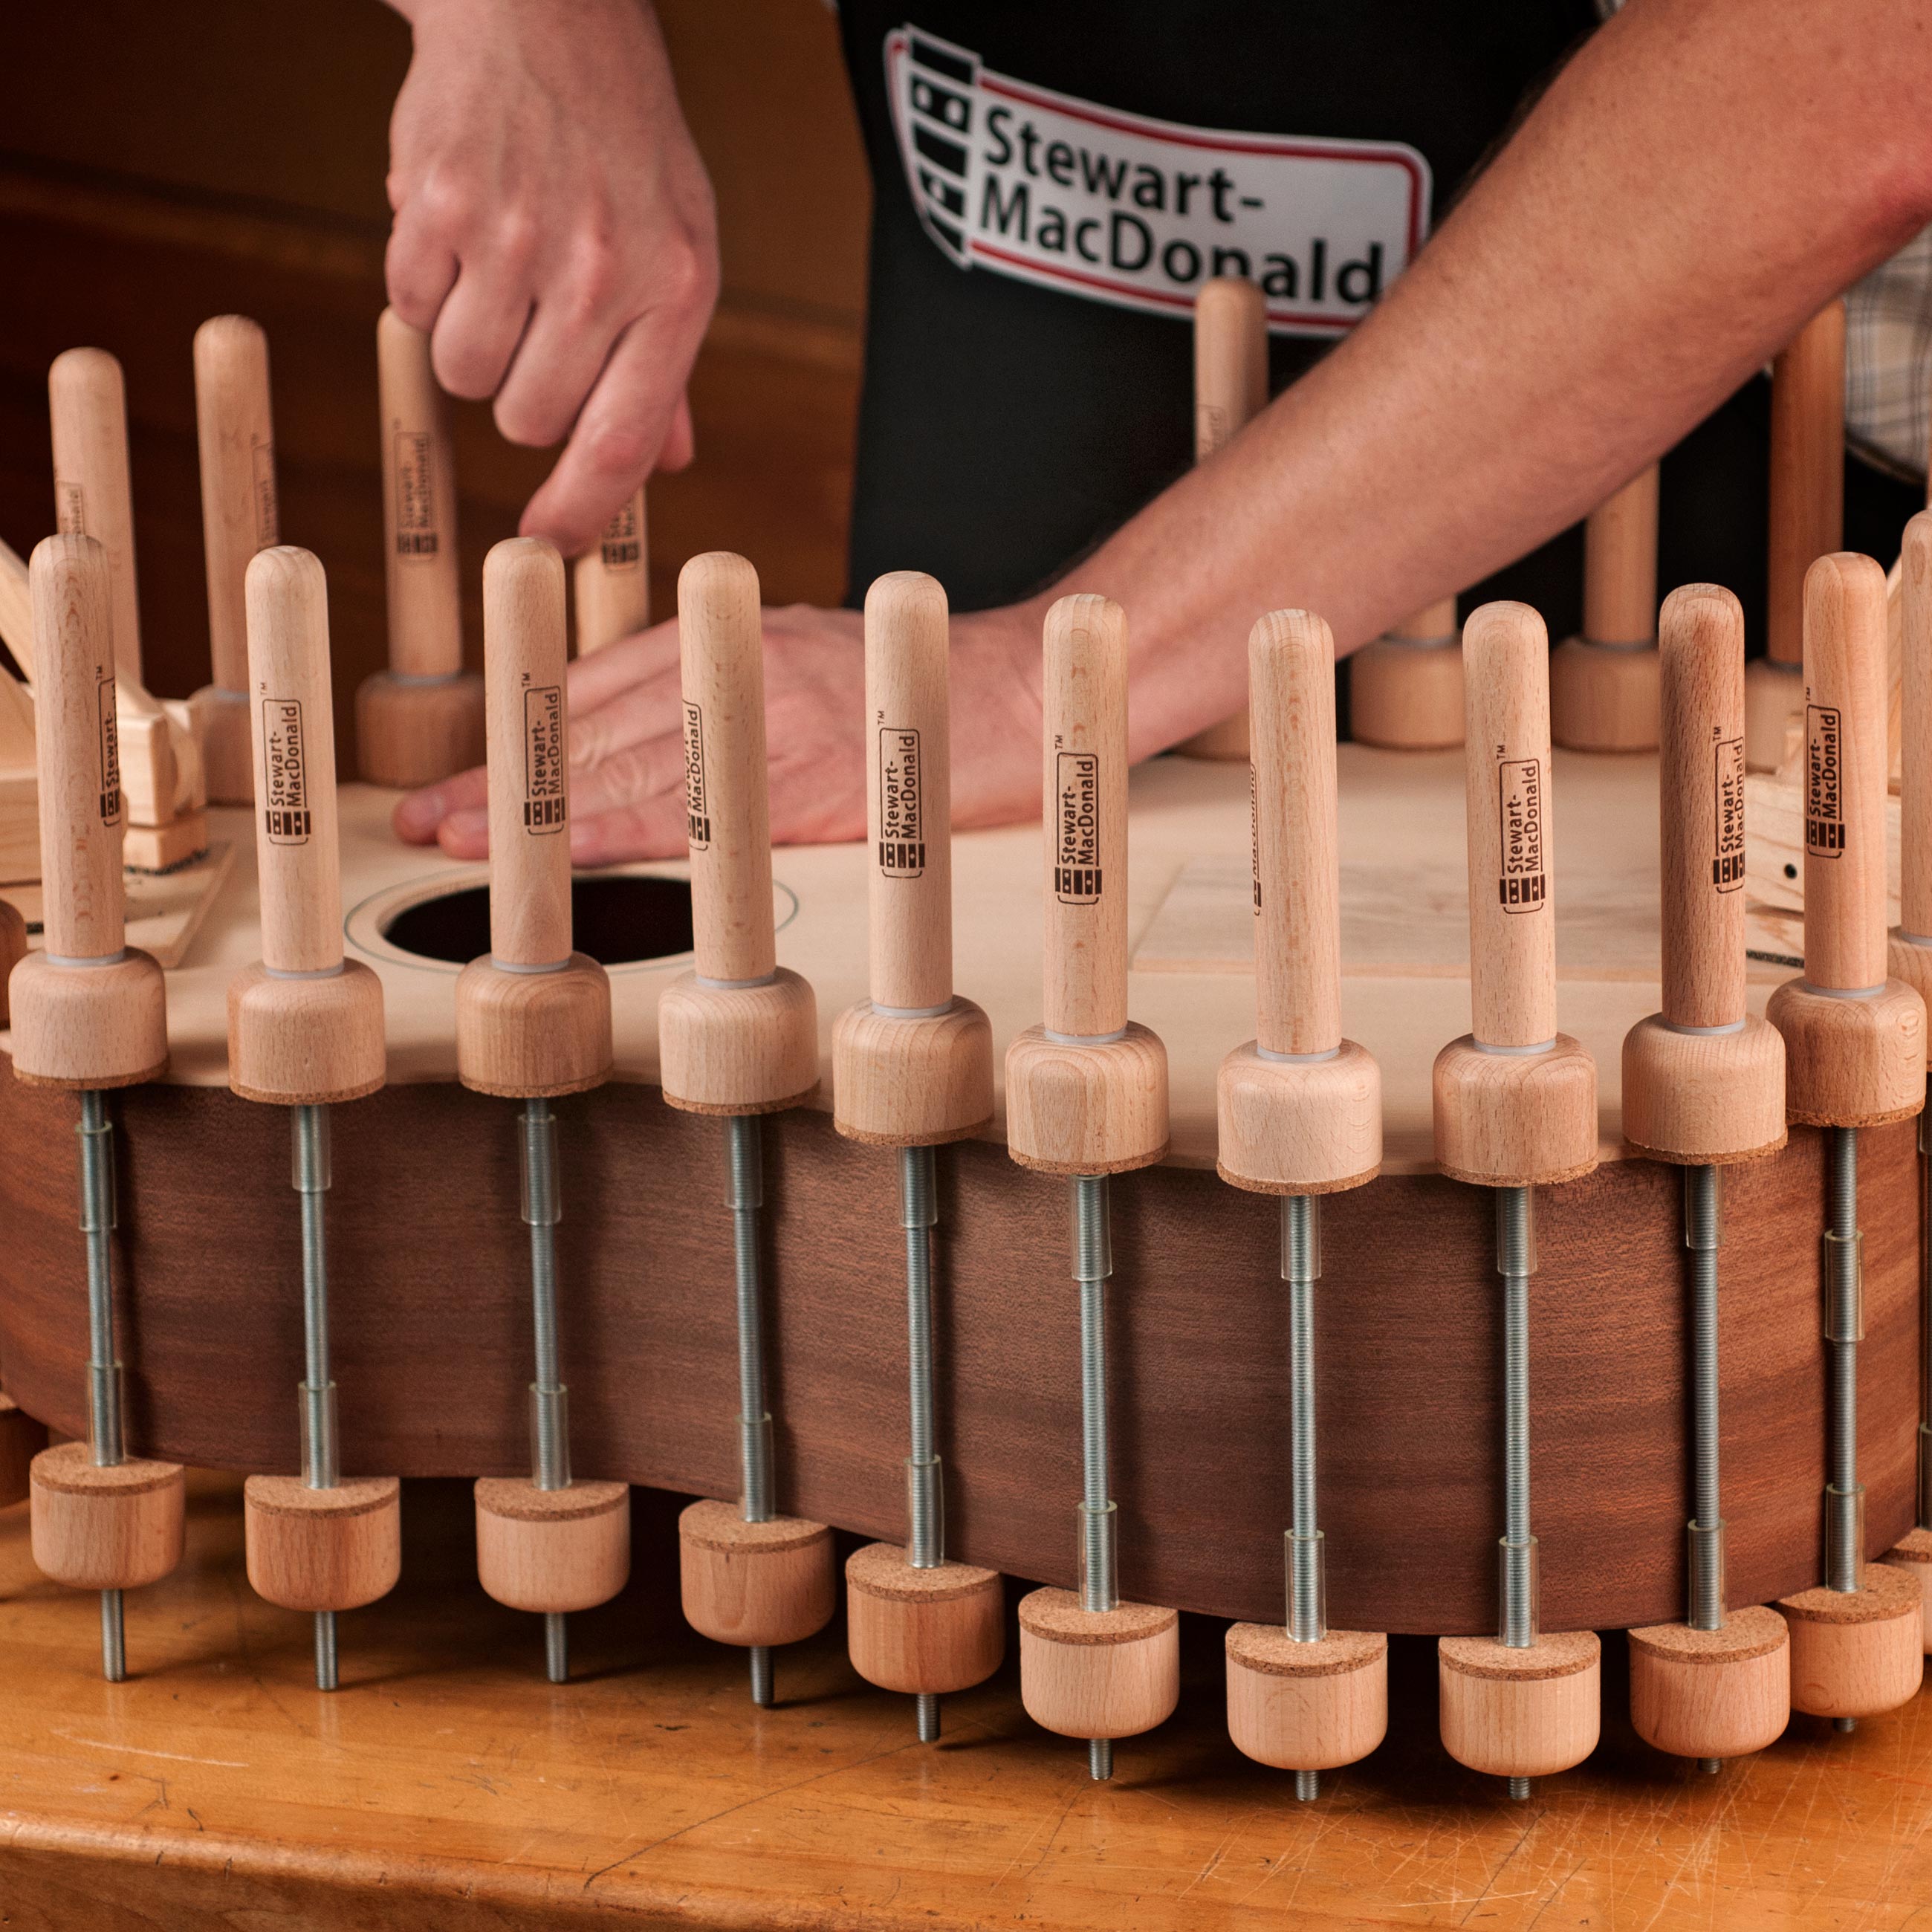
- Cleaning up the sides
- Voicing the closed box
- Binding and purfling
- Rough carving the neck
- The headstock overlay
- Installing the truss rod and fingerboard
- Fine tuning the neck
- Setting the neck angle
- Fitting the neck to the body
- Final sanding
- Pore filling
- Sealer and lacquer
- Wet sanding and buffing
- Installing frets
- Installing tuners
- Gluing on the bridge
- Making the nut and saddle
- Stringing up
- Fine tuning and playing
Michael Bashkin: I'm Michael Bashkin. I live and build guitars in Fort Collins, Colorado. I've been at it for over 25 years. Welcome to my shop.
What I'm about to show you is my entire process of building an acoustic guitar from scratch, from the actual construction to the finishing, to the final setup. The guitar that I'm building is my JM model. This guitar is somewhere between an OM and a larger dreadnought guitar. I wanted some of the clarity and balance that you get out of an OM, which is great for finger style and recording, but I also wanted some of the low end presence and power that you get out of a larger guitar.
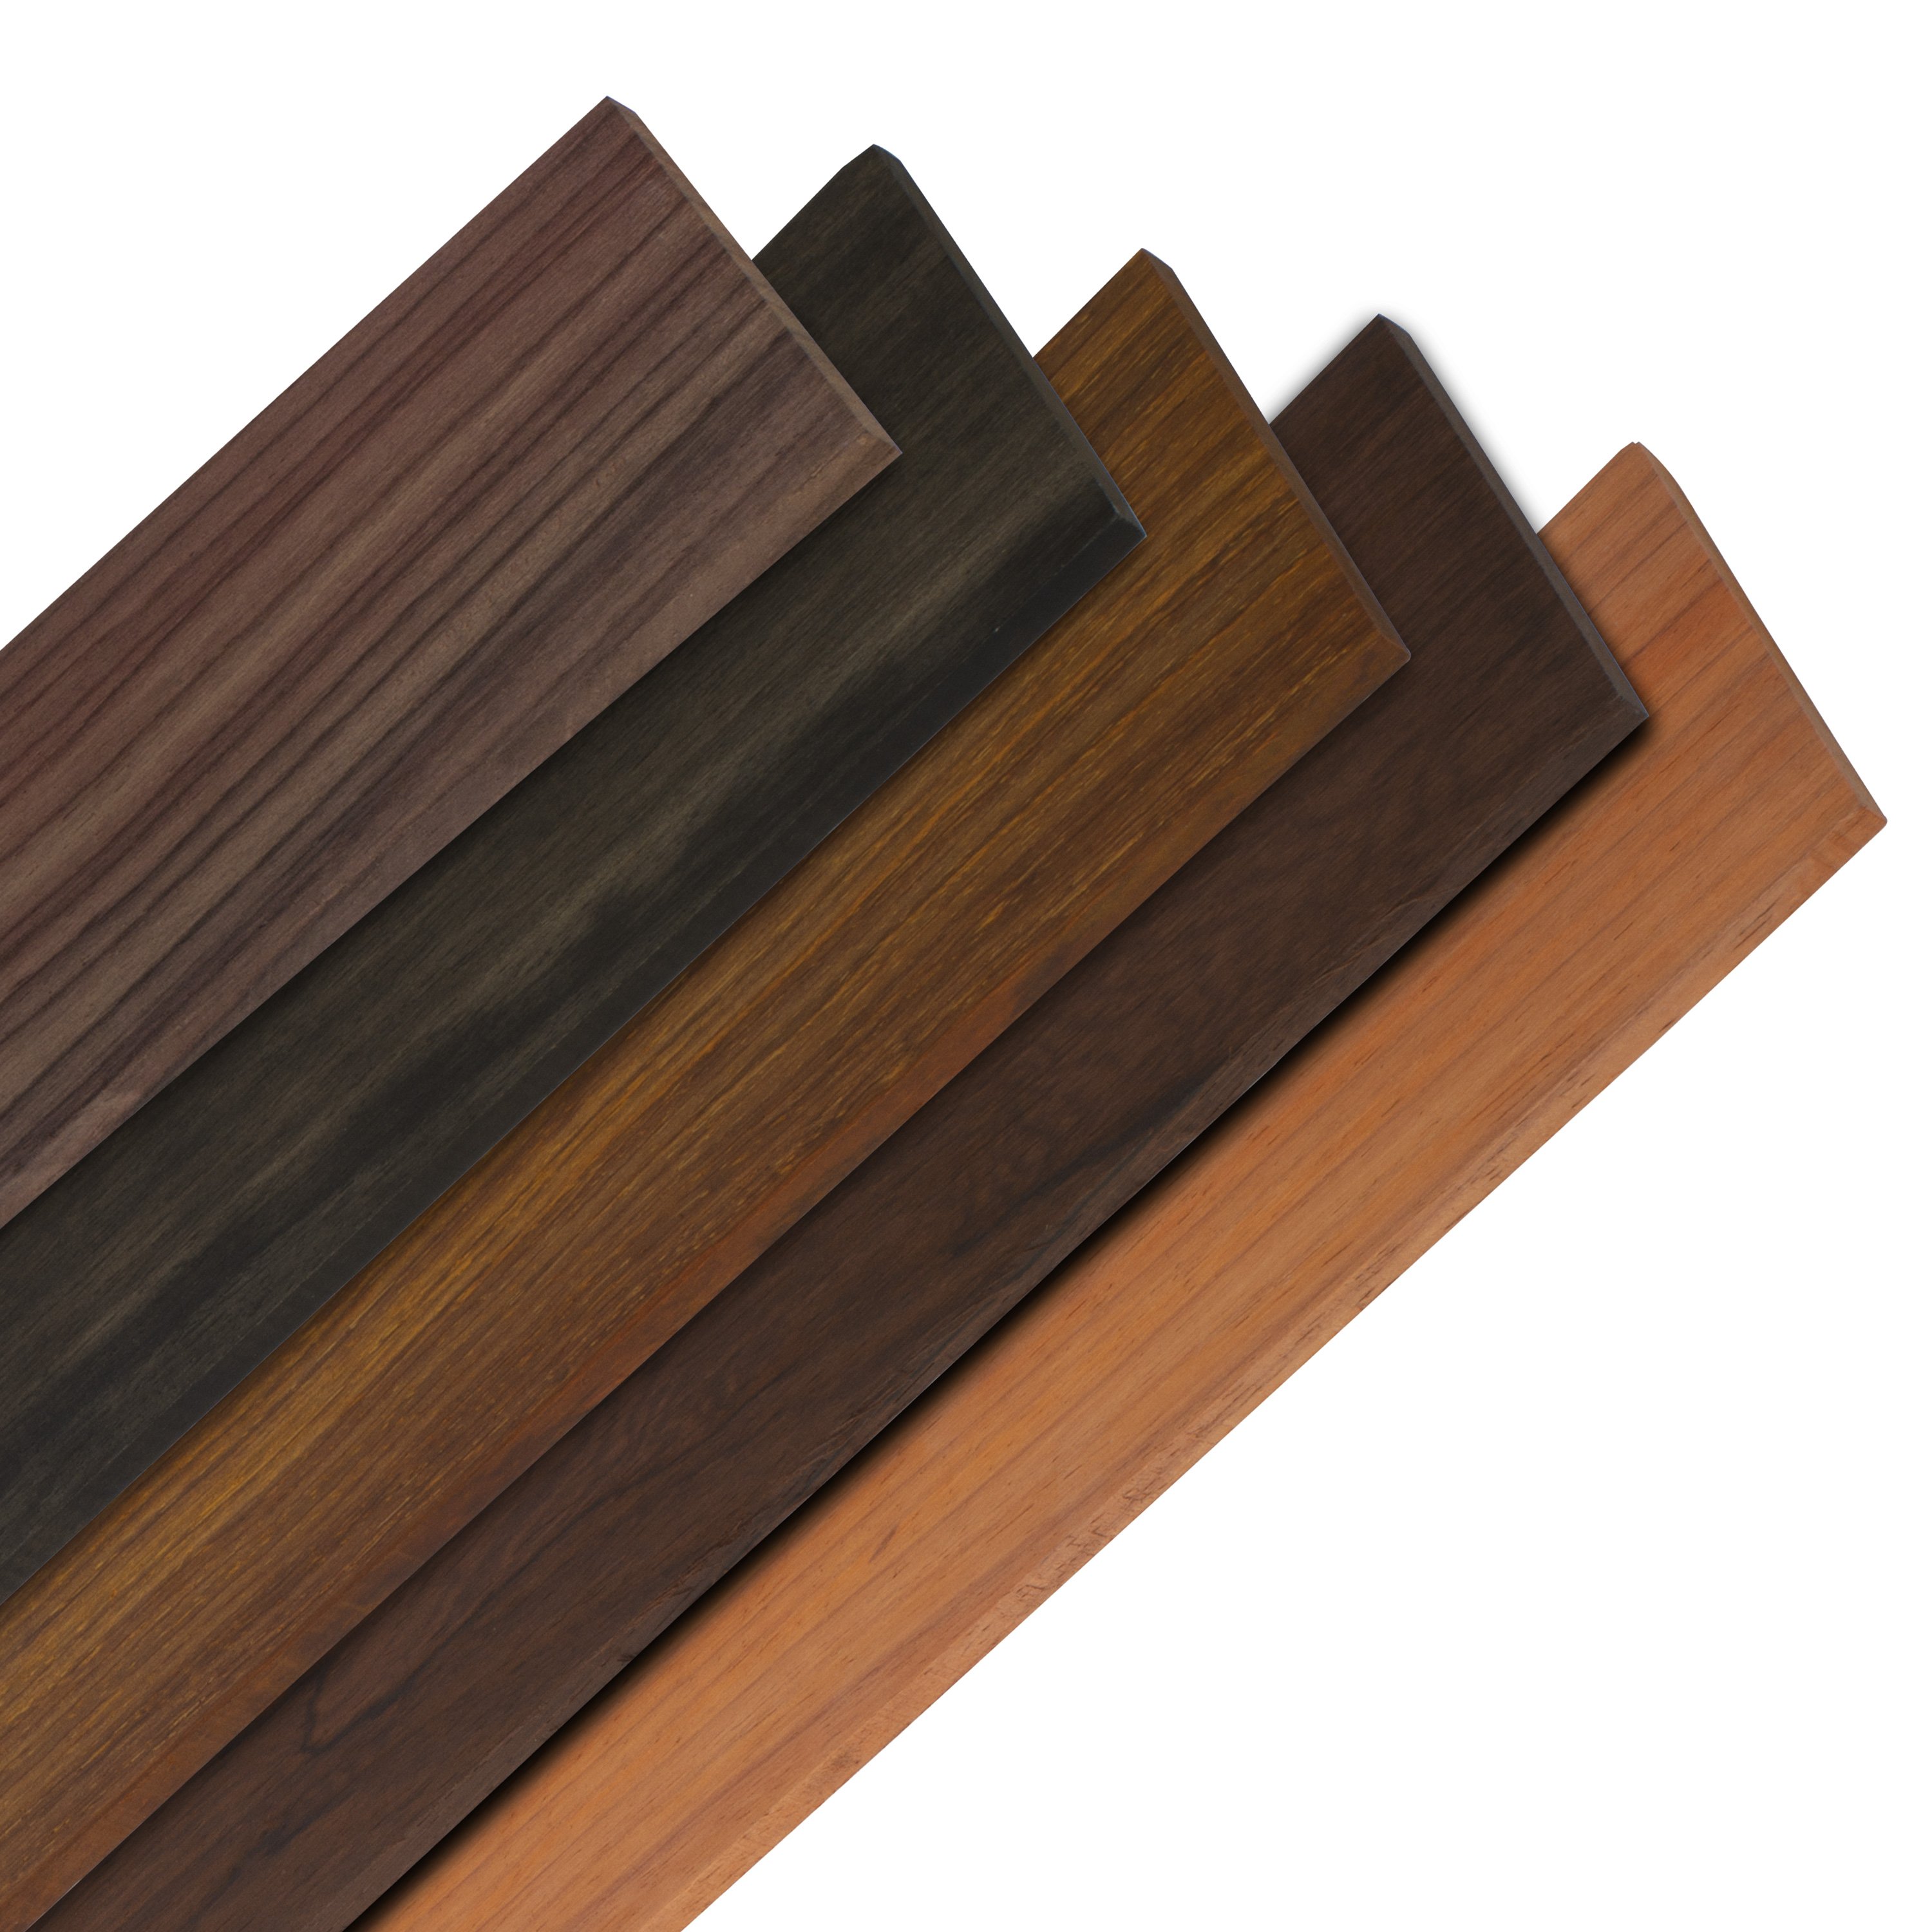
One of the first things you're going to do when you start building a guitar is choose the woods that you're going to work with and this will have a huge impact on how the guitar looks, feels, and sounds. I get my woods from all over. Sometimes I buy woods from folks like StewMac. There's also other great suppliers out there, but I'm always on the lookout for boards or lumber that I can process myself into guitar wood.
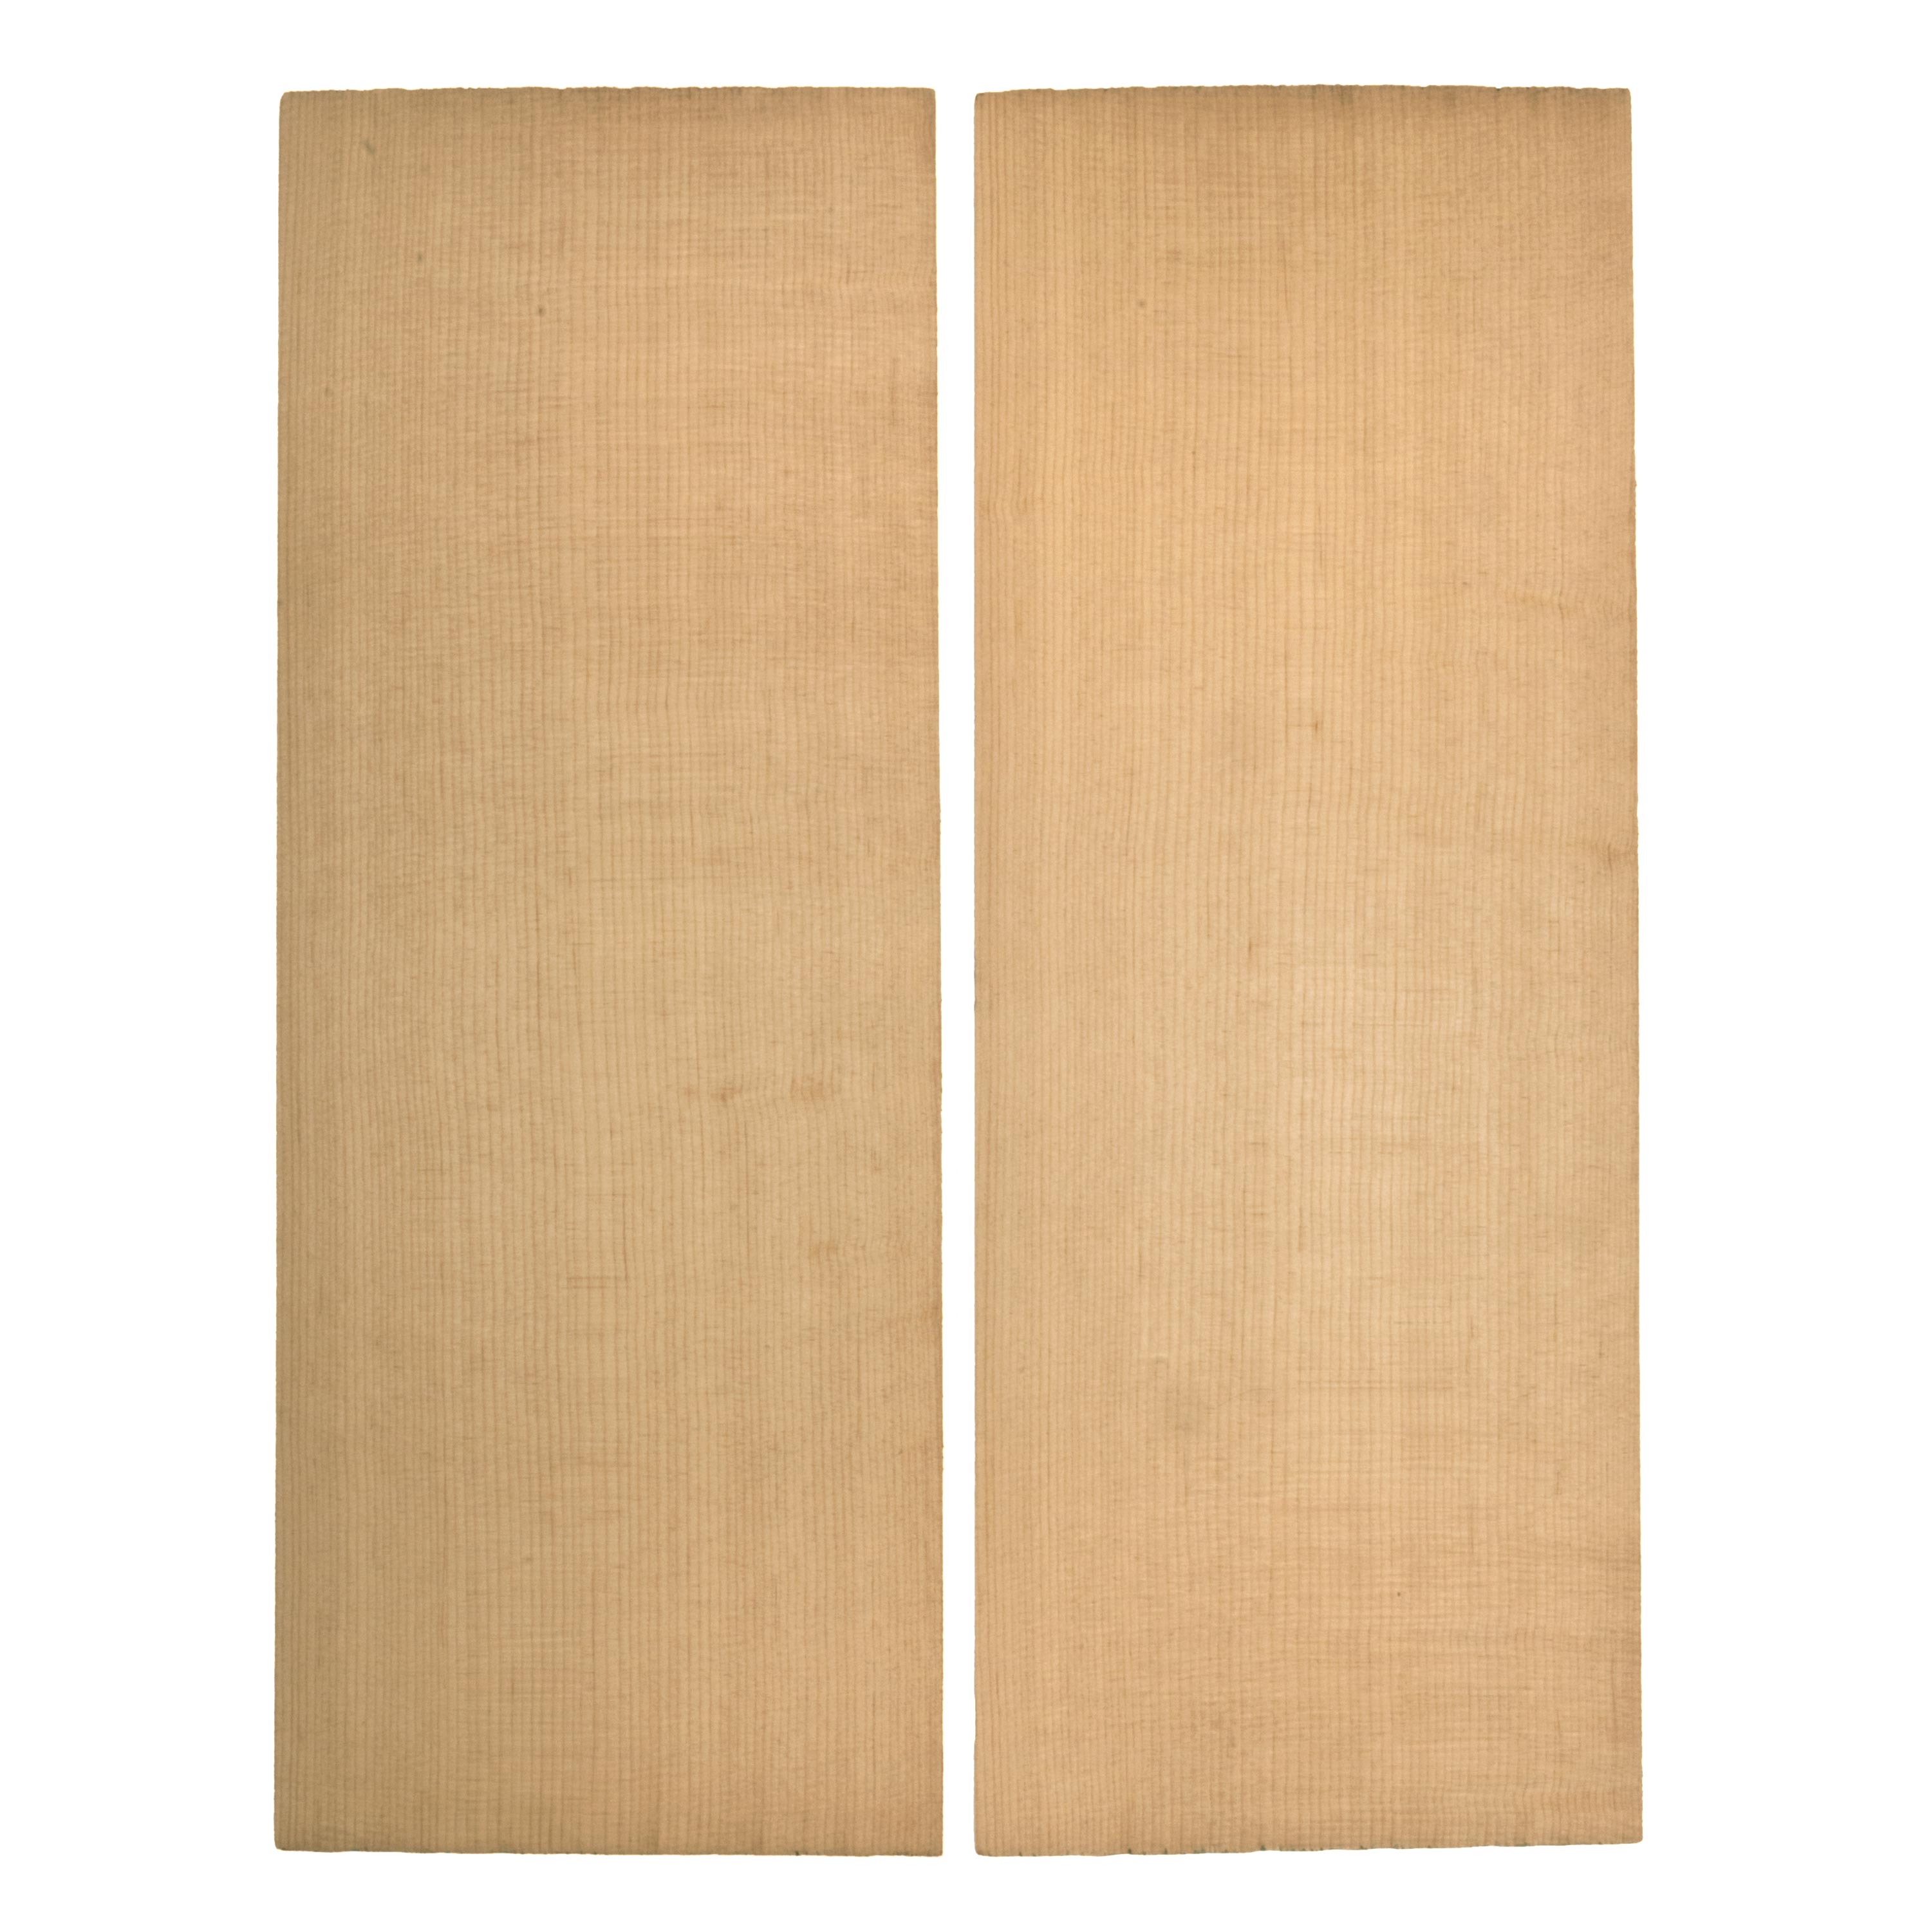
What I think is a good combination for this JM guitar is an Italian spruce top with some very old Pau Ferro back and sides. I really like working with Pau Ferro. Now, Pau Ferro itself, while not a true rosewood, physically does sit solidly within the rosewood camp of tone. It's a dense tropical hardwood, which is going to add some information around the fundamental of the note or it's going to add some warmth and some complexity and give it a little bit more depth of presence.
I was fortunate enough to come across a woodworker who was retiring who had some very large boards of Pau Ferro that he got in the early 1970s. They were still in board form, so I was able to cut them up and get what's called a flitch match, which is where the back and the sides are cut off from the same board in sequential cuts, so you have a great visual match between the back and sides, and it's a really nice, clean, homogenous look to the guitar.
This is the top wood that I'm going to be using for this guitar. It's Italian spruce. Now, spruce is very commonly used on acoustic guitars because overall it has a range of physical qualities which makes it really suitable for acoustic instruments. It's lightweight, it's stiff, and it's stable. Now spruce really can vary depending on the species and even within a species in terms of its physical characteristics like density, stiffness, but for me, Italian spruce is the perfect choice for this guitar.
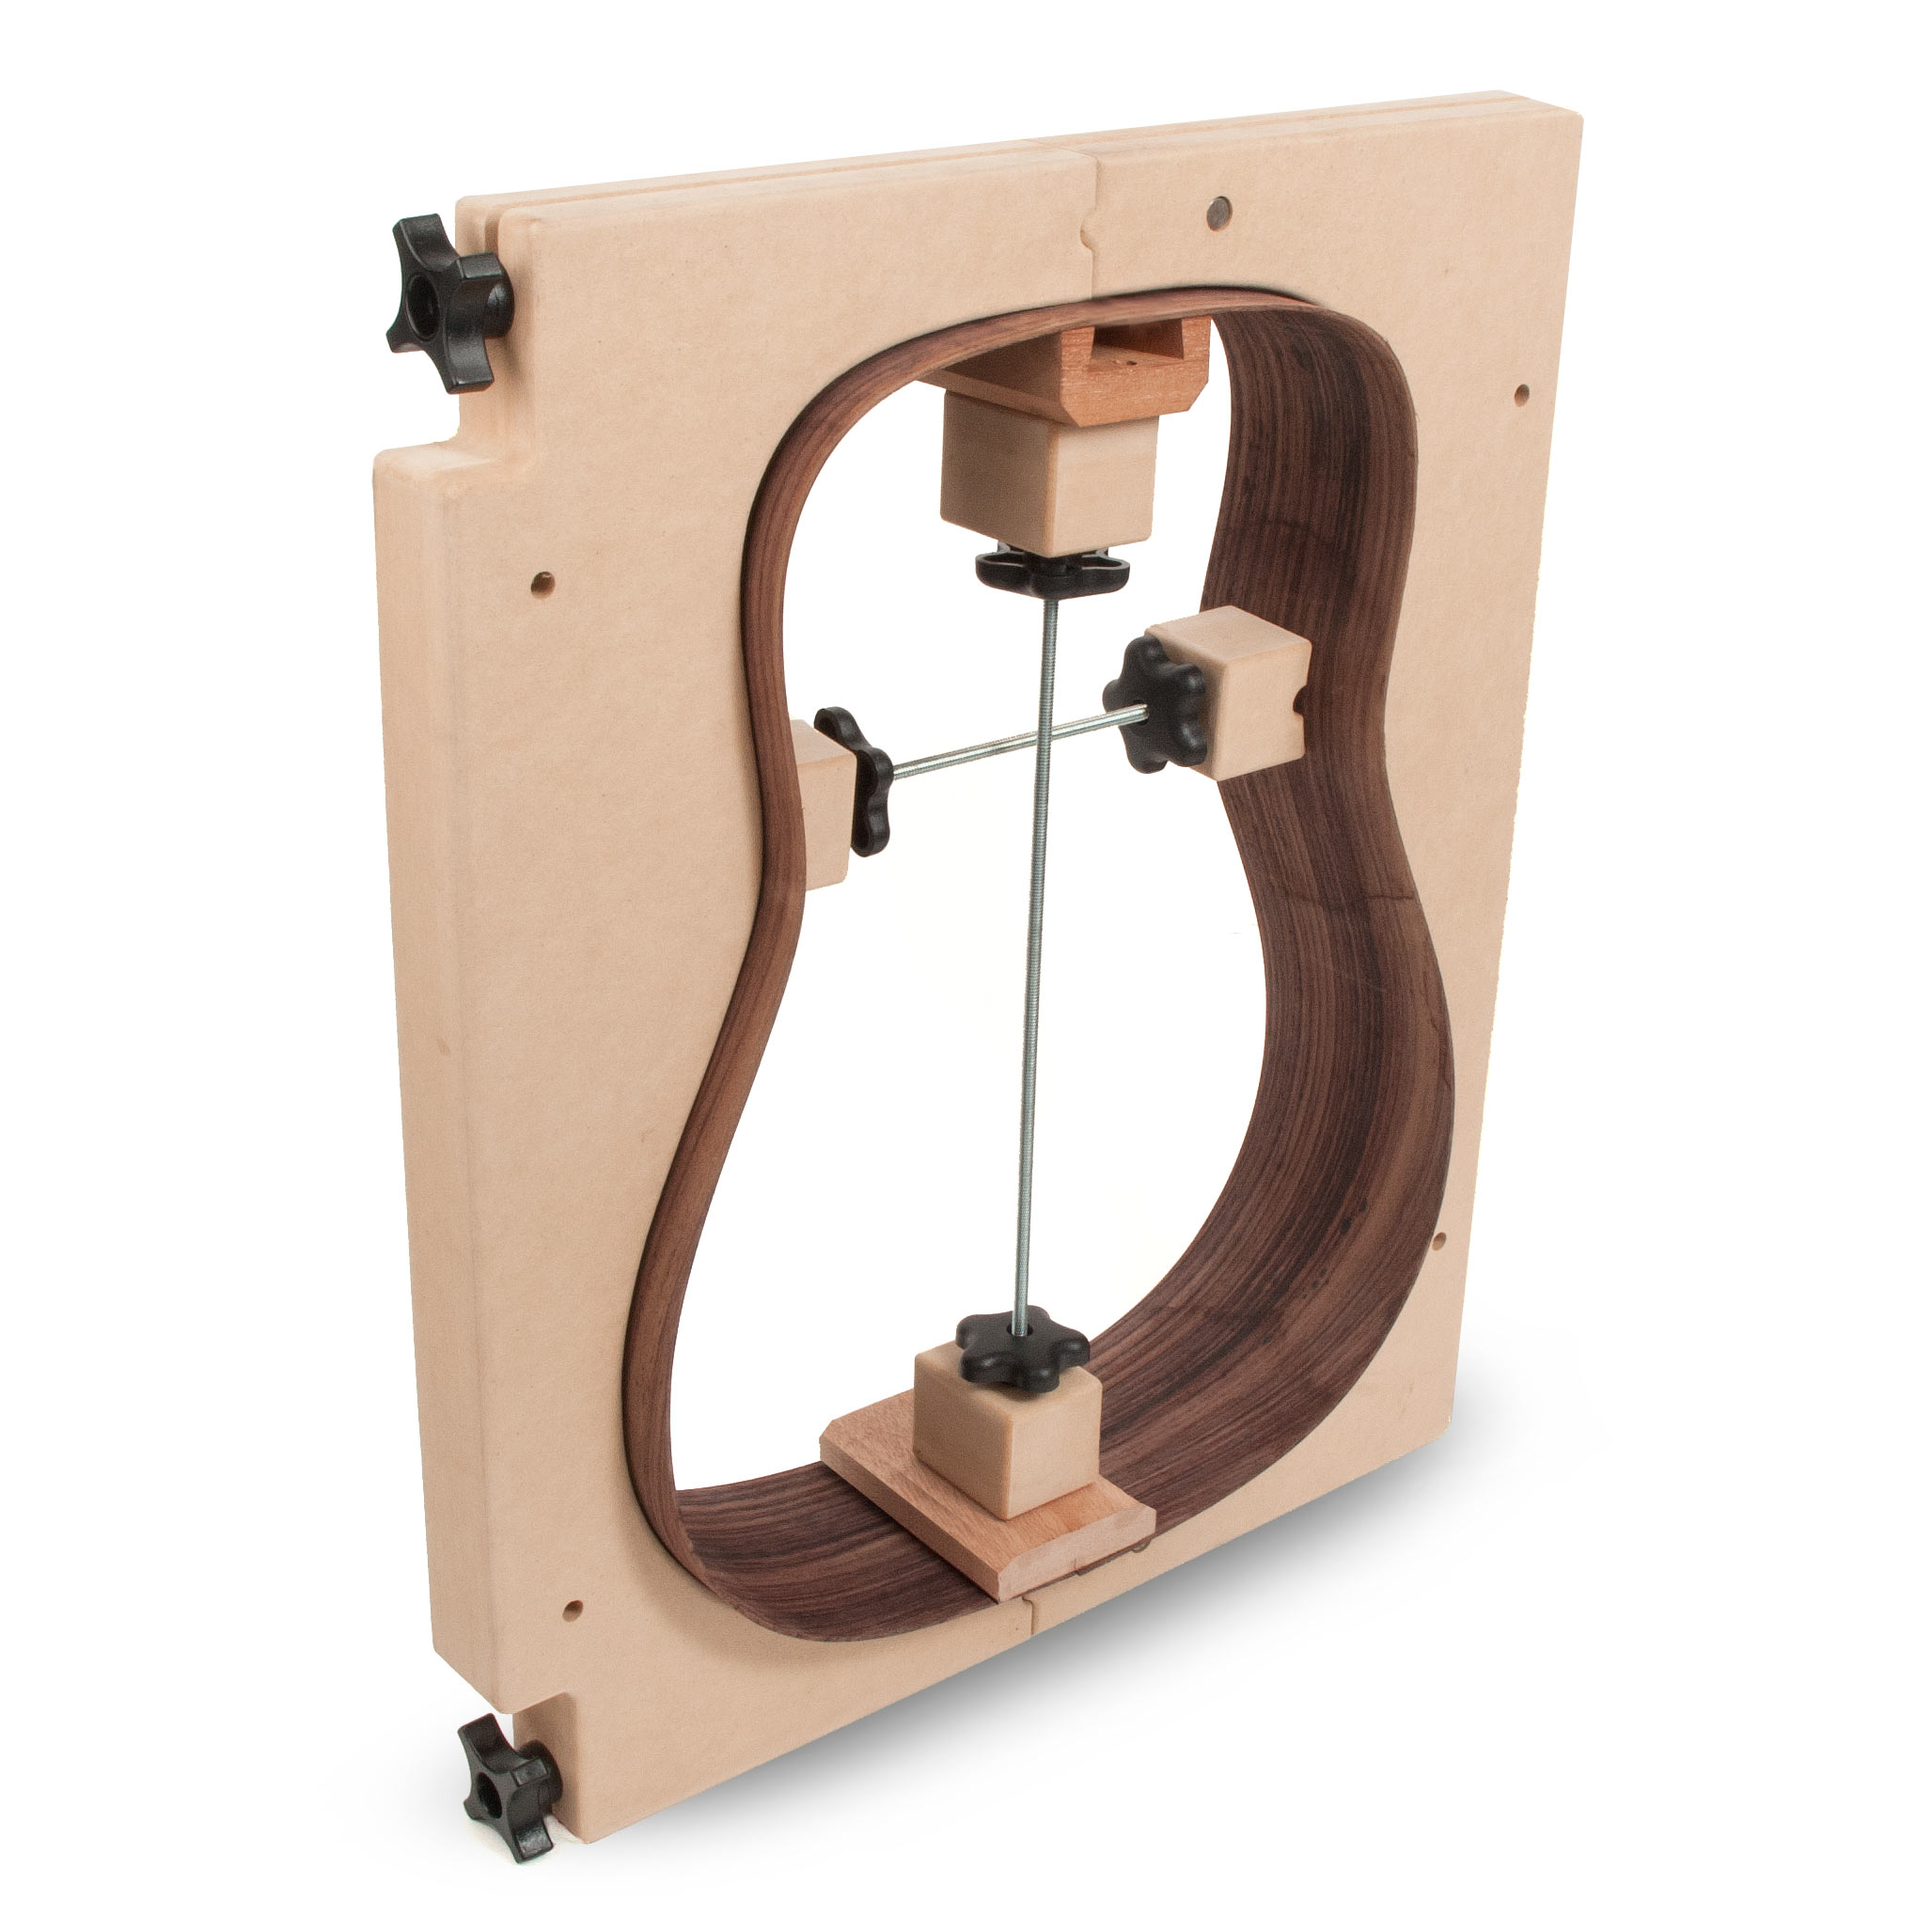
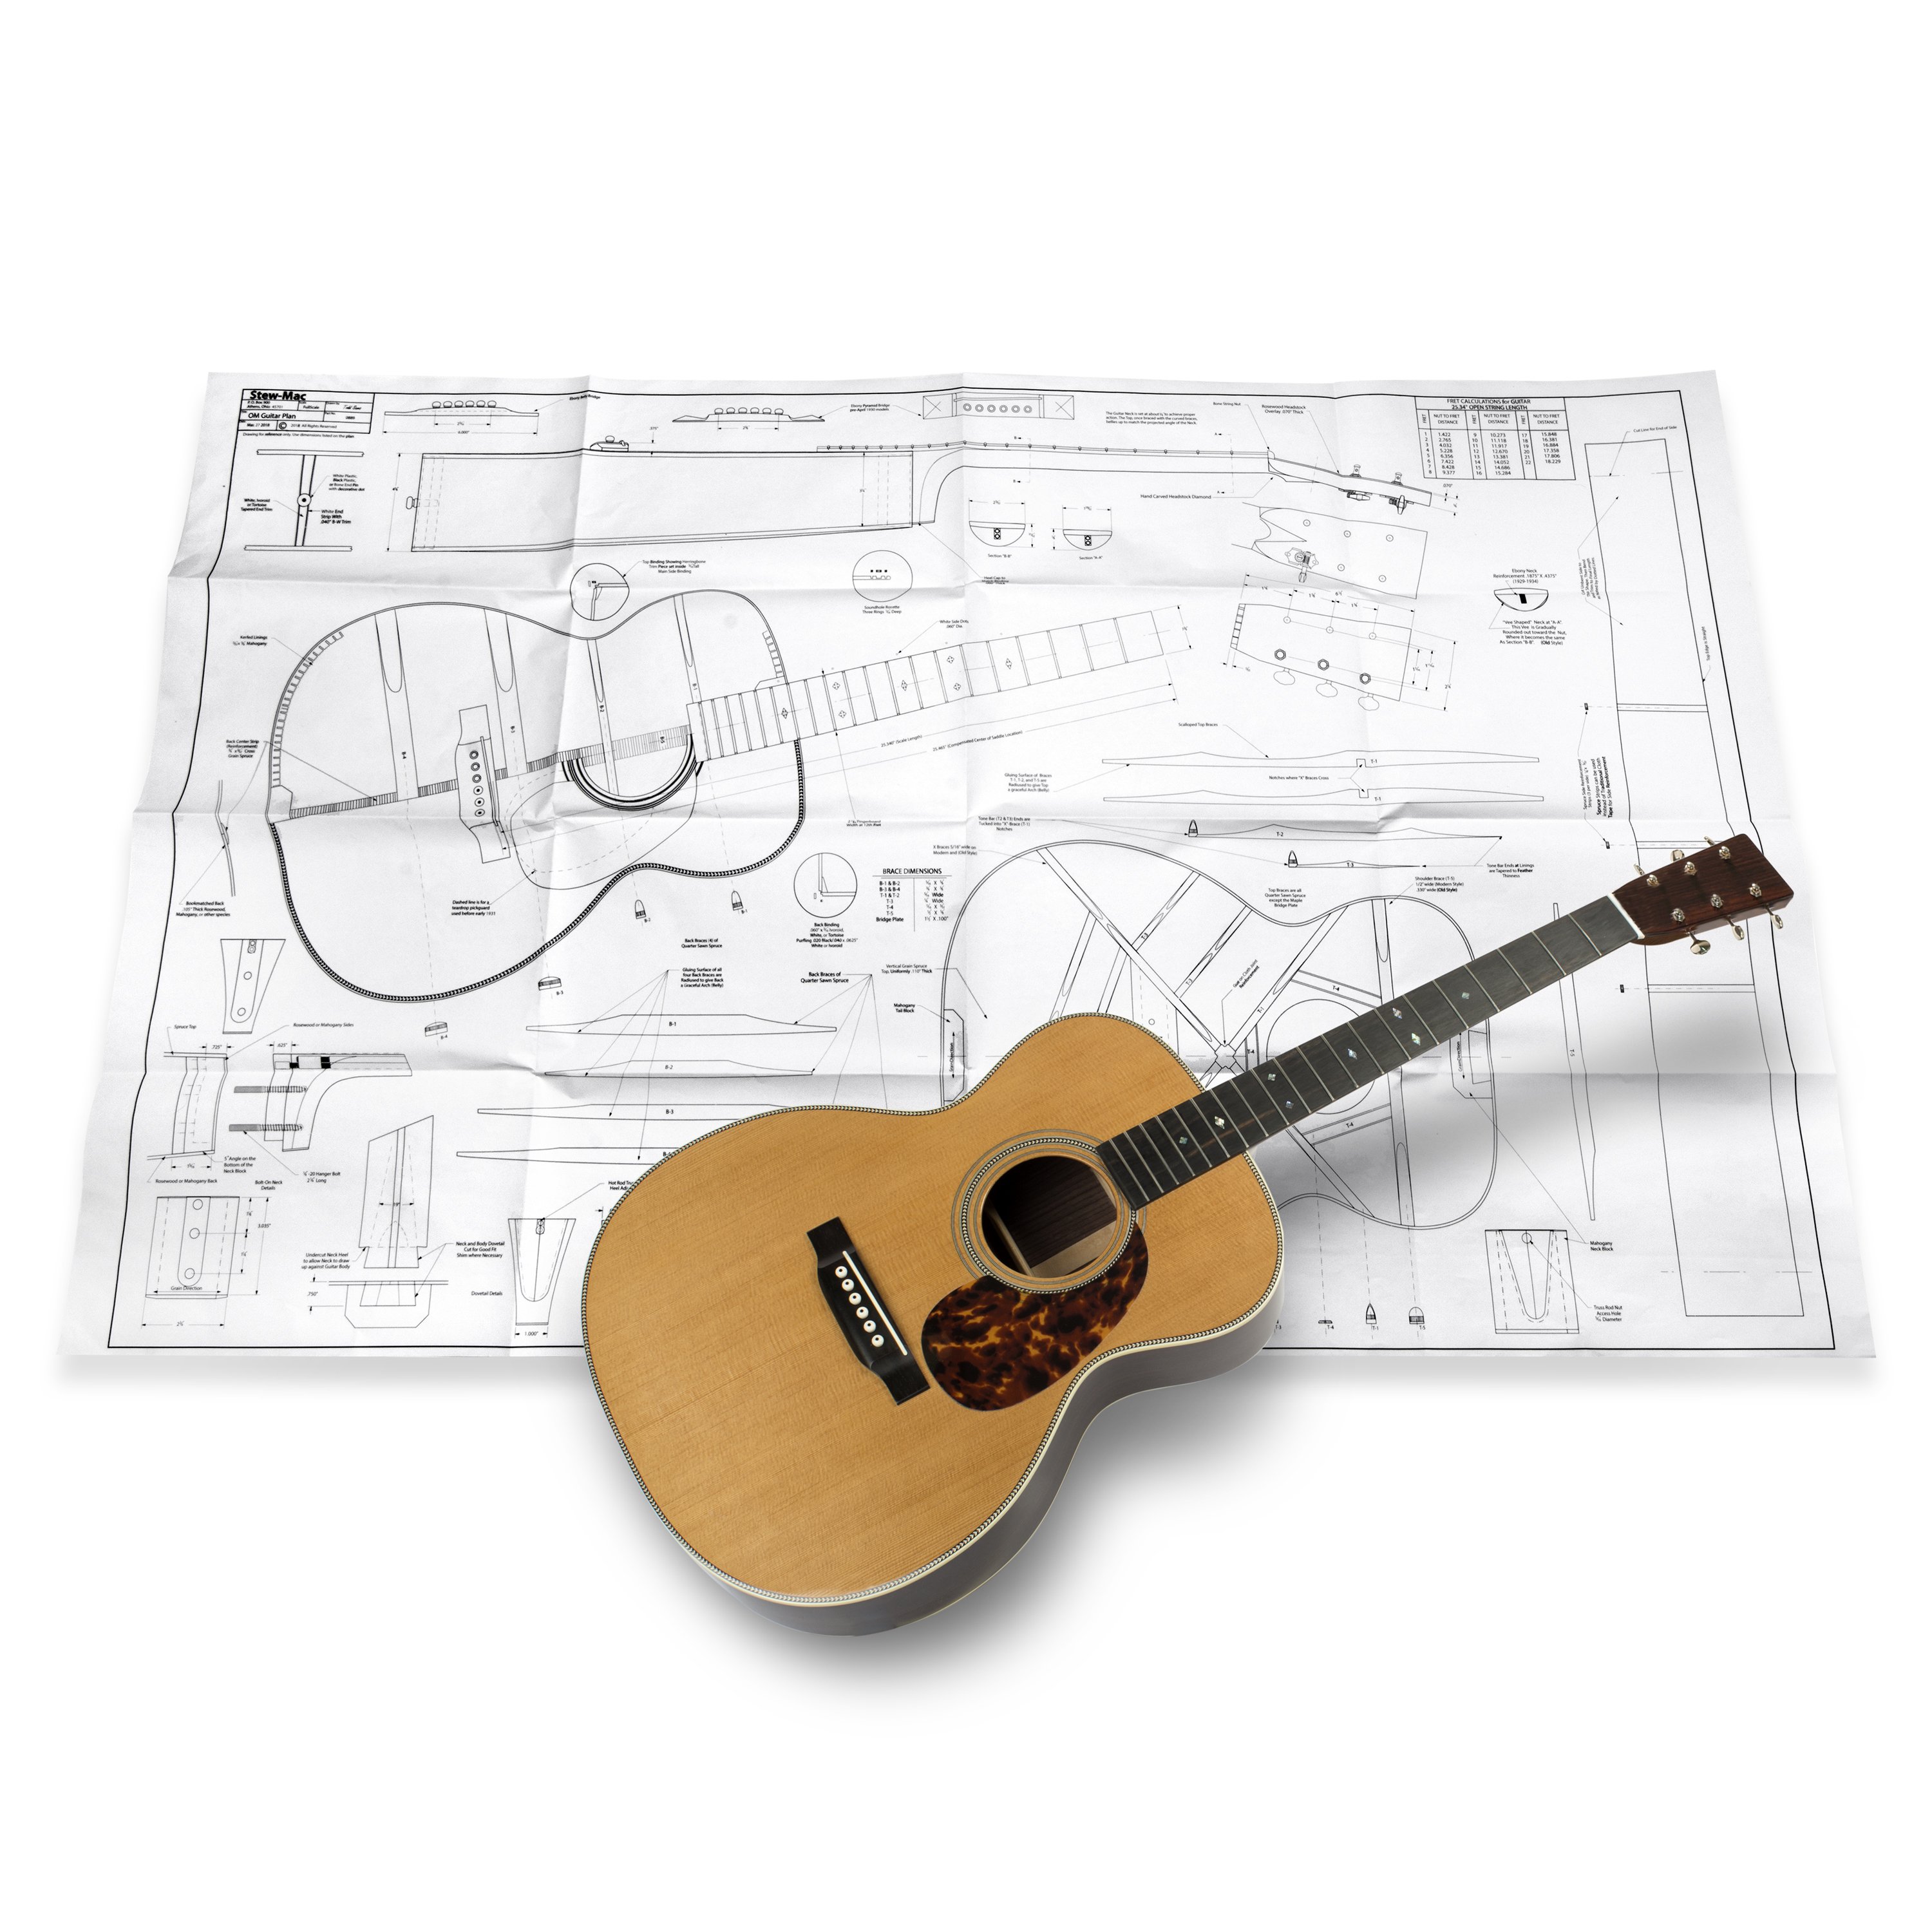
Wood for Building Acoustic Guitars
Joining the back and sides
Now we can begin the build. I start by running the spruce top and the Pau Ferro back blades through the sander to clean up the grain and get it down to a little bit more comfortable working thickness, which for me is about 0.145 inches [Michael measures the thickness of the spruce top with a digital caliper].
The next thing I'm going to do is candle the top so I can look for pitch pockets or any anomalies in the top that I want to avoid [Michael circles the problem areas with a pencil], and I want to detect those now before I get too far into the build.
So now I want to evaluate the book match to the top because I can join it together either this way or I can join it together this way. In this case, given that I have a little branch here, pitch pocket, bearclaw, and the tighter grain here, I'm going to elect to join the top this way.
Once I've chosen the orientation, I'll mark that line as the joint and then I'll pass the two plates over my power joiner. Then I will refine that joint with my joiner plane. I use the joiner plane in a way that's a little bit atypical in that I'm moving the wood across the plane and not vice versa. And what that does is it very carefully produces a joint that is superior to something you would get off the joiner because you're getting one continuous shaving and you'll get a very fine, well prepared joint.
After they come off the plane, I will candle them on the window [Michael places and holds the tops up against a window] and make sure that I have a light tight joint. I glue the plates together with hot hide glue. There's only a few times where I won't use that [Michael runs a heat gun over the edges of the tops]. Say if I'm working with extremely oily woods like cocobolo [Michael applies hide glue with a small brush to the edges of the tops], and in that case I would go with different type of glue like an epoxy that can deal with the oil content of those woods.
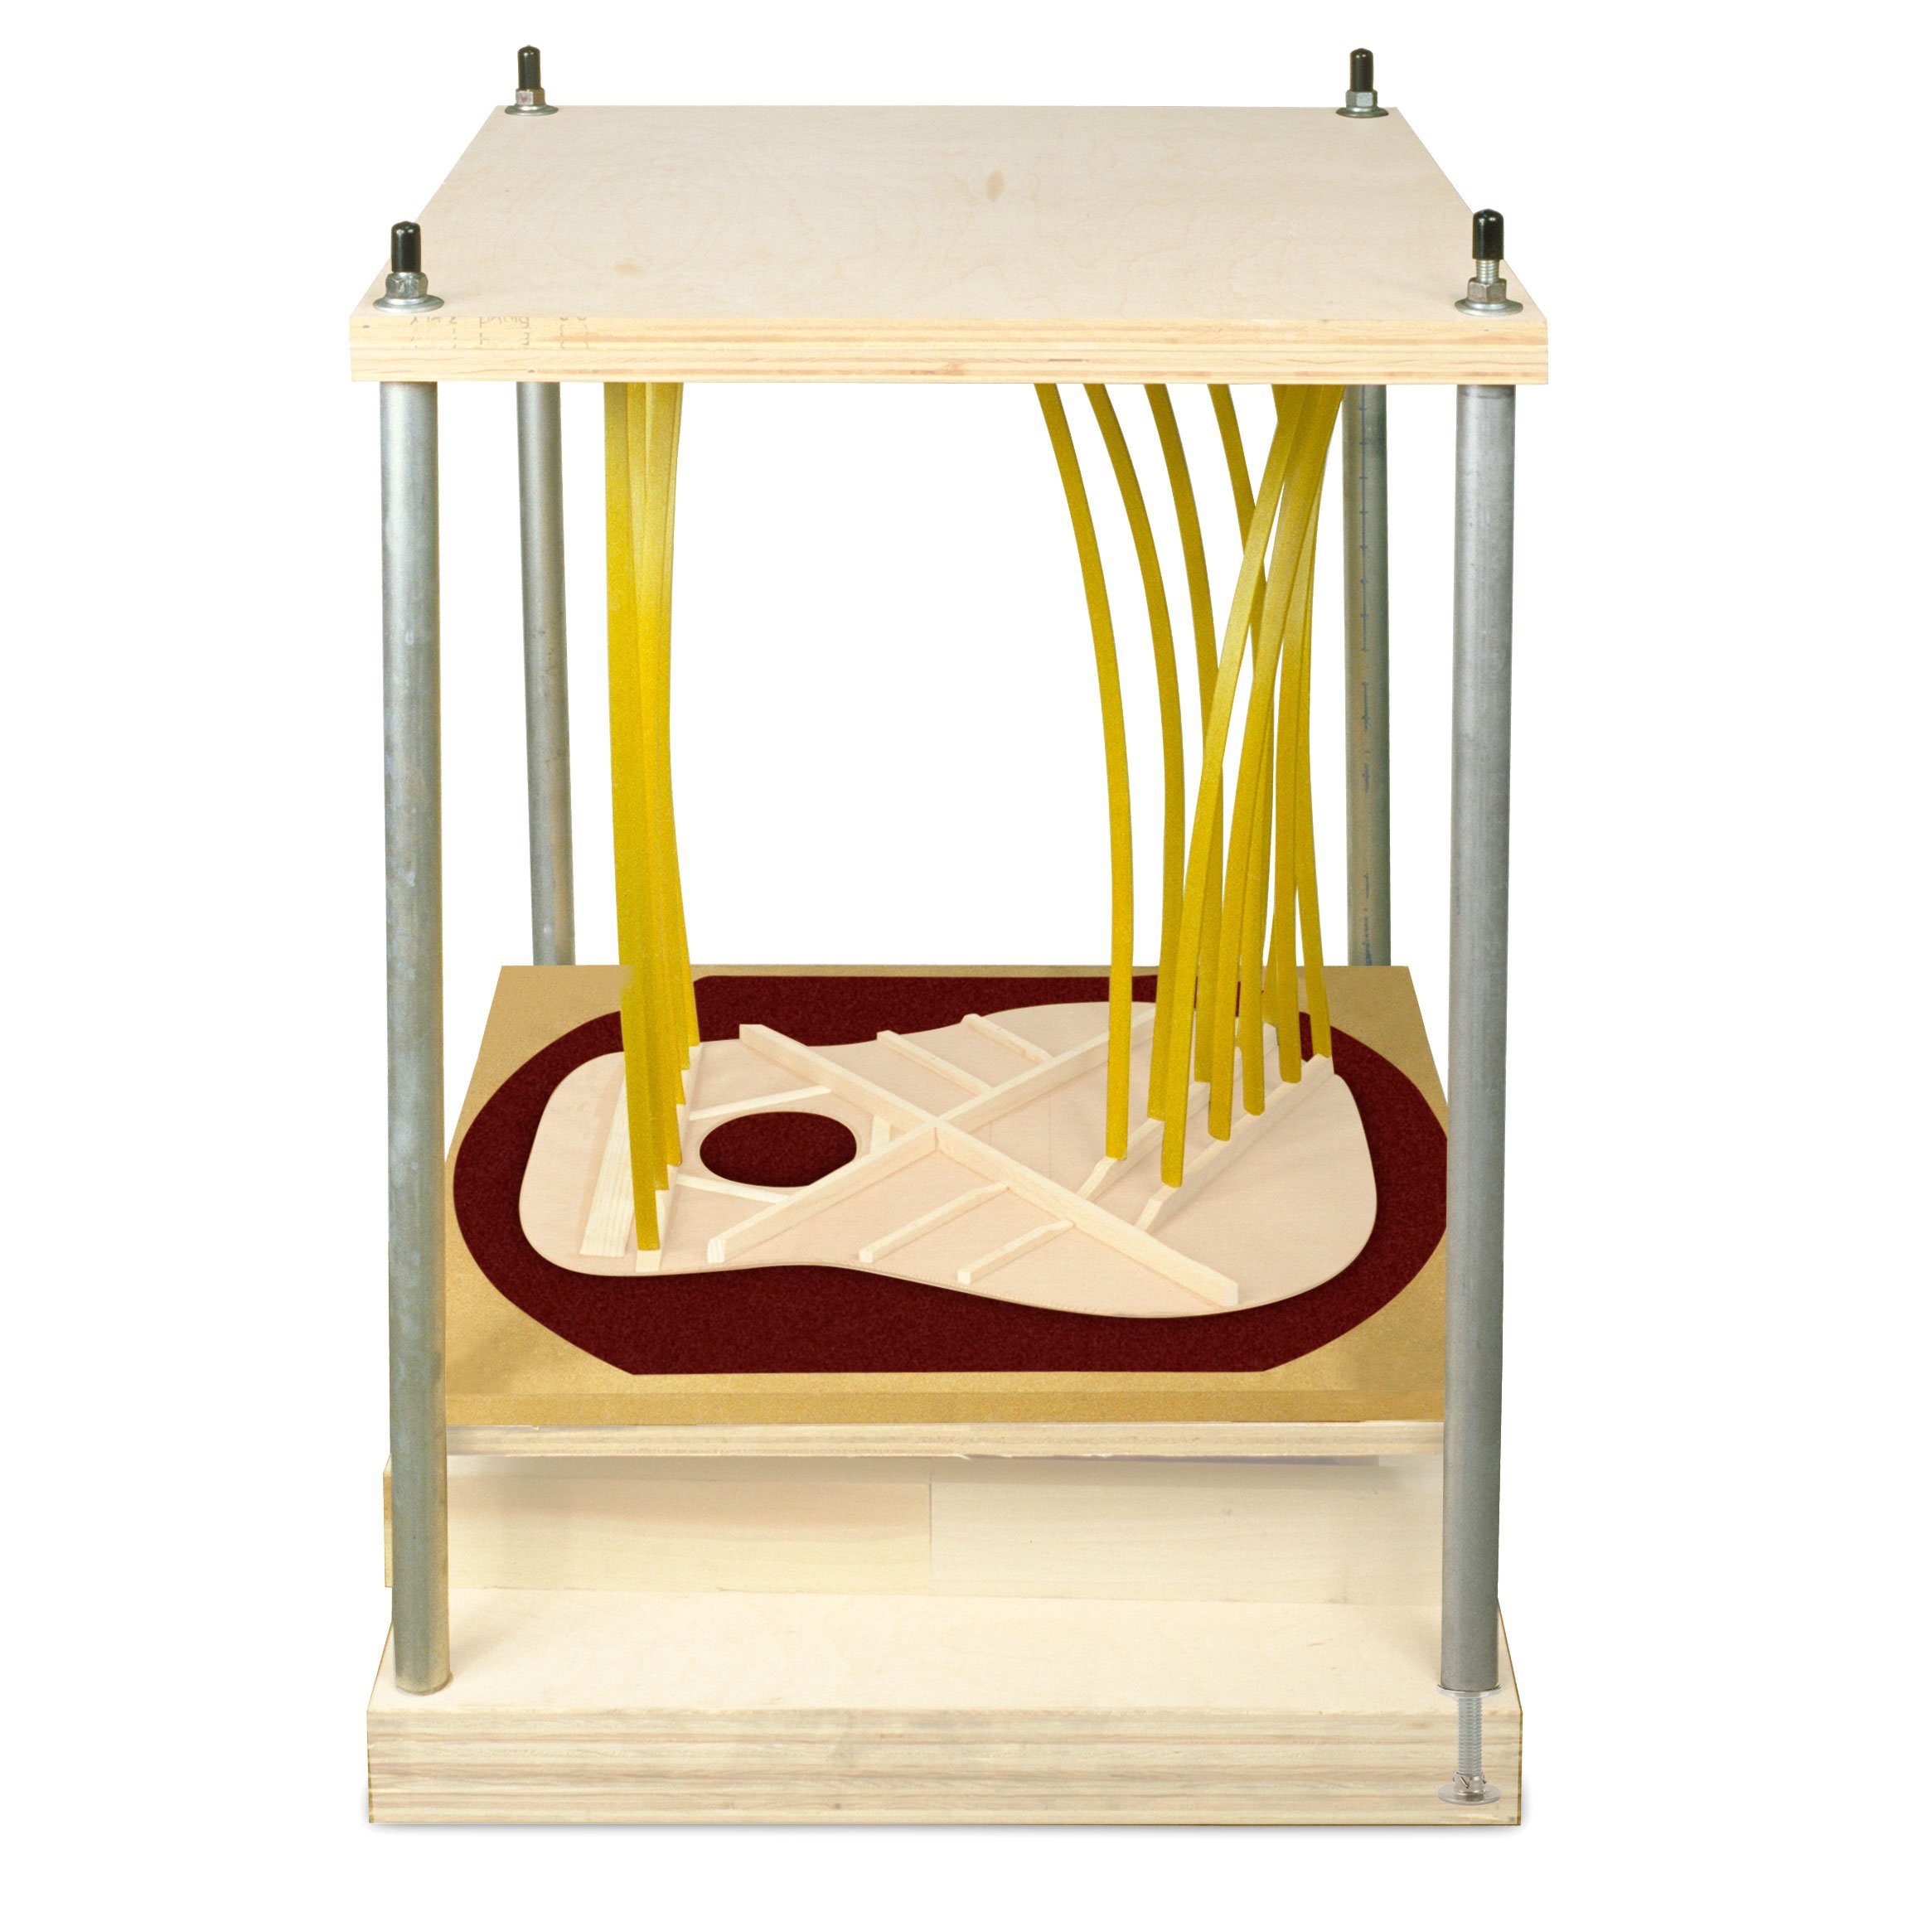
Then to join the plates, I use a series of blocks and wedges to apply pressure along the joint from the side. And I do this in the go-bar deck to also put a little pressure downwards on the top to keep the plates from popping up. And now we can see some of the squeeze out of the hide glue as the two plates are clamped together. I'll do the same exact thing to the back plates. I'll line them up to establish a good book match. I'll run the plates across my joiner plane, get a good light tight fit, and then I will join the back plates just like I did the top.
[fun up beat music is playing]
Once the glue has dried on the top and back plates, I'll take them out of the jig, run them through my wide belt sander just to clean up the joint and now I can really see the grain of the top and the back. Then on the top and the back, I'll decide which part of the plate is going to be up by the neck, which part is going to be by the tail block and using a straightedge, I'll mark a center line down the length of the plate.
[Michael drills the index holes]
So now I've got my index holes drilled, and the next thing I'm going to do is inlay a back stripe right down the center of the guitar. This is something that matches up with my purfling lines. It's made up of black and white veneers and a center of Bolivian Rosewood. What I'm going to do is just run this right down the center. I need a straight edge and a router and then we're good to cut the channel.
[Michael cuts a thin channel with the router]
The back stripe isn't totally necessary, although it does add some strength to the joint, but if the joint is well prepared [Michael brushes the debris out of the channel with a brush], you absolutely don't need one. I just like to do it because I like the way it looks [Michael brushes epoxy down into the entire length of the channel and presses the inlay into the channel]. It's a little bit more of a traditional look, and there's some options to add some joinery where the back stripe meets into the purfling, and I'm using epoxy to glue this in.
To apply pressure to the back stripe, I'll do it in the go-bar deck. I'll let the glue dry for about 15-20 minutes, and then I will level the back stripe using a block plane. I'm ready to start using those indexing holes now that I've just drilled and I'm going to attach a JM template right into those holes so everything lines up. These lines are actually much bigger than the guitar back. It just gives me some lines to cut to, and I know as long as I don't go inside these lines, I'm in a safe zone and I'm not getting onto the plates of the guitar.
[Michael starts scraping the top with a hand scraper]
So what the scraping does is it takes 120-grit surface and makes it much smoother, something probably equivalent to a 320-grit surface or above. And if you compare it, this is 120-grit right off the wide belt sander, and you can see how it's a little bit more dull looking because of the scratches in the surface. And again, here's the scraped surface.
The rosette
Now I'll bring in a bracing template and this will help me locate the center of the rosette, which I'll mark and prepare it to be cut. First thing I'm going to do is wipe a little shellac on the top and that's going to harden the fibers and protect the surrounding spruce.
Using programs that are already written, I will cut out just the inner and outer purfling rings of the rosette. These purling rings are meant to match the purfling that's going to be on the top and the back of the guitar. I make all my own purfling here in the shop, so I get good color continuity. I use a series of veneers that are dyed and in some cases colored, but for this particular guitar, I'm going with a fairly natural kind of earthy and warm look.
So I'll hand bend the in and outer purflings and after the channels get cut on the rosette, I'll glue those in right on the CNC machine into the channels with a water-based glue.
I've got the inner and outer rosette purfling rings inlaid, and now I'm just going to trim them down a little bit with a block plane before I do the next step, which is to excavate out the center of the channel. The interior of the rosette, that's where it kind of becomes a playground for using various woods, maybe some additional inlays, some sand torching, and really kind of mixing matching the species and playing with colors and textures and just trying to give the guitar a visual focal point, but at the same time, not having it be so powerful that you don't look at anything else on the guitar.
So this is a piece of box elder burl. It's actually in the maple family, and this came from a local tree, and I'm going to use this for some of the decorative elements on the guitar in the rosette and the headstock. It's just got some really wonderful, beautiful pillowy figure in here and what looks kind of like birdseye. And so this is going to make some really nice visual accents for the guitar. So I'll be taking a slice off of this burl and then we will thin it out on the wide belt and then finally cut it up.
And then I'll transfer that over to my table saw where I'm using a fret slotting blade and a jig that allows me to cut angles off center. So I can now make pieces that fit together with complimentary angles of any length and pretty much any angle all around the rosette. And I'll have a rosette workboard so I can actually put all these pieces in. This is where a lot of different designs and aesthetic choices come into the guitar. The design that I'm using for this guitar is what I call a compass point rosette, which has little triangular features that are going to be at 3, 6, and 9 o'clock of Pau Ferro. And then in addition, there's also going to be some burl features as well.
Once all those pieces are cut out, then I cut some of the triangles in half with a very fine kerf saw, and then I will do some sand shading on little bits of the burl ends, just a little bit of a three-dimensional airbrushed effect to the rosette and give it just a little bit of depth. Very carefully, I start installing the pieces from the 6 o'clock position and then just work towards the top of the rosette in both directions.
So what I'm doing now is I'm going to put this little screwdriver right into this gap in the rosette right here, the fingerboard will overlay this. So I'm not really concerned about these gaps. But when I put the screwdriver in here and I twist it, this adds side to side compression and pushes all the pieces of the rosette together on their sides really tightly. The thing about this method is it's a dry fit, so I'm not going to take it out to glue it. I am going to glue it in place right now because everything is lined up and ready to go. And I'm using a water thin CA glue, which has enough capillary action that it'll wick down into the bottom.
And the reason that I put the purflings in first with water-based glue is that that is not going to cause any discoloration on the spruce, whereas the CA glue would cause potentially some discoloration. So the purfling acts as a barrier and allows me to do this dry fitting CA glue technique. So things look a little bit disheveled with the glue right now, but once it all gets sanded out, all the color will even out and we'll get a real look at what the final rosette's going to look like. So it's time to pop out the soundhole. And then I'm going to put in an inner ring on the edge of the soundhole of Bolivian Rosewood and be ready to sand it out.
[Michael applies the glue to the edges of the soundhole all the way around, installs the inner soundhole ring and tapes down the inner ring]
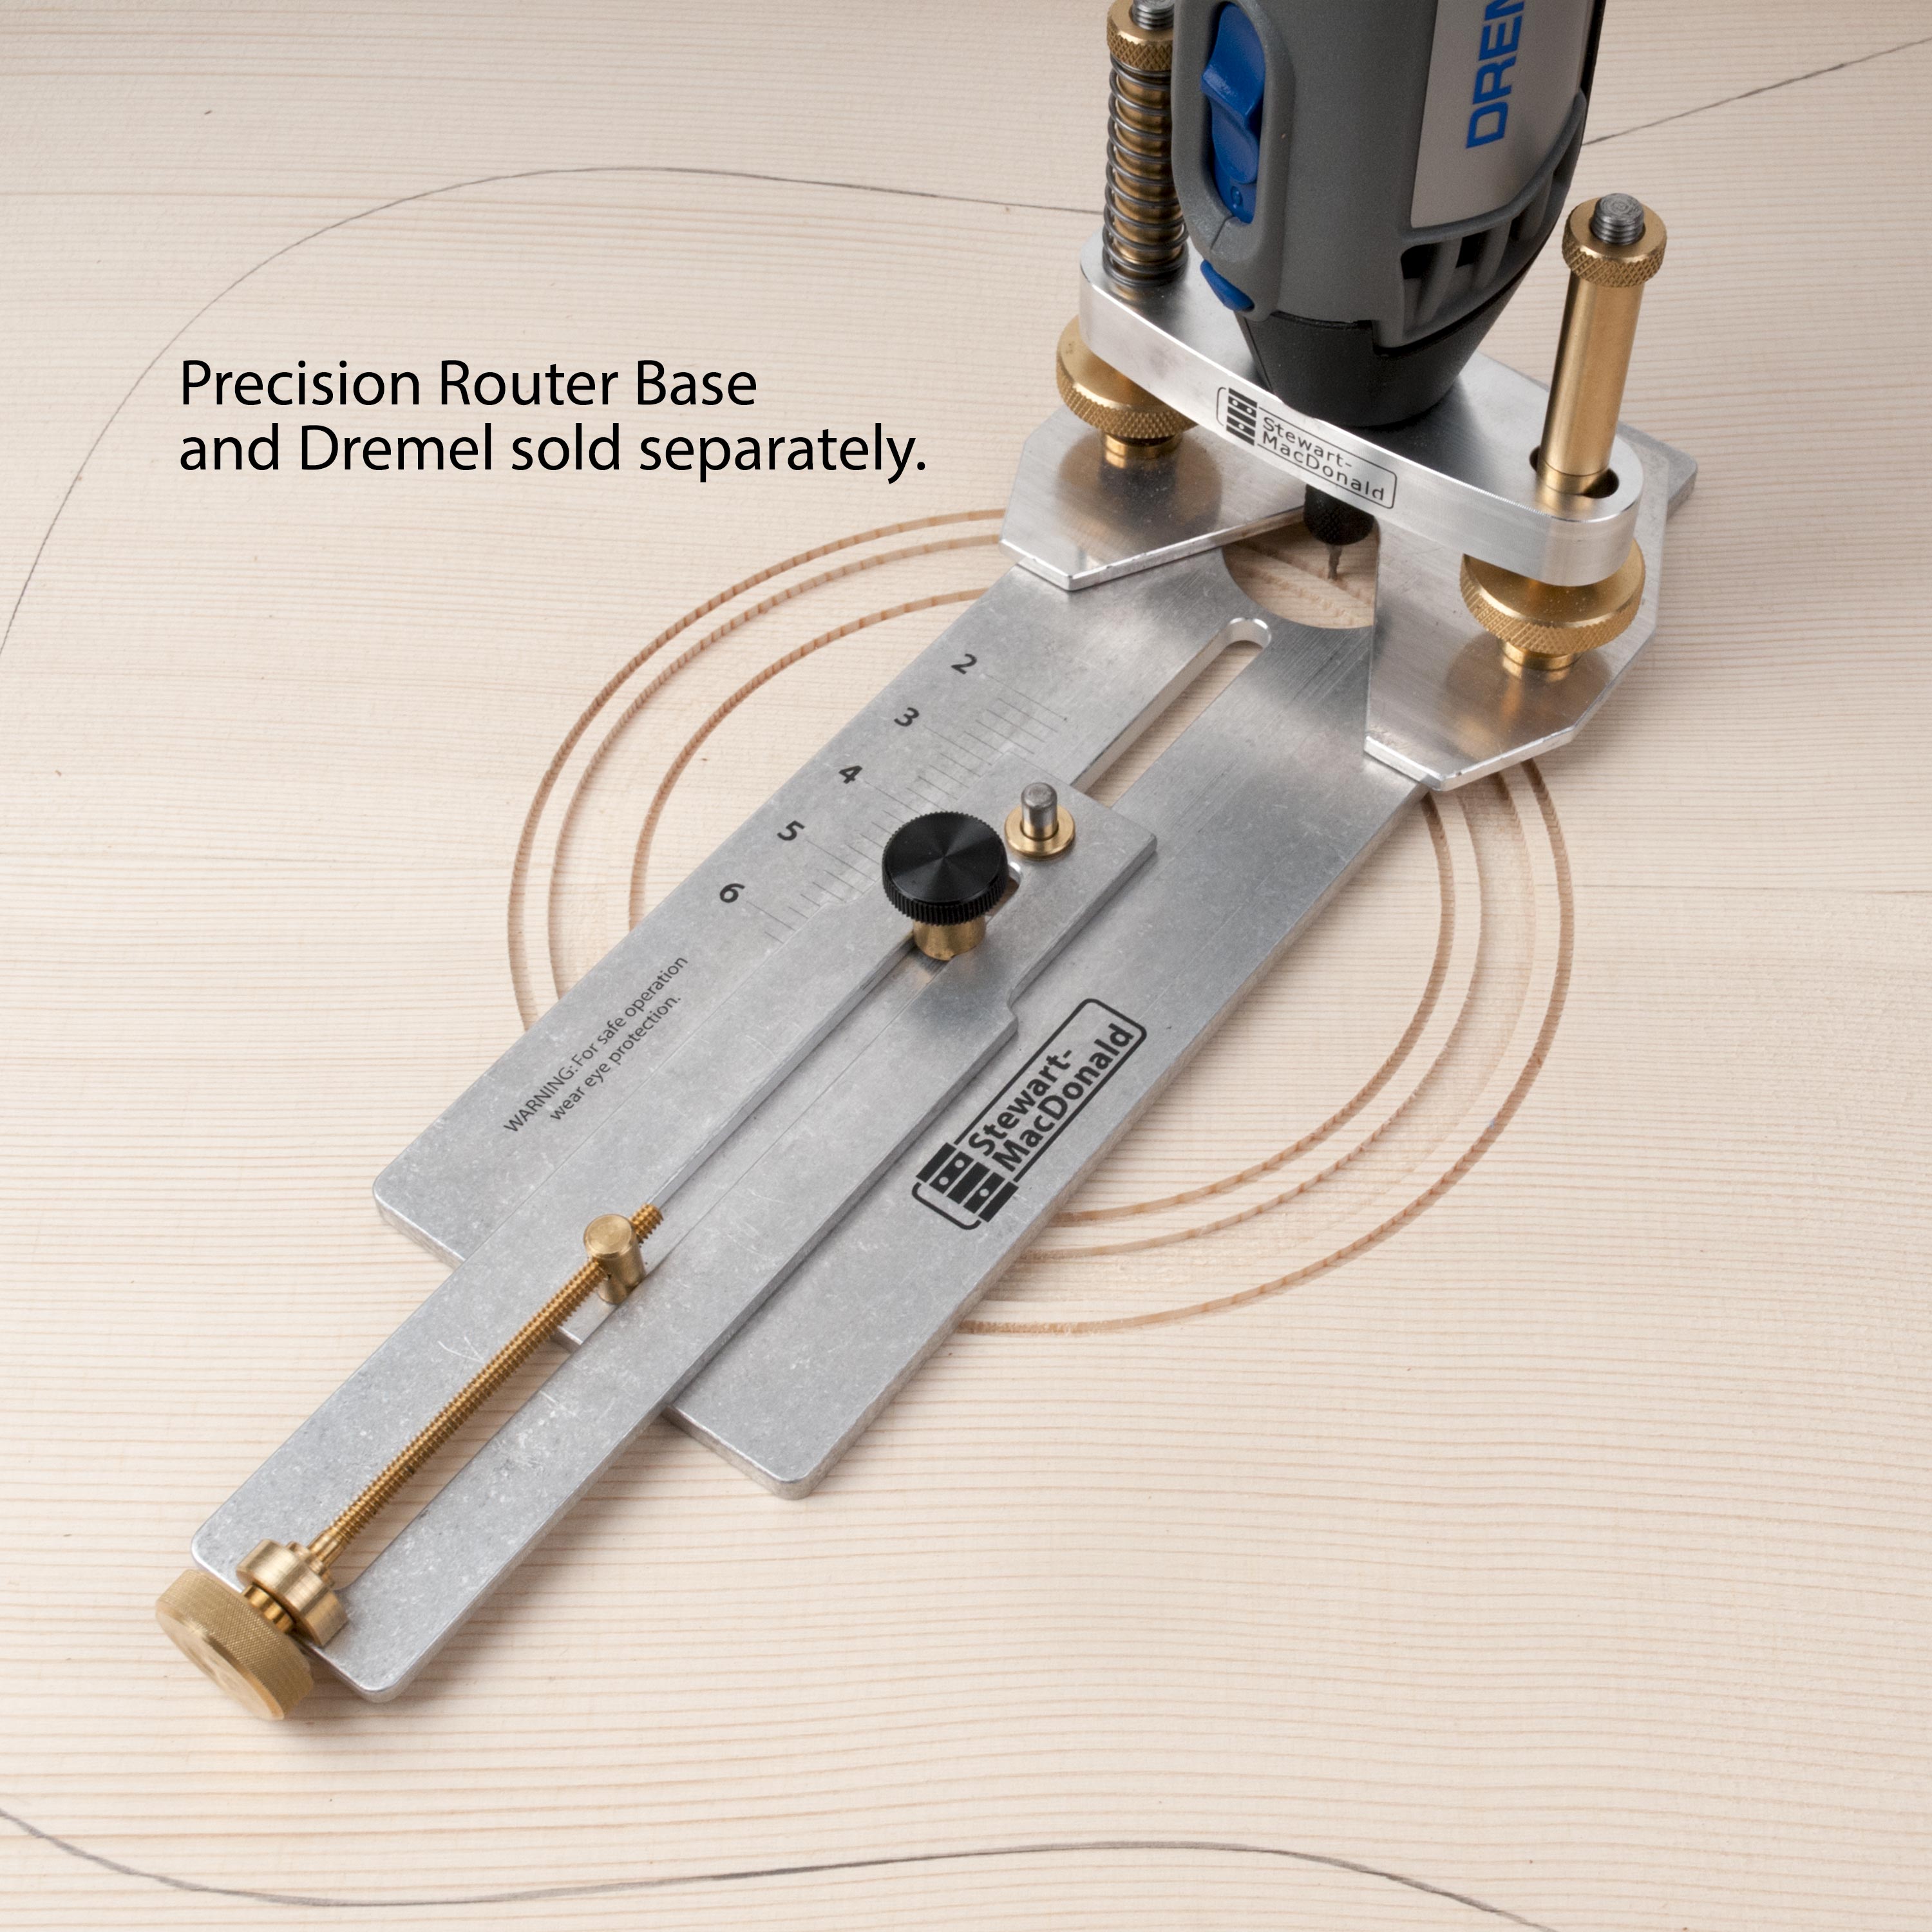
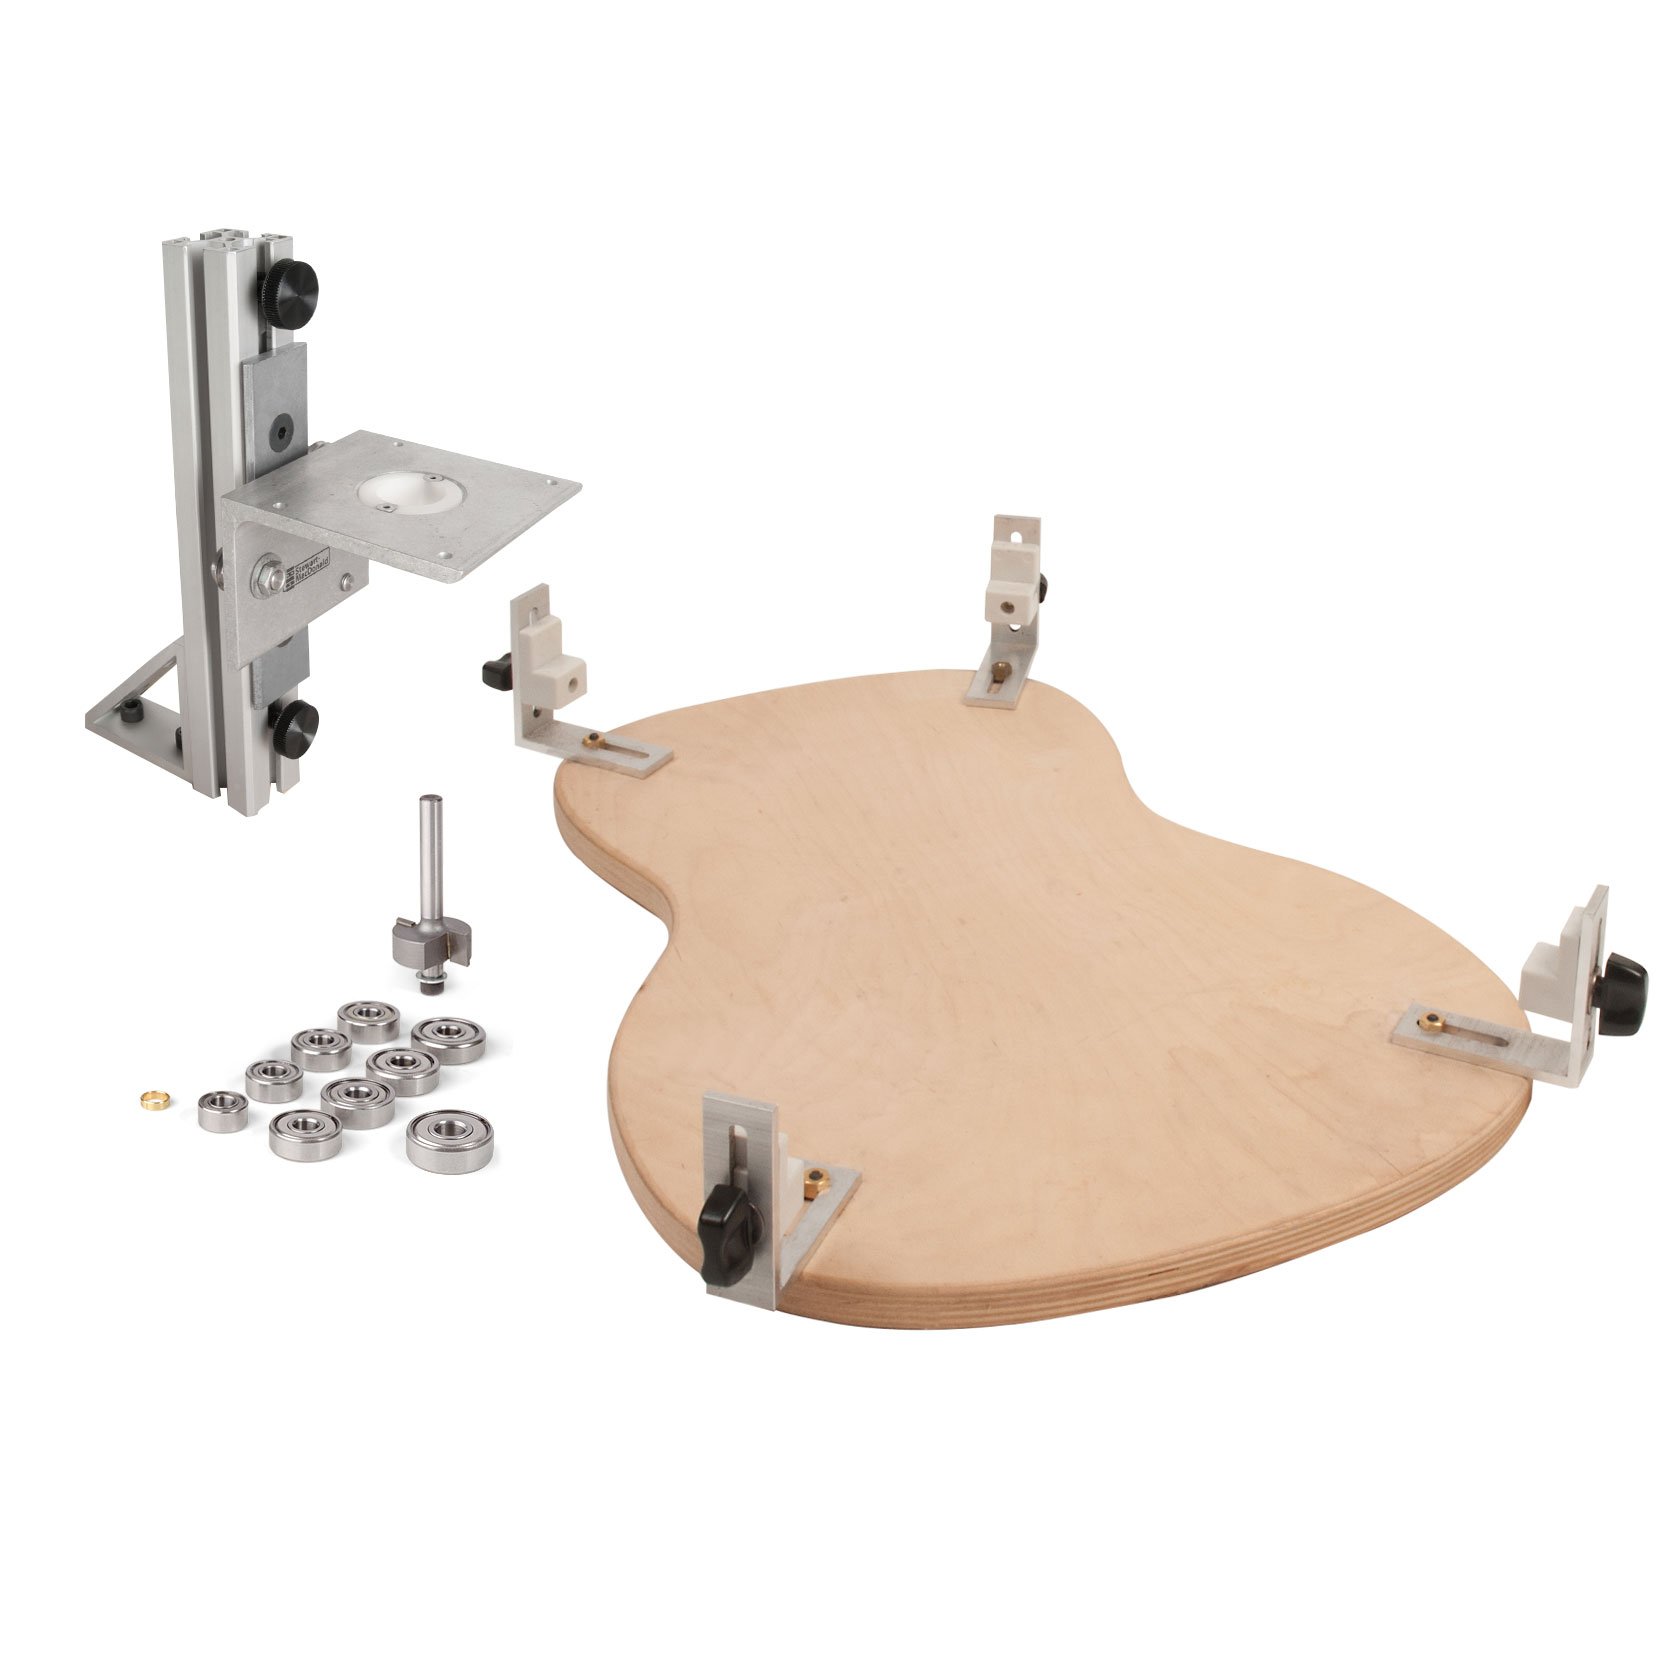
Specialty Tools for Building Acoustic Guitars
Bending sides
Now it's time to move on to the sides of the guitar. Once again, I'm using that flitch match Pau Ferro that I've already sliced up, and now I'll sand it down to a good working thickness, which is about 80 thousandths of an inch. Then I'll mark which side I want to be on the outside of the guitar based on the most favorable grain pattern, and I'll use a template to trace out the final size and then tape them together to roughly cut out the shape. And then just like the top and the back, I'll scrape the surface with a scraper to get rid of the wide belt sanding scratches.
The bending process is basically a little bit of moisture and some heat and pressure. Doesn't require a lot of moisture, I just spritz some on with a plant sprayer. Then it goes into the bender between two silicon heating blankets and those blankets are hooked up to a voltage regulator, and that's how I can control the temperature. Every woods's a little bit different, but most woods are going to bend in somewhere in the 270 to 320 range and some woods like a little bit more moisture and some woods like a little bit less.
Then once it comes up to temperature, the lignin in the wood tend to uncouple or start to break down and the wood becomes plastic and it's at this state at which you can bend it. After that time is up, I'll turn the heat off and let it cool down pretty much to room temperature, which in my molds can take close to an hour, hour and a half. As the wood cools, the lignin re-hardens, and that's how the wood keeps its shape.
[Michael places the sides into the mold, marks and cuts them to fit, then clamps them down to the mold]
With the sides bent and in the mold, it's time to add the neck and the tail blocks. For the neck block I use mahogany, and I'll glue this in with a regular PVA glue or Titebond. I like to use mahogany because it's a very stable wood, so it's a great choice for the neck block.
For the tail block, I use Baltic birch plywood because it's very stable and it will never crack. So if I add a pickup jack or something, the Baltic birch can really take that kind of torque. Finally, I will clean up the squeeze out after the clamps are on, and then I'll let it set clamped up for a minimum of an hour, but usually longer.
Linings
For the linings on my guitars, I prefer to use a solid lining. Probably the majority of guitars are made with an alternative type of approach called kerfing or kerfed linings, where you have a piece of wood and there's numerous small cuts in the piece of wood and it becomes very flexible. In both cases, whether you're using solid lining or kerfed lining, its sole job is to give some additional gluing surface to the area. So when you glue on the top and the back, you're not just gluing it to the side, but you have more surface area to glue those plates too.
I'm going to be taking three slices off of this piece of Honduran mahogany, and that's what's going to make up my solid linings. After the slices are cut, they'll go to the wide belt, taken down to their final thickness, and then all three slices are bent and then glued up in a mold. So these are the three pieces of mahogany that we bent up. And what we're going to do is put an even layer of glue between layers and then we're going to clamp everything up in this mold and that'll give us a perfect fit of the linings. When the glue cures, they're all interlocked, and so it becomes much stiffer and more stable over the life of the lining than one single solid piece.
So I have my solid lining inside these two templates, and this outer template matches the arch and the taper of the back, and that's going to allow me to draw a line onto the solid lining so I know exactly how to match the arch and the taper of the back onto the lining.
[Michael runs the wood planer over the top of the solid lining, then cuts it in half using a band saw]
So here you can see these two pieces for the back are not flat. They follow the arch and the taper at the back follows the ones for the top, have an almost flat radius, and they'll sit flat on the bench.
[Michael cuts the back lining to size, applies glue to the lining then sets the lining into the mold and clamps it down all the way around]
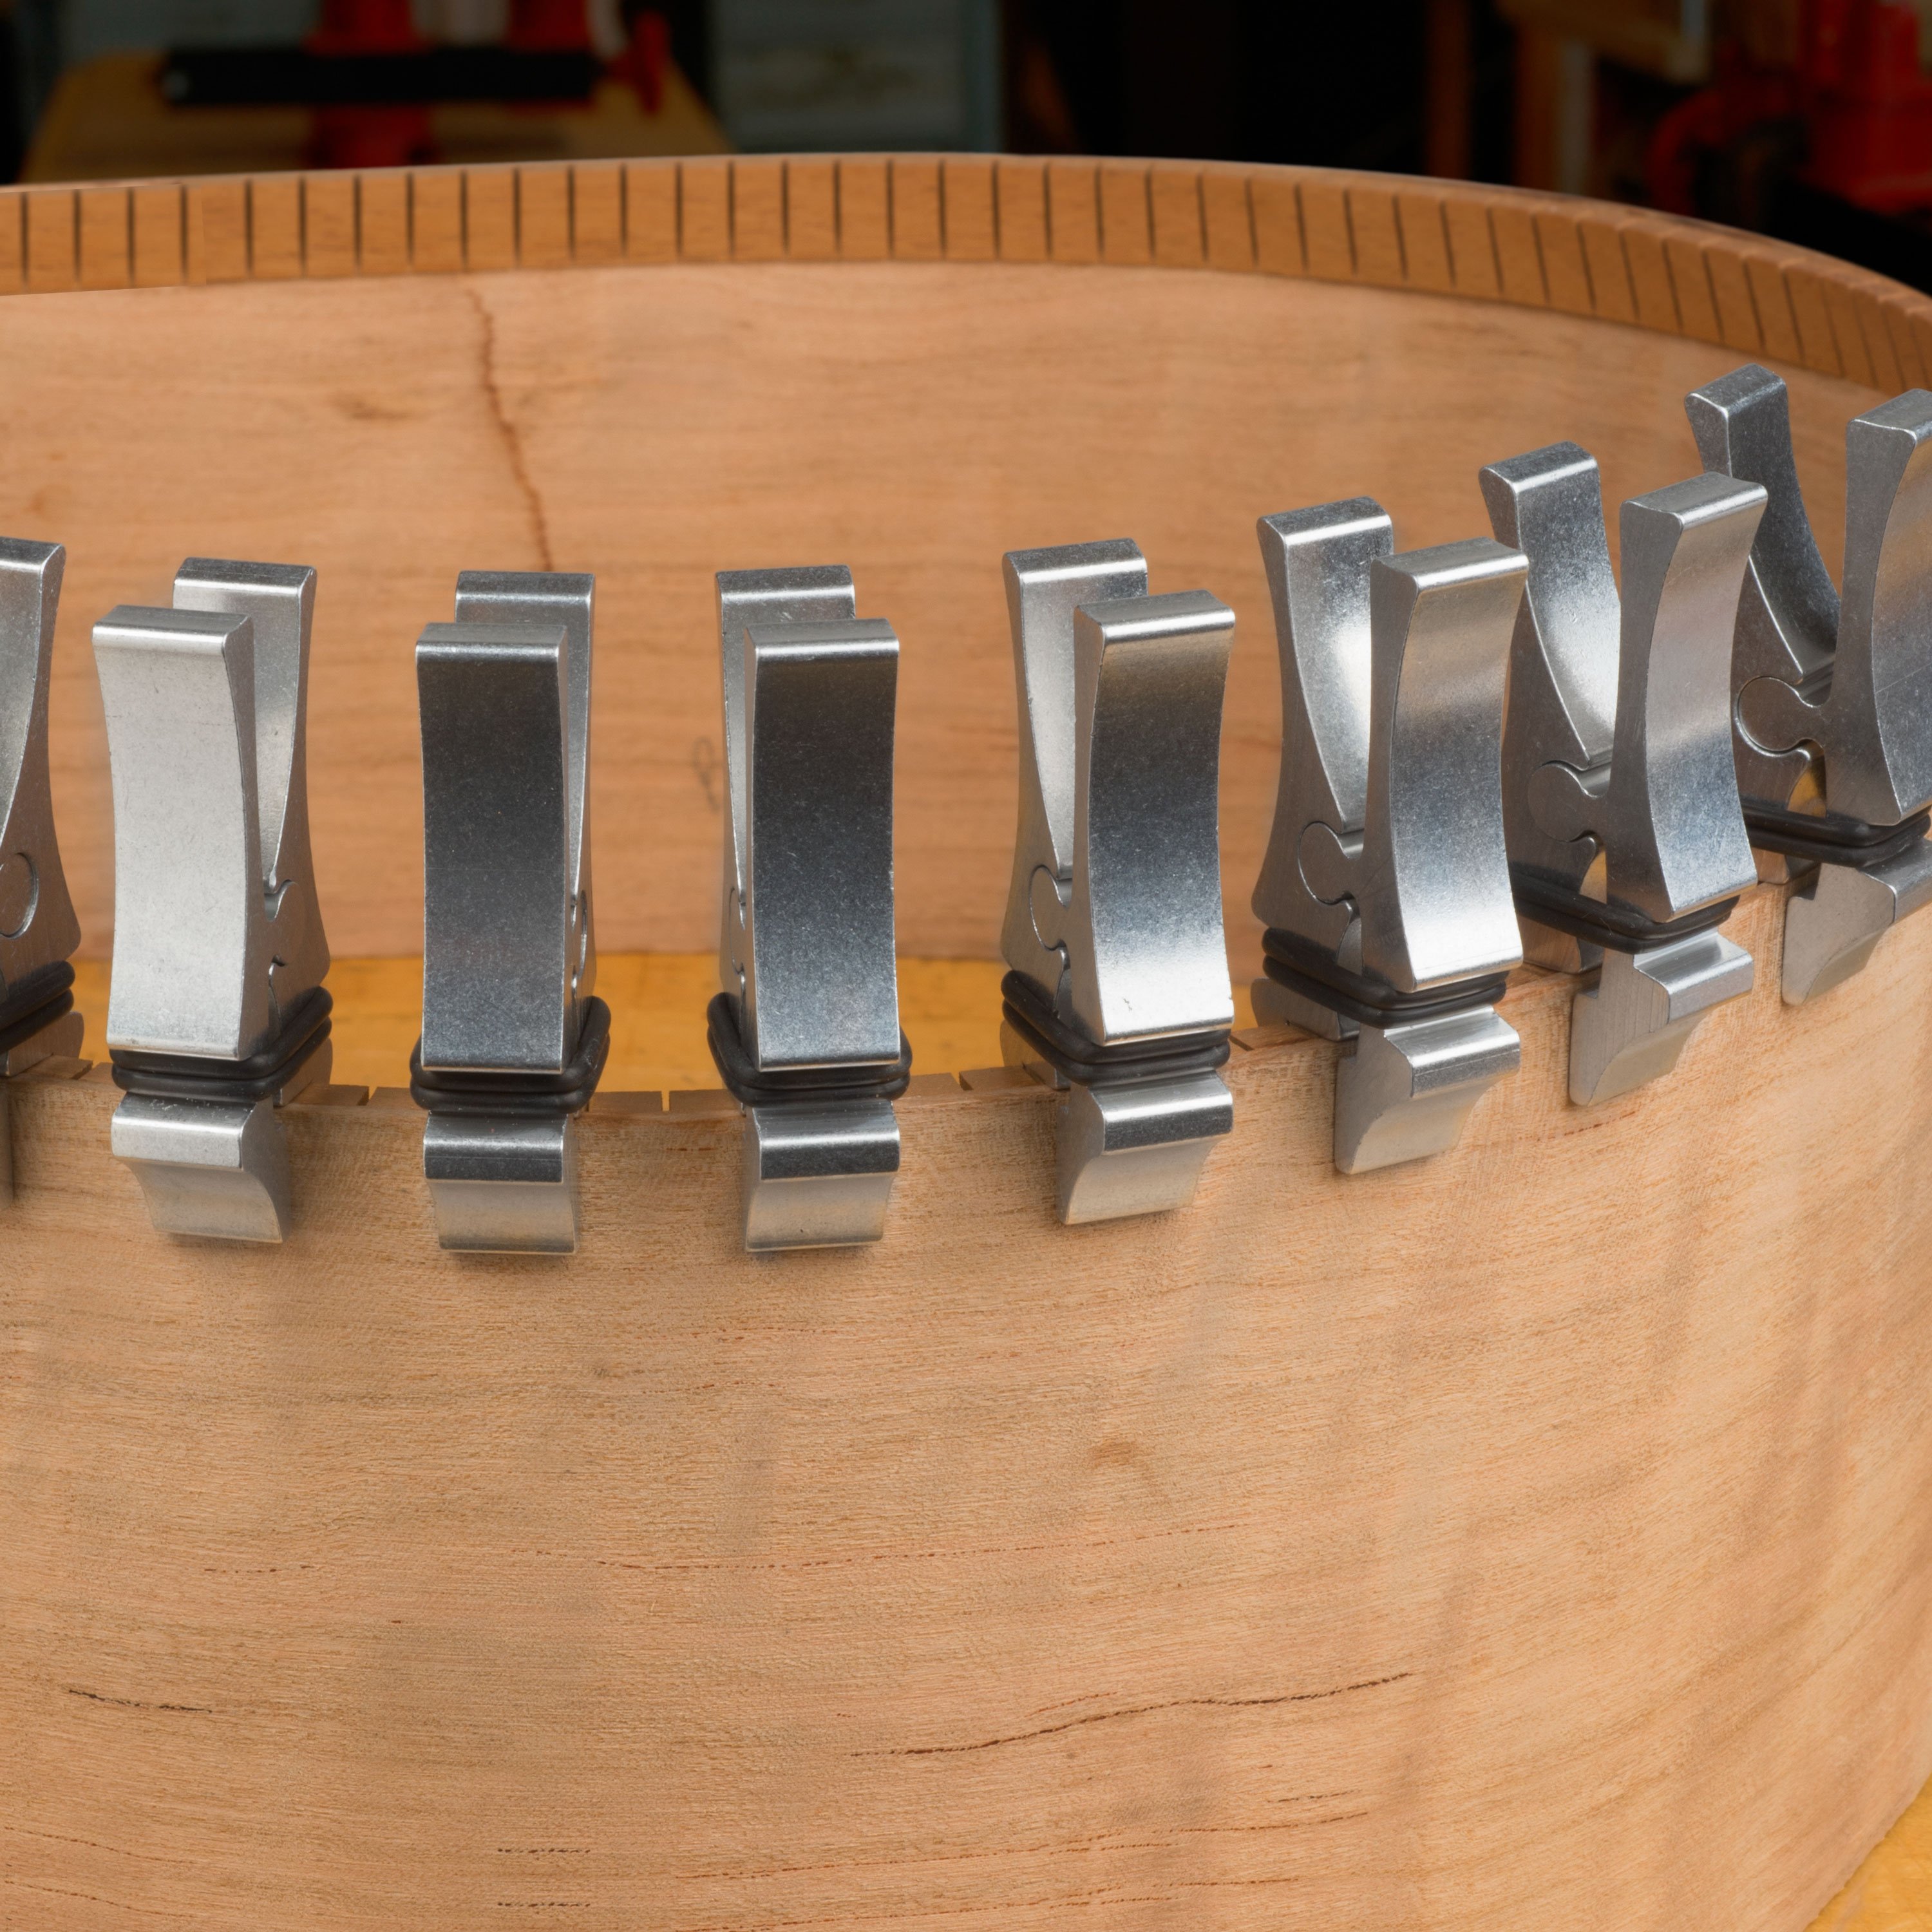
So now my back linings are ready to be glued in. I use a lot of small clamps along the entire length of the lining to well distribute the clamping pressure. My back linings are in, and now it's time to do the same thing on the top. The top and the back linings are glued in and they're glued in to be very close to the side, but they still need to be leveled. And here you can see the lining is just slightly proud of the sides. So we'll go over to the radius disc sander, which will get the rim totally level. And the radius disc sander contains the arch or the dome of the back in the sanding platen itself.
Bracing
So these are all pieces of Englemann spruce, which I harvested myself about 25 years ago. I like to use Englemann spruce for the top bracing. It's a low density spruce and it matches the type of top wood that I like to use for finger style guitars. Not all spruce is equal. So for example, on the back braces, I like to use a stiffer, denser type of spruce like Sitka or Adirondack. And above the soundhole, I want a little bit more structural support. I might switch to a different type of spruce.
What's really important with brace wood is the cut and you want, well quartersawn material. For example on this piece, the growth rings are running this way. So this is the quartersawn face right here. So I'm going to split along the quarter right here. It's looking pretty good. You can see it's flat. We don't have a lot of twist, but I'm going to divide this up into smaller sections, so it'll be flat within each section. So I just ran the split face across the joiner, which flattened it out. So this is the quartersawn face, and this is going to go up against the band saw fence. So I can now take slices off of the quartersawn face.
I like to measure the density of all of the wood. We're going to take the height, length, and width. Then also measure the weight to do a simple density calculation. All right, so I've got my density measurement. This is right in the range that I like for my brace wood. At this point, I'm sawing out what will be the individual braces and then sand them to a working thickness.
So here's an example of a very well quartersawn brace. I'm looking at the end of the brace, and you can see how the grain lines are vertical. They're not at an angle like this. And then these green lines continue straight all the way down the length of the brace.
The jig that I use to profile the bottom of the brace is a simple template jig. I have the arch of the bottom of the brace for the tops of my guitars here, and then on this side of the jig is the arch for the back. These clamps hold the spruce down while I cut it, and there's a template bearing on the router dip, and that just rides along the face of the jig just like this, and that's all there is to it.
So I'm making the main X-brace here, and what this jig does is it notches the X-brace for me. I have a special blade in here, which is the exact width of the braces. I'm going to put the braces down on this arm, which pivots, so I can control how much I want the X to be open or closed and make one pass, and I should have a well cut notched X-brace.
So that's how I make the X-brace. The other braces that are in the guitar, basically go through the same procedure, but there's some different jigs and templates that I use. For example, this jig I use to cut the upper transverse brace, which is above the soundhole. And then on this side of the jig, I have a tighter radius for the back and a gentler radius for the top braces.
This is my setup for working with hide glue, and I prepare a larger batch and then pour that off into ice cube trays. And then when I'm ready to use, I just take a cube or half a cube out, and then I'll pop it in my hot water bath.
Once the bracing pattern is laid out with a template, then I will transfer all those lines across the top, lightly with a pencil. And I will use hot hide glue first to install one arm of the X-brace. After that setup, then I will glue in the other arm. I'll put in the upper transverse brace.
Then after those are dry, I find it easier to do a rough profiling of the X-brace before I glue in the other braces, I use a laminate trimmer with a modified foot that's set at an angle to carve the braces into roughly an A shape. So once the X-brace is profiled, then I will carve down the ends of the braces just to give me a little bit more working room. And the top then goes back in the go-bar deck and I will now glue in the bridge plate, the tone bars and the finger braces.
If a guitar top had no braces on it, then either you would have to make the top so thick that the guitar wouldn't sound very good, or if you did thin it out, then the top would just completely disintegrate and fly apart. So the braces perform several functions. One, is to add structural integrity to the top so that it can withstand the tension of the strings for decades and hopefully longer. But it also distributes the stresses and the vibration that's going on in the top in different ways. So different bracing patterns will sound different to a certain extent, so that's something that most guitar makers will pay careful attention to.
There are other bracing patterns like radio bracing, lattice bracing, and all of these patterns work. They all have a little bit of a different balance, a little bit of a different EQ, and in my opinion, an under braced or even a lightly brace top. It's a fine line. You don't want to go too far because there's a point at which too much information can be introduced into the guitar top, and it might not be that the sound that you're after. I'm fitting the soundhole braces, and I use a different species of spruce. One that is much stiffer than the Englemann spruce. This is Sitka spruce, and I'm using these braces around the soundhole because I do want more support.
I'm going to apply the first brace to the back of the guitar, and this is called the back graft, and I use a piece of quartersawn spruce. In this case, the grain of the back graft is running this direction, which is going to be perpendicular to the seam at the top. And this way, it acts like a stitch to reinforce that back joint.
[Michael glues the back graft to the back of the guitar, cuts out the channels for the braces, then glues and sets the braces into the back graft. He uses a heat gun to dry the glue then sets the back onto the mold and marks his cut lines for the braces. He then cuts the braces and shaves the ends down to fit]
As I do the final cleanup in preparation of the back braces, I'm going to lower this back graft right in this area because this is where the guitar label goes.
So this way, it'll sit just a little bit more nicely over this brace. Once I have the braces glued to the back and the rim is done, then the next step is I let in the braces into the back linings. That's a process of aligning the back very carefully along its center line and then marking all the brace ends where they go underneath the lining.
Once those are all marked, there's a notch cut out to the exact height of the foot of the base. This further couples the back to the rim mechanically as well as it's also glued on. The back is looking good. Now I'll do the same thing to the top. I'll mark out where to let in the braces and carefully cut them out.
Before the back is glued on, the side braces are put in, and those are put in at the same location as the back braces. On this guitar, there's five side braces on each side. I used Honduran mahogany for the side braces and cut both facets on the sides and the end of each side brace.
The side braces have several purposes. One is to of course stiffen the sides, which has an effect acoustically. It adds a small and probably negligible amount of mass to the sides. I don't really think that's a consideration here. It's more an issue of adding stiffness. The other thing that it does on a single side of the guitar is if a crack does develop somewhere in the side, it tends to run along the grain. And when that crack would hit a side brace, the brace should stop it. So it's a little bit of insurance to keep any side cracks from running the entire perimeter of the guitar.
Gluing the back on
Right before I glue the back on, I am creating a small channel close to the perimeter of the neck block. This channel is going to catch any glue that wants to squeeze out onto the outside of the neck block and the surface of the back. Because once I glue the back on, I'm not going to be able to clean up the squeeze out, so I want to be able to capture it in this channel. I have the rim set altogether and I'm preparing to glue the back on. Now that I've got the blocks in along with the side braces and the solid linings, it now has structure. It's really very rigid. I've kept in this brace right here because I do get a small amount of flex. But everywhere else, it's very solid in the mold. So I don't need to put any other braces in when I glue the plates on.
Voicing the open box
Now we're going to take this out of the mold, take some frequency readings, and do the final voicing of the back. The method that I like to use is a combination of a frequency response of the back. So I tap on the back and I'm looking to get a certain frequency, and I can lower it by shaving the braces. I intentionally come in a little bit higher above the frequency and then I lower the brace height down rather than having to add stiffness to raise the frequency. There's also a lot of voicing of the top and the plates that go on. But it's easier for me to work these back braces now in this state. All right. I could really use just a 10-minute break.
Gluing the top on
At this point, on the inside of the guitar, I'll spray a thin coat of shellac. I'll do this to not only bring out some of the color of the wood, but also to slow down the humidity exchange with the environment. It's always a bit of a milestone in the build to sign the label, put what number guitar it is, and attach it to the inside of the back.
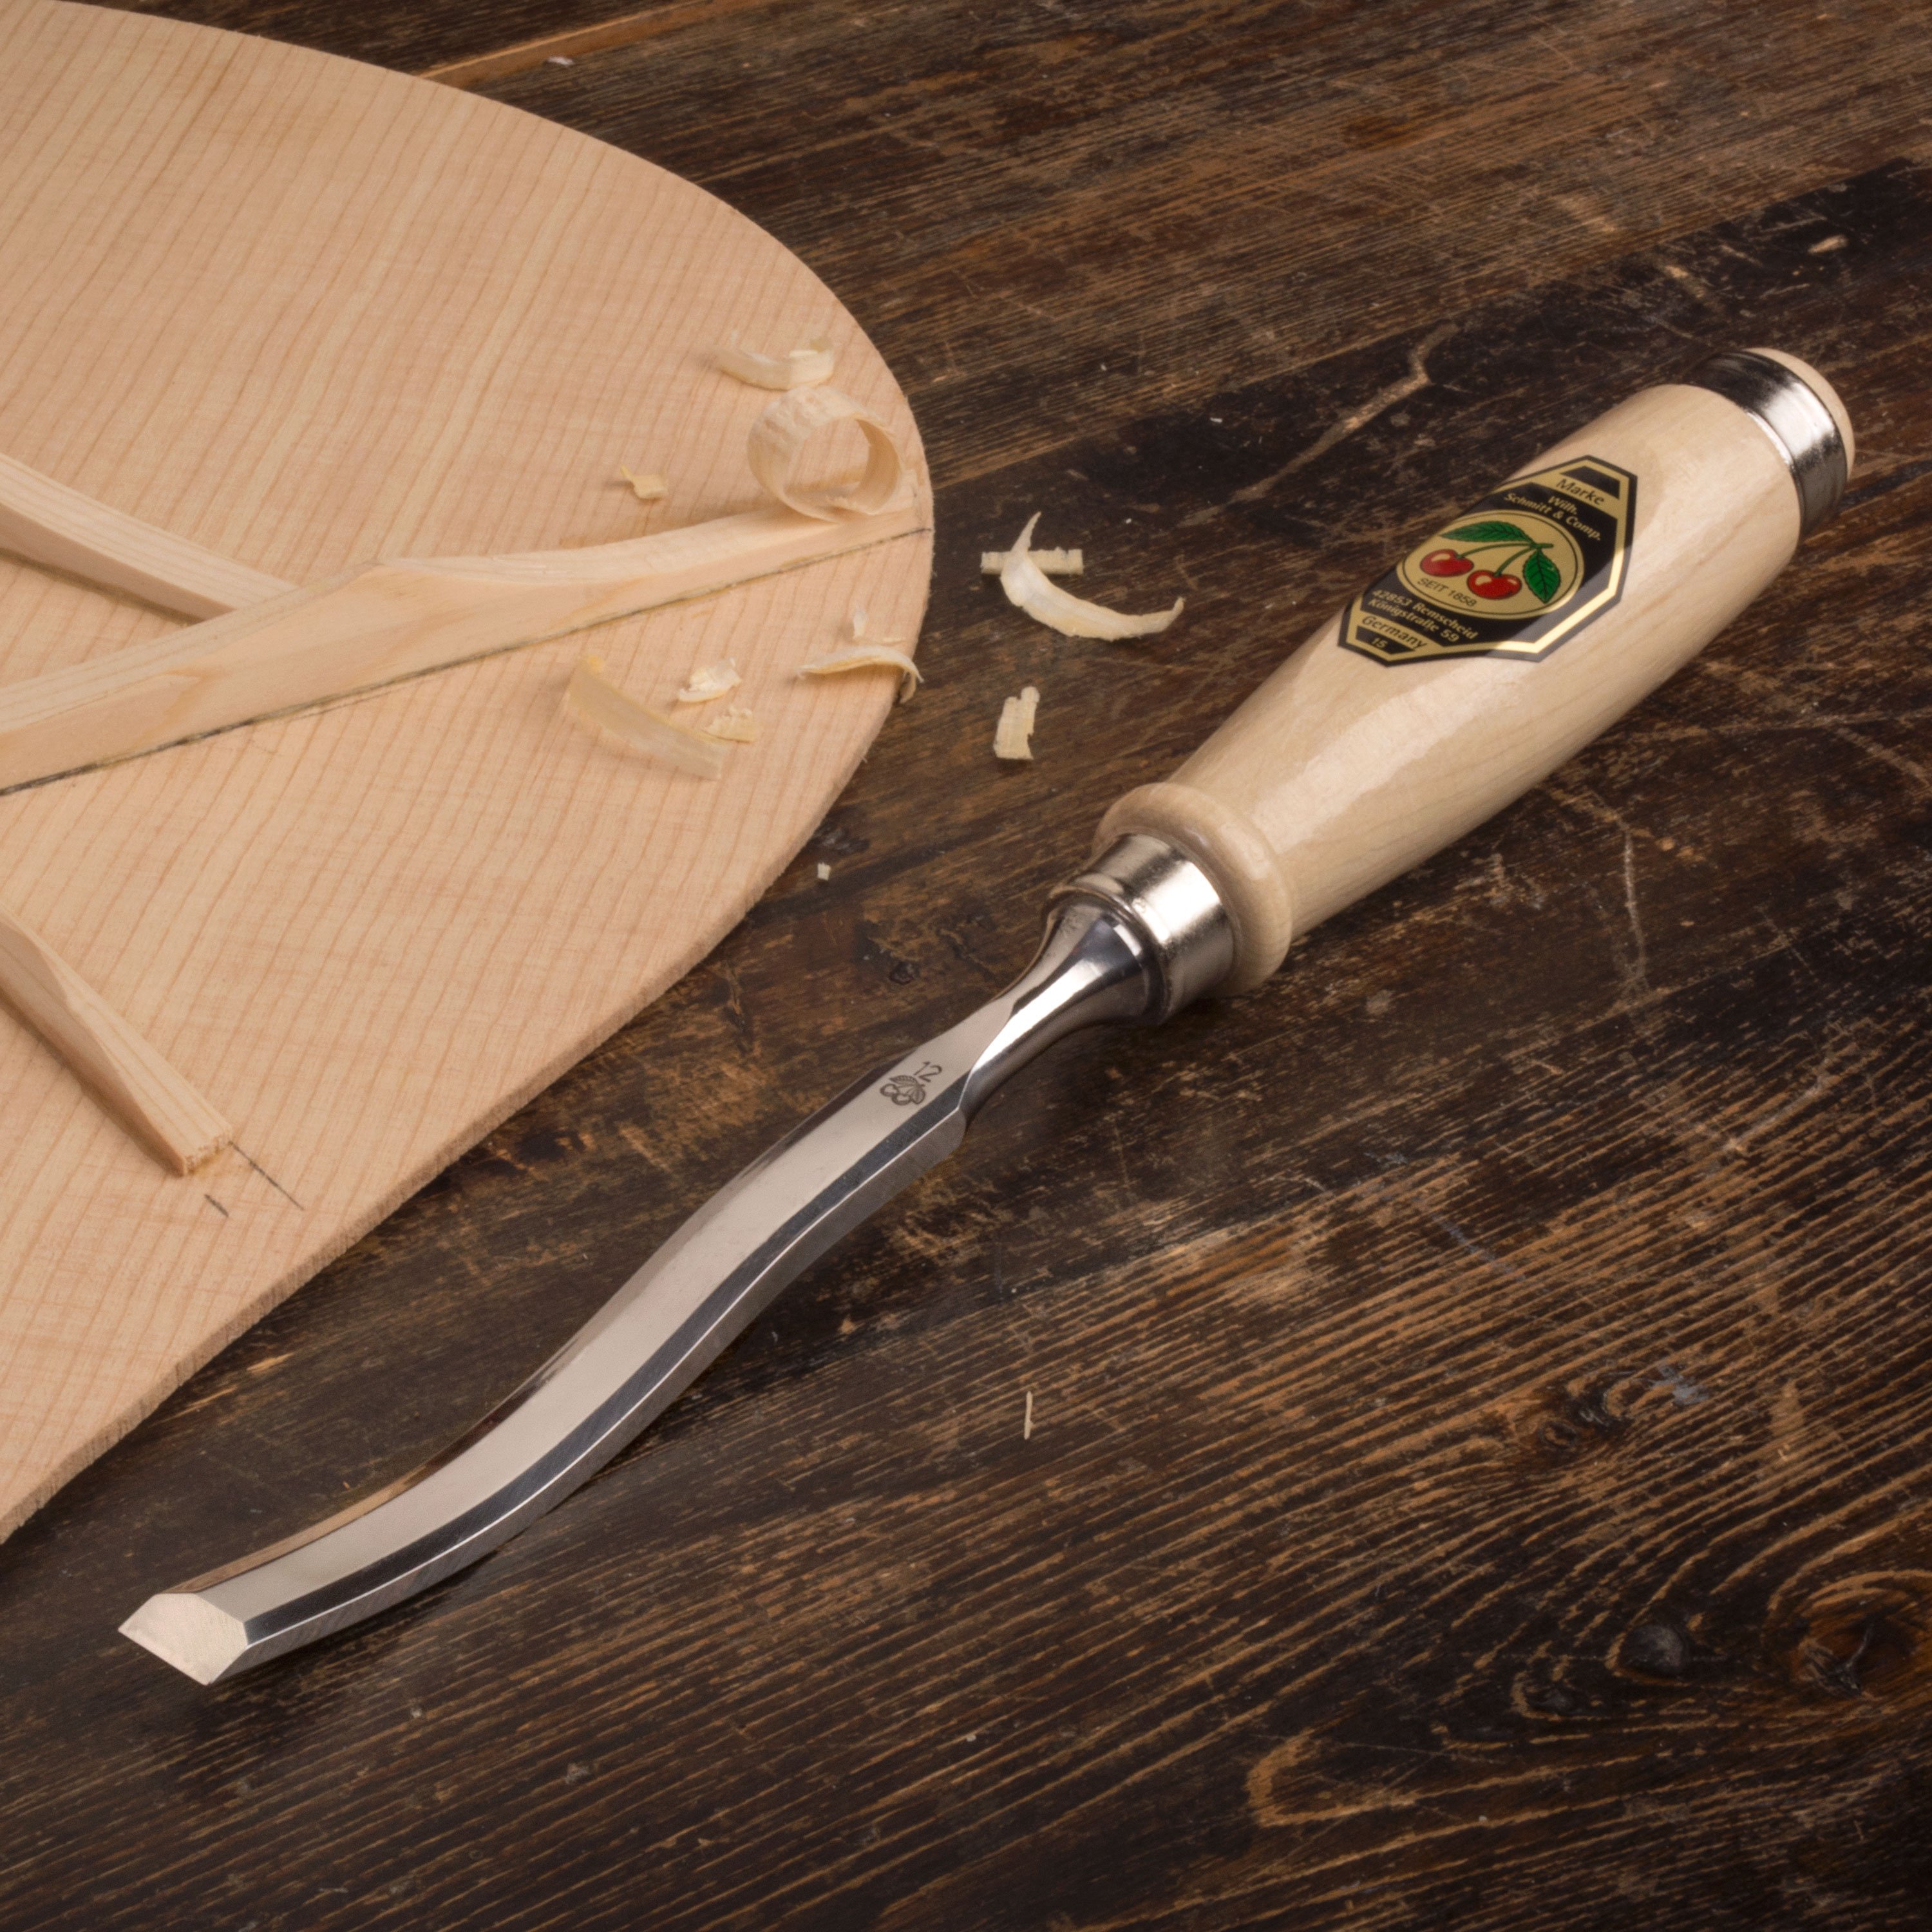
I'm preparing to glue the top on now. I'll carefully mark the outline. Then on the bandsaw, I'll cut to that line. Then once the top is cut out to its final shape, I can do the final shaping of the braces. I'll use a chisel to carefully sculpt some of the brace ends and then also some sanding to get the final brace contours.
Then I will sign and date the top just before I glue it on. As a final step on the top, I will seal around the soundhole with a coat of shellac. When I do the finish rub out on the guitar, I do a wet sanding just in case any water wants to curl underneath on the inside of the soundhole and get on the top. It's better to keep it off any unsealed spruce. So this acts as a little bit of barrier. I'm putting a little groove in these upper spruce braces because I will have the truss rod access through this brace and I just want to provide a little bit of clearance for the truss rod wrench.
At this point, the top can be glued on. It's done in the same fashion as the back. The guitar is still in the mold with one spreader brace. I use Titebond. I don't use hide glue for this operation because it takes a little too much time for hide glue, at least in the way that I do it.
Cleaning up the sides
When the body does come out of the mold, the top and the back are flush routed or just routed inside a bit of the sides. This makes it easier to sand the sides flat. This is something that is necessary both for voicing because the thickness at the sides matter and you want very flat sides before you cut the binding and purfling channels.
I've made these witness lines on the guitar, so as I'm sanding, I can see my progress. I'm going to be using a hard block or a series of flat and curved cauls to get into the waist to achieve this [Michael sands down the sides]. You have to flatten the sides because when they come out of the bender, they're not perfectly flat [Michael uses a straightedge to check how flat the sides are]. They might be a little wavy. And when we route for our binding and purflings, we want a perfectly flat side because the binding cutter index is off at the sides.
Now that I've sanded the sides out, I just want to do a field check with my hands and feel that the curves feel smooth and I'm not feeling any jagged transitions between the waist and the lower bout or the upper bout. And certainly don't want to feel any dips or bumps. This feels good. I think we're ready to move on to the next step.
Voicing the closed box
What I've done is I've taken a frequency response curve of the closed sound box of the guitar. This gives me an initial picture of the main modes and resonances and their frequencies. It gives me sort of a baseline, do I want to make any adjustments at this point? They're easier to make now than once the guitar gets further along.
In addition to doing the frequency response curves on the guitar, I'm also monitoring the thickness of the top. On some of my guitars, the top has a uniform thickness. And on some of my guitars, I vary the thickness in different regions of the top. This tool, which is a magnetic electronic thickness gauge, allows me to measure the thickness of the top precisely in any spot even when the box is closed. This just helps me keep within a comfortable window where I don't want to make the tops too thin. I'm not worried about leaving the top too thick certainly, but there are certain thicknesses that I don't feel comfortable going below for the longevity of the guitar.
Based on the measurements of the thickness at the top and the frequency response curve, I've made a voicing decision that I'm going to thin out the perimeter of this top, probably about two to 5 thousandths. Then I'll take the measurements again and see if I get the effect that I want. So the voicing is much better. A little bit of sanding, a little bit of planing, and I think it's going to be a more optimized guitar for it. Before the binding and purfling is cut, I spray a light coat of sanding sealer on the body. This is really just to help keep the spruce clean and it reduces any adhesion of the glue to the wood and makes things a little bit easier to clean up.
Binding and purfling
I'm getting ready to process the bindings here. These are all shop made bindings. They start out as one thick Indian rosewood board and then I glue veneers onto each side, the top and the bottom. Then they get sliced off into strips. The final two steps are to run these through the thickness sander and then cut these in half and get the final height. The same process is also done with the purflings. But these are already cut up. Guitars don't actually need bindings. It does have a few functions. It does close up the joint, especially all the end grain on the plates.
If the guitar takes its lumps and bumps over the years, then the binding helps protect the corners of the guitar. But there are plenty of great guitars made with no binding. The main function, I think, is actually aesthetic. A guitar maker can use this as kind of a visual signature feature in terms of their layout of binding and purflings. It does help to visually frame in the guitar as well. This Indian Rosewood is very oily. So from the heat and moisture of bending, we have some spots that have colored the maple. But as soon as the binding is installed and we sand and scrape this back, all that maple will clean right up.
I'm now routing for the end graft, which like the bindings isn't really structurally necessary, but it does hide the joint between the two sides where they meet at the tail block. It also gives a nice way to connect the bindings and all the side purflings [Michael applies glue and sets the end graft in, scrapes and sands the end graft area, then uses a chisel to carefully cut the excess wood at the end of the end graft].
I'm now ready to install the binding and purfling. I'm going to start on the top. I have cut a miter in the end of the purfling just off center. And I have prepped the miter on the bottom of the binding to fit or to match the miter on the end graft that we just cut.
[Michael glues and sets the purfling in, tapes down the purfling around the edges of the guitar body, and then runs a heat gun over the purfling]
So this is the binding, this is the purfling. They each have their own channel and it's cut in like a stair step. Without too much pressure, they should just sit nice and tight against the top and the side.
With the end graft installed, I'm now cutting the miters on the side purflings. I'm using the reflection in the back of the chisel to show me exactly what the proper angle is to cut.
[Michael glues in the binding and tapes it down to the guitar body]
Now, the back is a little bit more complicated because I need to miter into the end graft both at the tail block and the neck block. So I've got to do things a little bit differently on the back and I'll be gluing in the purfling separately from the binding.
After the glue is dry on the bindings, all the tape is removed. I use a heat gun to help just release the tape cleanly. Now I'm ready to scrape down the bindings. There's some scraping, there's some sanding involved. This is a really great part in making the guitar because you finally get to see much closer to what the final product's going to look like. When I bent these bindings, as I mentioned earlier, this Indian rosewood is really oily. So there's some resin stains and there's glue and tape residue. All that's going to get cleaned up now and we're going to start to see some of the real beauty of the woods. It's a fun part. It's a special part of guitar making for me.
Then I'll use a pneumatic sander to sand down the binding and purflings to the level of the plates and then I'll clean up the plates using the pneumatic sander. At this point, I can set the body aside and I'm ready to start working on the neck.
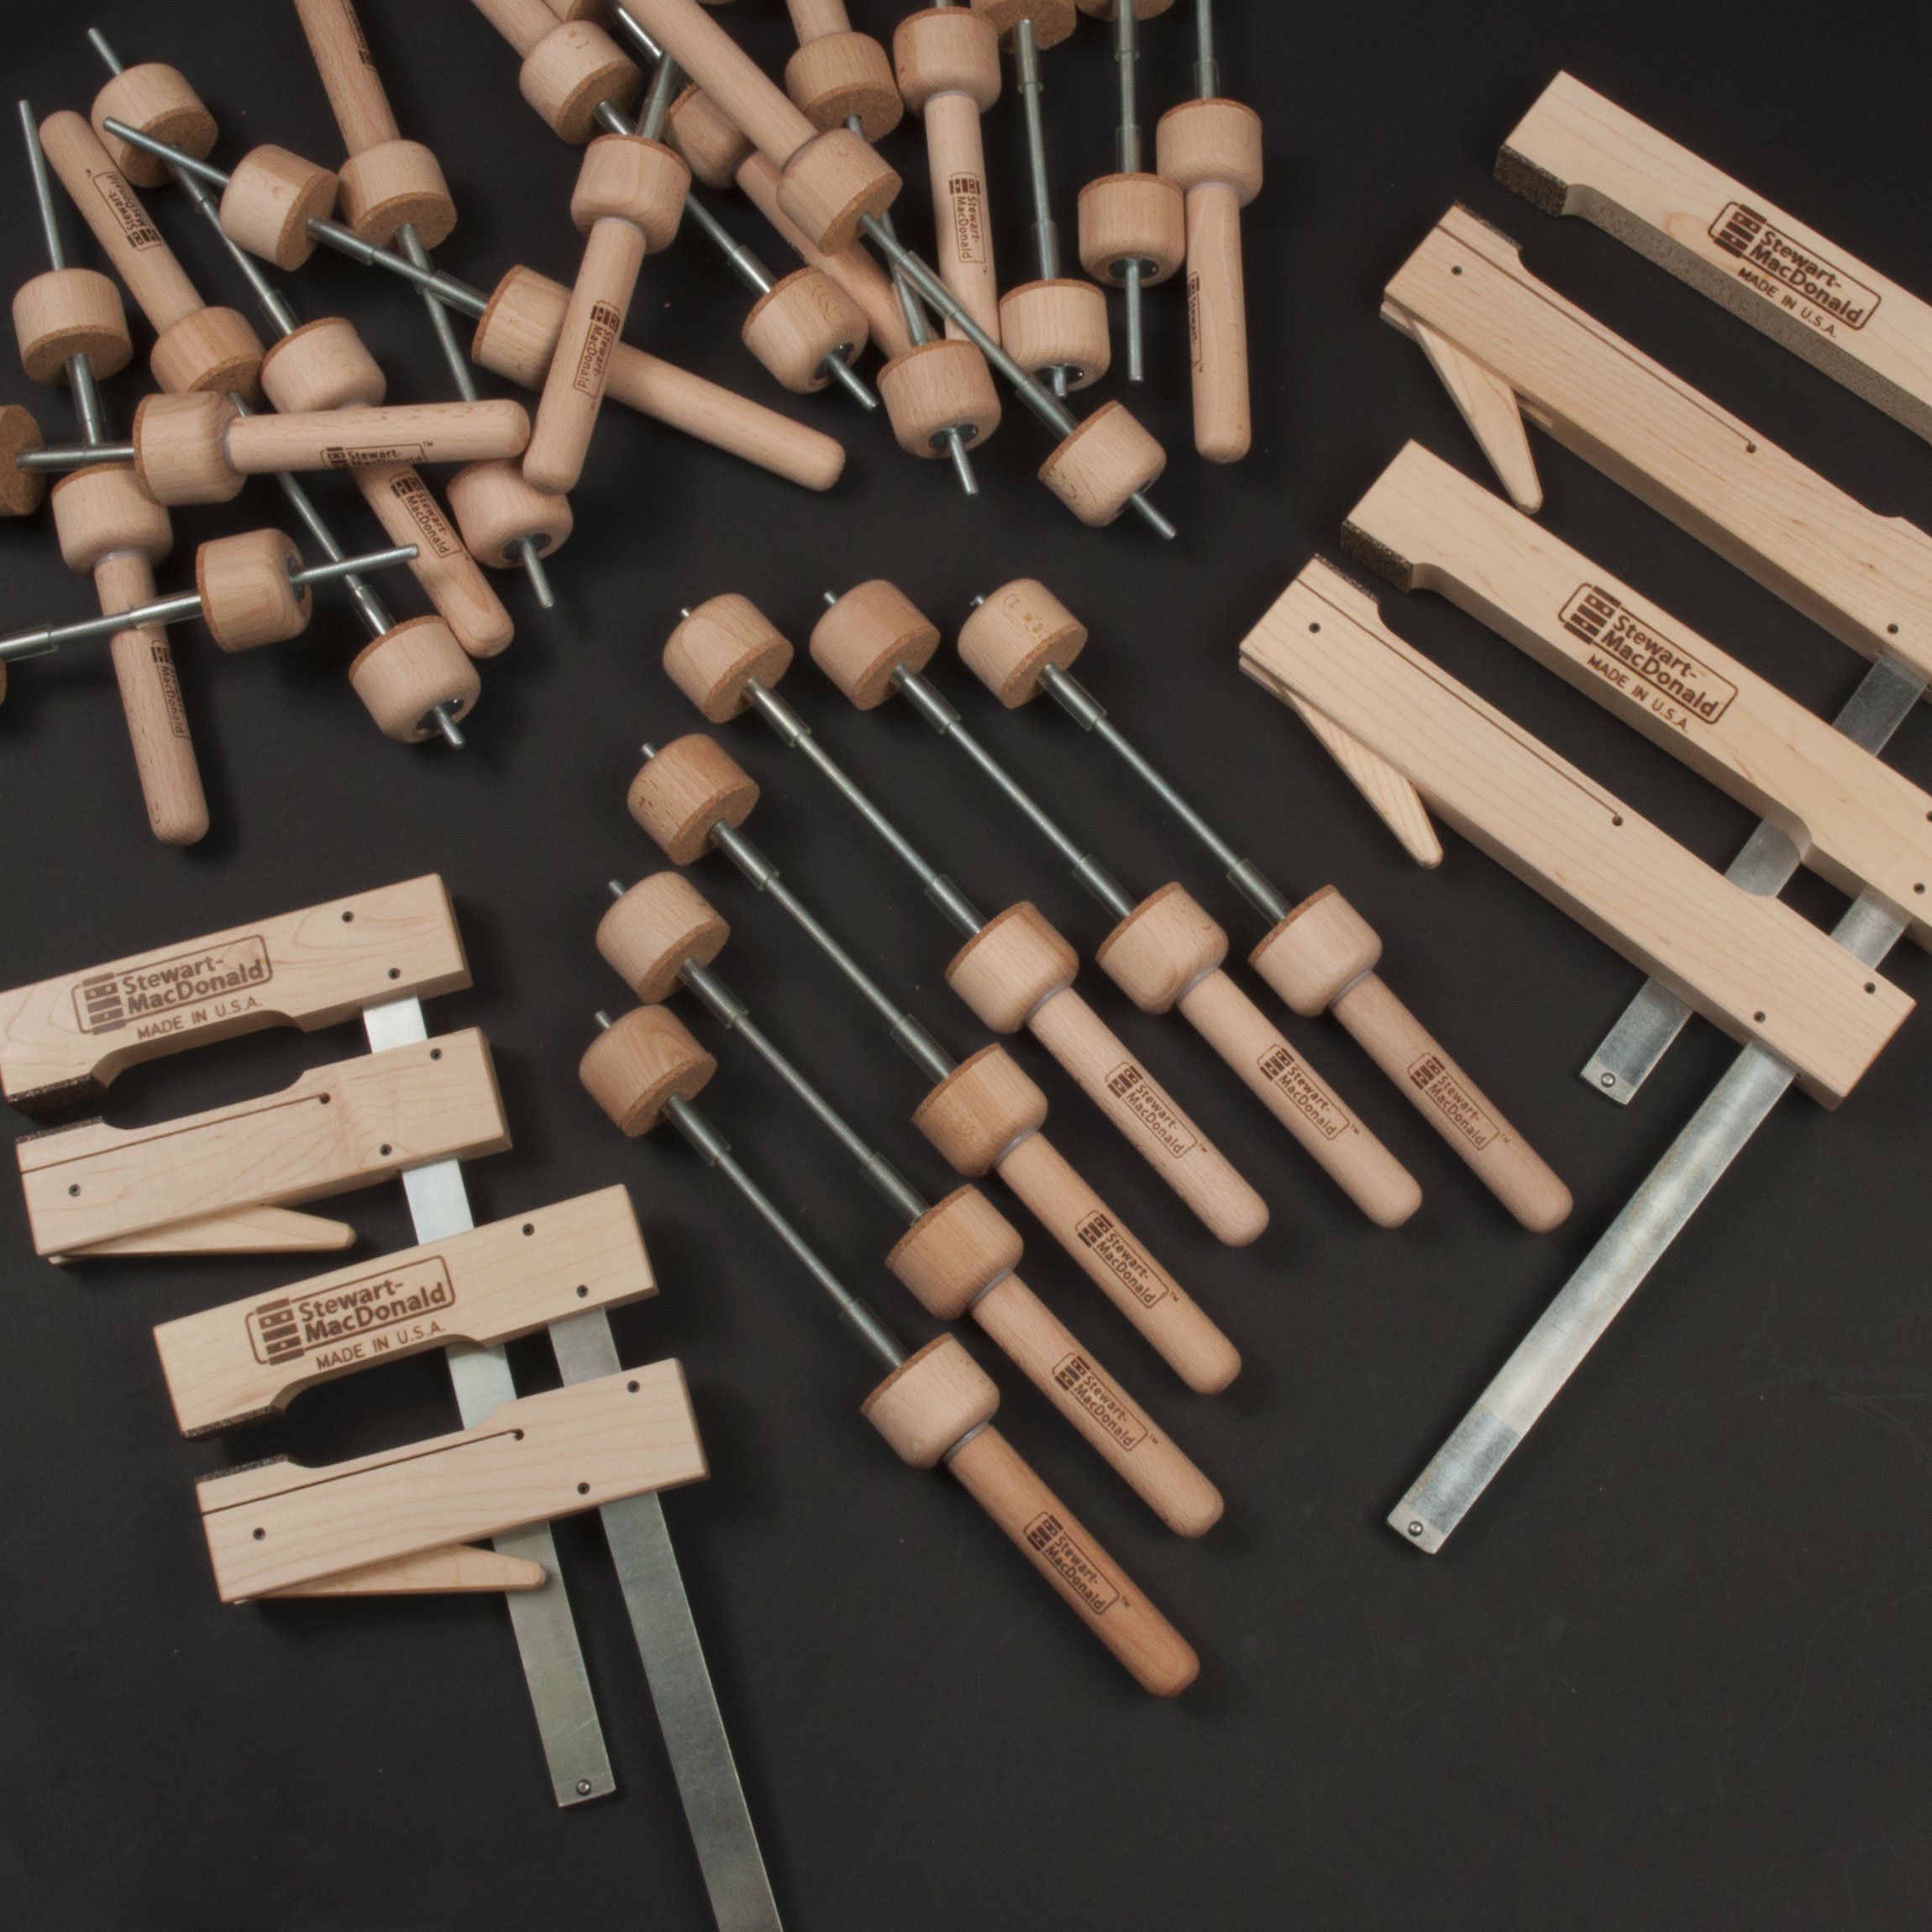
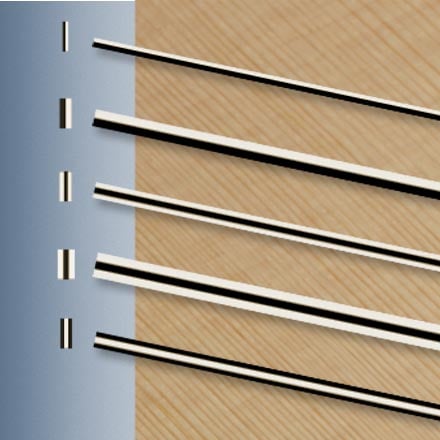
Tools for Binding
Rough carving the neck
Up until about a year and a half ago, I made my necks the traditional way with power and hand tools, but they were essentially hand carved from a series of templates and jigs. Then I switched over to carving my necks on a CNC machine. I still feel like the quality is the same either way. But after 20 years of carving necks by hand, I was ready for a new method.
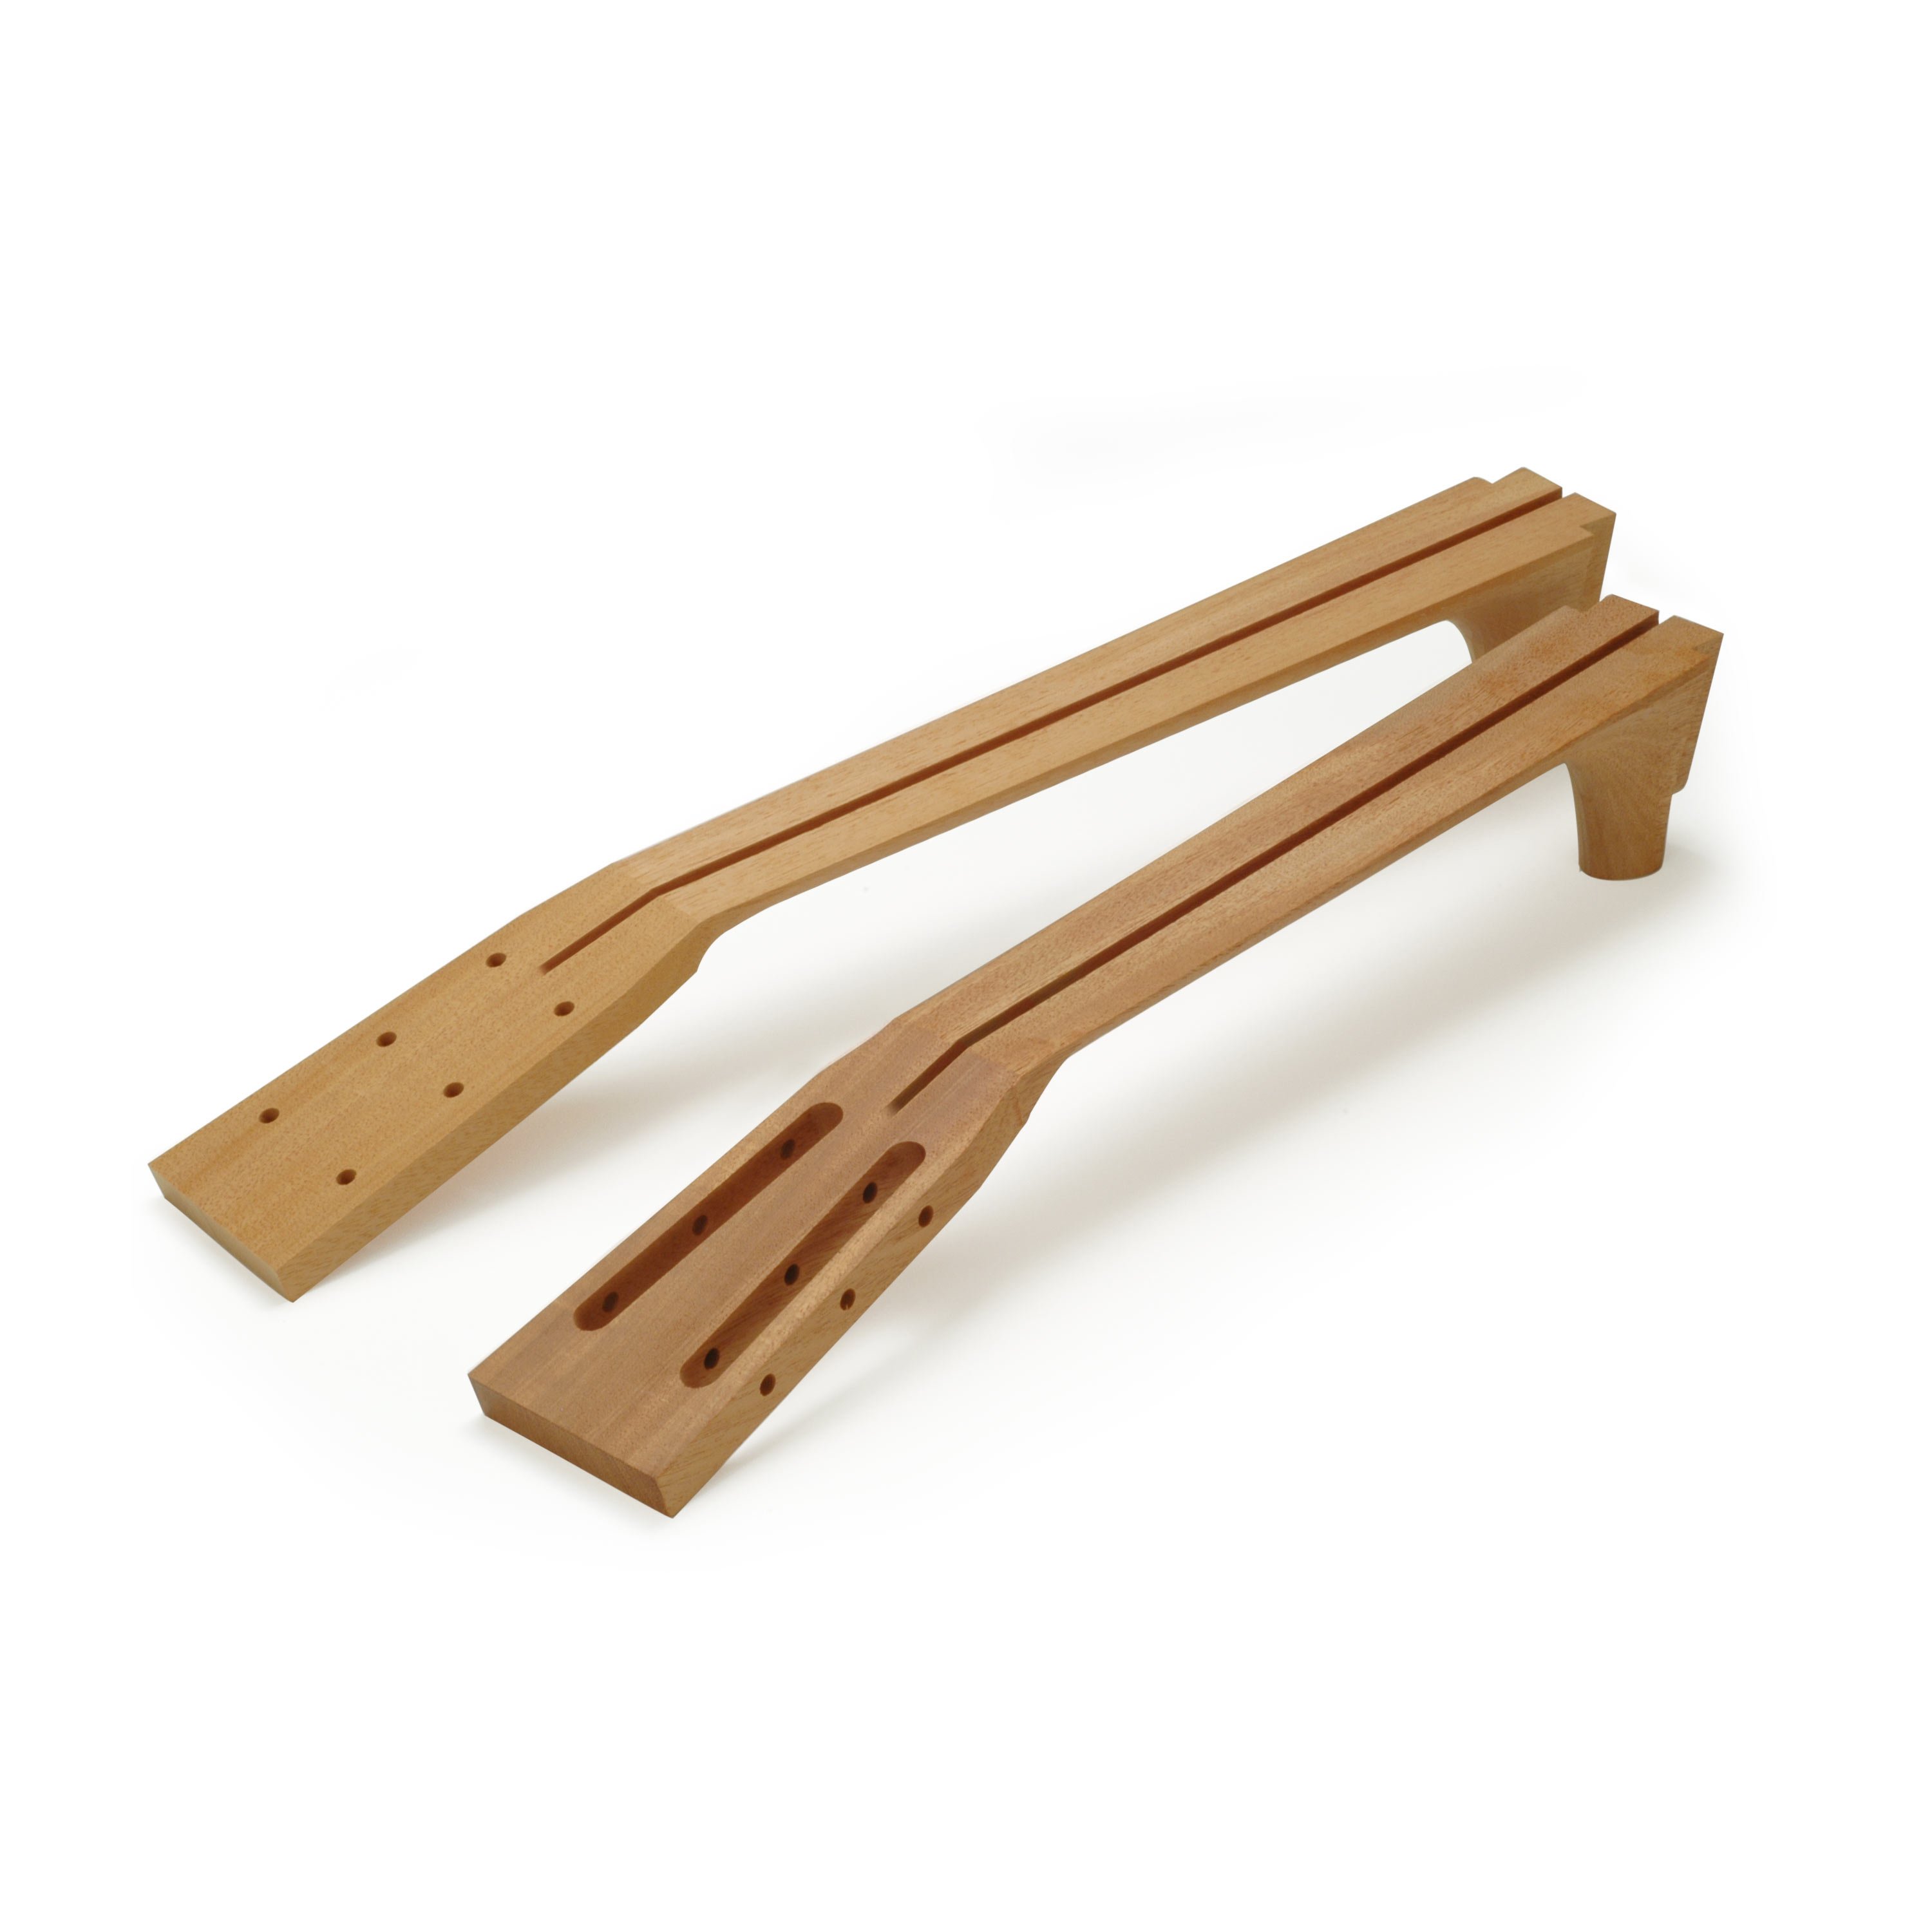
This is how the necks come off the CNC. I'm using a one piece Honduran Mahogany neck. On the CNC, the channel is cut for the truss rod, which is right here in the center. These are two channels for carbon fiber rods and the back of the neck and the heel and the tenon is just roughed out at this point. Now I need to finish carving and processing of the neck [Michael cuts 3 slots into the end of the neck using a band saw].
I'm going to be gluing in these face grain rosewood splines into the slots that I just milled in the tenon. These will add some reinforcement to the neck hardware that we're going to be putting in in the next steps [Michael sets the splines into the slots and drives them down using a fretting hammer].
I am going to be using a hand plane to refine the surface of the face of the headstock after it comes off the saw, which cut the initial angle. Once I have the face of the headstock trued, then I will thin out the back of the headstock to the desired dimension. This is done with a Safe-T-Planer in the drill press. Finally, the volute is shaped using an oscillating spindle sander.
[Michael drills the holes for the neck hardware]
I'm ready to insert the neck hardware that will capture the bolts. This is going to get epoxied into the tenon. These holes will line up with these holes and then the neck bolts will join through the neck block.
I put the bolts in at this point just to make sure that the holes are correctly aligned. This will also keep any epoxy out of the threads. So when the epoxy's dry, then I'll take the bolts out.
The headstock overlay
This is a piece of wood from the board that we got the back and the sides out of. I'm going to use this to cut the face of the overlay on the headstock. So again, we have the constant visual theme of this wood being used throughout different parts of the guitar.
So I'll slice this off a little bit oversize and then take it down to the thickness I want on the wide belt sander.
This is some of the same box elder burl that we used for the rosette. And we're going to use these for additional accent pieces within the headstock. The way I do my headstock overlays is a mixture of CNC and hand work. I've cut out all the parts on the CNC and now there's a lot of hand assembly with sandwiching the pieces.
Now there's a lot of hand assembly with sandwiching the pieces between veneers, some sand shading, and then a final routing. All this is done slightly oversized because the assembly doesn't go together quite perfectly, so it gets assembled and then routed down to its final shape. Similar to the rosette, the headstock is also what I consider to be a visual signature for a guitar maker, it's almost like a logo in and of itself, just based on the shape of the headstock, forget any colors or woods used, headstock shapes can vary wildly and there's certainly some considerations. You don't want to get too wild. You need to think about the weight and the angle of the strings after they come off the nut, but other than that, you know, you can pretty much do any shape that you want. There's lots of options in terms of whether you want to do three tuners on a side or six in line.
[Michael glues in and manually sets the inlays into the headstock]
Even a slotted headstock or a solid headstock like I've done on this guitar. It really gives the guitar maker an opportunity to show their personality whether they want to put their name right across the top of the headstock in pearl or abalone or they have a particular logo. There's really no hard and fast rules here, and it's a very fun part of the guitar to use as an identifier.
For my own headstock designs, I've basically always stayed with a tapered headstock or I think what some people refer to as a snakehead headstock, but what's really changed over the years is some of the geometry of it, so the amount of taper, the length, et cetera. These are incremental changes, but I feel like my headstocks have gotten more refined and better over the years, but the basic shape has not changed.
Right from the start, I've never put my name on the headstock that goes into my personal philosophy, not that it's right or wrong of not putting my name on the guitar. I want somebody to be able to look at the guitar and know by the design features that it's one of my guitars. I use a little semicircular purfling line at the top and between that and the shape, even if I have nothing else on the headstock, people know that it's mine. Over the years I have done a lot of marquetry type wooden overlay designs and that's something that I really prefer. Pearl and abalone certainly look beautiful on the guitar, but it is not really my aesthetic. I prefer to concentrate just on the natural beauty of the wood and all the different colors and textures that you have to work with.
Before I was a guitar maker, I had a totally different relationship with wood in that I studied forestry and worked professionally in the field for a while. I was mostly doing kind of academic research on how trees grow in different soils and how the soils affect the trees and looking at carbon cycling and soils under different growth regimes for trees and also how climate change can potentially affect how much carbon trees put into the soil.
So I was very fortunate to work in a lot of different forest types, both in temperate forests and tropical forests and a lot of the woods that I use in my guitars, I've actually been to where these trees grow and so I feel like I have a deep appreciation and connection to not only the wood but the trees themselves.
For the back of the headstock, again, I'm using a piece of Pau Ferro and that's thinned out to about 50 thousandths of an inch and then heat bent on a pipe so that it follows the volute that was created on the oscillating spindle sander.
Installing the truss rod and fingerboard
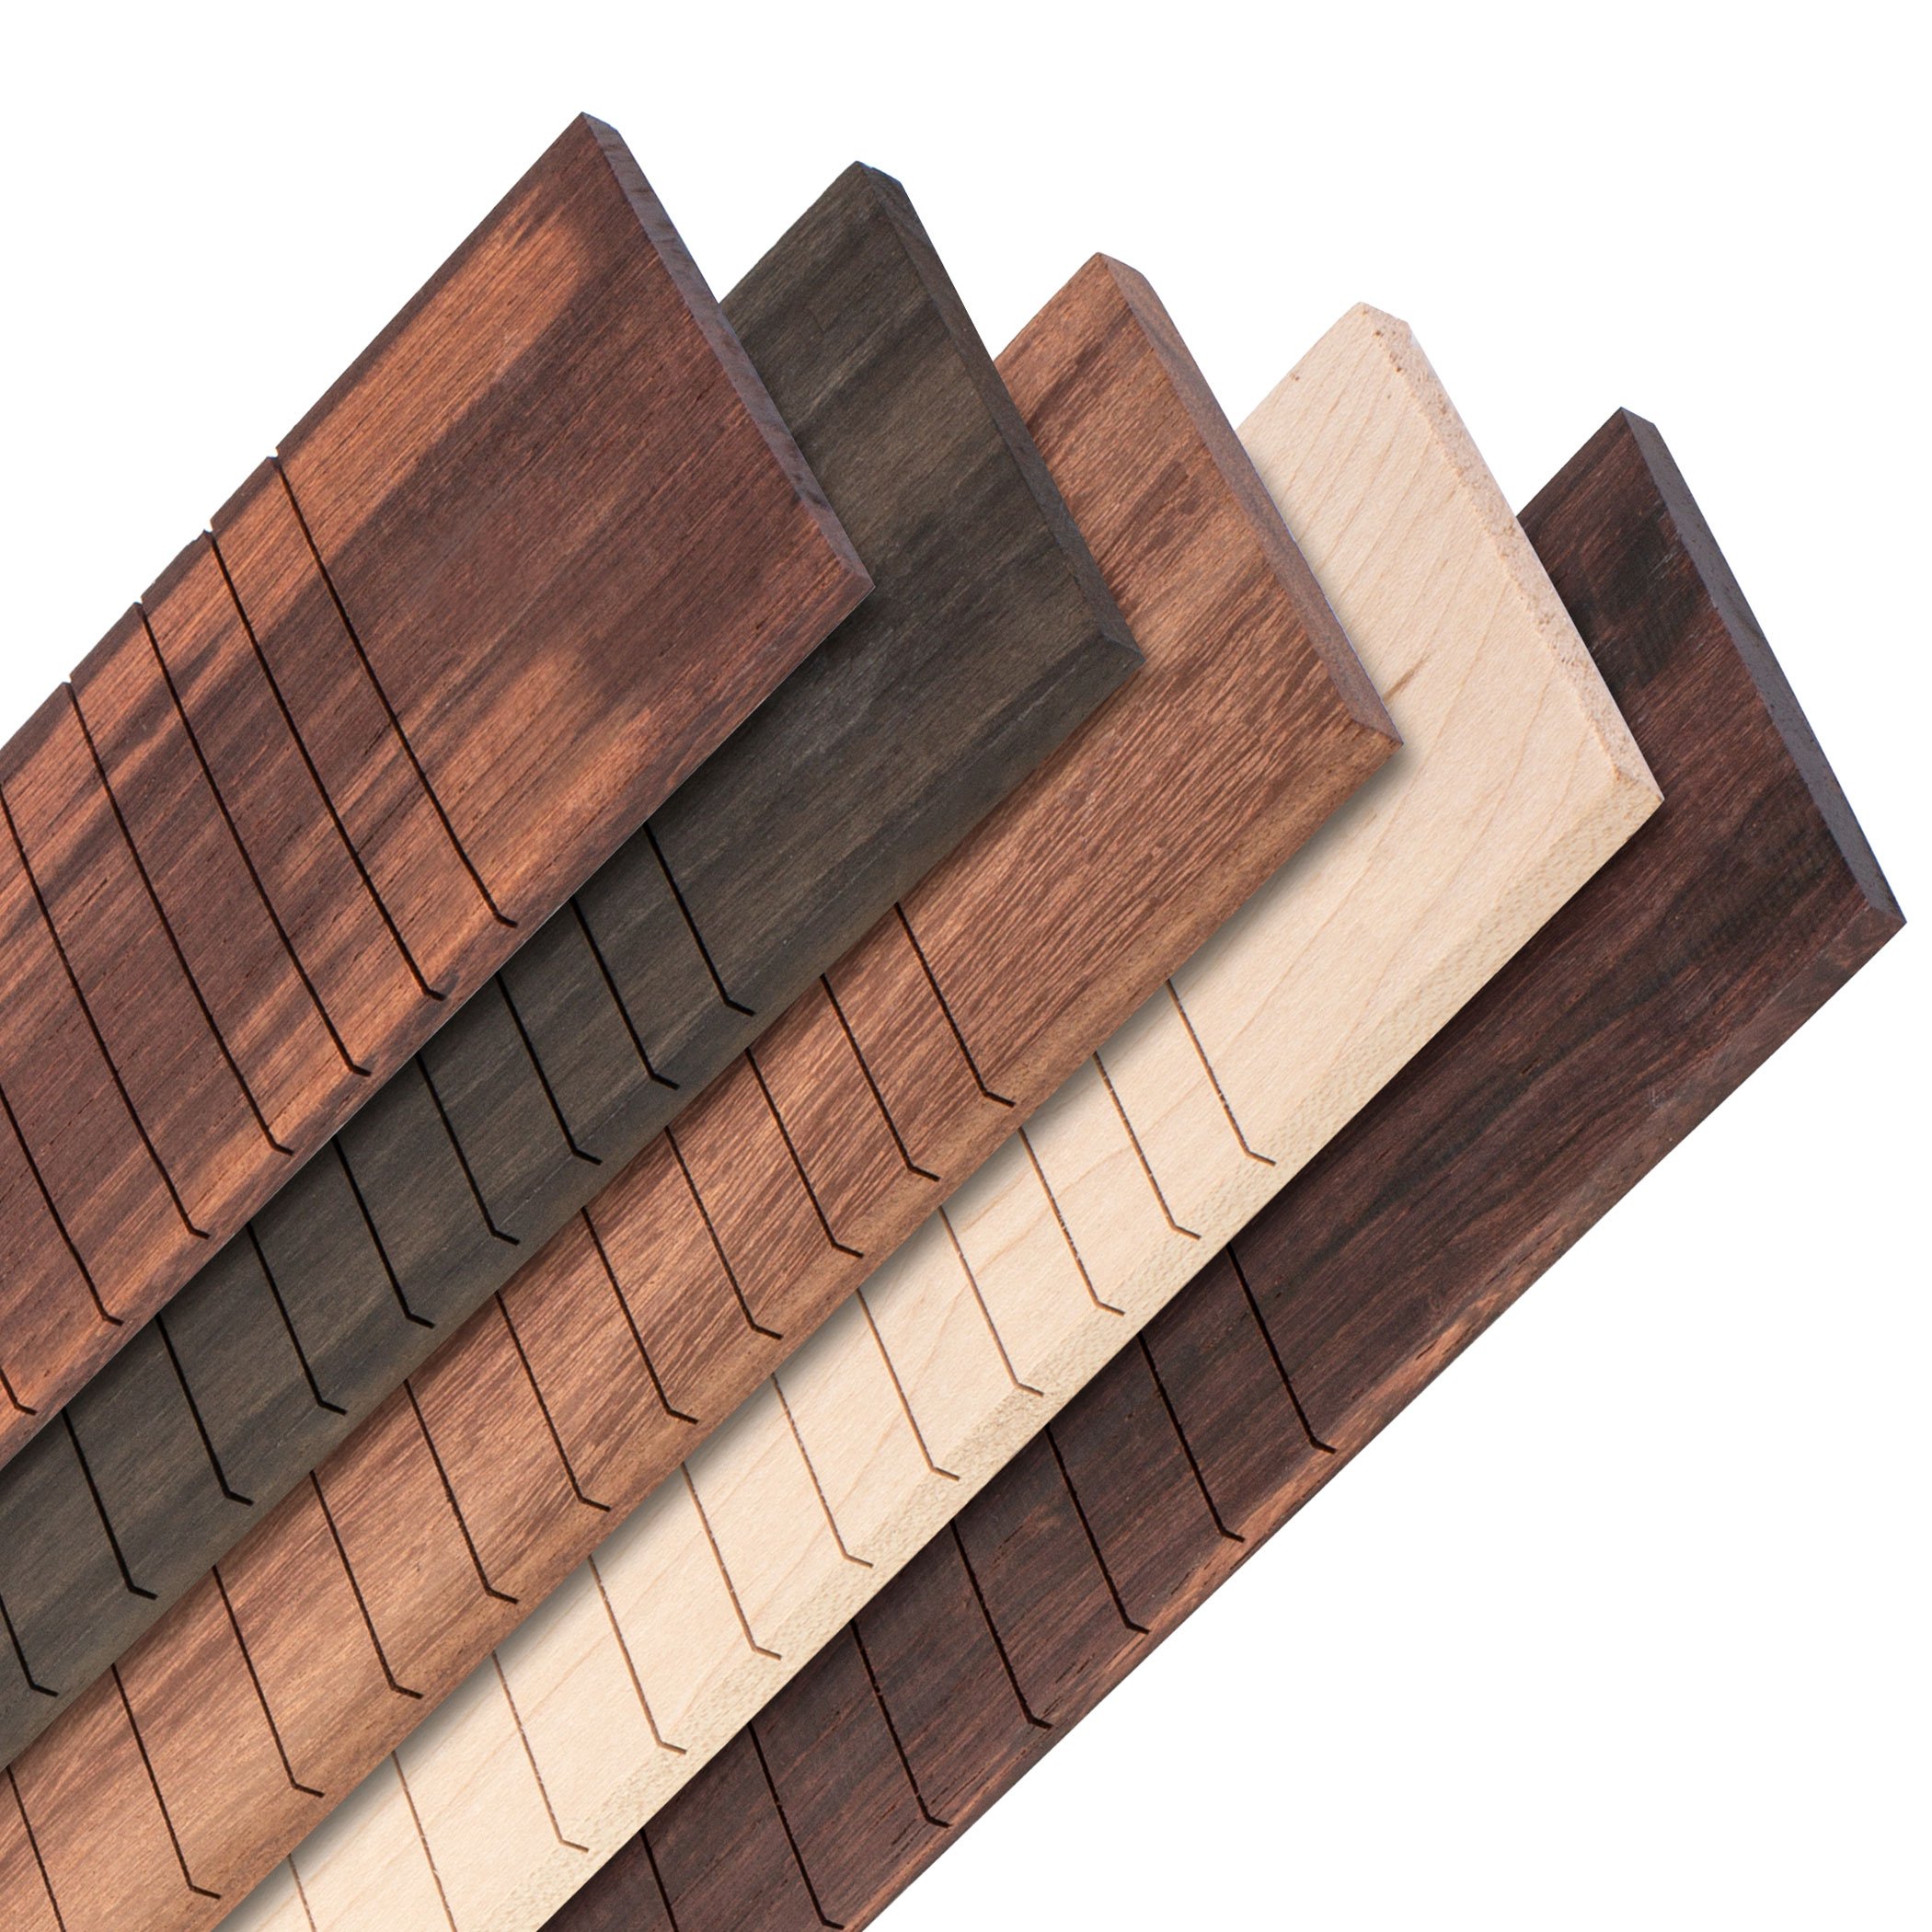
Similar to the neck, I use the CNC to cut my fingerboards as well and they come off the machine looking like this with the compound radius already milled in and the fret slots are cut, the slots for the fret markers are cut as well.
[Michael sets the fingerboard on the neck and attaches it with clamps and drills holes for the hardware into the headstock]
I am ready to install the truss rod now and I use a dual action truss rod, which means I can both add relief to the neck and take relief out of the neck [Michael uses a syringe to inject glue into the truss rod channel, presses the truss rod in]. Since my guitars often end up in far away places and different climates, I prefer to prepare for all possibilities by using the double action rod.
[Michael brushes glue over the top of the truss rod and presses the filler strip into the channel over the top of the truss rod]
After the glue dries, this filler strip will get leveled with the surface of the neck.
Before I glue the fingerboard on, I am going to put in the fingerboard inlays and my fingerboard markers serves as both a side dot and a face dot at the same time. It's a piece of Pernambuco that's wrapped in a white veneer both on the sides and on the bottom side.
[Michael sets the inlays into the fingerboard, cuts the excess off with a Fret Saw, then files them down until they are flush with the fingerboard]
I am using epoxy to glue in the carbon fiber rods that are installed into the neck. I have to take my time seating these because there's a lot of epoxy underneath that I want to get out from the bottom, which you can see here. And I use the same epoxy to glue on the fingerboard as well because it's a non-water based glue and this way I can avoid adding moisture into the neck [Michael sets the fingerboard onto the neck and clamps it down].
As I apply my first clamp, I just want to make sure I'm not getting any movement either away or towards the nut. This really only needs light and even clamping pressure and over clamping this joint could be counterproductive in terms of introducing some distortions into the neck or some tension. I'll clean up a little squeeze out and we're good to go.
Fine tuning the neck
The fingerboard is clamped overnight and once those clamps are removed, then I'm ready to start carving the rest of the neck. I usually start over on the band saw and I trim off the excess around the headstock and then I'll refine all of these on the oscillating spindle sander. Using the spindle sander helps keep the sides perpendicular to the face of the headstock. From there it's quite a bit of hand tool work, so I'll use a block plane to true up the sides of the headstock and I'll keep checking it with a square to make sure that I'm staying at 90 degrees.
The shape of the neck or the cross section of the neck is really critical in terms of how the guitar is going to feel and play [Michael uses a file and a scraper to shape the neck]. Now neck shapes are like opinions. There is no right or wrong answer, it's just very subjective. What feels really good to one player is going to feel just like an anathema to another player. But there's some general guidelines which you can certainly stick to. Going too thin is actually uncomfortable in the hand as is going too thick. For a new guitar maker, I think they tend to make kind of chunky necks because they're afraid that they're going to carve a neck too thin. But with a dial caliper, that's certainly something you can easily monitor.
Now the actual geometry of the cross section of the neck, whether it's C shape, D shape, or more of like a vintage V-shape, that's where you can get a lot of different opinions about it. For my guitars, I do have a standard profile, which is kind of a soft V shape, but I also work with my customers. If they have a guitar and they love a C shape, then I will make a template of that and then carve the back of the neck to their preference [Michael uses a chisel and a scraper blade to shape the neck then sands down the back of the neck using sandpaper].
So these holes were drilled in the approximate location of the tuner holes but not the exact location. These are really just to index off of the jig when we routed out the inside of the headstock. So I'm going to fill these holes now [Michael hammers wood pegs into the indexing holes in the headstock, then uses a chisel to cut them flush], sand out the face of the headstock, get all the final dimensions, and then we'll precisely locate the center of the tuning machines. For the tuners that I use, it's a half inch in from the edge of the headstock. Let's drill these out.
To drill out the tuners, I start with a quarter inch Brad point bit followed up by a countersink that will expand the hole for the ferrules that go with the tuning machines that I'm going to be using on this guitar.
Setting the neck angle
I've used this jig to cut the mortis for the neck tenon, and at the same time I've cut the truss rod access through the neck block. So we're at the point now where the body is done, the neck is very close and we are getting ready to join the body and the neck for the first time. Some placeholder frets have been put in the neck and I will attach just a placeholder bridge which allows me to set the neck. I have to add the pitch to the neck so the saddle height and the string height will be in the correct positions and I need to make a slight adjustment on the yaw. In order to do those things, I am going to be carving away at the cheeks of the heel right here, and I'm going to do a little relief carving first. So I'm going to be carving away this material on the inside of the cheeks.
So I'm about done setting the pitch and the yaw of the neck and the pitch, also known as the neck set is how much the neck is tilted either forward or back. And the yaw is the side to side and it's all relative to the bridge and having a proper saddle height. And I've made these adjustments by using a technique called flossing with sandpaper, which pulls the sandpaper between the neck and the body, and that sets the pitch in order to keep tab on things and follow the progress with some slight pressure here, the neck pressed against the body, I'm taking a straightedge and it's sitting on two placeholder frets and I'm projecting it right above the front of the bridge. On my guitar, I want to see a little gap there of about a 32nd of an inch. It's not the same on every guitar.
I just know my guitars and how much the tops pull up and how much they settle in. Setting the pitch and the yaw of the neck is one of the more difficult tasks for a new guitar maker to master, but it really just takes experience and some determination, but it's definitely an important part of guitar making that should not be overlooked. I'm reaching into the soundhole to install the neck bolts. And this is another milestone in the construction of the guitar as this is the first time that the neck is now mated to the body.
Fitting the neck to the body
And now that I know the final position of the neck on the guitar, I'm going to mark the intersection where the fingerboard meets the top ring of the rosette and I can carve the facets in the end of the fingerboard [Michael saws the corners off of the end of the fingerboard, shapes it with a file then sands it down].
The heel cap is mostly aesthetic, but it also does hide the bottom of the mahogany neck because really only the cheeks or the outside of the heel is what's contacting the guitar. The heel cap is cut so that it will match the purfling line, the maple that's coming around the side of the guitar, so it needs to be cut pretty precisely so it'll exactly line up. So it looks like it's a continuous purfling line. Once the surface is cut, then I'll glue on the maple veneer that's made with the same exact maple that I use to make the side purling and an Indian rosewood cap on top of that that matches the Indian rosewood that's used for the bindings. Once the heel cap is dried, then I carve it down with some sanding blocks, hand plane, couple different knives, and then it goes back onto the guitar where the final fitting is done by flossing with sandpaper and hopefully the purfling lines just match up just right.
And at this point I will have also carved the facets on the end of the fingerboard, which match up to the top side of the rosette purflings. And then I'll take the neck off and I will then round over all the bindings. I usually start with a scraper and just remove that 90 degree edge and then I'll follow that up with a wood file. And then finally I'll use a fairly soft caul that'll bend into a curve and I will sand all the edges of the bindings, both on the top and the back of the guitar.
Final sanding
No sharp edges, it should feel pretty smooth to the touch. At this point, most of the woodworking is done on the guitar. Then it goes into a phase of what I call final sanding. Everything has gone over with a fine tooth comb. All the surfaces are carefully examined and sanded to 220-grit. The neck is re-sanded again, I will wipe mineral spirits all over the guitar and look at it under bright lights to look for any stray sanding scratches, any tool marks, anything that I want to get out now before I start putting in the finish. So some of this is done with power sanding and some of this is done by hand sanding.
There's some areas of the body that I will only hand sand like from the top of the rosette up to where the neck is because I really want to keep this area flat and be careful not to round over these binding edges because this is a junction right of where the neck sits. Another area that I will hand sand because it's really important to keep absolutely flat is right here where the neck is. So this is a hard block and this will not round over the corners at all.
[Michael attaches the neck to the body of the guitar]
Pore filling
And now with the guitar built and sanded, we are ready to start the finishing process. Guitar finishing in and of itself is its own art form. It's a new set of skills, and in fact, there are people who only finish guitars. That's how they make their living. Some guitar makers choose to send their guitars out for finishing. I like to do mine in house and I've used a variety of different finishes over the years. There's lots of options for different types of finishes.
They all have their pros and cons, but the common denominator with all the finishes is that you want them to both beautify and protect the guitar. An important step is to tape off all the surfaces that you don't want any finish. In this case, it's where the nut is going to go, the surface of the fingerboard, the underside of the fingerboard here and the neck joint.
And then on the body of the guitar, I have the bridge area masked off as well as where the fingerboard's going to go. I use a precision masking tape to do this, which does a good job of keeping any finish out and from any finish seeping under the tape. For starting the finish on the neck of the guitar, I treat that a little differently from the body I first put on a sealer coat, and what a sealer coat is it just acts as a barrier coat. So you can apply, say color, and it's not going to get into the wood itself. It's actually going to sit on top of the wood. So I apply a sealer coat and this can either be sprayed or rubbed on. In this case I sprayed it on the neck. For the body of the guitar, the first step in finishing is really careful wood preparation.
So everything is sanded out to somewhere between 220 and 320 is usually just fine, but at this stage, really all the wood preparation needs to be perfect. So no dents, no dings, no scratches, no dirt, oils, nothing. You want a perfect surface to work from. Once I achieve that on my bodies, I apply the first coat of pore filler on this guitar. I'm using a clear two-part epoxy. It's essentially squeegee it on with a razor blade. Most of the epoxy is taken off the surface, so there's a very, very thin film on the surface and the bulk of the epoxy is residing down in the pores. When you have a guitar that has an open-pored wood, you need to do some kind of pour filling to achieve a flat finish. You don't have to achieve a flat finish. It's just what people are used to seeing on acoustic guitars. On this particular guitar, the back and sides are what's known as a closed-pore wood, so it doesn't have any pores that I really need to fill.
It has a lot of very small pores, which I could probably just fill with the finish. But the binding is Indian rosewood and that has very large pores. So I'm paying extra special attention to the binding and making sure I get a good coat of pore filler on these edges. I use epoxy to pore fill the back inside of the guitar because I really want to protect these purfling lines that I make out of maple. And you can see they're very fine. If there's any little bits of unevenness in the surface of the maple, it would pick up color from a dark paste oil filler, and so the epoxy keeps everything really clean and bright and crisp on the guitar. And the dark pore filler, which I use on the neck is on mahogany, and I don't have any purfling lines on the neck except for the headstock, so I prefer to use the dark pour filler for that.
So I'm going to start pore filling on the face of the headstock, and this doesn't need very much pore filling because I've already done some poor filling with epoxy. So all of the fine white purfling lines are well protected and I'm going to rub on the pore filler in a circular motion. Some people just like to go straight across the grain, but either way works. Once the headstock is done, then I'll move on to the mahogany portions of the neck, including the end grain, and really try and force the pore filler down into the pores. Then once the pore filler starts to flash off, it'll have a dull appearance and it's time to wipe all the pore filler off of the surface. So only what remains is in the pores and it should be kind of hard to wipe off again because it's starting to dry and you want to make sure not to leave any on the surface because this can cause some unsightly finish problems down the road.
So the pore filler is only in the pores and no longer on the surface. Paste pore filler really highlights or accentuates the grain rather than blending it in, it brings it out. Once the pore filler has dried overnight, you can either move on with the finishing process or you can apply a second coat of pore filler. This mahogany is fairly deep grained open pore, so I'm going to apply a second coat. Before I do that, I just want to scuff sand the surface and make sure that I don't have any filler that's on the surface of the wood. It all has to be down into the pores. And at this stage, while I'm scuff sanding, I want to be careful not to go through the sealer coat. That might cause a little bit of a color shift in the wood in the final finished product. So I want to make sure and avoid that. So I'm just lightly scuff sanding.
[Michael applies and rubs the pore filler into the wood]
This is the first coat of epoxy pore fill and I'm inspecting to see whether it needs a second coat or not. Again, the backside wood is a closed pore wood, so that's probably fine. I'm really more concerned with the binding areas, which is an open-pored Indian rosewood. And I'm really looking for any pores that are really showing, like the epoxy is really sunk in. It's going to need a second coat, but I'm not seeing any and an area where you can usually really see it, if there's going to be any sinkings here in the end graft.
The streaks on the surface are just from the application of the epoxy pore fill, and all of those will get sort of scuff sanded before the final coat of sealer and everything's really level, so it really just needs a light scuff. I think we're good with the pore filling on the body, and I'm actually going to try and leave a thin coat of epoxy just on the surface, and so it's a little different procedure than we went through with the neck. If I do have any little lumps or ridges of epoxy, I do want to flatten those out, so I'll use a scraper or a hard block to get those out now.
So the top gets treated differently from the back and sides. It has no sealer, no pore fill on it, and at this point it's still just raw wood. One of the things that I did was I took my glove and I was carefully putting down epoxy pore fill right on the binding and even on the purfling, so I want to make sure there's no ridge here of epoxy. And then I'm going to do a final scuff sand at the top with 320, and then this will get a sealer coat prior to applying the lacquer. Then the final step is going to just sand this curved part of the binding edge with a softer call and make sure that this is all smooth and there's no shiny spots left on it. Now sometimes you can feel what you can't see, so I'm going to run my fingers all around the binding just to feel for any little bumps or anything that I might have missed.
Sealer and Lacquer
I'm in the final preparations for getting this guitar into the spray booth, and I don't want any finish to get inside the guitar, so I'm going to put in a soundhole plug to protect this area. This soundhole protector is just a lid from an iced coffee. It's very nice that it's actually just the right size because I want to spray this vertical edge of the soundhole, which is bound in rosewood, and I wanted the lacquer to actually be able to get this bottom ledge. This lid is just outside of that area so I can spray it and I won't have a problem when I remove this, I'll still get a nice lacquer line.
[Michael mixes the lacquer]
Then at that stage I apply a coat of sealer over the entire body of the guitar. Now I do this a little differently in that I don't spray the sealer on, I wipe it on just with a paper towel and kind of use a French polish. I find that the epoxy not only pore fills, but it also acts as a sealer on itself. So I really only need a very thin coat of sealer, and on the top of the guitar, I only want a very thin coat of sealer just on the surface. I find that when I apply it by hand using this method, it doesn't raise the grain as much and I could get a whole lot less sealer on the guitar.
The guitar is now ready for its first coats of lacquer. Depending on the time of year, I may thin out the lacquer either with lacquer thinner or some acetone. In some cases I may add something to actually slow down the evaporation of the lacquer. It's also known as lacquer retarder or butyl cellosolve. But one of the nice things about lacquer is you can sort of control the chemistry for whatever your spraying conditions are. The first day I'll spray four coats of lacquer and I will double coat the edges, meaning around the binding edges on the guitar. Those tend to need a little bit more lacquer, especially on the first day. I'm spraying fairly heavy. Keep in mind that lacquer is only about 20% solids, so most of what I'm spraying on the guitar is actually evaporating off. It doesn't remain on the guitar. I'll spray four coats about an hour apart and then that needs to sit a minimum overnight. With lacquer, the spraying schedule's pretty flexible, so it doesn't necessarily matter.
What does matter is that it needs to be sanded back flat. In general, I'll start with 400-grit, and this not only flattens the lacquer, but it also opens up the surface to let some more solvents evaporate because you do want to allow the lacquer essentially a chance to breathe and blow off those solvents.
I just sanded the body with 320-grit, and it might seem a little counterproductive in that it looked like I was taking off a lot of finish, and in some ways I was. But really the goal here is just to have a very thin, flat layer of nitro. My goal at this point is actually not to leave a lot of finish on the guitar. I'm trying to produce a very thin finish in the end. So this was just a base layer, so I sprayed it on kind of heavy, and then I sanded it all off flat. In terms of measurements, I'm really only taking off a couple thousandths despite all the white powder that you see. But now I have got a nice base coat of flat lacquer and I can start spraying my top coats.
[Michael uses an air gun to spray on the top coat of lacquer]
This time it's sanded to a finer grit, either 600 or 800, and then you go in for a final spray session. When that's done, the guitar needs to cure. Depending on your drying conditions, minimum 10 days, three weeks is good, four weeks is better. Six weeks with lacquer, it's not going to hurt it either. There's no rush for it to be fully cured. And really the longer you can wait, the better.
Wet sanding and buffing
The guitar has been curing for about four weeks now What the curing process is it's just allowing all the solvents in the finish to evaporate off, and there are ways to help speed the cure with hot air or fans. In my shop, it's all air drying, so four weeks is really a good amount of time to make sure that most of the solvents have evaporated off and the finish is ready to be rubbed out.
The next step is to refine the surface that comes out of the spray booth. If you look carefully at the surface, you'll notice that it's a little grainy or it's a little matte or satin finish. It's also known as orange peel. What we're going to be doing is getting rid of all of that orange peel and flattening the surface and bringing it up to a high gloss.
I'll start sanding with a very high grit, about 1200-grit paper, and we're going to take this all the way up to 5,000. [Michael sands the guitar with a power sander and then wipes the guitar down] At this stage, I've sanded the guitar back out to 5,000-grit, and now it is flat and it is reflective. It's a little hazy, but that's just the 5,000-grit scratches. Now there's a couple ways we can go from this to an ultra high gloss either by hand or on a buffing wheel [Michael works the guitar body against the buffing wheel and buffs out all the scratches]. The neck and the body are now buffed out to a high gloss, and I'm getting ready to put the neck on the guitar, so I just want to check the final fit and make sure everything's good to go.
Tools for Finishing
Final fitting of neck and body
This is a really big moment here. I'm getting ready to finally attach the neck permanently to the body. I'm going to put just a little bit of removable Loctite on the neck bolts. And then for the fingerboard, I'm going to glue this area down just with regular wood glue or a Titebond, and that is also removable in the future if it needs to come off.
This is a joint that's very similar to what a lot of major manufacturers are using. It is a very serviceable joint, so if the neck does need to come off, it can come off easily, but it will also not come loose unless you want it to. Now that I've got the fingerboard clamp down, it just needs to dry for about 45 minutes and I can take the clamp off and I won't be stressing this joint for another day or two. So that's plenty of time.
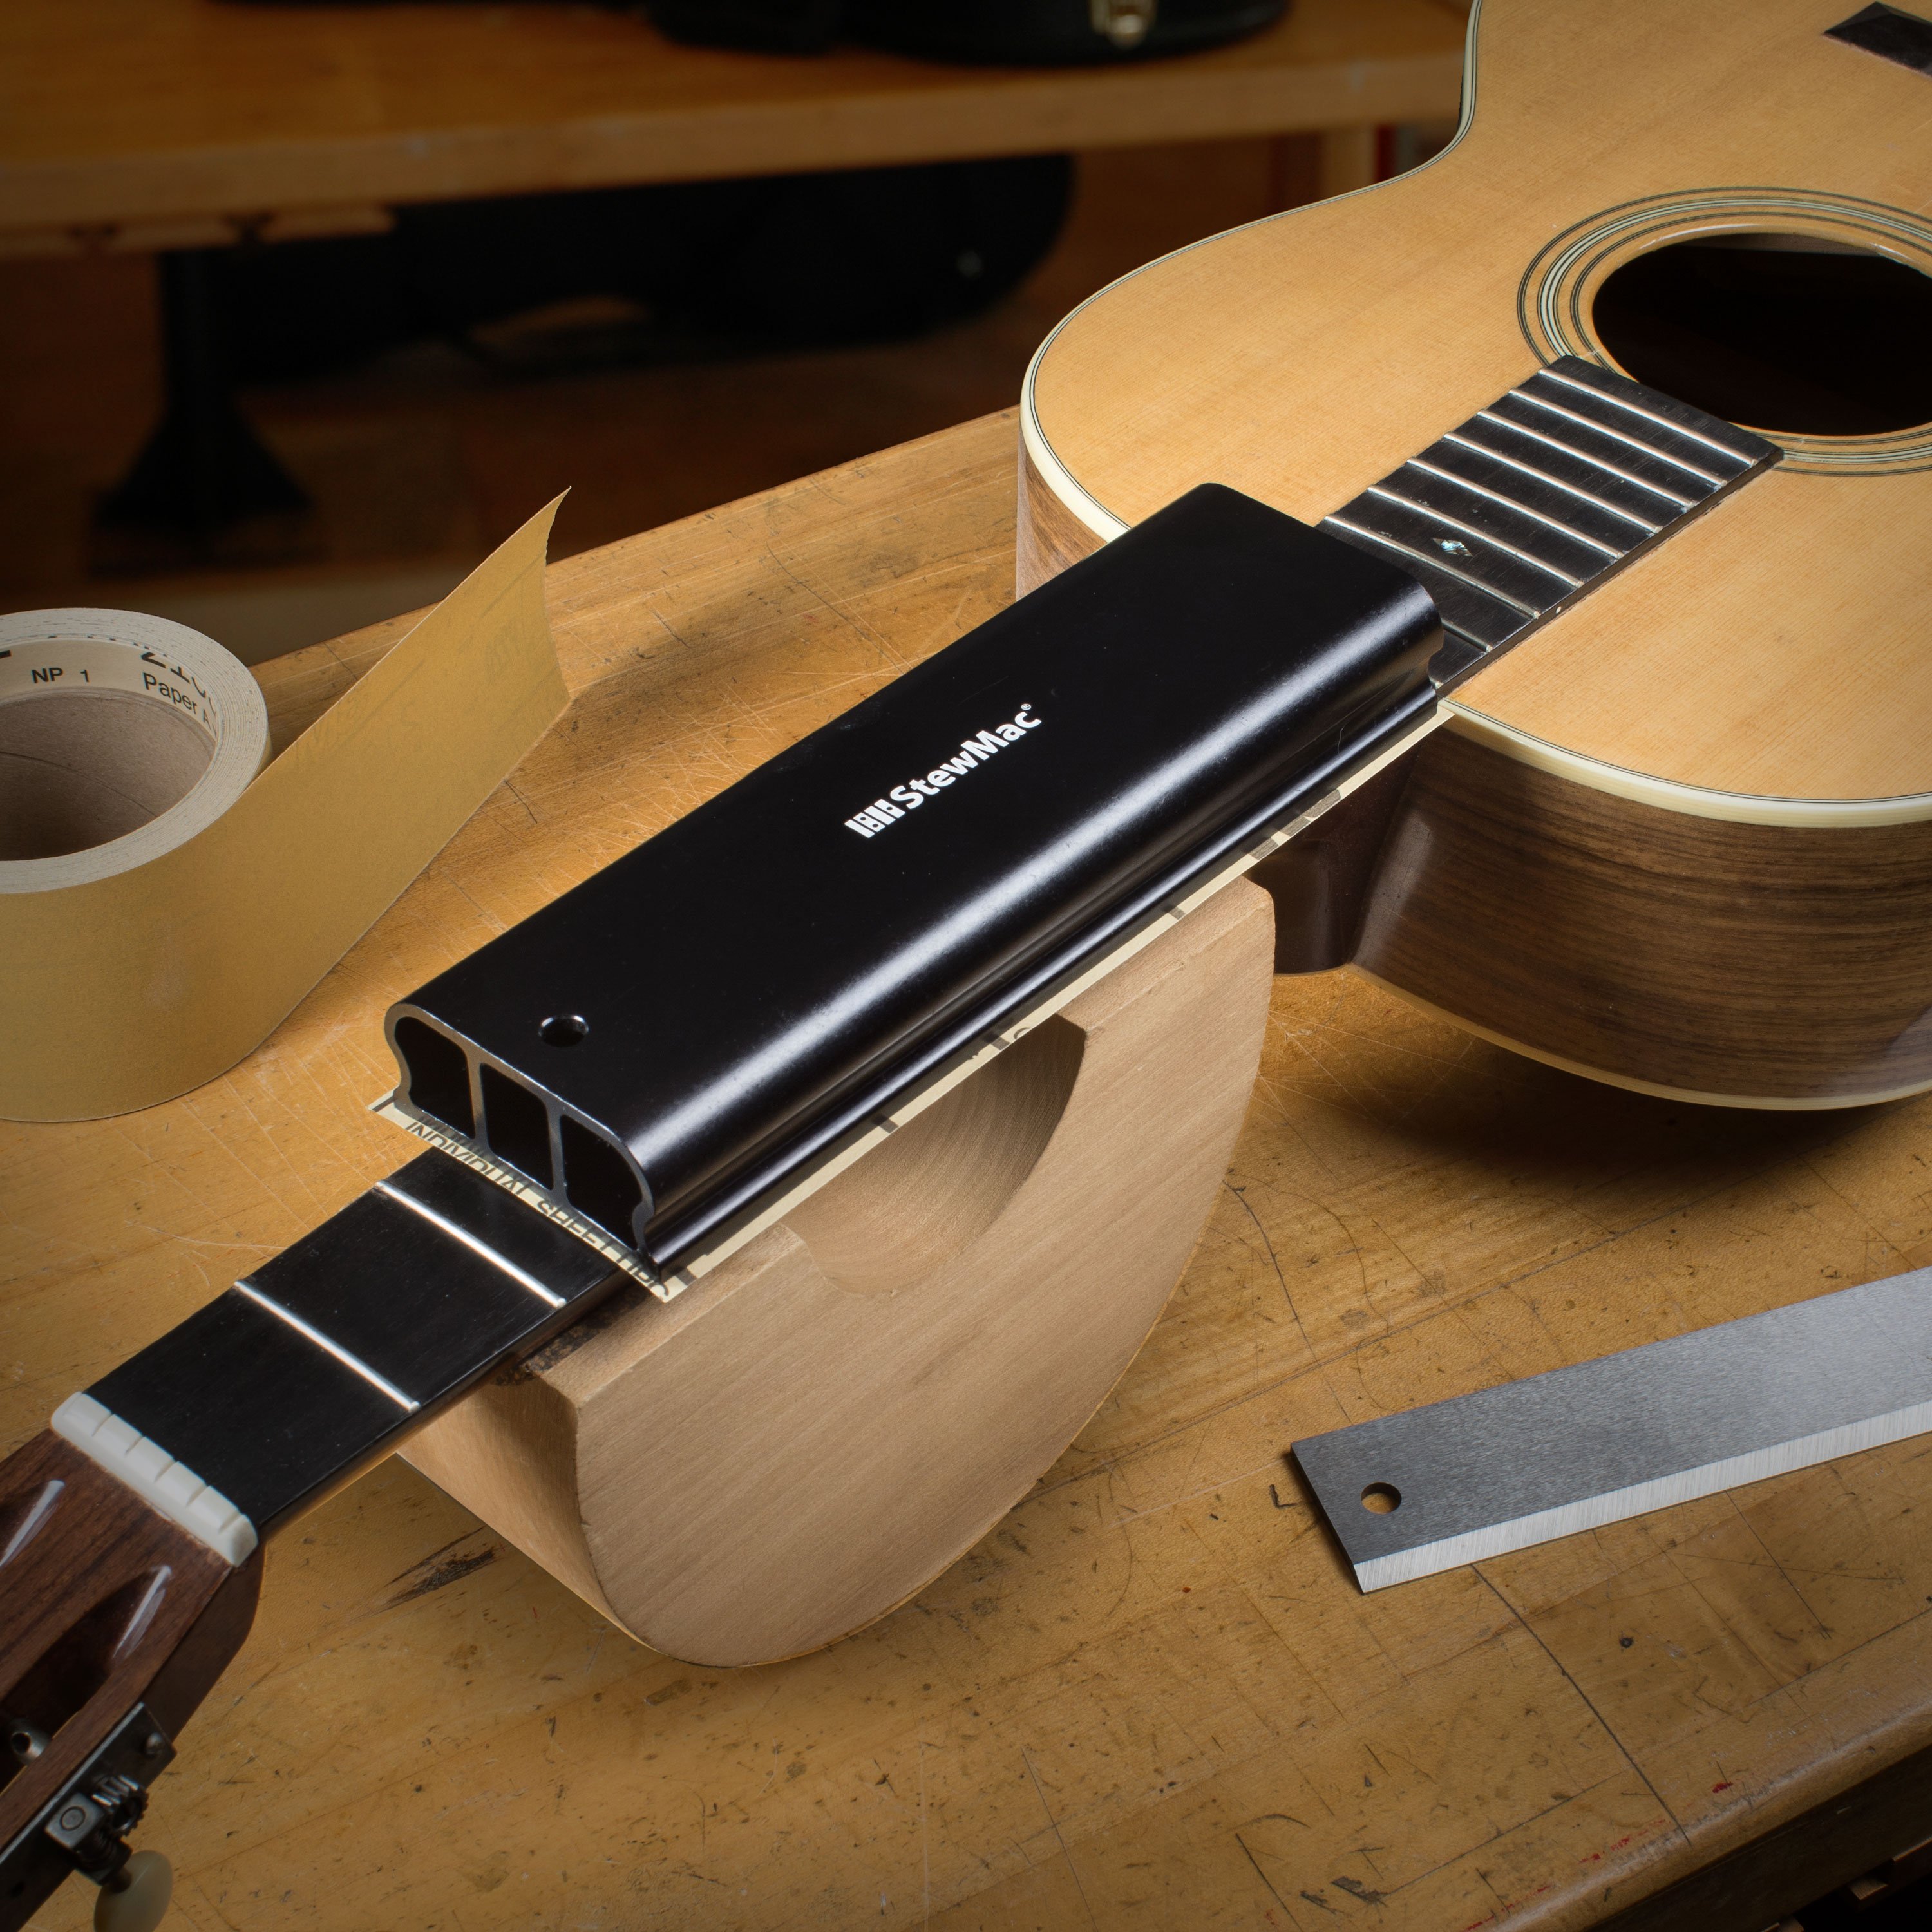
The neck is now attached to the body and I can proceed to the final fretboard preparation. I'll make sure that the truss rod is working correctly and I'll put some witness lines on the neck and I'll use a steel sanding beam to sand the neck completely flat along the length of the strings while maintaining the compound radius of the neck. One last check with the backlight and I will now refine the surface up to 600-grit. Now I'm going to open up the fret slots just a little bit with a fret slotting bit and an air die grinder. This just helps me with putting in the frets so that they just seat right into the fret slots.
Installing frets
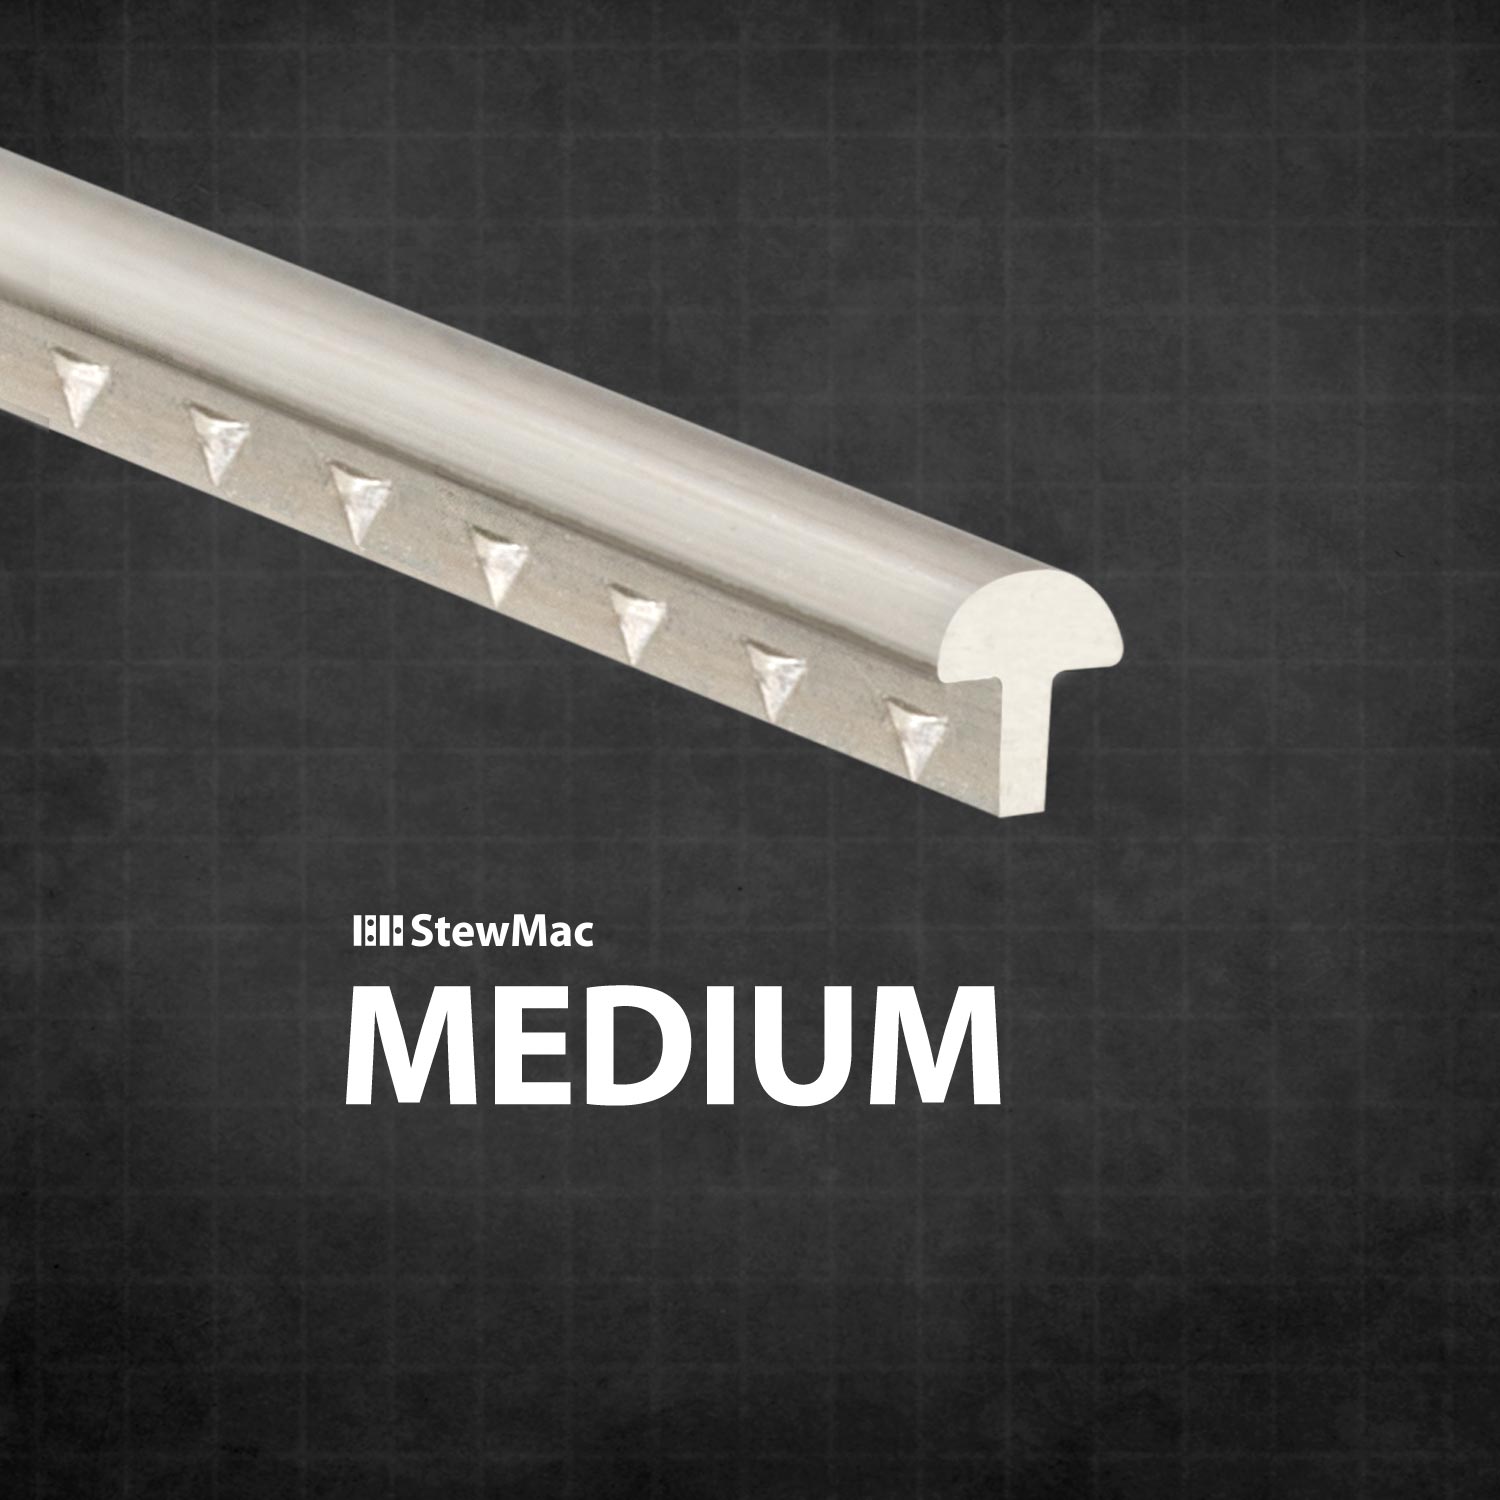
This is the fretwire I like to use. It's a medium gauge gold fretwire, and I like this gold wire because not only is it a distinctive color, but I feel like it goes with the woods on the guitar and it's going to go with the tuners that I'm planning to use on the headstock. Now you can get fretwire in all sorts of widths like jumbo, narrow, medium. There's also different heights and you can even get different shapes like pyramid shapes. And there's different alloys like stainless steel and different types of nickel alloys. They all have their pros and cons, but this particular wire is the wire that I like to use on my guitars.
[Michael cuts the fretwire into smaller pieces, grinds the wire ends on a sanding wheel and sets the frets into the fret slots]
Next, I'm going to use this Fret Tang Nipper to cut the tang of the fret so that it matches the length of the fret slot and the crown will be left to match the length of the fingerboard. I'm going to use a special grinding wheel on my drill press to shape the ends of the frets into a hemisphere. The frets are prepped, the board is prepped, and now I'm ready to put the frets into the board. I like to use a little bit of medium viscosity super glue just to touch on the ends and one dot in the middle, and this will help keep the ends seated with future changes in humidity, et cetera that the guitar is going to experience.
I use a combination of techniques where I'll be hammering in the frets and then also clamping them down in multiples. I'm going to work different spots of the board, and I'm going to put in the first 12 to 14 frets and then stop and then evaluate this upper part of the board with a notched straight edge. And before I fret the upper part of the board, we'll actually put the bridge on the guitar and put it under tension so we can see how this is behaving under full string tension.
[Michael uses a Fretting Hammer to seat the frets then clamps down the fretboard]
Installing tuners
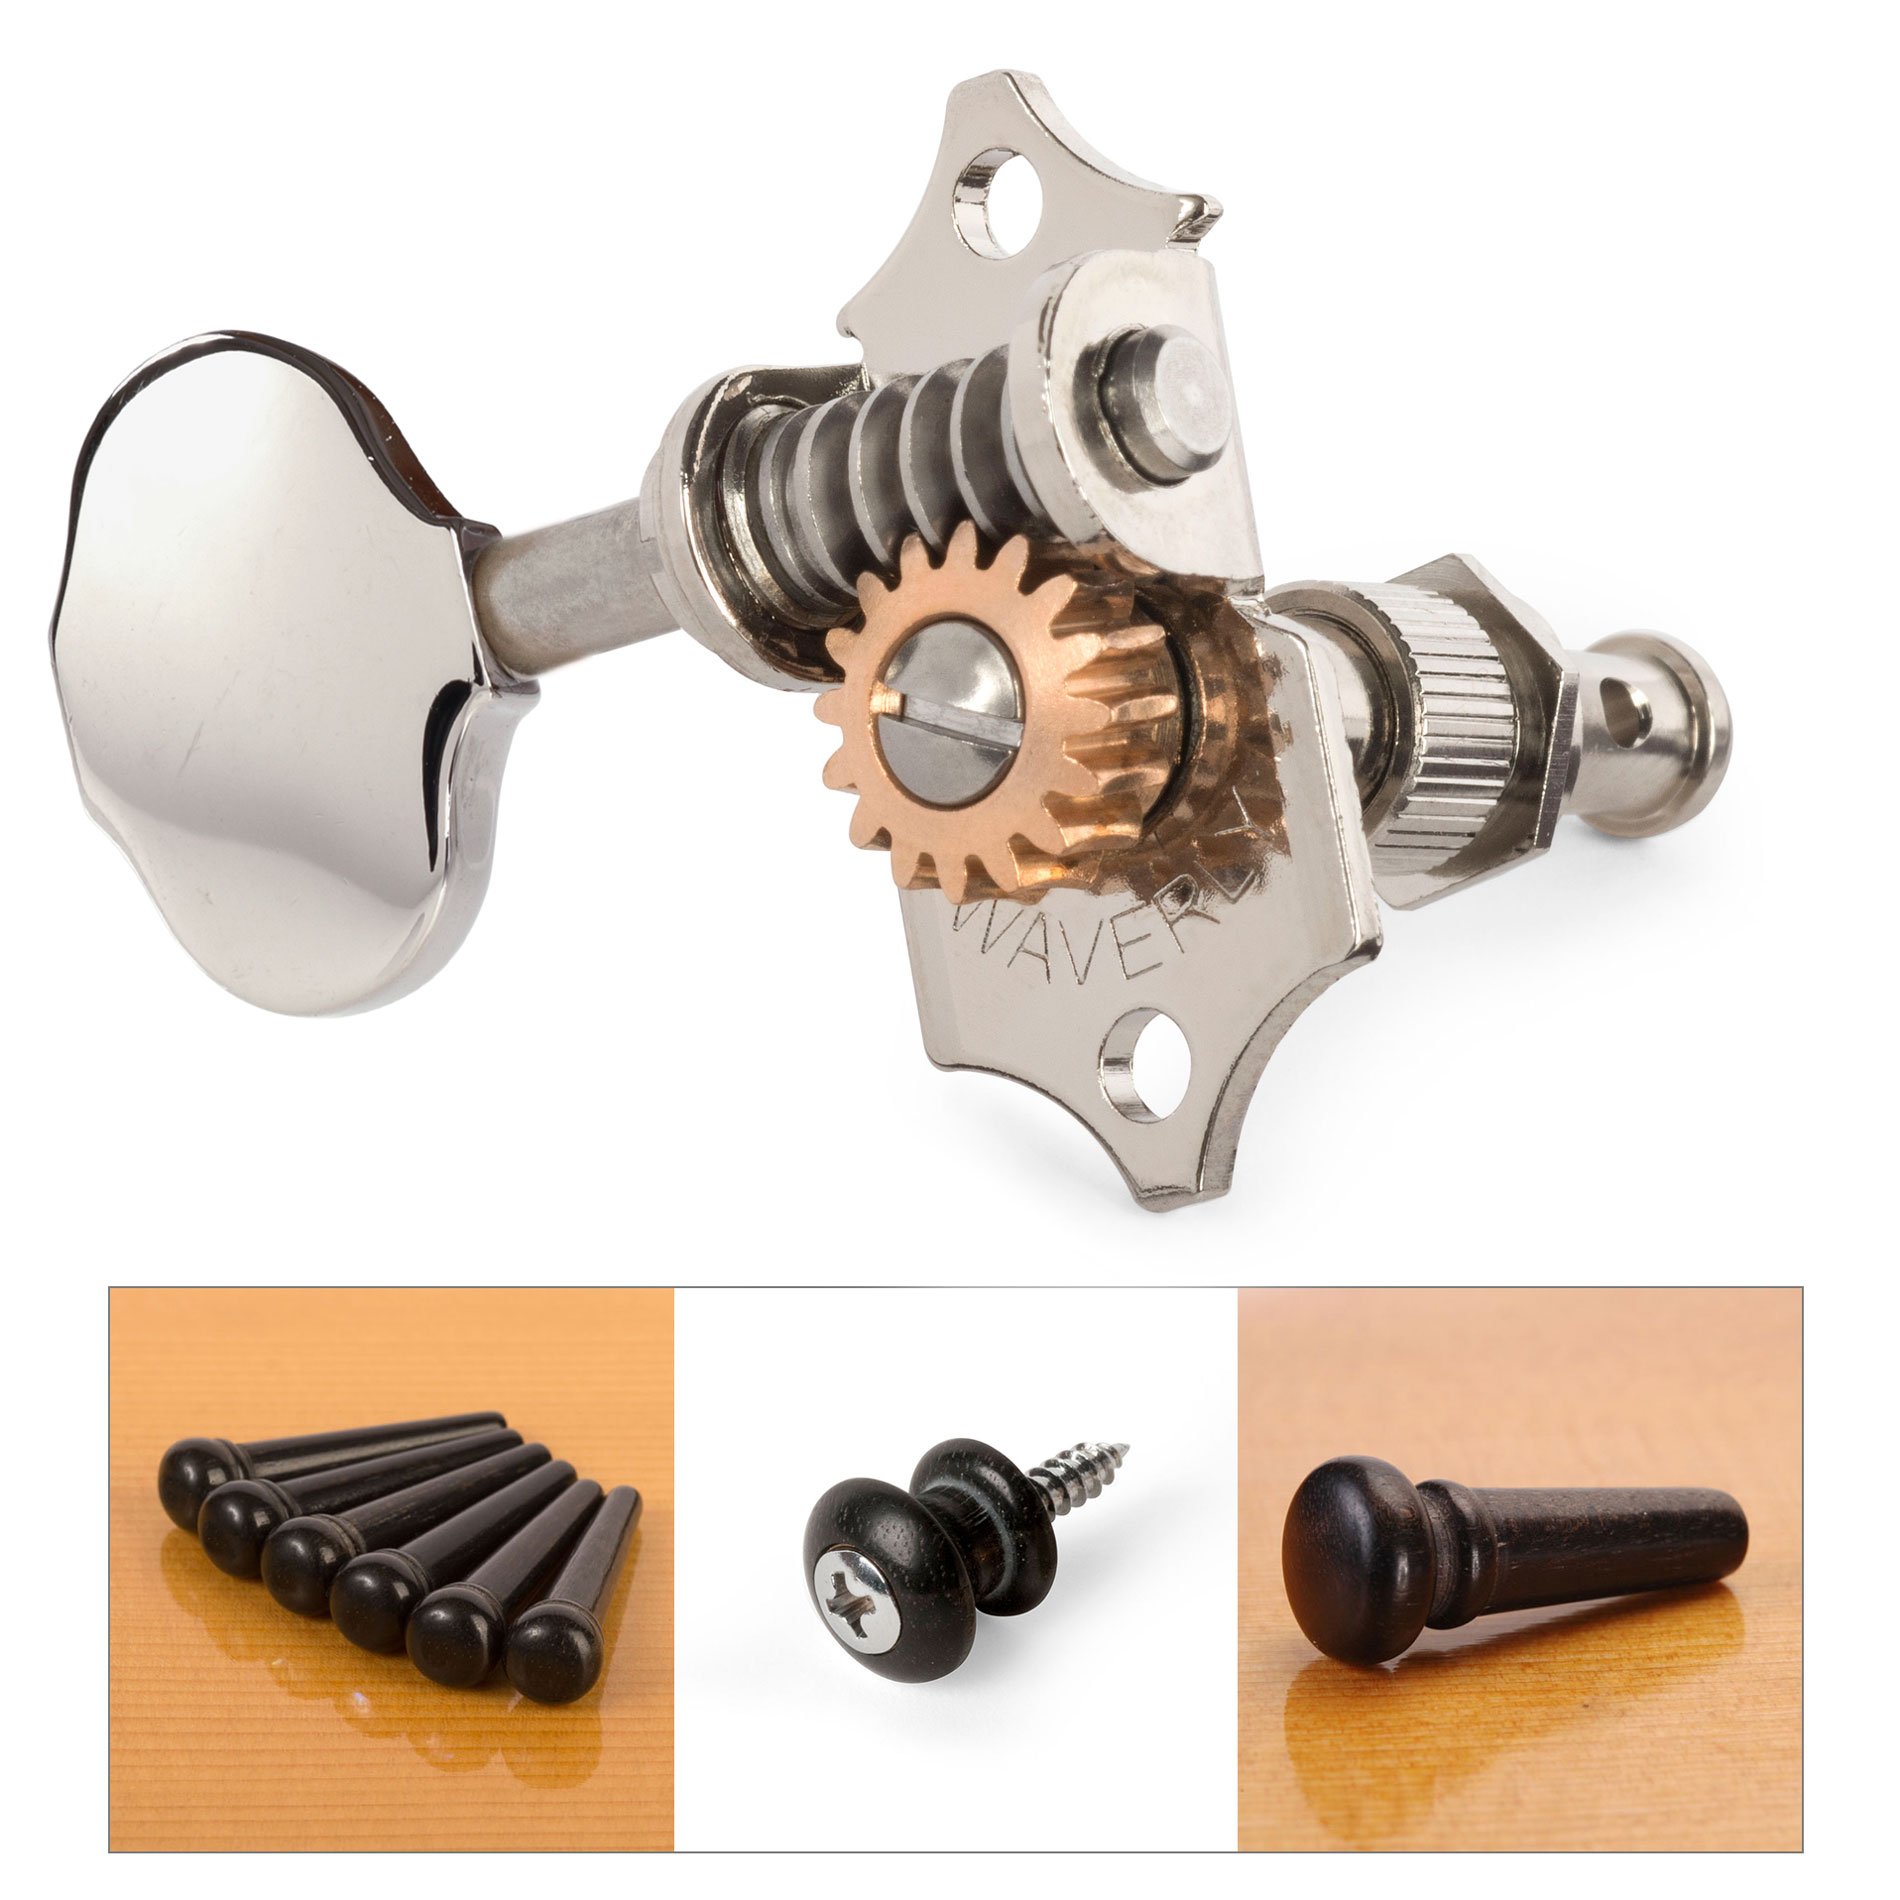
We're ready to install the tuners. On this guitar, I'm going to be using Waverly tuners. It's what I use on most of my guitars. These particular tuners are a newer edition [on-screen text reads: Waverly High Ratio Guitar Tuners]. They have a 1 to 21 gear ratio, which I really like, and these are the gold titanium finish. I think these are going to look great on this headstock. Rather than require a friction fit with these bushings, I've loosened up the holes a little bit and I'm actually going to use epoxy to put them in.
[Michael brushes the epoxy in the peghead hole, presses in the tuner bushings and sets a block over all of the bushings and clamps it down]
Once the bushings are in, then I'm going to use a jig to drill the two screws on the back of the headstock that secure the tuner to the head. I am putting a little paste wax in the holes here because the screws are wood screws and they're actually going to be cutting the threads into the mahogany. The acts as a little lubrication, so the threads will be cut cleaner.
[Michael sets the tuners into the peghead holes and screws them down]
Gluing the bridge
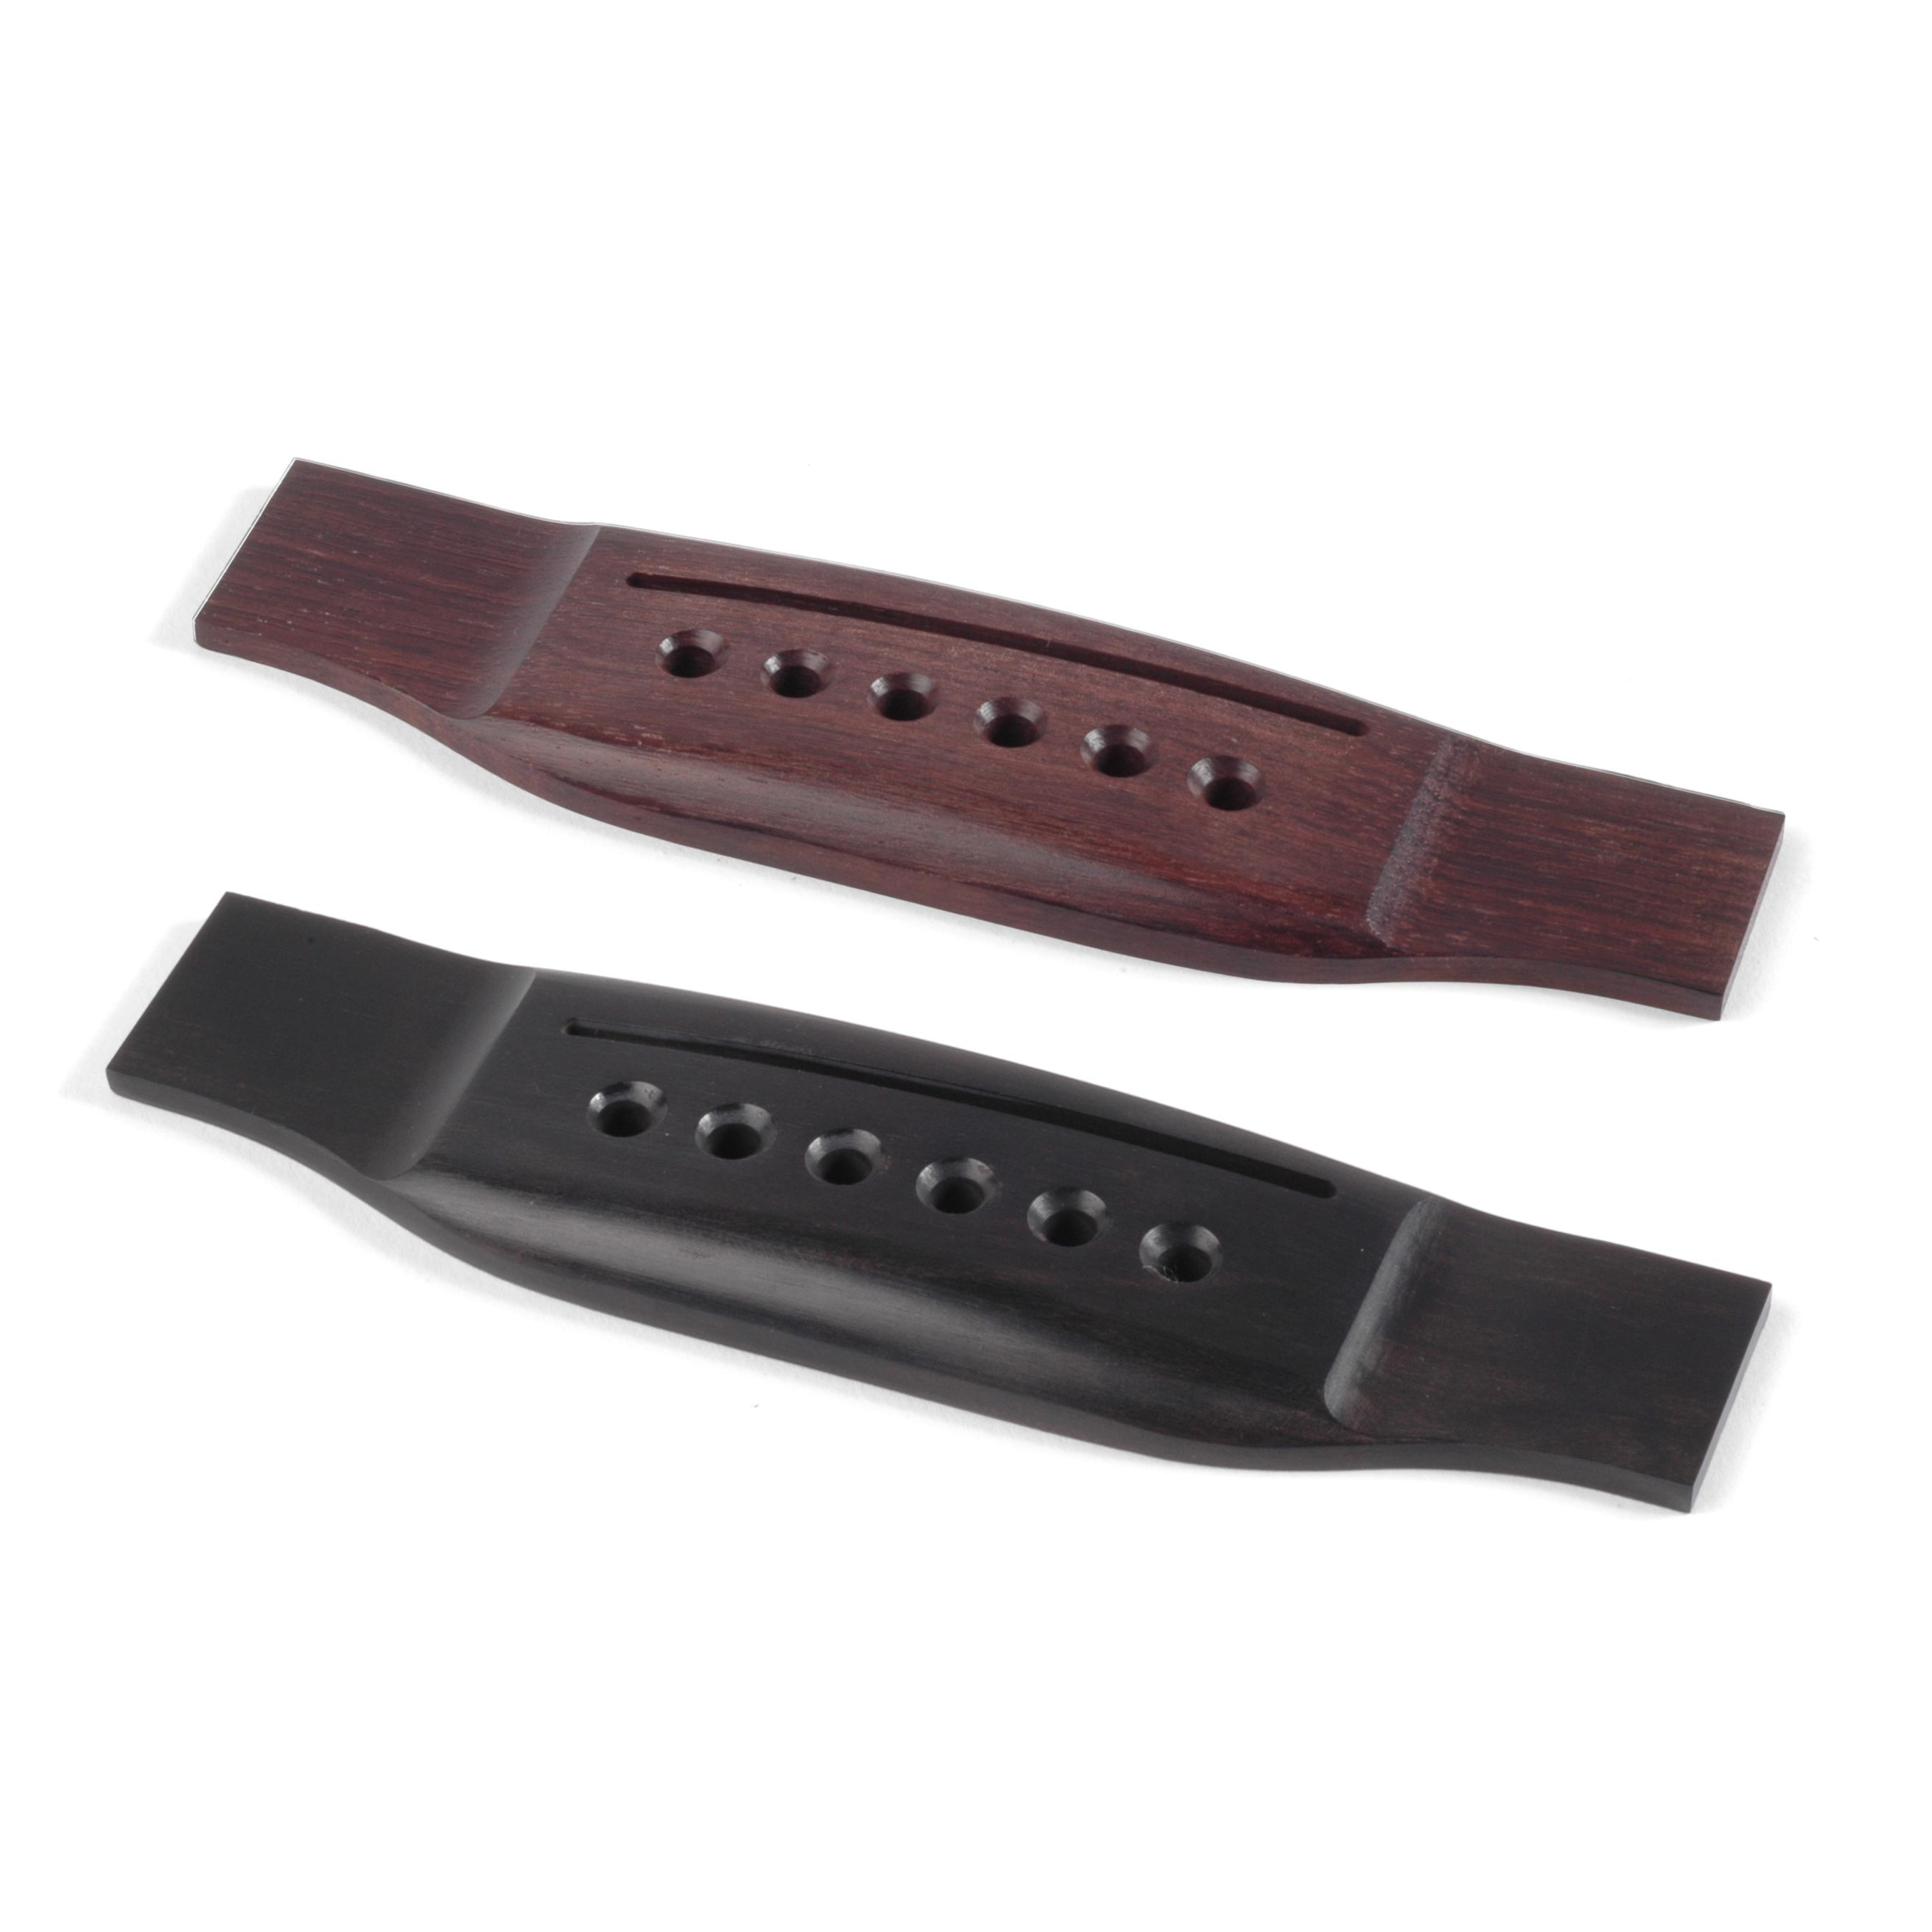
I am getting ready to glue the bridge on the guitar. My bridges are made out of either rosewood or ebony. In this case, I'm using a Brazilian rosewood bridge from very old stock. I rough out the bridge on a CNC machine. It cuts the saddle slot, the holes, the outline of the bridge and some of the features, all of which is refined by hand. And then the bridge is sanded out and polished up to 2000-grit. I like to use hot hide glue to attach the bridge to the guitar, which means the operation has to be performed fairly quickly. So I do a lot of prep. I install a caul on the bridge plate. I have some indexing pins that go through the saddle slot, so the bridge gets precisely located quickly. I have a top clamping caul that I'll be using, and I'll have all the clamps all ready and actually in the soundhole and ready to go.
So I've got everything in position, and I'm going to heat up the parts and apply the glue, and then just repeat the process. I'll leave the bridge clamped up overnight, and I would consider this to be the minimal amount of clamping time needed. The string pull puts about 180 pounds of tension on this joint, and you really want to make sure that the glue is absolutely dry before you start stressing this joint.
The next steps with the bridge are to drill out the bridge pin holes and use a tapered reamer to prepare the bridge holes. To put the bridge pins in. There is a backing call on the underside of the bridge plate. So when I finally drill through the bridge plate, there won't be any blowout from the drill bit exiting. I use these Waverly bridge pins. This particular pin is ebony with a Mother of Pearl Dot in the top. These are slotted pins, and the pins have a five degree taper, but I just drilled a straight hole. So what I'm going to do now is use this tapered reamer to give each hole a five degree taper. So the bridge pins will fit in nice and snug.
Making the nut and saddle
It's time to install the saddle on the guitar, and I start with an oversized bone blank just cutting this rectangle here. And I know the width and the length of my saddle slot, so I'm going to do some sanding on this to prepare it to just fit just into the slot, and then I will rough out the height and some of the intonation points on the saddle. I'm not going to make the final saddle at this point. All I want to do is get to a point where I've got a saddle roughed in and I can get tension on the guitar.
The next thing I want to do is mark out the two outer strings and mark out the height of the saddle, and then carve the top of the saddle down to approximately that saddle height. I like bone for a couple reasons. One, besides it just being the traditional material, I feel like it has a good sound transmission. It looks nice. You can polish it to a high sheen. It's also easily repairable and also replaceable.
[Michael sets the saddle into the saddle slot]
Just like the saddle, I need to rough in a nut blank. And I'll start with an oversized piece of bone. And I need to sand and mill this down so it fits nice and snug in the slot. I've got an outline of the nut here. This bottom line represents the approximate location of the bottom of the nut slots, and this top line represents the location of the top surface of the nut. There are other materials you can use for nuts and saddles besides bone. Some are synthetic like Micarta or even graphite. You can also buy bone blanks that are more pre-shaped and are closer to what your final nut would be, but still would require some final adjustments to make them right.
The nut slots are all marked out with the last jig. And now what I want to do is take nut slotting files [on-screen text reads: DiamondCut™ Nut Slotting Files], which are individually gauged to match the diameter each string, and I want to expand these slots so that they match the string gauges exactly. Now that the nut slots are the correct size for each string, I'm going to shape the top of the nut. This won't be the final shape. I'm just going to get it into its approximate shape at this point. The roughed in nut and saddle are installed, and now I'm ready to put the strings on the guitar for the very first time.
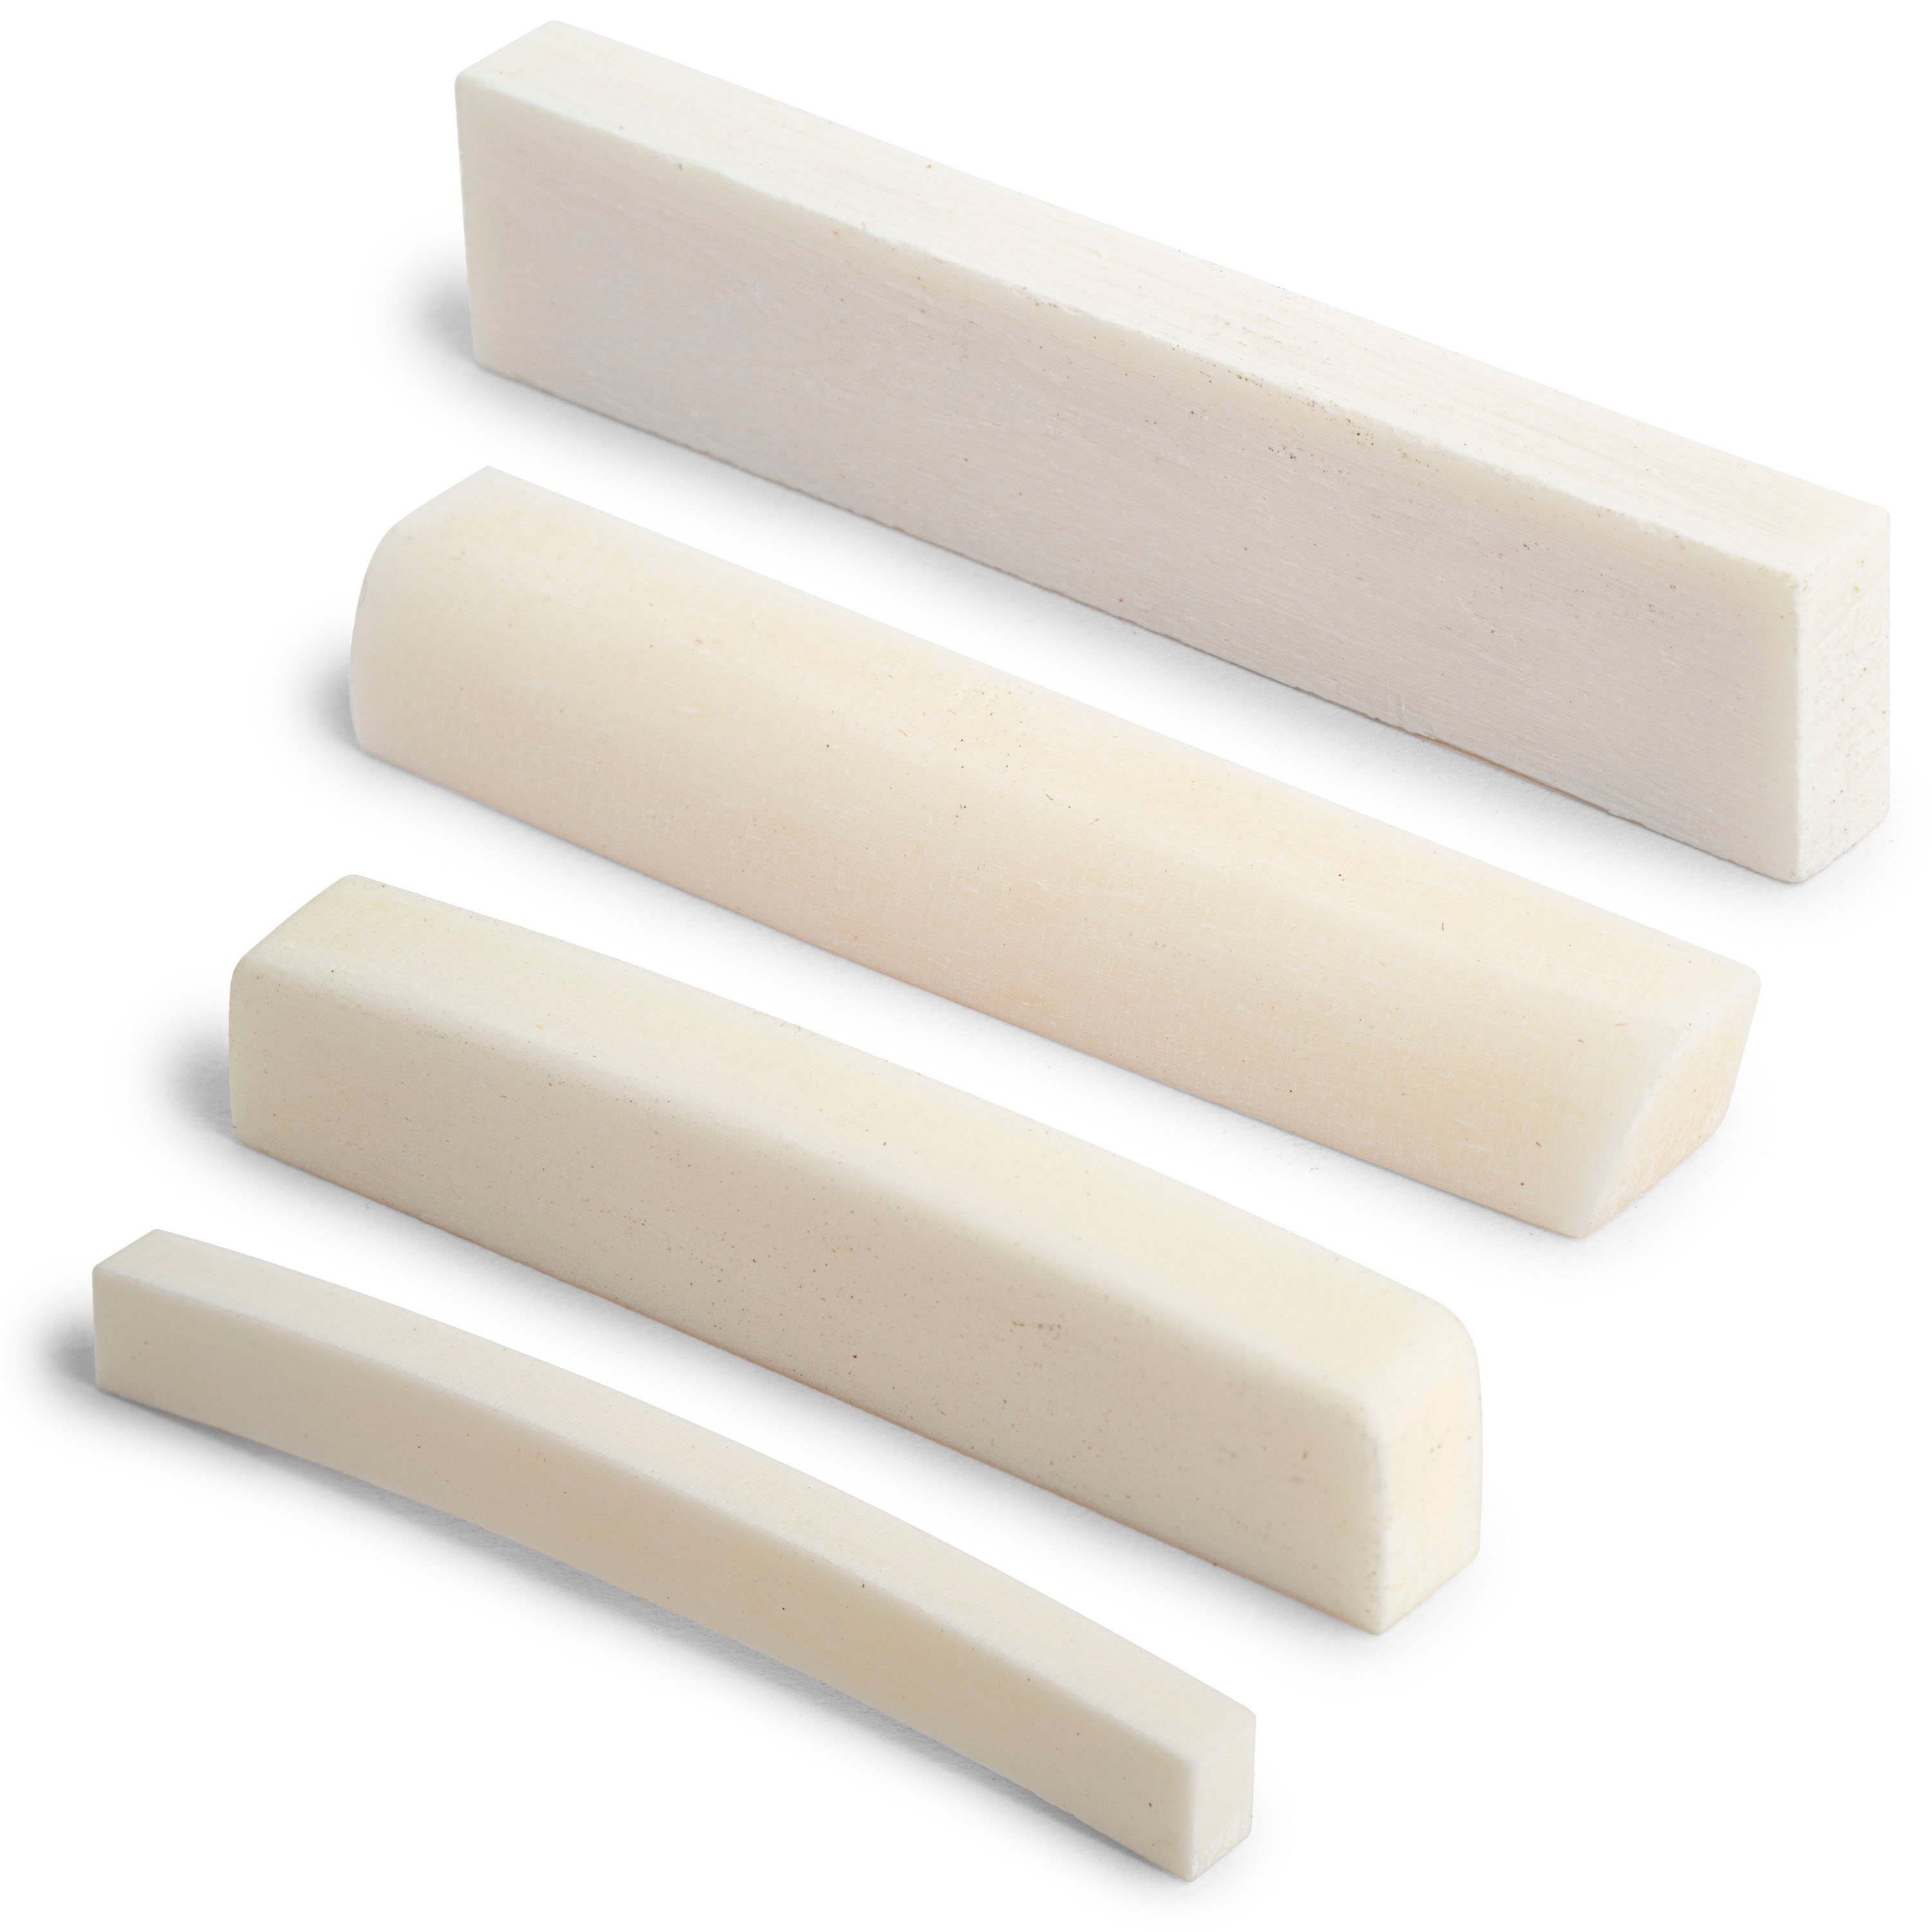
Tools for Nut + Saddle Making
Stringing up
This is a very exciting moment. We get to hear the guitar and see if some of the choices that I've made in terms of the top and the voicing and the back and the woods and the type of bridge material I used, this is all going to start to come together and come to life.
First string up of the guitar, the setup is going to be a little rough because I need to see what the guitar is doing under full tension, and then I can make the final adjustments to the truss rod, the nut in the saddle, the frets, et cetera. And even the sound of the guitar is going to change pretty substantially over the first few days and the first few weeks. But I'll get some idea. I'll get an inkling of what the guitar is going to develop into. Really excited to hear this for the very first time.
[Michael plays a song on the guitar]
This guitar is about 10 minutes old now, and I've had some time to strum around on it, play some chords, do a little finger picking, and I'm very pleased with where the guitar is at. It's a very young guitar. I'm expecting it not to be at its full potential right now, but there's certain things that I'm listening for that I want to hear right now. The guitar should have good response, good power. It should certainly play in tune, and the setup should be within roughly the window that I want it to be in. There's still a lot of adjustments and fine tuning to be made to the guitar, but this is the first time that I've had a chance to listen to it. And I hear a nice complexity in the trebles. The low end is full. And as the guitar changes over the next 24 hours, several weeks, months, et cetera, it's going to change in ways that are not entirely predictable.
But in general, the guitar is going to become bigger, more powerful. The low end will open up. The trebles will become more complex. It should become an even more responsive instrument. So when I hear those things now in a guitar that's so young, I'm very, very pleased with that.
Fine tuning and playing
The next steps for the guitar, as you may have noticed, there's no frets up here. I am going to evaluate the fingerboard with a notched straight edge and see if I need to make any corrections or changes in this part of the board before I put the frets in [Michael uses an understring fret leveler to level the frets for the section of the board that has frets installed]. And then it's a process of basically just fine tuning, dialing the guitar in, making any adjustments in the intonation, finishing out the nut, polishing out the frets, really giving the guitar a fine detail, going over the inside and the outside of the guitar, and making sure that it's as good of a guitar as I can possibly make [Michael installs the missing frets and levels them].
[Michael installs the strings, measures the string height, finishes and polishes the nut, tapes down the fretboard to protect it and dresses the frets]
Once you've been building guitars for a while, I think it's easy to fall into certain lanes of thought. For me personally, I try and keep a student mindset about the craft, that there's always things to be learned, there's always new avenues to pursue, and really that's what keeps it interesting for me. I'm not interested in just essentially turning the crank over and over. And I think ultimately it really comes down to two very simple premises for me. And the first is that I'm going to keep building guitars, and the second one is that I try and make each guitar better than the last one. In some ways, that helps propel me forward and keep things interesting and fresh.
[Sean McGowan plays a fun song on the acoustic guitar that Michael has built]
A really cool aspect of being a guitar maker is not only do I get to use art and science to make these, what I think, are beautiful objects. But then this physical entity that I've created in my shop, then I get to hand off to somebody else and they get to make their own art with it and create. So it's something that keeps on giving and creating and hopefully inspire other people. So it's not just here what I do in the shop, but it's also what happens to the guitar after it leaves the shop and it takes on a life of its own.
[on-screen text reads: StewMac - For all your guitar building (and repairing) needs]


