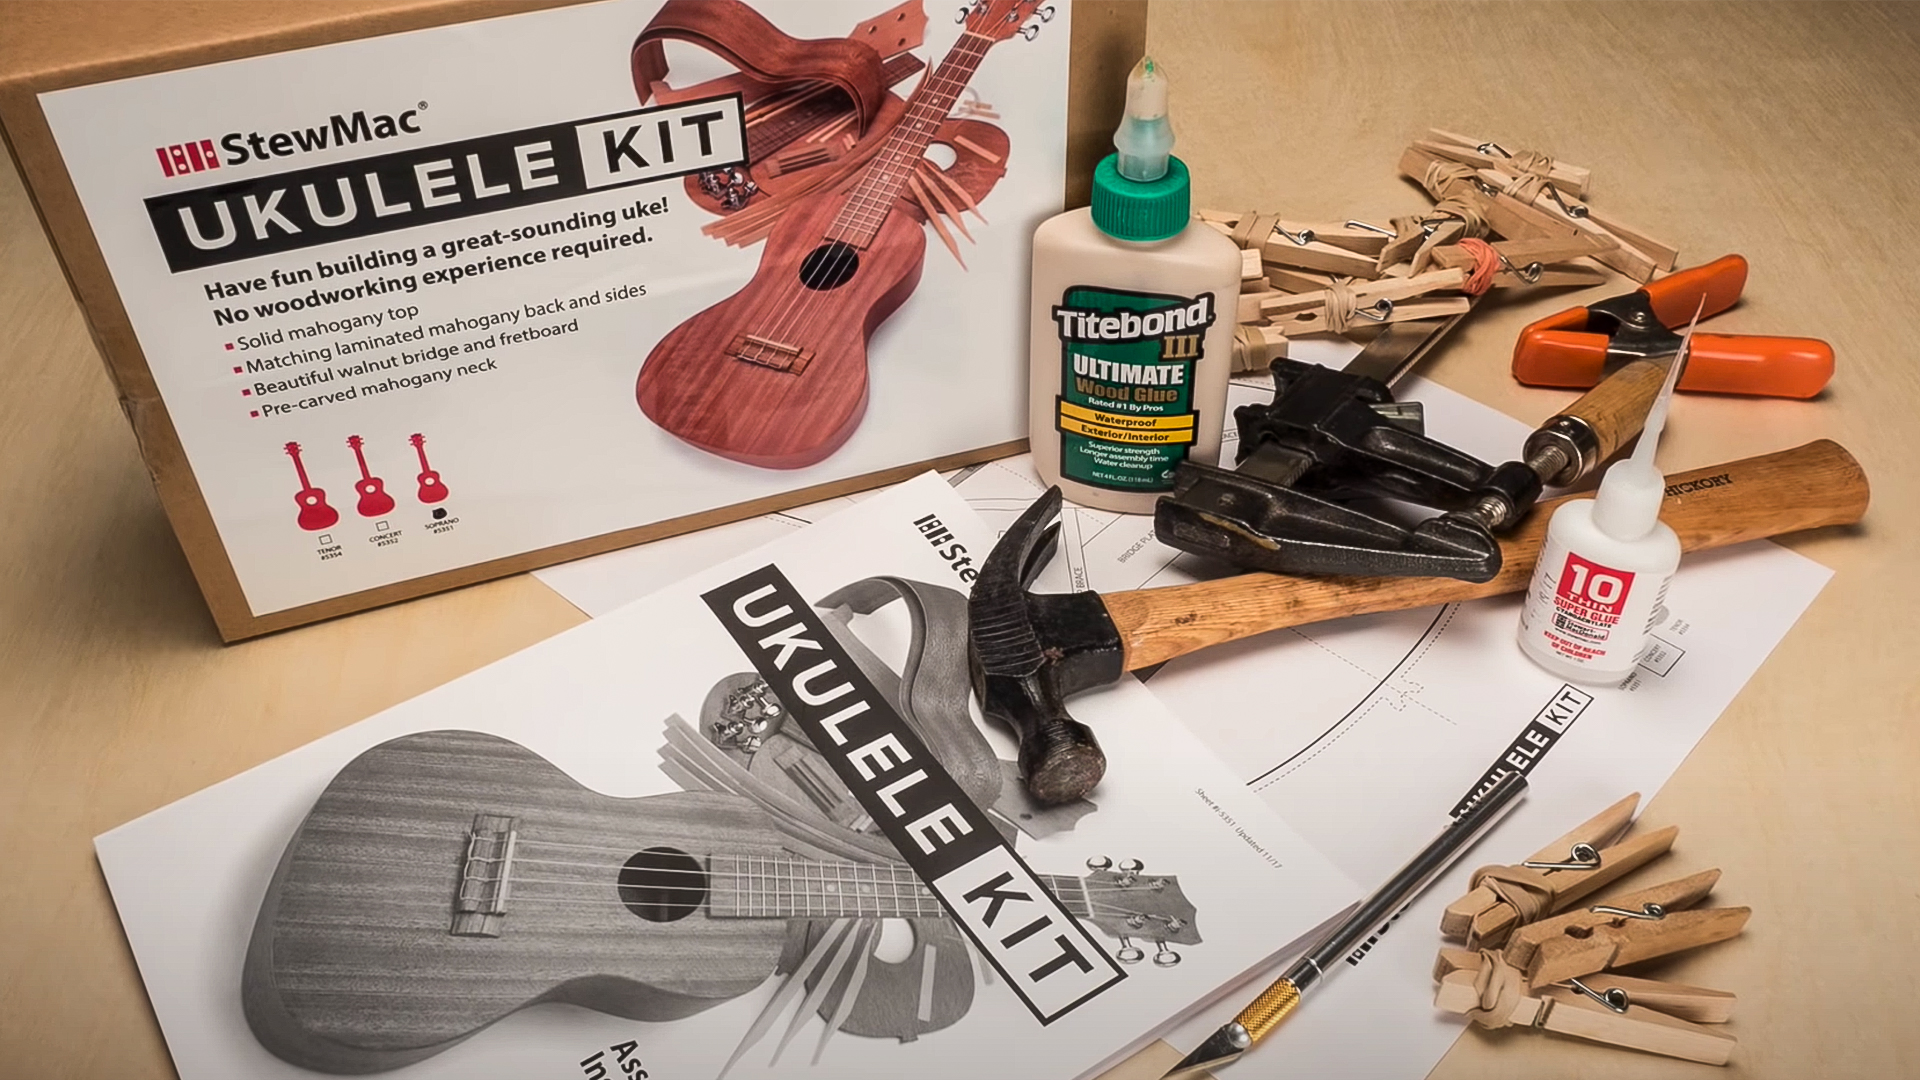
How to Build a Ukulele Kit
LESSON 3
ASSEMBLING THE BODY
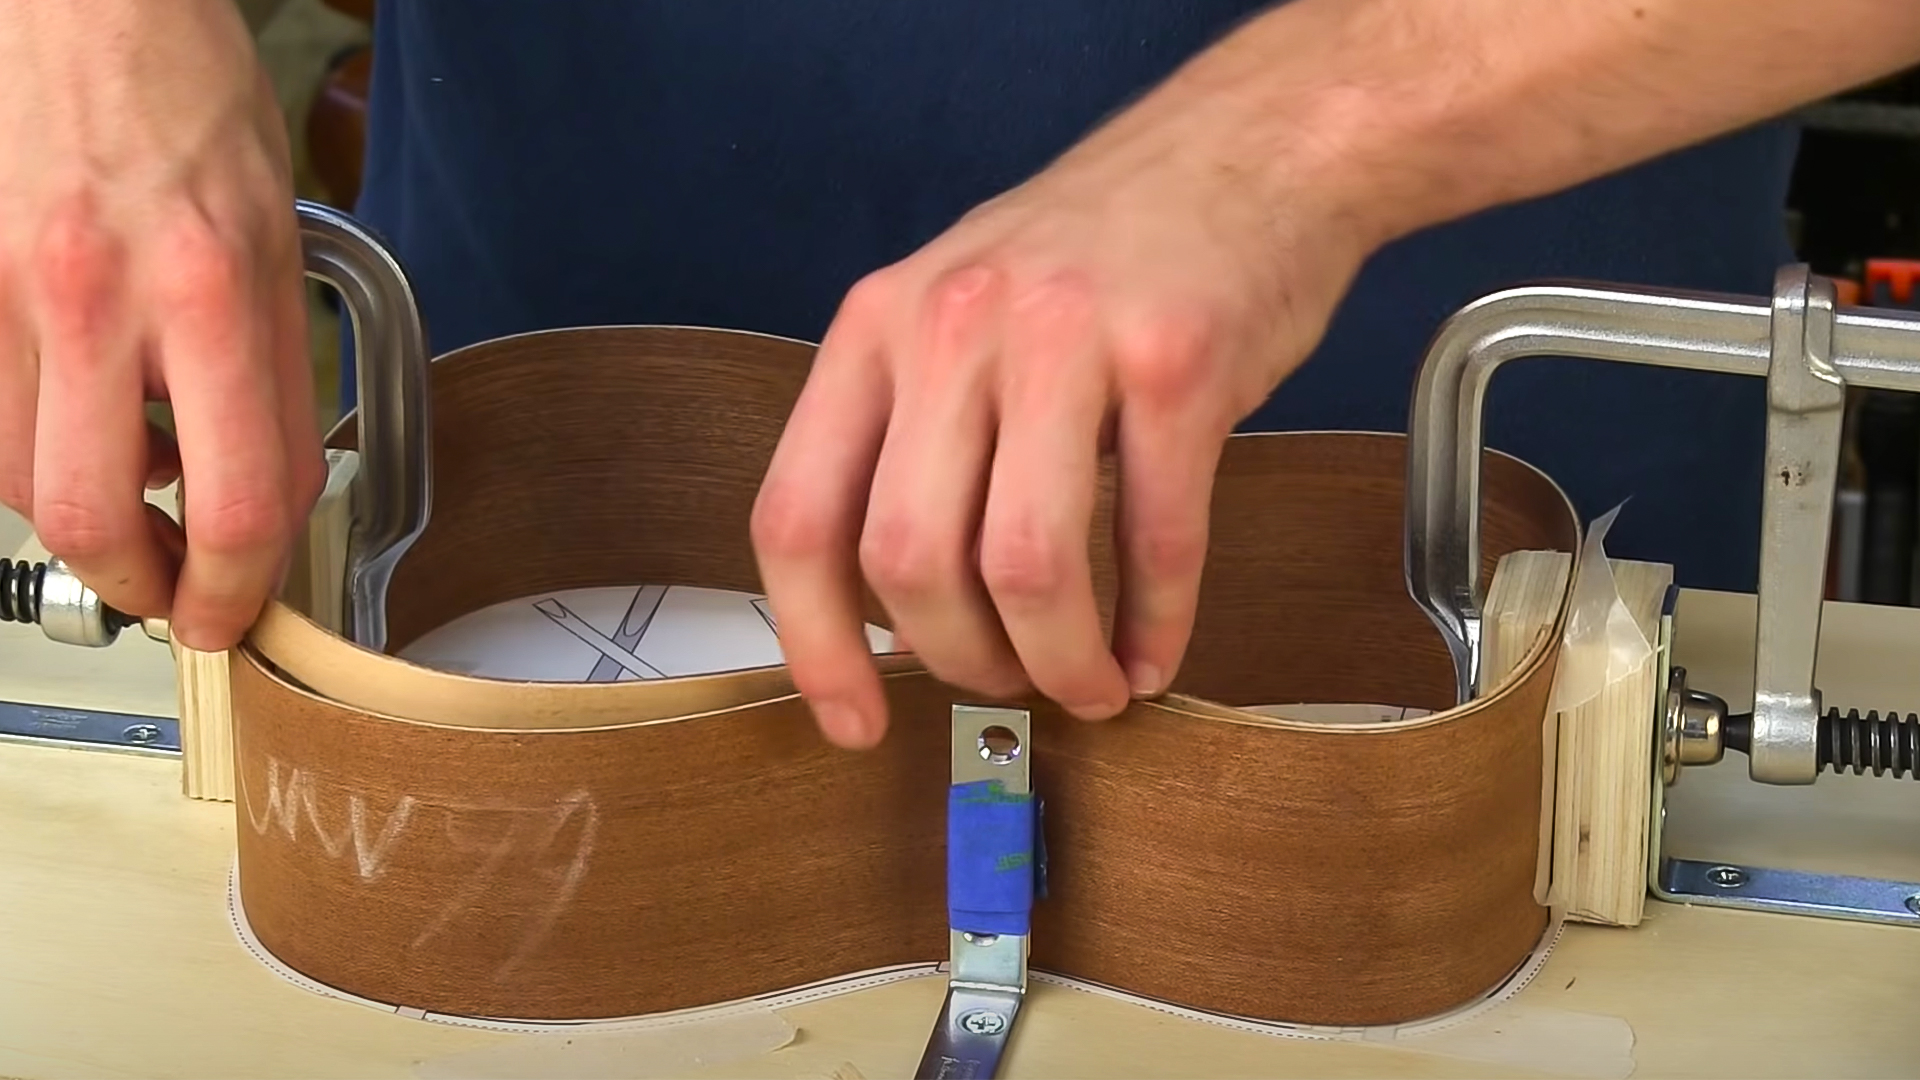
- Building a mold to hold your uke for assembly
- Gluing the sides, neck and tail block, and linings
LESSON 4
PREPARING THE NECK
- Making and installing side dots
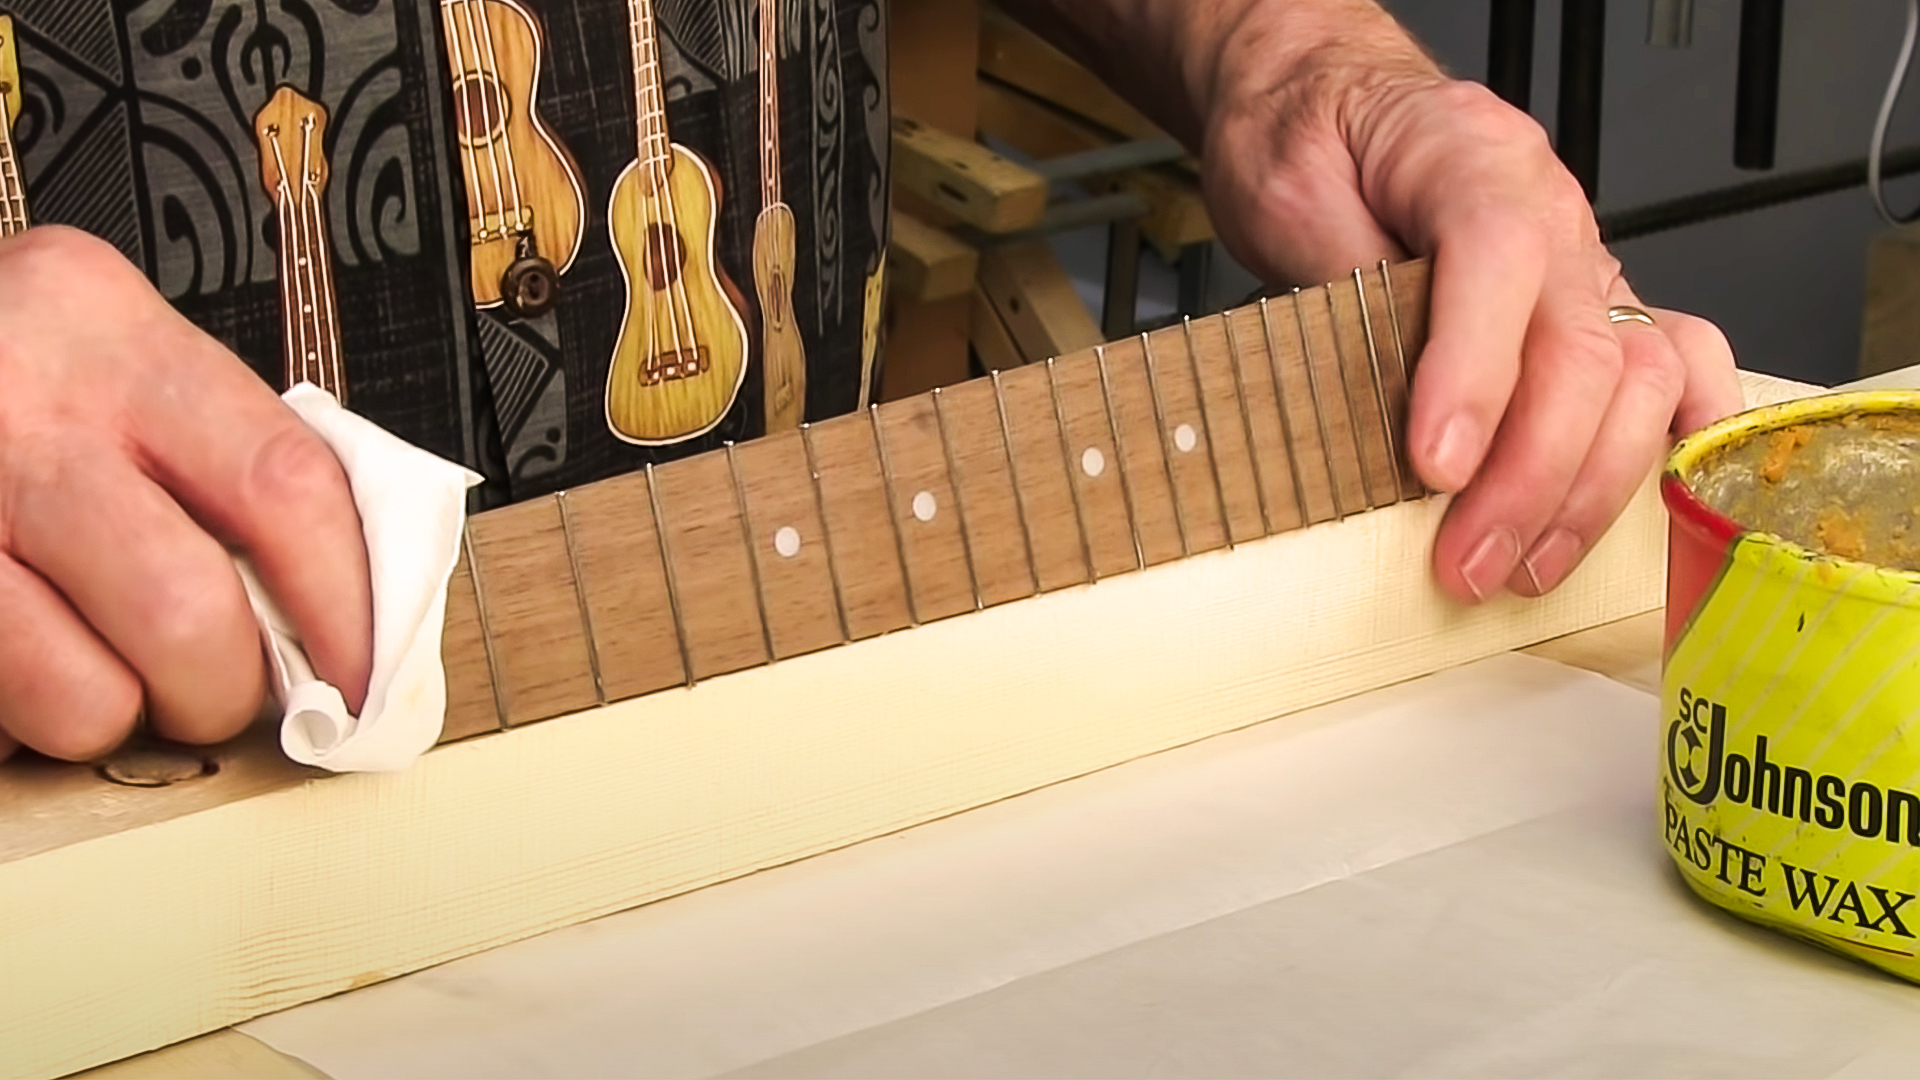
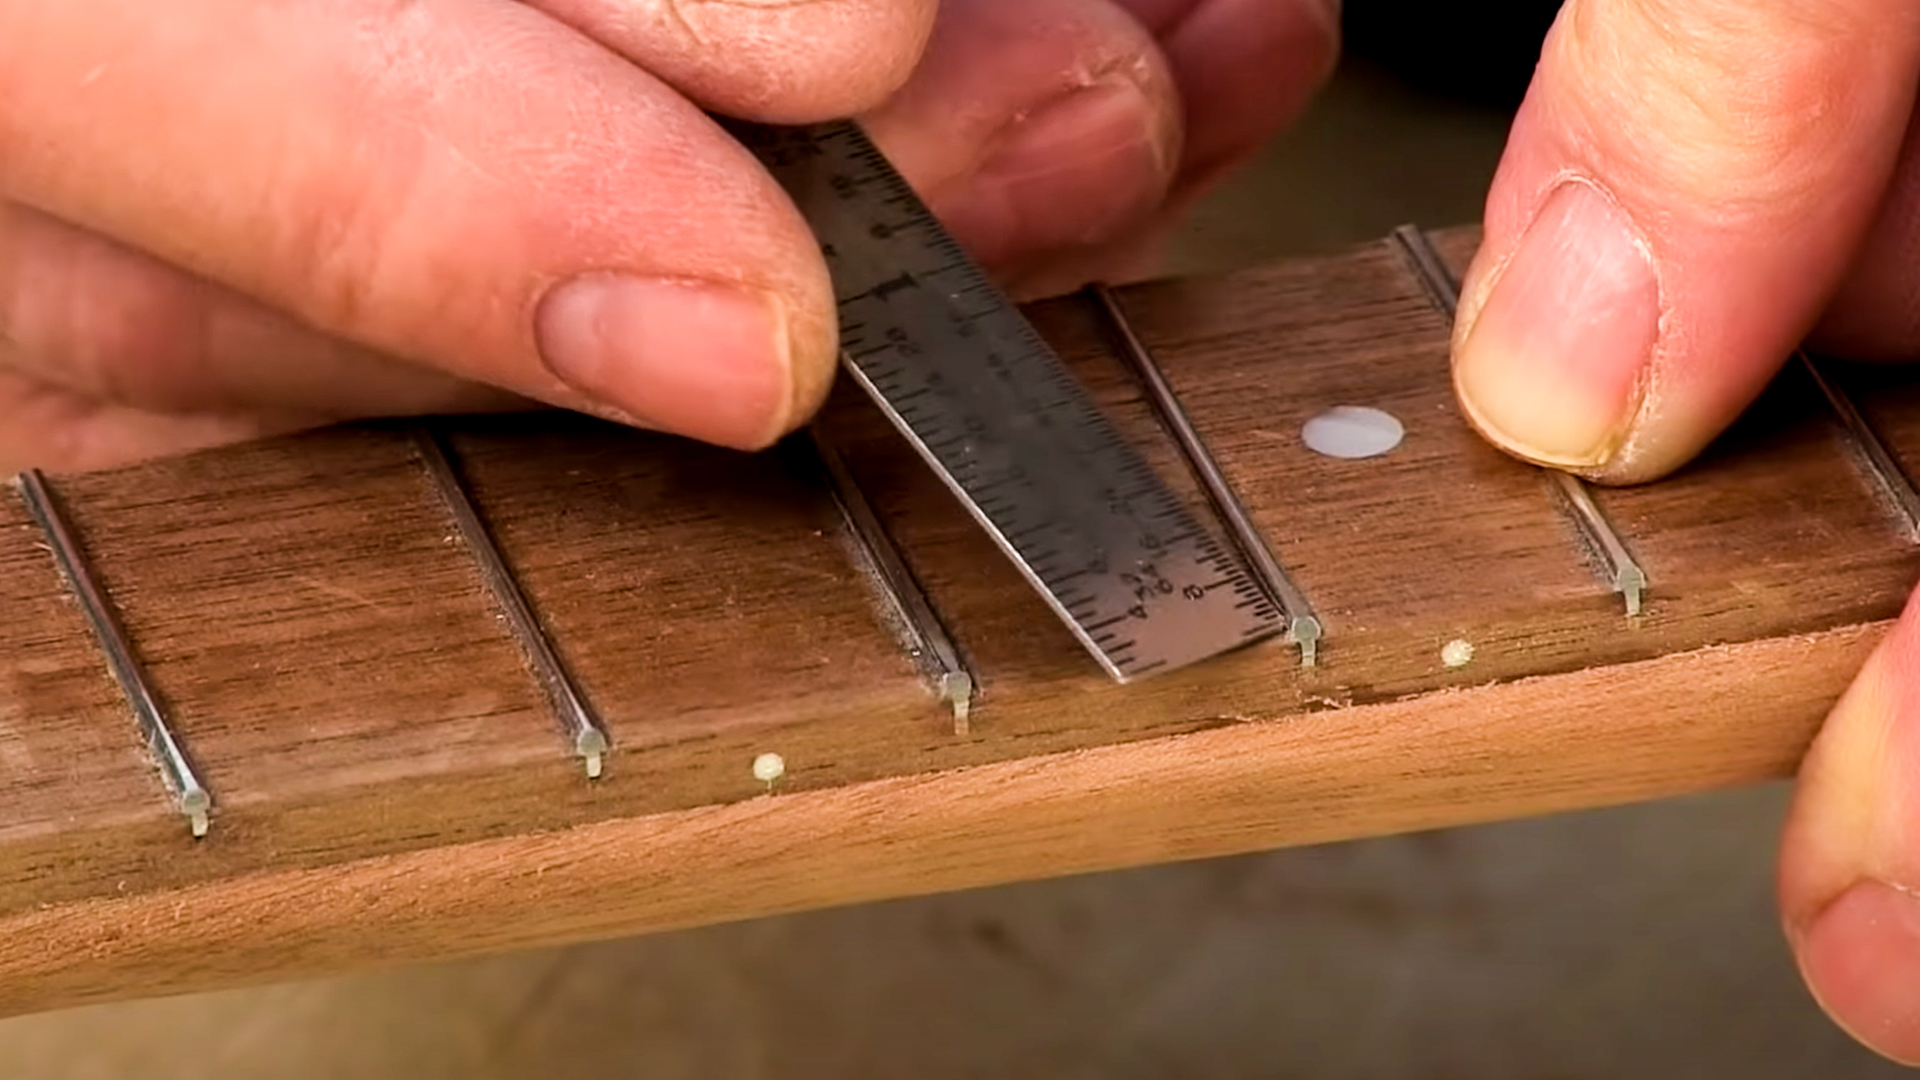
- Installing and gluing in the frets
- Gluing on the fingerboard
LESSON 5
LEVELING THE FRETS
- Final shaping the neck
- Leveling the frets
- Rounding the fret tops
- Fine-tuning the fret ends
LESSON 6
SANDING THE BODY+NECK
- Final sanding a body and neck before finishing
- Positioning the bridge and neck
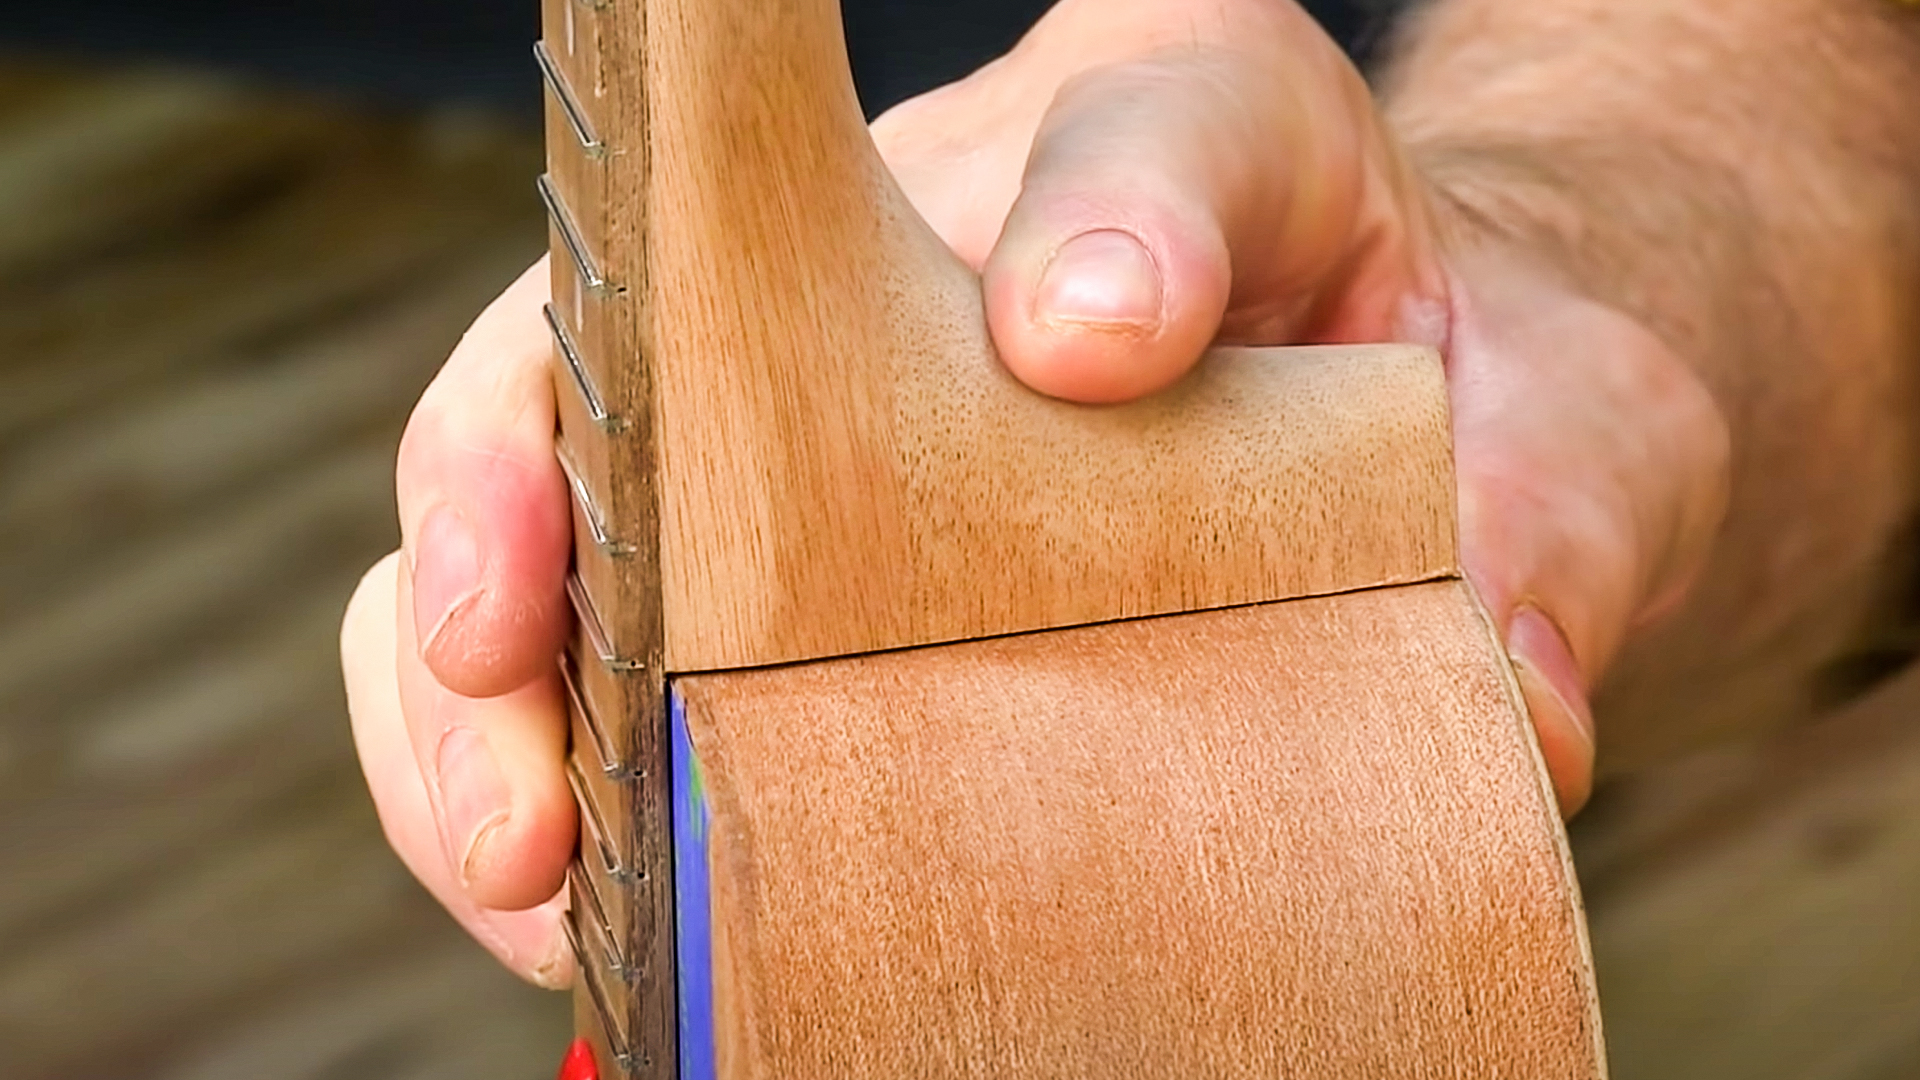
- Fitting the neck to the body for a perfect fit
LESSON 7
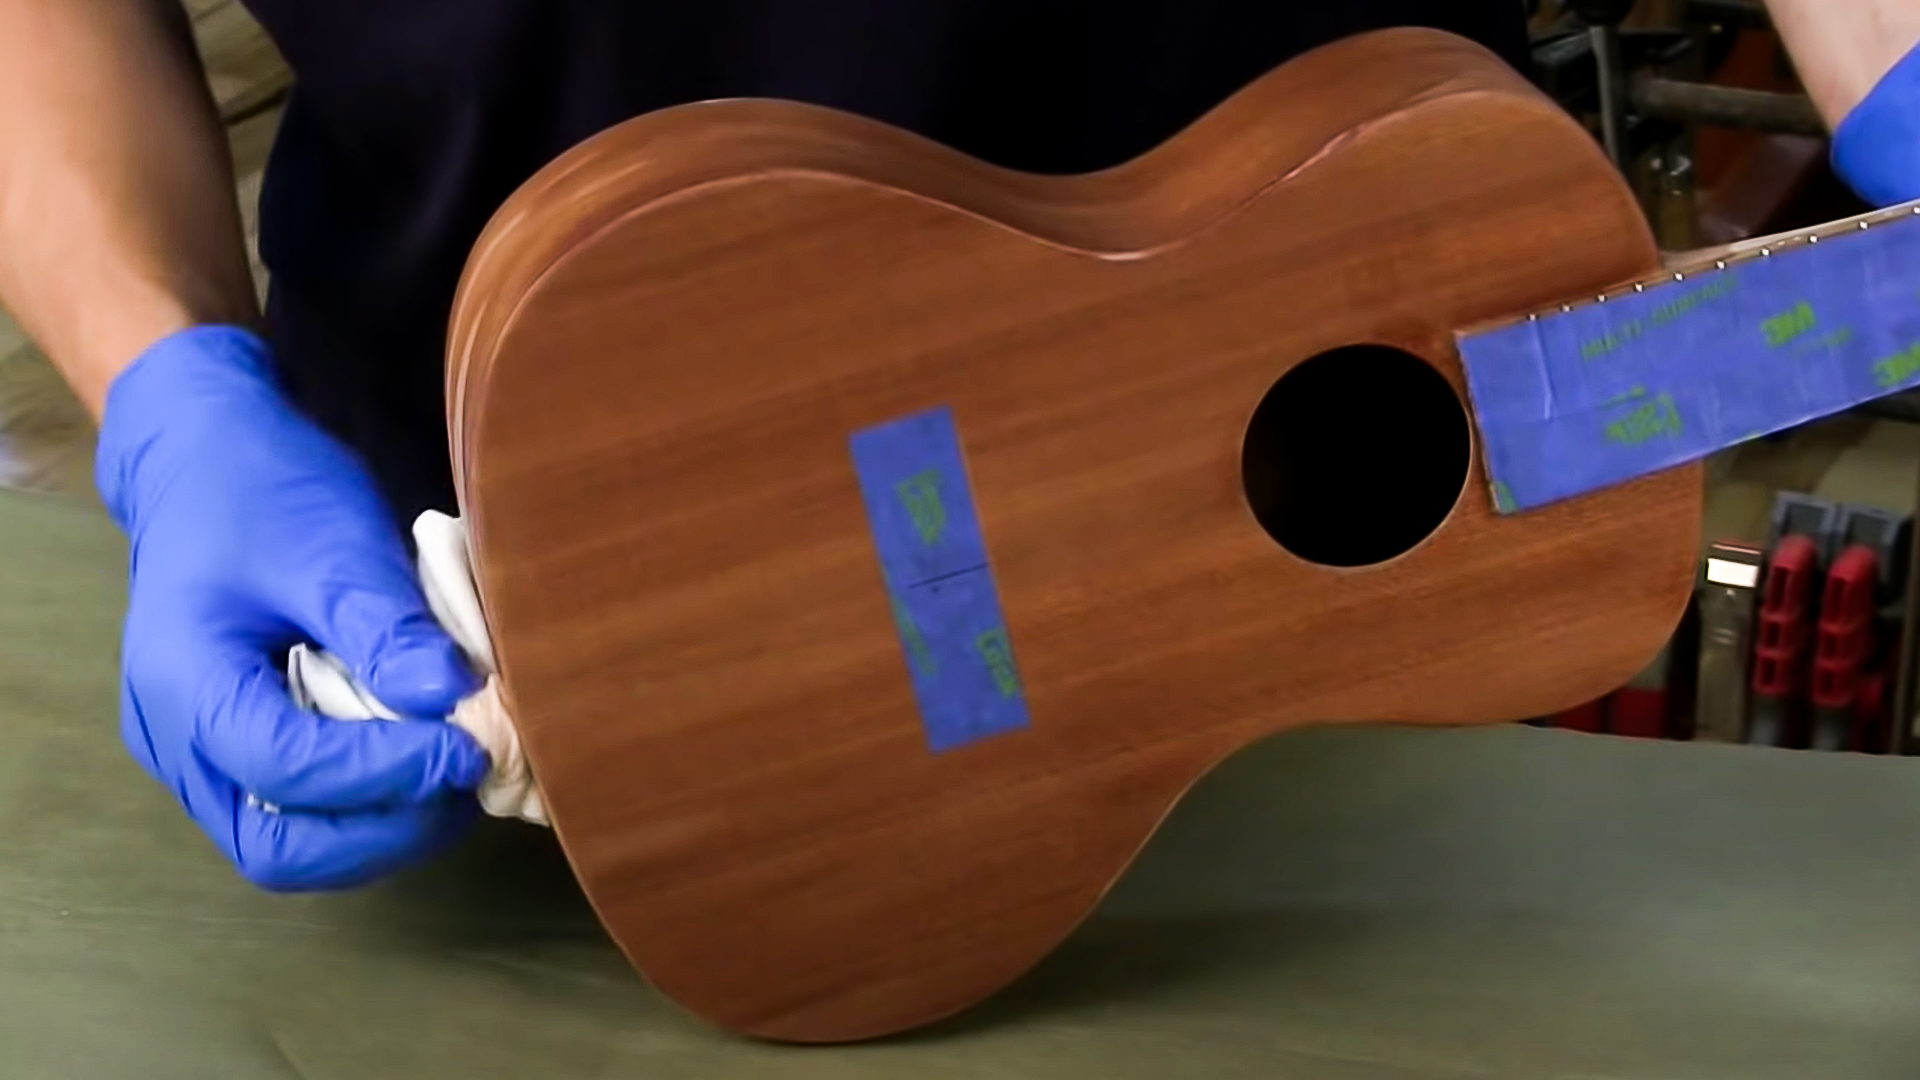
STAINING THE BODY+NECK
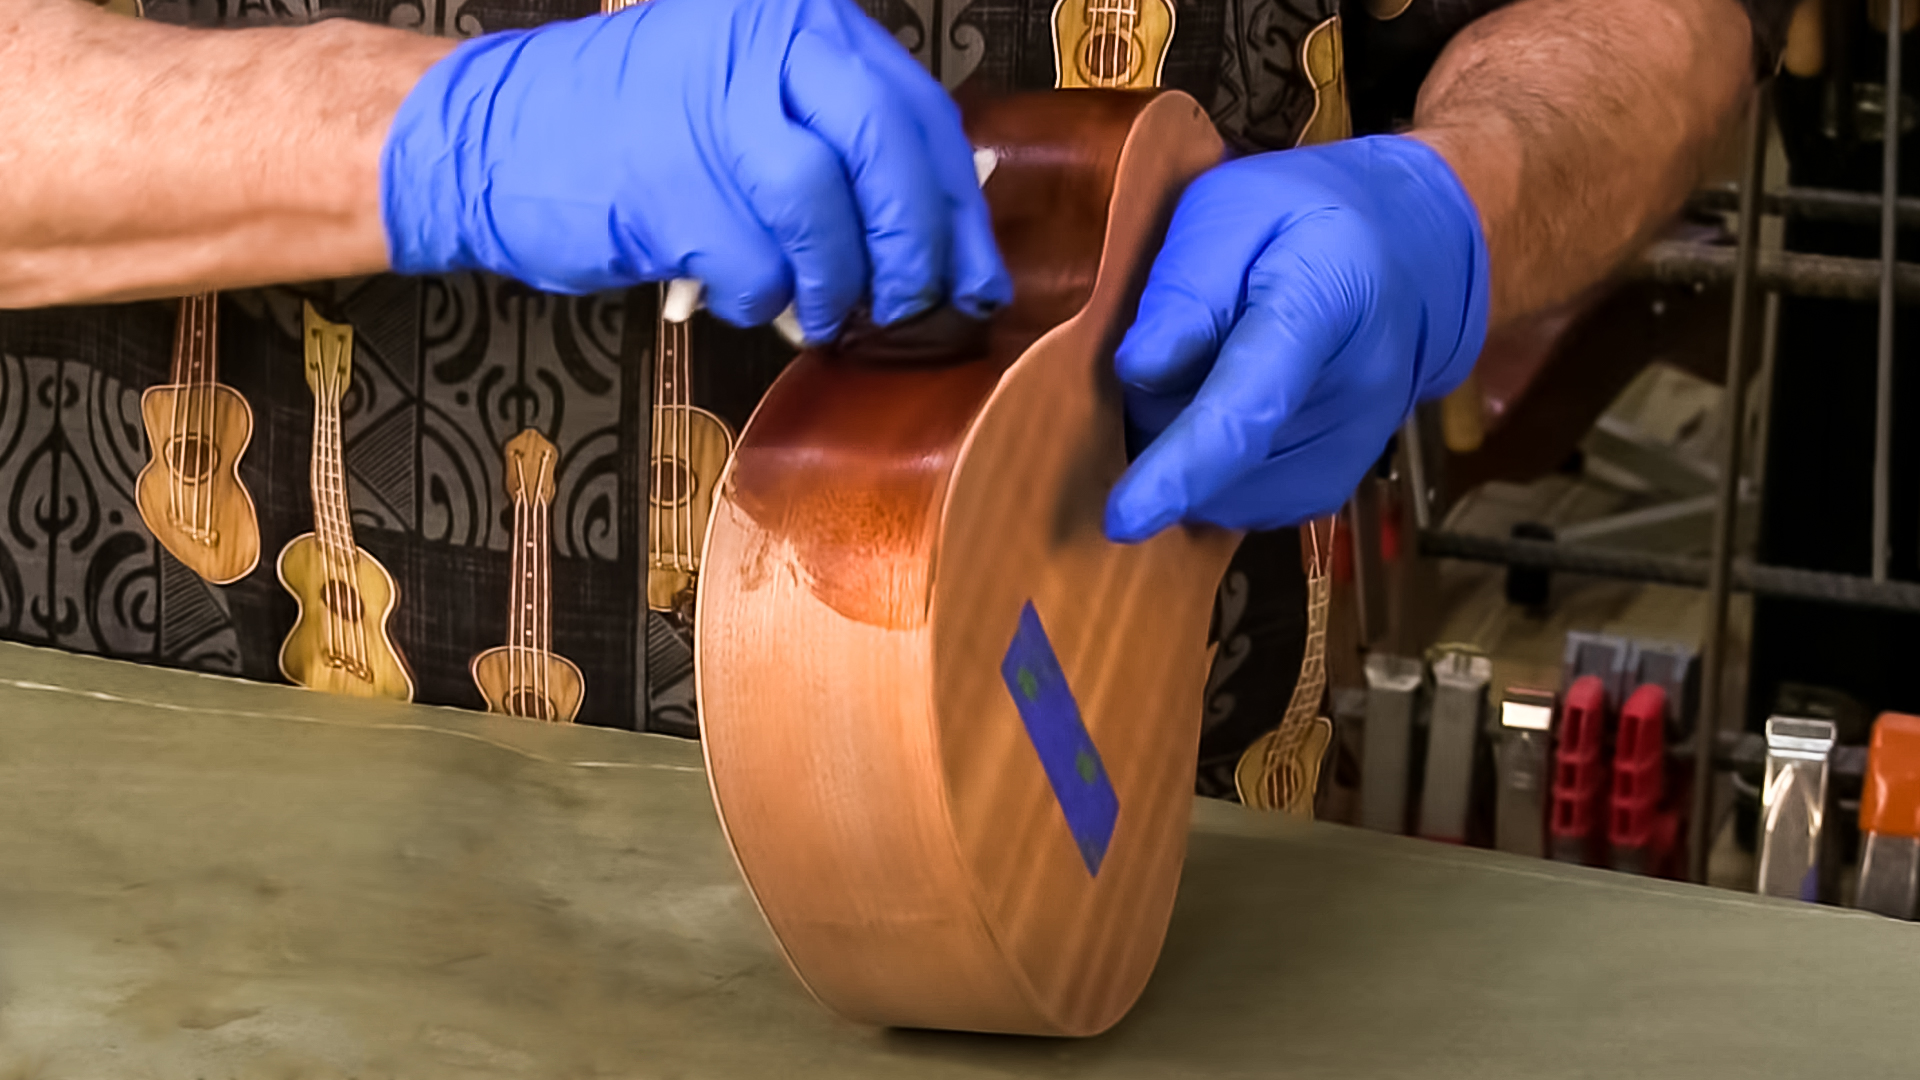
- Mixing custom stains
- How to prep end grain for staining
- Why to stain the body and neck separately
LESSON 8
ATTACHING THE NECK
- Gluing the fingerboard extension
- Gluing the neck and keeping it straight
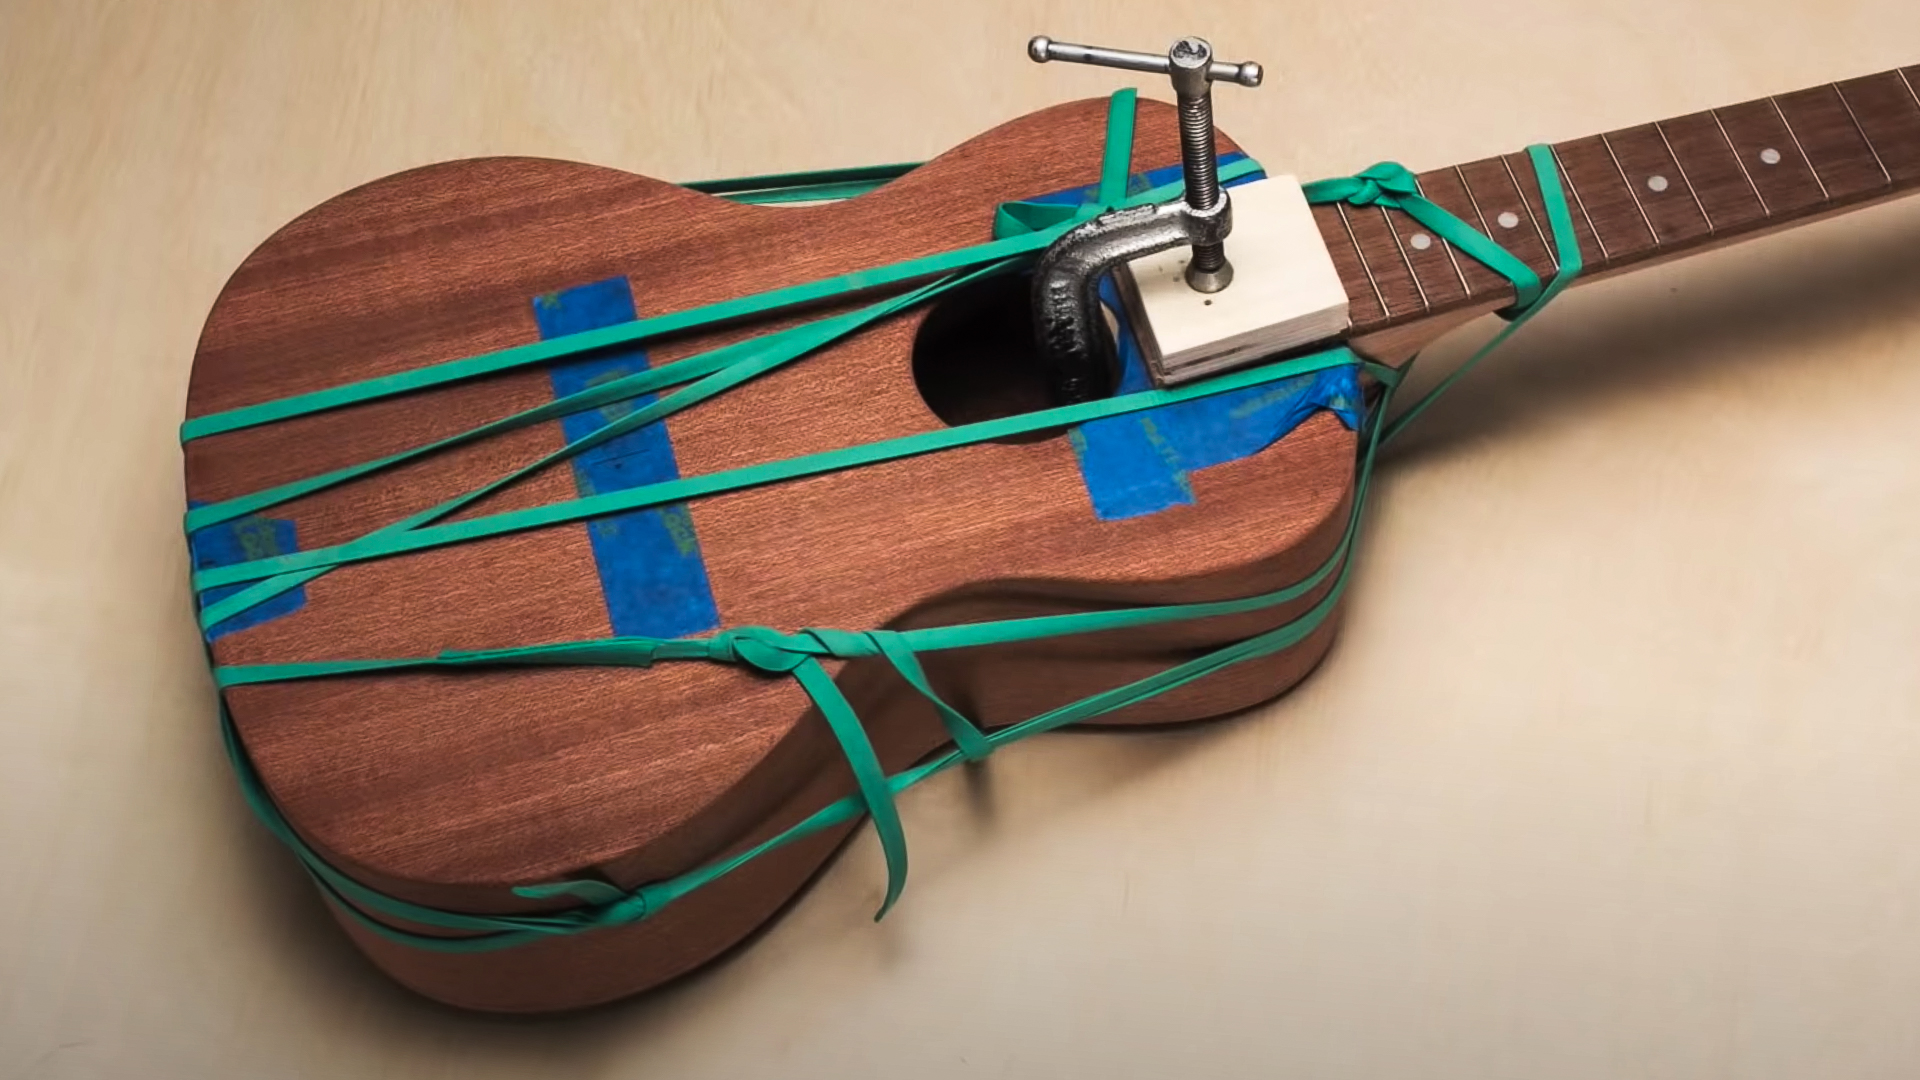
- Clamping the neck with rubber bands
LESSON 9
APPLYING THE FINISH
- Final prepping the wood for finishing
- How to scuff sand
- Finishing with a rag and a brush
- Applying the final coat
LESSON 10
ASSEMBLY+SETUP
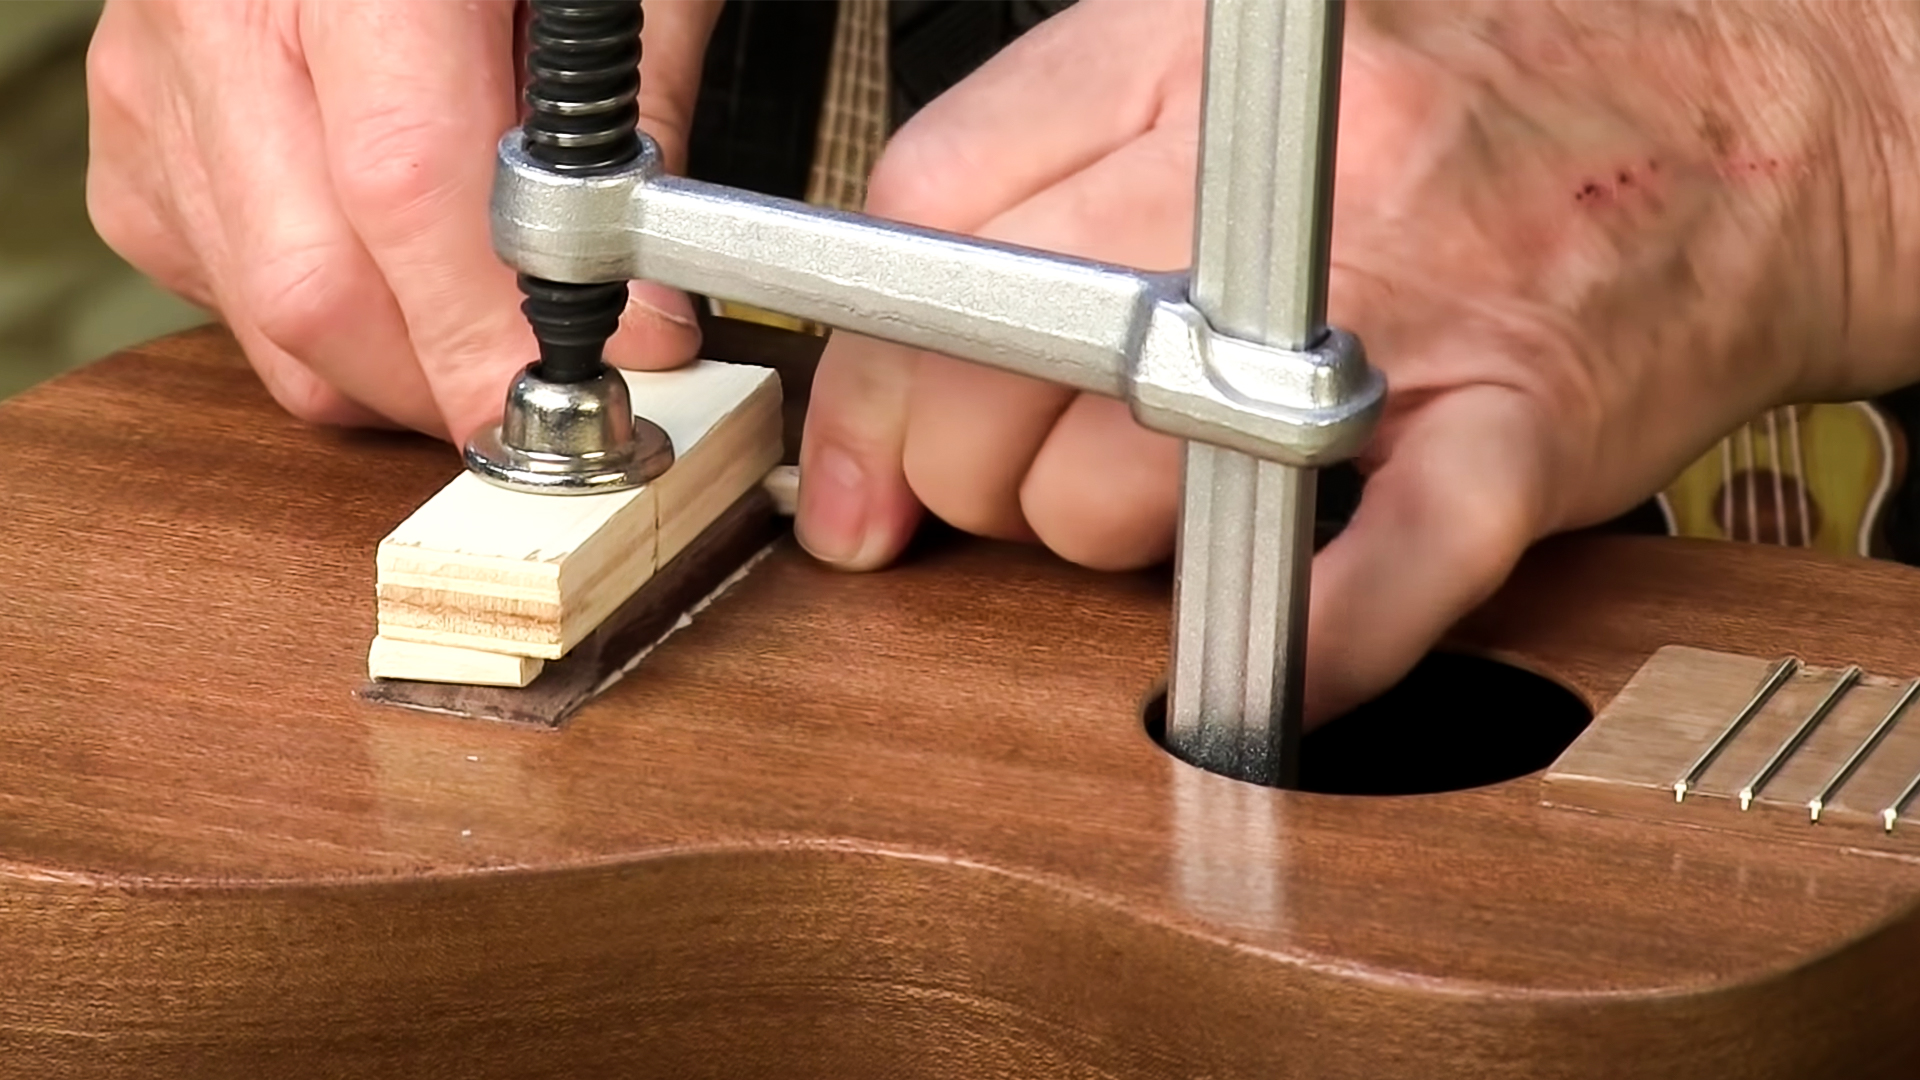
- Gluing on the bridge
- Installing the tuners
- Fitting the nut and saddle
- Fine-tuning the action and playability
- Oiling the fretboard and bridge
