Lesson 4: PREPARING THE NECK
Lesson 4: Preparing the neck
Dan gives you a complete lesson in fretting, from installing the frets and side dots, to gluing the fretboard to the neck.
In this video you'll learn:
- Making and installing side dots
- Prepping and cutting fretwire
- Hammering in and gluing in the frets
- Filing and beveling the fret ends
- Gluing on the fingerboard
- Drilling holes for the neck dowels
What you'll need:
- Mini Cam Clamp
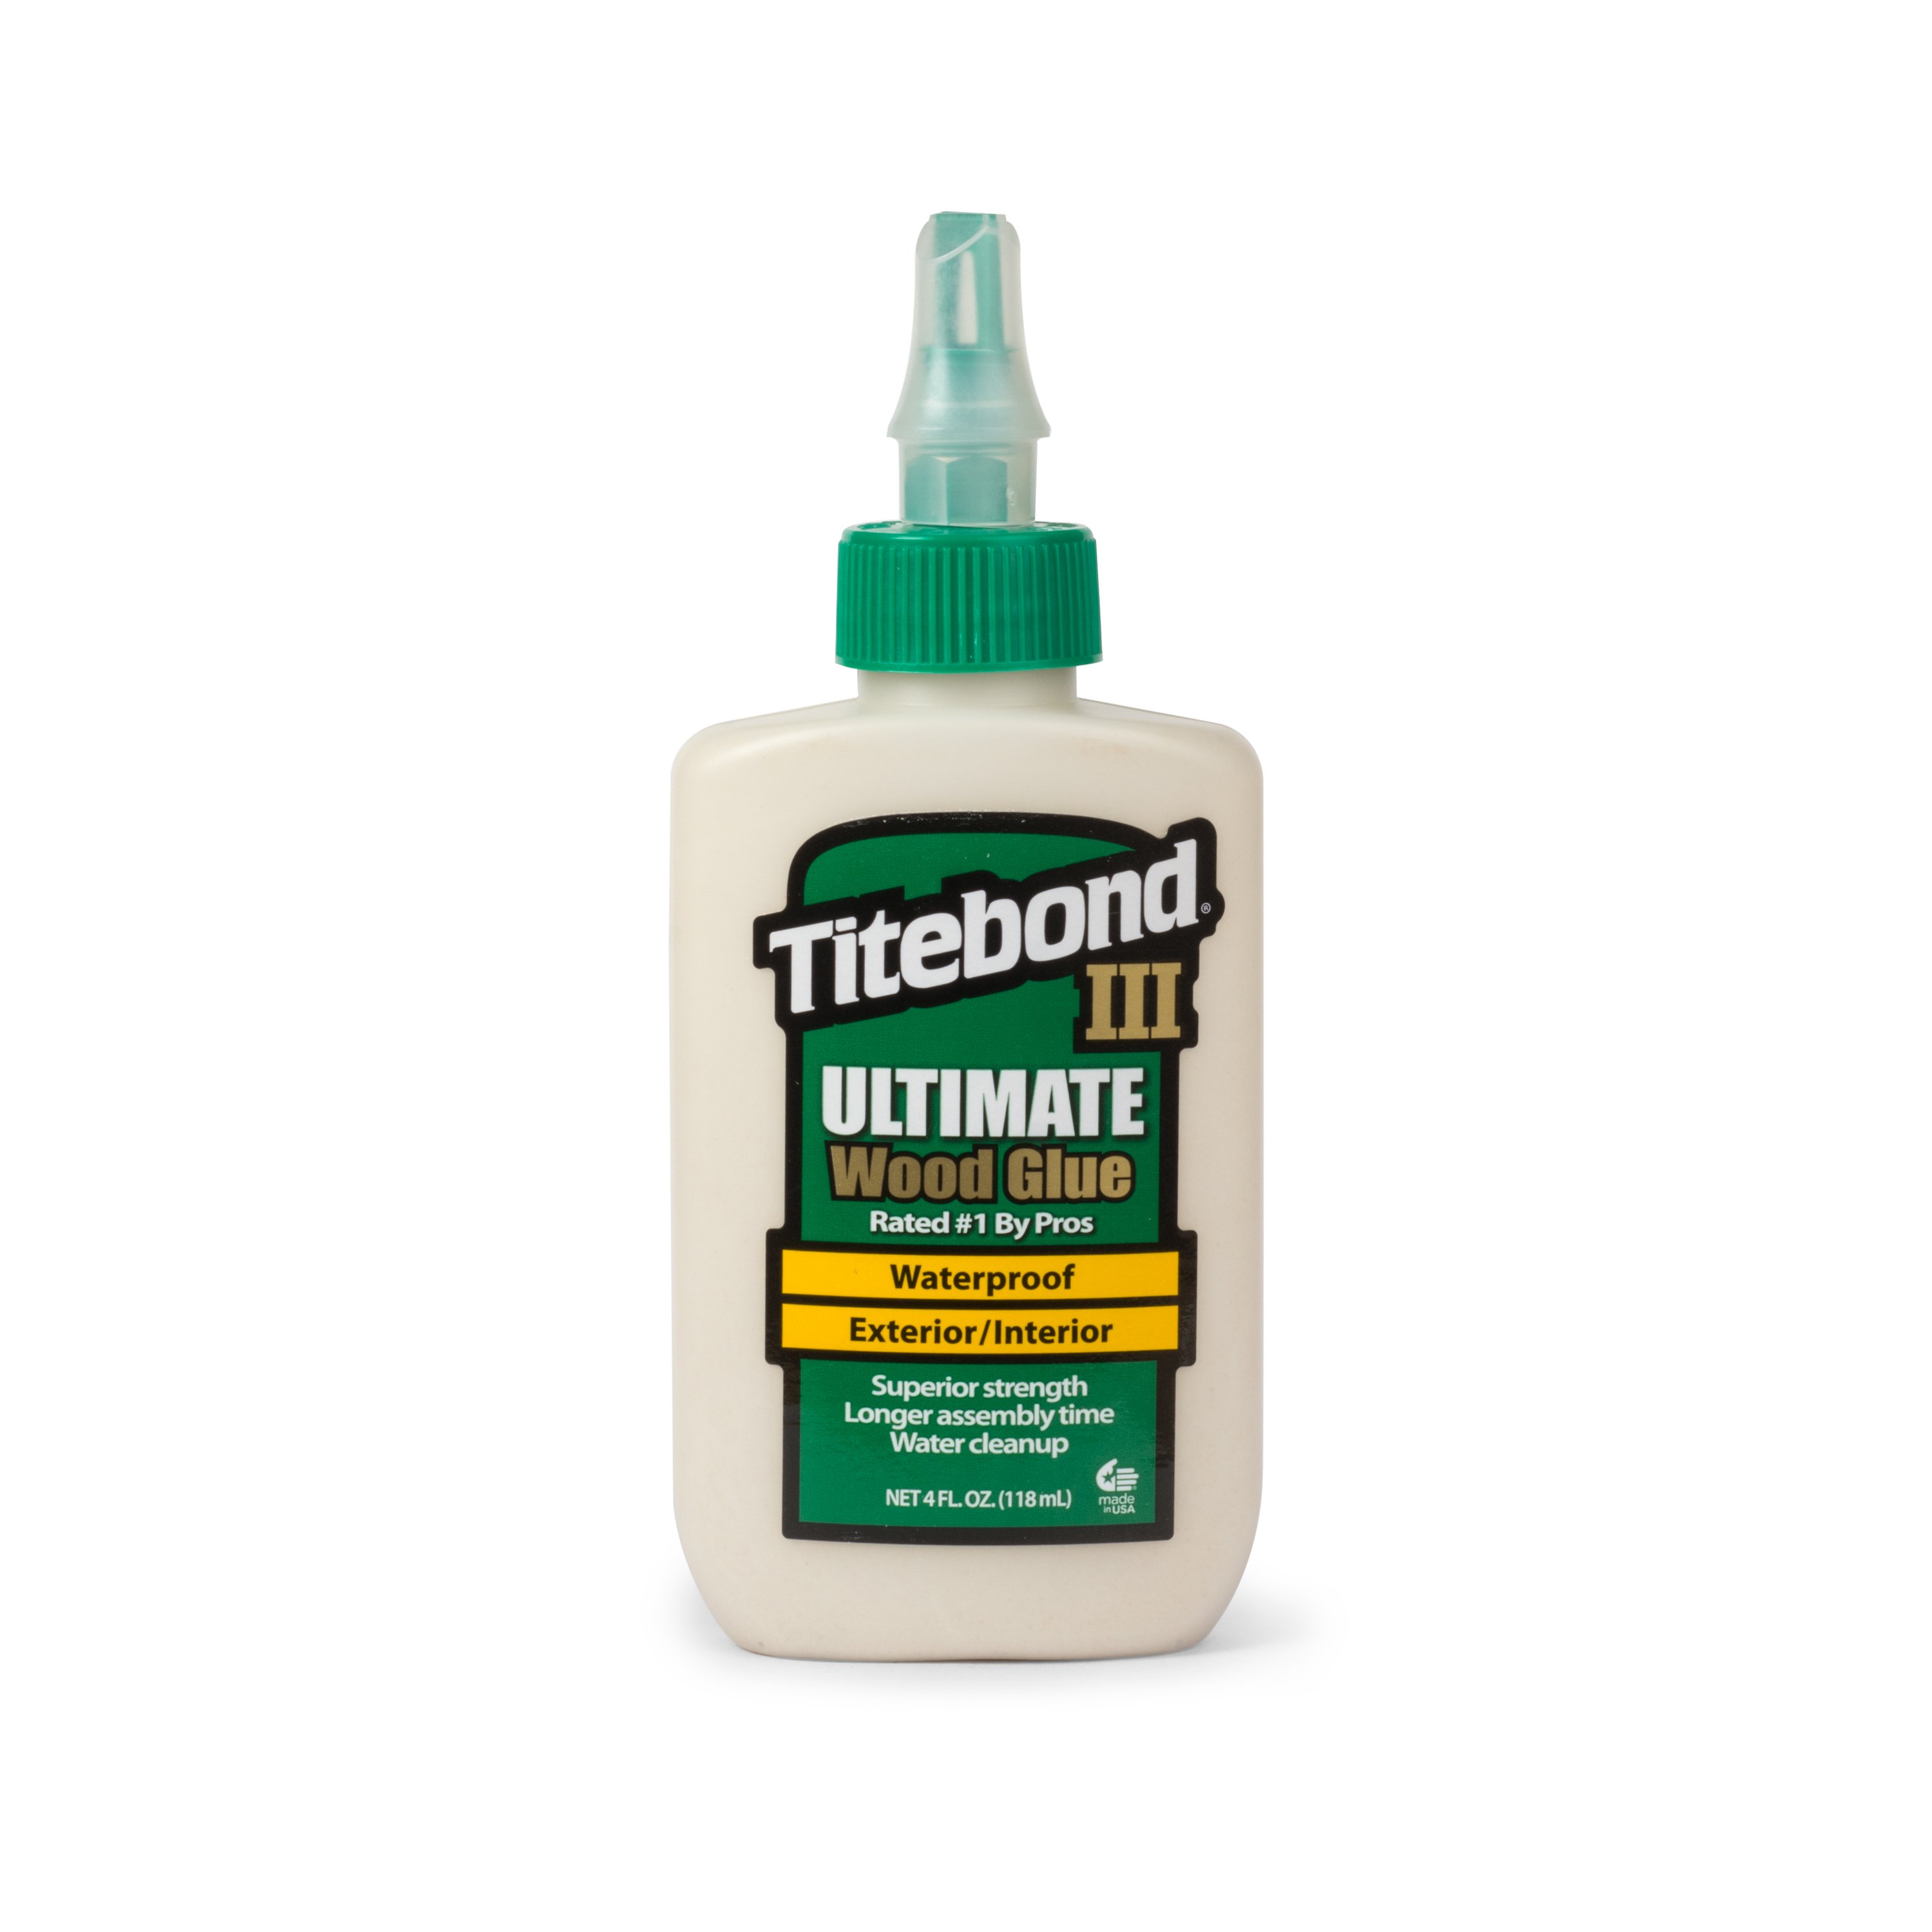
- Tightbond III Glue
- StewMac Fret Cutter
- Fretting Hammer
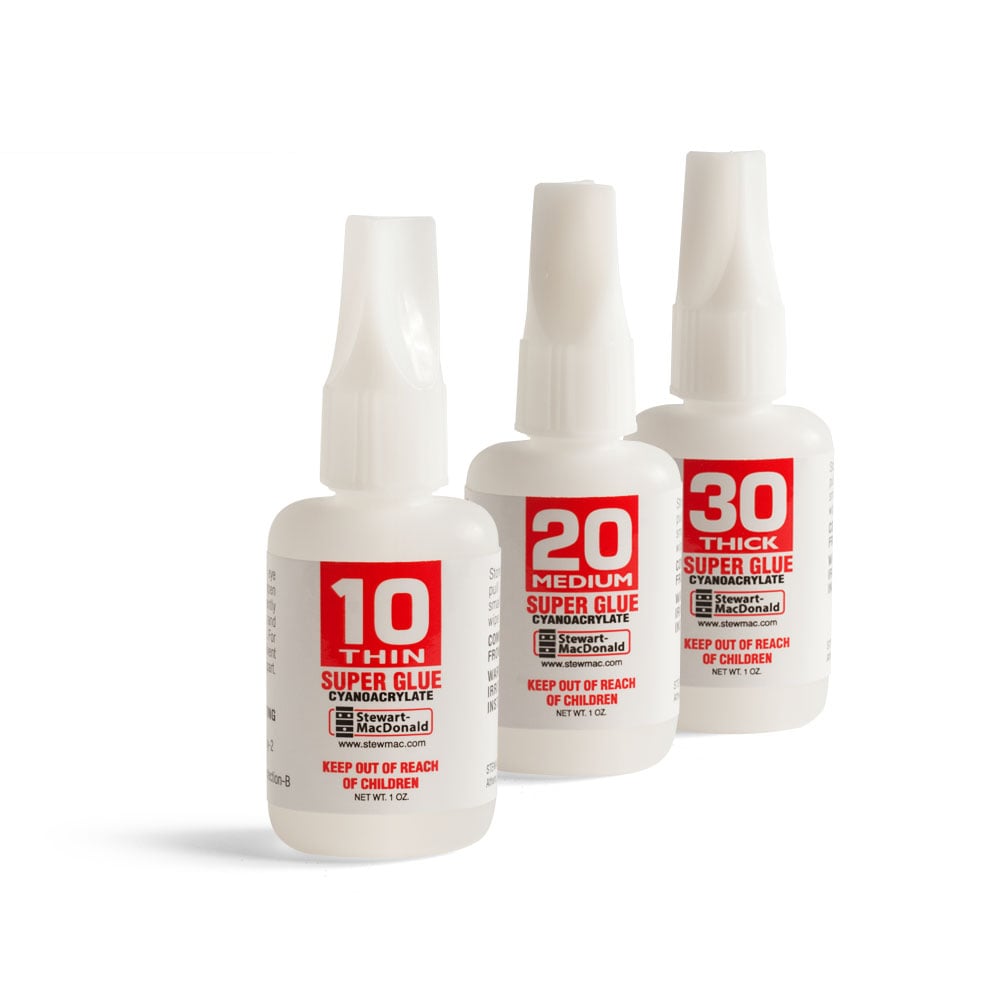
- StewMac Super Glue
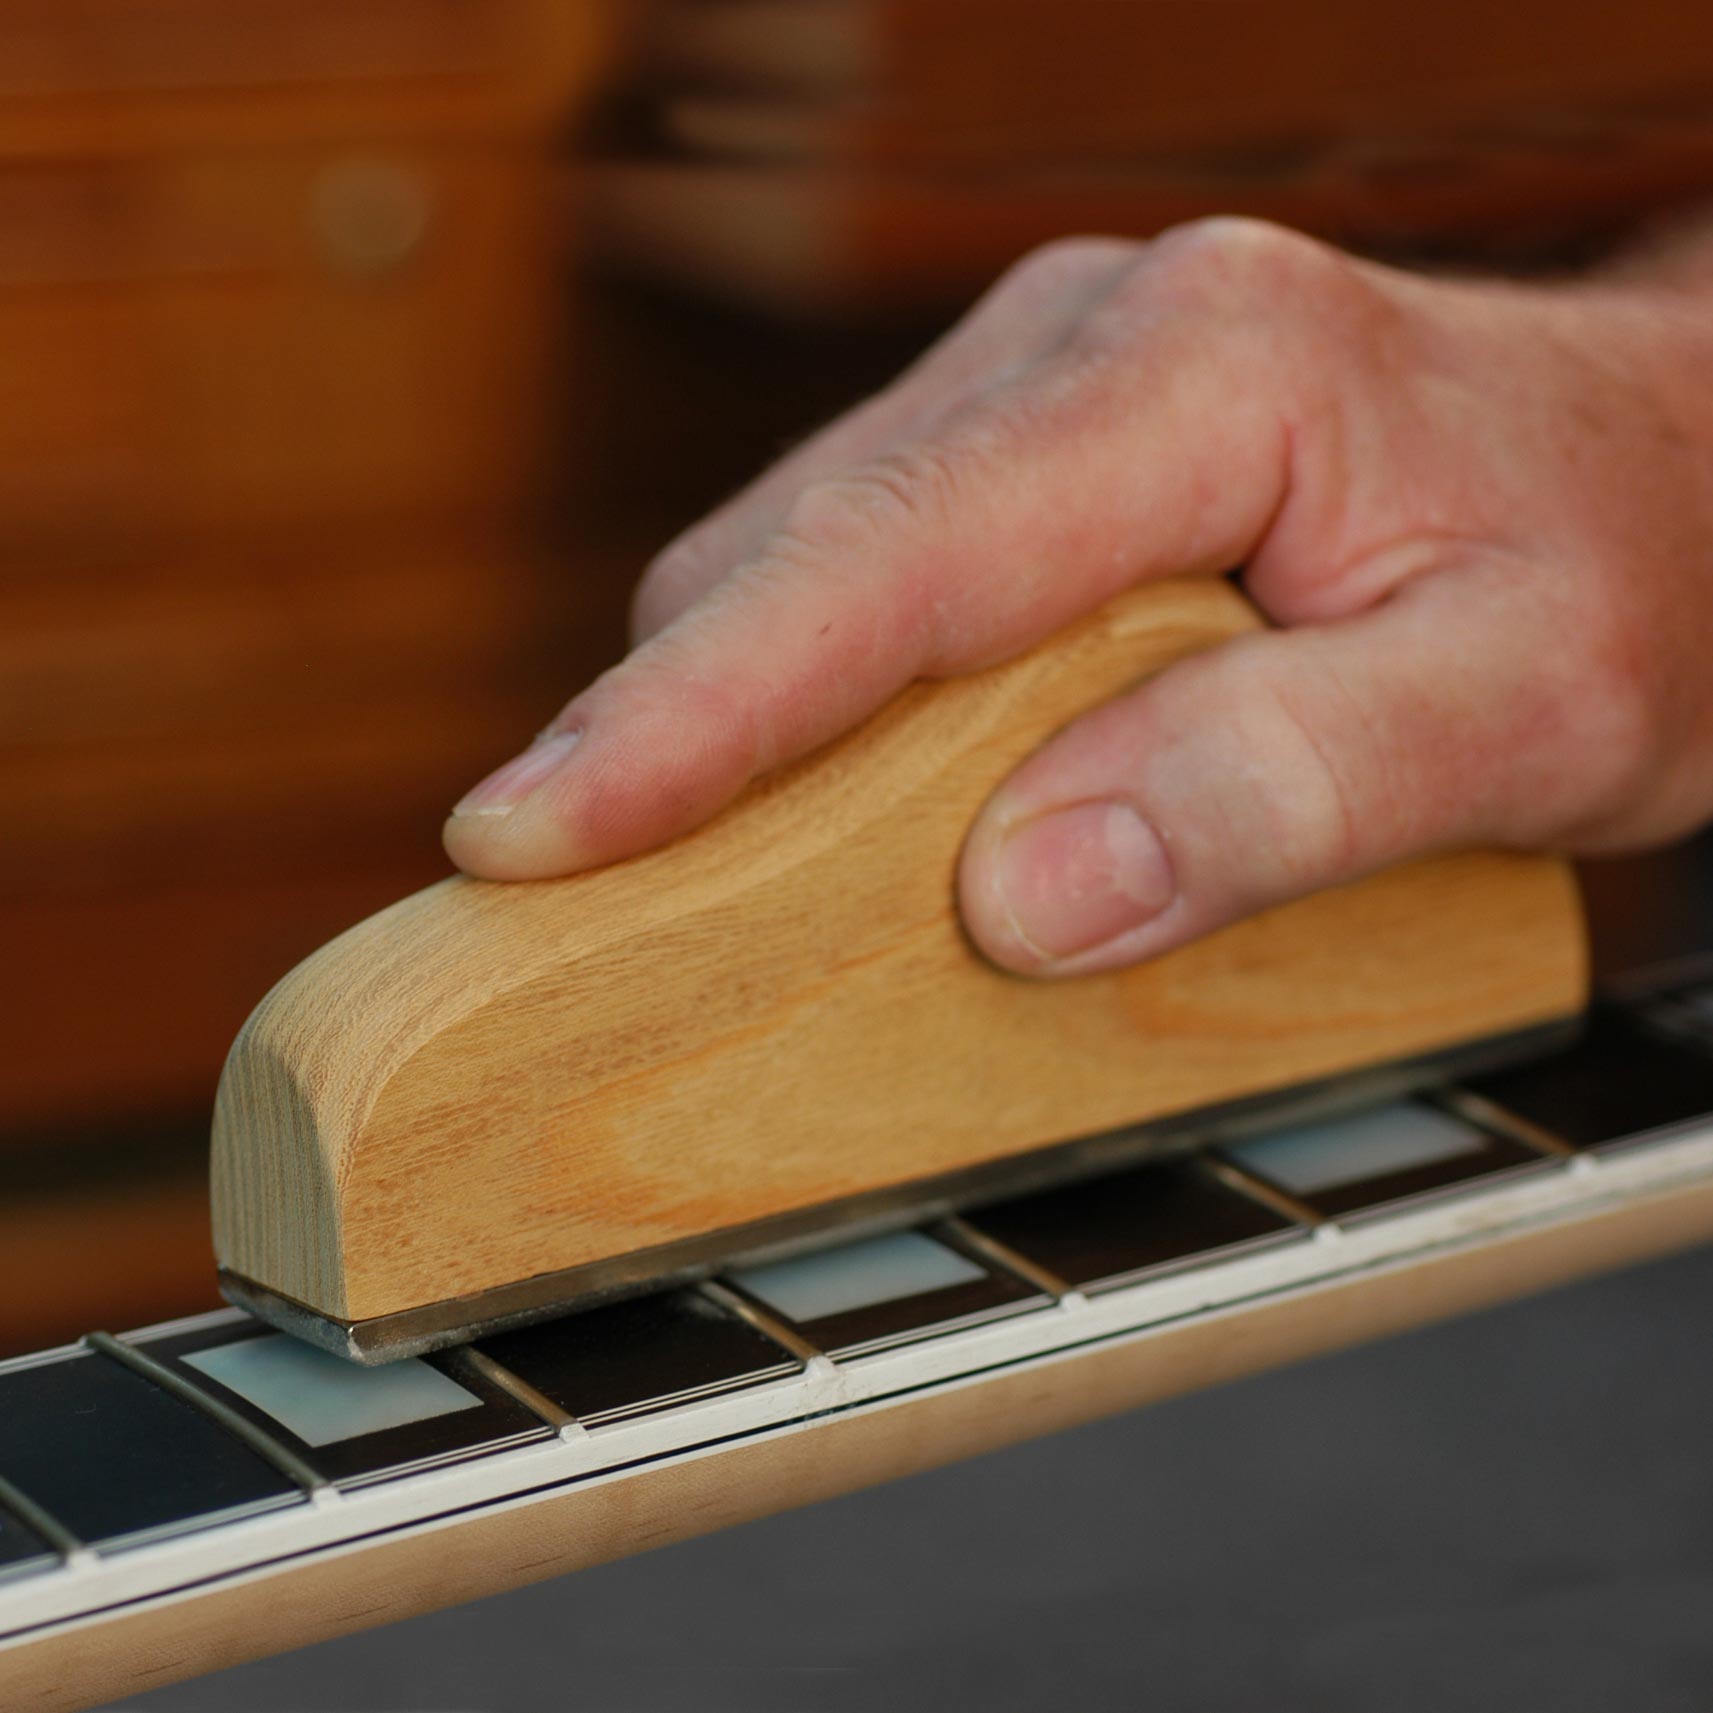
- Fret Leveler
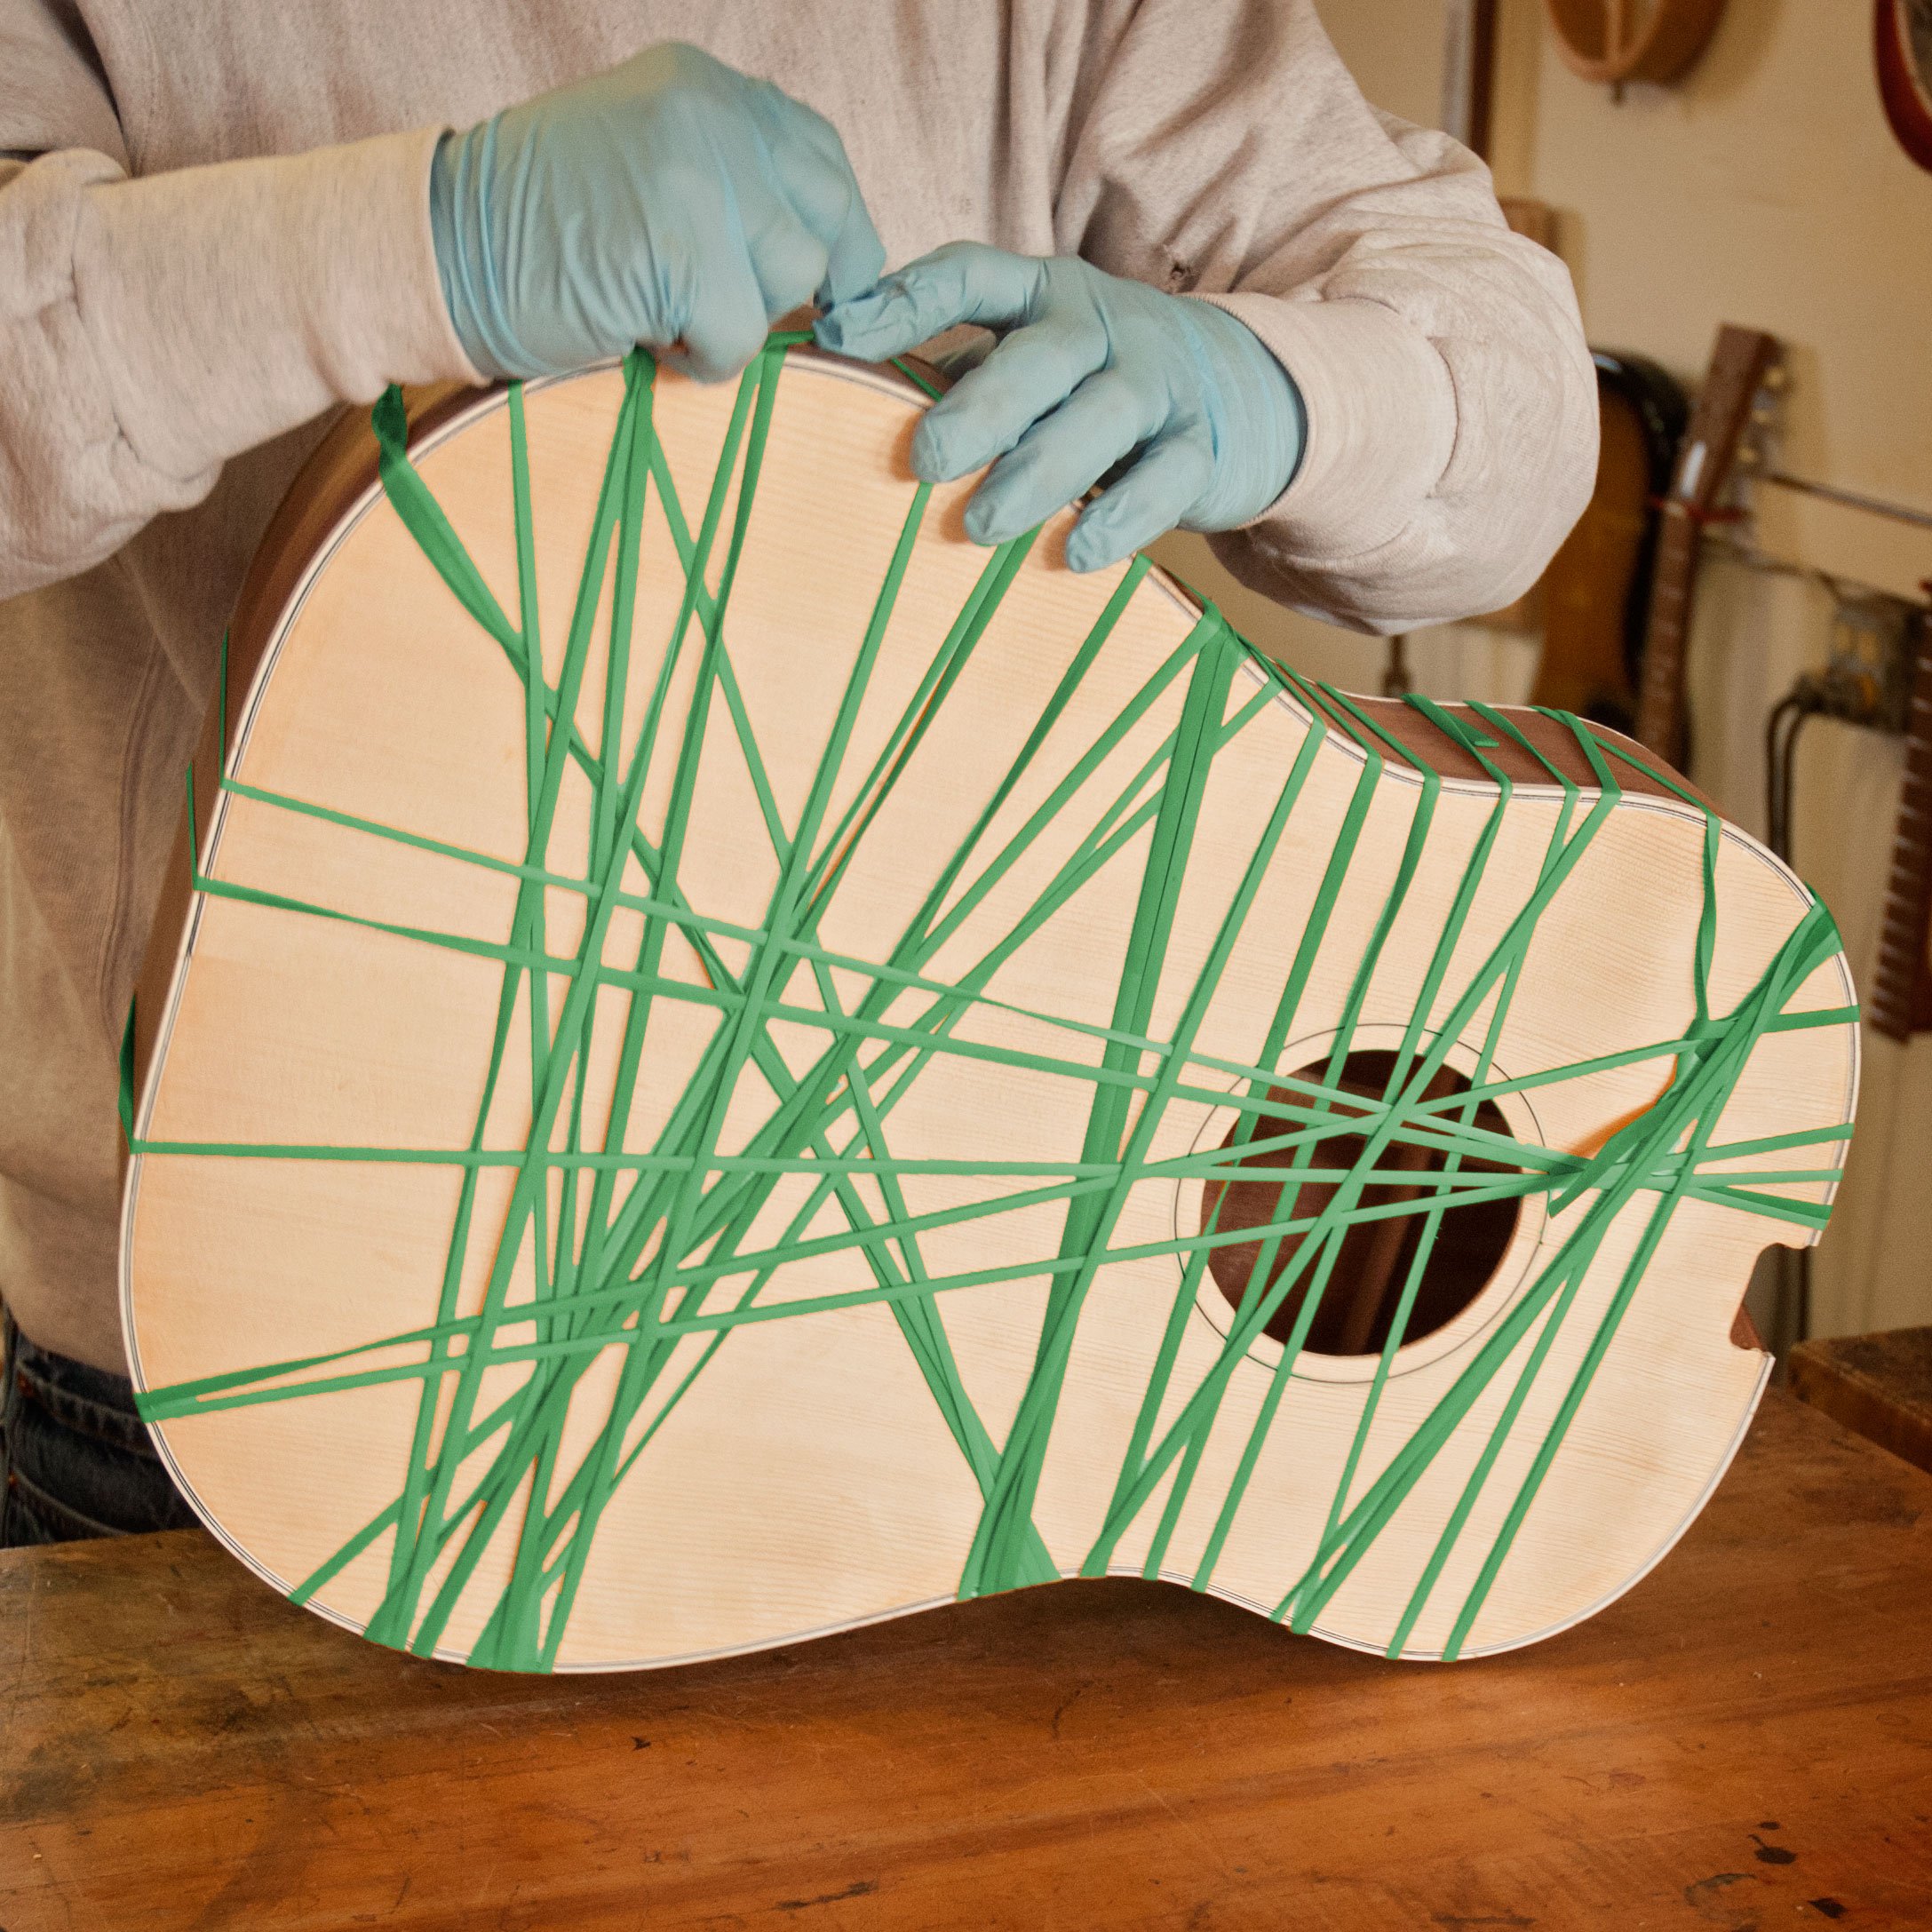
- Rubber Clamping Bands
- Plywood
- Electric hand drill
- Paste Wax
NEXT UP
Video Transcription
[on-screen text reads: How to Build a Ukulele. Lesson 4: Preparing the Neck]
Fret the fingerboard
Dan Erlewine: It's time to put the neck together. Right now we're ready to fret the fingerboard. The fingerboard is black walnut. It comes fret slotted with position markers at 5, 7, 10, and 12, but it doesn't have the side dots yet. You have to do that and they go at the same place as these dots.
Install the side dots
A side dot is made from this little 16th inch dowel of sort of an ivoroid plastic. You drill a hole, put the dowel in with some glue and cut it off. Now for drilling it, I'm going to clamp it to this piece of two by four so I can hold it tight while I drill.
Before drilling, you want to make a little center punch to keep the drill bit centered. Then chuck up the 16th inch drill bit. When you drill the hole, start in reverse just to get a little imprint of the bit, then go forward and drill them all to the depth. Then take the dowel and lightly taper it on some 320 sandpaper just to knock off any sharp parts so it goes in. Dip it in some Titebond III. Get the glue down on the hole and shove it down in. I like to wipe up a little bit of the glue and then cut it off with my little saw just to keep it out of the teeth and go right on down the line.
Give them a couple minutes to dry. It doesn't take long because they're wedged in there. And take a file and file it flush to the edge of the board.
Install the frets
The fret wire comes in a coil and you need to straighten it out a bit. First go around this way and take any kinks out. Your fret tang, that's the part that goes in the slot is downward. And when you get that, then look at it sideways and try to straighten it out in that dimension too. It doesn't have to be perfect but decent. And then it'll just straighten itself from when you tap it into a fret slot. Take the fret and slide it up to the edge away from you and then bring it up right to the edge with a tiny little overhang. I want to cut this as close to the actual length as I can.
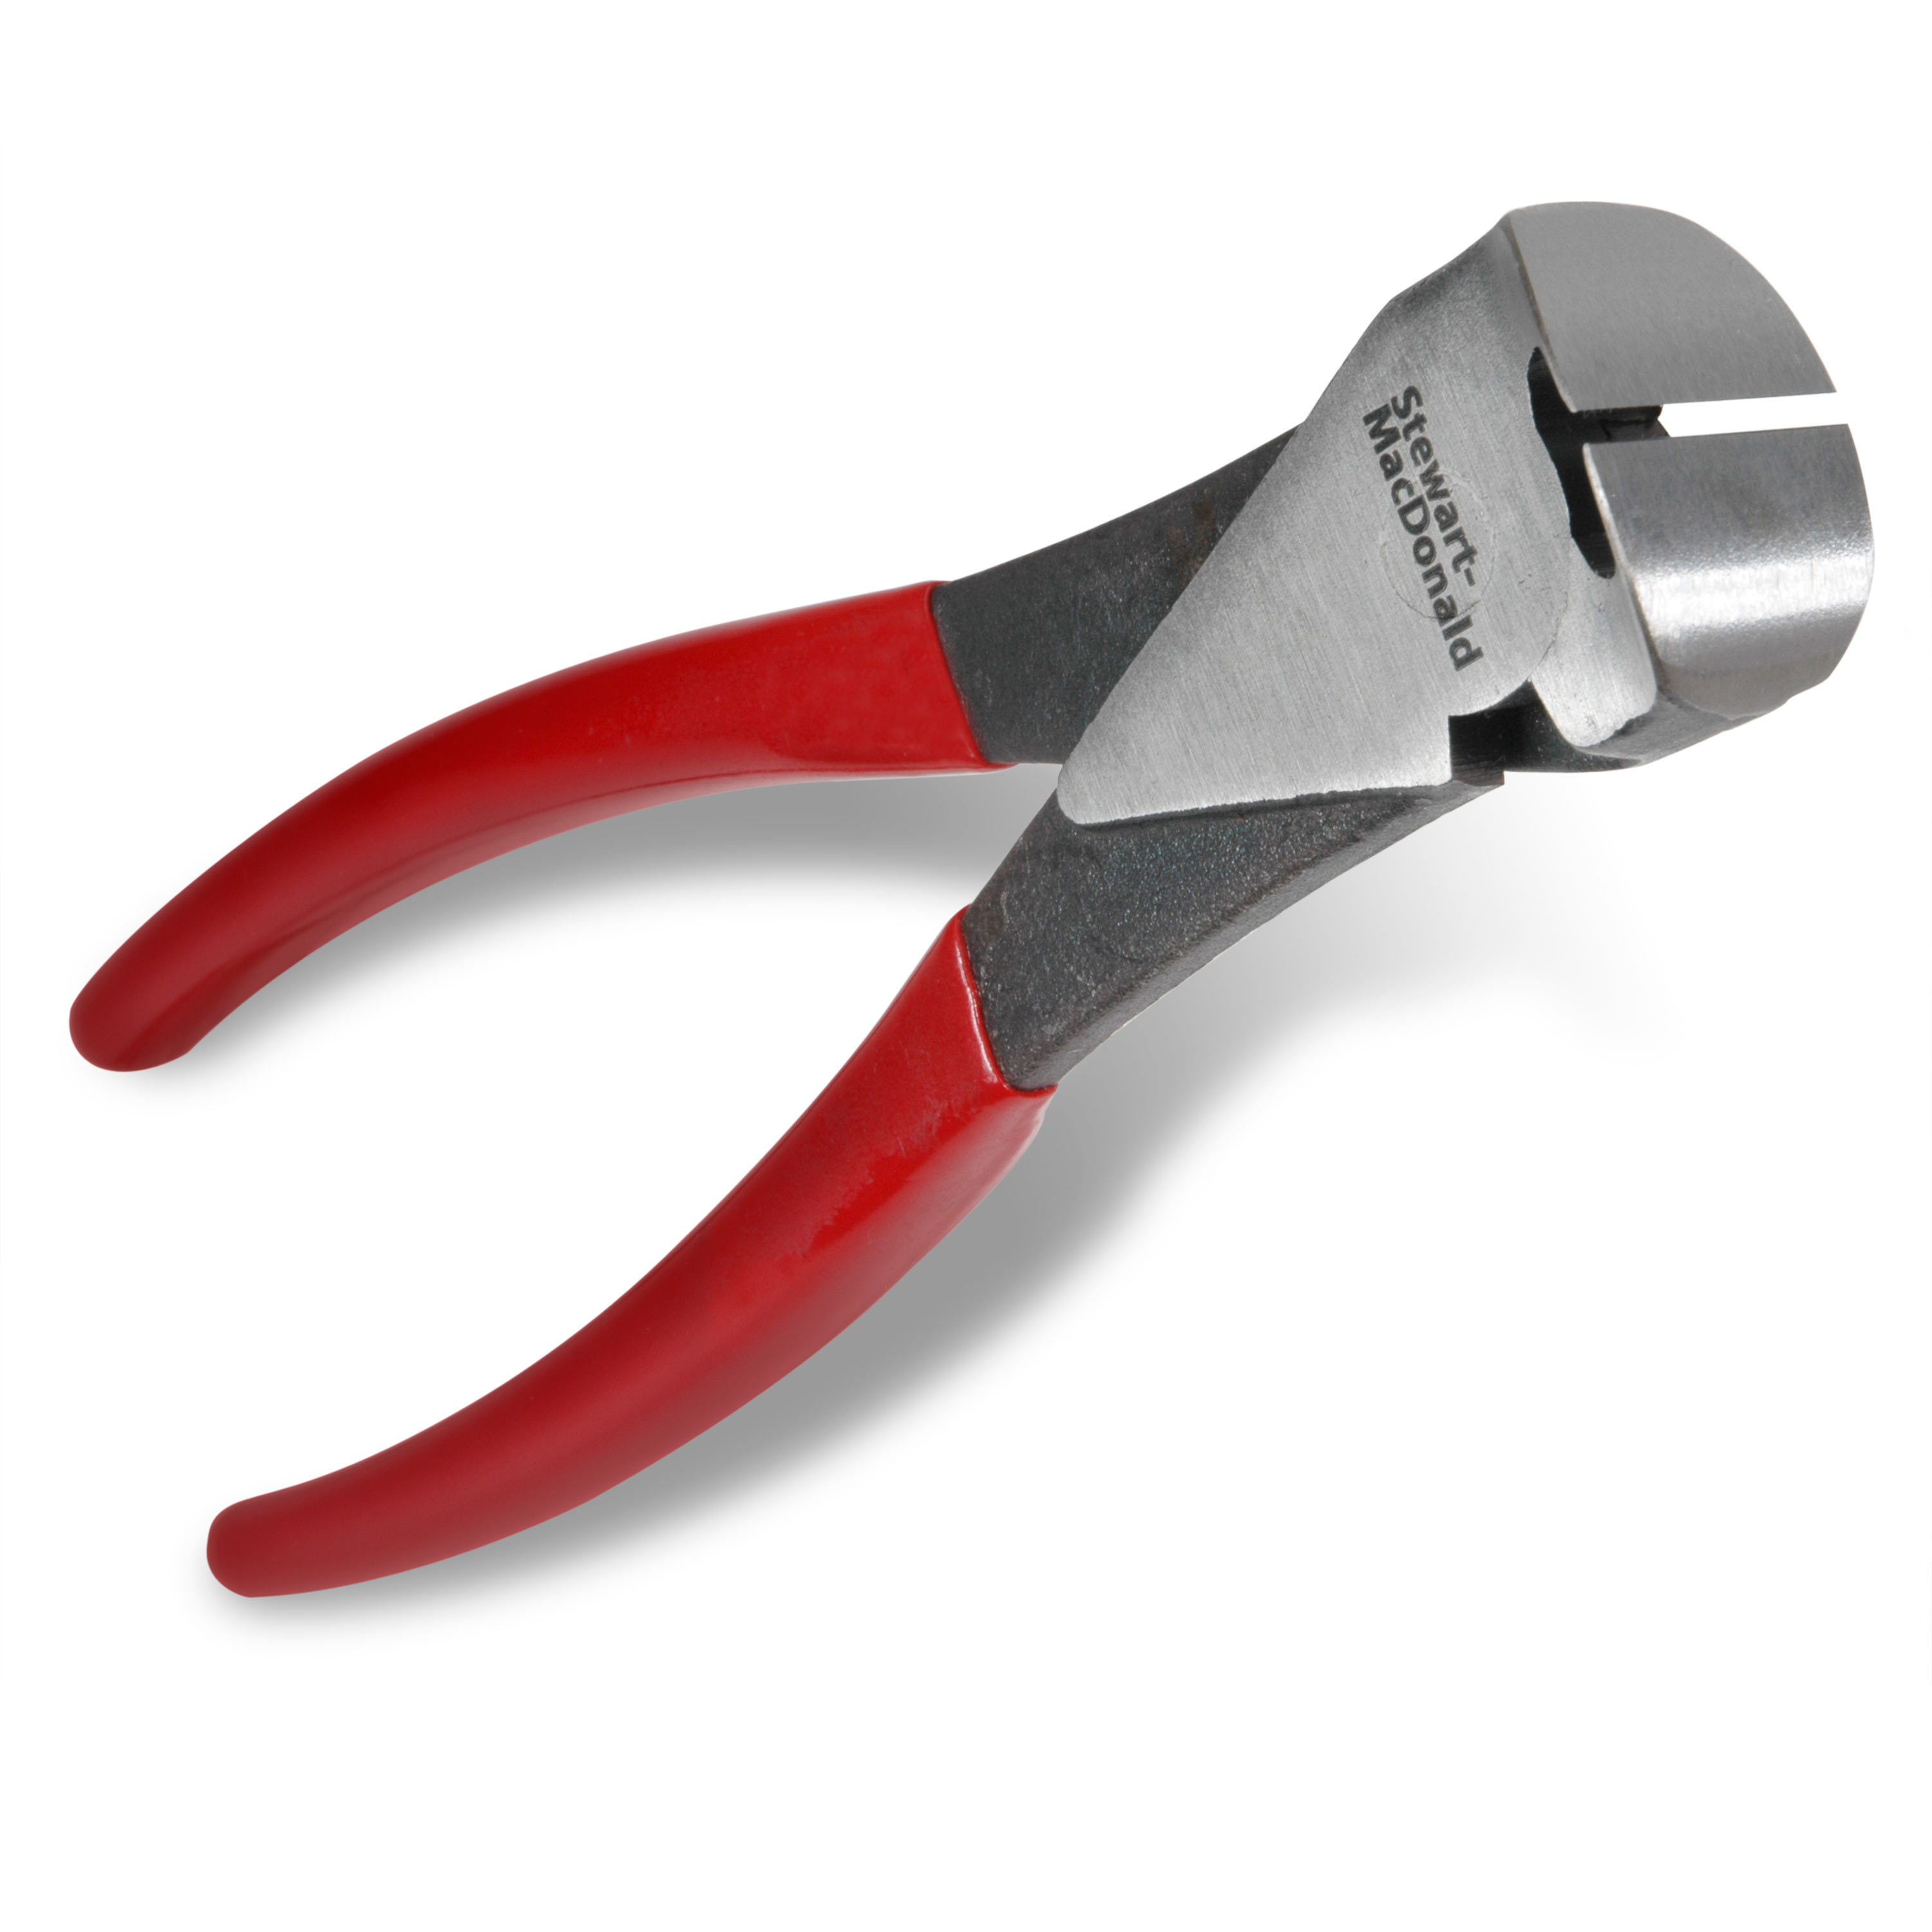
I run my cutters up to the board and then back off just a little bit and cut there. What that gives me is the fret that's almost perfect and won't take any trimming with cutters, later a file will get the work like that. This is some masking tape upside down to hold my frets in place because when I start hammering them in these will jump all over. Hold the fret between your index finger and your thumb and put it over the slot and try to balance it there. It's going to want to tip on you and press a little bit when you're holding it square, it'll start in and that's when you pick up your hammer and tap down one side away from you, then the one side towards you till it starts the seat and holds its position, then you can hammer it home.
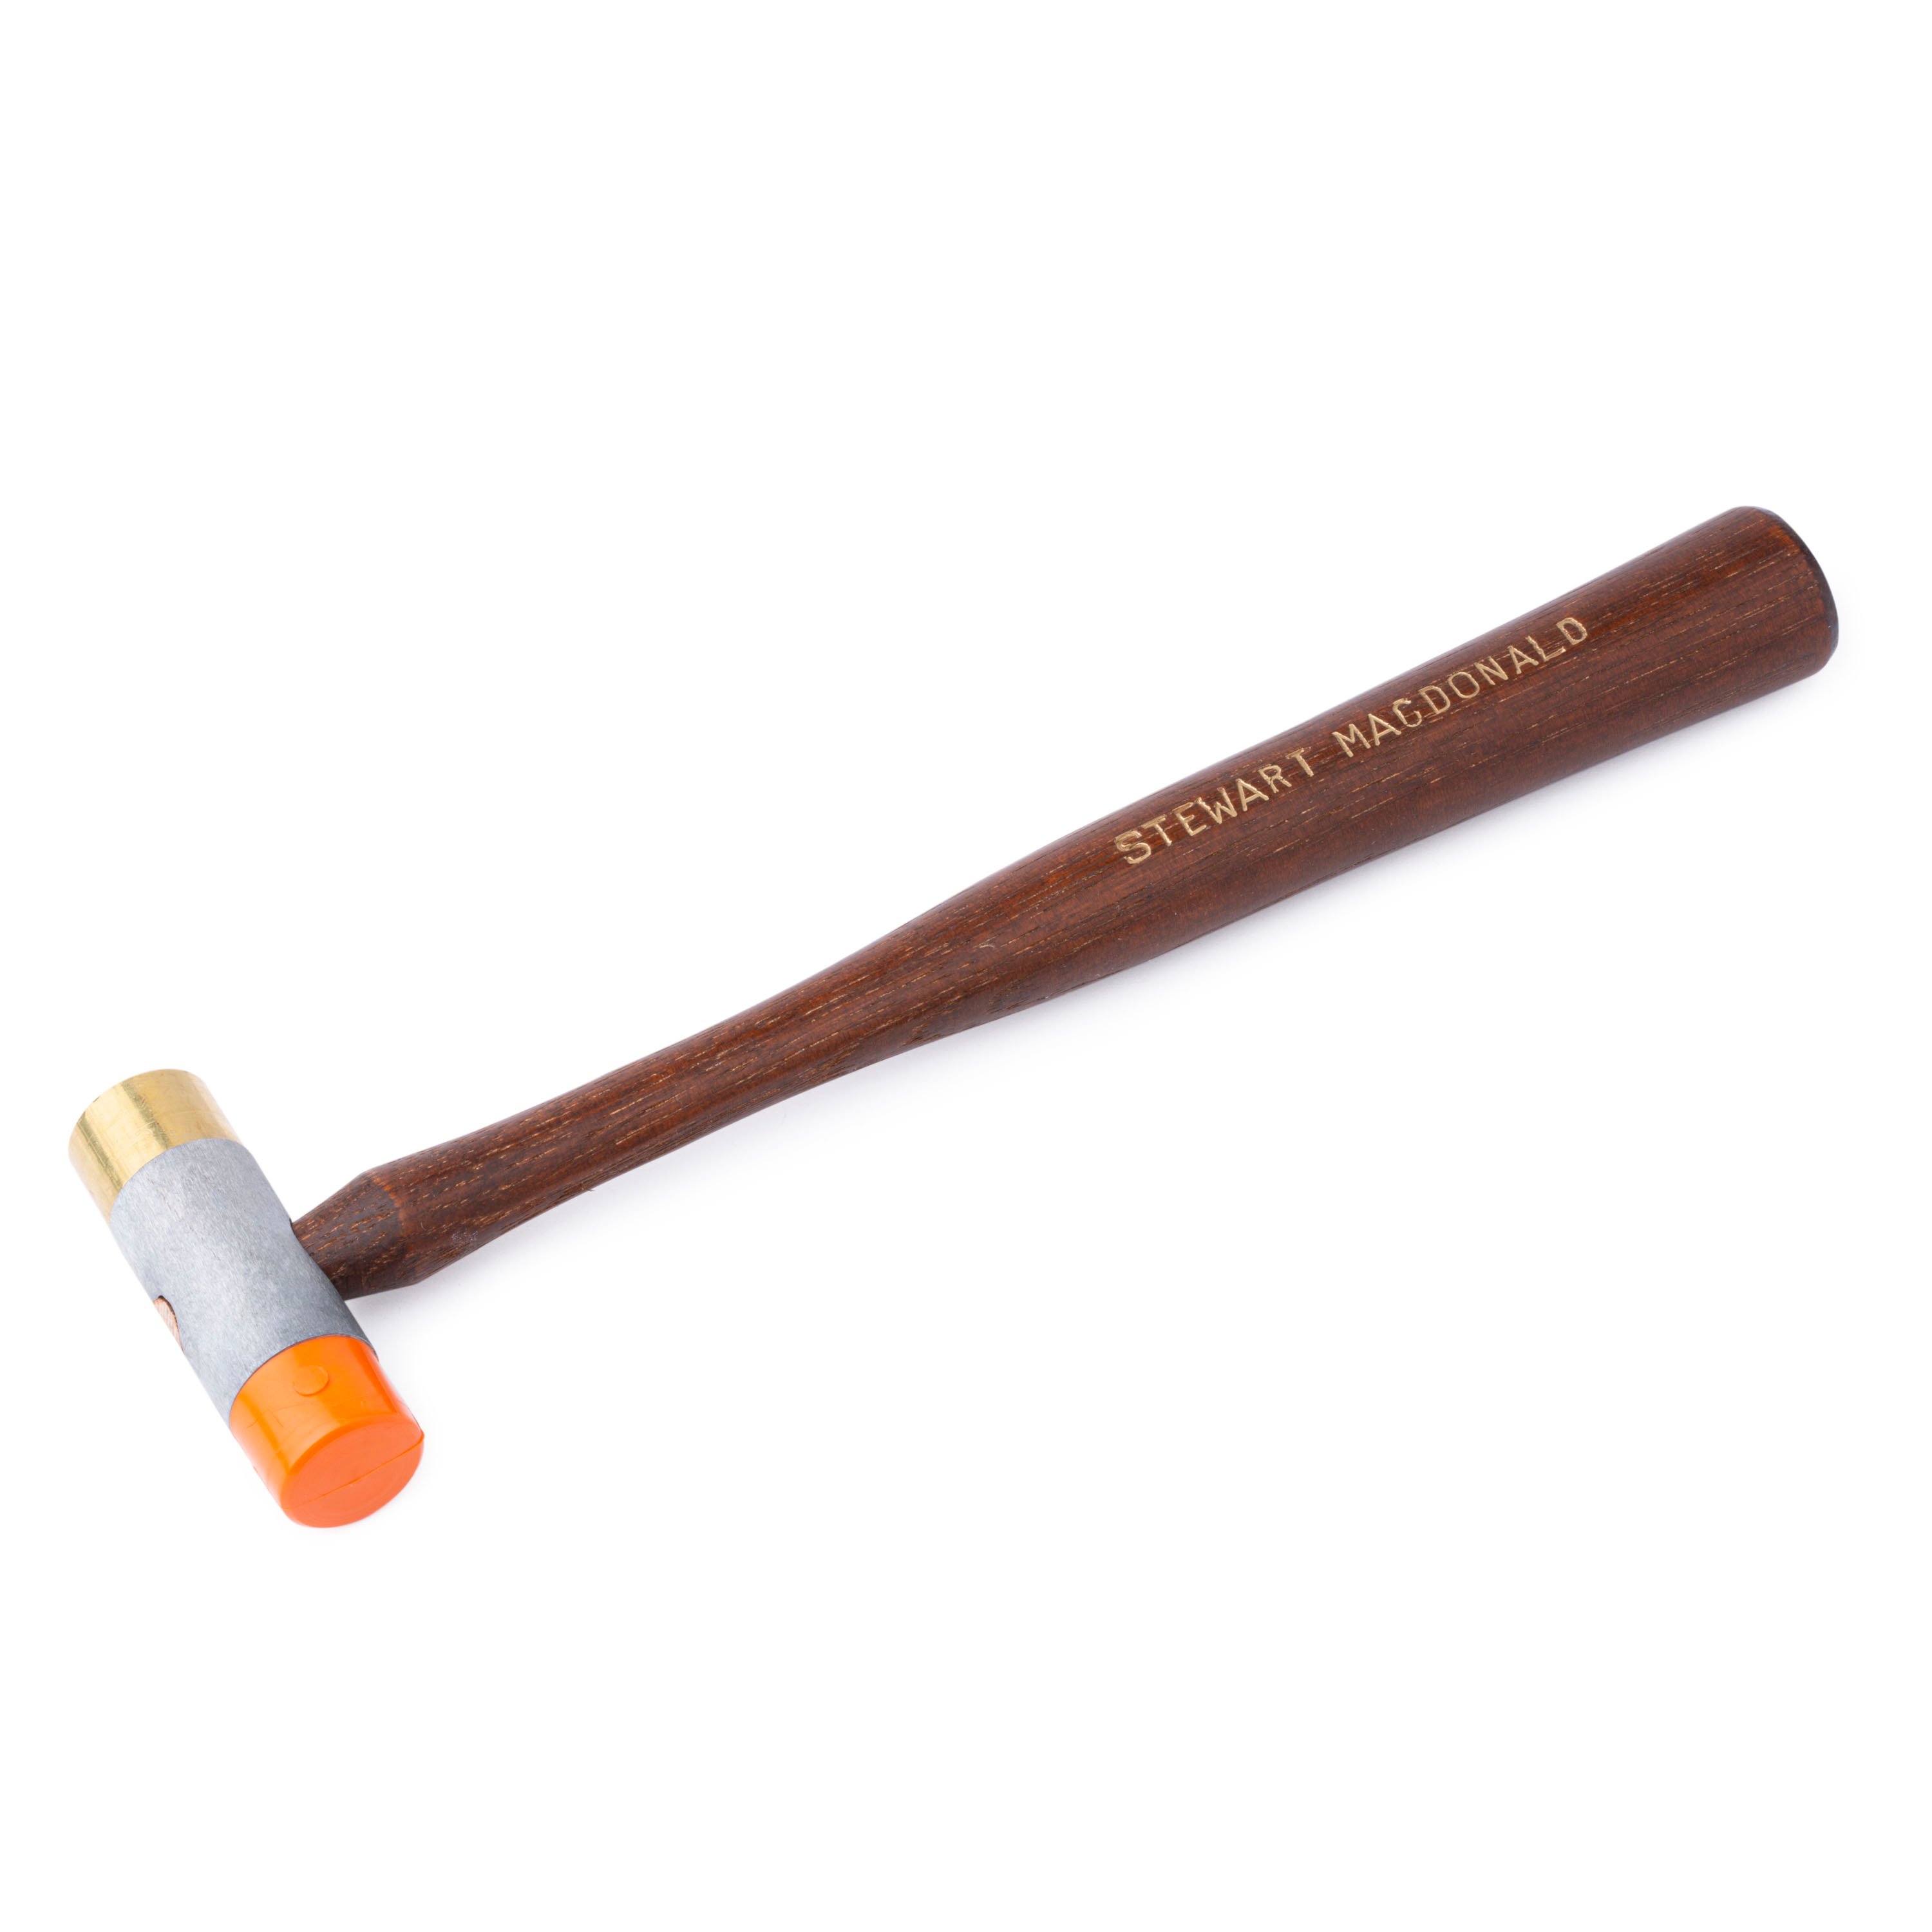
I'm going to put this first fret in with a regular old carpenter's hammer. That's probably what you have and that's what I started with. Today, I have fretting hammers, but actually my favorite right now is this little ball peen hammer. It's smaller than the big one. Got enough heft to pound the frets in and there's less chance of me hitting my finger when I pound it in.
Glue the frets
Once the frets are seated, I want to run superglue with the fretboard on its edge down into the slot and let it come out the other side just to hold them in. Before I do that, I'm going to gently wax off the board. I don't want to pack wax under the frets, I just want to wax it off so that it won't get superglue on the walnut. You could use paste wax like I'm using, or probably turtle wax. You could use bees wax. I've got some wax paper on the table so I don't glue the board to the table. I'm using water thin superglue StewMac number 10, the glue will run down the slot and drip out the other side. Once it cures, it'll really hold the front ends down and the frets and I'm hitting it from both sides.
File the fret ends
So now I'm going to file the ends of the fret overhangs flush to the board. And that's why I wanted the frets to be as close to the edge as possible to make filing easy. So I'm using a double cut, I guess I'd call this a bastard file, kind of rough. I hold it sort of like that. That's one way to hold the file. And that's two ways. See those fingers? They're going to guide you along either the fretboard or this piece of wood that I'm on so you can't jump up. You'll feel like you won't get anywhere because some of the ends are sticking out more than others and it's kind of a bumpy road, but once you start to smooth them, it'll go real easy for you as they come in flush on the edges. Then I'm going to turn my file and just bevel a little bit. Not a lot, but you want to get that fret end beveled. That's by holding it at an angle. It's really easy if you're not using these fingers as a guide to jump up and scar your frets.
Drill the neck joint
The neck mounts to the body with a doweled butt joint. That's the butt joint and these are the dowels, two hardwood quarter inch dowels that you'll glue into those holes that come pre-drilled, but you have to drill these two holes because the body wasn't put together yet. These are quarter inch holes and if you measure down from the top to the center of the holes, you'd have a half inch to the first one and an inch and a quarter to the second one [on-screen text reads: .5" from the top, 1.25" from the top]. You do have to be able to drill the neck nice and square to the body and I can show you how to do that now. Here's another good use for a mold. I propped the body up off the face of the mold about a half an inch with some plywood because I want some room for my drill chuck to come in there, otherwise I couldn't get level.
Right now I'm going to start the two holes with a smaller bit, it's about an eighth of an inch, just to get an imprint so when I come in with a bigger bit, it knows where to go without having to jiggle around. To keep my drill bit level this way up and down, I cut a block of wood that is spaced just to keep the drill bit on center with the lower one, and if you turn it this way, it keeps me on center for the upper one. It gives me a little guide that all I have to do is keep square this way because this'll keep me down on that block.
And that will be just a real nice fit for my dowels when I glue them and press them home.
Glue the fretboard
Here's one of the easier jobs of building this kit. It's gluing the fretboard onto the neck. I'm going to slide it up to that pencil mark, which is the nut line. That's where I'll glue it. You can feel on the edges in the woods a little bit wider than the actual fretboard. So there's a little to file off later in sand you can feel for this overhang so you know got the board centered from side to side and just wrap away with the rubber bands.
I'm going to put glue on this surface and that surface probably dipping some water a little bit because this stuff starts to gel or set over real quick. And so you'll watch me, but I'm going to be moving as fast as we can go here. It's that easy. Now there's no hurry. Now you can let it set for a second and do a little cleanup. It'll actually grab better if you do that. I've already got the rubber being tied to my clamp. I'm not going to start real tight. I'm going to start just a medium wrap.
Pull it over. I don't need any more than that one band, it's real easy. Yeah, that's it. Give it 45 minutes. Come back and start shaping.


