Lesson 5: LEVELING THE FRETS
Lesson 5: Leveling the frets
Dan teaches you how to fine-tune the neck shape, and how to level and dress your frets.
In this video you'll learn:
- Final shaping a neck
- Blending the neck and fingerboard
- Leveling the frets
- Rounding the fret tops
- Fine-tuning the fret ends
What you'll need:
NEXT UP
Video Transcription
[on-screen text reads: How to Build a Ukulele. Lesson 5: Leveling the Frets]
File the neck flush with the fretboard
Dan Erlewine: I am going to level the frets now, but before I do, this mahogany of the neck is a little larger than the fingerboard is, and there's a little ledge. And I'm going to file that off so it's smooth along the board on both sides. That's going to create flat, and when it does, I'll just take the file and roll the neck a little bit and blend the flat into the round. And then when I final sand this before finishing, that'll all get smoothed out.
I'm using a double-cut file, fairly aggressive but also smooth. This will leave a little bit of a chunky heel that I'll pick up later when I final shape the neck and sand it because I'm not filing all this. I'm just filing that top part because I want to be able to come along here when I level the frets and finish dressing them up and do my final edge filing without that wood getting in my way. That's a 240-grit paper. It's not super aggressive.
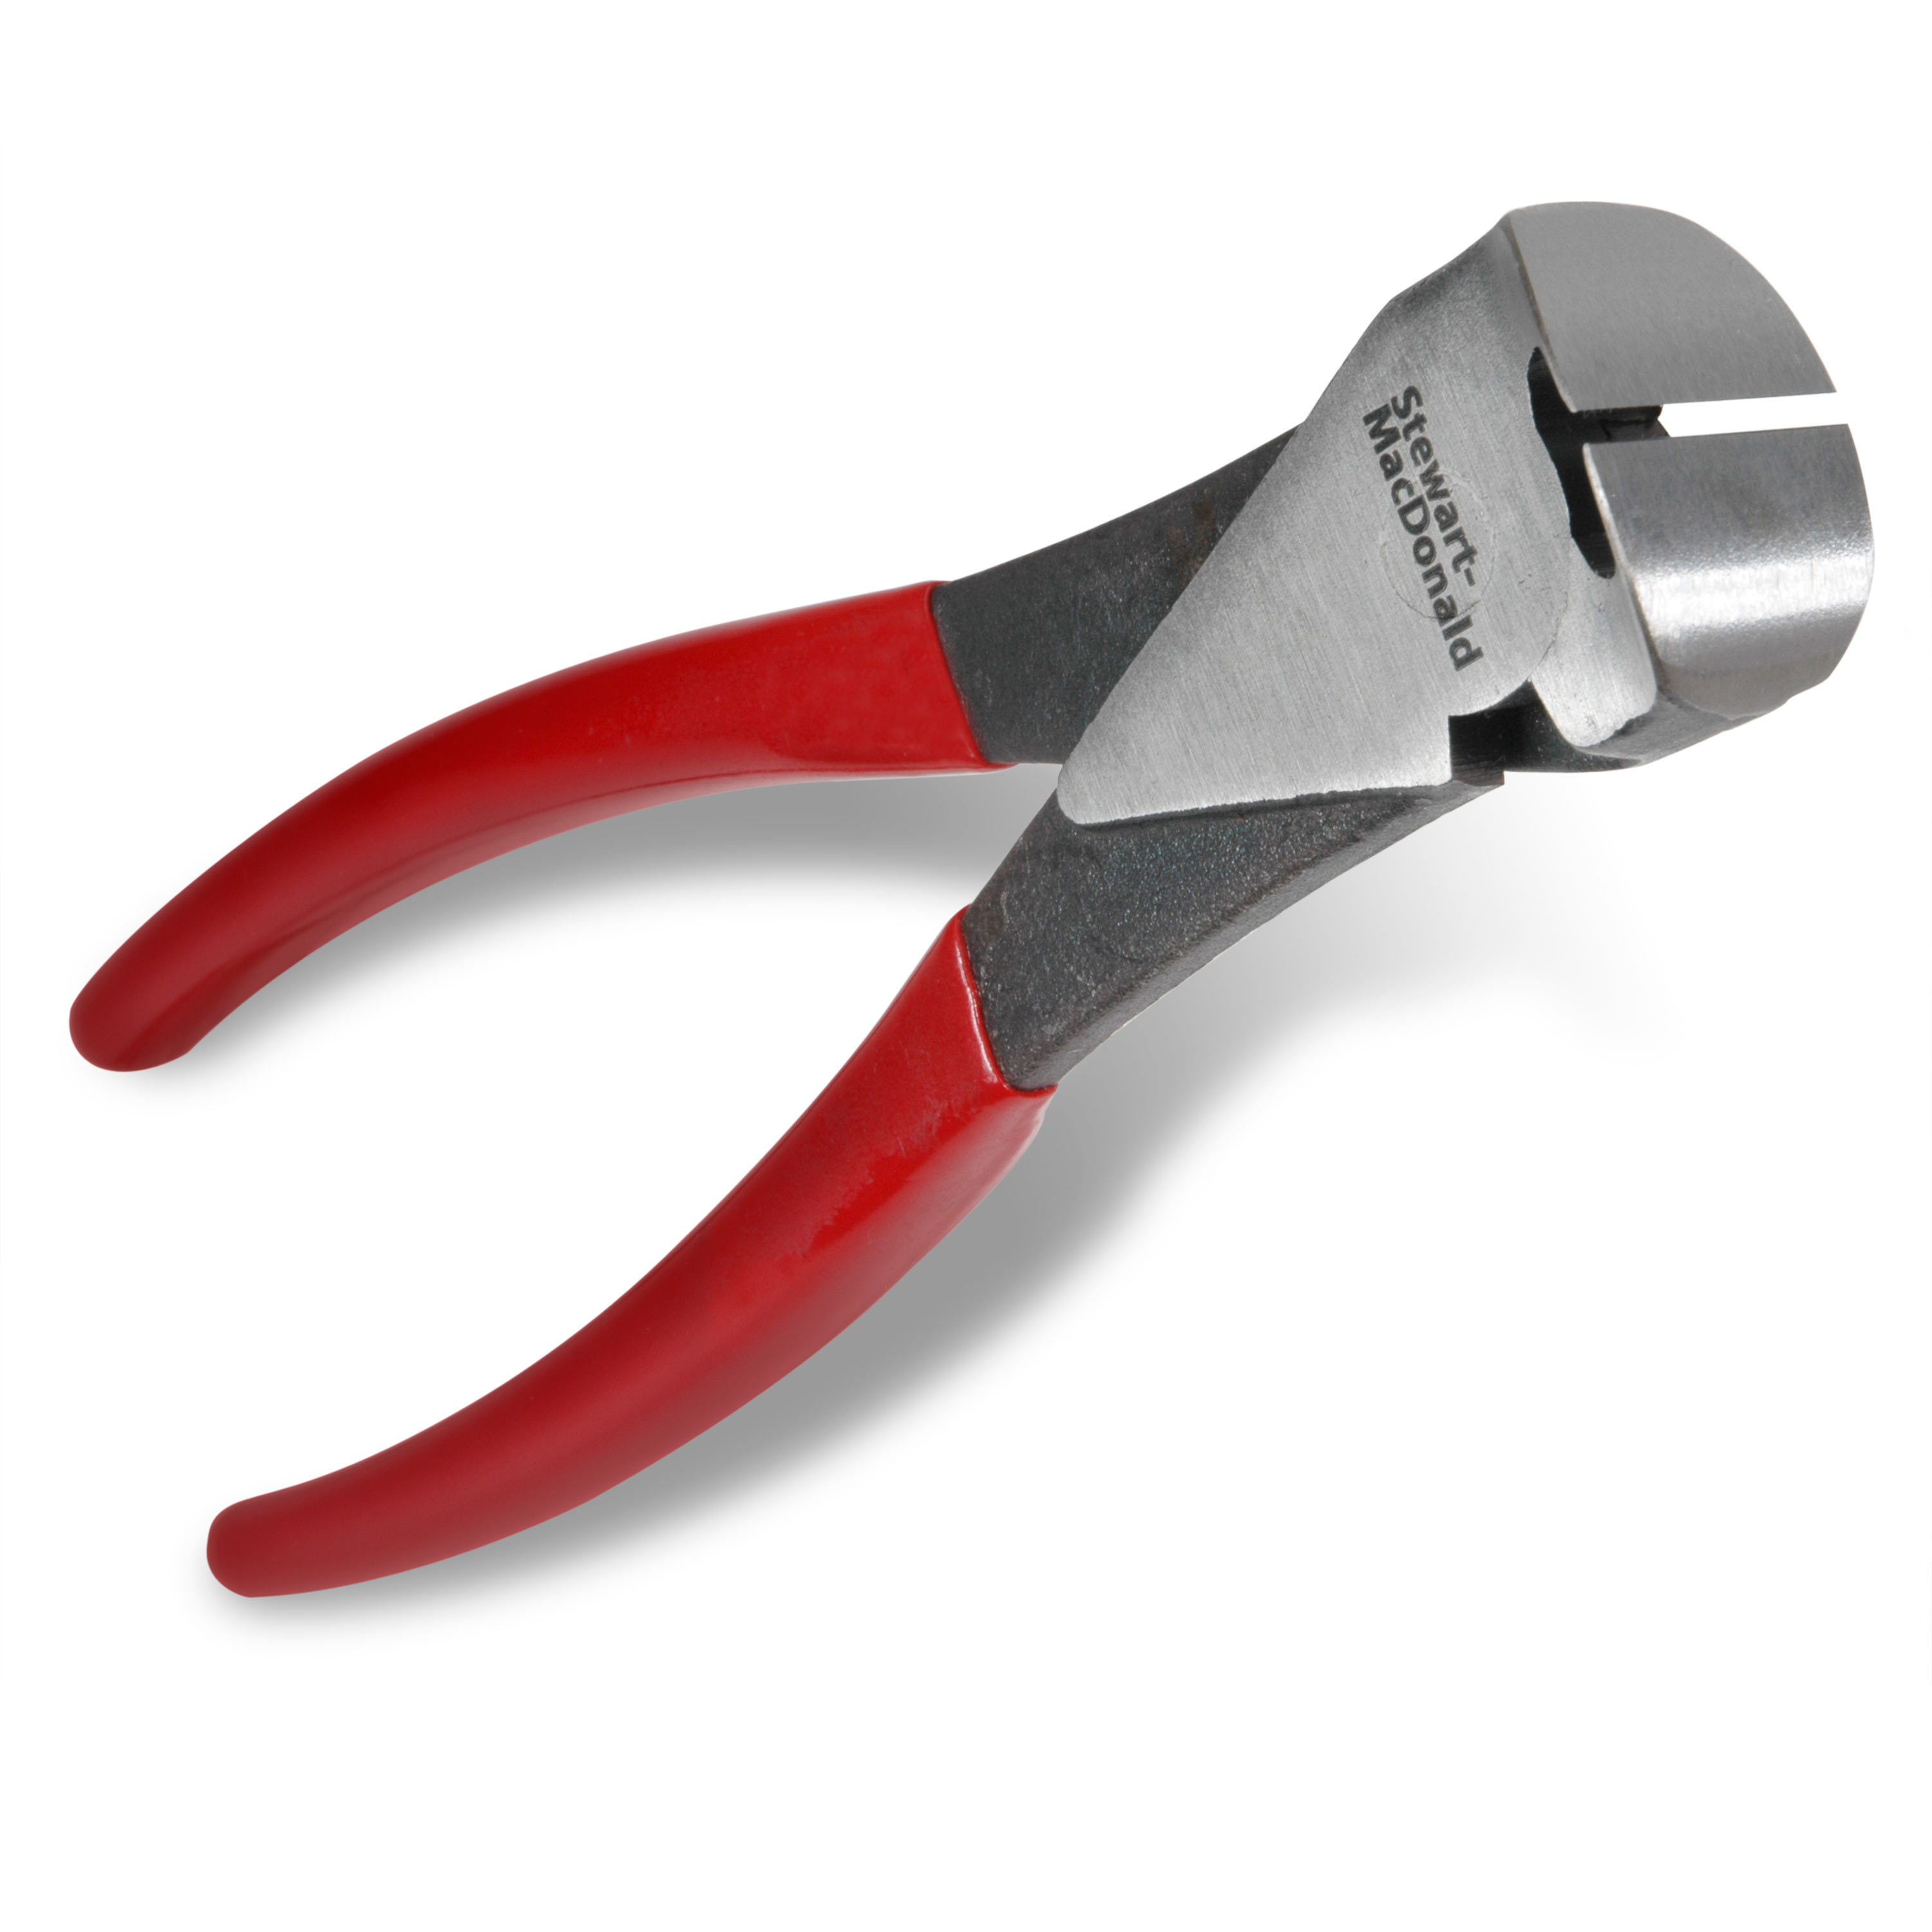
Now I'm going to take my file and come down the edges of the frets here and final kiss off any tang that's sticking out and add a little bit more bevel to it. Then I'll be ready to level the frets.
Level the frets with sandpaper
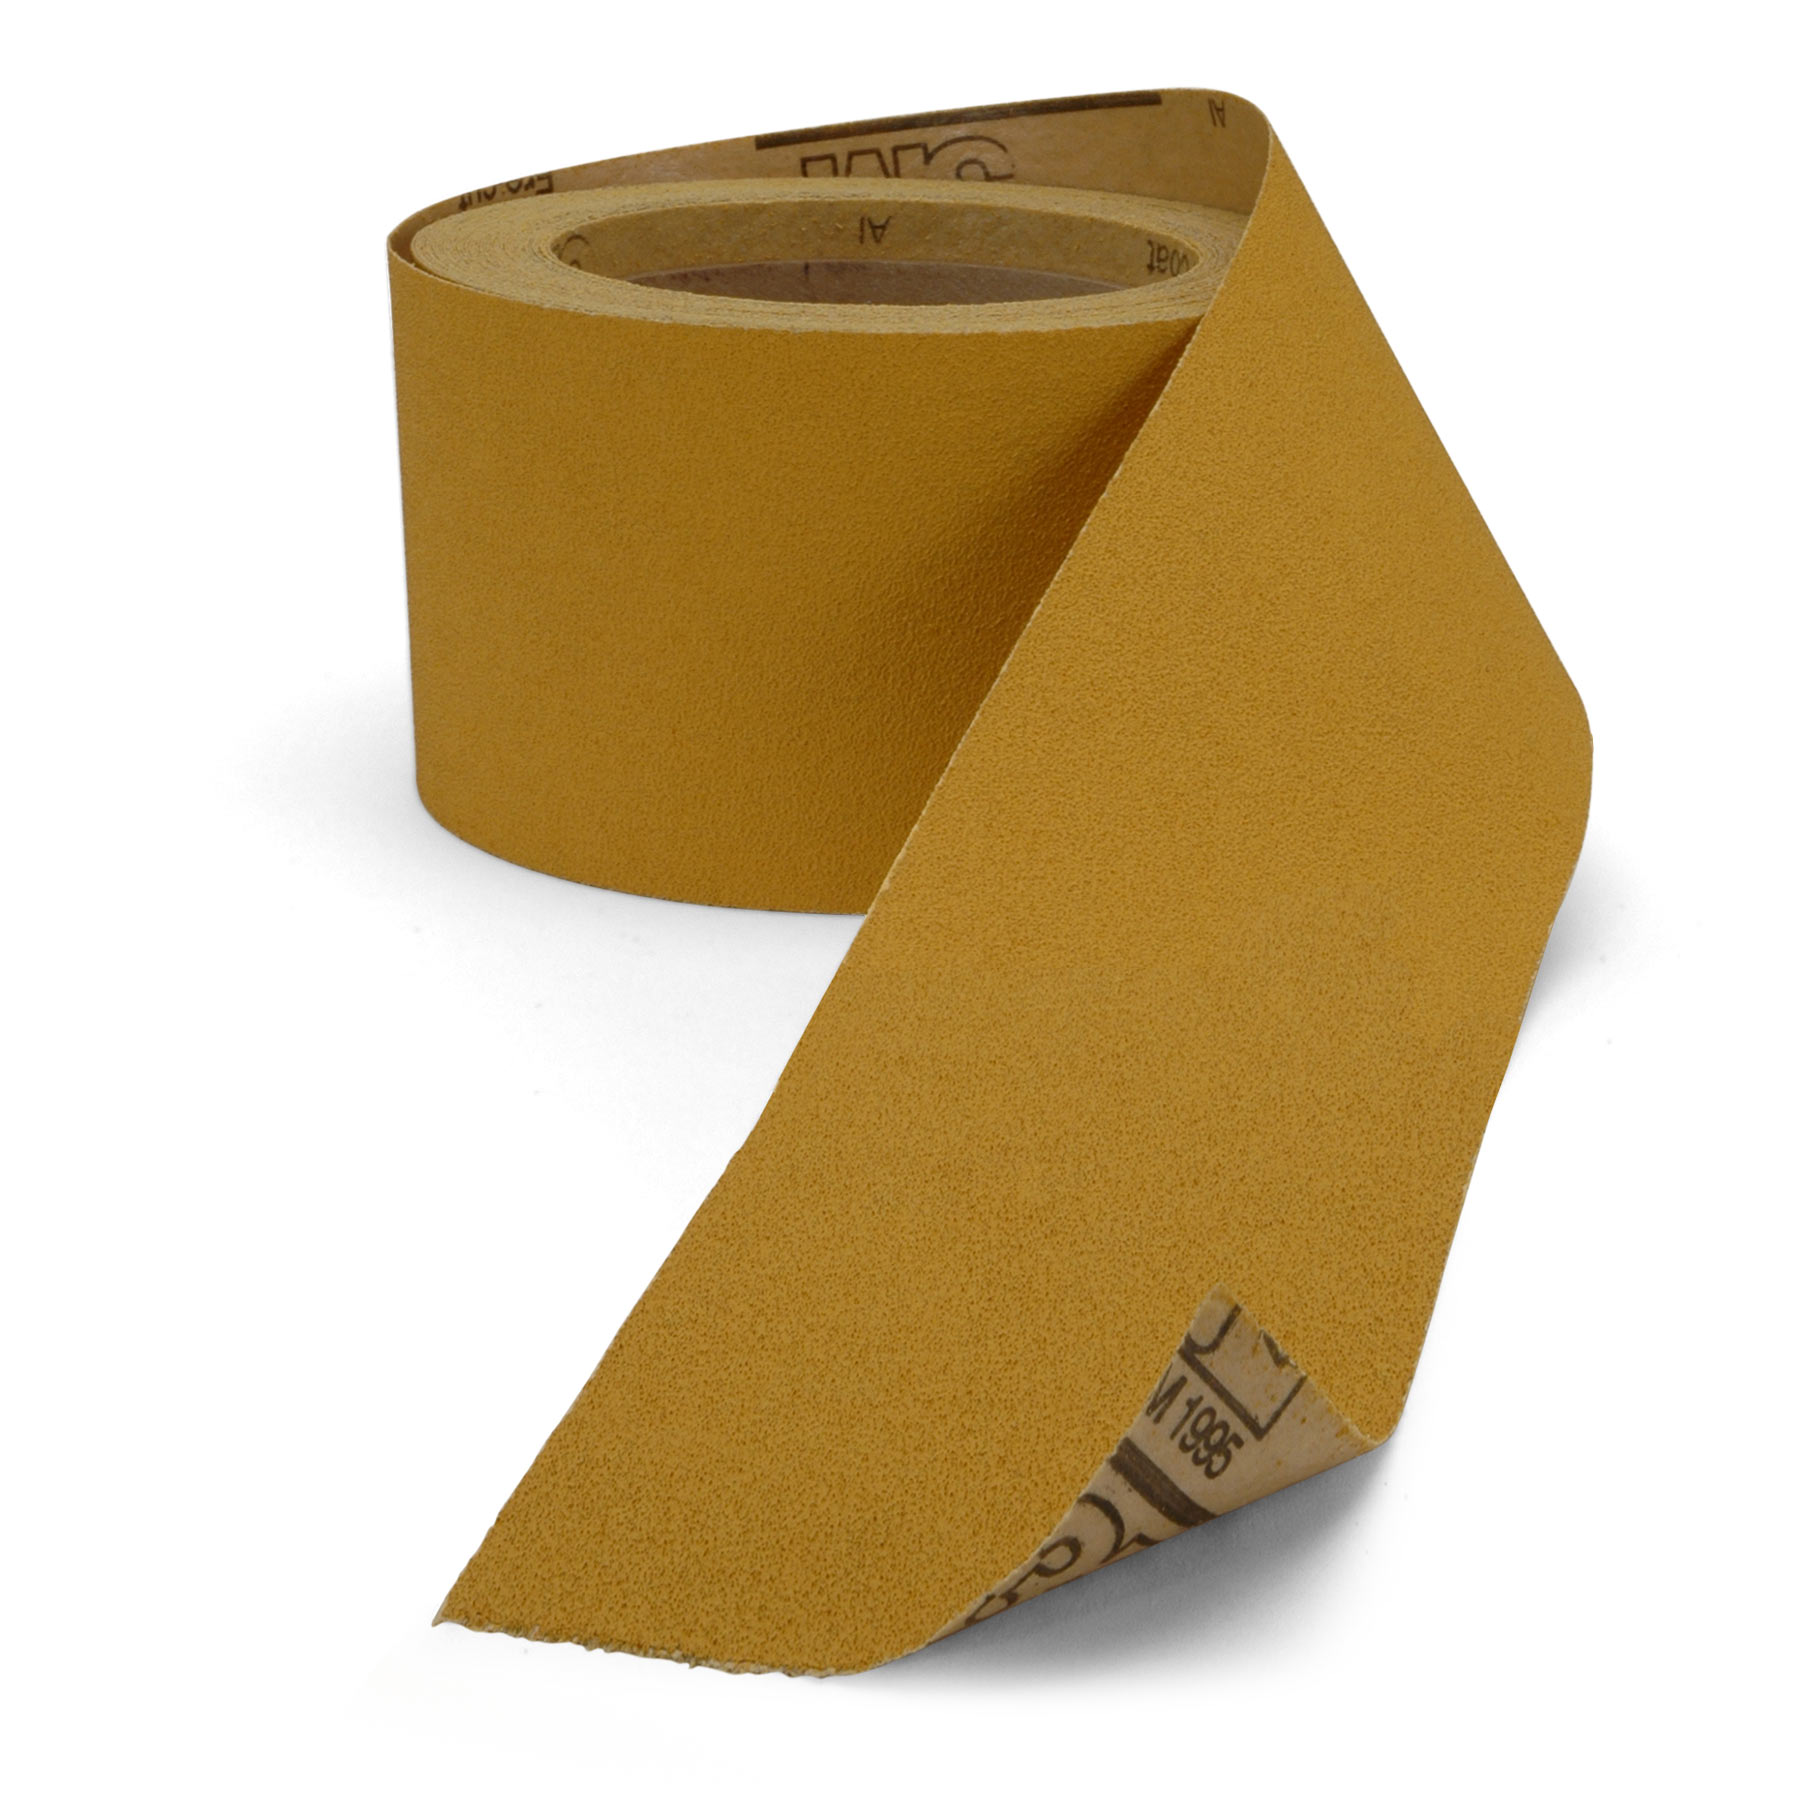
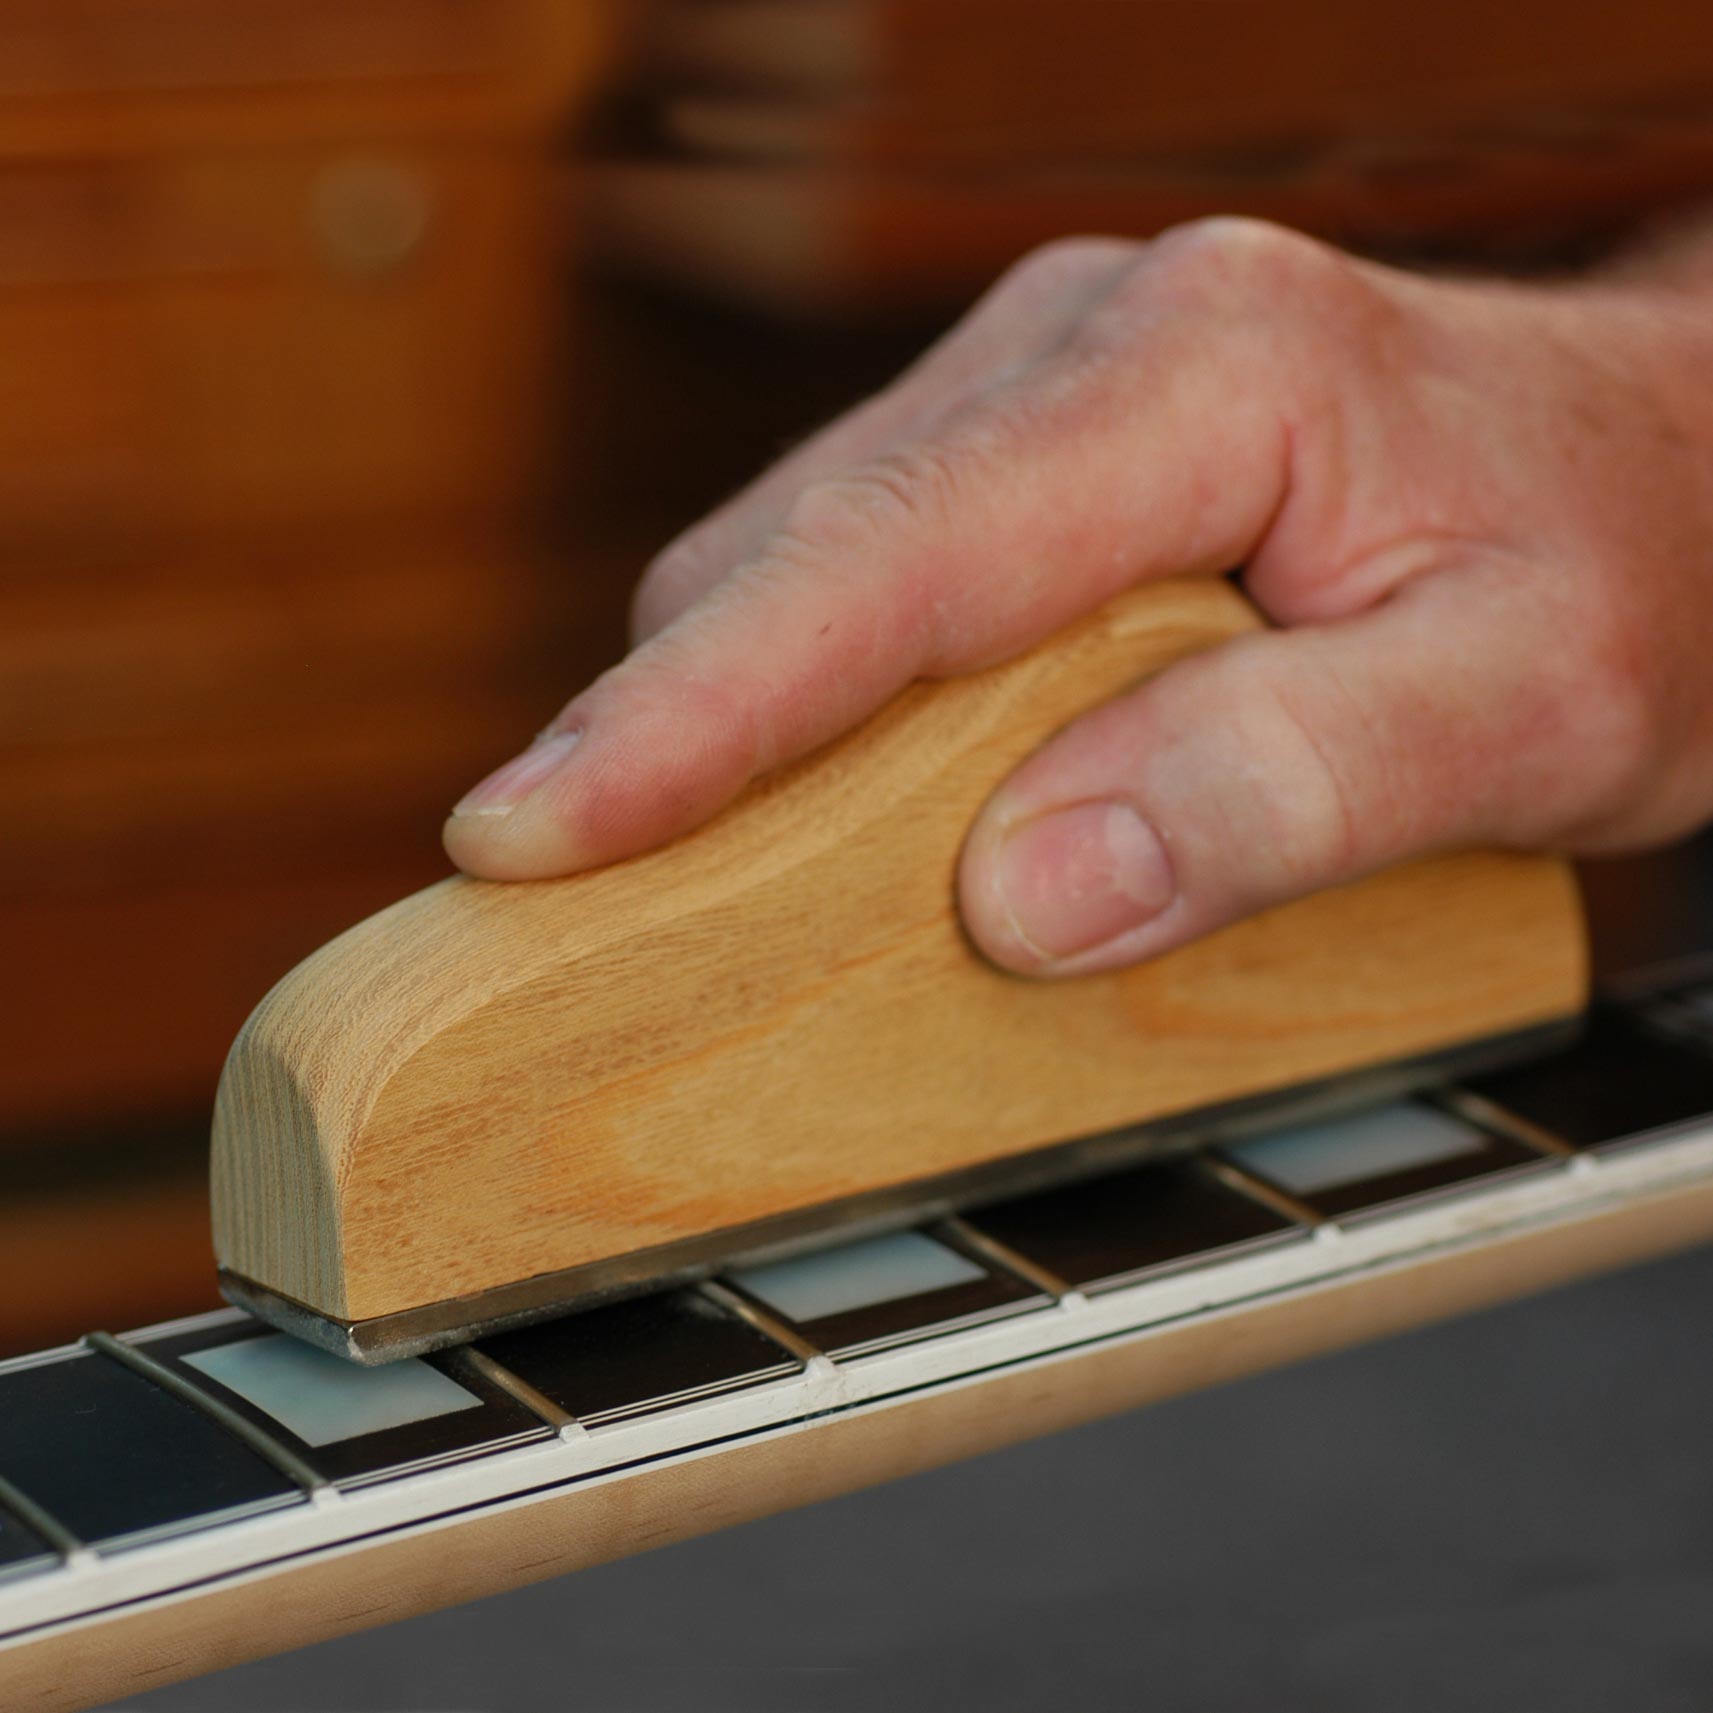
Now I'm going to level the frets because no matter how good you are, you're always going to have a couple frets that might be higher than the others. This is quite good actually. I'm going to do it on 320 and 400-grit sandpaper [on-screen text reads: 320 + 400 grit on a flat surface] simply taped to a flat surface [Dan places the fingerboard face down on the sandpaper and is working it back and forth]. I'm pressing down on the extension just a taste. It's kissed all the tops. Now I'm going to go to the 400 a little more gently [Dan places the fingerboard face down on the 400 grit sandpaper and works it back and forth]. [Dan places his level on the fingerboard] That's good.
Clean up burrs on the fret ends
There's a tiny burr that you can feel, even if you can't see it if you rub your finger along the edge of the frets. I can feel it with this ruler. I want to get rid of that. Even the ruler helps poke it out. Then I can come in with some sandpaper wrapped around the ruler. It looks like you're not doing anything, but you are. I'll even knock off the edge of that as I go along. Just kind of round that wood over.
Round the fret tops
Do it all the way down then you can round off these frets, which is real easy. And when you level it, you'll get some flat tops, especially from the ones that were taller than the others, like one there. I'm going to round it off with 400 paper wrapped around my finger, and by going lengthwise.
You can run it down the edge too over those frets that you just work on the barbs. It's going up and over each fret slightly rounding. Then go to a piece of 600, and I'd probably quit there. After the 400 and 600 paper, it gives the frets a nice satiny look.
[on-screen text reads: Sanding the Body + Neck]


