Lesson 7: STAINING THE BODY+NECK
Lesson 7: Staining the body+neck
Applying color is optional. If you choose to finish without staining, continue to the next lesson. If you want to apply color, Dan teaches you how to mix custom stains.
In this video you'll learn:
- Mixing custom stains
- How to test color intensity
- How to prep end grain for staining
- Why to stain the body and neck separately
What you'll need:
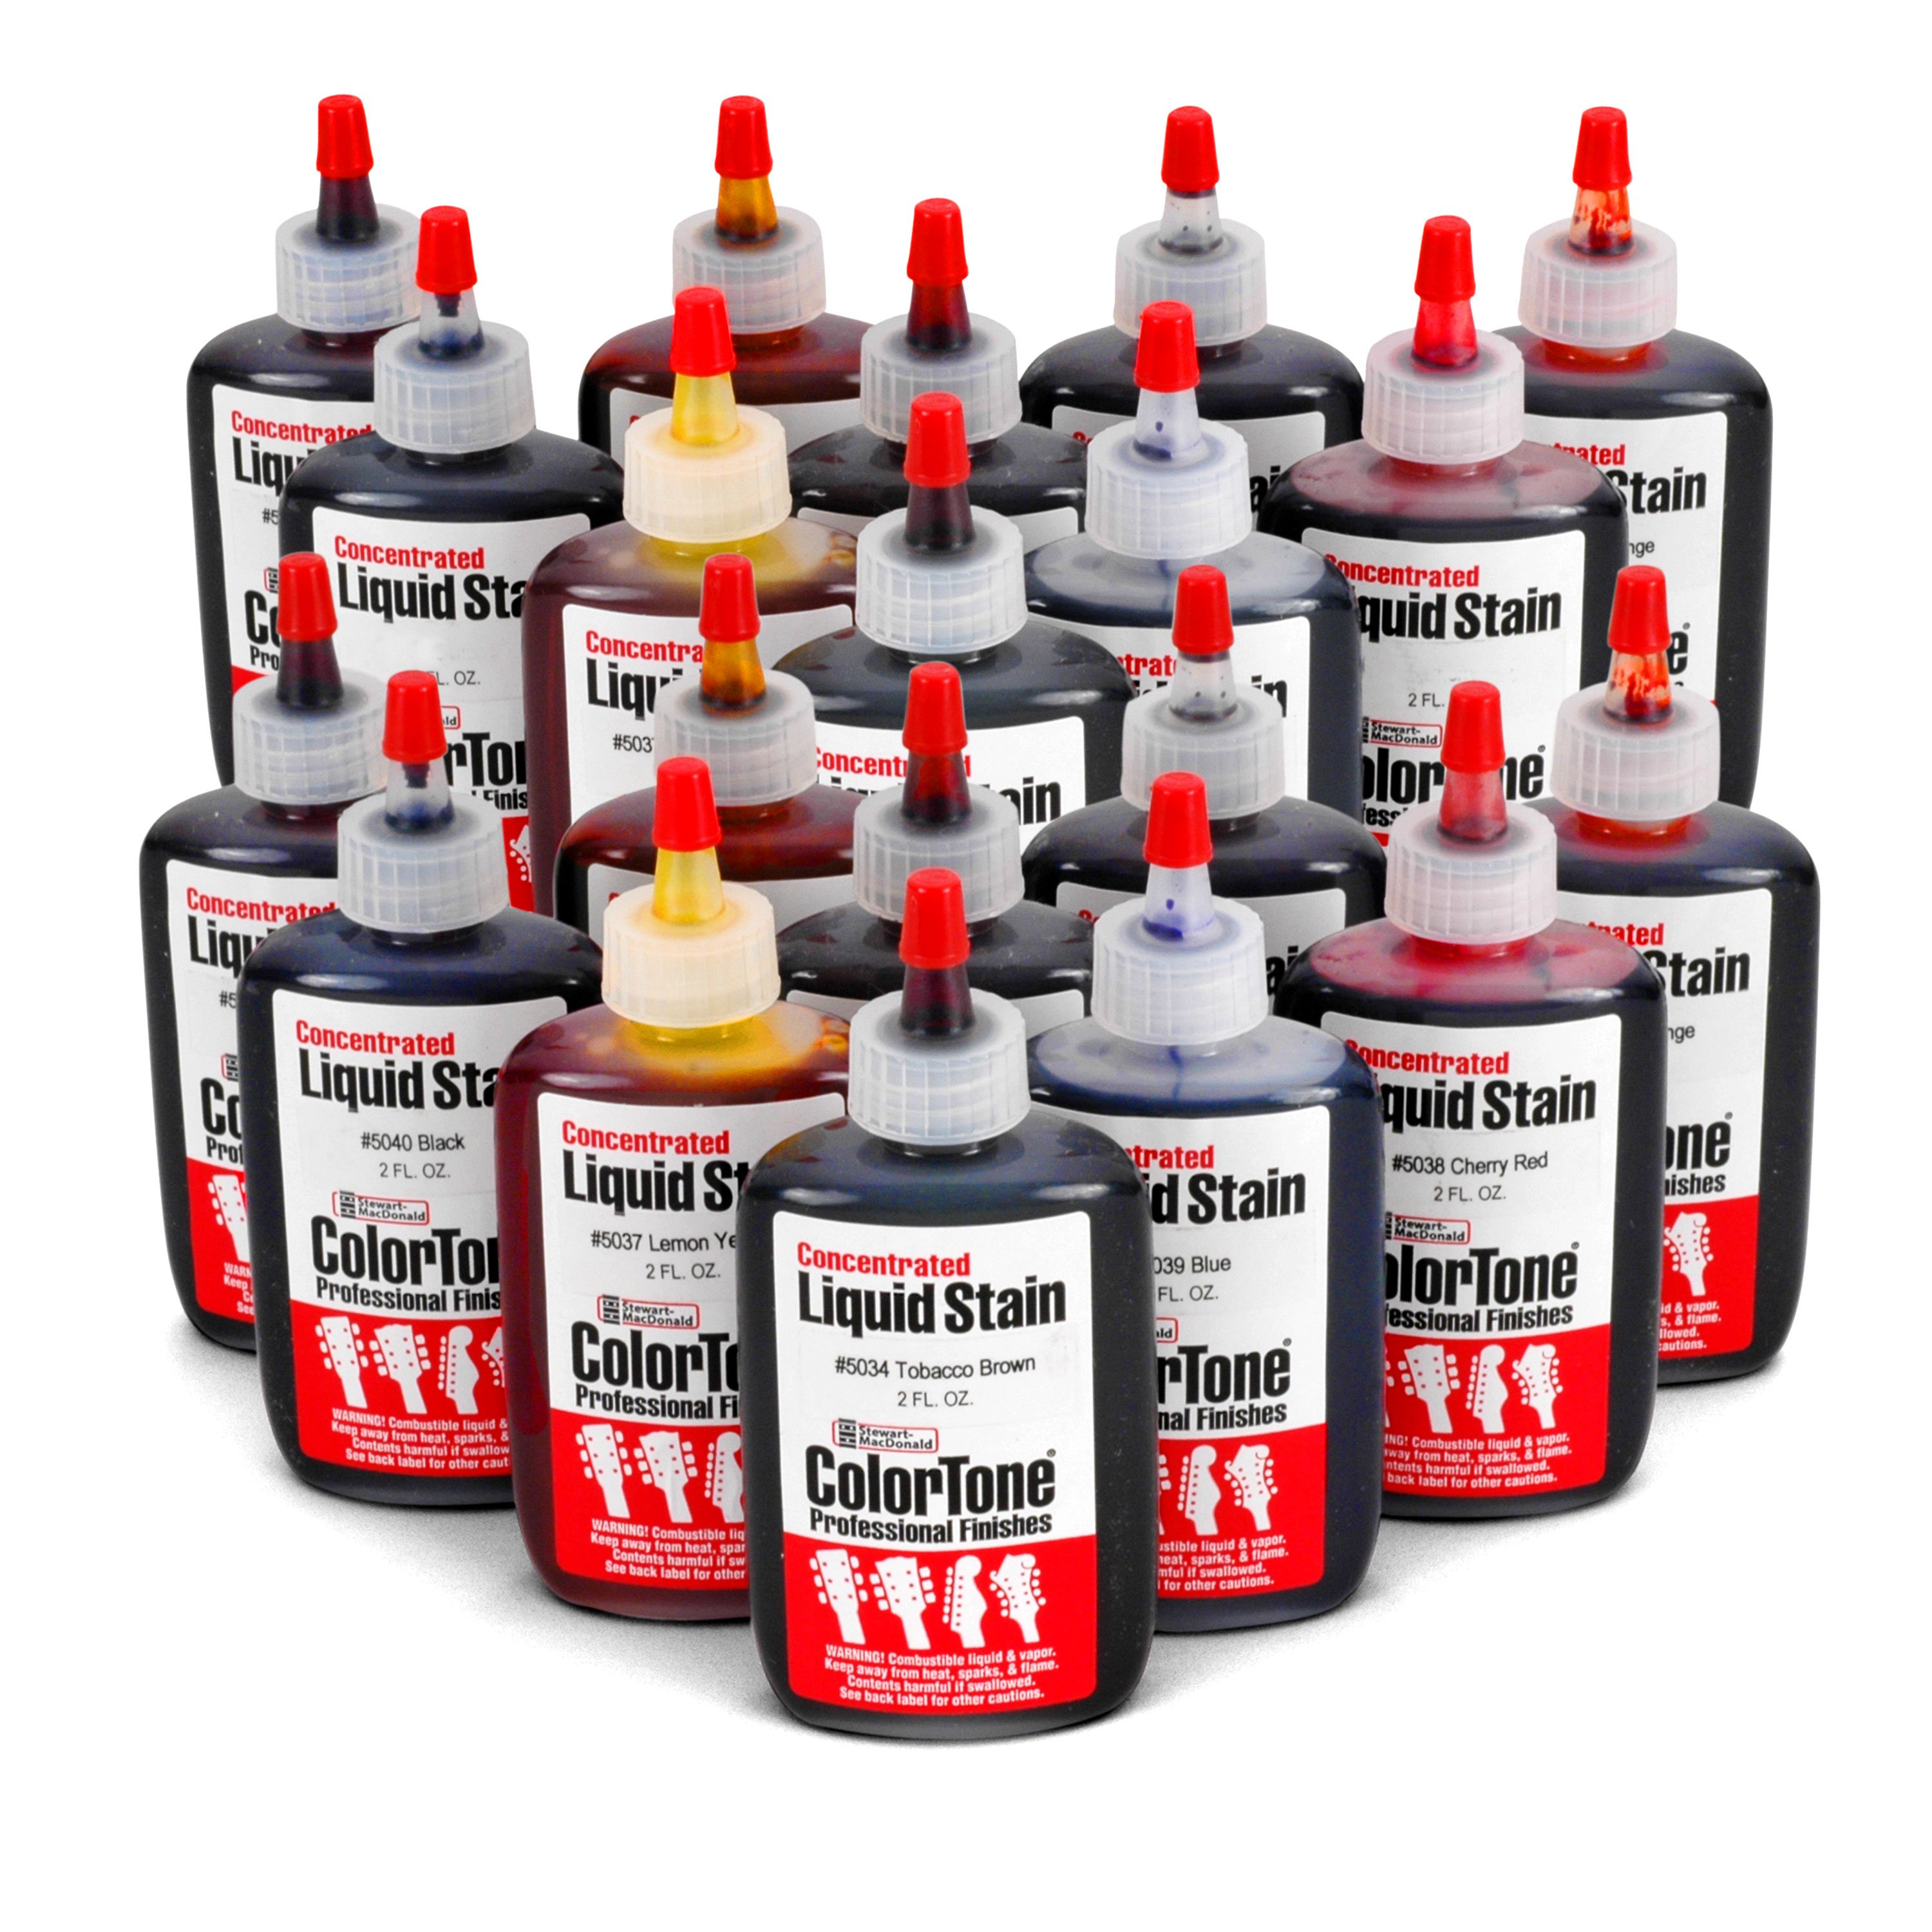
- ColorTone Stains
- Clean cotton rag
- Cotton balls
- Paper towels
NEXT UP
Video Transcription
[on-screen text reads: How to Build a Ukulele. Lesson 7: Staining the Body + Neck]
Dan Erlewine: You want to stain in your uke or leave it natural. If you're going with a clear unstained finish, you can skip this part and go on to the next step, attaching the neck.
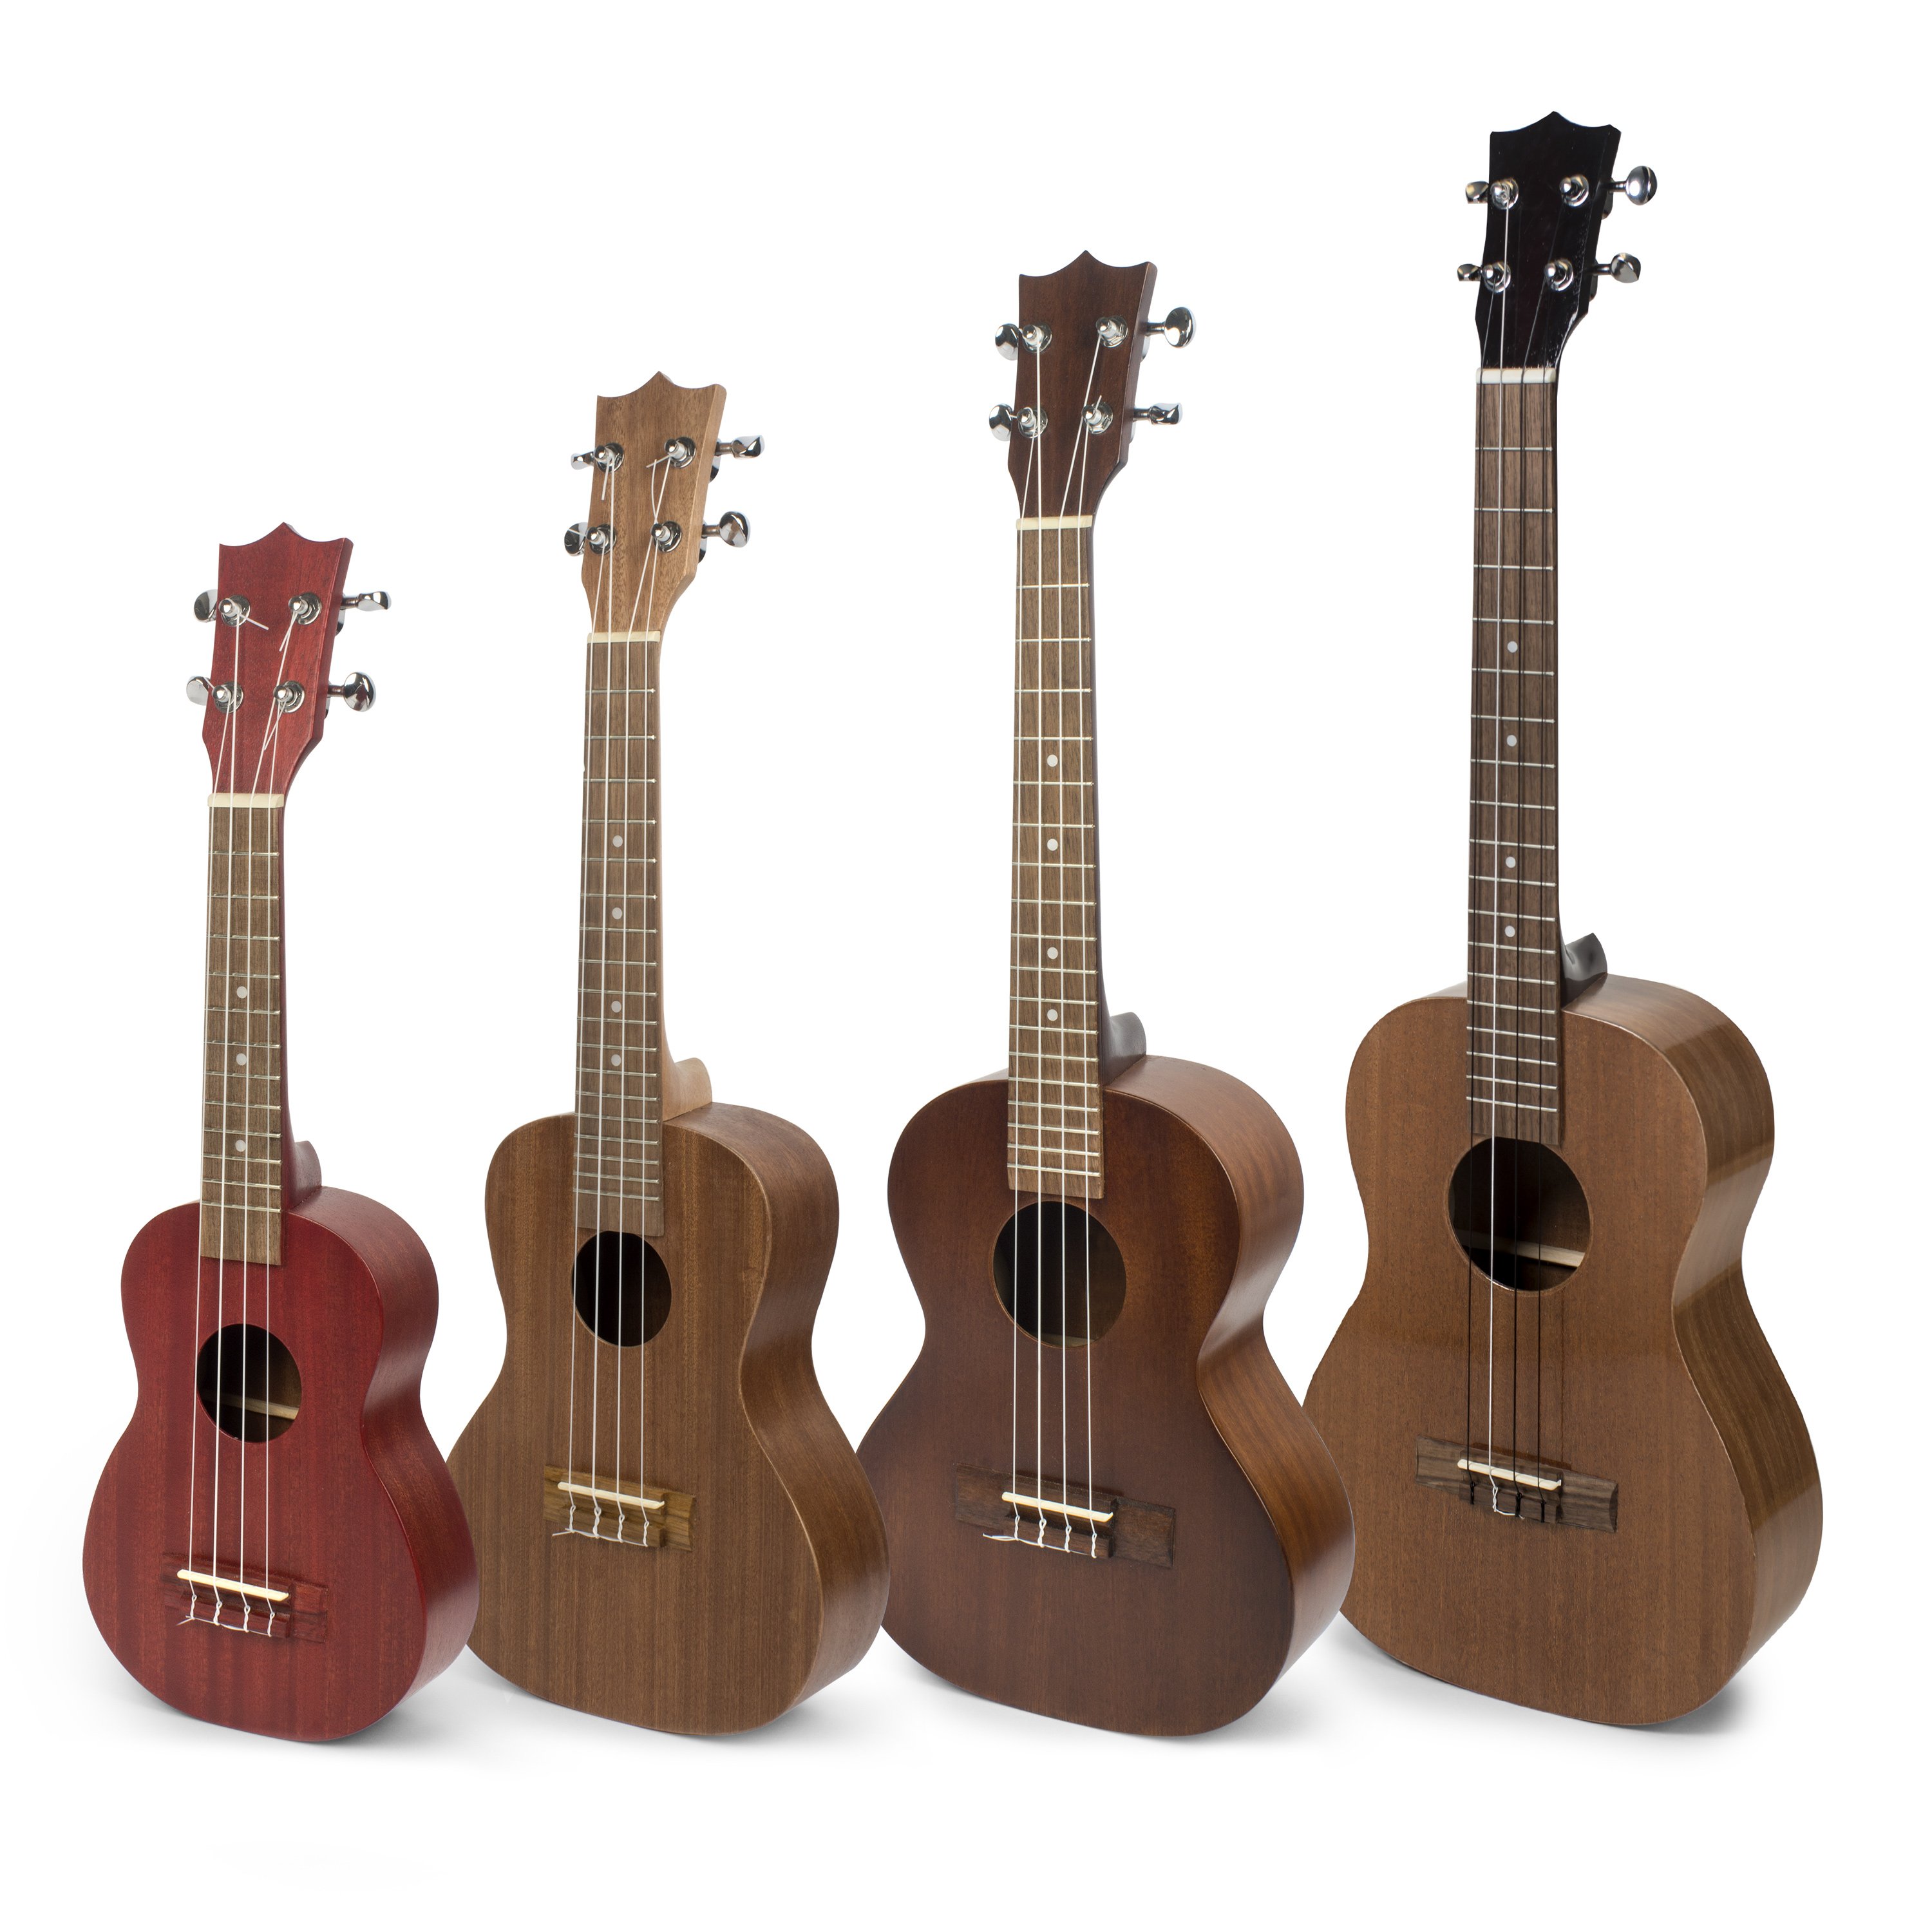
The uke we're building is going to look like this when it's done all natural. No color on it, no stain, but you can stain. We stain these. It's water stain, ColorTone, water stain, easy to use, easy to clean up. This is tobacco brown with some medium brown in it, which has a bit of red. I wanted it to look like one of the old Martins from the 1930s. This is my little kid's uke, cherry red. I didn't get it really dark. Just a good controlled color, but I still like to see that flash of the grain.
If you decide to stain in your uke stain the neck and body separate, because it's hard to stain in the joint like that. You're going to have your rag with water stain on it and it's pretty strong. If you try to get into the edge of that joint, you're going to get more stain on the heel and more stain on the side here, and it's going to look blotchy.
Make your stain
Before going any further, I'm going to make my stain. This is warm water. It could be cold. I like it hot. Maybe an ounce and a half or two ounces. This is tobacco brown stain. It's very brown.
This is medium red stain. It's very brown, but it has red in it. That would probably be enough to do a bunch of ukes. Then I can test it on a piece of wood or on a piece of paper for strength, and that'll be real strong. Strong enough. Yep. Now that's ready.
Think about endgrain
When you're ready to stain our neck, pay attention to the endgrain areas. Endgrain would be that wherever a board is cut off on the end, you got the open pores [on-screen text reads: Endgrain areas stain darker than the rest]. These come through the heel and they're here. All through here. They'll really suck in right there. There's endgrain here where that got cut, and that'll soak in more stain than this wood. That's endgrain. Those are the areas that you could overstain. So what I'm going to do is wet those areas with just plain water, no stain, right before I stain it.
This is a piece of clean white cotton t-shirt, a ball of cotton in the center. I want to keep it there and that's going to be my little wiping pad. But before I dip it and start to stain, I'm going to use a piece of paper towel and I want to wet here, here, here, and here [Dan applies moisture to all the endgrain areas using the wet paper towel].
Apply stain before the endgrain dries
[Dan applies the stain to the neck using long even strokes] As it starts to dry a little bit, you can see the weak areas. You could go around the edges and sunburst it if you wanted to. You could highlight areas. You'll get more stain if you're just dab it on. You always want to smooth that out afterwards and just keep moving. It's much easier on the flat grain like this. You notice I'm tamping this off on a paper towel so it's not soaking wet when I get on there.
I love this kind of a brown. It enhances mahogany real nicely, tobacco brown and medium brown with a little red in it. I'm going to let that dry and I think that's all the stain I'll need. I could put more on if I want to and then glue them together.
[on-screen text reads: Next: Attaching the Neck]


