Lesson 2: BRACING THE TOP+BACK
Lesson 2: Bracing the top+back
Dan shows you how to install the top and back bracing with the full-scale plan included in the kit.
In this video you'll learn:
- Correct positioning of the top and back bracing
- How to glue up and clamp the braces
What you'll need:
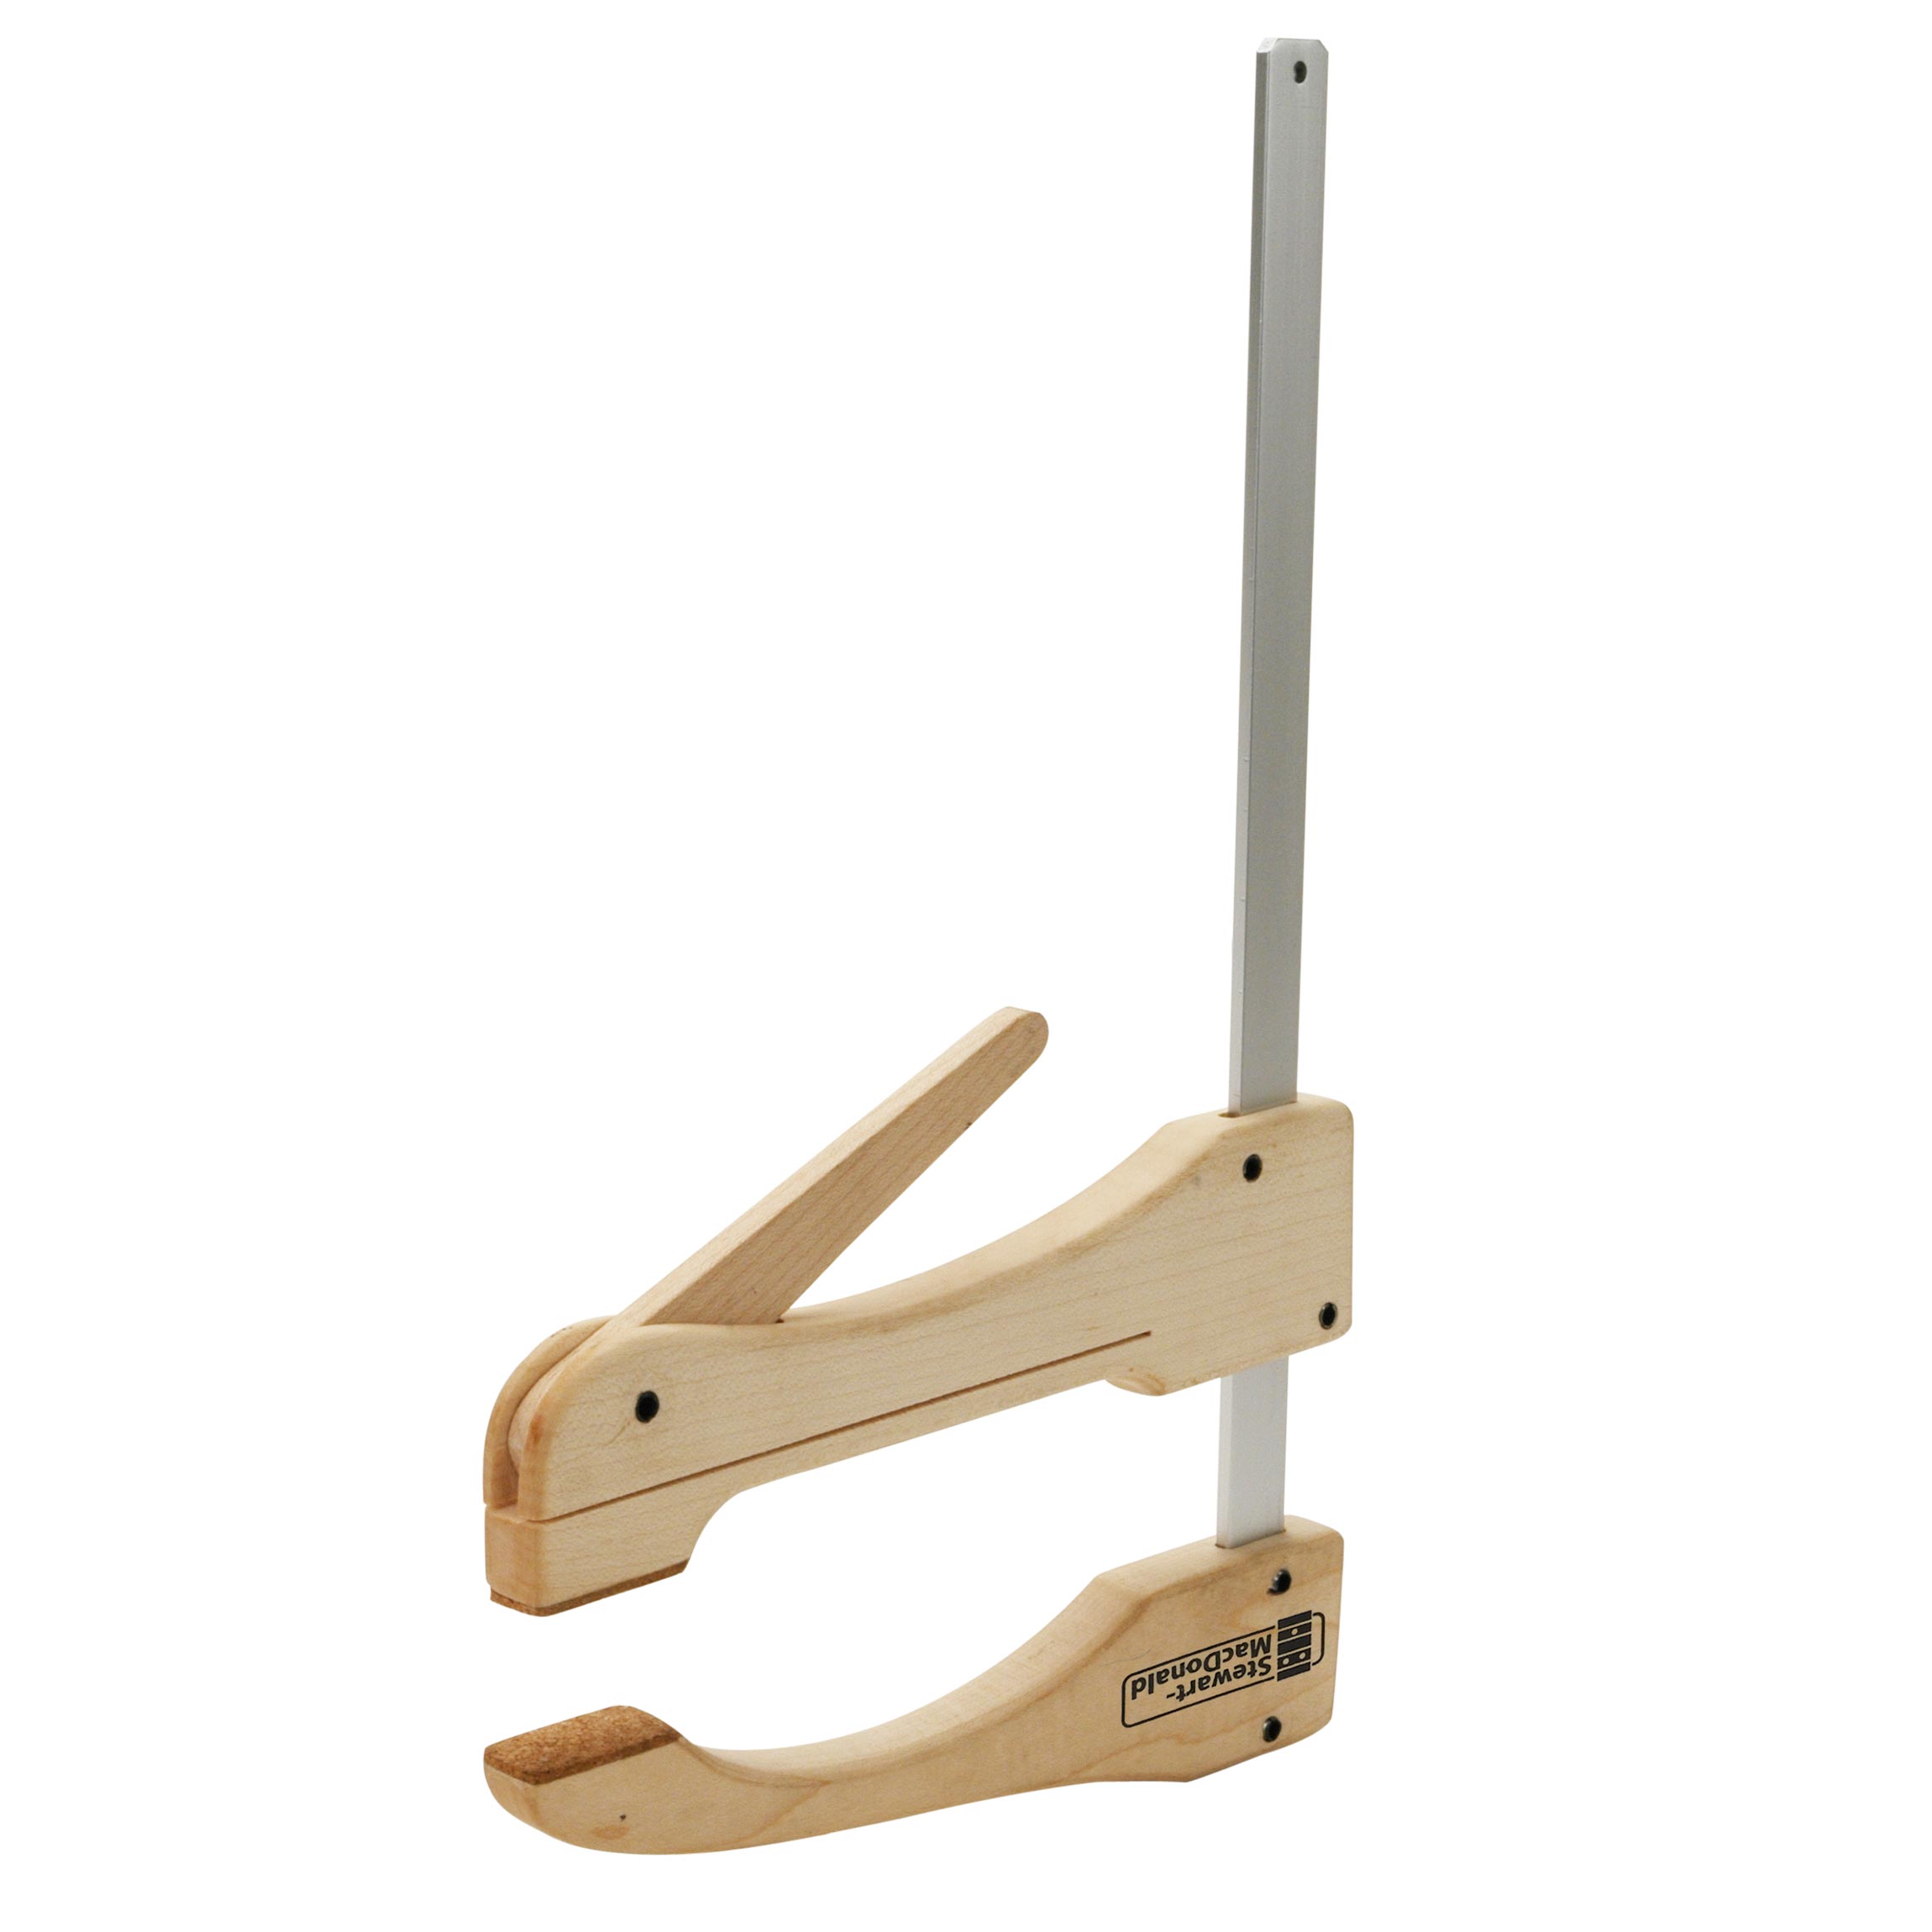
- Mini Cam Clamp
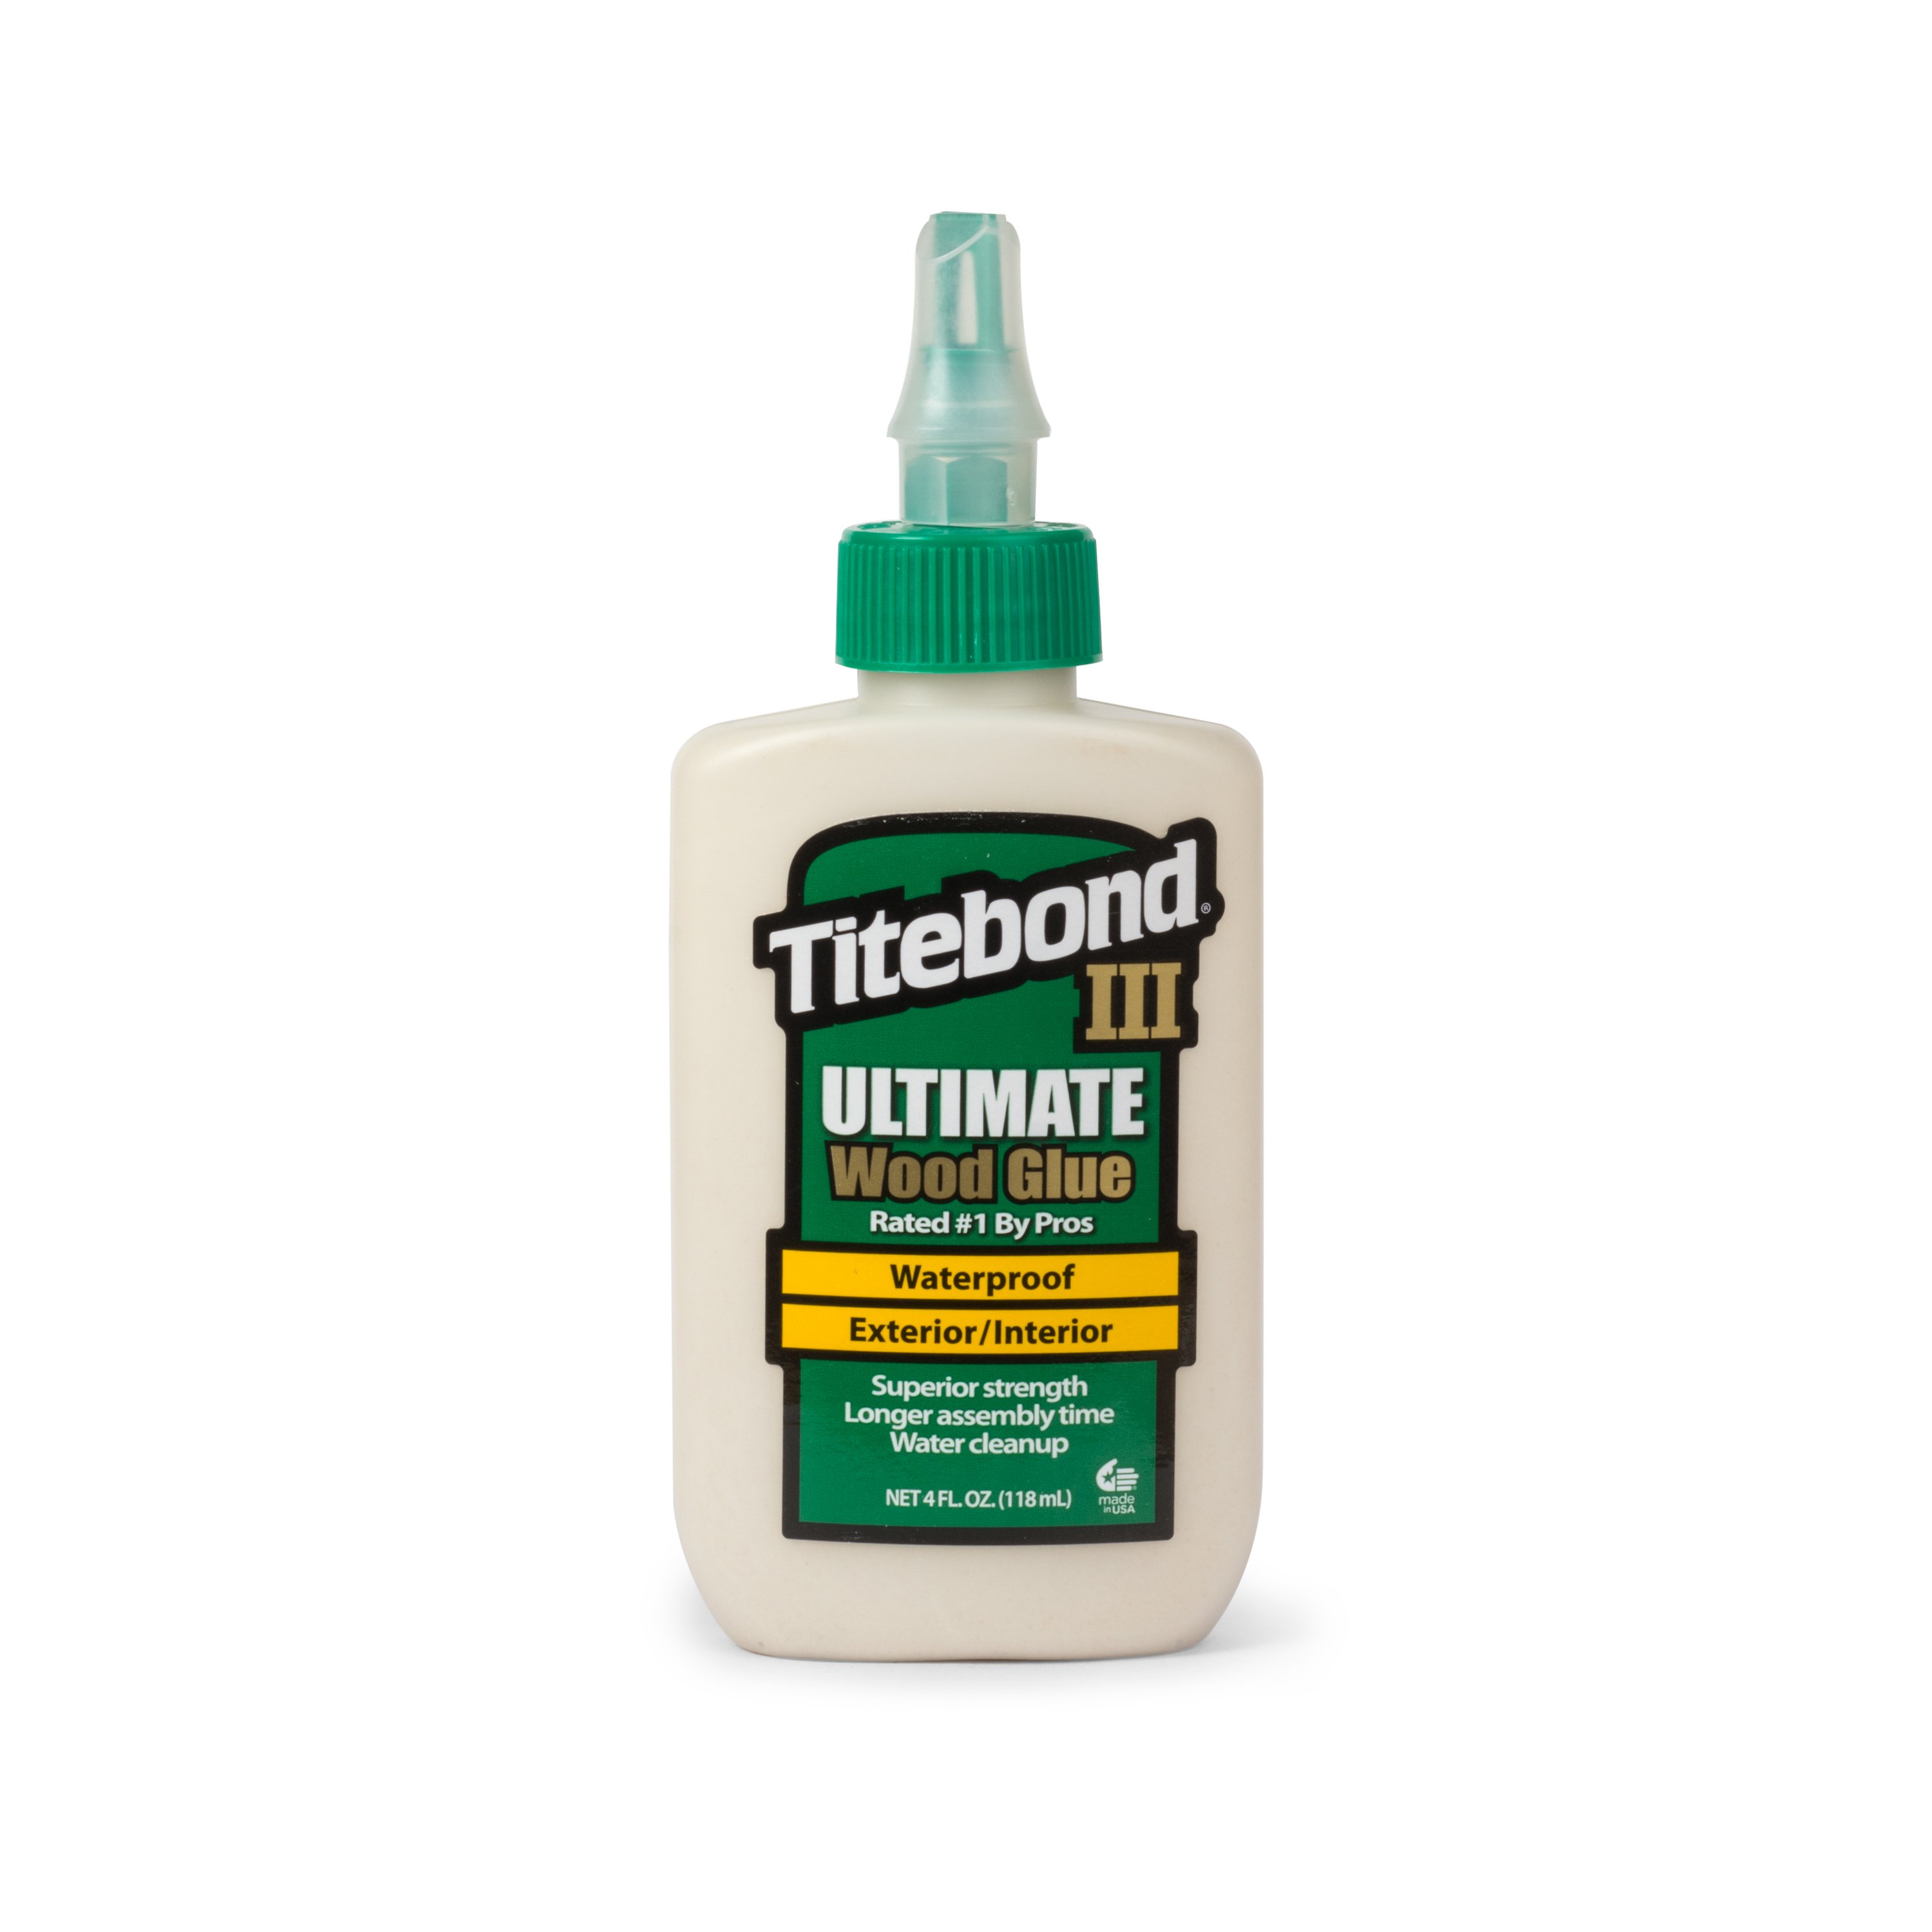
- Tightbond III Glue
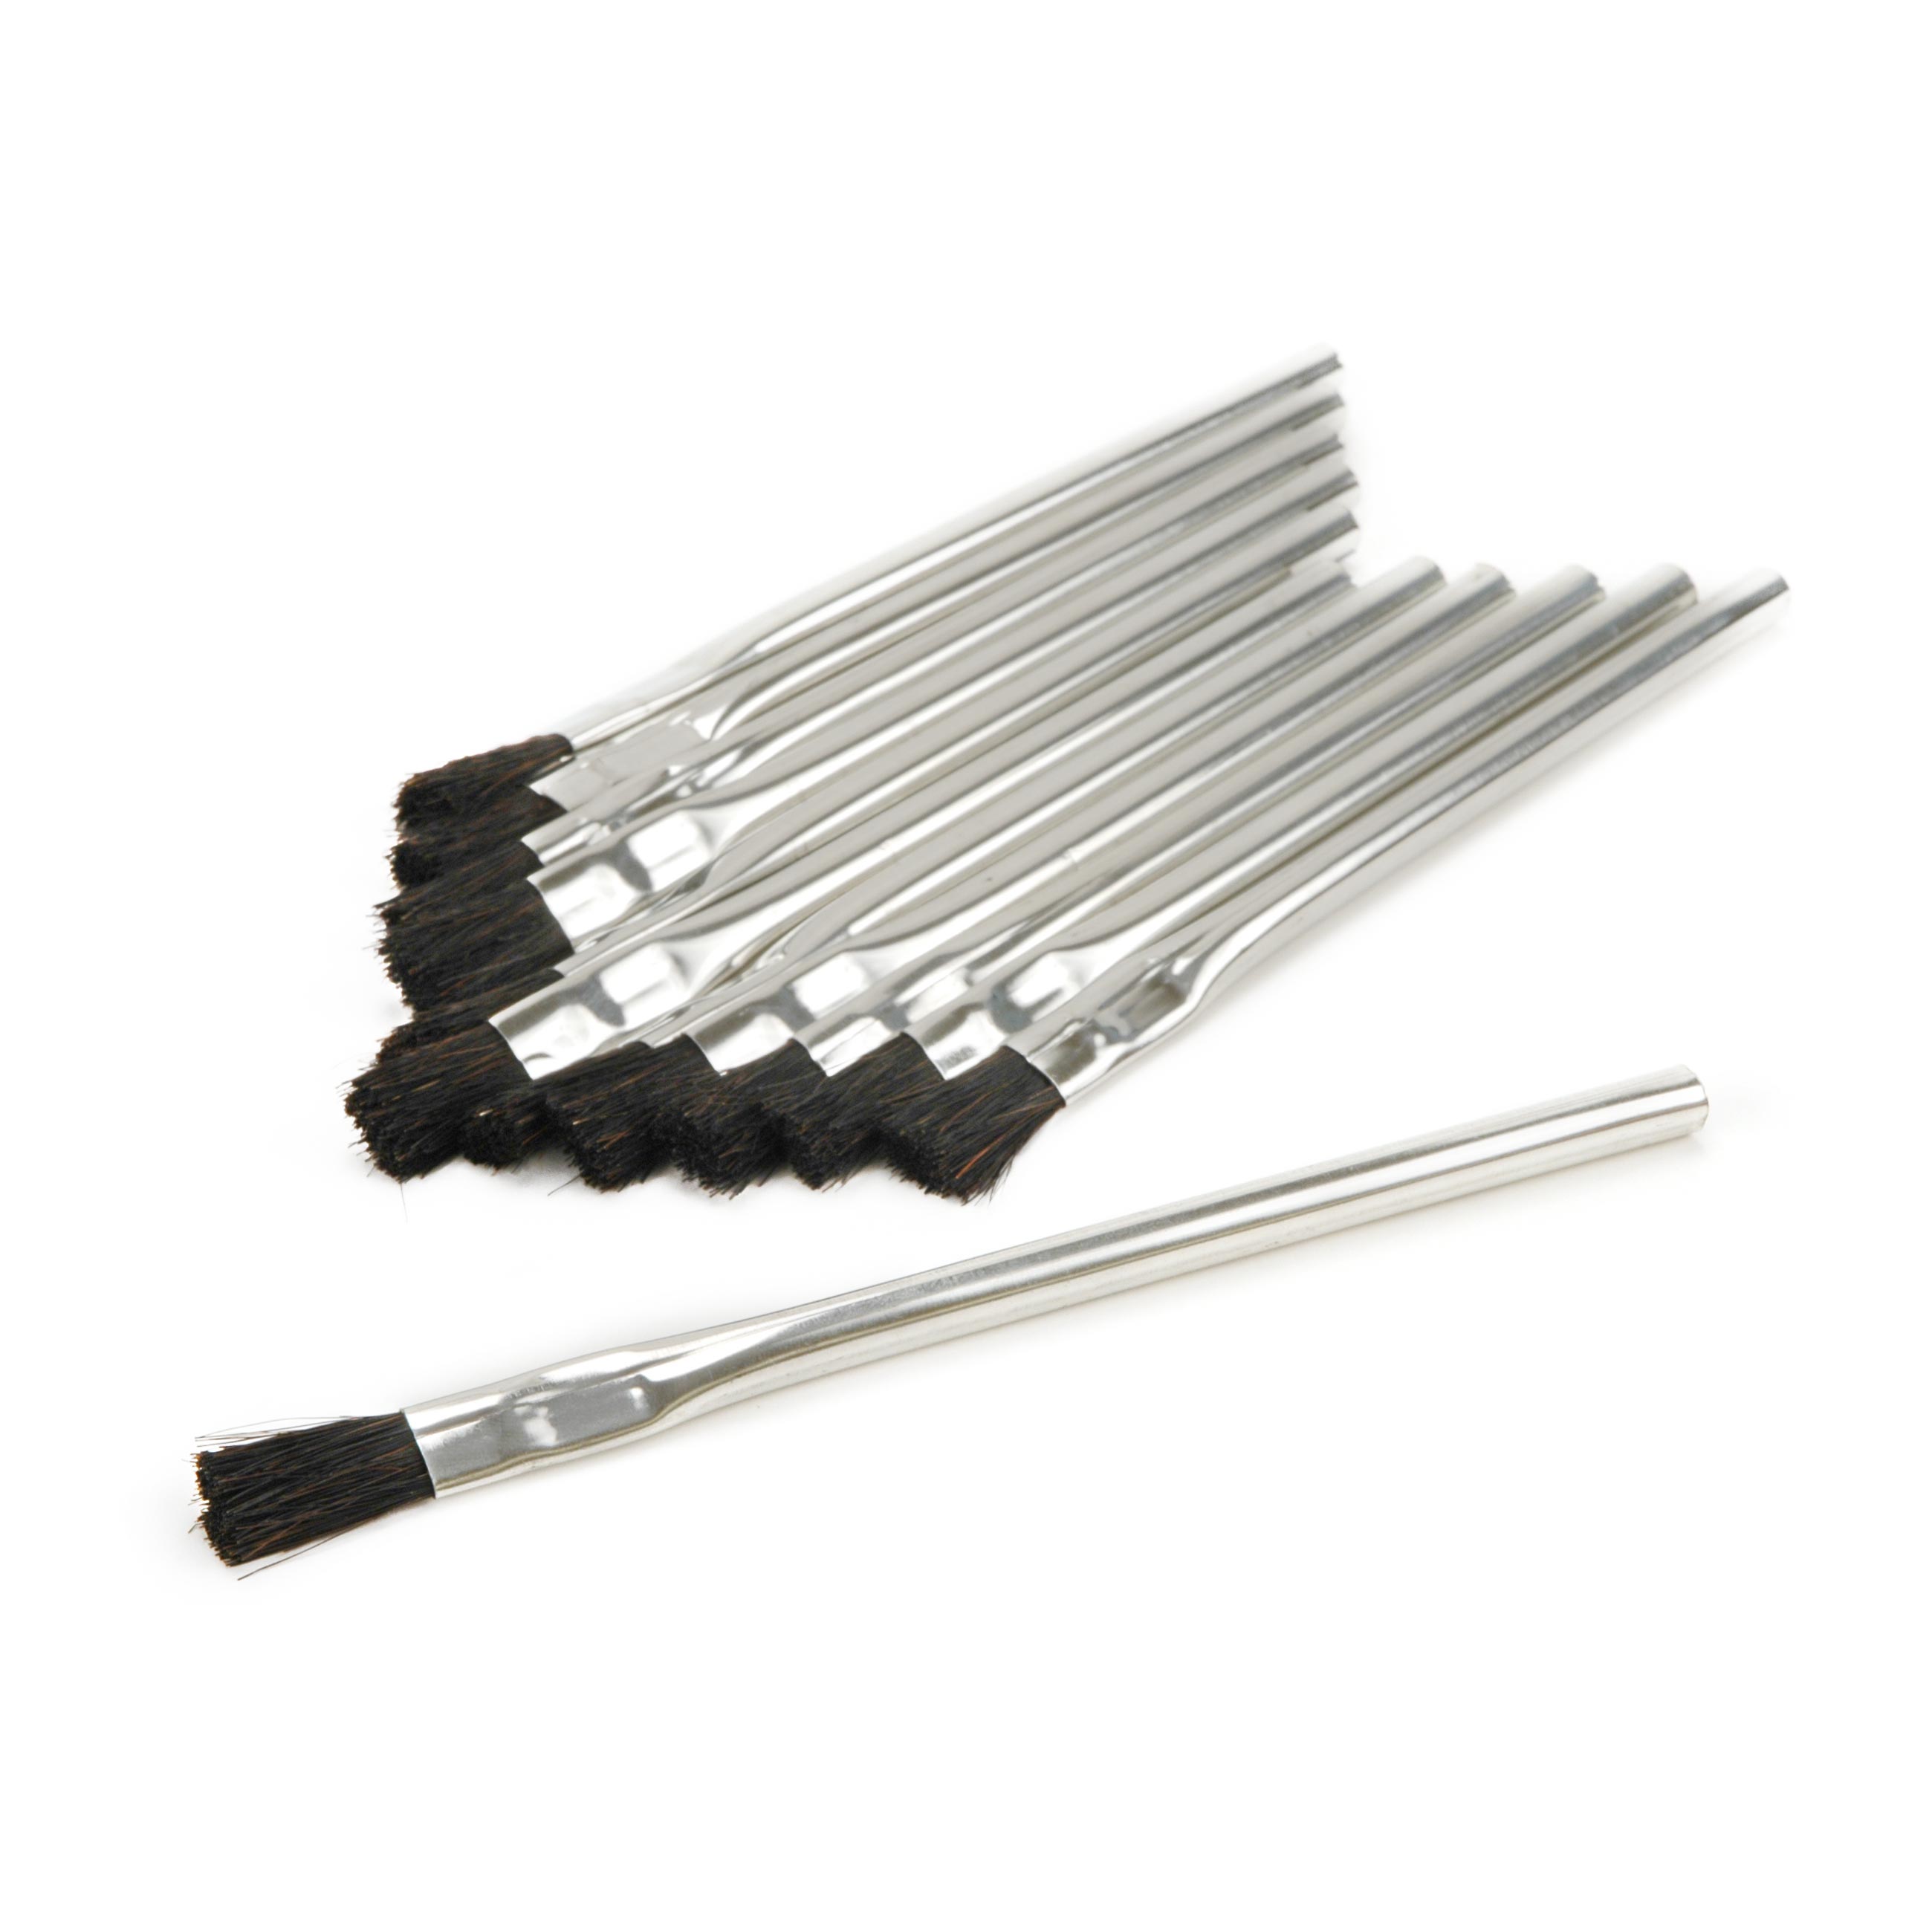
- Glue Brush
- Inlay Tracing Scribe or push pin
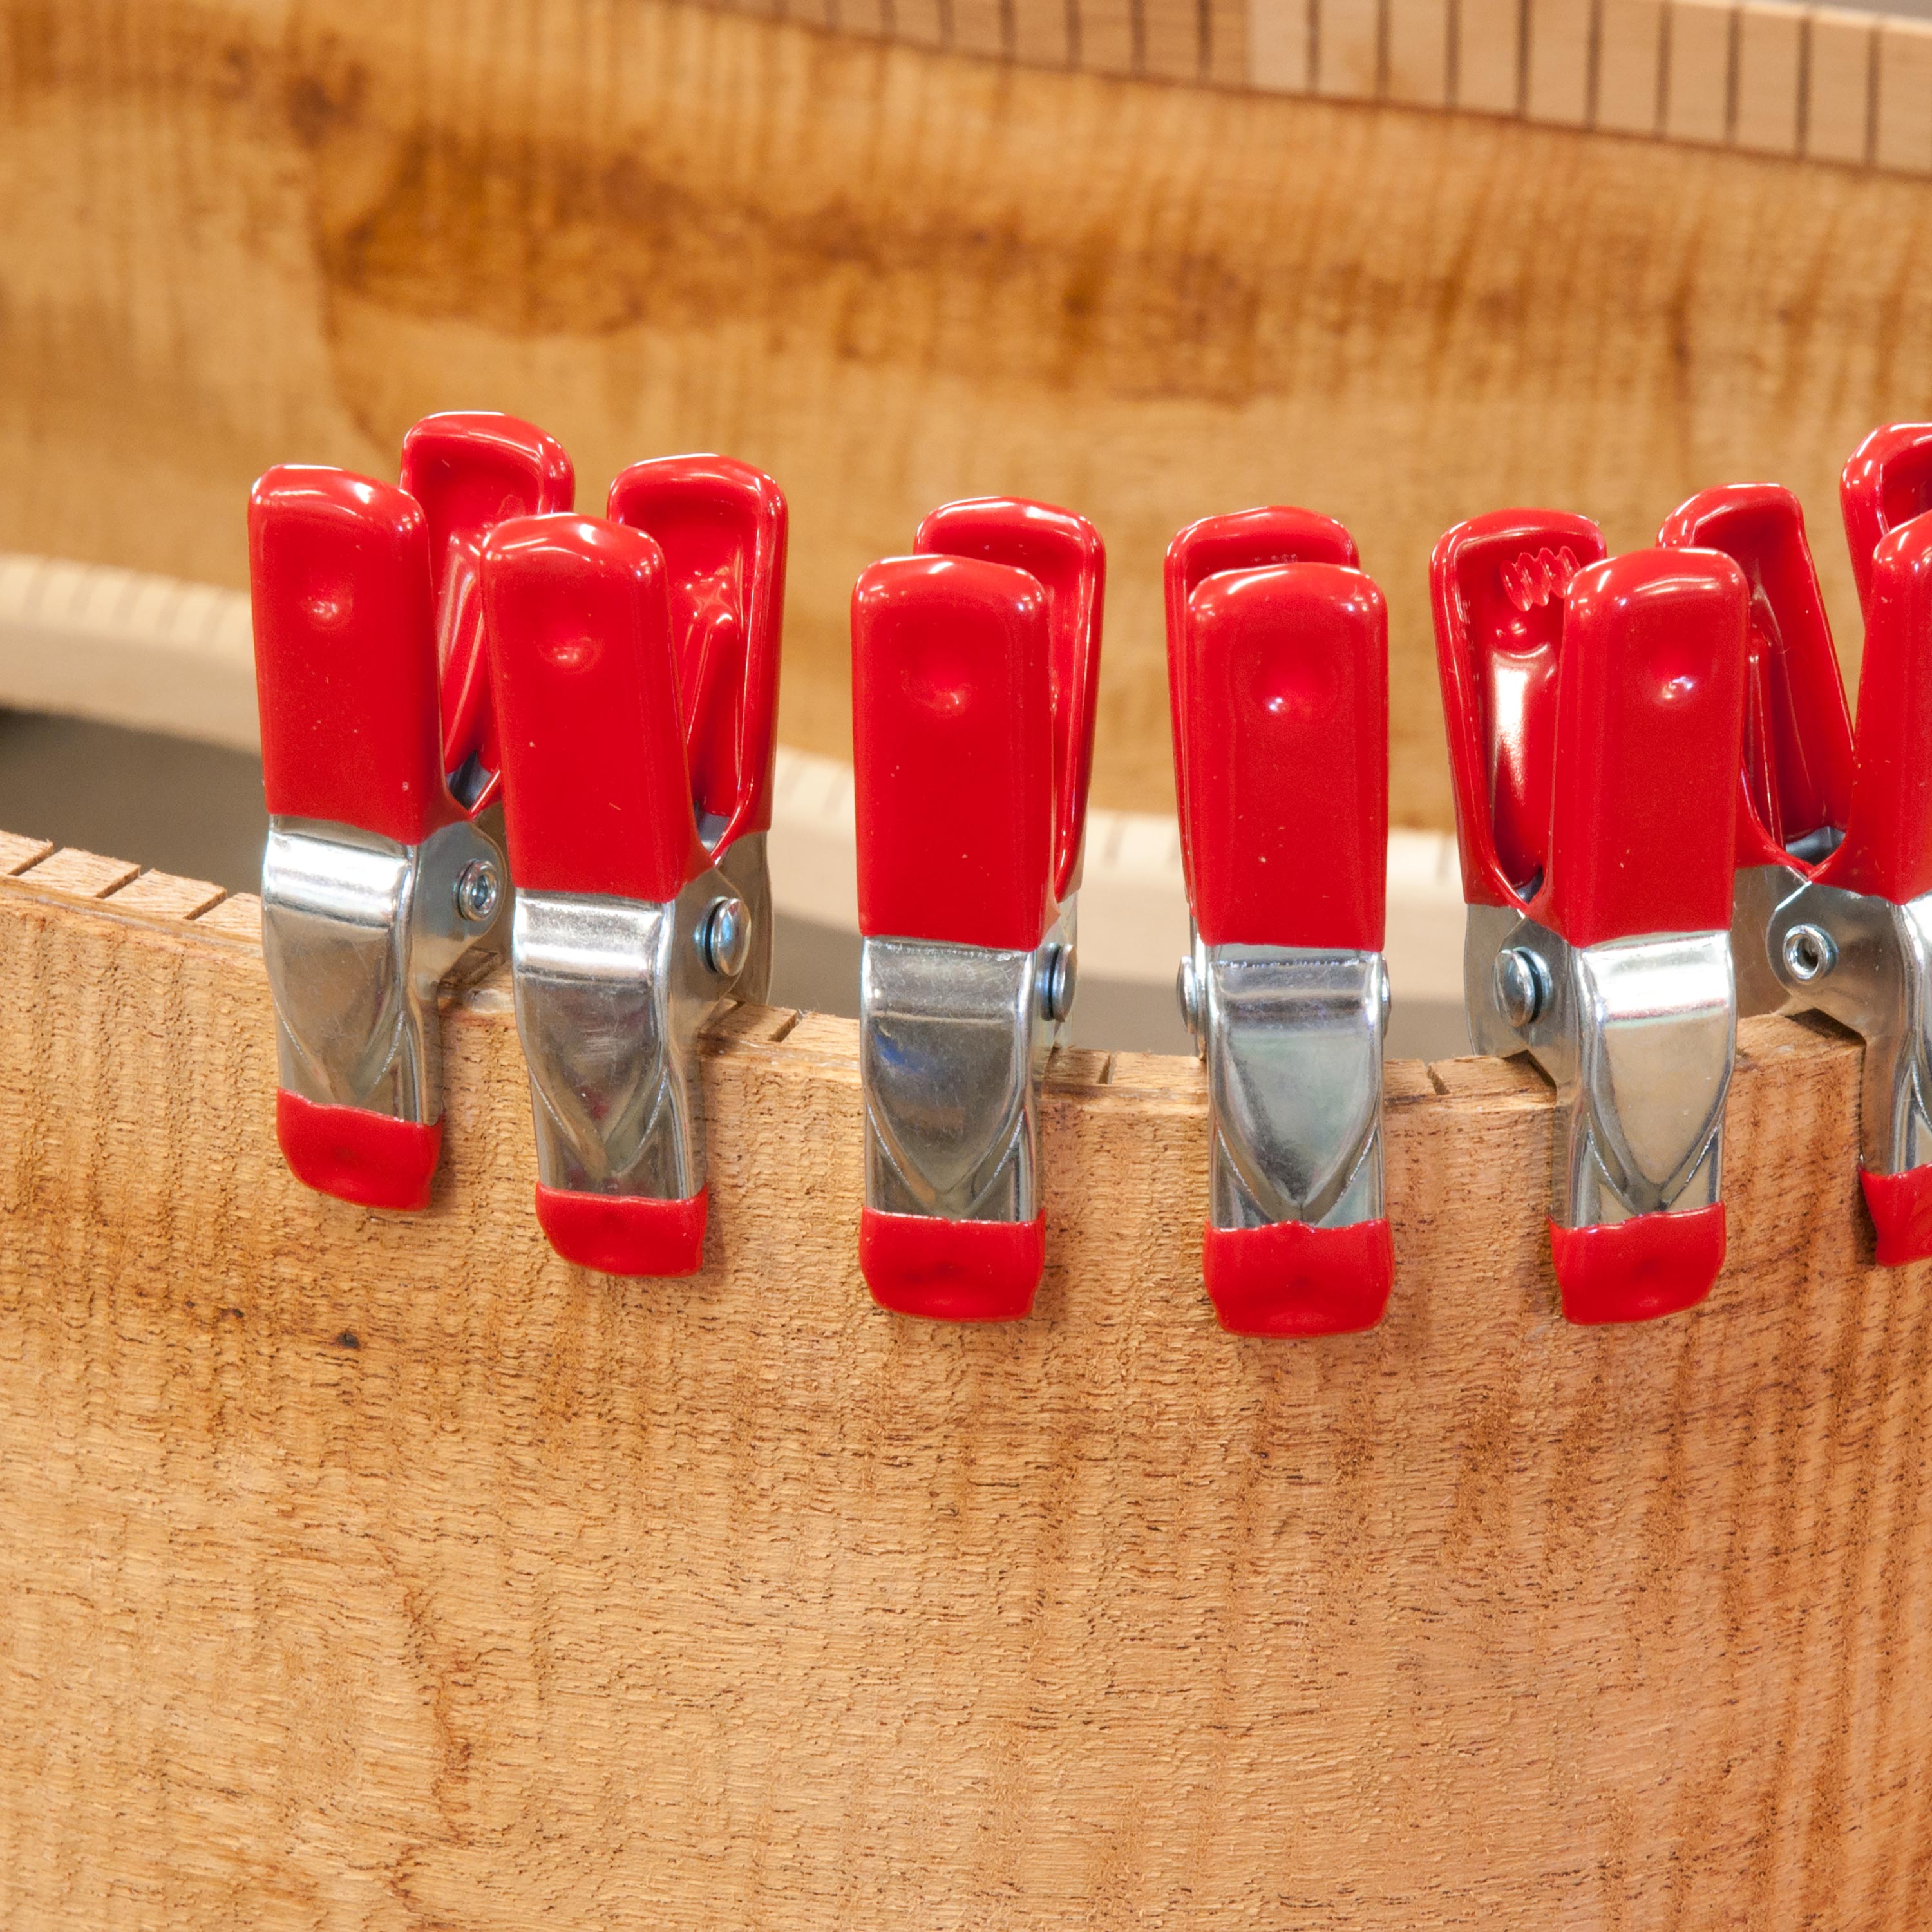
- Mini Clamps for Linings or clothespins with rubber bands
- Plywood
NEXT UP
Video Transcription
[on-screen text reads: How to Build a Ukulele. Lesson 2: Bracing the Top + Back]
Full-size bracing plan
Dan Erlewine: We're going to start building our uke by bracing the top and the back. We have a nice drawing here that shows you exactly where to lay these braces. The gray ones are the back braces. It only gets three. The other ones are the top braces and it's sort of like a little guitar. You've got X braces here, a little bridge pad, fan style, side braces, voice brace, two strips of spruce to support the sound hole just like a guitar and the front shoulder brace. If you look at the plan, you're going to see two lines. There's a dark black line, that's the actual shape of the uke when you're done, and a dotted line, which represents the fact that the back and top are slightly oversized. So what I'm going to do with my plan is cut it out because I'm going to use it throughout this video, but I'm going to cut it on the dotted line.
Take the back to your work table and line up the plan on it. Transfer the center line onto the wood. That makes it easy to stay centered and tape it down and put little pin pricks against each brace and you'll have dots in the wood then connect the dots with a pencil. You can do this with a needle or a push pin. I'm using a pointed inlay scribe. This is the back I'm working on. So I'm marking the gray back braces on the plan. Just connect the dots using the pencil and do the same thing on the top. Now all your brace locations are marked out for you.
Few clamps needed
Once you have the braces laid out, you're ready to glue. And we've laid this out so you don't need a lot of clamps. You got to have a clamp that'll reach the center of the body. This little baby cam will get on the X. This one here can reach the center and it can reach in there. You'll use some blocks of wood to spin more than one brace at a time. One clamp and a block of wood does a lot and mostly you're going to have these clothes pins with rubber bands on them and they're going to hold all the ends of the braces down.
Do a dry run first
And you want to practice this dry because once you're using glue, you can't go back. If you're missing something, you'll have to take the brace off and clean it and re-glue it. I'm going to have Steve Miller start you out by bracing the back.
Bracing the back
Steve Miller: It's pretty simple to clamp your braces down on the back of the ukulele. Here I have six clothes pin clamps with rubber bands on them to seat the edges of the braces. Through the center, I have a piece of plywood that's clamped down with a Cam Clamp. It bends and hits these two clamps as well as the one in the middle. Gluing the braces can be kind of tricky because you have to get a perfect amount of glue. You don't want so much glue that it comes out underneath the braces in big globs, but you want enough glue to where it squeezes out in a fine line and you know that there's glue under there. Dan showed me a really good trick to keep squeeze out from getting on the back of the ukulele. Put masking tape next to the braces before you put the glue on. I'm using the Low Tack Protective Tape we use here in the shop, but blue painters tape or any masking tape will do just fine.
Ready for glue
All right, so now that the tape is on, we're going to take the clamps off and get ready to glue. I'm going to use Titebond III. It's a strong fast drying glue. You could take the clamps off in like 30 minutes. I have a bowl of water here and I have this glue brush. I'm going to cut it down into a point to make it into a little detailed brush. I'm only putting Titebond III on the back. I don't need to put it on the braces too. This is a scrap of plywood. It could be just about anything. This thin scrap protects the back and helps spread the clamping pressure. One clamp is clamping all three braces at once. Take the tape off and any glue slop comes off with it. The glue brush and water cleans out the little bit of squeeze out that's left.
Dan Erlewine: That's looking pretty good. I'd still pull that rubber band back just a bit and get way out there. Is this on that one end?
Steve Miller: Oh, I see that.
Dan Erlewine: Ah. Perfect.
Bracing the top
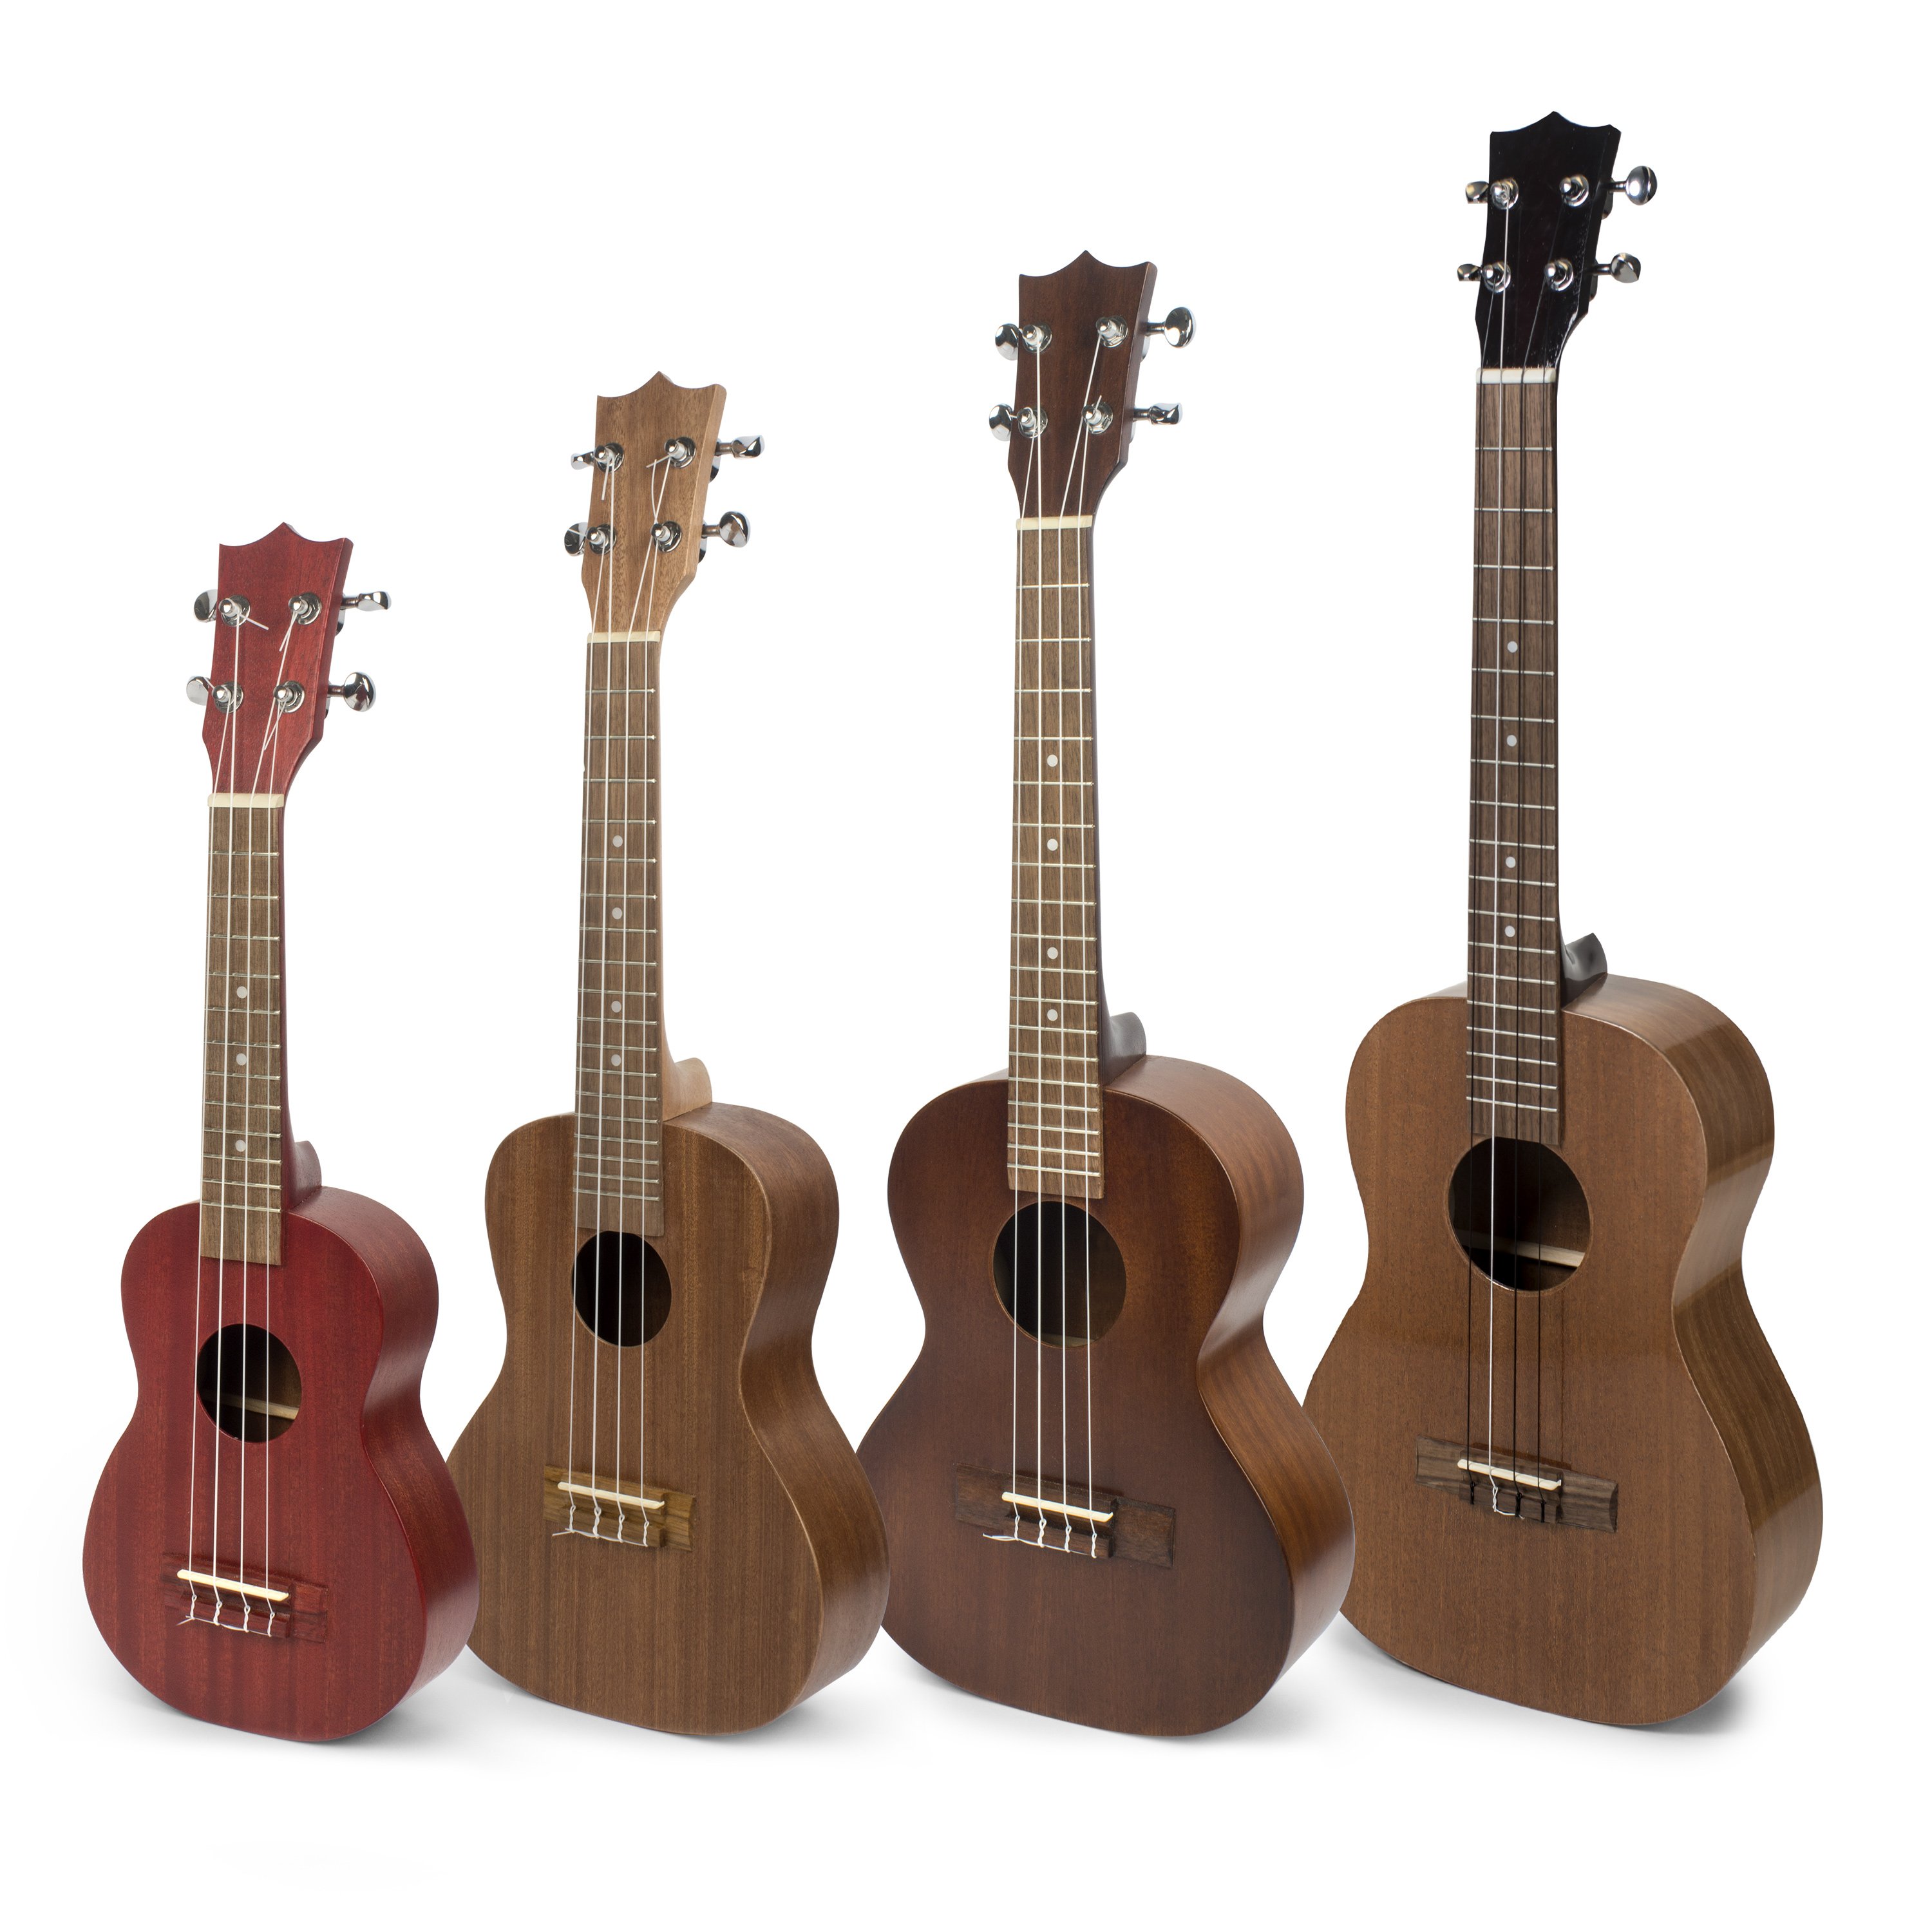
Now I'm going to clamp up the top braces. I'm building a concert size and that has the same number of braces as the tenor does. The soprano has fewer braces, it has four braces and a bridge plate. This piece of plywood clamped to my bench is a real handy way to glue up a whole bunch of braces on at once. I can lay the top down on it and clamp all around it. That's because I have a lot of clamps. And on the ends I have my clothes pins wrapped with rubber bands. If you want to get extra pressure on your clothes pin, take another one, turn it around backwards and shove it in there. That really gets a squeeze out. If you don't have a lot of clamps glue two braces at a time or one or two. In a couple hours, you'd be done. You can unclamp after 30 minutes is what the bottle of Titebond says. I like to go 45.
Well now you have your top and back braced. Isn't that great? And hopefully you had no trouble. The next thing you need is a work board, and that's what you'll put your sides together with and a lot of the other work.
[on-screen text reads: Next: Assembling the Body]


