Lesson 9: APPLY THE FINISH
Lesson 9: Applying the finish
Dan and Steve teach you how to apply a sealer coat, when to sand, and a final finish coat.
In this video you'll learn:
- Final prepping the wood for finishing
- Using grain filler to fix any gaps
- Applying a sealer coat
- How to scuff sand
- Applying finish with a rag and a brush
- Applying the final coat
What you'll need:
- ColorTone Waterbase Grain Filler
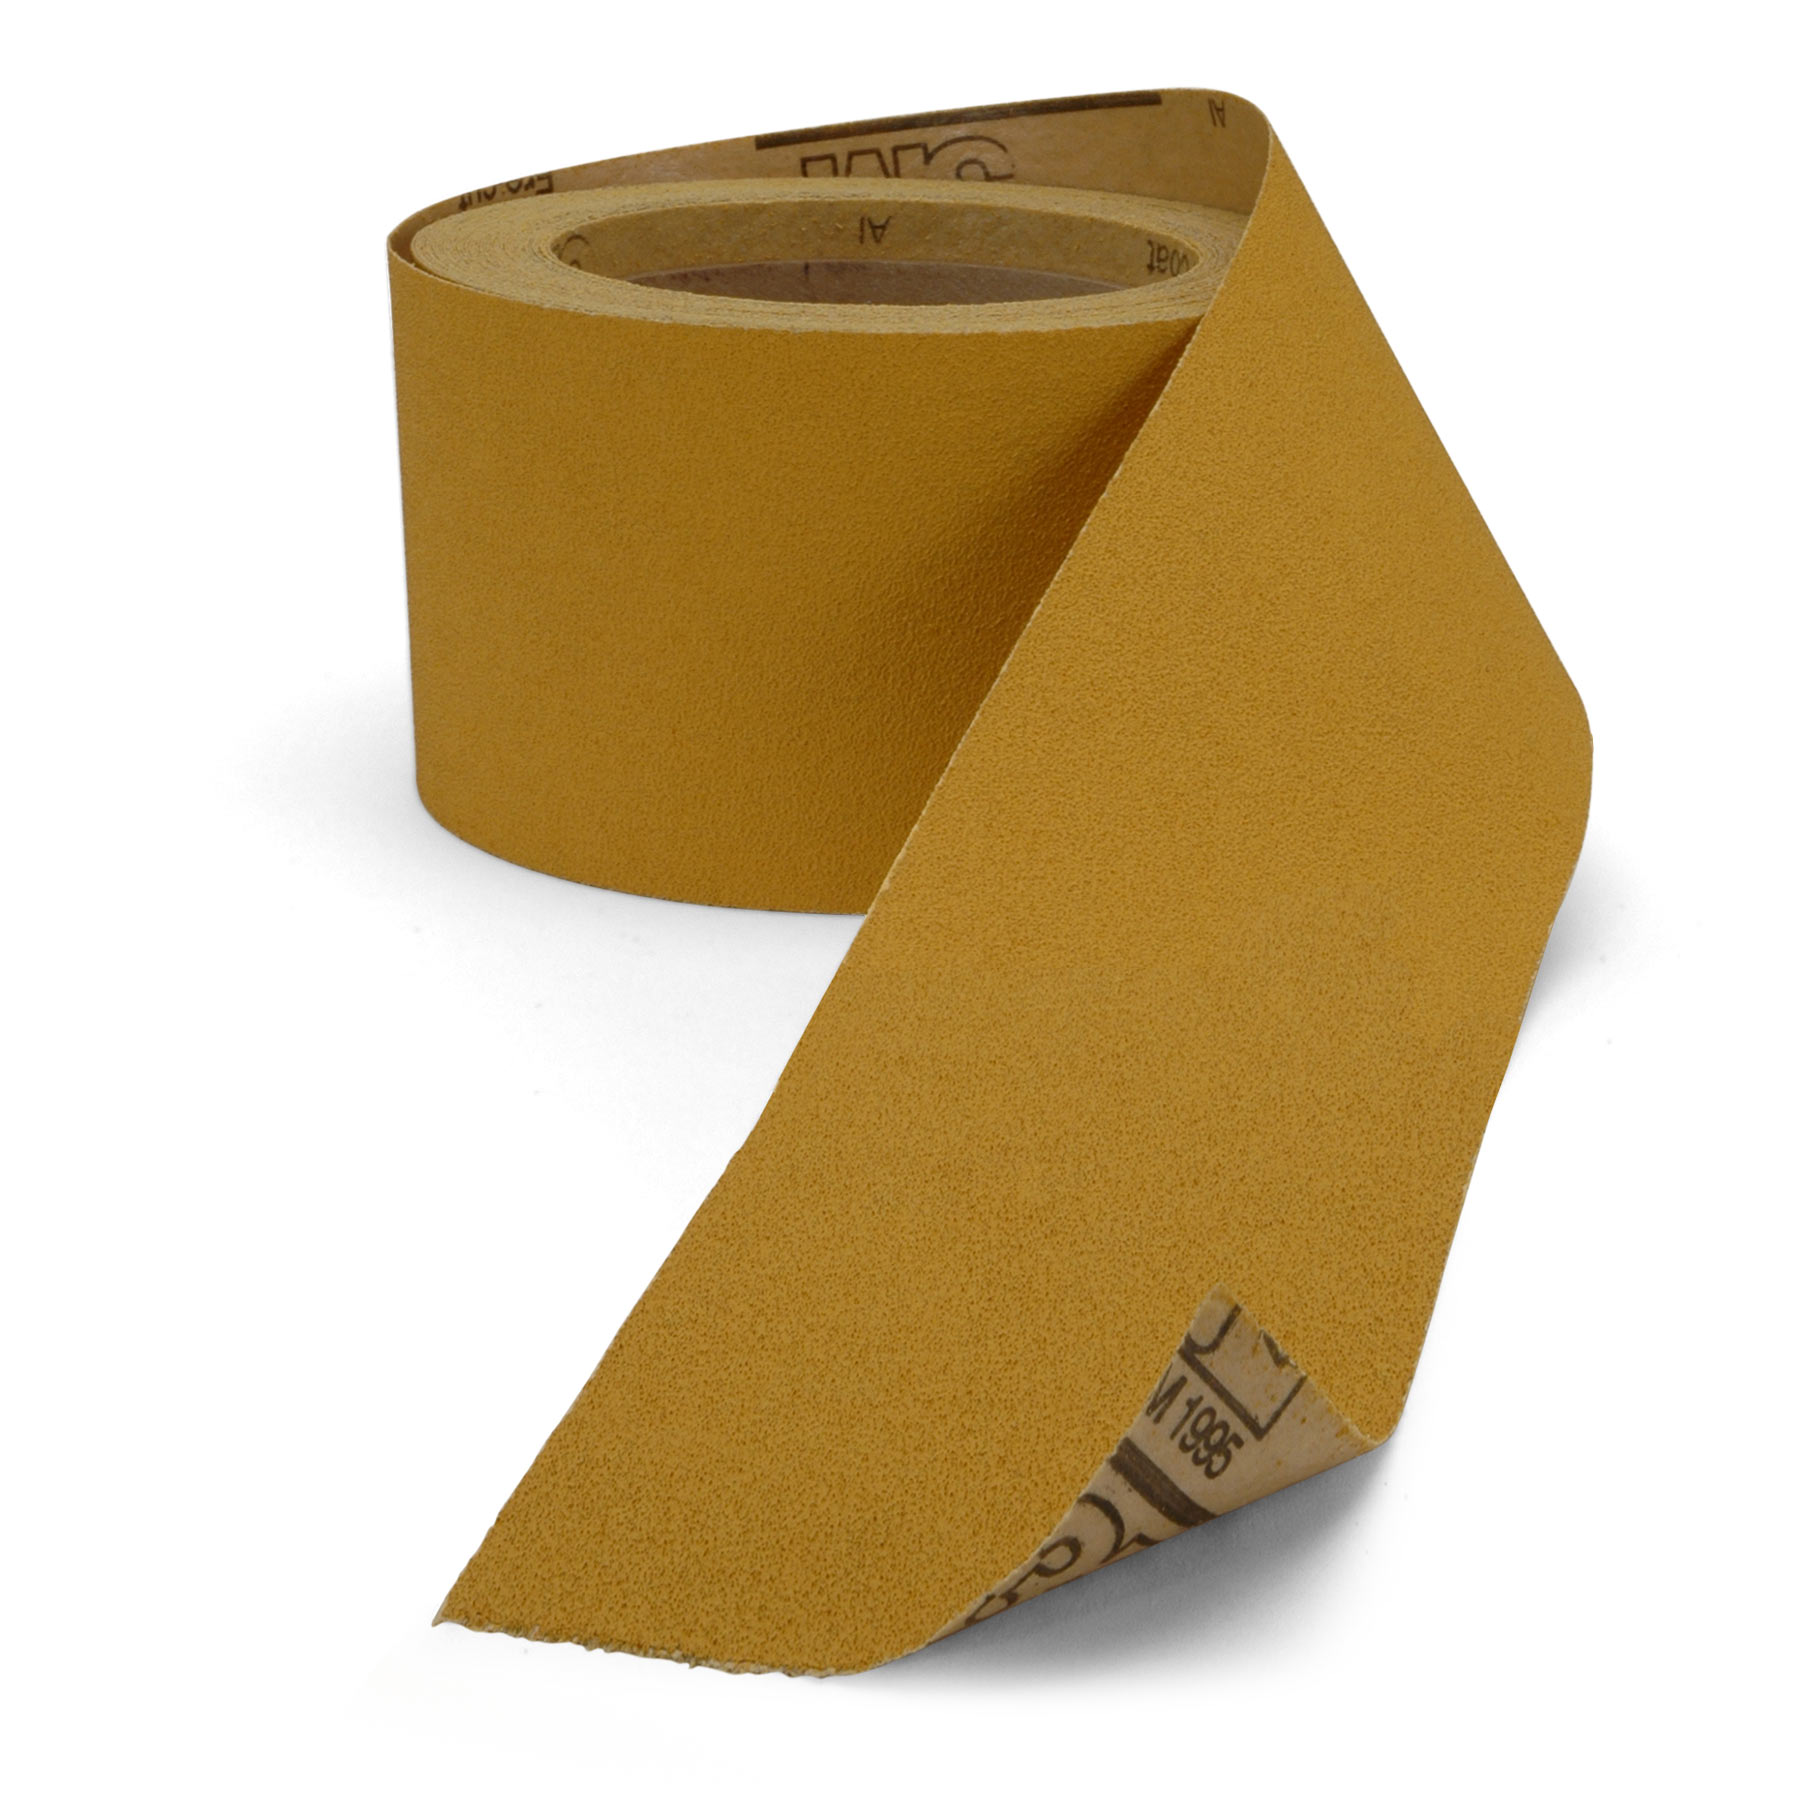
- 400-grit sandpaper
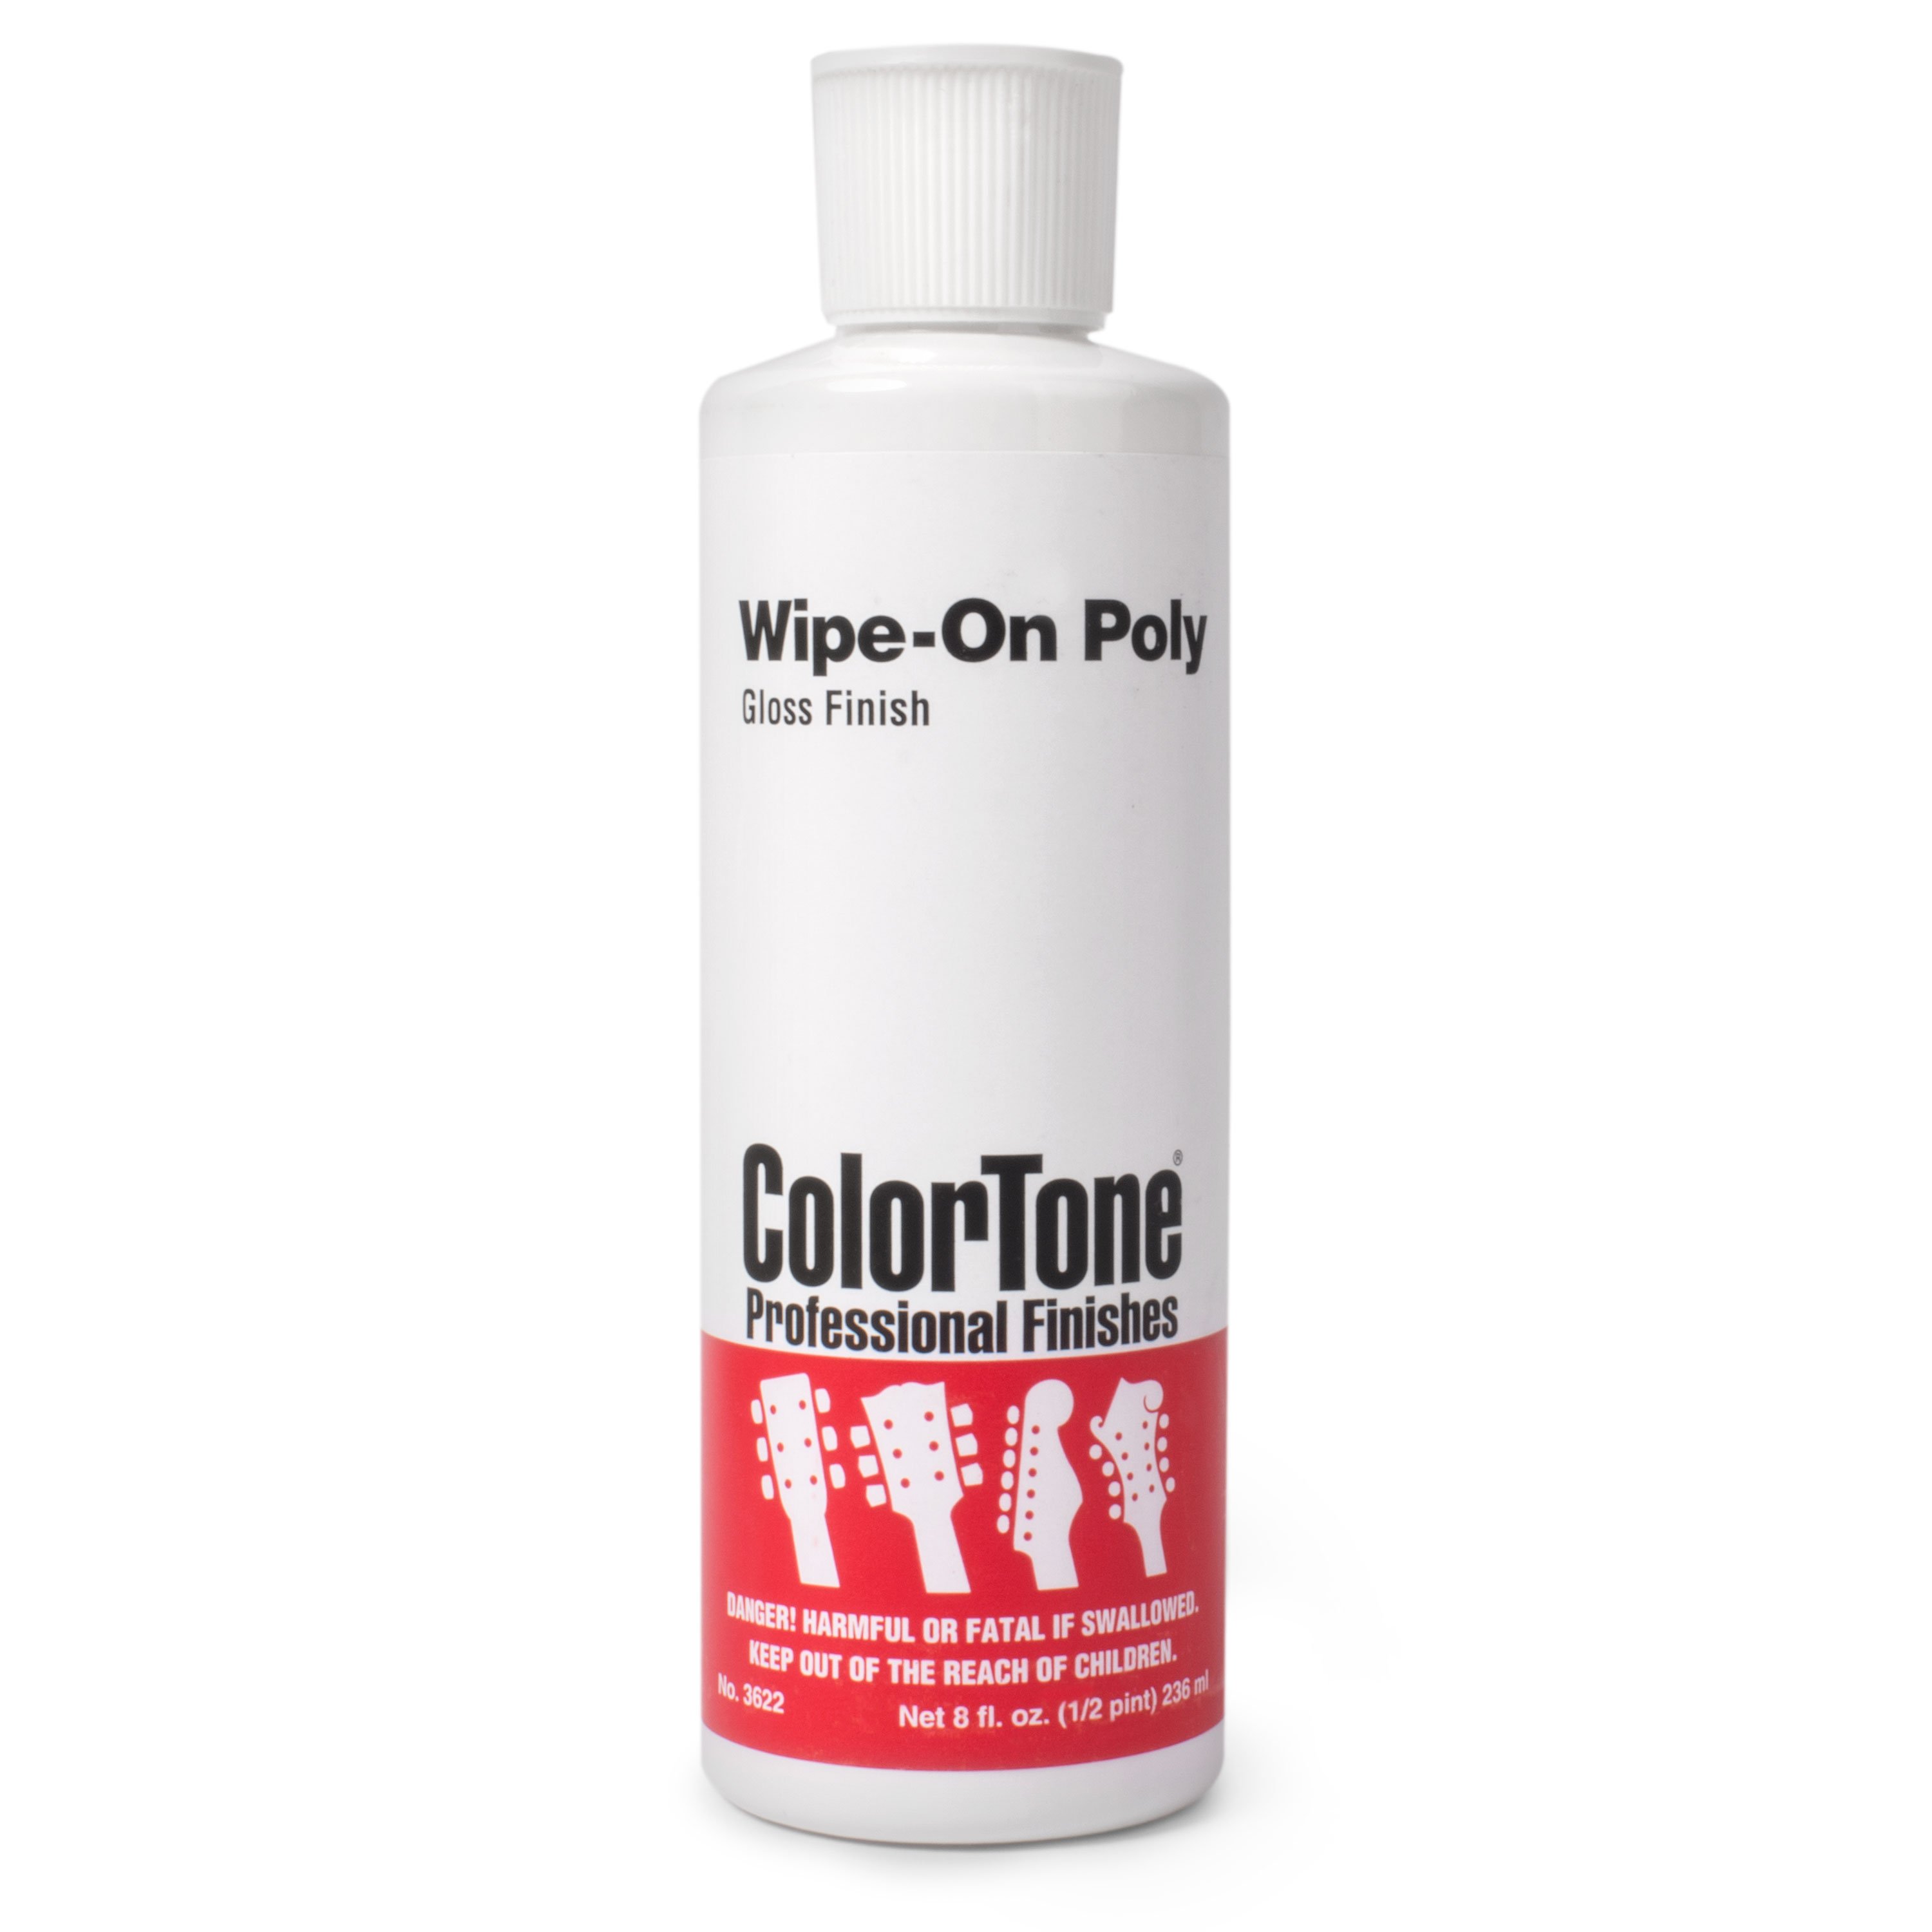
- ColorTone Wipe-On Poly Finish
- Cotton ball
- Clean cotton rag
- Foam brush
- Long dowel
NEXT UP
Video Transcription
[on-screen text reads: How to Build a Ukulele. Lesson 9: Applying the Finish]
Using wood filler
Dan Erlewine: We're ready to finish. I let it dry for two hours, the necks on tight. Taped it off on the fretboard so that it won't get finish on it, and in the process of putting the neck on, I got a couple little tiny gaps when I was done, so I filled those with ColorTone, mahogany and ash grain filler. The mahogany was a little too red for this pale-colored mahogany, but the ash toned it down and I got a pinkish look. I taped off on both sides of the heel and then the heel too, and squeegeed in that little crack and just smoothed it in like icing on a cake. Give it about four minutes to start flashing off. It dries fast. Peeled off the tape and got in there with some 400-grit sandpaper and just butt-sanded it right up to the joint, and now it's ready for Steve Miller to come in and give us a finish.
Applying ColorTone Wipe-On Poly Finish
Steve Miller: For a finish, I'm going to use ColorTone Wipe-On Poly. It's very easy to apply. We're putting it on with this t-shirt and a cotton ball just like so. It's very forgiving. It's very easy to do.
[Steve applies the poly finish to the entire guitar body using long even strokes]
My plan was to hang this up to dry, but as I went, it dried so quickly the wood just soaked it all up, so I feel fine laying it over just like this. I think it dried so fast because it was the first coat and the wood sucked it all up.
Final scuff-sanding
This is ready for the last coat of finish, and we're going to sand it out one last time with 400-grit sandpaper.
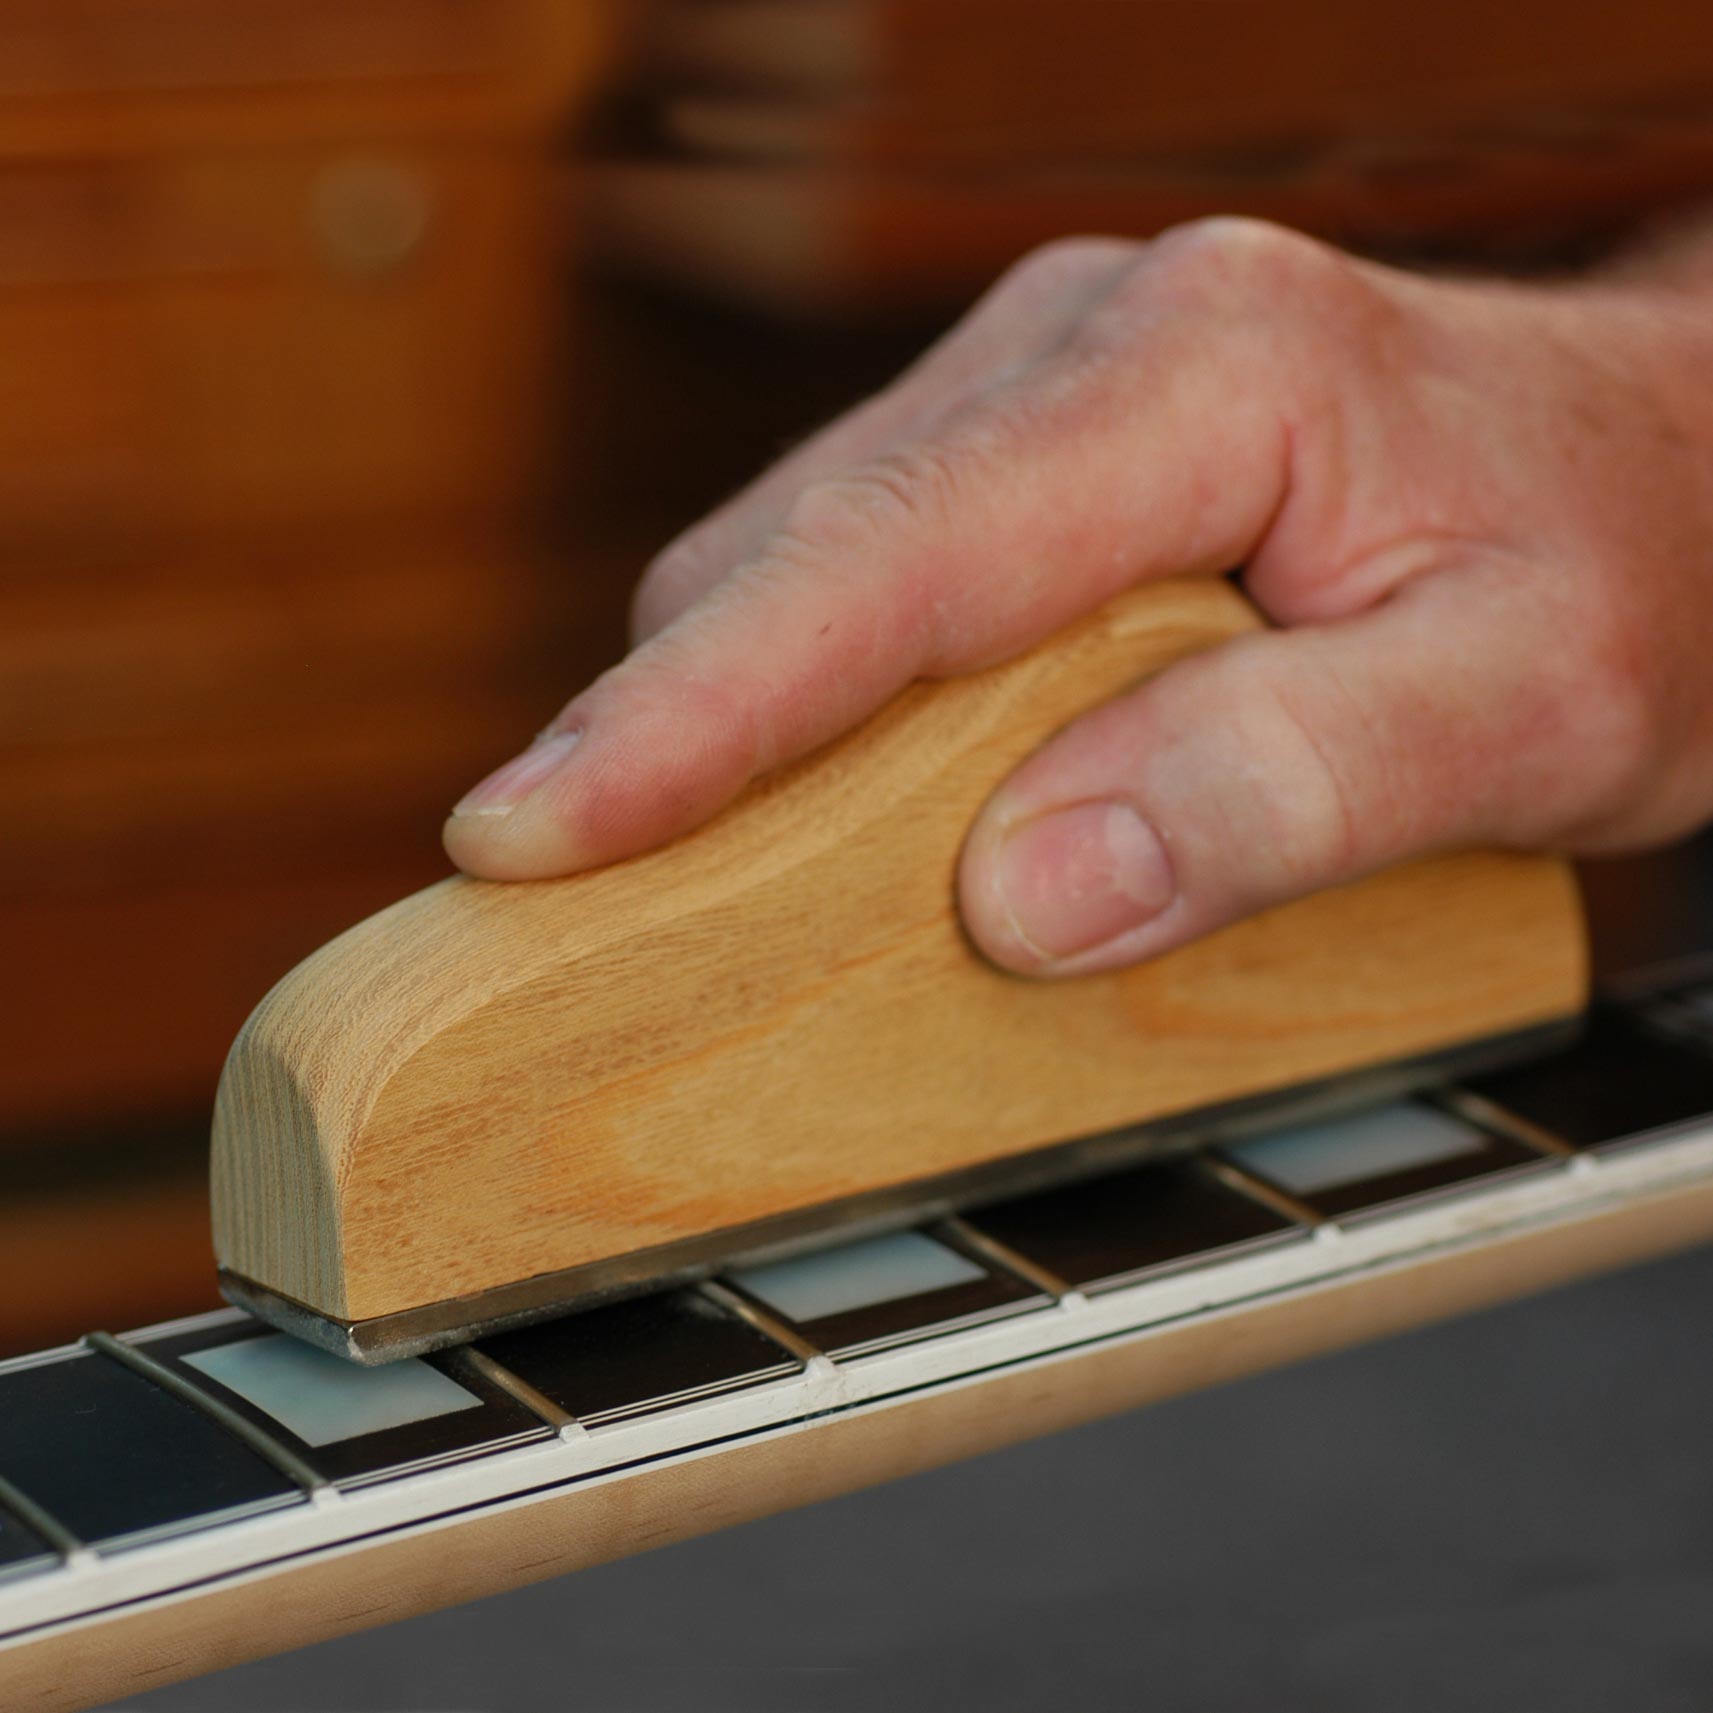
[Steve sands the entire guitar body with sandpaper on a block]
Final finish coat
And now it's time for the final coat. I've switched to this foam brush because it's a little bit easier to get in these corners. It also goes on a little bit thicker. The damp rag was really just a sealer coat, and this one was going to go on really thick and bulky.
[Steve brushes on the final finish coat to the entire guitar. He uses a tapered holder peg inserted into a peghead tuner hole to hold the guitar while applying finish to the peghead. He then hangs the guitar to dry by clamping the holder peg to his workbench]
Dan Erlewine: So that is one coat of rubbed-on poly with a cotton ball in a rag soaks into the wood. One coat of brushed-on poly with a foam brush, sand it after that. The second coat got sanded too, and this is the third coat, and I'm not going to sand it. It's very uniform and it's got a great sheen to it. Actually, a shine. If that's too shiny for you, you could take some steel wool, four-ott steel wool and dull it down and get a satin look. I like it like this.


