Lesson 1: LET'S GET STARTED
Lesson 1: Let's get started
Dan walks you through the kit, shows off the woods, outlines your build, and gives you a sneak peak of the finished ukes.
In this video you'll learn:
- Outlining your build
- The different sizes of ukulele you can build
- Discussing your finishing options
What you'll need:
NEXT UP
Video Transcription
[on-screen text reads: How to Build a Ukulele. Lessson 1: Let's Gets Started!]
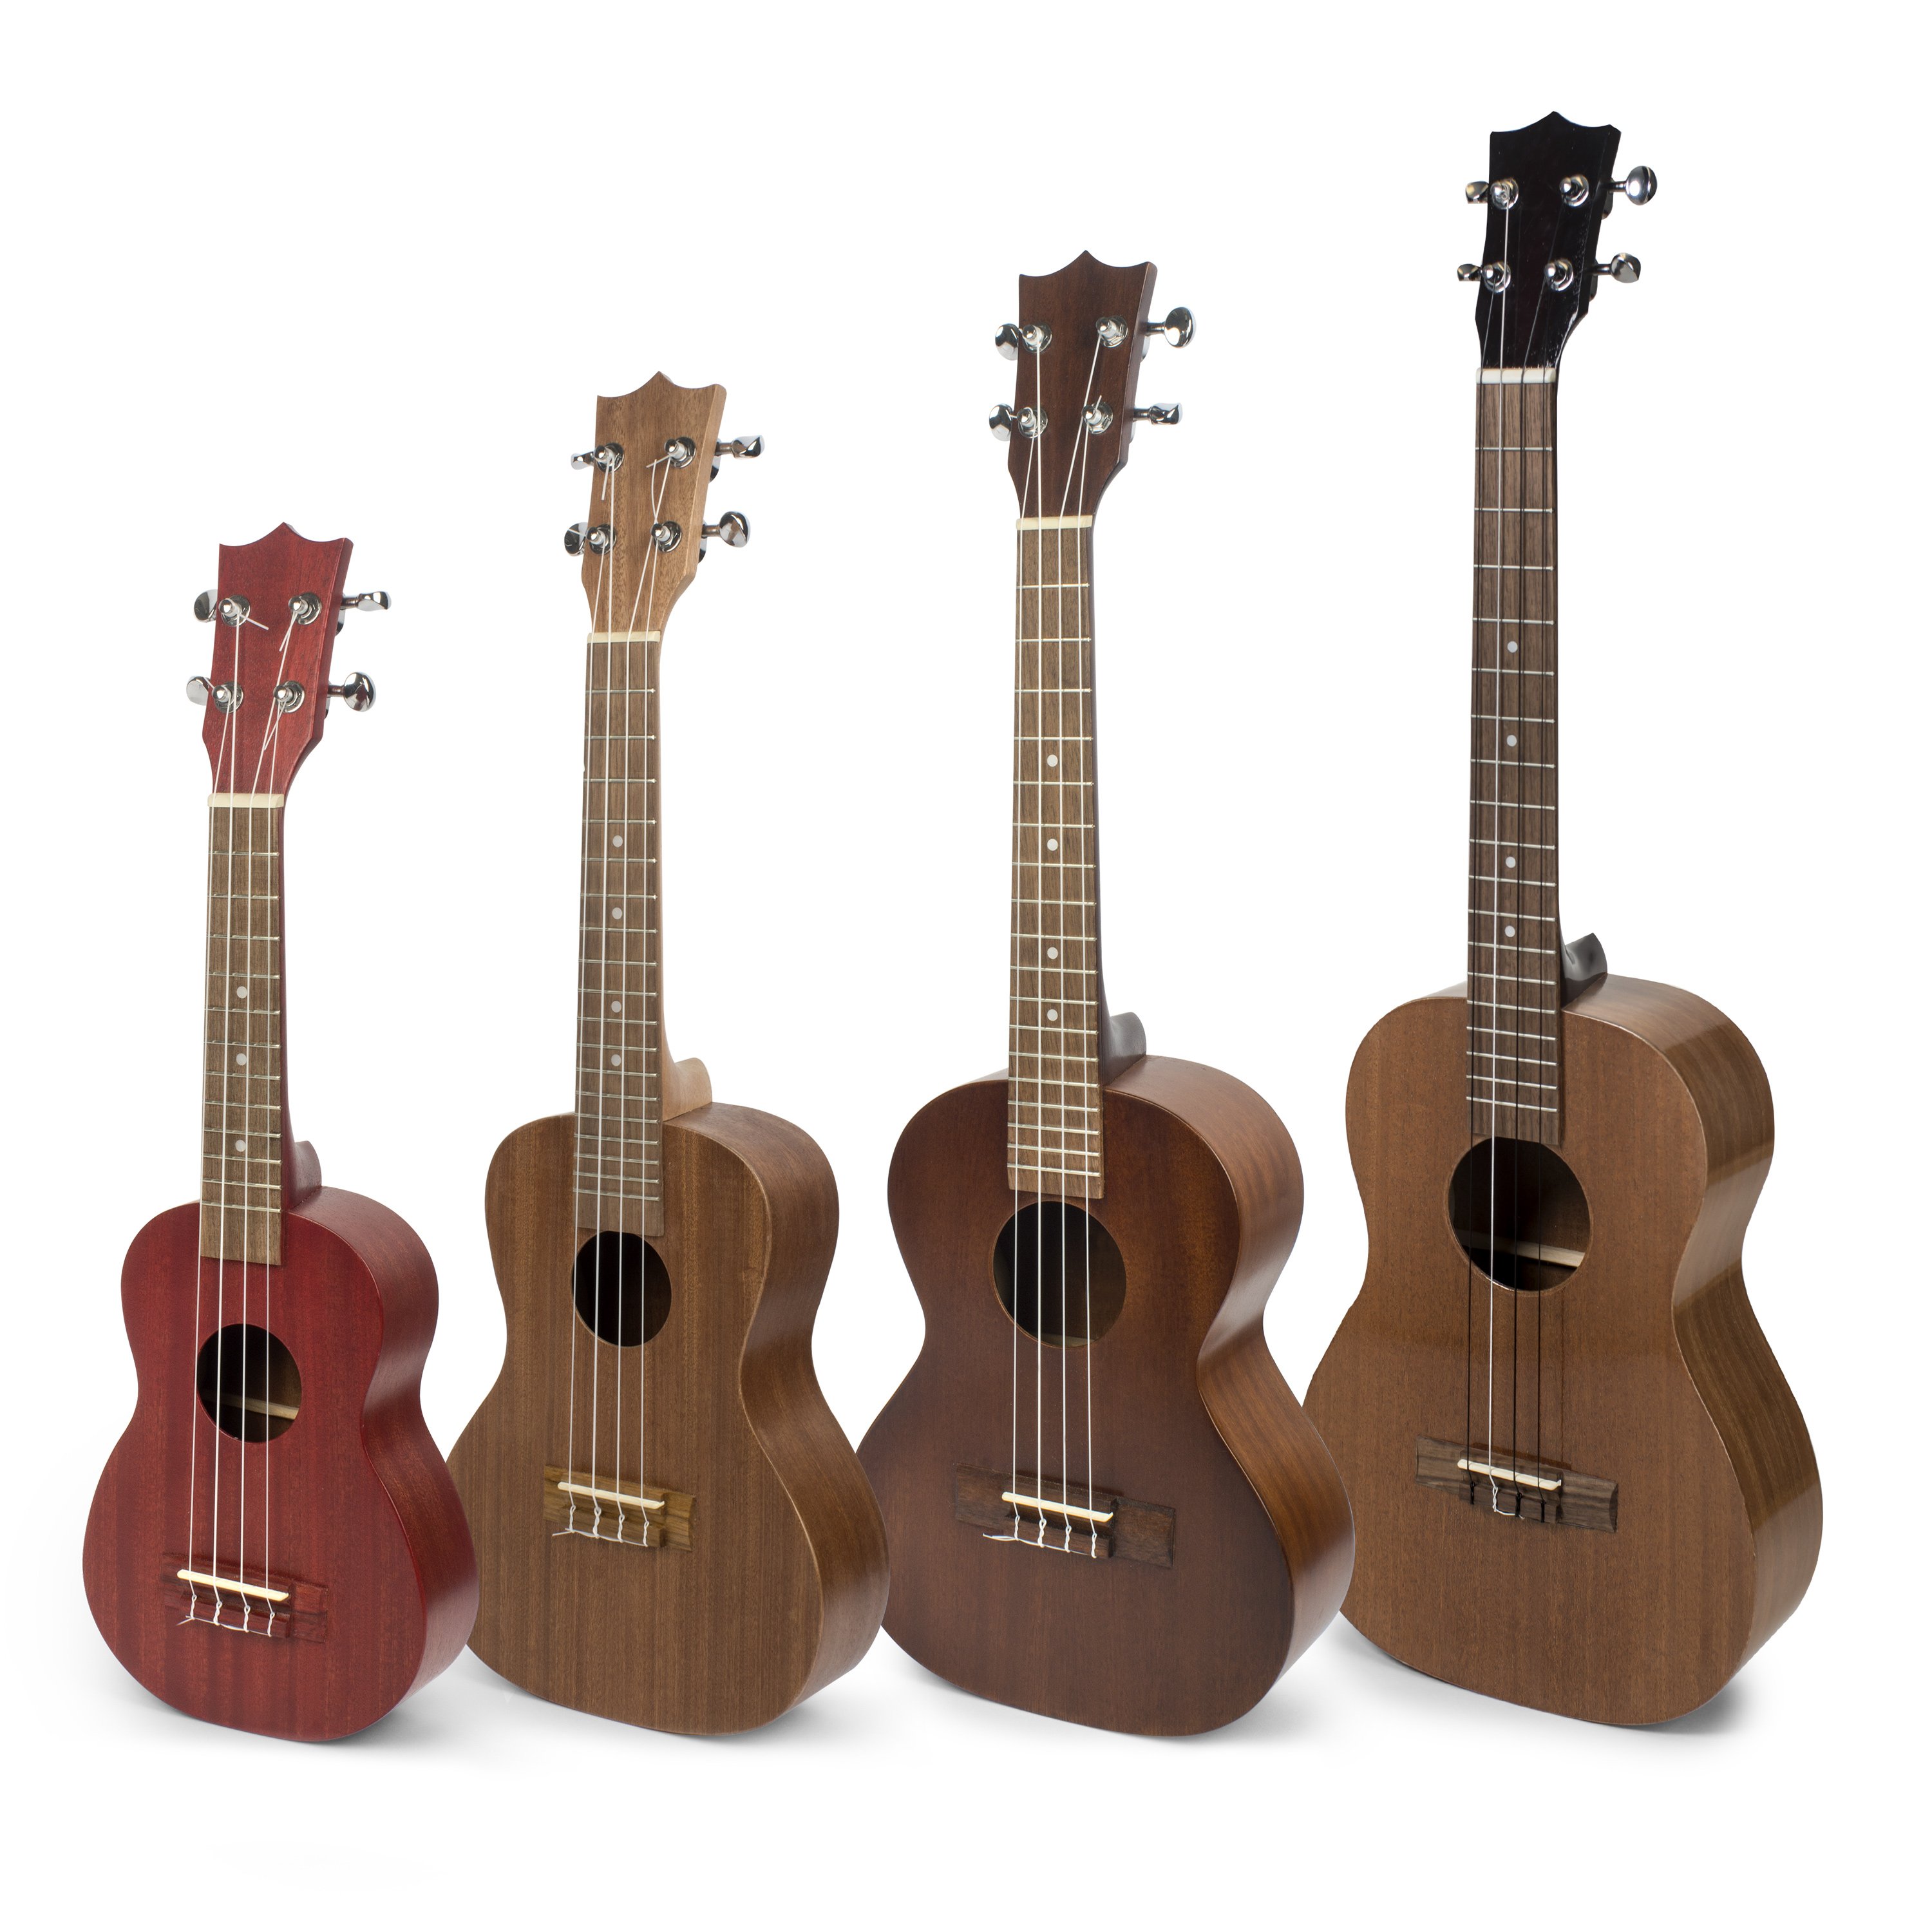
Dan Erlewine: I am really pleased that here at StewMac, we've come up with three of our own Ukulele Kits. The soprano little one, medium size concert, and the bigger tenor. These kits are fun and easy to build and they make great sounding instruments. We shot 10 videos, one for each step, and it shows you everything you need to know. And if you follow along step by step, you can't go wrong. You don't need special tools. Most of the tools you probably already have around the house and you don't need a workshop, you can build this kit right on the kitchen table.
Options for staining and finishing
We came up with this really simple jig that you can make from a piece of plywood and four angle brackets that holds the body in shape while you build. The finishing is easy. We use Wipe on Poly, which is a good-looking durable finish, easy to apply. It doesn't require any spring or hassling about it. You could finish this any color you wanted could be a stain or a sunburst. We finish it with clear on one, just a natural mahogany. In the other, we stained dark brown to look like an old Martin, and we'll show you how to do that.
The building process
That's mahogany top solid wood. The same mahogany in plywood holds the shape for your sides. It's pre-bent. They'll fit right into the mold that you make. The neck is pre-shaped. You couldn't shape a neck your first time out, but you do have to sand it when you put the fretboard on. The fretboard is walnut and it's pre-slotted so you don't have to cut the slots and get off, but you do have to fret it, and that's fun and that's your entry into luthiery. So let's get started.
[On screen text reads:
- Lesson 1 - Lets Get Started!
- Lesson 2 - Bracing the Top + Back
- Lesson 3 - Assembling the Body
- Lesson 4 - Preparing the Neck
- Lesson 5 - Leveling the Frets
- Lesson 6 - Sanding the Body + Neck
- Lesson 7 - Staining the Body+ Neck
- Lesson 8 - Attaching the Neck
- Lesson 9 - Applying the Finish
- Lesson 10 - Assembly + Setup]
So lets get started.
[on-screen text reads: Next: Bracing the Top and Back]


