HOW TO INLAY A GUITAR HEADSTOCK WITH MASTER INLAY ARTIST CRAIG LAVIN
Episdode 2: Inlaying an Ebony Headplate
Want to do your own custom inlay? We created this video series with master inlay artist Craig Lavin to show you every step from design to final installation.
In this second episode Craig discusses inlaying on a finished guitar versus a new build, positioning, gluing, and tracing the inlay, and setting the router depth. Next Craig demonstrates routing the pocket, checking the fit, gluing in the inlay, and filling any gaps with ebony dust and a Sharpie.
Want to see the rest of the series?
See Previous Episode | See Next Episode
Here's what's in the video:
In this second part of a three-part series, we are going to continue to go over what it takes to create a logo for the headstock of your own guitar. Click here for Part 1 of the series, where we talk about how to design and create your logo. We went over all the elements of what makes a really solid logo design. We went over a good amount of materials that you can use to create that design. And then we talked about how to cut that logo out using a jeweler's saw.
We have our logo ready to go. As you'll recall, it's composed of two pieces. The first is the script that says "StewMac" in pearl. The second piece is the little square fretboard made from a synthetic called Atlante, with mother-of pearl-fret marker dots in it.

We've already cut those out, and what we need to do now is rout a pocket for them to go into so that they are flush with the wood of the headstock. So that's what we'll be doing today. Placing the logo on the headstock, scribing around it so that we retain its position, routing the pocket, and gluing it in. Let's get started.
Inlaying on a Finished Guitar
Inlaying on a finished guitar can be a big risk. Even if you're set up for it, even if you're an awesome tech guy and you work on finished instruments all day, things can go wrong. If that happnes then the whole instrument can be messed up. So it is really advisable to work with something that is still in process, because we can fix our mistakes more easily.
For example, let's take this LP-Style kit which doesn't have a finish on it. You're not impacting anything by taking this headstock near off. You could take the nut out. You could sand off the veneer, you could steam off whatever kind of glue you use. You could redo the thing entirely with very little risk to the rest of the instrument.
Inlaying an Ebony Headplate
So with that in mind, we are inlaying from either a scratch build or a kit build, using an ebony headstock veneer so that we can move forward without worrying about damaging anything on a preexisting instrument. Ebony is basically the best material for inlays that you can get. The reason why is when you rout into something as dark as ebony, it is very, very easy to hide any variation in your rout from where the inlay goes into the pocket. That is why, for beginners and for your first few inlay projects, I recommend working with a dark wood like ebony.
Positioning Your Inlay
What You'll Need
So let's figure out where we're going to position our inlays that we cut out earlier. In the first part of the series we took a blank headstock plate, and traced out our headstock template onto it. We also drew the centerline on it, which will help with positioning.

This template should be as detailed as possible. You need to have your tuner holes. You need to know where your truss rod cover is going, if you have one. You need to know where the nut falls. You need to know if you have a binding going on and how much space that takes up. You need to know what your tuner washer or bushing space will take up because you really don't want to not cover up any of the inlay.
What you really want to watch out for the most when you're inlaying a logo is that it's centered properly and that it falls exactly where it would look the best on your headstock design.

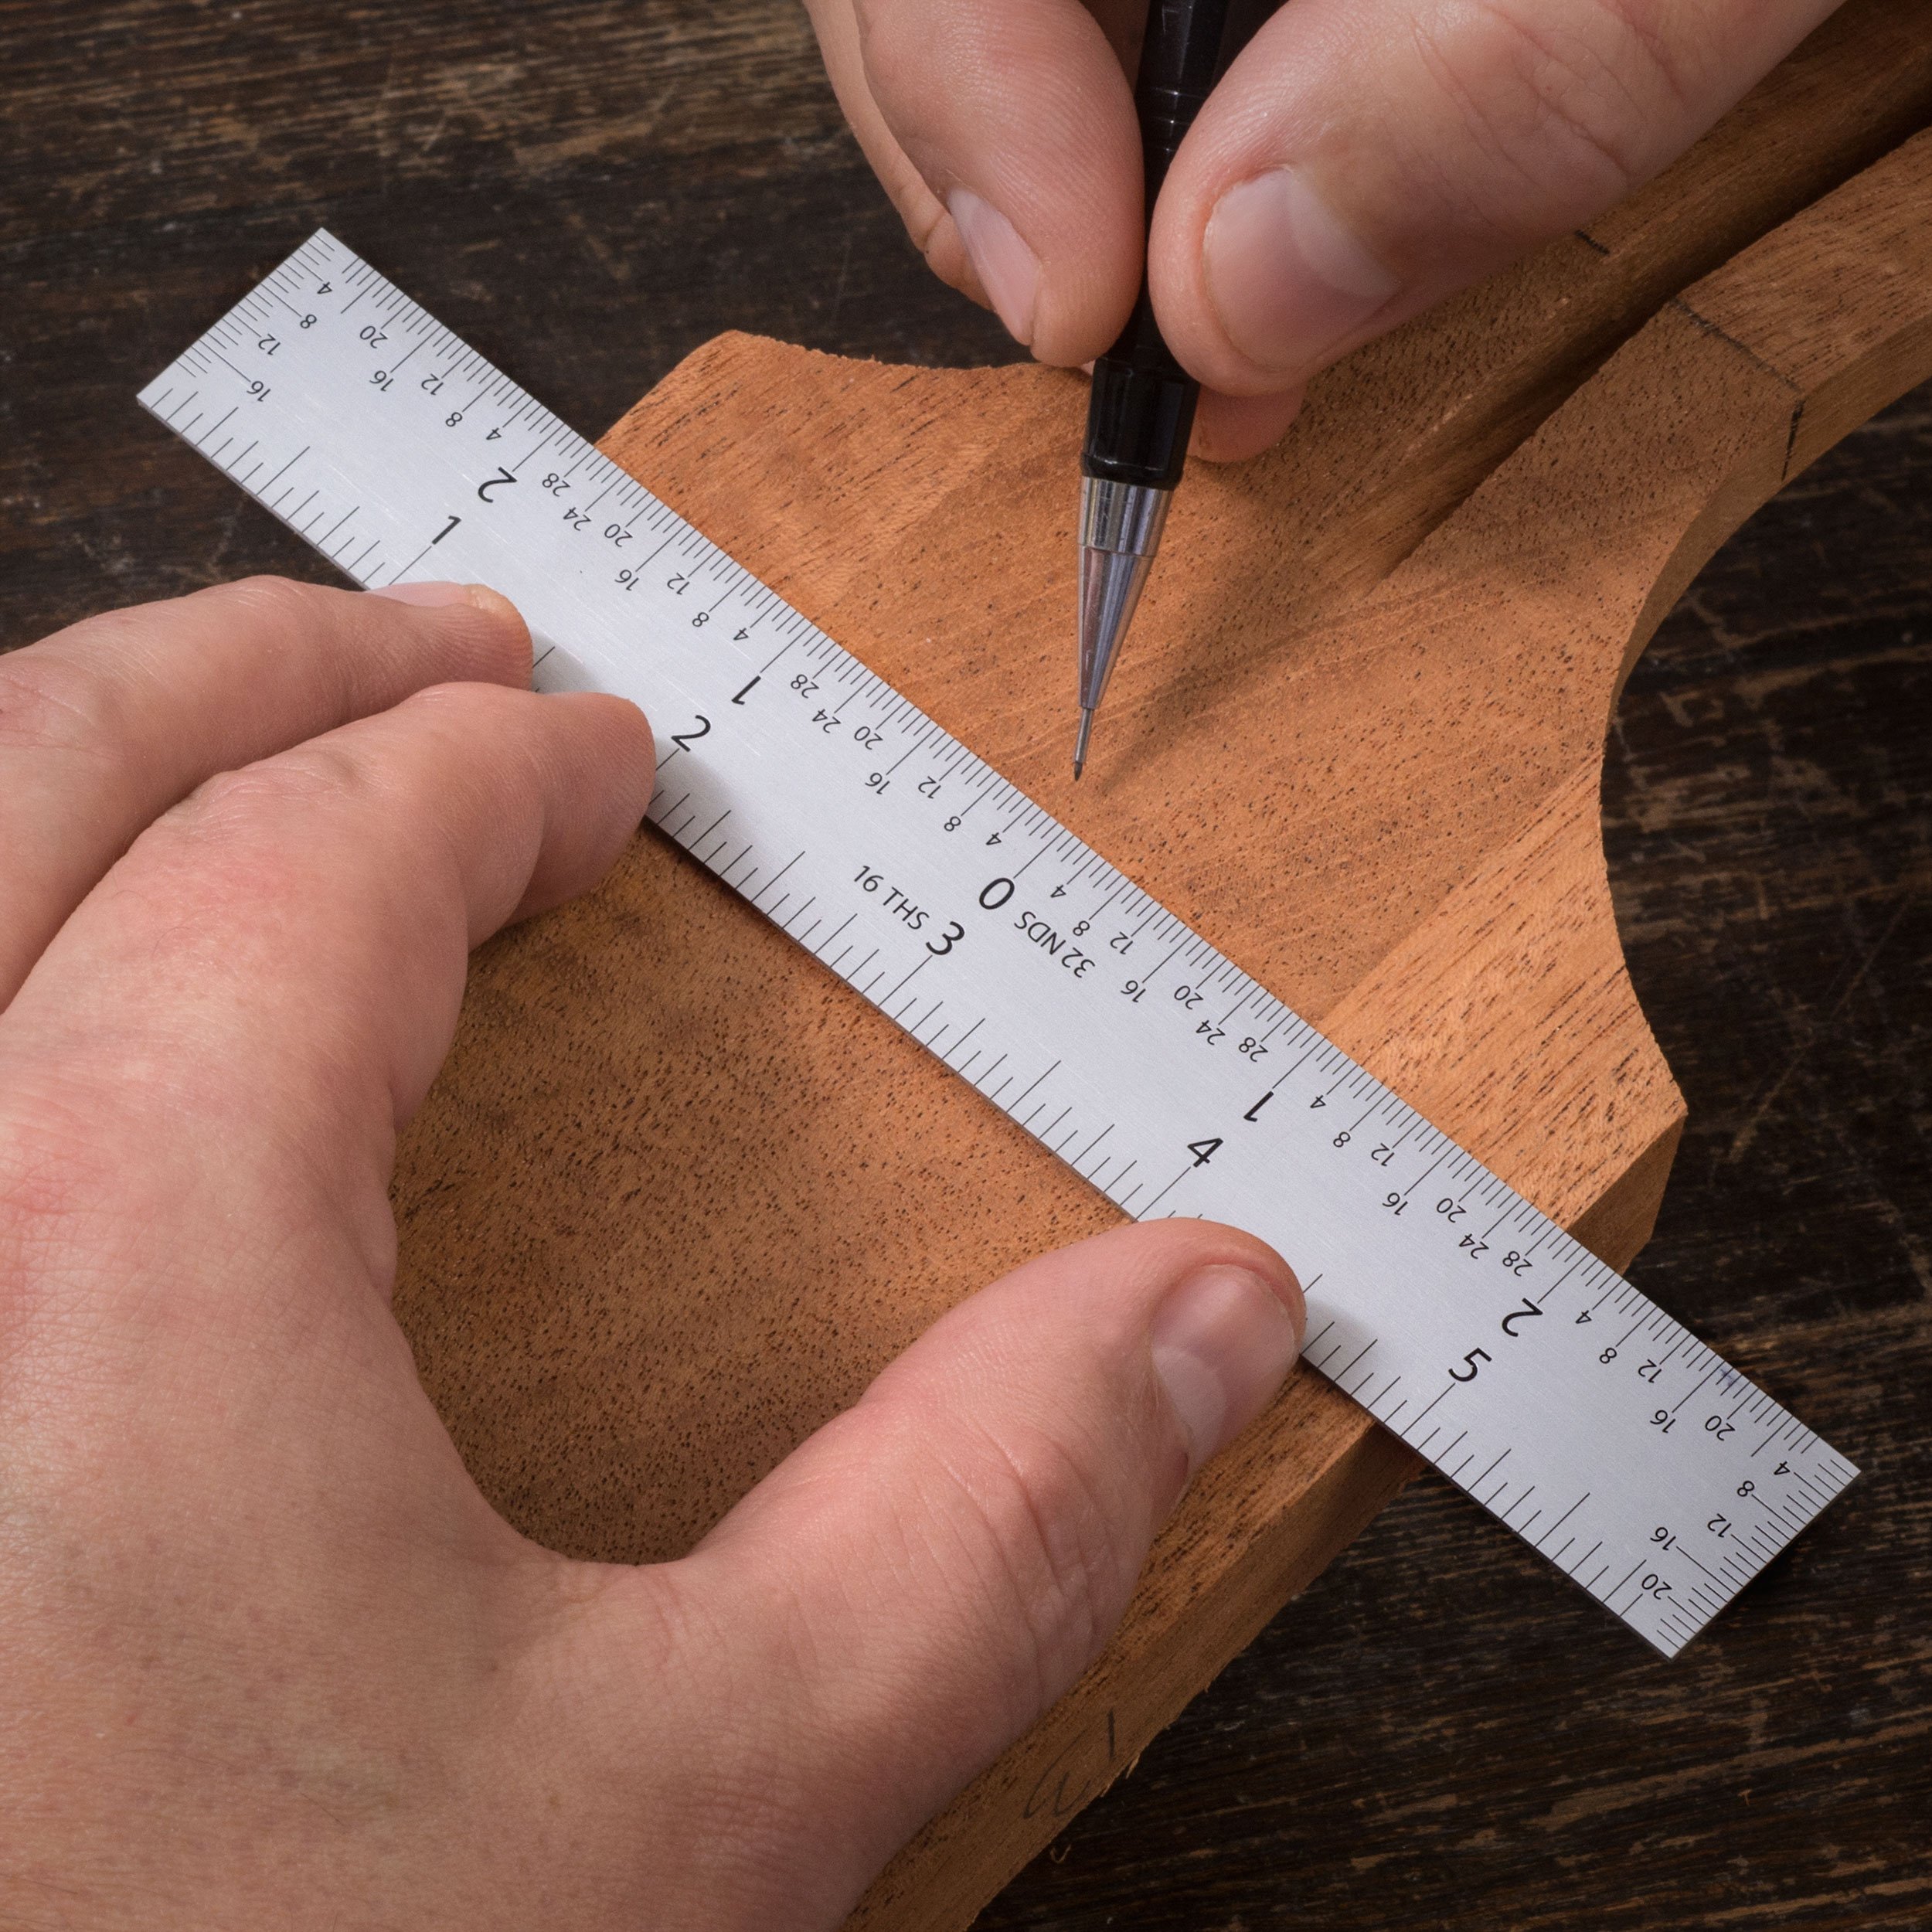
Get yourself a nice straightedge or ruler and locate where you want your inlay to go. Remember to be very careful with your mother-of-pearl logo. Do not manhandle it; it's delicate.
Gluing Down the Logo
What You'll Need
Testors CementI'm using Testors Cement to glue the logo down. I'm gluing very lightly, in places that are structurally strong, where there are large areas of solid pearl. That way when you go to take it off, it won't bend or flex, possibly breaking your inlay. So you're going to look for the most solid parts of your inlay design and put a little tiny dab of glue on just those areas. I like to use the tip of an X-Acto (or Razor Knife) and apply it with that, so that you're getting a smaller dab than you would from the glue tip.
Make sure you have it lined up and centered. Then stick it to the veneer and tamp it down gently.
Next we're going to take the red fretboard part of the logo and do the same thing. Then we'll give the glue about two hours to dry.
Tracing the Logo
What You'll Need
Mechanical PencilNow we need to generate this pattern again so that we can rout cleanly and inset our logo into a pocket that's tight.
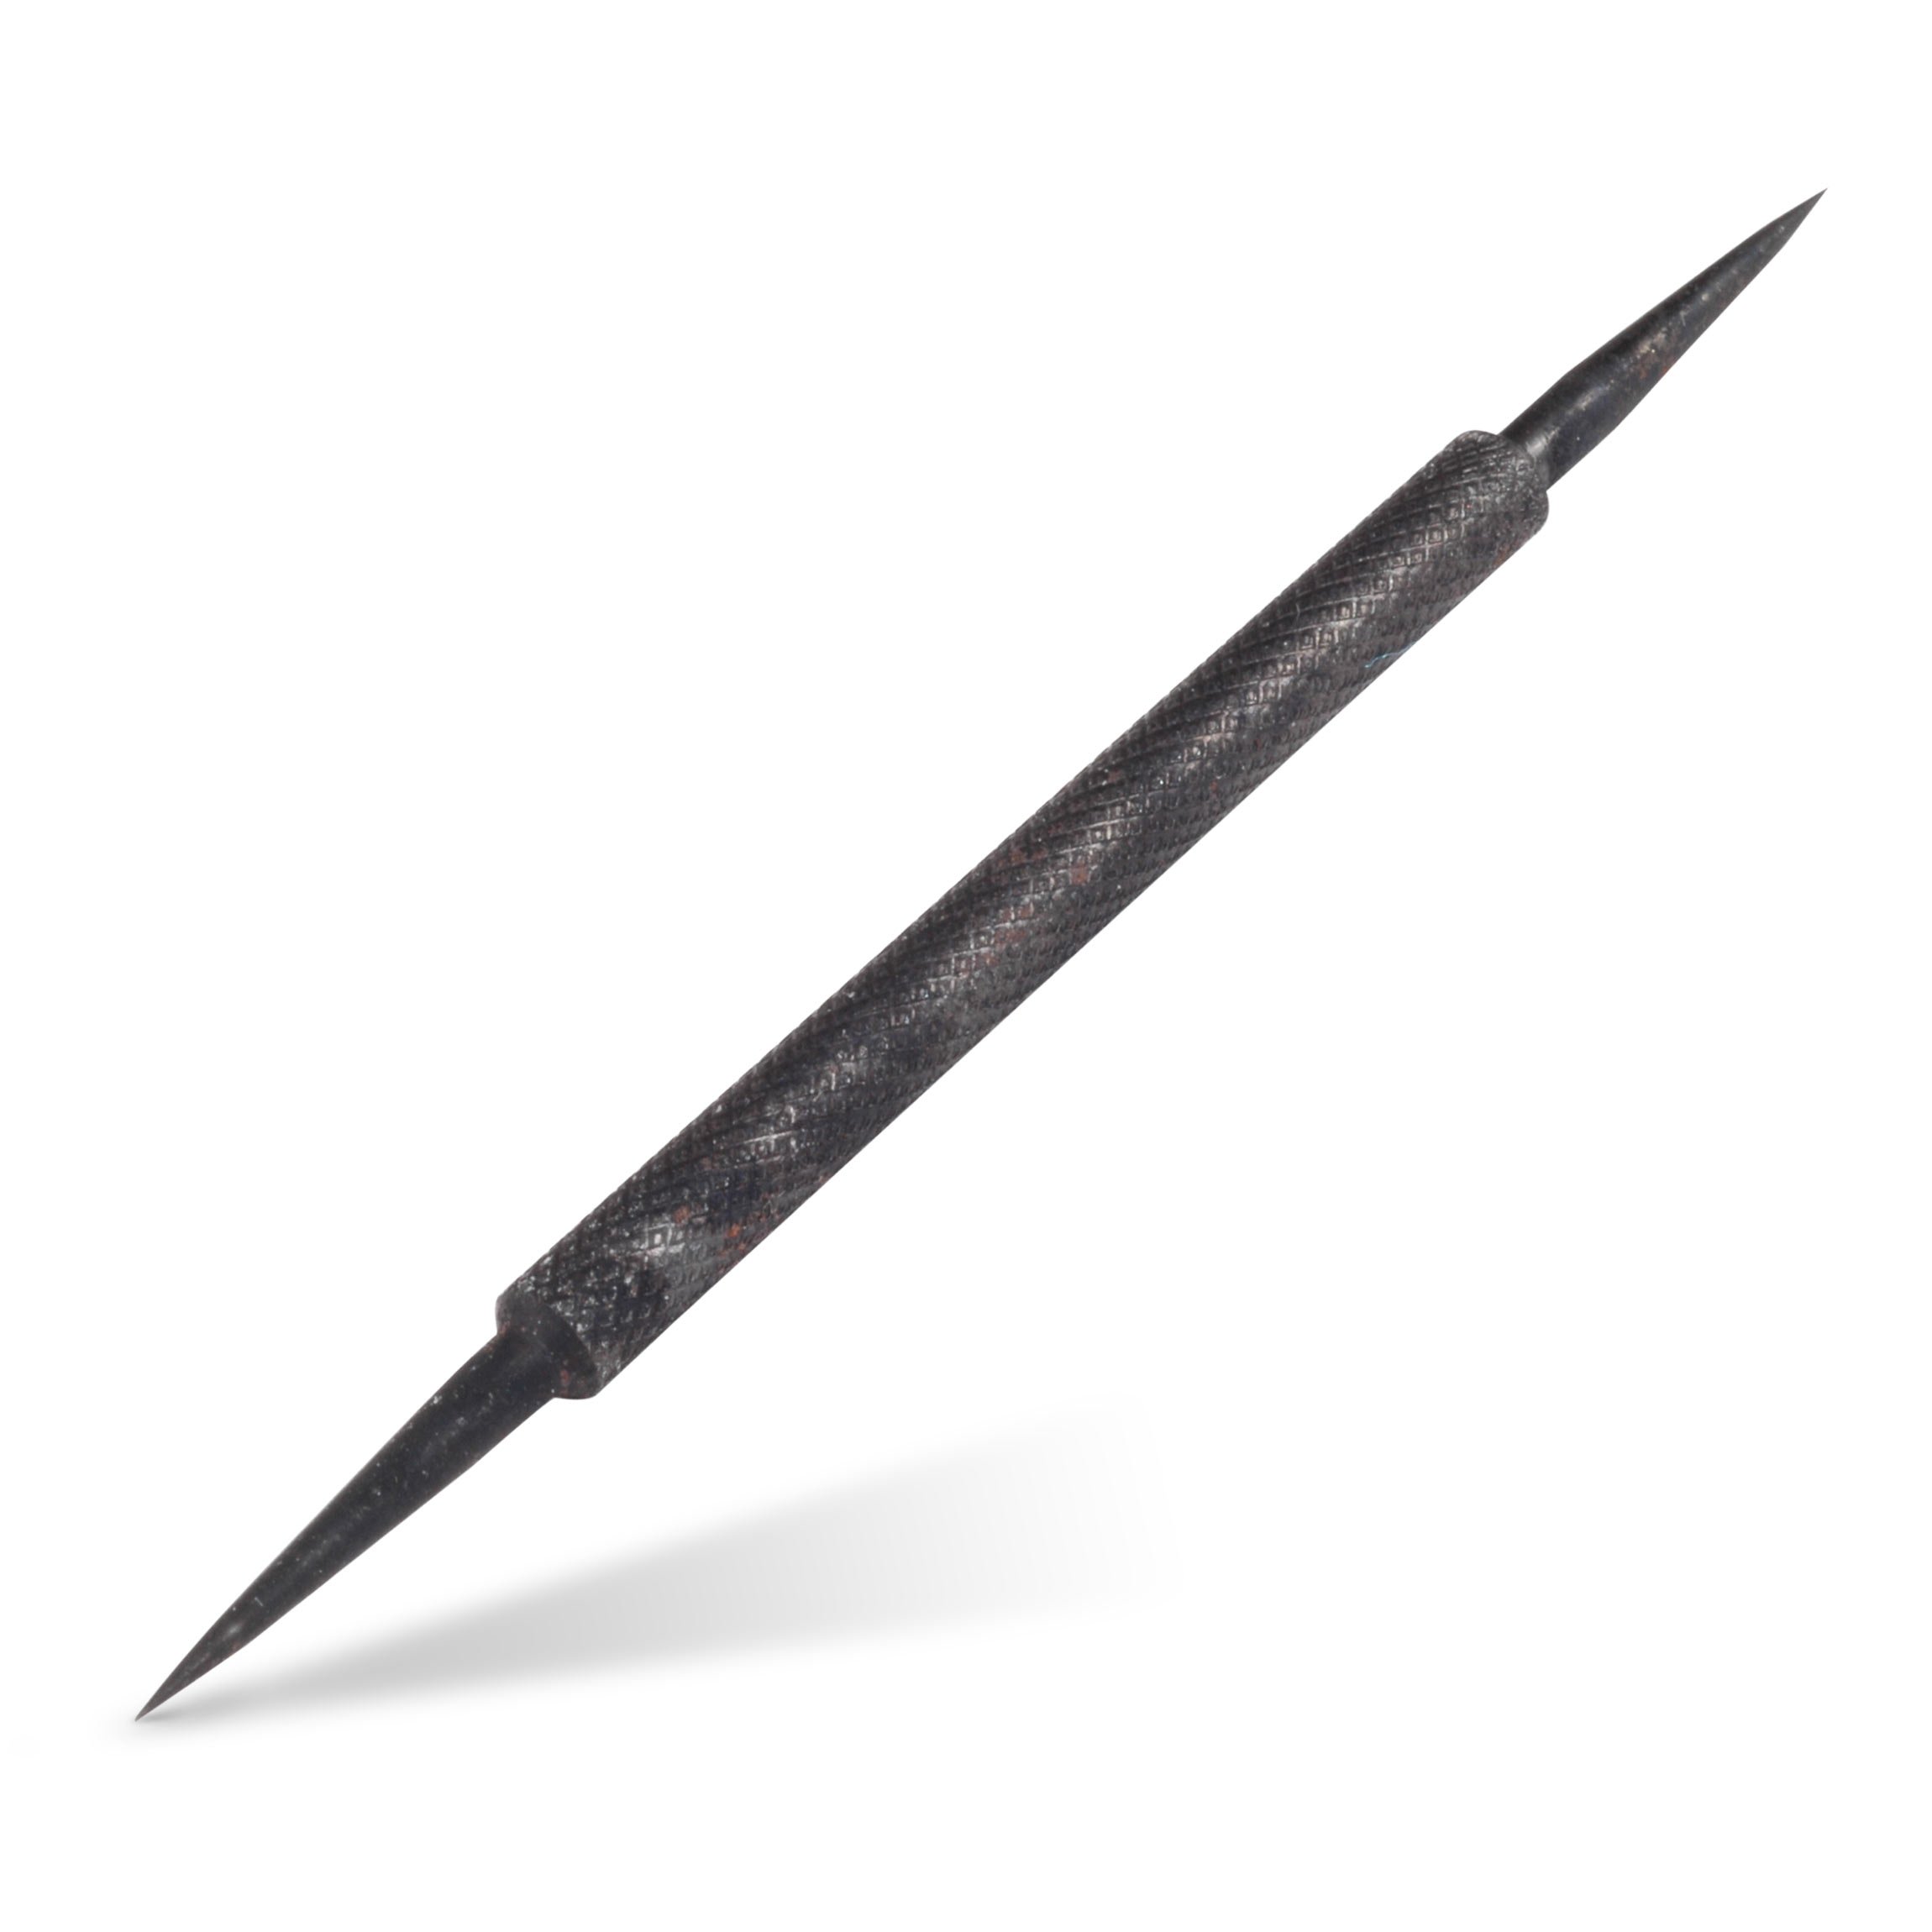
Traditionally, people like to use a metal scribe to trace around their design. For an inlay that isn't fragile, that's okay. In this case, however, the scribe is going to be too bulky to fit comfortably around these letters. Also, the scribe is a very solid piece of metal, and it could dent the ebony, or even break the more fragile parts of the pearl design.
Another common choice is an X-Acto or Razor Knife blade. Again, it can be kind of clunky with this fragile design, and the last thing I want to do is create pressure that could snap the pearl.
PRO TIP: The best way that I've found over all the time I've been doing this, is to use something as simple as a mechanical pencil. The beauty of working with this is that the lead will break before the pearl breaks. It's very gentle and it leaves a nice dark line on the wood. When you set up your lighting for routing properly, you'll see that dark line, and it will be very easy to rout that line.

Start tracing and pressing gently against the wood, generating as dark a line as you can. We're going to start with the fret position logo down here.
Next, we'll trace the pearl script logo. I'll do the outside first and go over it twice so it's nice and dark. The insides of the letters and loops—that negative space—you can color in completely. Anywhere there's going to be wood inside, color that in solid.

Now we'll carefully take these pieces that we glued on back off. Remember that you cannot use acetone on synthetics. You can use it on the pearl, however. Just take a teeny bit of acetone and put it right where you know your glue marks are, and those will dissolve right away.
The synthetic piece is nice and solid, so we're able to just pry this one off with a razor blade and it will pop right off. You can see the glue mark where it was left. We can go in and take that off with the razor as well. Now you're left with a nice routing line.

Setting the Depth of the Cut
What You'll Need
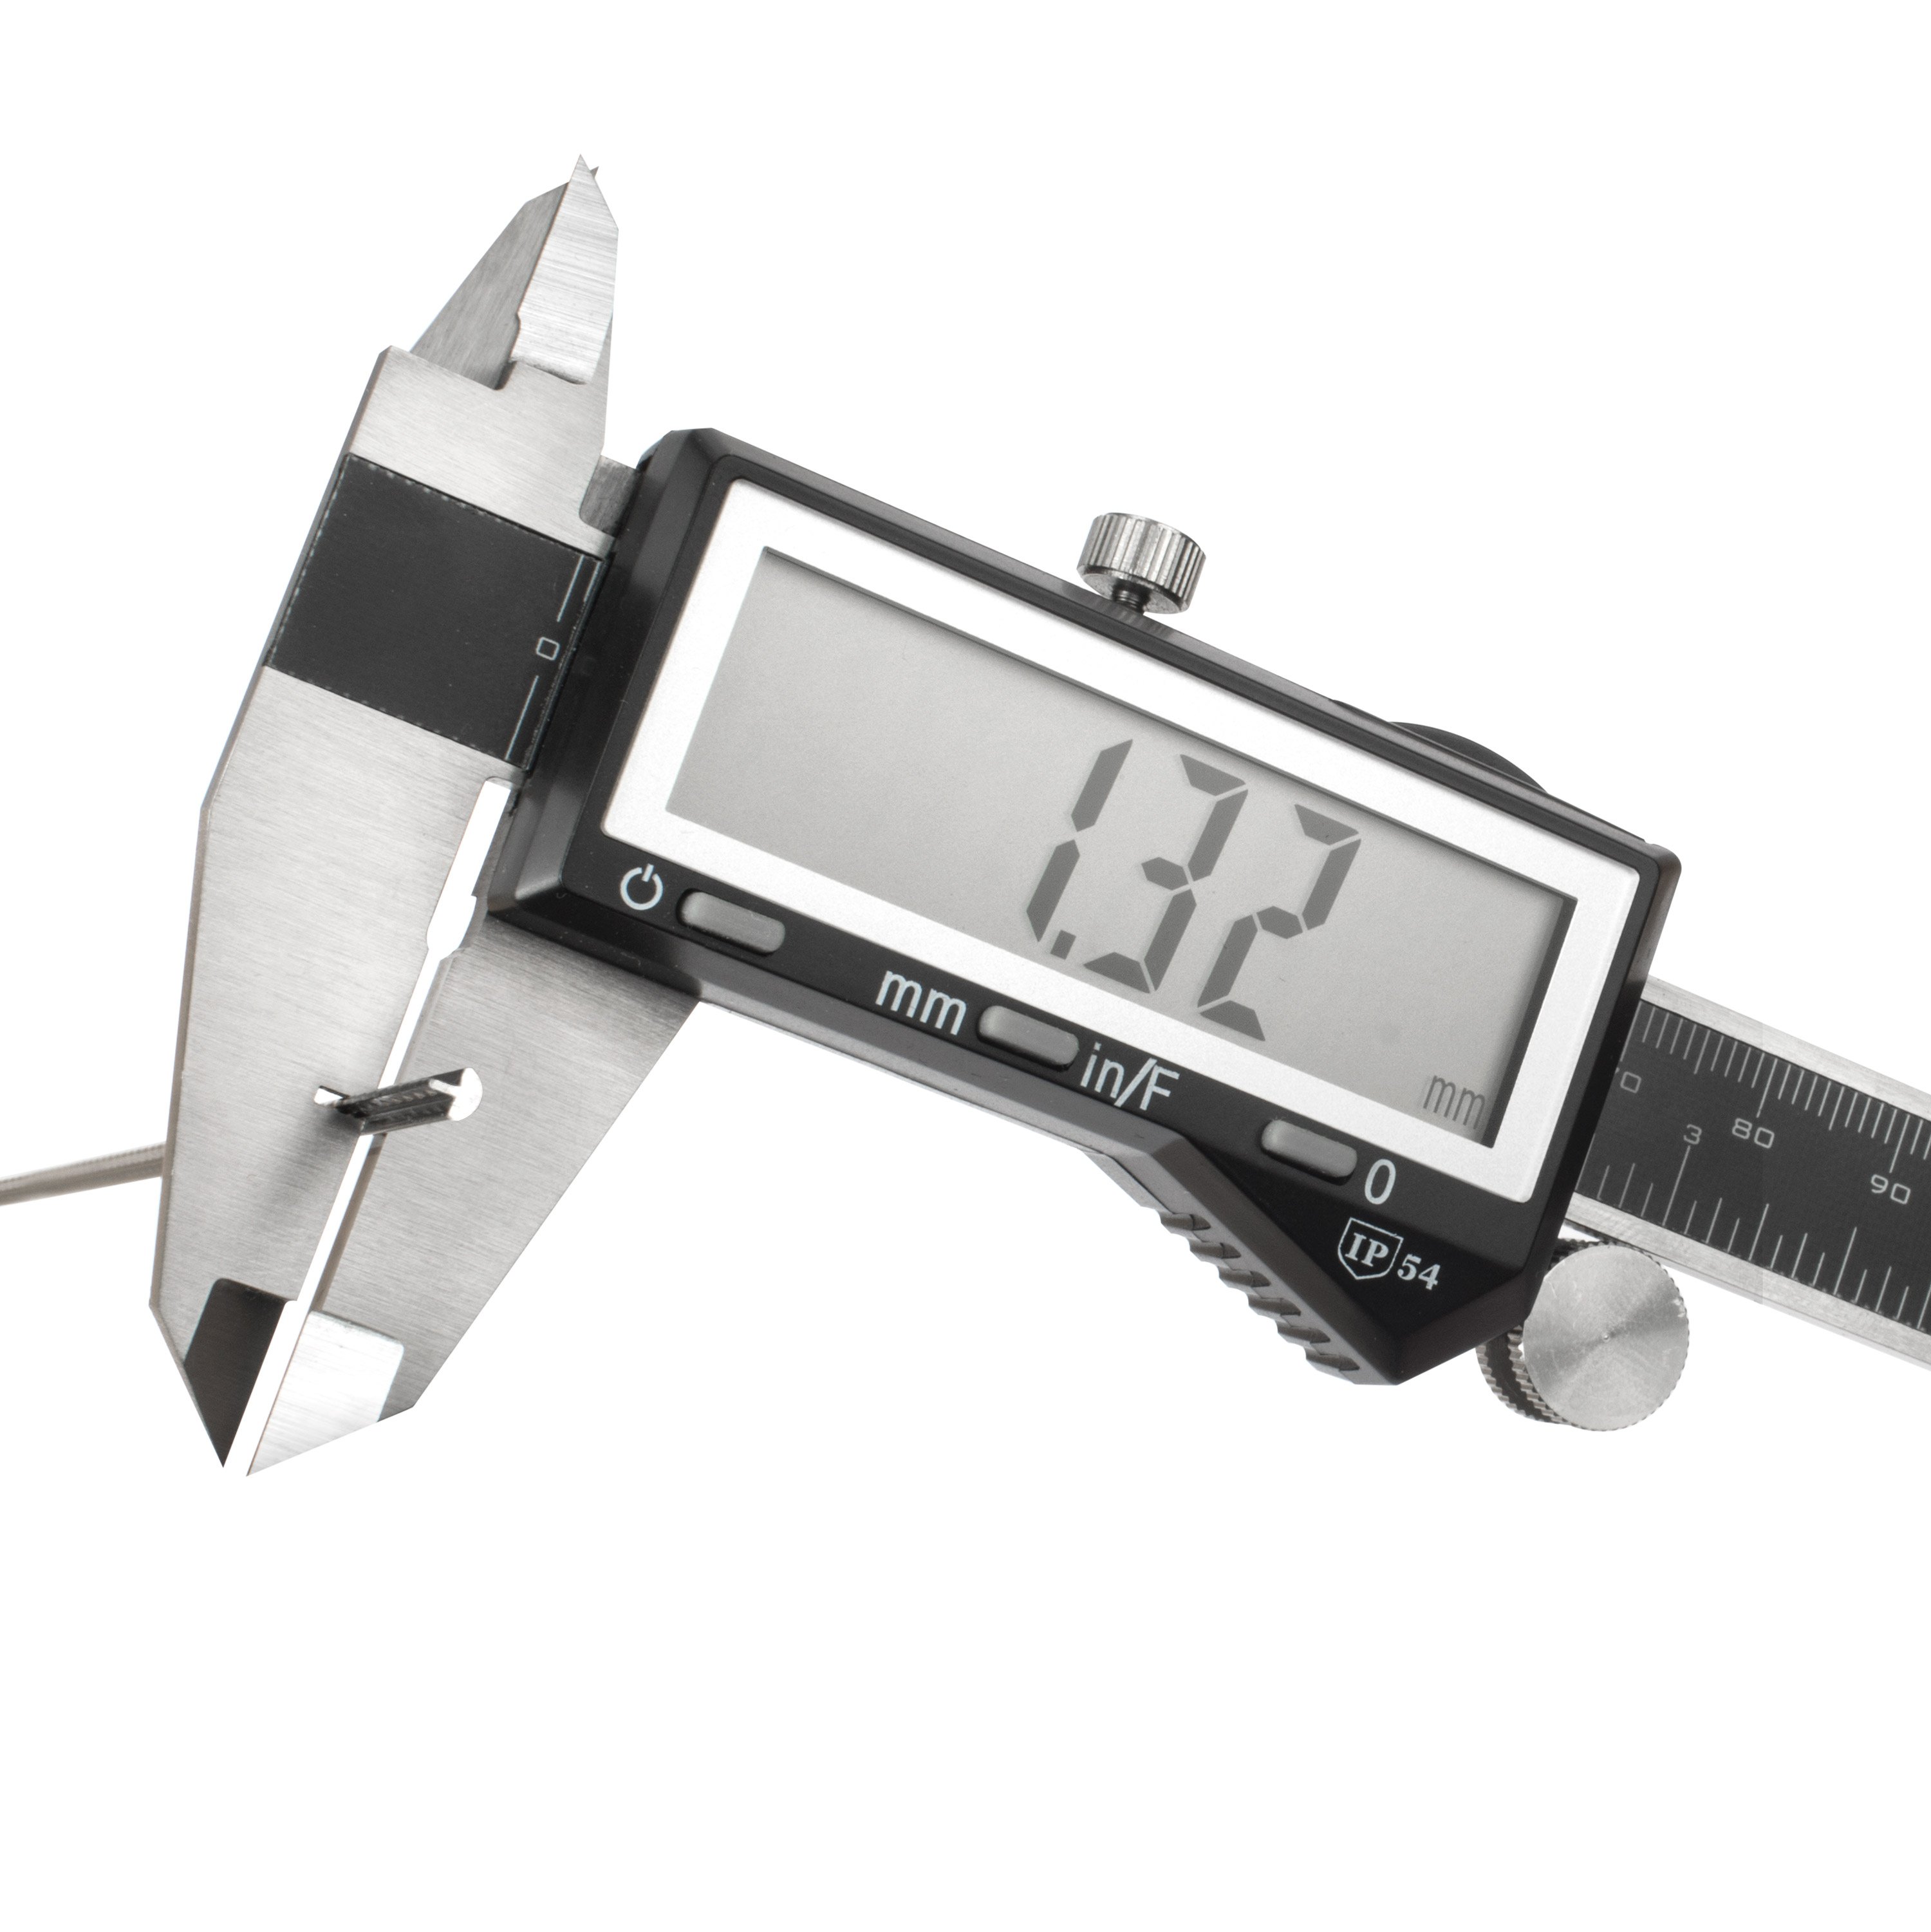
Luthier's Digital CalipersBefore we start routing, we need to talk about depth and how and why it matters. In this case, we're inlaying into an ebony headstock veneer. So we'll start by measuring the thickness of that. Make sure that your calipers are at zero, and we're doing everything in inches right now. The veneer itself is 0.090".
The pearl is about 0.040", 0.039" to be exact. We're not going to worry about the thickness of the red Atlante material because it's a multi-piece inlay that we glued together, and we're going to be sanding down to those little mother-of-pearl side dot markers.
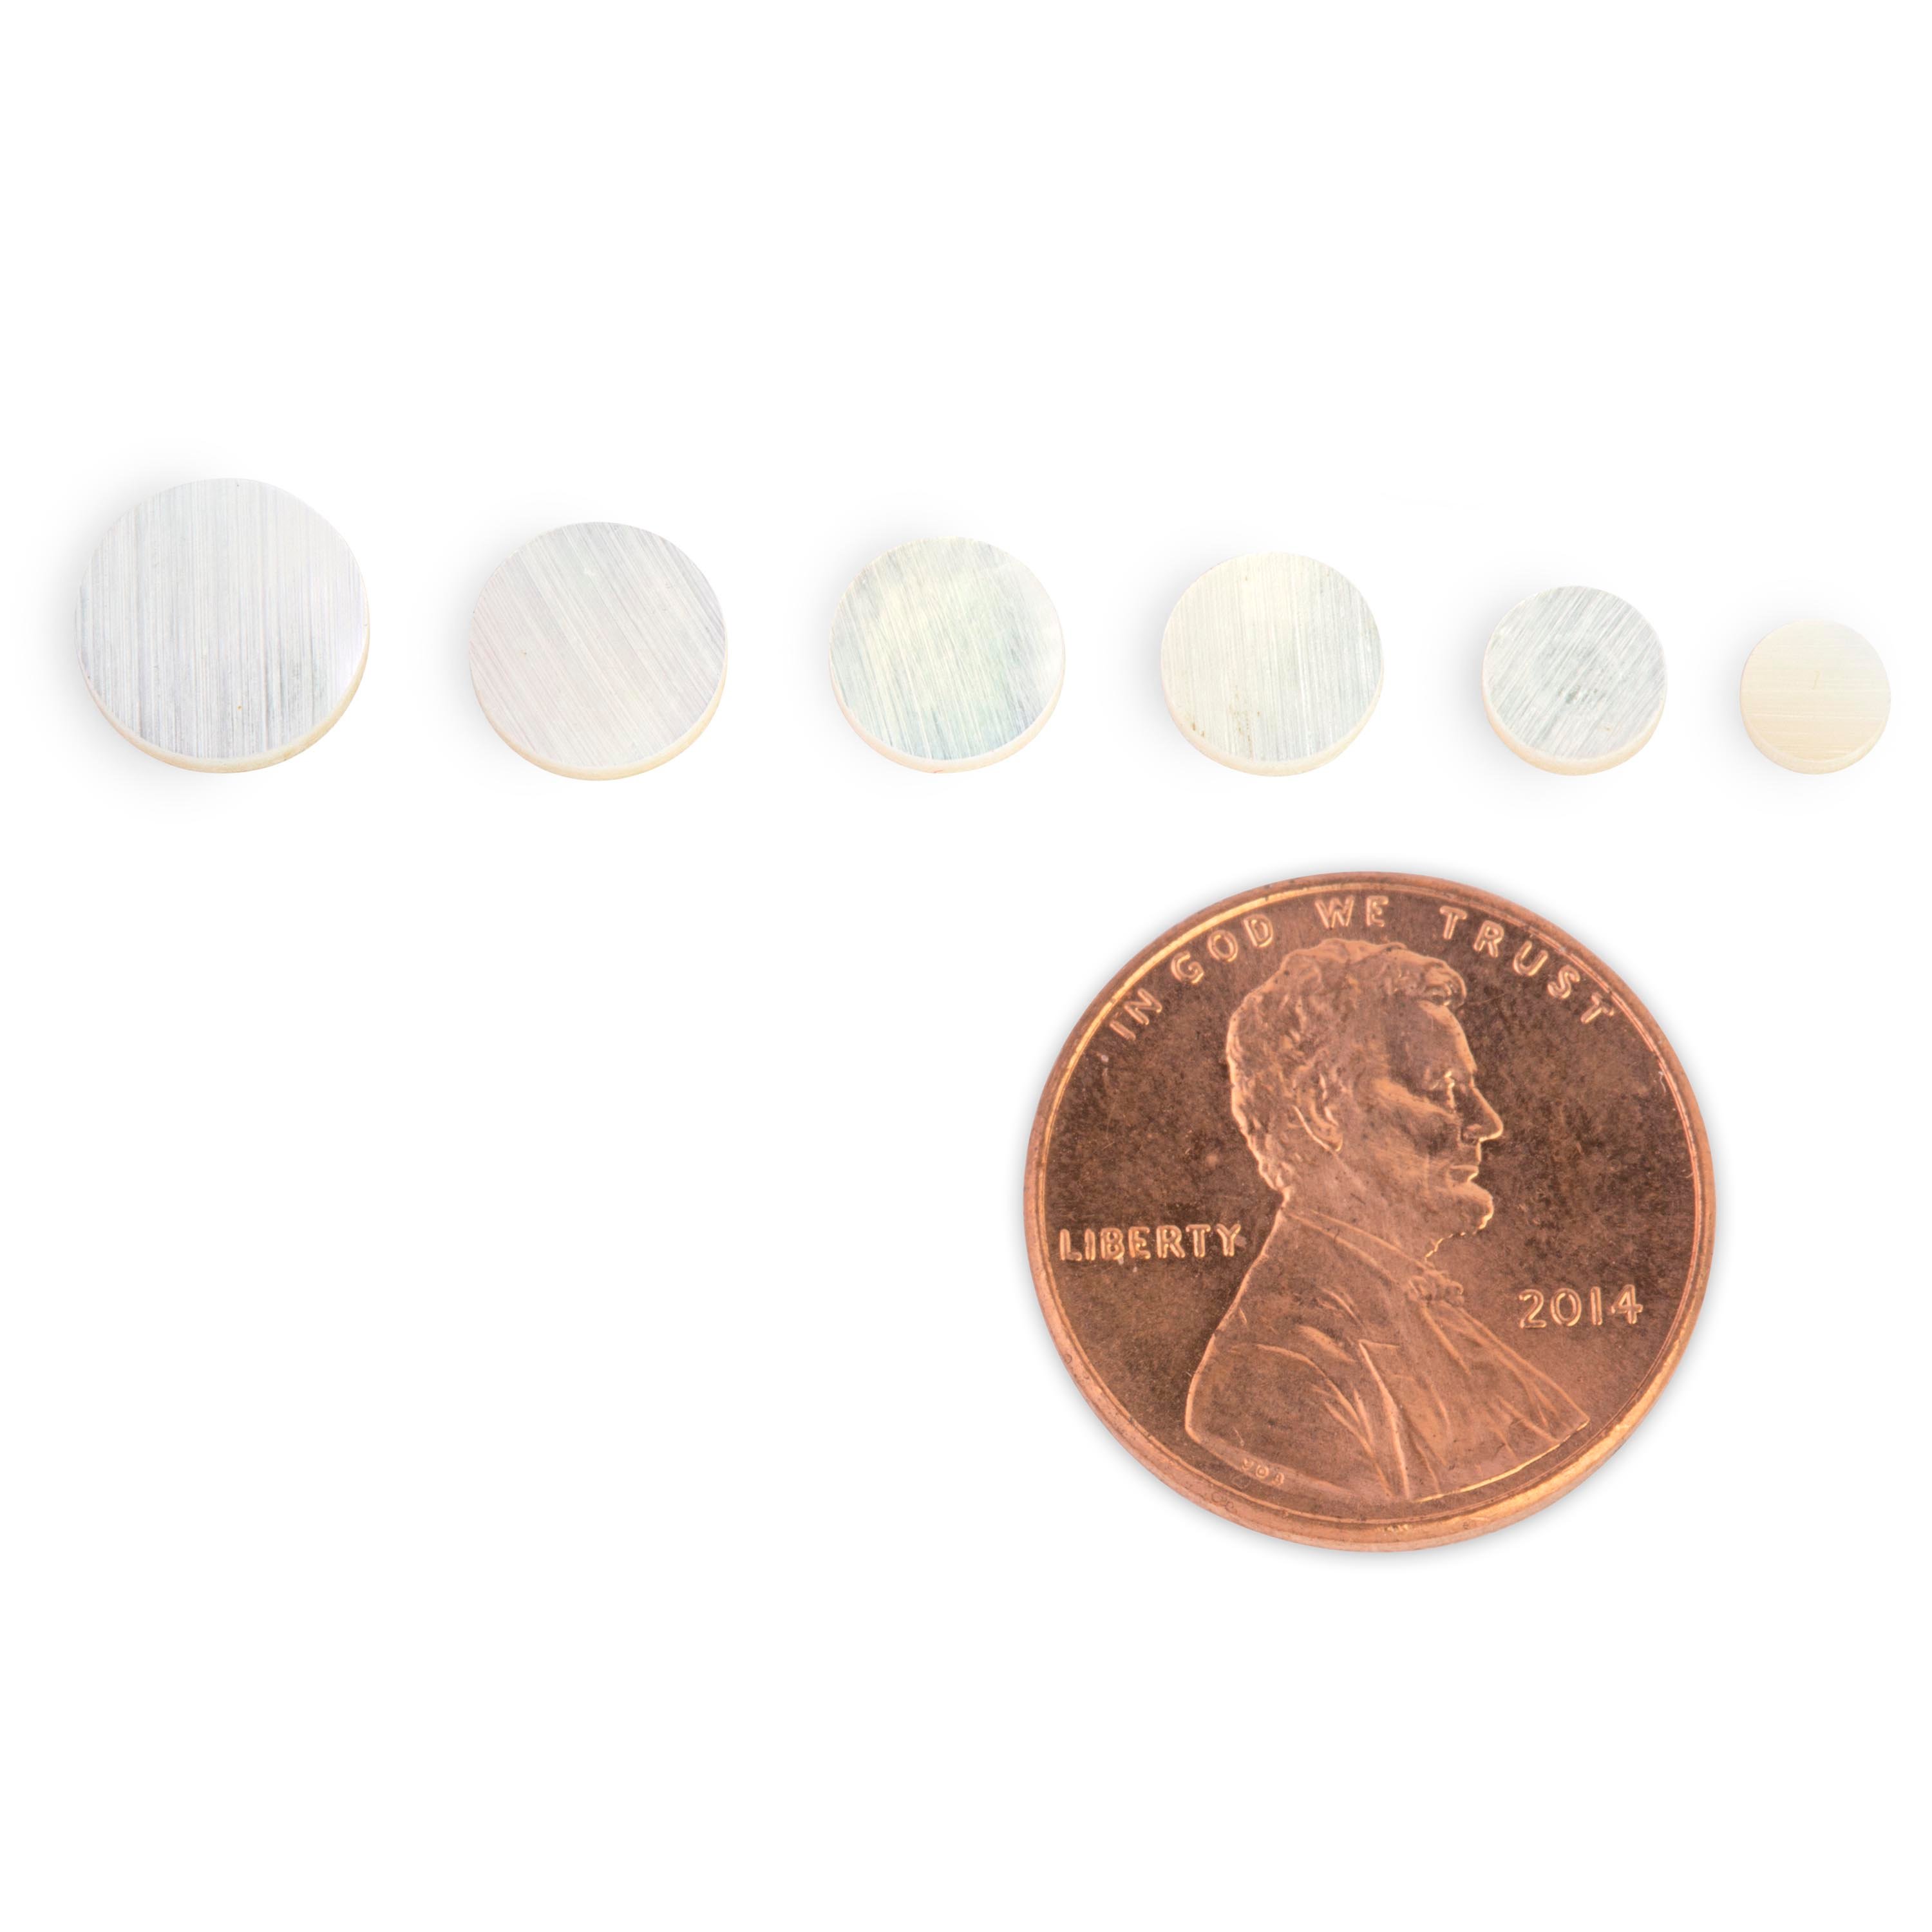
You want to get your depth set to what the thinnest material is, and in this case, it's that little side dot that we used for the position markers. We ordered those at 0.050", but we're going to double check with our calipers, using the little extension that comes out of the bottom.

First make sure this is flush with something solid and zero it out. Now we can check the depth of this little fret dot by putting this end of the calipers down and resting it as evenly as possible on top of the pearl dot. It says 0.050", which is exactly what it should be.
Make sure the depth of your pocket you're about to rout matches the depth, or is slightly shallower than the material that you're putting in.
Routing the Pocket
What You'll Need
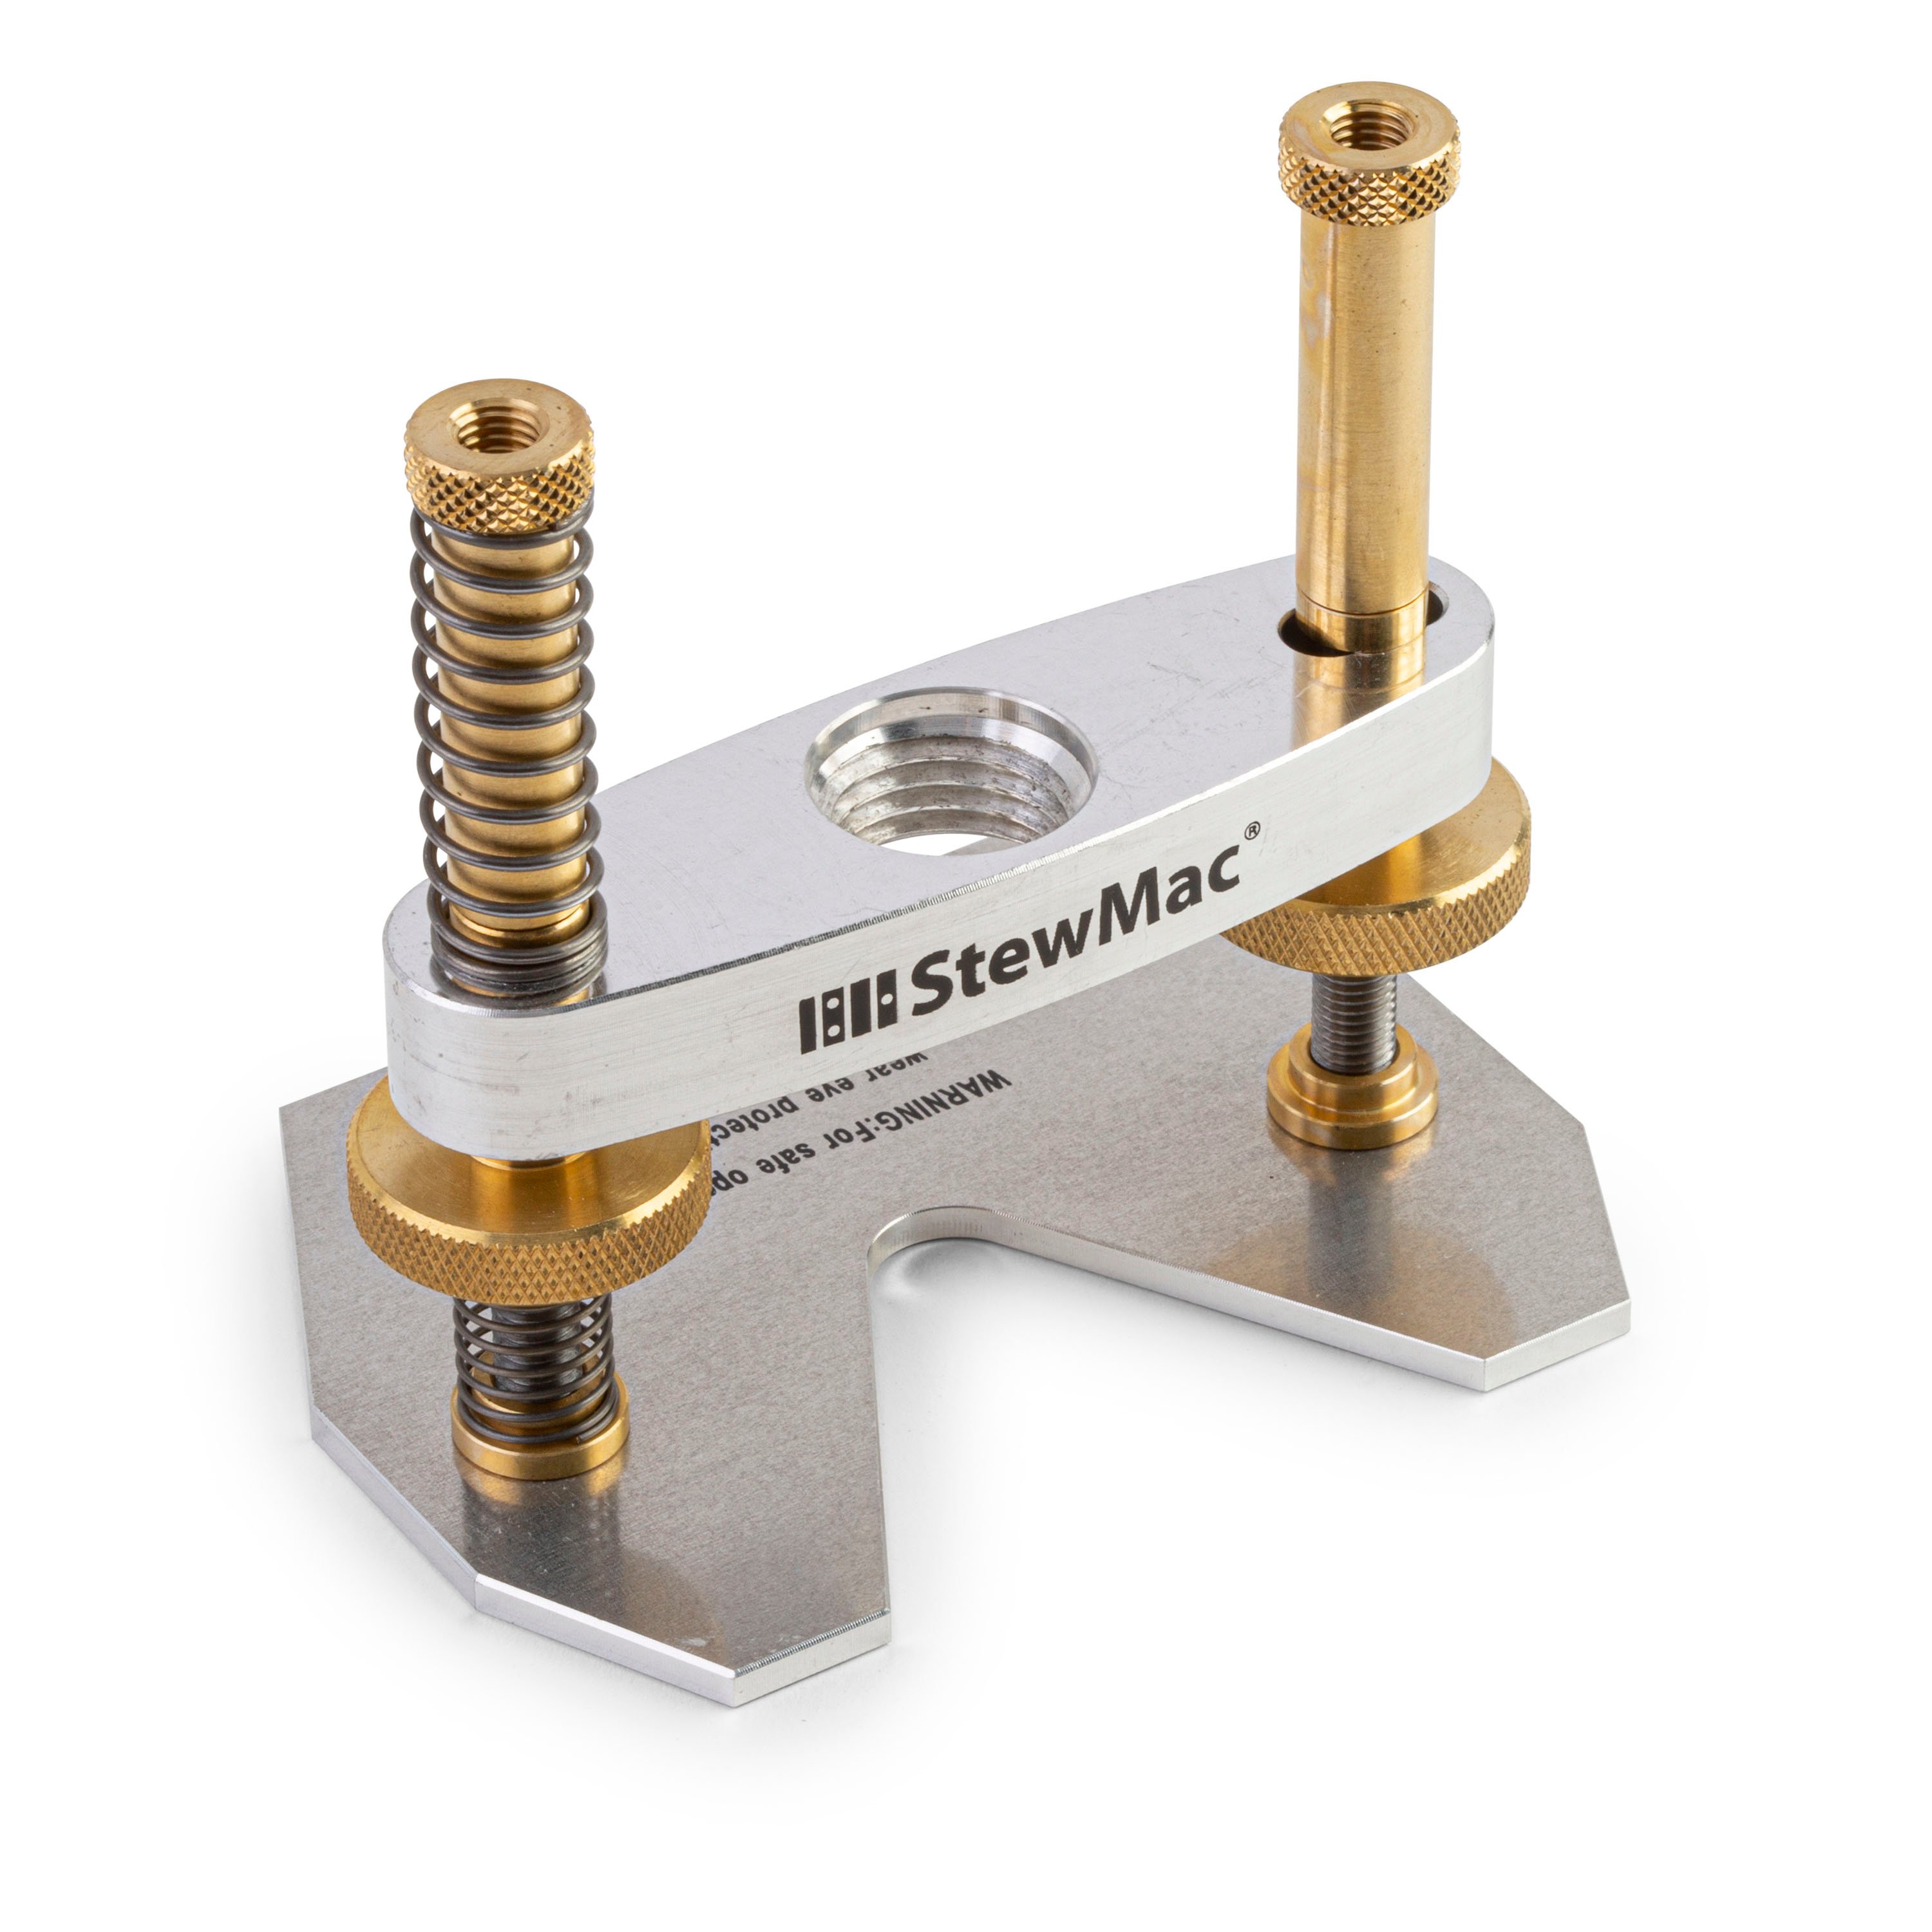
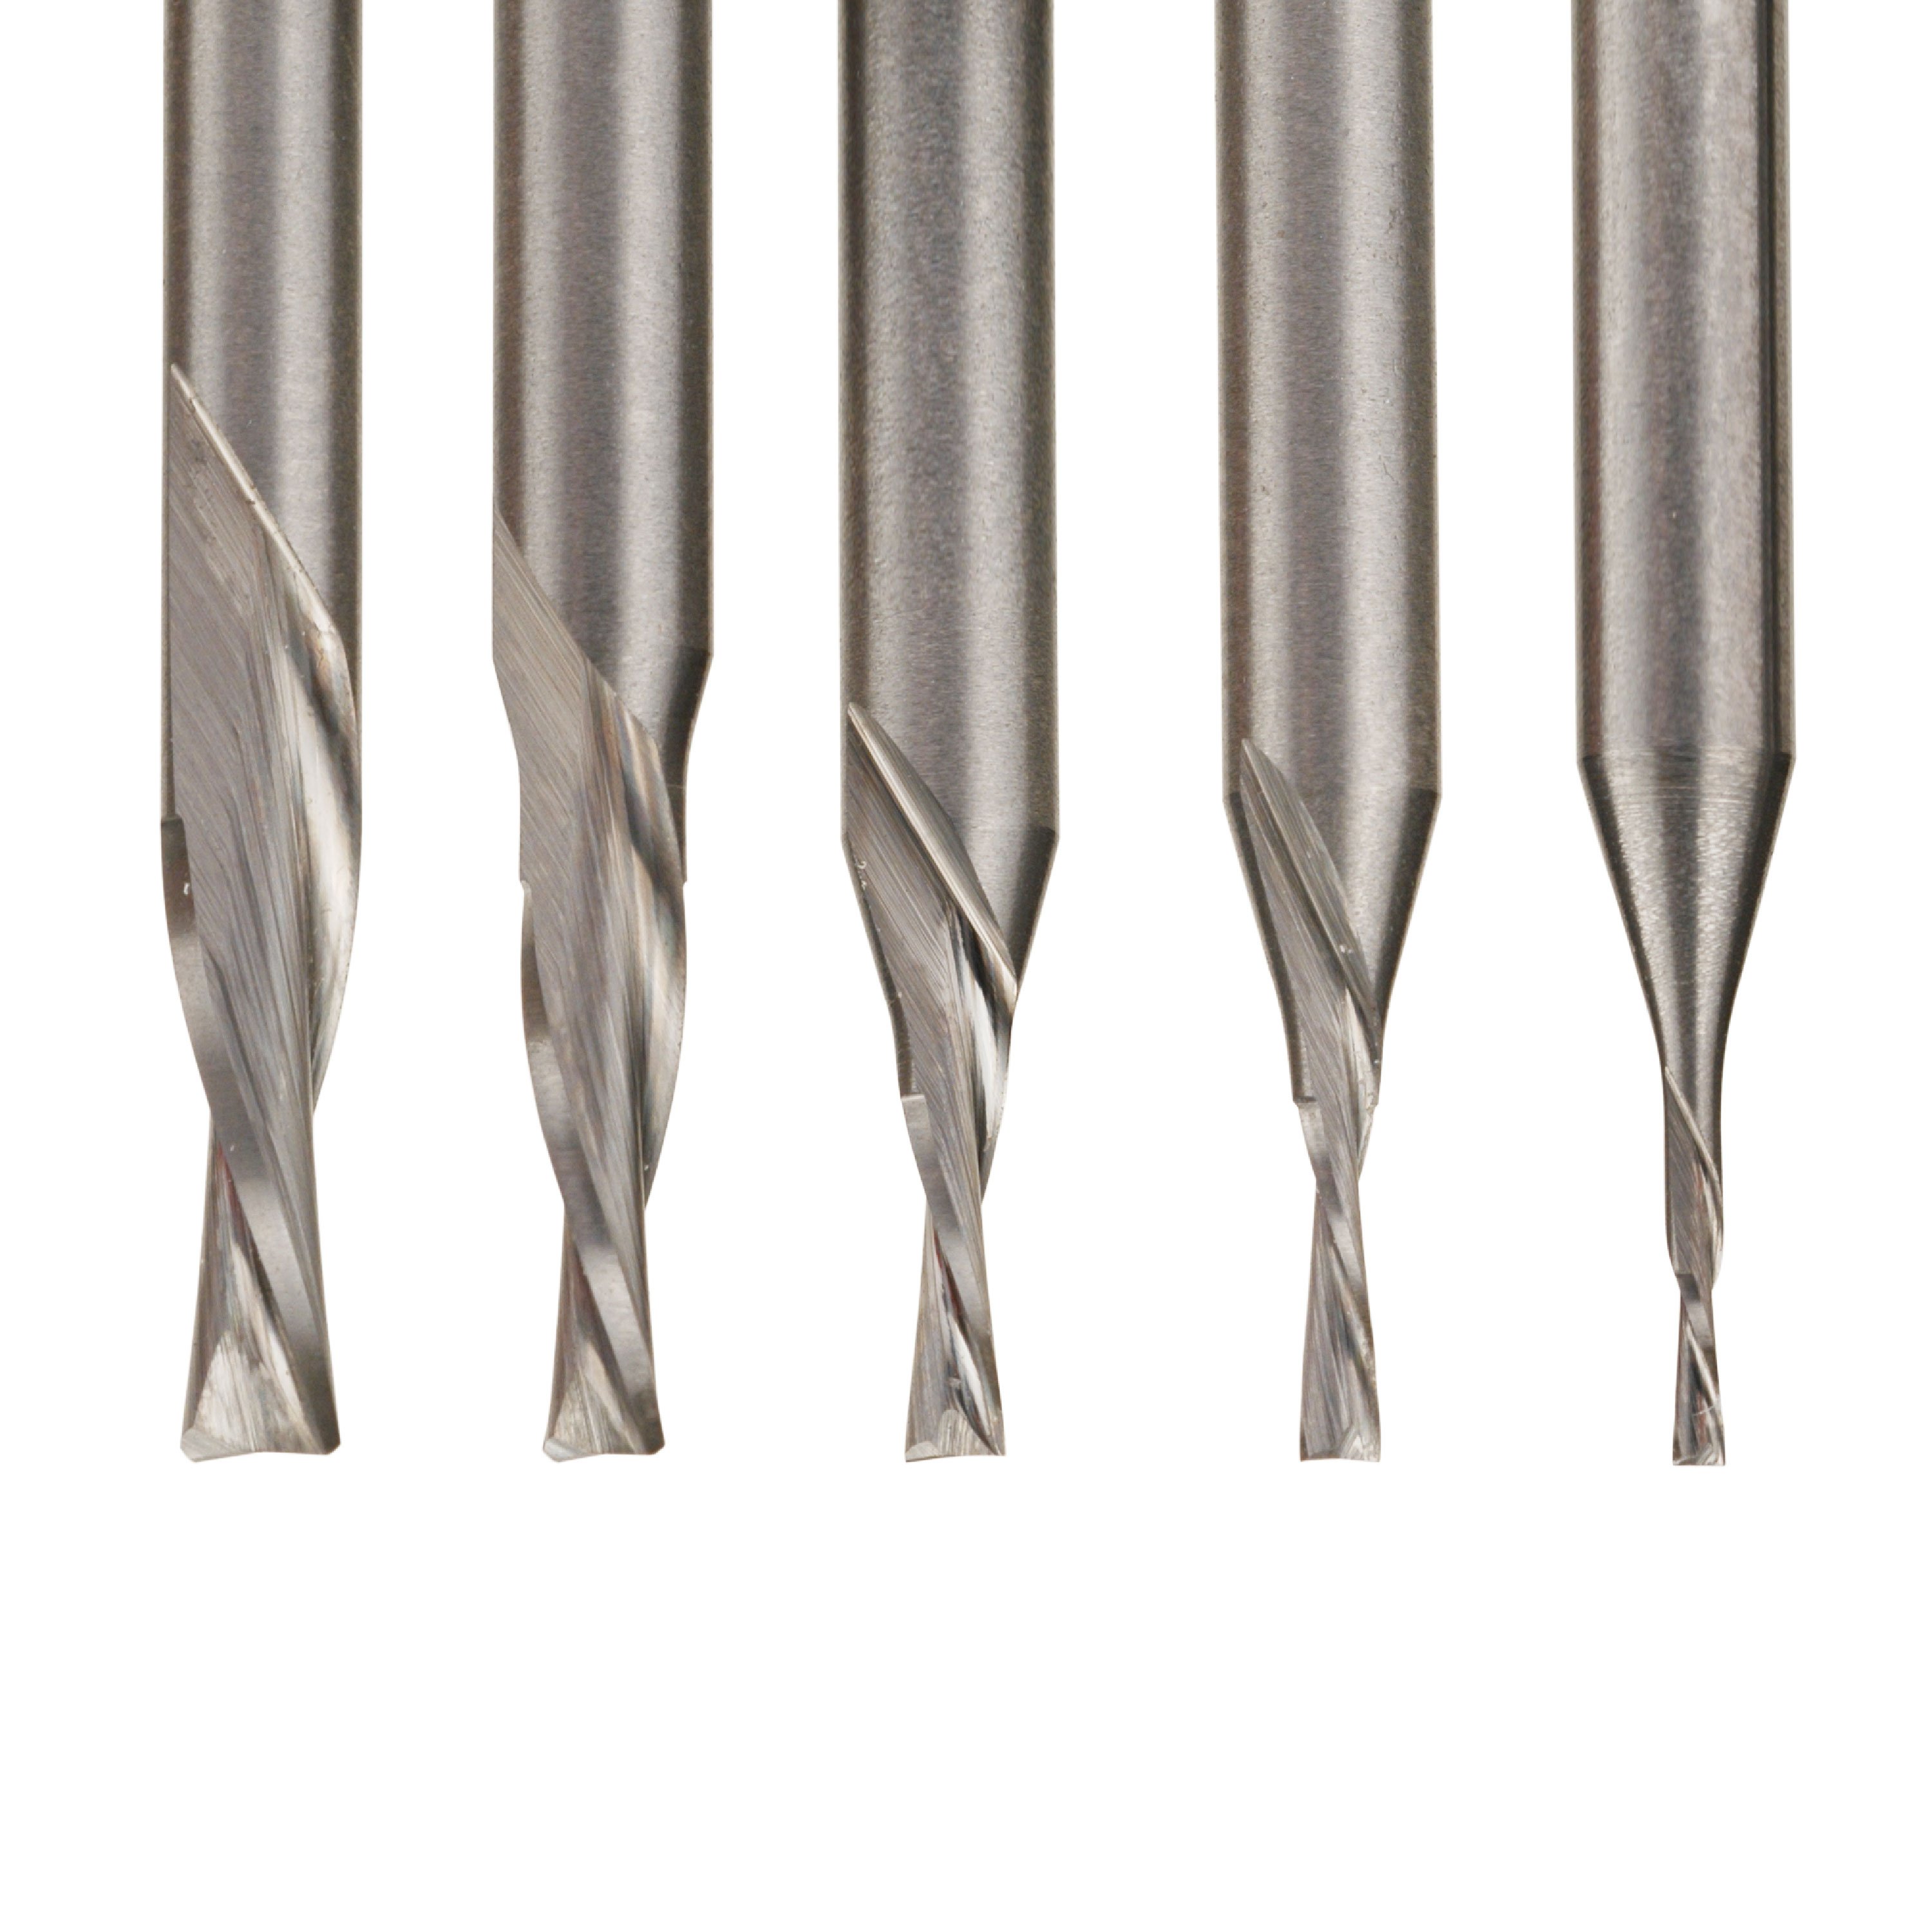
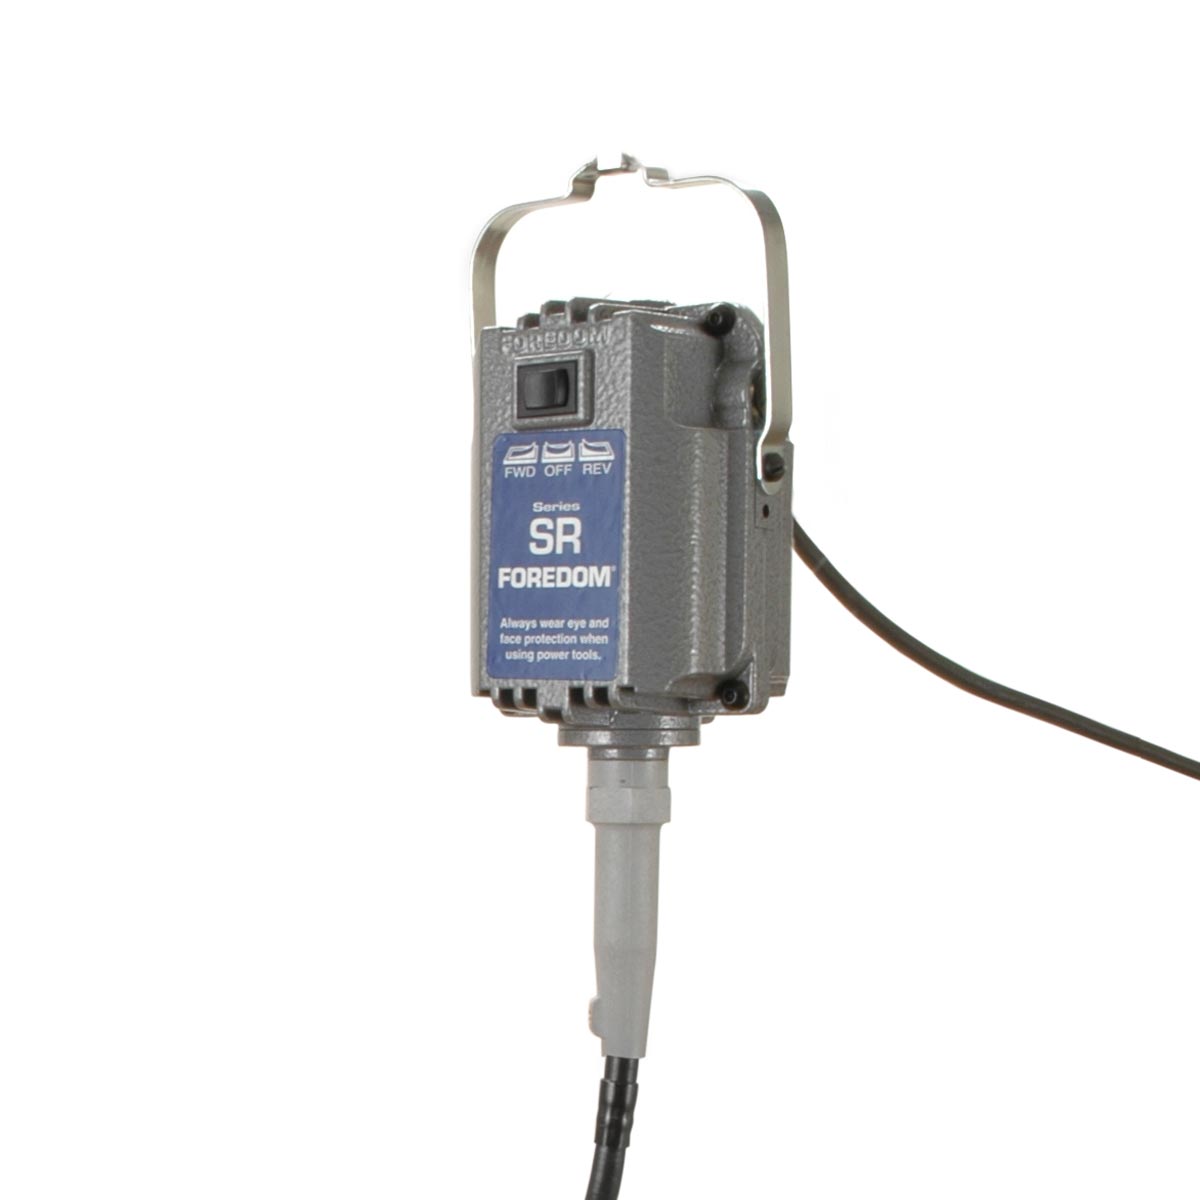
Double-stick TapeI have my ebony headstock veneer stuck to my work table with double-sided tape so it doesn't move. We're using the Foredom router with the StewMac Precision Router Base, which is one of my favorite tools. And we are using the carbide downcut inlay bits along with that. These offer a very strong, very clean cut that does not fray at the top as you use them, so it's very clean.

We know that we're using a 0.040" pearl for this, then you can carefully take your router base and adjust the thumbscrews to about that depth, with your bit ready to go. We're using the 1/32" downcut bit to start out with.
Before we cut, we're going to use the piece of pearl we cut our logo from to get the bit exactly where we want it. Very carefully lay the pearl down on the base and feel where that router bit is coming through. If you take a razor blade and run it along the pearl and it catches on the bit, recede the bit further until it's totally flush.
Then you want to take your OptiVISOR, get in tight, to really look and see that the bit is exactly at the level of the pearl. Then, very carefully, with the thumbscrews, recede it just a hair past that. Just the tiniest bit further. That way our pearl inlay is going to be just a little higher than the wood when we put it in. That's what you want, because you want to be clearing away a little bit of pearl as you sand your headstock down the line.

Next you're going to lock those thumbscrews in position. After you do that, double check the bit next to the pearl again, just to make sure nothing moved when you were locking the thumbscrews. When we finally inset this, after we take our time and do this carefully, the pearl should sit in that pocket, raised just enough that you feel it when you run your finger over it.
For protection, there's a couple of things we're going to do. We have a little fan blowing so that it blows the dust away and it doesn't go up in our face. I have my OptiVISOR on, which is going to protect my eyes as I rout. You always want to have eye protection. I've got a nice bright overhead light so that I can clearly see my lines.
PRO TIP: This little piece of tape, wrapped around the base of the drill, is going to create a fan. And that fan blows away all the dust you generate by routing. This will keep our little micro work area very clean so that you can see that line.
We're ready to start routing. We have our depth set and locked in place. Our workstation is clean and the veneer is secure. I'm going to start by doing all the little inside pieces first, and then I'll start doing the outer line.

Don't feel like you have to do this in one continuous motion. I tend to do tiny little back-and-forth movements over small segments of the line. Remember if you make a mistake in ebony, you're going to fill it with dust. It's going to hide. Work as best as you can. Do your best job possible, but don't beat yourself up if it's not perfect.
We have our "S" carved out, and this is a good time to double-check our depth. Take a little piece of pearl and just break it off and find a place that might fit and check that depth right now before you do anything else. And you can see that it's coming up a little bit above that edge, just like we want it to.
Checking the Fit
What You'll Need
320-grit SandpaperSo we're done routing the first part of this inlay, which is the StewMac logo. We're going to test fit it now.

The top part is fitting great. You can see it's at a slant right now. The bottom part isn't going in that smooth, so something is still blocking it from falling into that pocket clearly. So I'm going to take a little bit of 320-grit sandpaper, and sand off the pencil lines, just very gently.
Then we're going to very carefully put the pearl logo back into the pocket, where it was fitting nicely at the top, and we're going to go around the bottom with the pencil again. This will show us where we need to cut.

Now, you can see again, you've got some pencil marks here. This is where you want to rout. Don't rout if there's no pencil mark.
Now it fits in. For ebony, this is plenty tight. It's going to look great when it's done. So we're done routing the StewMac logo portion of this two-part inlay.

Now we're doing the second part of this logo, which is the fretboard piece. This is two different materials. It's mother-of-pearl little side dots, and it is red Atlante. The difference between this earlier one and the new one is the thickness.
So we need to reset our precision router base to the proper thickness for this one. If you don't, you're going to sand through it all and it's going to be way more washed out. We can preserve that red color by keeping it as thick as possible. We know that's 0.050", because we measured those pearl dots.
I have a piece of pearl that I know is 0.050", and I'm going to use that to adjust the depth on the precision router base.
Now, we're going to rout out the area for the fretboard part of this logo. I'm going to start by going around the edges and then hollowing out the middle.

Gluing the Inlay
What You'll Need
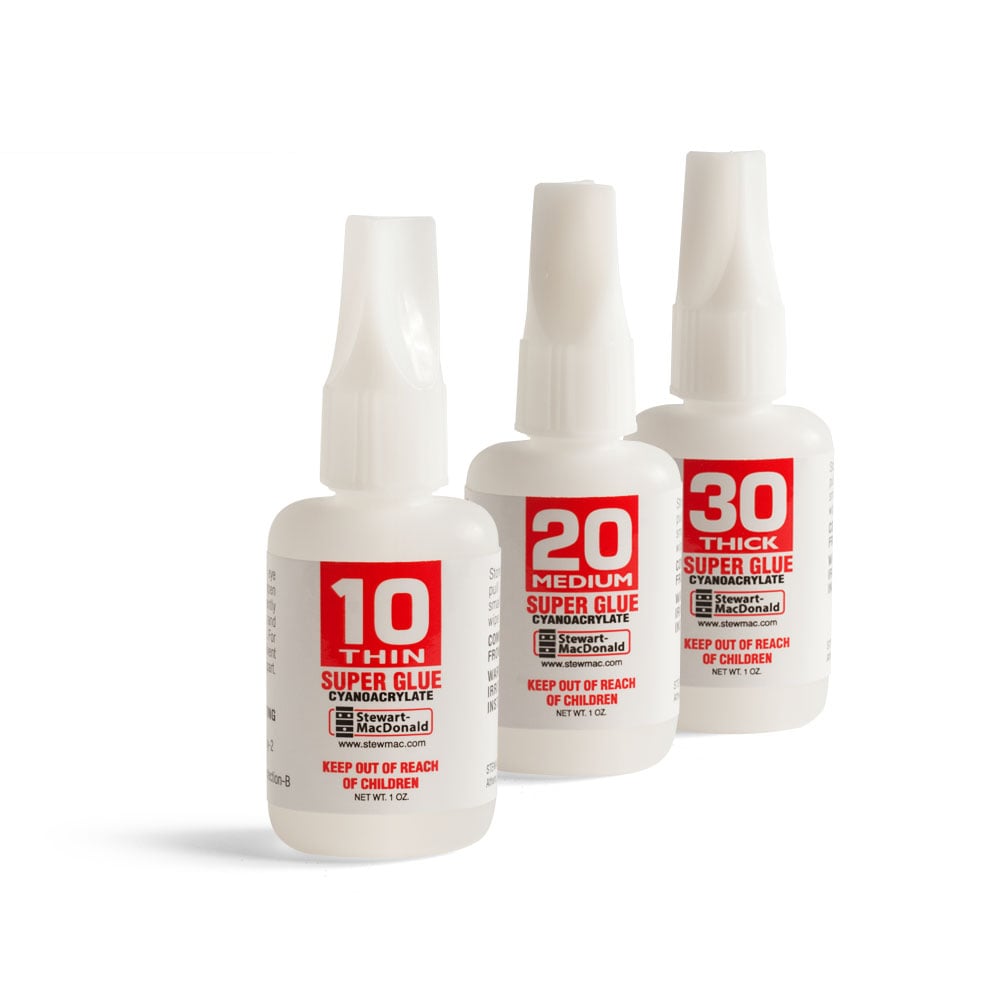
StewMac Super GlueWe're going to be working with #10 Thin StewMac Super Glue. It is very volatile stuff. No matter who makes it, you want to make sure you're wearing a mask. Make sure you're in a good, well-ventilated place, and make sure that when you use the glue, you put it in and then walk away from it before you take your mask off. Remember, if you can smell the glue, you're doing it wrong.
I've untaped the headstock from the table, and I'm now going to set it on top of some wax paper before I start gluing. The reason why is that this glue is so quick and travels so fast through everything that is porous, it can actually soak through your headstock.
So we're going to take the pearl portion of our logo and carefully slide it into the pocket, which we know is clean. I'm noticing that as I press on one side of this pearl the other side tends to bow up. Even at 0.040" thick, this pearl is slightly flexible. So I'm going to start with that side that's bowing up. I'll just add one little, tiny dab of glue right between the lettering and the pocket.

I'm going to hold that down with just a little bit of pressure for a few seconds, until it's staying glued down on its own. Now, we're going to do the other side. Just one tiny little dab of glue on each side.
This next piece is asymmetrical, and it's a good example of why you should always double-check your work before gluing. We want to make sure it's turned the right way, with the fret marker dots going in the right direction. We want to make sure it's centered in the pocket. I'm going to use my tweezers and carefully hold it down in the position I want it in, and put a tiny dab of glue from the side to tack it down. That's all you need is a little bit, and then let it dry.
Keep in mind we're going to be sanding that down so all the black glue on top will be gone and we'll get to see the nice bright red Atlante and mother-of-pearl dots.
Filling the Gaps
What You'll Need
Ebony DustFor this one, we're going to make some dust with our router. Since we're working with ebony, it's going to come out black, and under a finish you won't even be able to see it. There are other ways of working around this. You can use black epoxy. You can use black super glue. But adding the dust makes it so that when you level it out it looks more like wood and less like glue.
So first, we want to take that flag we made out of tape off of our bit, because we want to keep the dust, not blow it away. So take a scrap piece of ebony and just start routing on it, creating a pocket full of dust, then transfer that into a small dish or cup.
The Sharpie Trick
What You'll Need
Black SharpieNow we're going to do one extra thing. We're going to outline our inlay with a black Sharpie. This is really great because when this Sharpie hits the wet glue that's about to go in, it's going to spread through the dust and through any of these spaces and make it even more black. So we're just going to draw with a Sharpie around the edges everywhere they are making contact with that wood. You can even color all of the pearl black, that way when you sand it's easier to see that you're getting an even sand.

The reason we only tacked our inlay down in a couple spots is because as we add glue in this next step it will get drawn under. It draws this marker with it, and it draws that dust with it, and it pulls everything into the inlay.
Next up, take your dust and just get it in all those little fill holes. Just tap it onto your headboard and gently work it into all those cracks. Massage it into everywhere that has an opening.

This is the worst this is going to look in the whole process. It's going to look horrible after this, and that's okay.
Make sure that you're wearing your respirator before you start gluing again. Eye protection helps as well. You want to make sure that this glue does not splash as you're using it, so be slow and methodical as you apply it to the dust.

It's going to work its way down as you hit it and spread very fast. It's seeping through the dust, and filling in all those areas under the inlay. It's also sucking the dust and the black ink in with it.
You are going to want to let sit for about 24 hours to be certain that the glue is fully dried. Remember, this is the worst your inlay is going to look through this whole process. Do not judge it on its appearance right now. All that ugly surface area is going to get sanded away after it dries.
We want it to dry for about 24 hours. You might be tempted to use an accelerator, but a lot of accelerators can turn the glue white, and we absolutely don't want that happening. For an inlay like this, we want to just give it the time that it needs to cure.
Click here for part three of our series, where we'll go over sanding, finishing, and touch ups, and bring this project to the finish line.
See Previous Episode | See Next Episode

