HOW TO INLAY A GUITAR HEADSTOCK WITH MASTER INLAY ARTIST CRAIG LAVIN
Episdode 1: Critical Steps for a Good Inlay
Want to do your own custom inlay? We created this video series with master inlay artist Craig Lavin to show you every step from design to final installation.
Master inlay artist Craig Lavin joins us to demonstrate the fundamentals of guitar inlay, focusing on the headstock. In this first episode, Craig covers the three critical steps of design, choosing materials, and cutting the inlay. He also shows you how to set up your saw, cut the material, and prepare for routing.
See Next Episode
Here's what's in the first video:
I've worked on hundreds of collectible and private high-end guitars over the last few decades. What I love about inlay work is the self-expression that you get to generate by creating your own instrument and adding to it in the world of inlay.
A great first inlay project is doing a logo on a headstock. It's easier than doing anything on the fretboard or other various places on the guitar because unlike a radius fretboard, the headstock is flat. I'm excited to share with you some of the tips and tricks that I've learned over the past two decades of inlaying so that you can do this at home, with only a few essential tools, and no experience necessary.
3 Critical Steps to a Good Inlay
There are three critical steps to a good inlay:
- Design
- Material selection
- Cutting the inlay
Logo Selections and Design
Design is the most important part of any inlay, regardless of anything else that happens afterwards. If your design isn't done properly, or if it's not something that you're in love with when you're finished drawing it up, don't continue. Go back to the drawing board and try again.
For beginners, we want to choose something that's easy to cut, small enough to work with, and something you can be proud of. A good example of that is this logo.

This guitar has a really simple logo design that makes a great beginner's piece. It's one piece, there are no interconnecting pieces, and there are no pieces within pieces. It's got some curves and things that you may want to touch up when you're done. But it's very simple to rout, very simple to install, and it should be a great first-time effort.
A great way to try to visualize what inlay is as you're designing it is to look at coloring books. When you're creating an inlay, what you're really doing is creating a jigsaw puzzle. You want to make sure that everything goes together clean and forms the pattern that you set out to do as part of your design. Coloring books are great at helping us visualize this process.
Example: this toucan is a good beginner's pattern. You've got 10-ish or so pieces that all interconnect, but they're large pieces. Nothing too thin that's going to break.

Visualize what you want to create for yourself with your own design. You can create them on the computer or you can draw them by hand. Whatever you do, do your own thing. Don't do something that's already out there. Make it up in your head and bring it to life. If you love it, others will love it too.
Defining the Logo
What You'll Need
Luthier's Digital CalipersOkay, so let's focus on the logo that we're going to make for this series. Here we have the StewMac logo as a script version. It's got the classic fretboard logo in red and white.

This one came out pretty good. There are things about this logo, though, that are definitely not beginner. There are five places, like inside the "a" and the "e", that you're going to need to remove the inside material from the surrounding logo. That's called piercing. You're going to drill through those areas with a miniature drill bit, and then put your blade through that hole and cut out that internal material.
The first thing we're going to do though is take this logo and shrink it down so that it fits the headstock. You want the lines to be as fine and as dark as possible because that will make it easier to cut later.
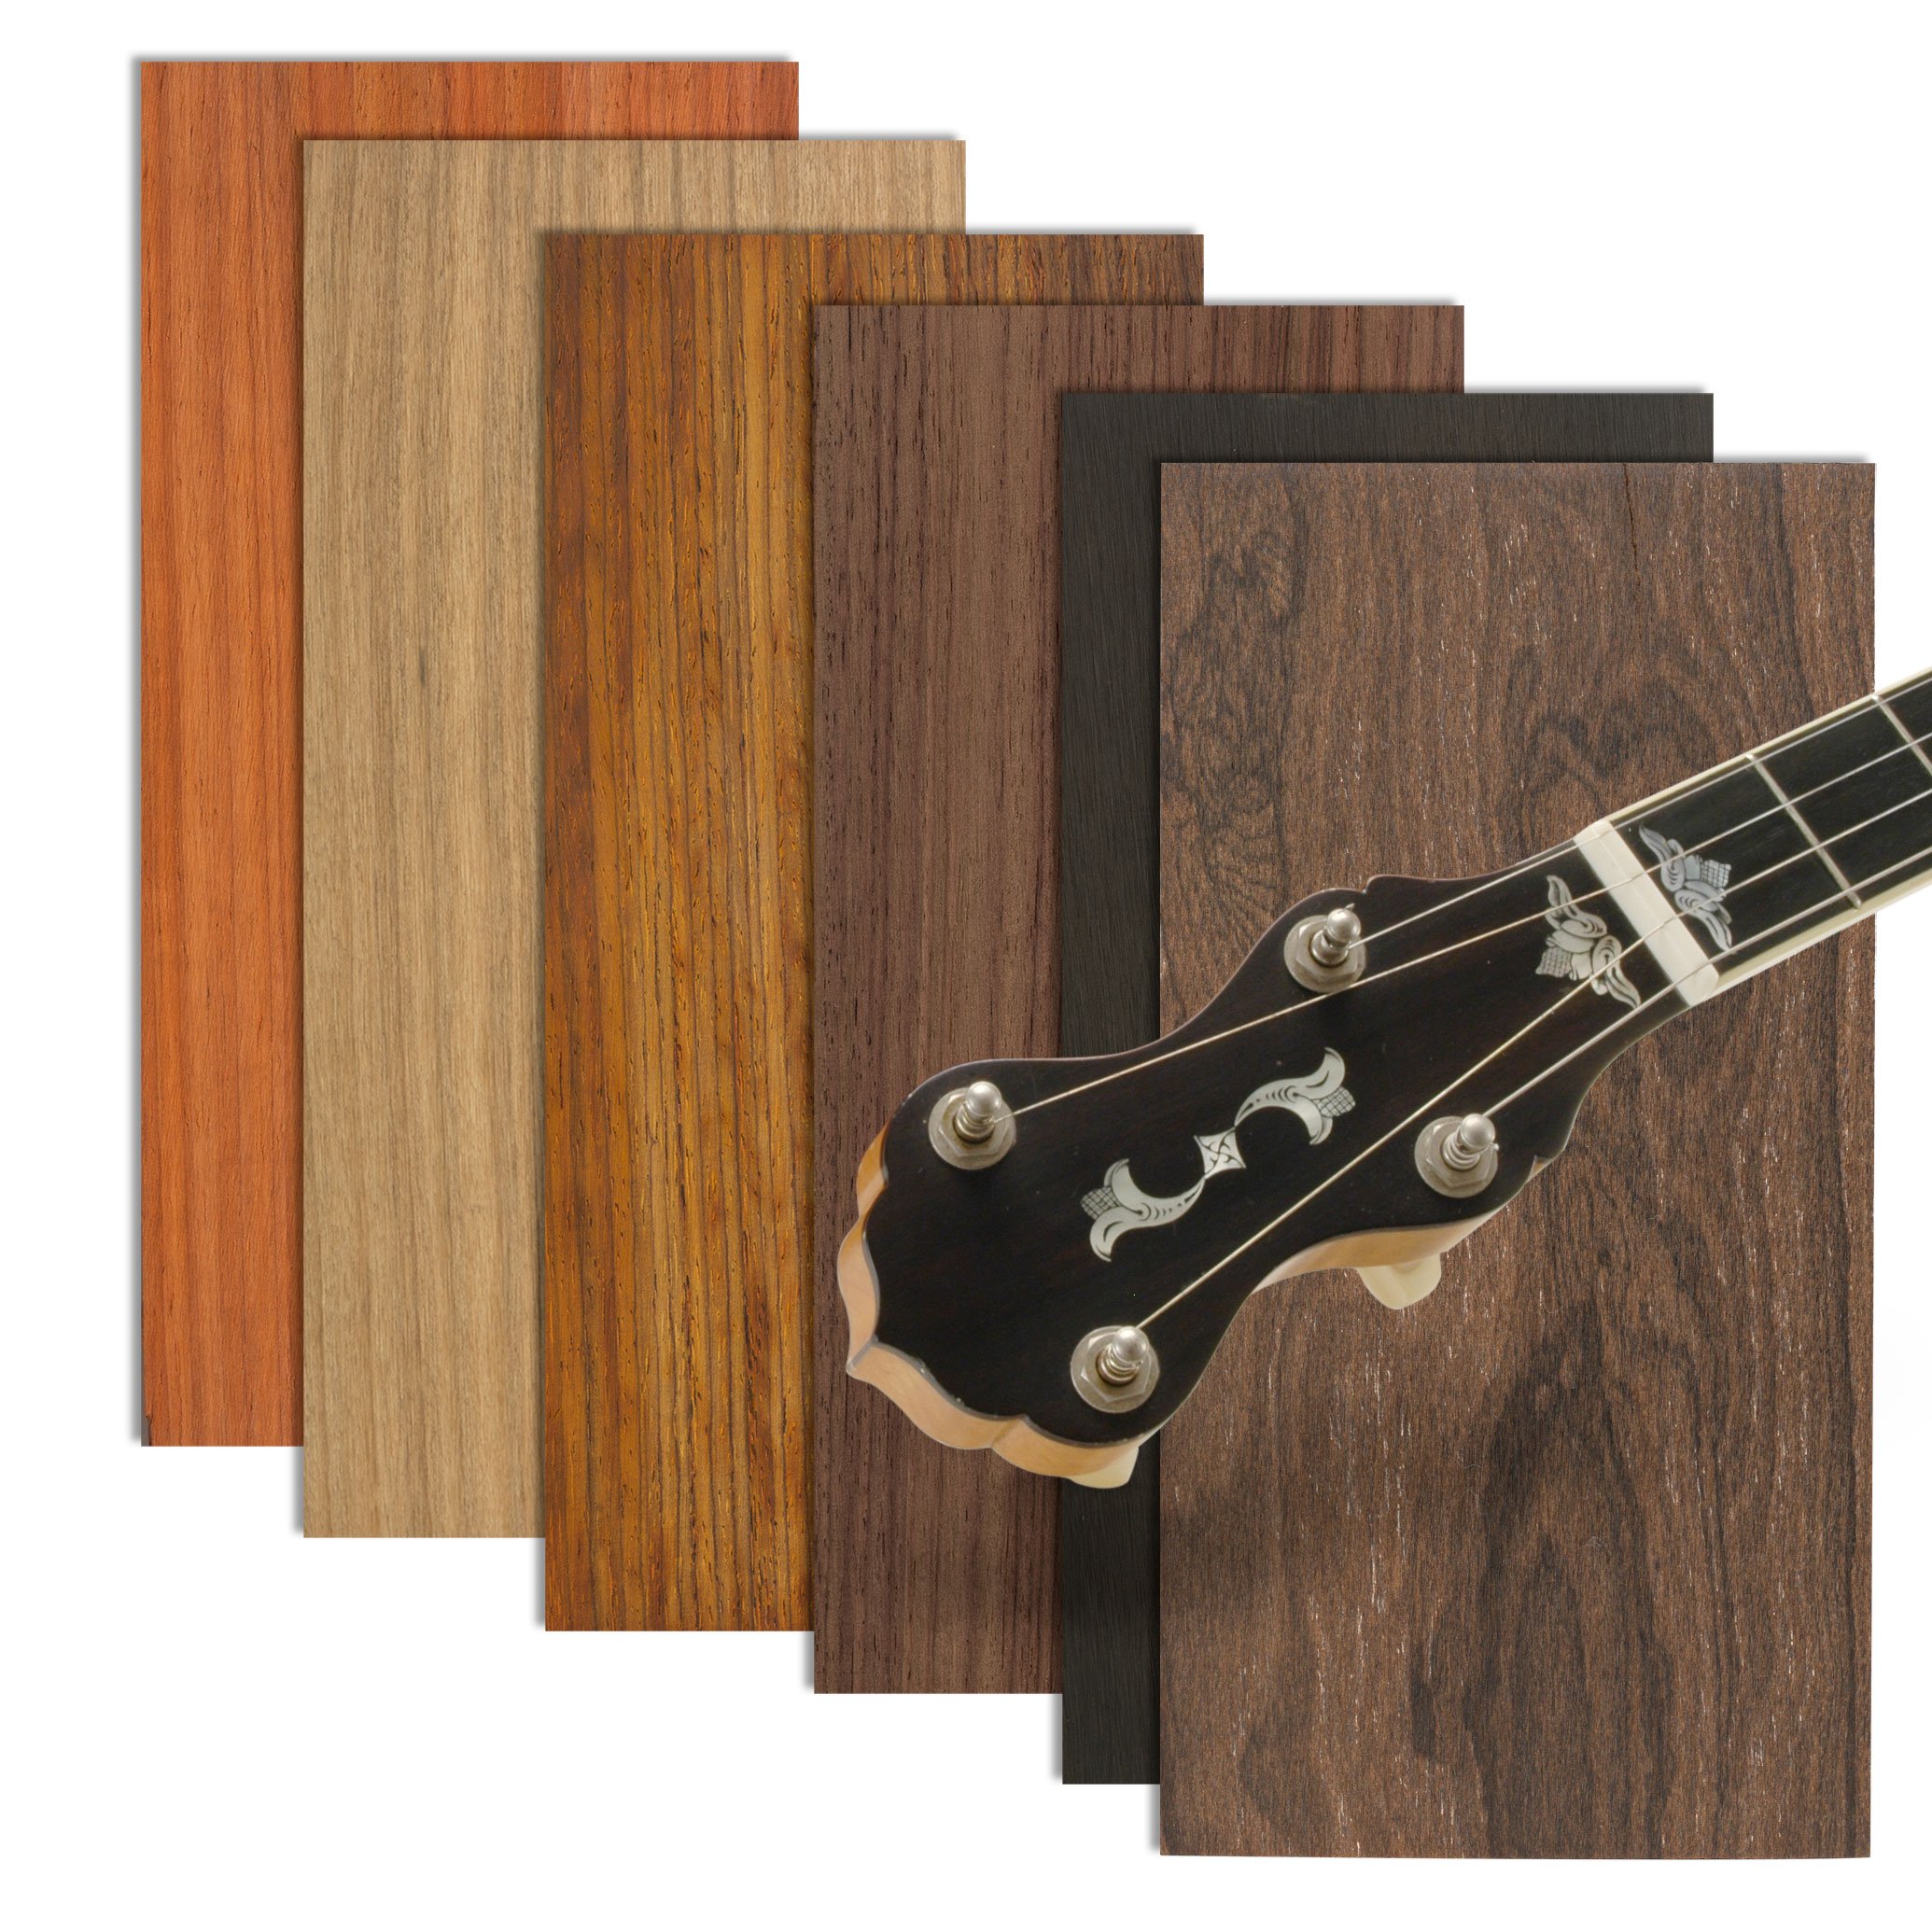
Once we've selected and sized our design, the next thing to do is to decide where on the headstock you want it to go. We're using an ebony veneer in this case. Every inlayer loves ebony because it's easy to fix mistakes in the routing. We need to map out our headstock on this veneer, so that we see clearly where we can and cannot put this logo.

You want to know where your tuner holes are going to be, and do not forget to add the washer diameter as well. You want to have your centerline drawn. Use your calipers and get the exact measurements. Does your guitar have a truss rod cover? If it does, you need to map that out. And you want to make sure you know where your nut is and account for that. Your headstock template should be as detailed as possible.
PRO TIP: Always print multiple copies of your inlay design. With a simple single design like this, I'd recommend at least 10, probably 15 copies.
Next, we're going to take one of those paper copies of our design, and cut out our logo as closely as possible, with a sharp X-Acto blade (or Razor Knife). Use your cut out logo to determine exactly where you want your inlay to be on the headstock veneer.

Material Selection
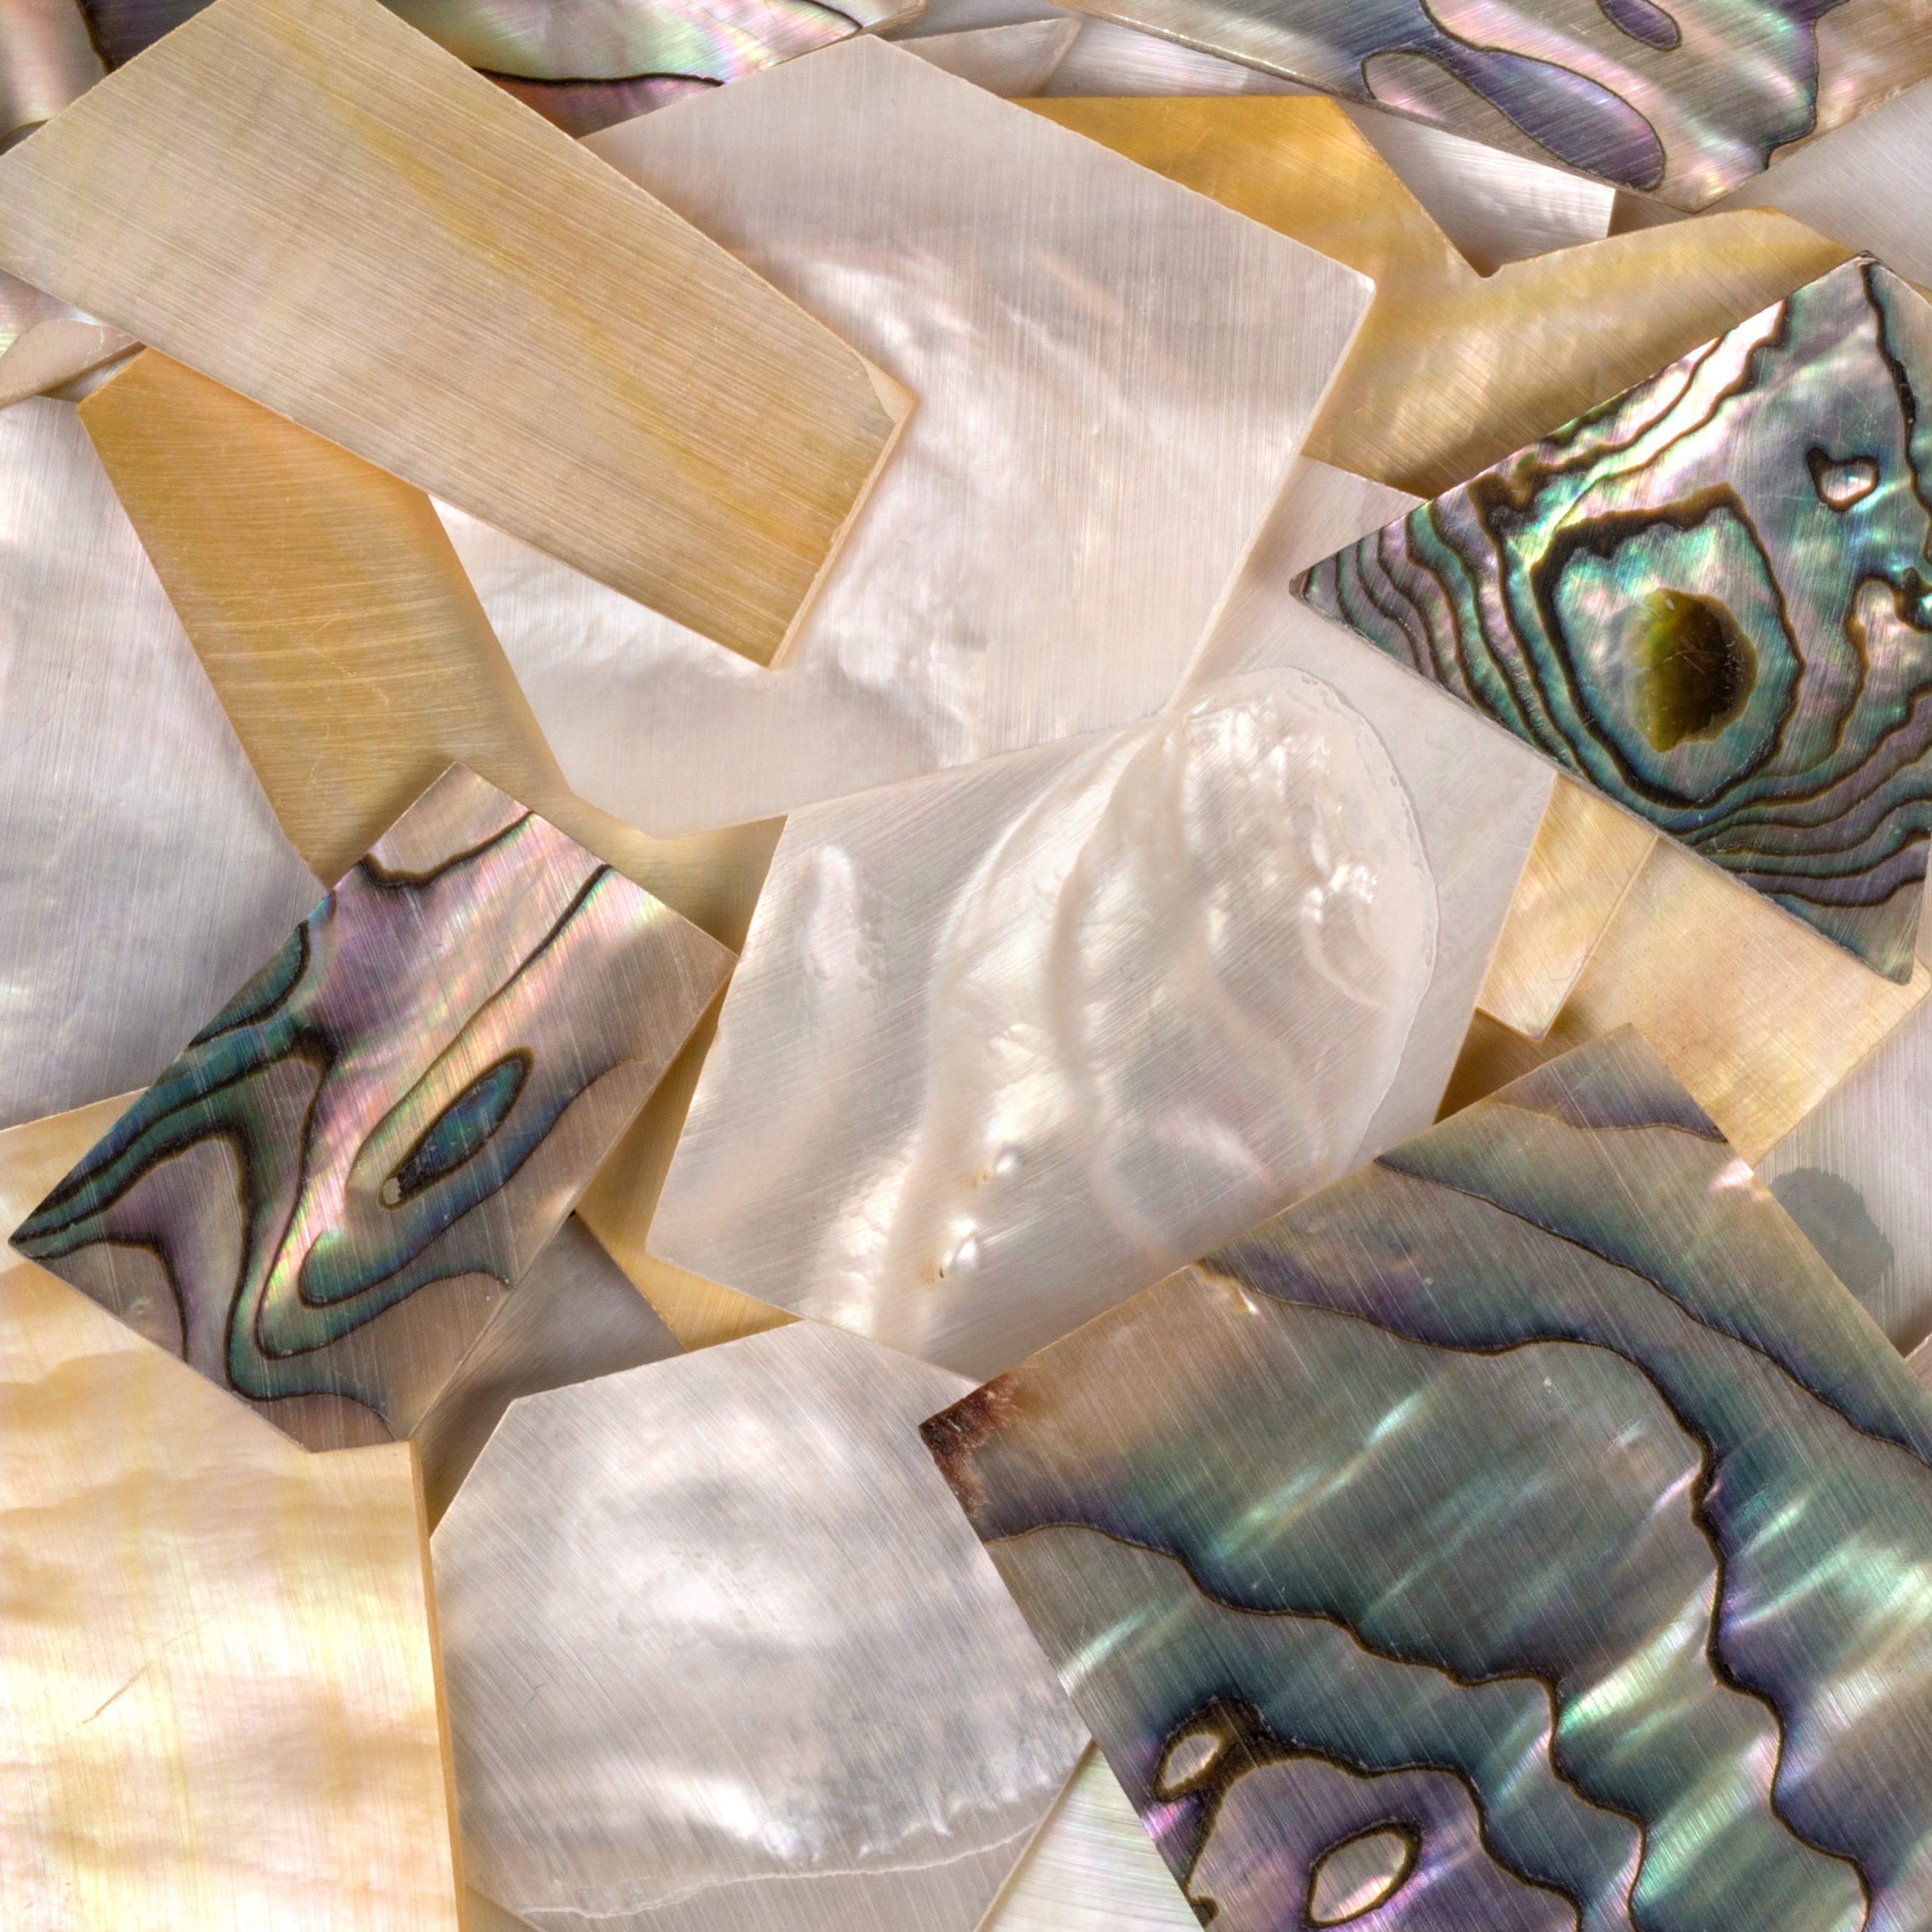
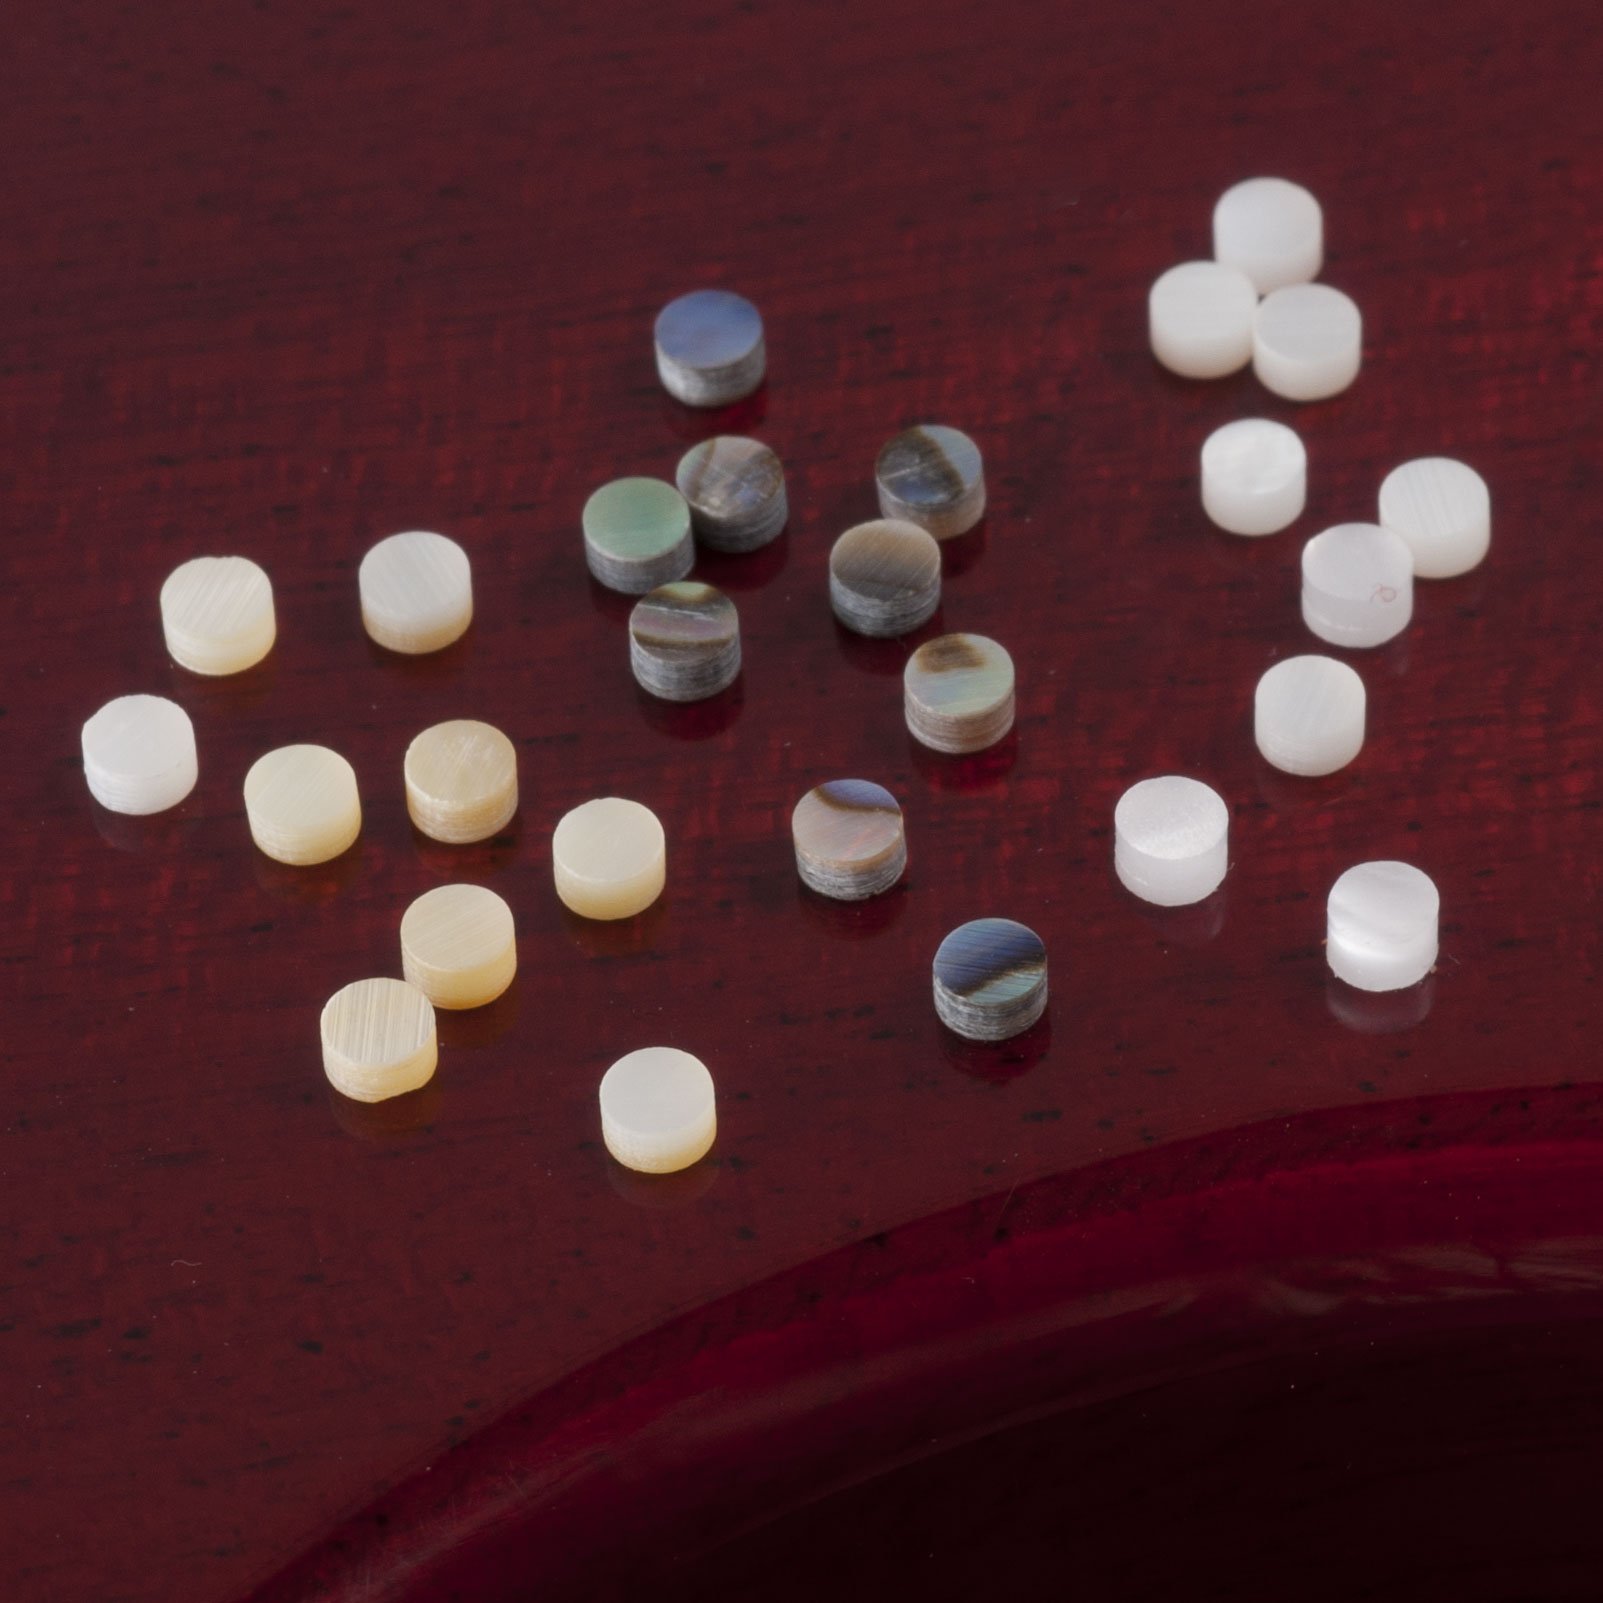
Once we have our pattern established and cut out, the next step is to decide what materials we're going to use. I brought a couple of my favorites with me today to show you all. So let's start with pearl. Mother-of-Pearl is gorgeous, it's bright, sometimes there's greens and pinks in there as well. There's all kinds of colors you can get from Mother-of-Pearl.

Another material that you see being used, especially in modern inlay, is reconstituted stone. It's real stone mixed with an epoxy matrix that they solidify into bricks. This stuff comes in a myriad of colors.
Kirinite is another material that I love to work with. This stuff works so well that you can thin it down to 0.040" and not even lose your color. Kirinite is an awesome material.
We also have a gun stock material that is used for gun grips, which is called G-10. It comes in all sorts of colors. This is the most indestructible stuff I've ever experienced. You can do some really cool stuff with this. It does not tend to chip out as you cut it, but it can be very tedious to cut.

There is glow-in-the-dark acrylic, which is really fun. You can use glow-in-the-dark for all kinds of things.
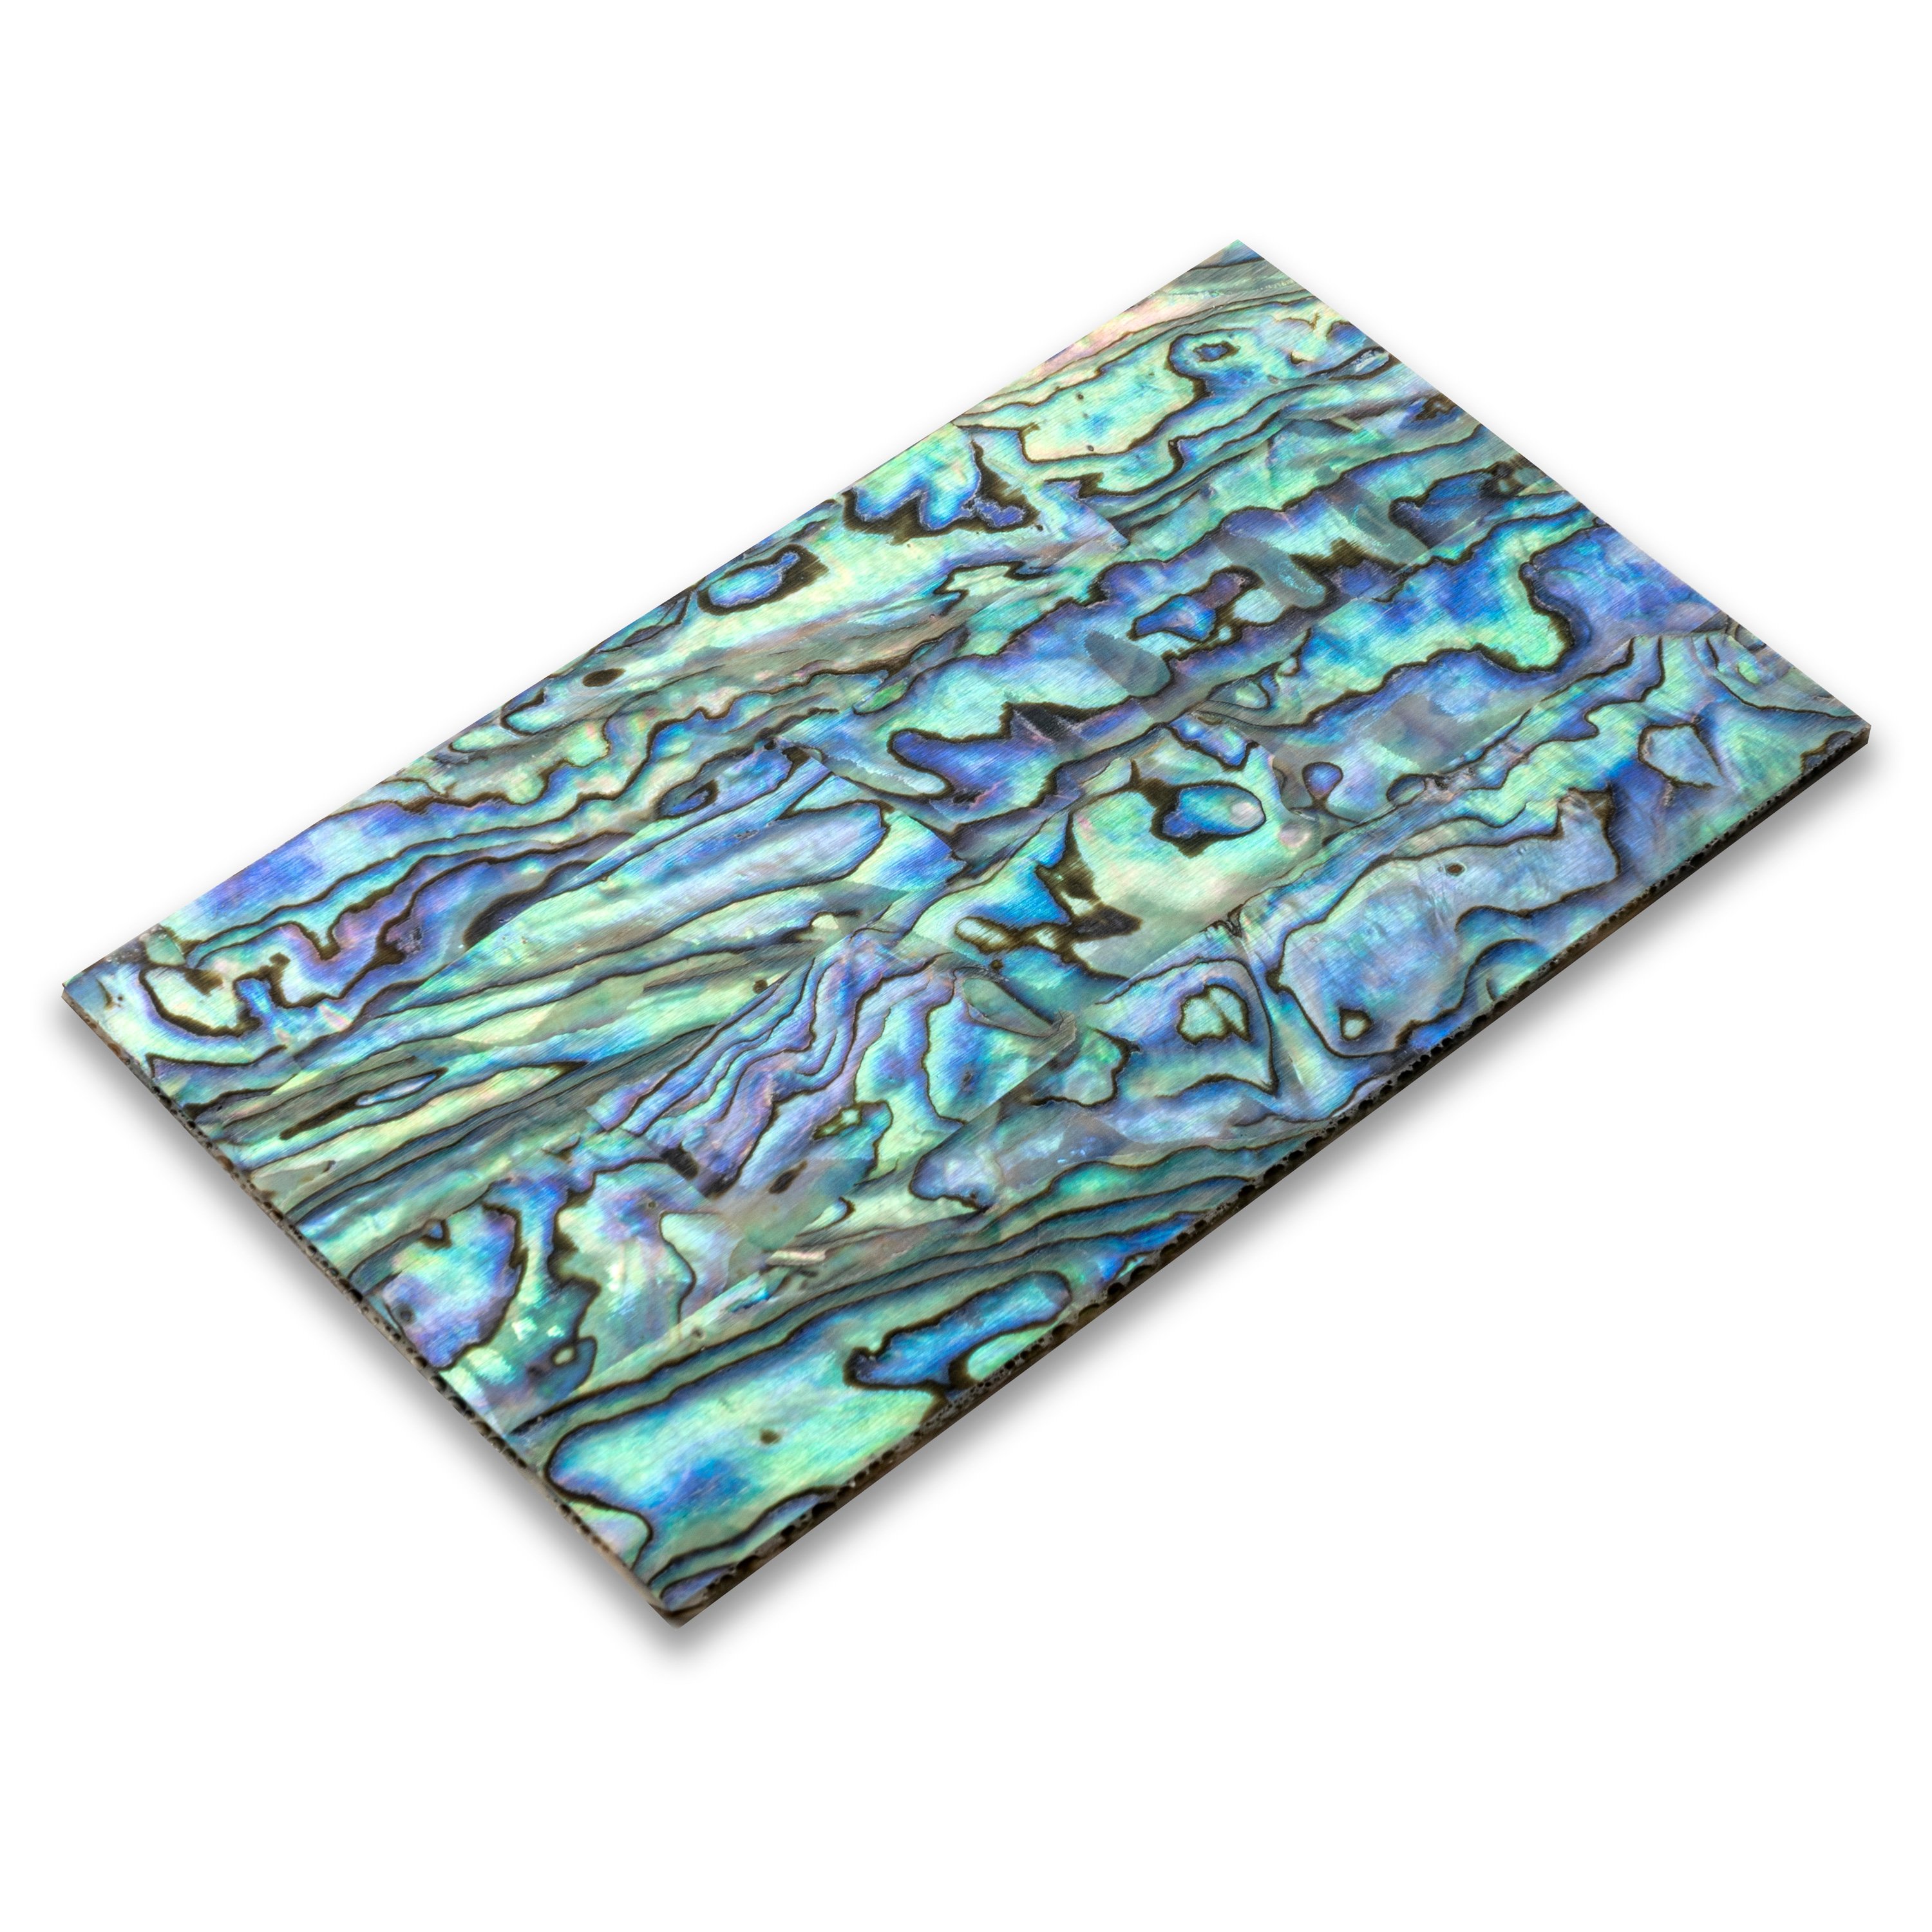
There is a really awesome material that I personally love called Abalam. This is a layered abalone and it's made up of slices of abalone that are heat treated. Then they glue it together and clamp it, and wind up with a sheet that's about 0.050" to 0.060" thick. It tends to stay together very well. It doesn't fracture out very much, and it stays really colorful, really pretty.

Woods are another great material. I like mahogany a lot.
PRO TIP: When using wood as an inlay material, I coat the wood with super glue on the top and the bottom before I start cutting it. It helps to solidify the wood, so that there is less fray when you cut. Woods are very porous, obviously, and they will take on what's going on around them very quickly. So you have to be very careful when you're using wood. Great to use, but a little bit of a different set of rules.
What we're going to use for this project is Mother-of-Pearl and a red piece of what's called Atlante. We are going to use a red Atlante for that classic fretboard image and we are going to use Mother-of-Pearl for the text part of our logo. We're also going to use Mother-of-Pearl dots to create those fret position markers on the fretboard image.
Prepping the Logo to be Cut
What You'll Need
Testors CementNow we're going to locate on our inlay material where we want to put our pattern. My favorite glue to use for putting the paper pattern down is Testors Cement. The big benefit to Testors Cement is that it holds to everything that I use. I use this for every single glue-up I do on almost every material that I use. We're going to take this piece of Mother-of-Pearl and find the location we want for the script portion of our logo.

Make sure you get enough glue everywhere. You want just enough to make sure that you cover the area where the pattern's going to go. Flatten it out a little bit with your fingers to give it more of an even area. Then stick your logo as flat and as smoothly as possible on that area. I take a piece of paper and lay it over top, then use my fingers to flatten it down, to make sure everything is totally flat.
We're going to let this dry for a few seconds, and we're going to take our Atlante piece and the fretboard image portion of our logo, and glue that to the Atlante, using the same methods as before making sure you've completely covered the area in glue, and using a piece of scrap paper to lay on top and flatten it out.
Piercing the Logo
What You'll Need
Respirator MaskSAFETY TIP: You do not want to be breathing in pearl dust. It is extremely abrasive, very bad for your lungs, and non-dissolving. In addition to wearing a mask, while I'm cutting and generating pearl dust, I'm constantly running a Shop-Vac. You would be amazed at how much dust gets generated just from a little bit of cutting. In addition to the heavier visible dust particles, there's a very fine dust that can go right up in your face, like smoke. You want to avoid that at all costs.
We need to pierce the areas of the text that are going to be hollowed out. The interior of the "a" and the "e," as well as some other loops in the script are all going to be negative space. So we are going to use a mini jeweler's drill press, and we are going to use the coolest little micro drills.

So these bits are extremely small, because you want to make sure that the hole you're making is small enough to go through the part you want to pierce without touching any of the lines of your design. We're going to cut out to those lines later. We're using a 0.028" size bit. They're very small bits.
You want to bring that bit down right in the center of these holes. If you drill at the line where you want to cut, you're going to put a little circle mark there that you're going to have to file out or cut around, and you're going to have a dip in it.
Okay, so we've drilled our holes and can see they're not hitting any of the black lines.
Setting Up Your Saw
What You'll Need
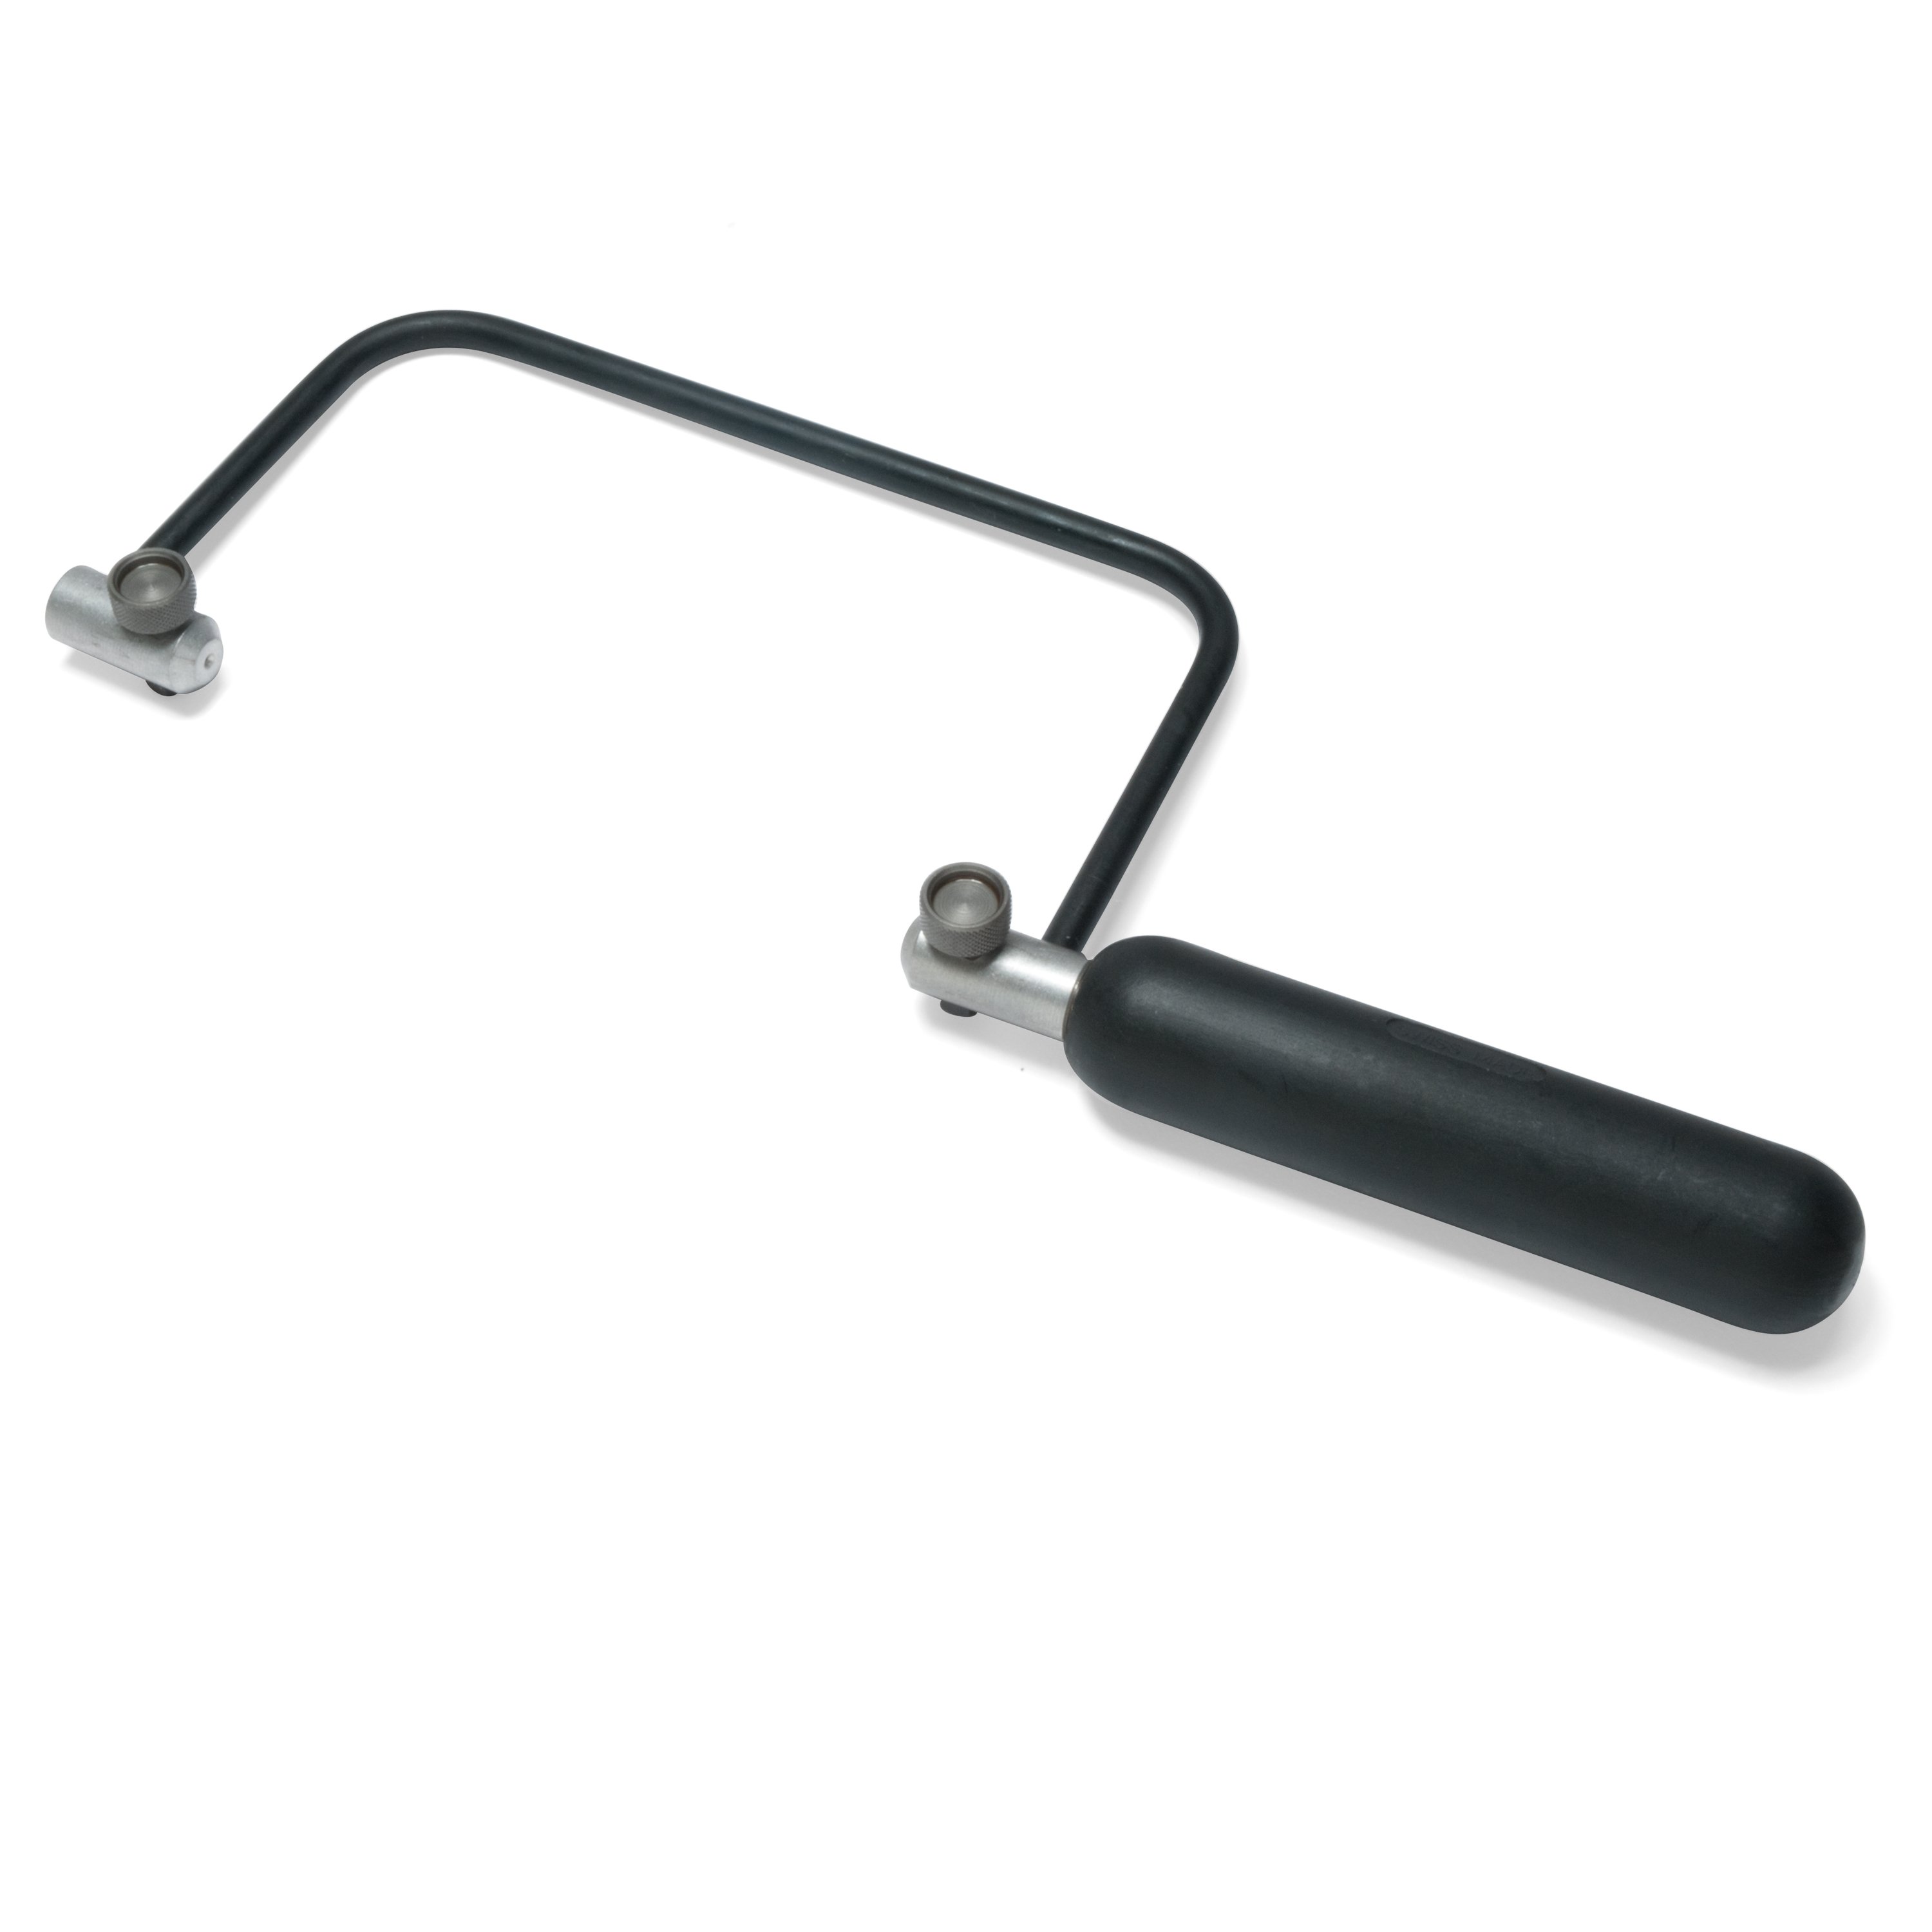
Pearl Cutting SawThe next thing we get to discuss is our jewelry saw and our blades. This is the most crucial tool, as an inlayer, that you are going to be using to create your art. StewMac sells a great pearl cutting saw, this one I'm currently using is a jeweler's saw from GreenLion Studios.

Open up the retainers of the saw to load your blade in. Find where the teeth of the blade are and make sure they're facing out, because they are one-sided blades. You want to make sure that not only is the blade straight, but that there is lots of tension. If there's not enough tension it's going to cut very sloppy. If you twang the blade, it should be a very tight, high-pitched noise.
They're very, very thin blades. Today I'm using a 3/0 blade. Sometimes I'll use a 5/0. Sometimes I'll go down to a 6/0. They are hair-thin and they break very easily. So we're going to go very slow and we're going to re-tension the blade periodically as we cut.
Don't worry about how fast you break blades. They're going to break. And the lighter the gauge of the blade you use, the faster it's going to break. The balance you want to strike is keeping your blade at a high enough tension so that it's tight against the cut line, doesn't break too fast, and helps you cut straight at a 90-degree angle.
PRO TIP: The heavier the blade you're using, the rougher the cut it's going to leave. The thinner the blade you're using, the finer the cut it's going to leave. But the trade off is thinner blades are going to move more and actually wind up looking less clean in the end. Heavier blades are going to look cleaner as you cut. Over time, and with practice and experimentation, you'll get better and better at choosing and tensioning the right blade for the job.
Okay, so we have our piece of pearl pierced in all the places we needed it pierced. We're going to take out the piercings first, and then we're going to start cutting the top away, then we're going to go in and free it completely from its pearl piece by cutting the bottom away.
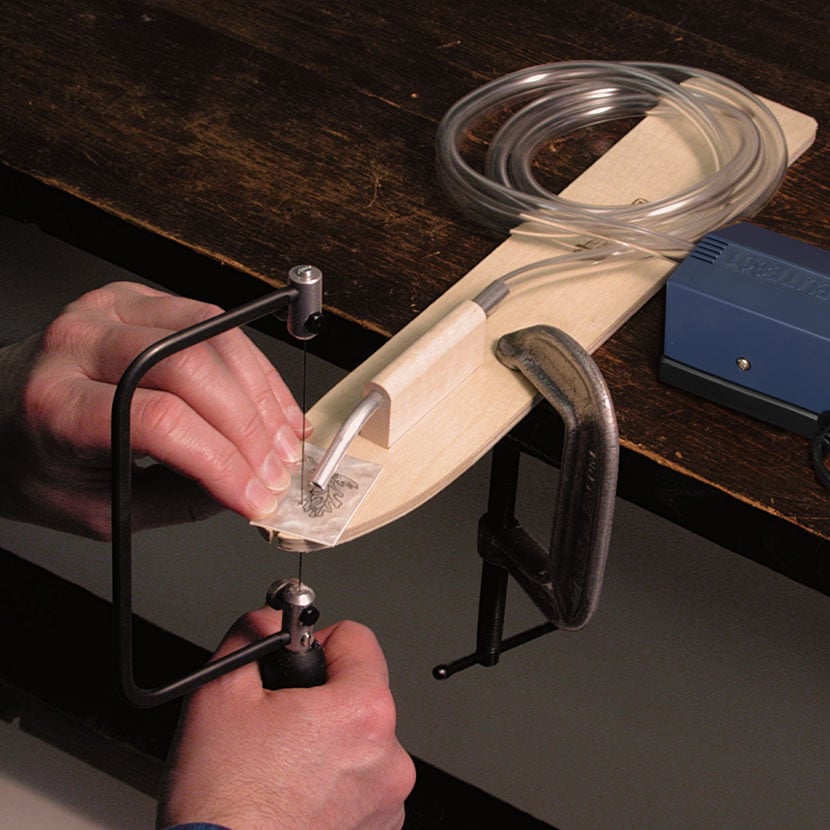
This is our pearl cutting jig. This is called a bird's beak. And this is something that you can use to cut any kind of jewelry-related materials on. So you can use this for gold, silver, and other metals. Anytime you need to put a hole in something by using a jeweler's saw, use the bird's beak.

Cutting and Shaping the Pearl
What You'll Need
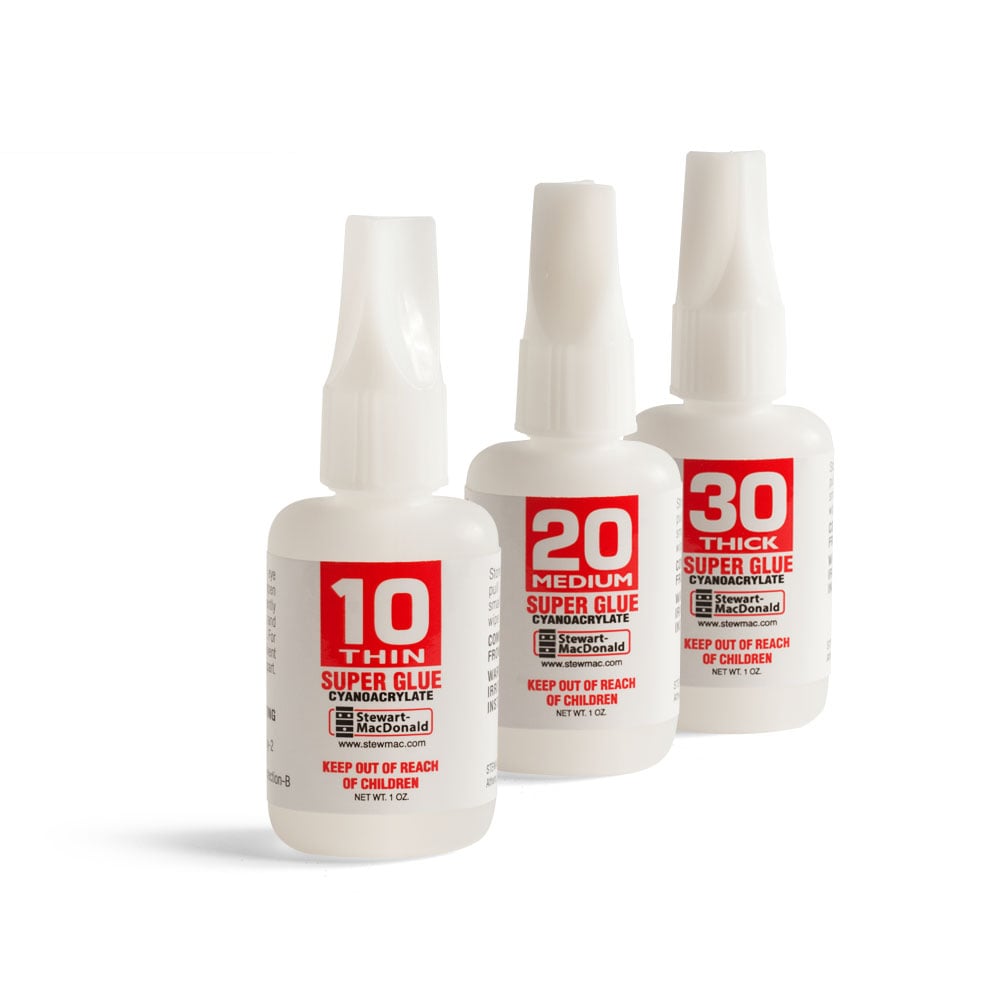
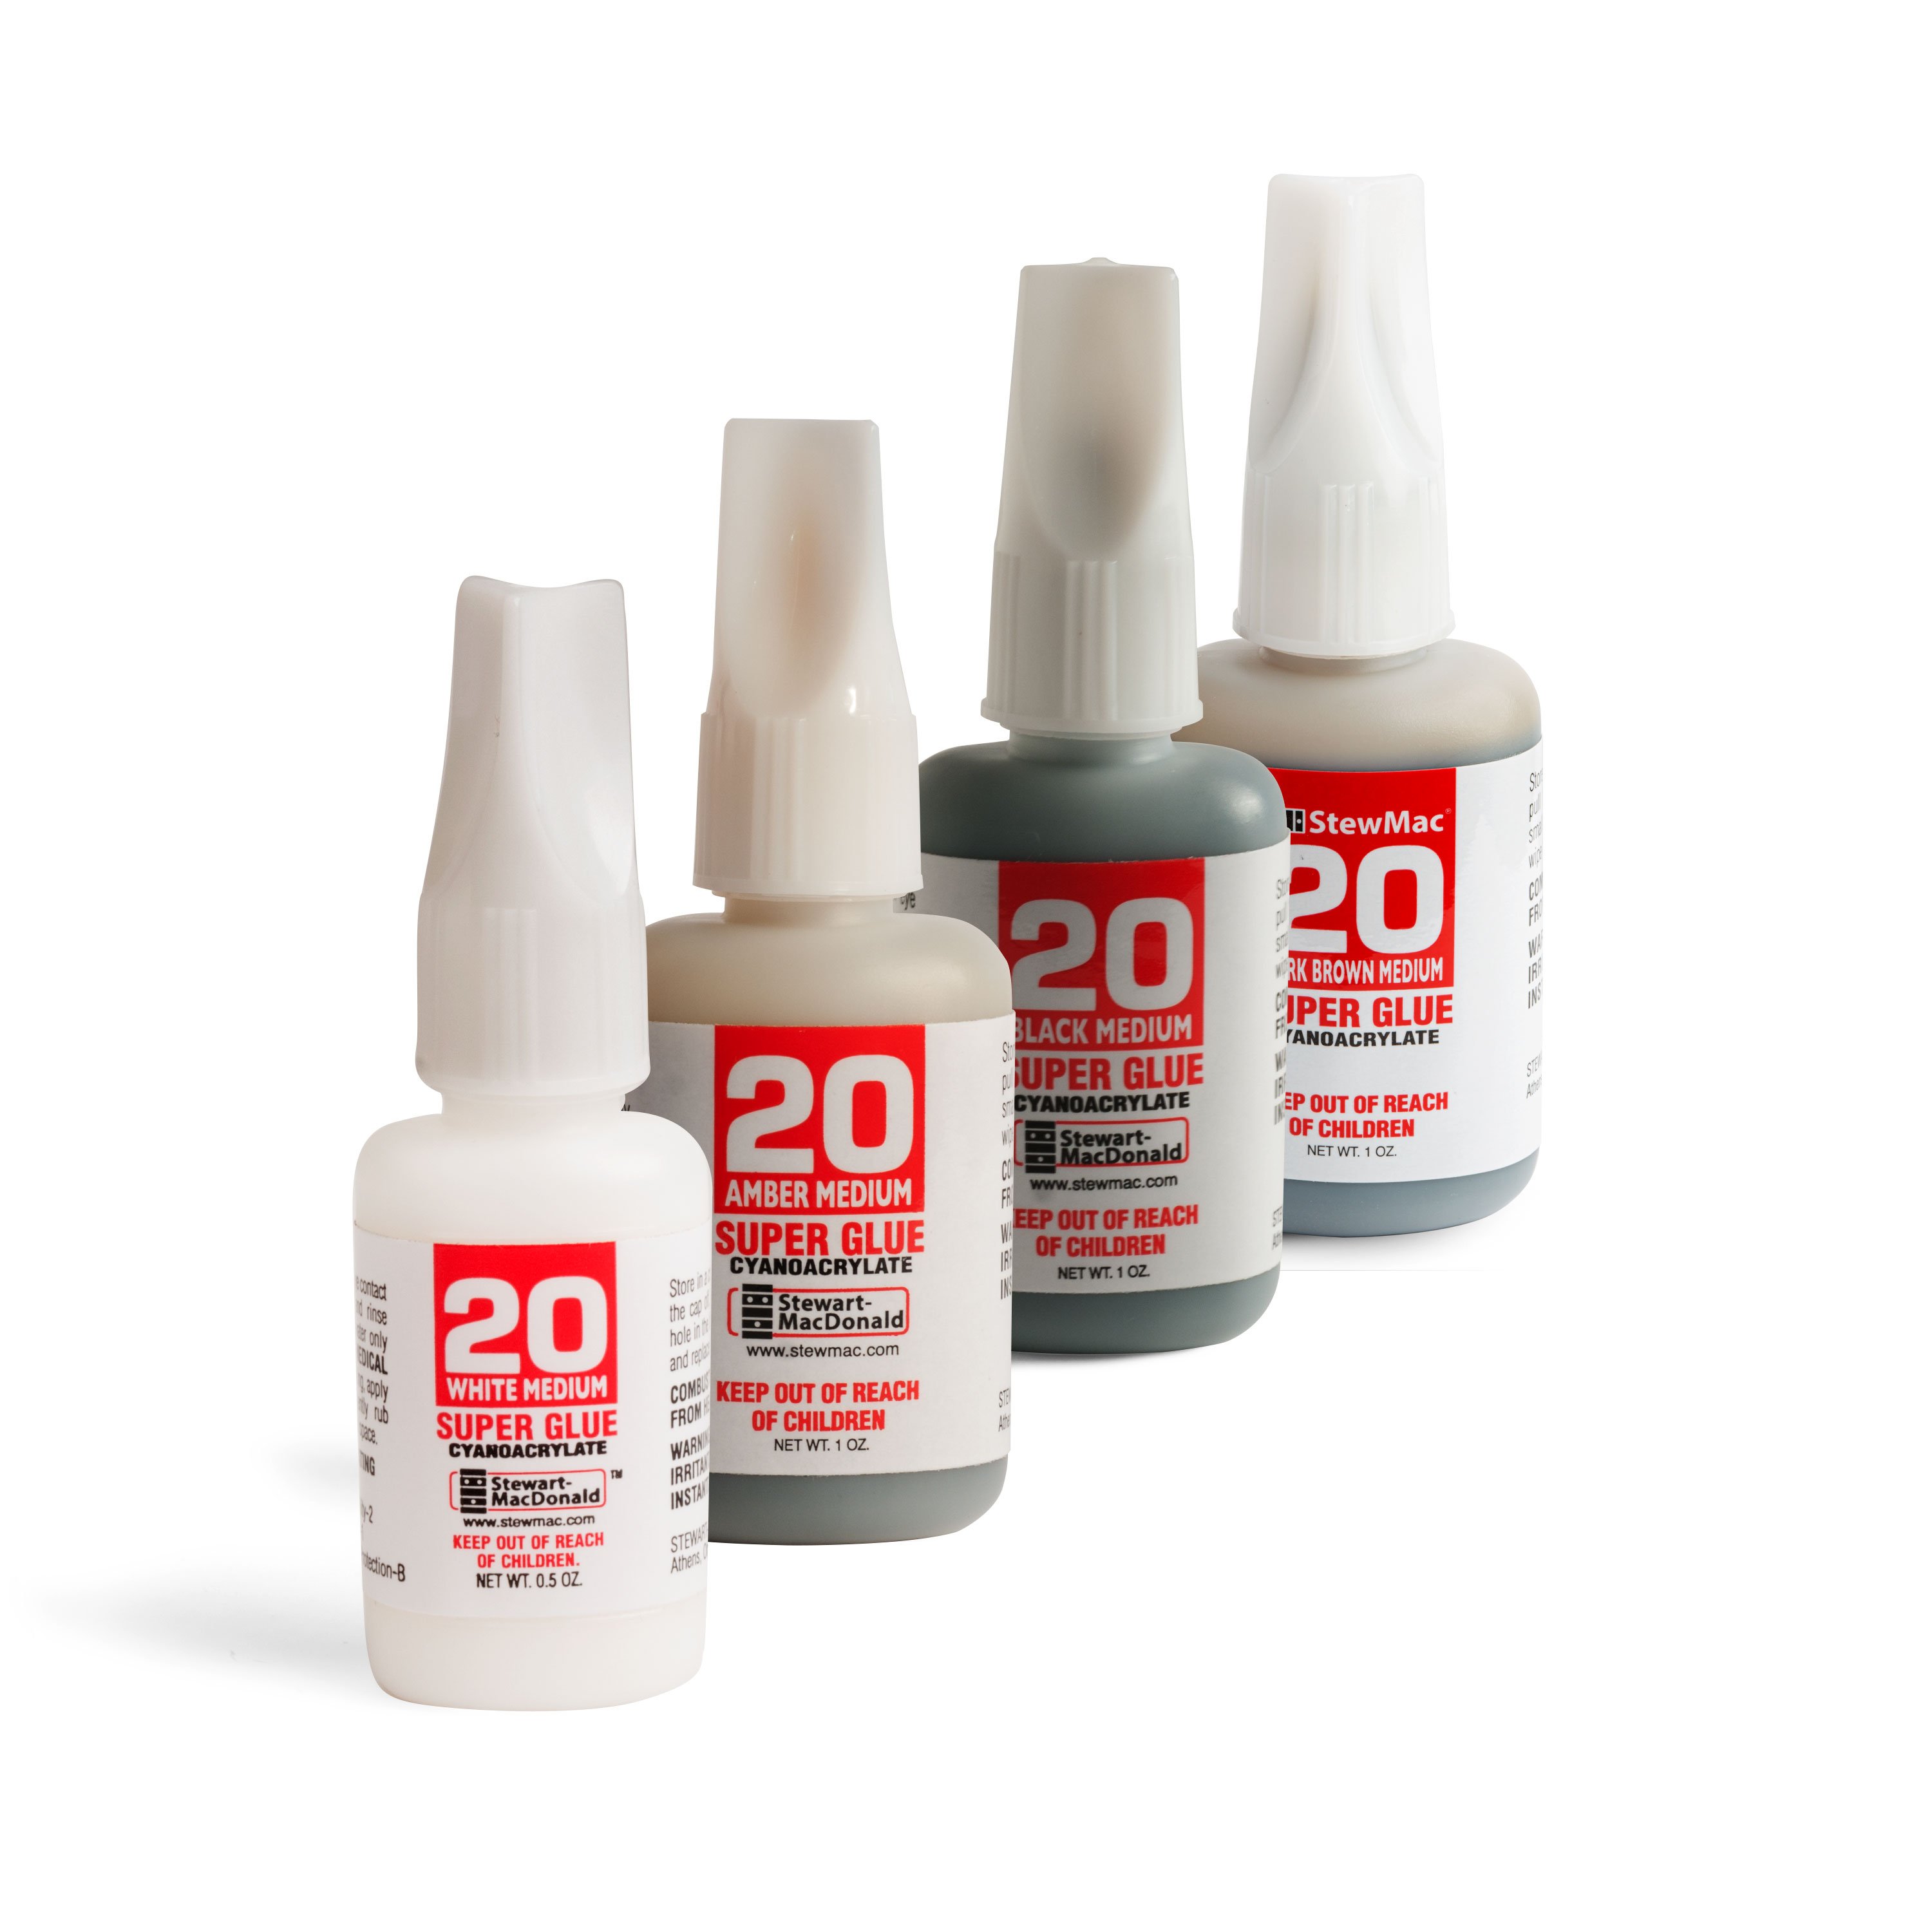
StewMac Super Glue
We're going to put our blade through the first hole and then fasten it to our jeweler's saw. Then we're going to turn on our Shop-Vac and start cutting the hole out. I'm going to go slow and methodical, and try to keep the blade at a 90-degree angle. Remember we're wearing a mask, and we have our Shop-Vac for excess dust.
As you start cutting your pierced piece, you want to hold your blade relaxed in your hand, and at a straight, 90-degree angle. You want to try really hard to let the blade lead and have your dust sucked away so that you can cut that black line that you've generated in your pattern.

Cut away that line and leave everything else there. You want to try to make it as smooth as possible. You want to make sure as you're cutting that you don't bend your saw back and forth. The tension on the blade will snap the piece you're working on, especially when you get into tight areas.
After we do the holes, we're going to start cutting out the top of our design. When you get to the really, really tight areas, sometimes people turn their blade around and back in, and then rotate it out a little bit, and then go forward again. That's one way to do it.
Next, as you go around the outside of your inlay, you're freeing up all the letters as you move forward. And those are now loose from the pearl piece that you started with. Those can move and they can break. So it's critical that you're careful and slow, and that you keep your saw at 90 degrees, so that you don't create unnecessary pressure and break part of your design.

Keep in mind, if you're using a 3/0 blade, that's a relatively thin blade, but it still has a lot of tension in it. Every now and then, maybe you let go of the piece of pearl and let it realign with the blade itself. And that way, you don't have to worry as much about building up tension and snapping things, either snapping the blade or snapping the pearl.
PRO TIP: Even if your blade doesn't break, it's still getting duller as you cut. So don't be shy about changing your blades. I'm about halfway through cutting the top edge of this logo, and I'm going to go ahead and change the blade, and make sure it's good and tense in the saw.
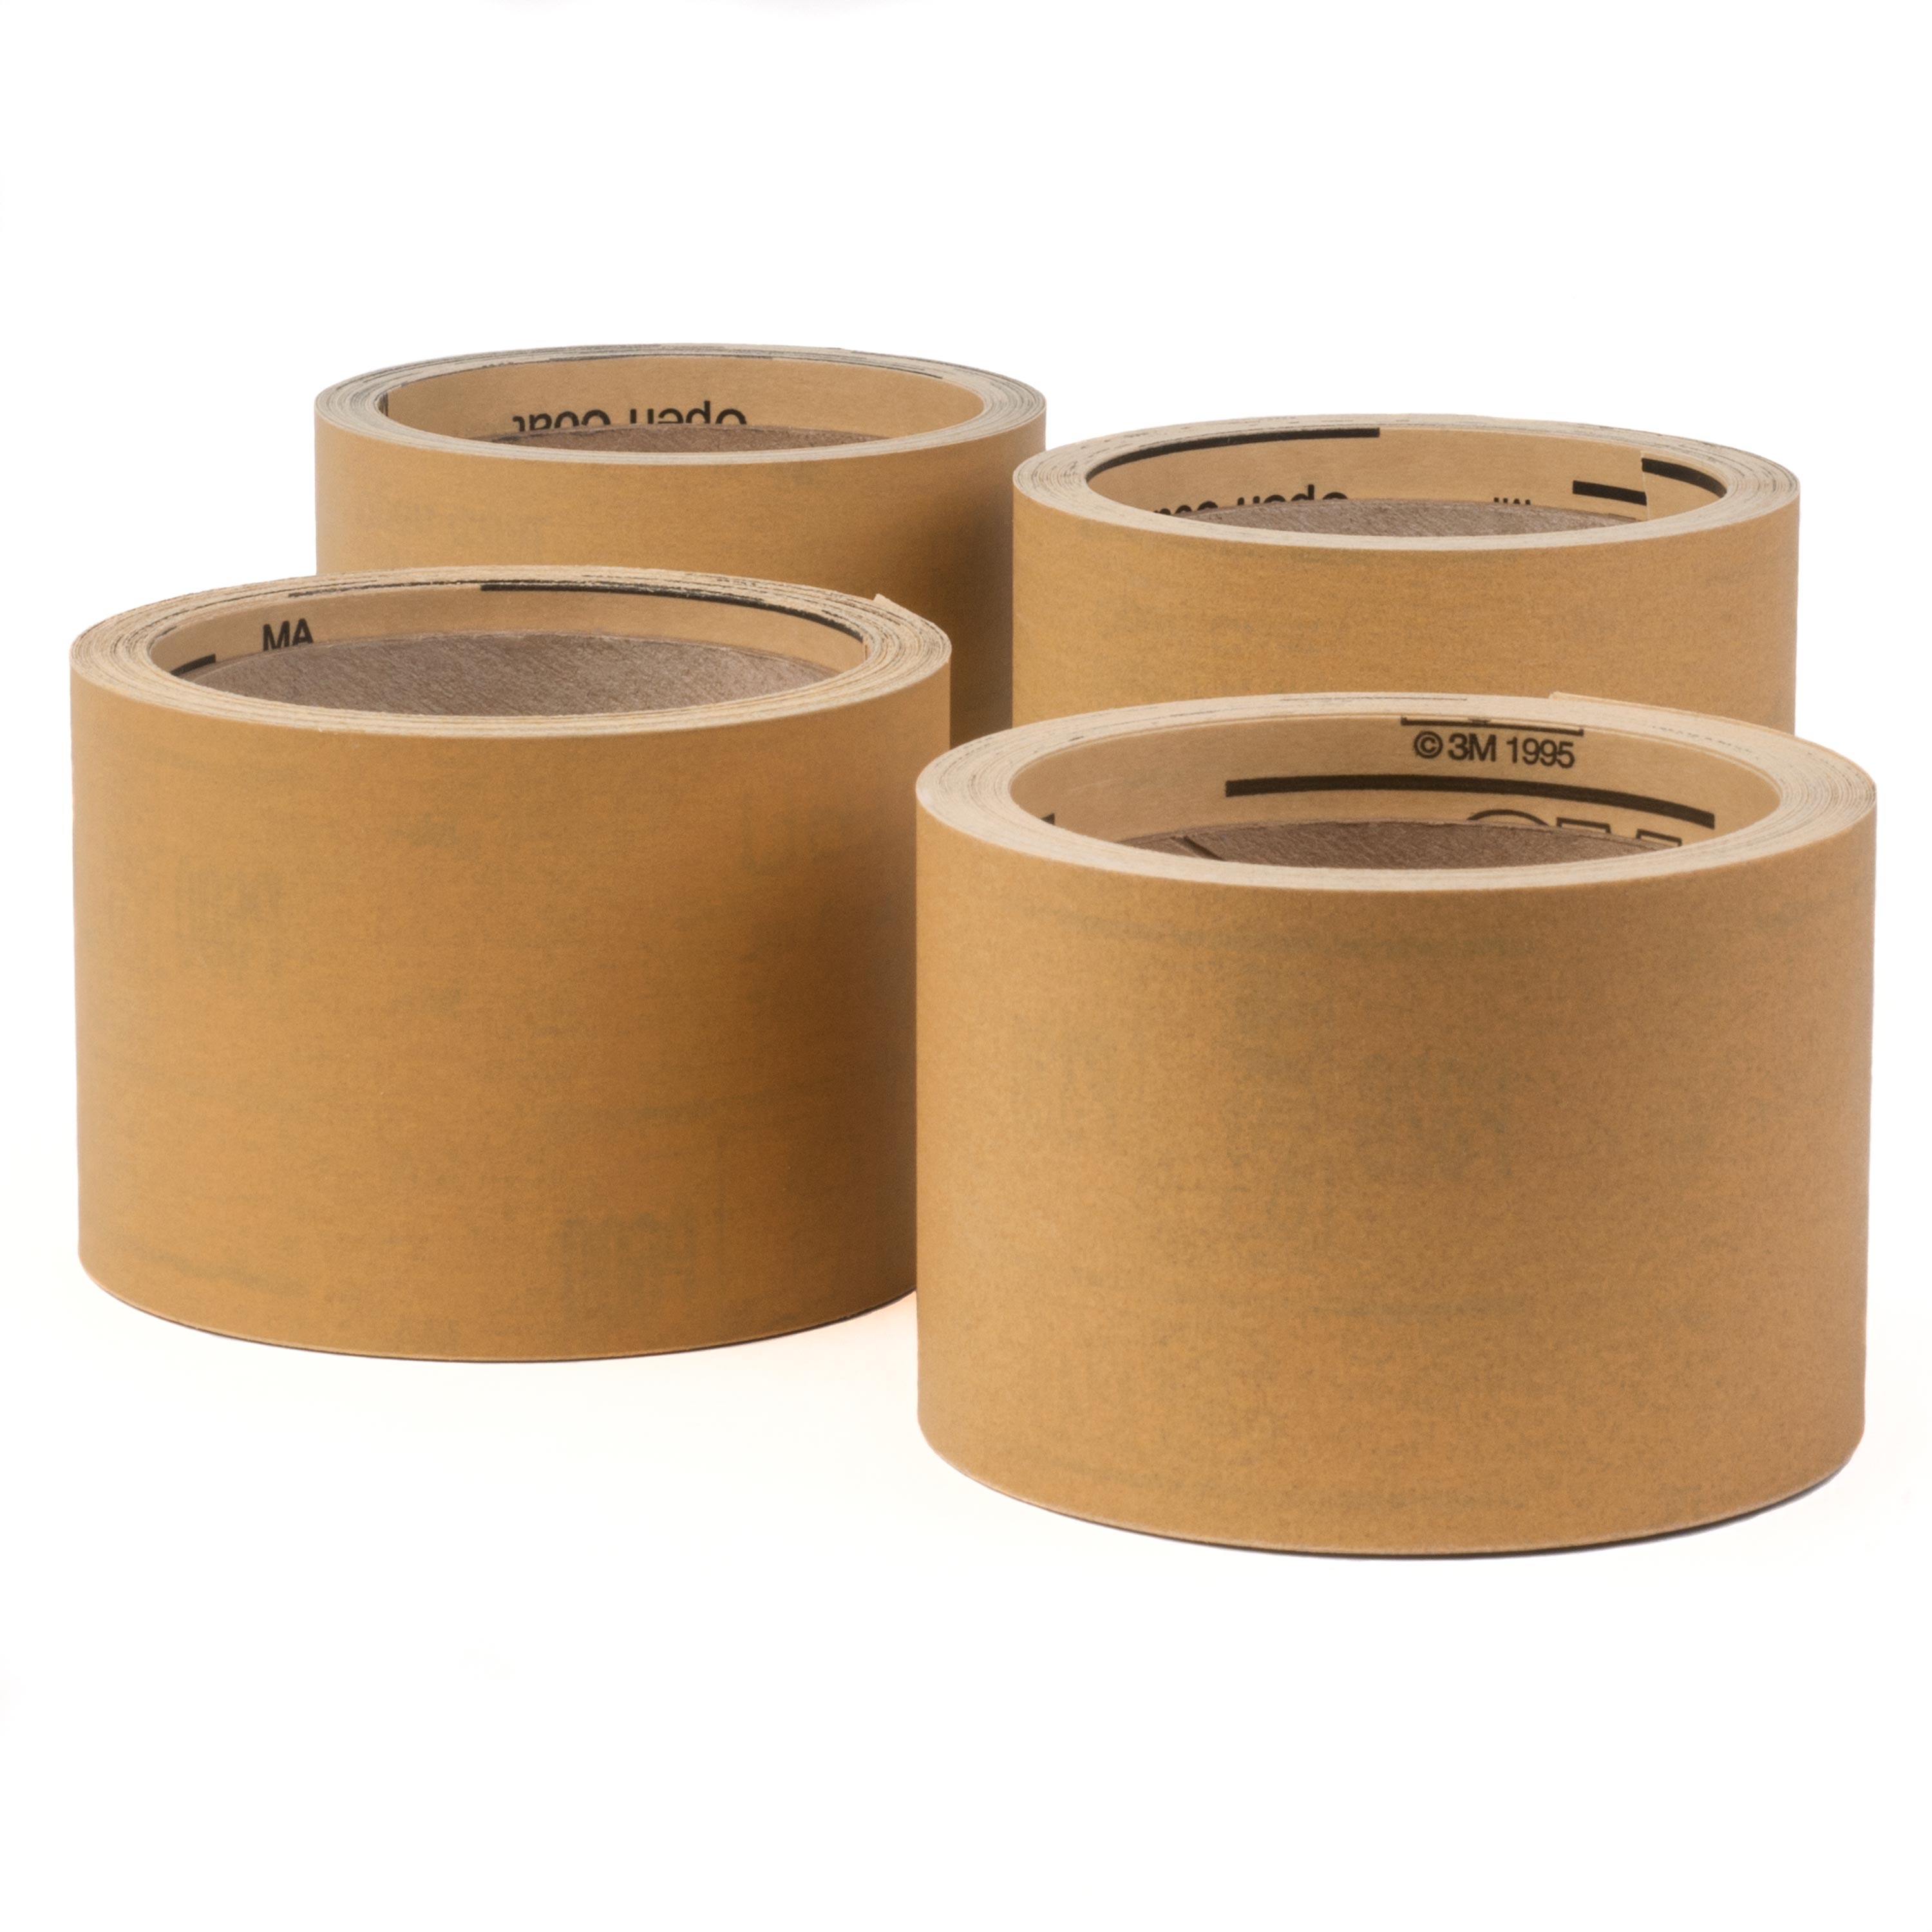
Okay, so now that we have the top part cut out I like to stop and clean up whatever I need to. I like to use this double-sided 3M Stikit sandpaper. I'm using 220-grit. I take my X-Acto blade and put that Stikit right there on the X-Acto blade. Then take another X-Acto blade and cut away the excess. This gives me a super thin file that I can use to clean up the top edge of the pearl logo.

We're ready to cut out the bottom part now. I'm going to change the blade out again and go really slow and really methodically. We need to be extra careful here because we're completely freeing the design from the pearl at this point.

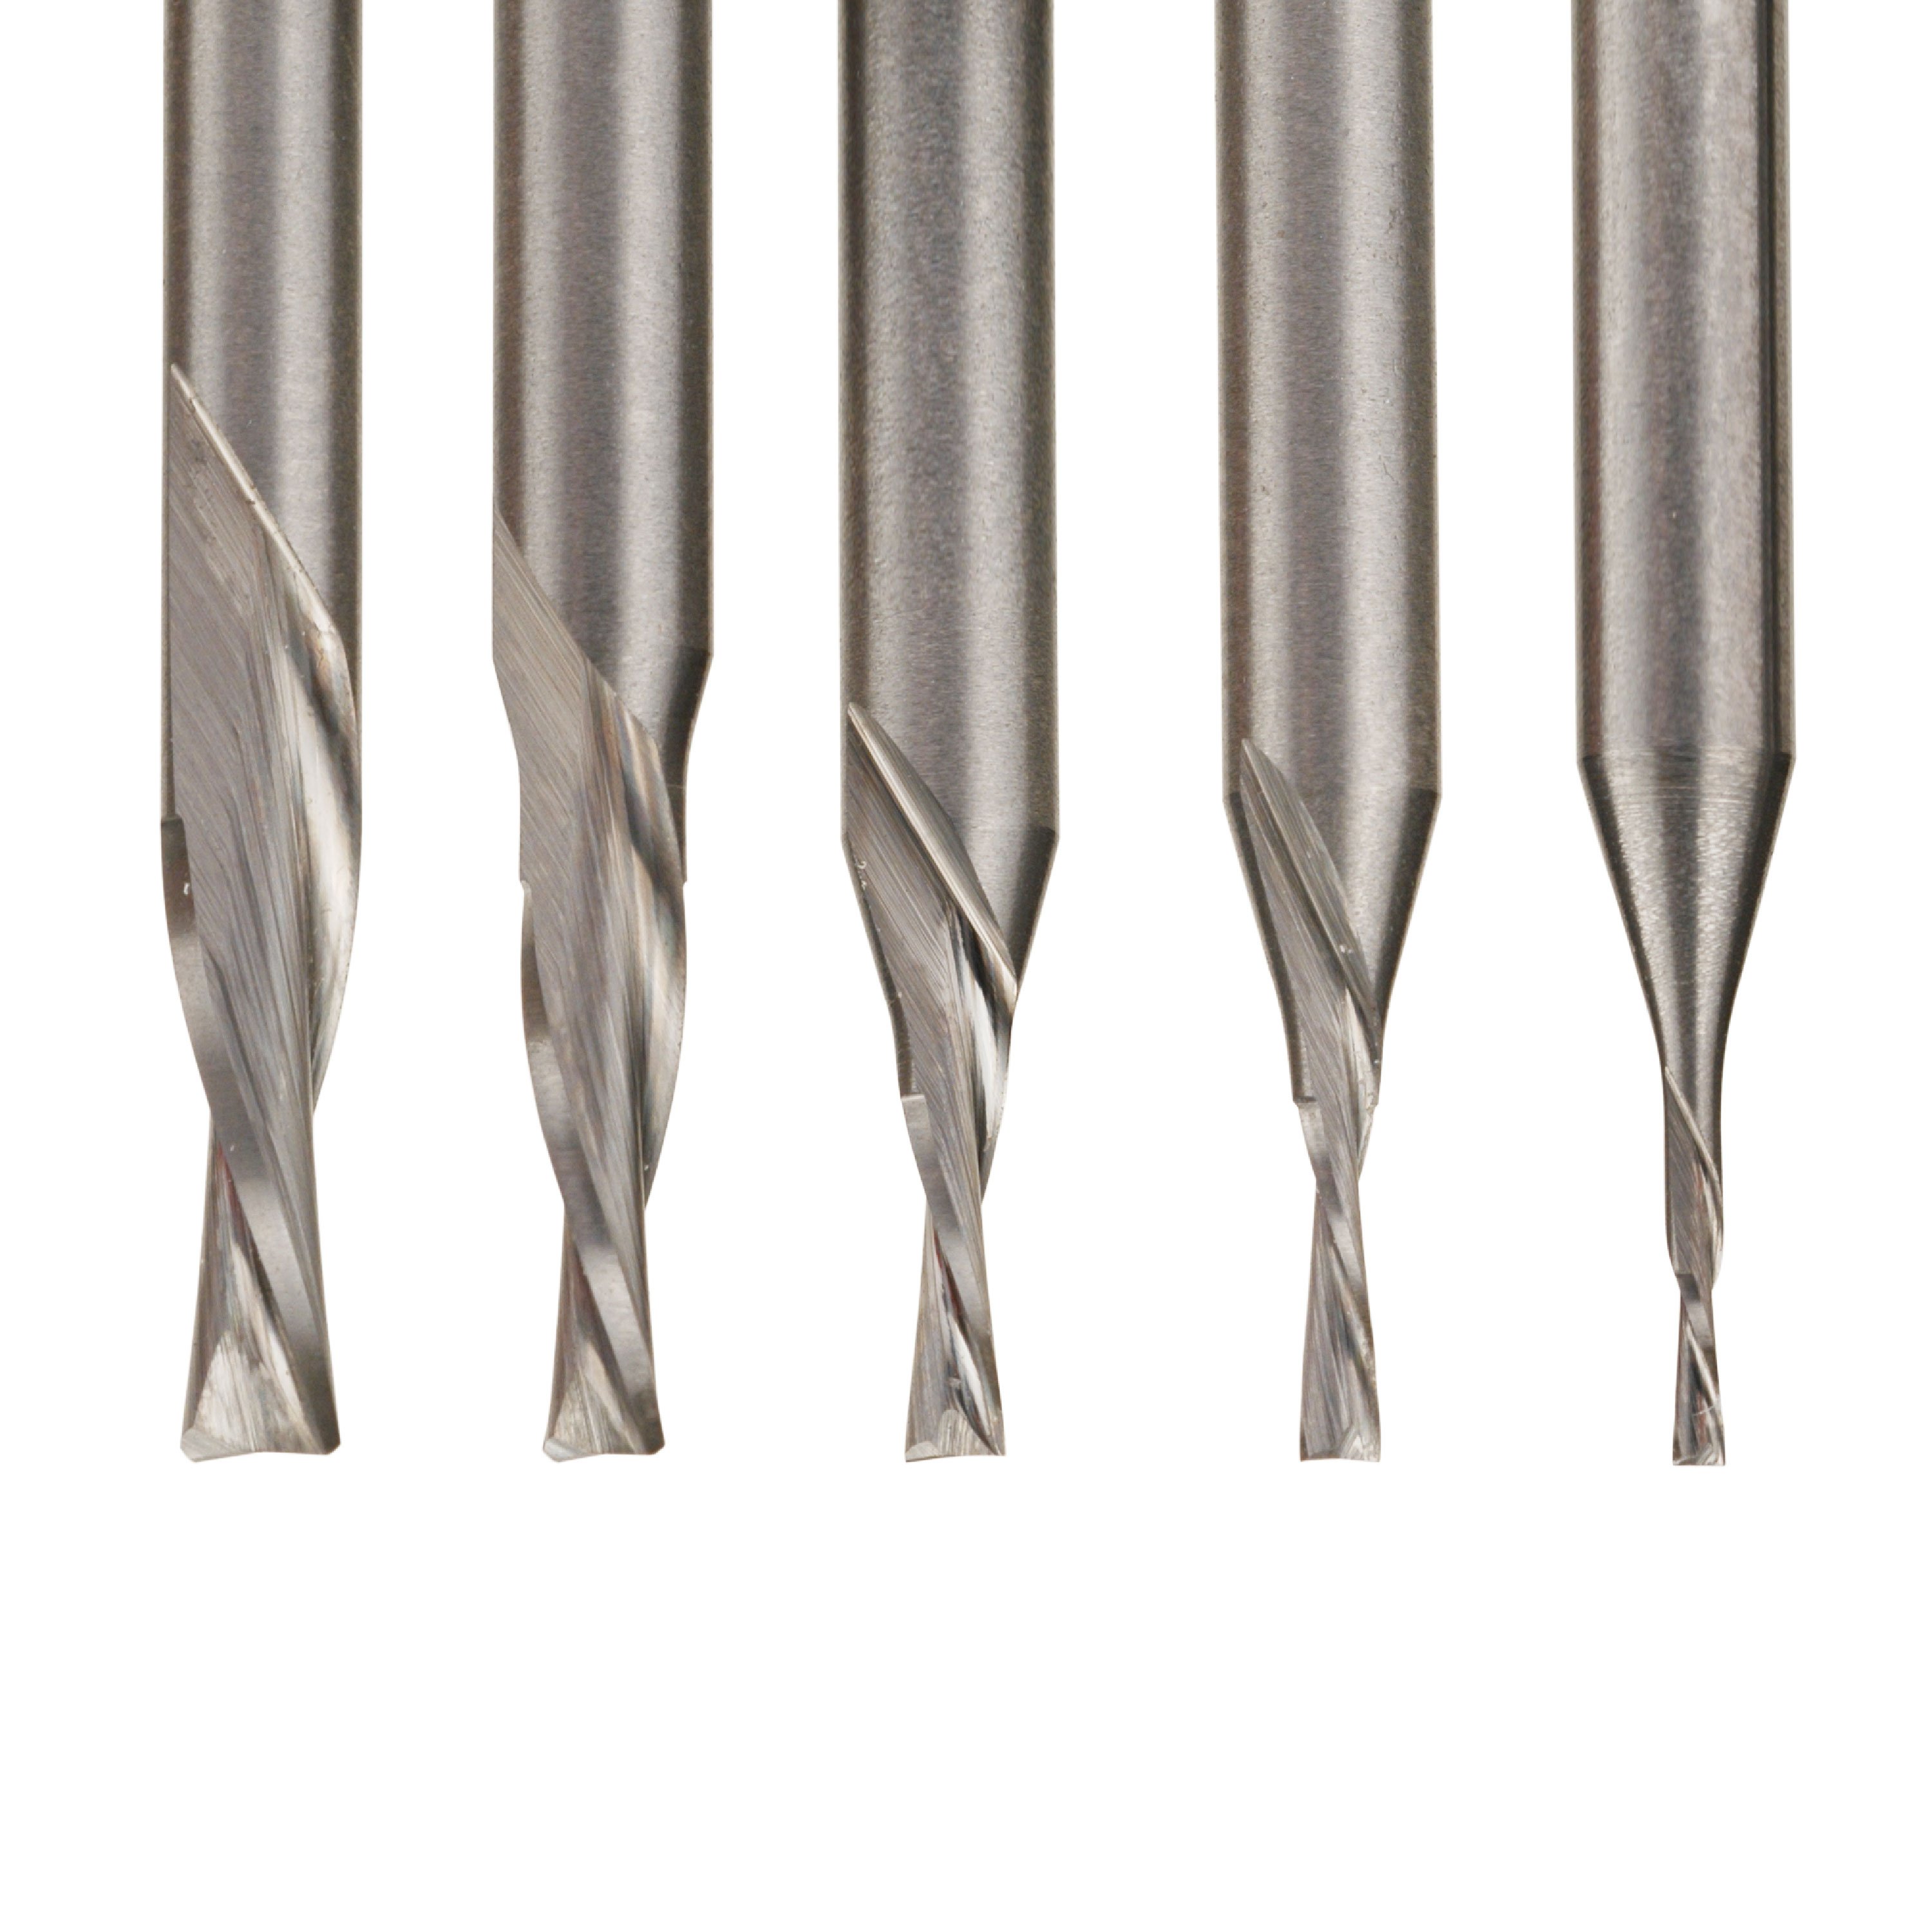
Okay, we're done cutting. And we now have our StewMac logo freed from the pearl that it was in. Right below that on our logo are the little fret markers. And we're going to recreate that part of the logo using red Kirinite and white Mother-of-Pearl fret side dots. I have a StewMac 1/16" downcut carbide bit, which actually fits this perfectly. We're going to drill first, and then we'll cut the rectangles out.
We're going to pop this bit into our drill and make sure it's stable. We turn on our drill and then we're going to very, very carefully drill these holes out as clean as possible.

Now we have our little fret marker position holes drilled out where we're going to pop in these little 1.5mm pearl dots. You don't want to really cut these out yourself. It's much easier to get perfectly sized and perfectly round fret dots by just buying them. You take that and just test fit it in. It should fit relatively perfectly—and they do. We'll glue those in, but first we want to cut out these rectangles.

These rectangles are going to need a little bit of filing because with acrylics and plastics and things, there's a little bit of waver that goes on. Put the piece in a small vice grip, take a nice flat edge file and just clean it up so that it's nice and geometric.
The reason you make about 15 printed copies of your design at size is that you're going to be using that pattern as a template. I'm going to show you a good, easy trick to get these little rectangles that make up the fretboard icon perfectly lined up to glue all these together so that it becomes one solid inlay.
The first thing we're going to do is tape that paper template down to our work space. Then we'll take some double-sided tape and lay it down on top of that as flat as possible. Then use a pair of tweezers to put these pieces in place. And you're going to lay these down exactly in line with your original template, which is right there as a guide. If you did pretty good cutting and filing, you will see that they should line up very nicely.

The next step for this design is going to be to very carefully insert these little fret dots into the holes and then glue those in, using CA (Cyanoacrylate) Super Glue. Be sure to work in a well-ventilated area and wear a mask because this glue is very volatile.
PRO TIP: I like to use wax paper when working with this glue. Wax paper has a magical property, which is that a little bit of CA won't stick to it. I put the tiniest drop of the glue on a piece of wax paper, and I use another strip of wax paper to transfer it to those holes. If you put the tip of the glue directly in that hole and squeeze it, you're going to get way too much glue at once.
After we give that glue some time to dry, we are going to glue the four rectangular pieces that make up this little fretboard part together into one unit. We're going to use some ebony dust and some black Super Glue to create the lines between the rectangles. The ebony dust is going to look more realistic than the black glue by itself.
I'm going to sprinkle some ebony dust into the cracks, and then apply a little bit of the black glue, and let that roll into those crevices. It will look a little messy, but remember we're going to sand that down so anything on the surface there we don't have to worry about, because it's going to get sanded away.

Removing the Paper Pattern
What You'll Need
AcetoneWhile that's drying, I'm going to very carefully get this paper that's glued to the StewMac script off of the pearl. This piece is very fragile. So the way we like to handle that is by using a little bit of acetone.
PRO TIP: Do NOT use acetone with acrylics and synthetics, because it could ruin them. Only use acetone with woods and with pearl.
We're going to take some acetone and we're going to put it into any kind of bin that can manage acetone (such as mixing cups). You don't need that much. We're going to take our logo and we're just going to put it face down in there so that acetone soaks all that glue and it gets nice and wet. And that'll dissolve the paper and the glue from the pearl.
We've cleaned up the fretboard portion of our design, and we have let the glue dry, and we are ready to peel this little fretboard off of the double stick tape and see what it looks like.
Using the double-stick tape helps keep the inlay come off cleanly when you've applied your own adhesive since there's already a little bit of a barrier there. After we remove it from its double stick tape, we see that everything in this seven-piece inlay is frozen in place. This is crucial because you don't want things moving around.
Getting Ready to Locate the Logo
Okay, so now we have our logo all cut out, and the next big step is to locate it on our head plate and rout out our pocket so that it seats perfectly, or at least as perfectly as we can get it. Make sure to click here to see Part Two, where we'll create our pocket to perfectly set our design into.
See Next Episode

