HOW TO INLAY A GUITAR HEADSTOCK WITH MASTER INLAY ARTIST CRAIG LAVIN
Episdode 3: Recap and Final Steps
Want to do your own custom inlay? We created this video series with master inlay artist Craig Lavin to show you every step from design to final installation.
In this final episode Craig recaps all of the work done so far, and demonstrates sanding and leveling the inlay. Next Craig shows his tips and tricks for fixing bubbles and imperfections. Finally Craig shows you how to final sand for a perfect finished look.
See Previous Episode
Here's what's in the video:
This is the third part of a three-part series on how to inlay a logo into your own guitar. If you missed part one of the series click here. In part one we talked about what makes a great logo, material choices, and cutting the logo.
In part two, we discussed routing the pocket in your wood, gluing the logo into that pocket, and doing a gap-fill with glue and wood dust. For demonstration we're working with a two-part logo. The first part is the script "StewMac" text, and the second is that little red fretboard, which we cut out of red Atlante, with little pearl fret marker dots in it.

Leveling
What You'll Need
But we're not quite there yet. As I mentioned at the end of the last article, this stage we're at right now, "pre-finish," is the worst this inlay will ever look. We've got ebony dust, glue, Sharpie marker, and the black glue we used on the fretboard logo, all sitting on top of our work.

You can't even tell it's an inlay, but if you've worked through everything properly, and did everything like we've discussed, it will be wonderful by the time it's finished.
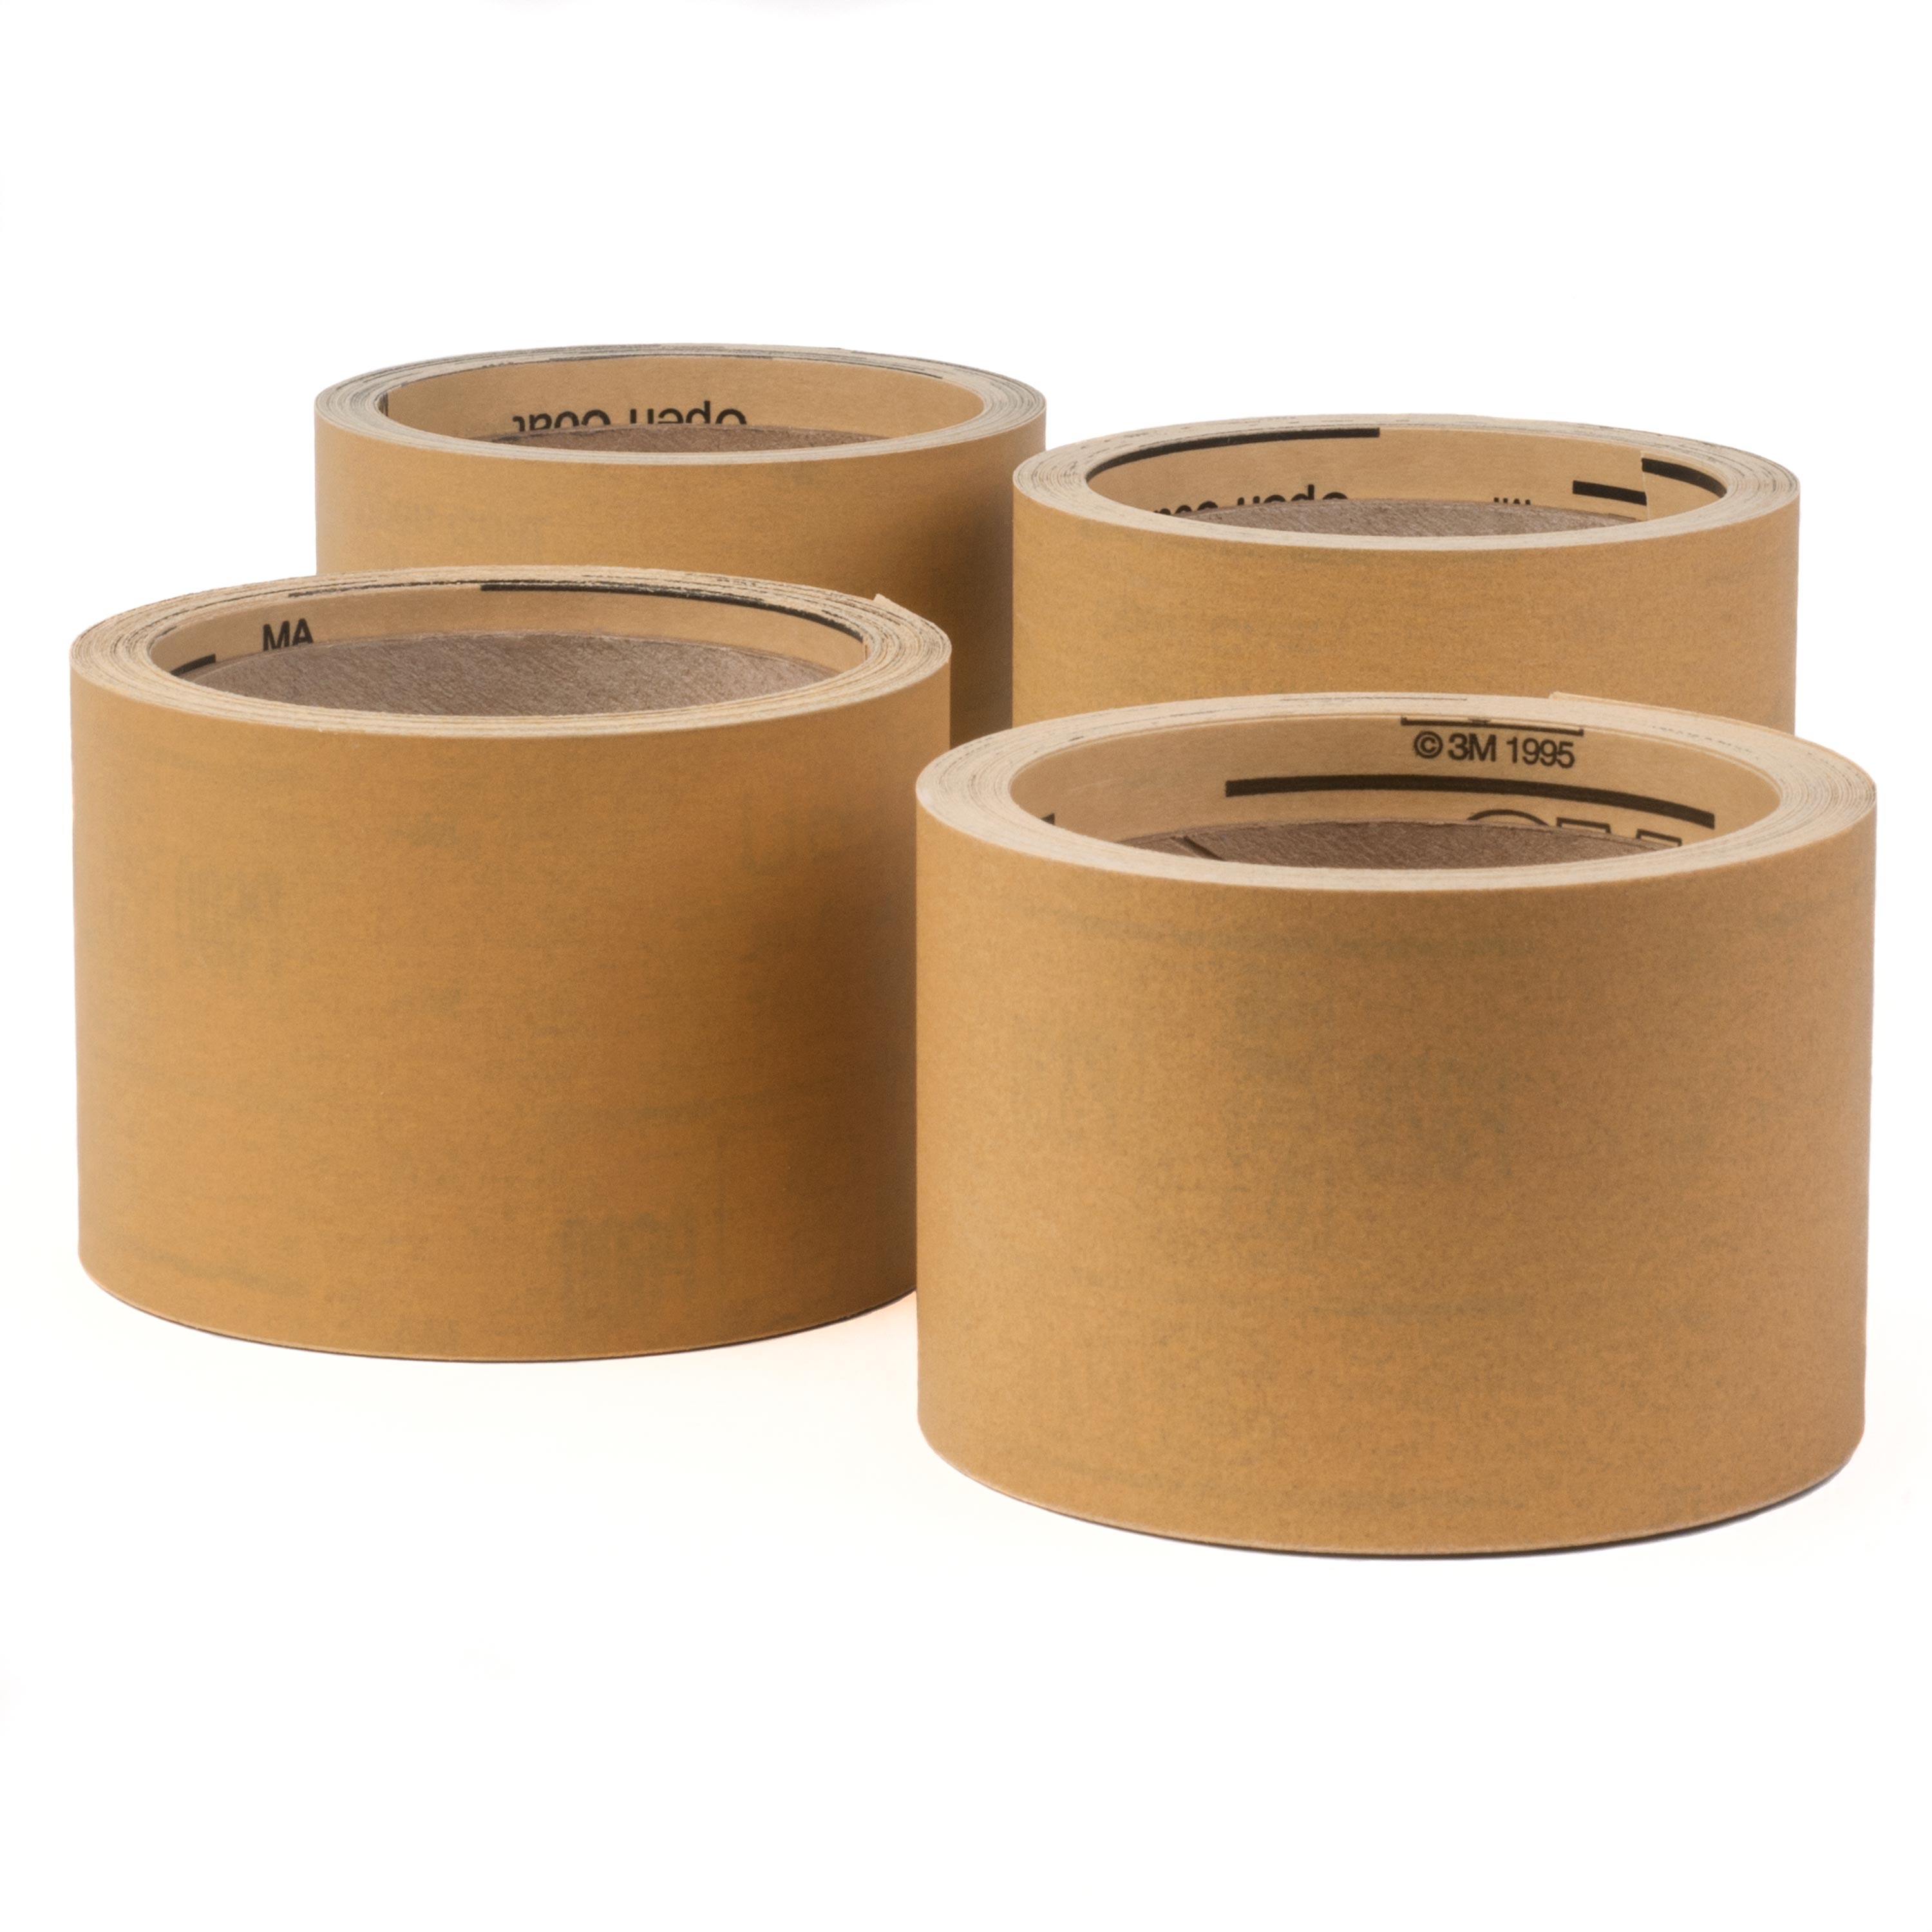
First we're going to sand out our work and see what we've created. We're going to start out using 80-grit 3M Stikit Gold sandpaper, which is a favorite of mine. You want to wrap it on a flat block that's larger than the image or item you're sanding. That way you ensure that your work will be even.
We're going to start with 80-grit, then we're going to go down to 120-grit once we see the glue is getting level. We're going to go down to 220-grit when there's just a little bit of glue left, and we're going to do a final sand with a 320-grit, after we do a little glue touch up.
Remember, you always want to be wearing your respirator or mask when you sand, and it's good to have the Shop-Vac running as well. You do not want to be breathing in that dust.
We'll sand with the 80-grit to the point where we have a little more than enough glue left over. You can see the logo clearly, and you can even see those fret marker dots coming through, which means we're almost level.

Make sure you are wiping or vacuuming your surface well between grits, and using clean sandpaper. Keep everything very clean. You do not want any scratch marks from the previous grit.
PRO TIP: As you are sanding away the glue and the inlay is revealed, you are also sanding away your headstock template on the ebony. This is why it's so important to retain all of our patterns and templates, both on paper and in wood, as we do our build process. You'll have those ready for the final even though you've sanded off your template.
Next we remove even more of the glue by sanding with the 120-grit paper. Now that we've gotten this down to the wood in some spots, you can start seeing these little bubbles, which is a product of the way the glue reacts and the way the glue dries. This is not something you did wrong. It's something that just happens in this process and you're always going to have to deal with it.

It's very easy to go in and touch those up, which I will show you after we are finished sanding. Now that we're done with our 120-grit paper, we're going to drop down to 220-grit.
The 220-grit is way less aggressive, and it allows us to work around the edges and areas that are already pretty much sanded through, without taking off too much more inlay.
We have this down to 220-grit paper, and we're going to clean it up a little bit so that we can see what we're really working with. I like to wipe it down with mineral spirits.

Now you're getting to see how that color pops and how that pearl really lights up. But you can also see some bubbles forming there around the red Atlante.
Dealing with Bubbles
What You'll Need
Air bubbles in an inlay look like little white spots, because they really only show up once you're done sanding out. You may also have a couple of little darker, crater-like areas where there were bigger bubbles, which are now clean. We want to get rid of these white ones and fill any of the other ones that need filling with our CA (Cyanoacrylate) Super Glue.

Again, we're going to take a Sharpie marker and go right over our design, working it into any areas that might be white or have bubbles. You can also tell if there are air pits and little gaps in things when you do this. When you put the Sharpie marker on, it will really highlight those areas. Sometimes you have gaps. Sometimes there's pitting.
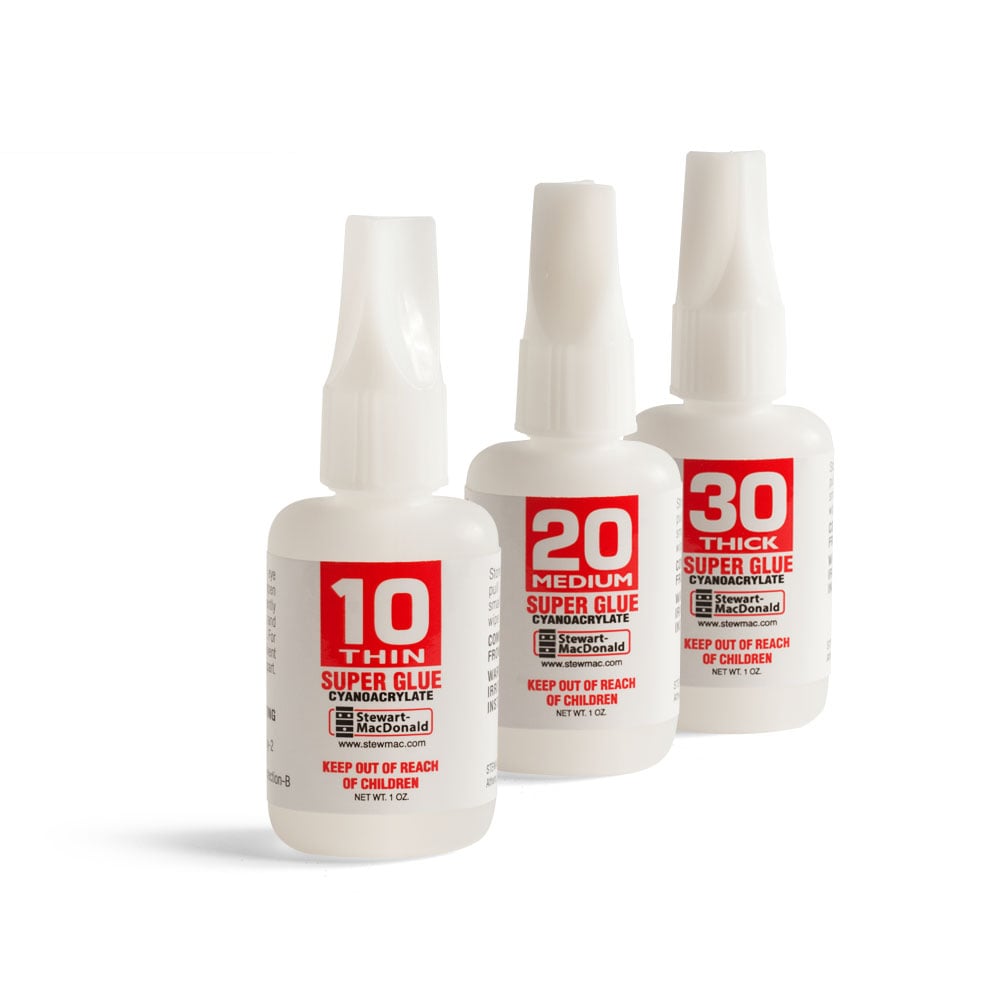
Next we're going to put or mask back on and grab our super glue. This is the #10 Thin StewMac Super Glue again. I'm going to use a small piece of wax paper to squirt a tiny bit of glue onto, and then an even smaller piece of wax paper as a wick to transfer it to the headstock. If you try to squirt the glue directly onto the headstock it's going to be way too much, we just need a tiny bit, just enough that after we spread it around the surface of your inlay it looks wet.

The glue will suck the Sharpie ink back into those bubbles that we just revealed.
You can really see the color going into some areas that need it. We're going to wait until this dries and then we'll come back and we'll finish up. It should only take a few minutes, since we used very little glue.
Final Sanding
What You'll Need
We're going to take some clean 220-grit sandpaper and lightly go over it again, to sand down that touch up we just did. Then we're going to make a little 320-grit sandpaper block to go over and buff everything with very lightly. You're not taking anything off at this point, just buffing out the surface. I don't like to go higher than 320-grit because the more you polish it now, the more it's going to highlight any glue that's in there.

If you've been following along with this three-part series and you've created an inlay for yourself, please give yourself a pat on the back. You're now ready to take this headplate, add it to your own instrument that you're creating, glue it down, route out the headstock shape, drill those tuner holes, add some finish, and have a custom guitar that you can admire and be proud of, and I'm proud of you for putting the work in. There's no better feeling.
Inlay, like any art, is one of those things where you are going to get better and better every single time. So get out there and draw, design, and create. Find new materials that others haven't used yet. Learn from those who've done this before.
If you're like me, inlay will become your passion, and you'll be doing it either as a hobby or as a profession. Don't hold yourself back because you won't get good unless you're brave enough to be bad first, and make mistakes. Start out slow and methodical. Then start to take on larger projects. Most of all, design things the way you like them and think outside the box. Be creative and let creativity be your guide.
Thank you for joining me, Craig Lavin, here in the workshop.

To see more of Craig's work visit: www.craiglavininlay.com

