Neck Construction Tips and Techniques
An overview of neck construction, includes tips for adding headstock "ears," routing for a truss rod, laminating a classical guitar heel and more.
Different types of stringed instruments use certain types of woods and special methods for construction. A familiarity with all types of instrument construction will allow you to determine what is most suitable for your needs or building techniques. The types of woods and methods of neck construction affect the instrument's tone and durability, as well as the neck's stiffness, mass, and shape. This information sheet reviews many of the methods of neck construction and neck woods.
Neck woods
Most instrument necks are made of mahogany or maple. The neck wood can be flatsawn or quartersawn, depending upon the dimension of the neck stock, the intended neck construction technique, instrument style, tradition, and personal preferences. Flatsawn necks generally flex more than quartersawn necks, but in some cases a quartersawn neck can be too stiff.
If you're uncertain whether flatsawn or quartersawn is best for you, we recommend playing several instruments of the style you are looking to construct. Make notes on the various aspects of the instrument's construction and get the necessary information from your notes.
Truss rods and neck reinforcement
Most modern fretted instruments have some type of neck reinforcement or adjustable truss rod. Many vintage instruments didn't use neck reinforcement, but suffer from the consequences-warped or twisted necks, poor playing action, and no simple method for adjusting or fixing the problem. It's highly recommended to use an adjustable truss rod. This will give you the greatest possible control over the neck, which is important for instrument set-up and counteracting changes in temperature or humidity.
Truss rods come in various designs and shapes are better suited for a particular instrument than others. The two primary categories of truss rods are one way and two way adjustable. A one-way truss rod will simply counteract string tension and pull the neck into a "back-bow." This rod is found in most traditional and vintage instrument designs, and many modern instruments as well. They help in instrument set-up, but there are instances where the adjustment range is inadequate. Two-way truss rods are a modern approach and are becoming common in instruments today. It helps allow you to adjust the neck into a back-bow or an up-bow, depending upon what is needed for the instrument's set-up.
If you choose not to use an adjustable truss rod, then some type of neck reinforcement or non-adjustable truss rod (square steel tube, carbon fiber, laminated ebony, etc.) is recommended to help keep the neck as straight and rigid as possible. Changes in climate as well as time will take their toll on the neck, but a non-adjustable reinforcement will help maintain the neck's straightness. Necks without adjustable truss rods will also benefit from quartersawn wood for its added rigidity.
Neck construction techniques
There are several options for neck construction. This section will cover the most common neck types, the wood they are manufactured from, and tips on how to construct your neck.
Acoustic guitars
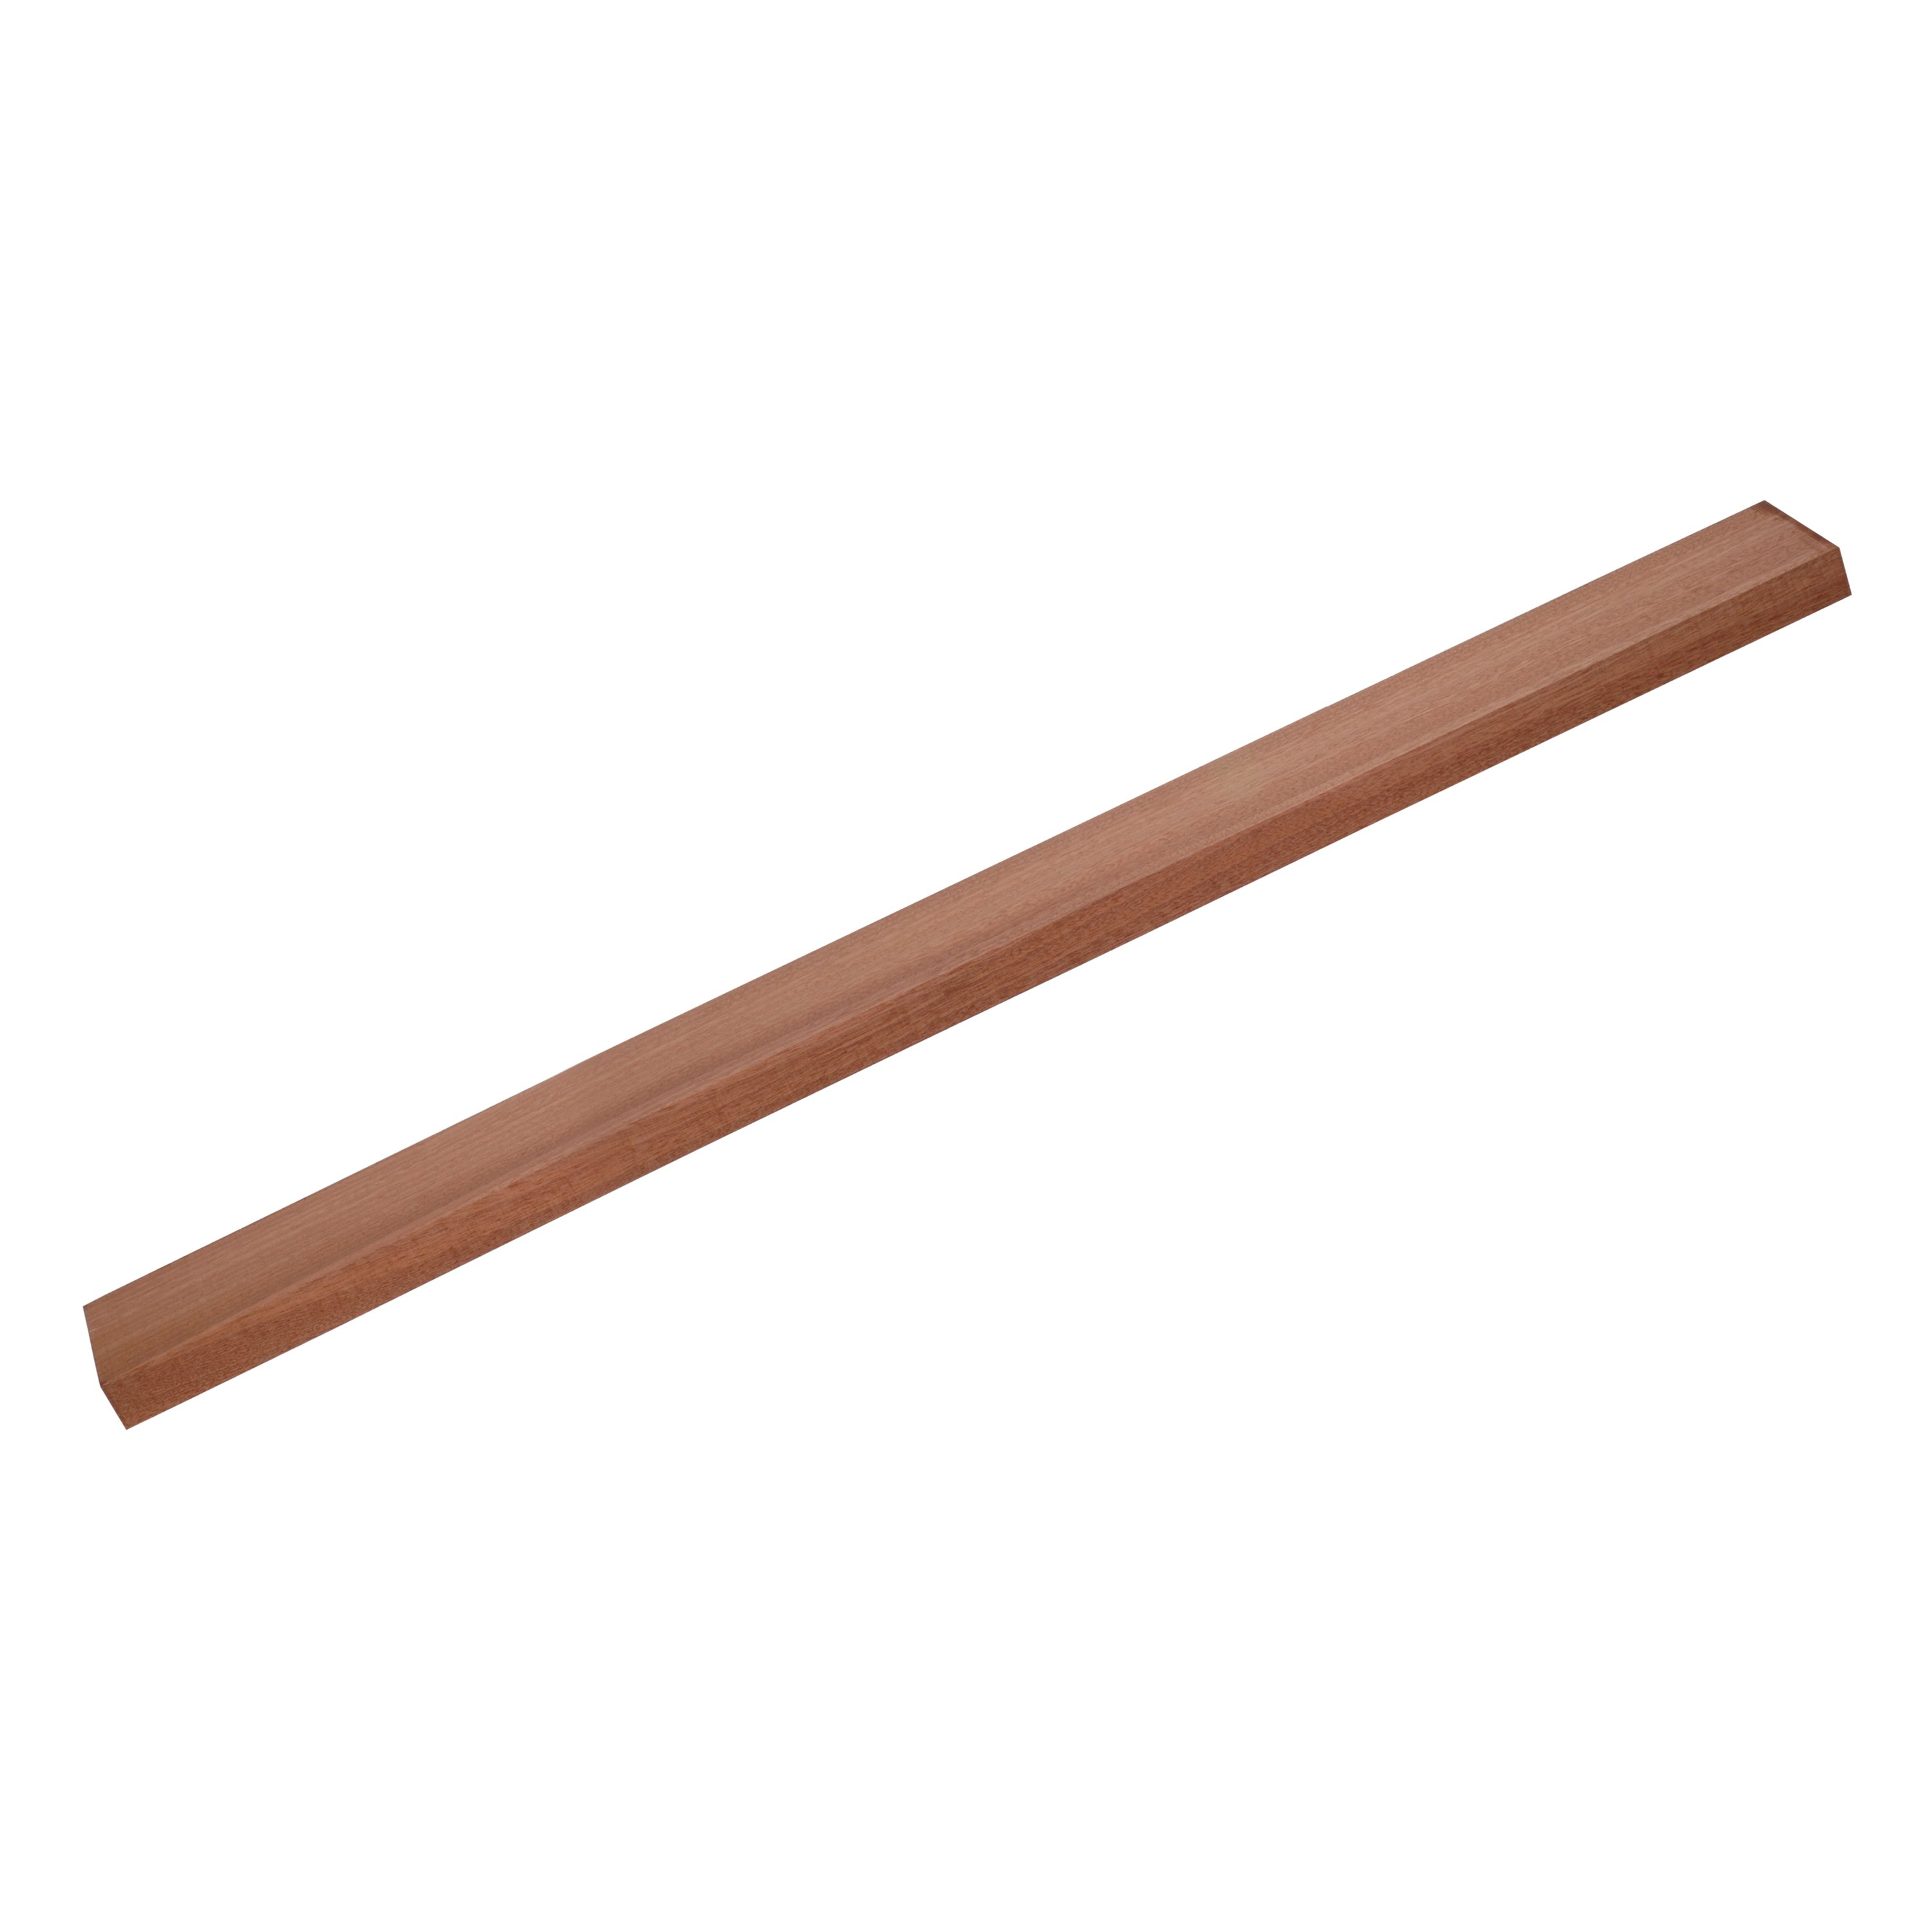
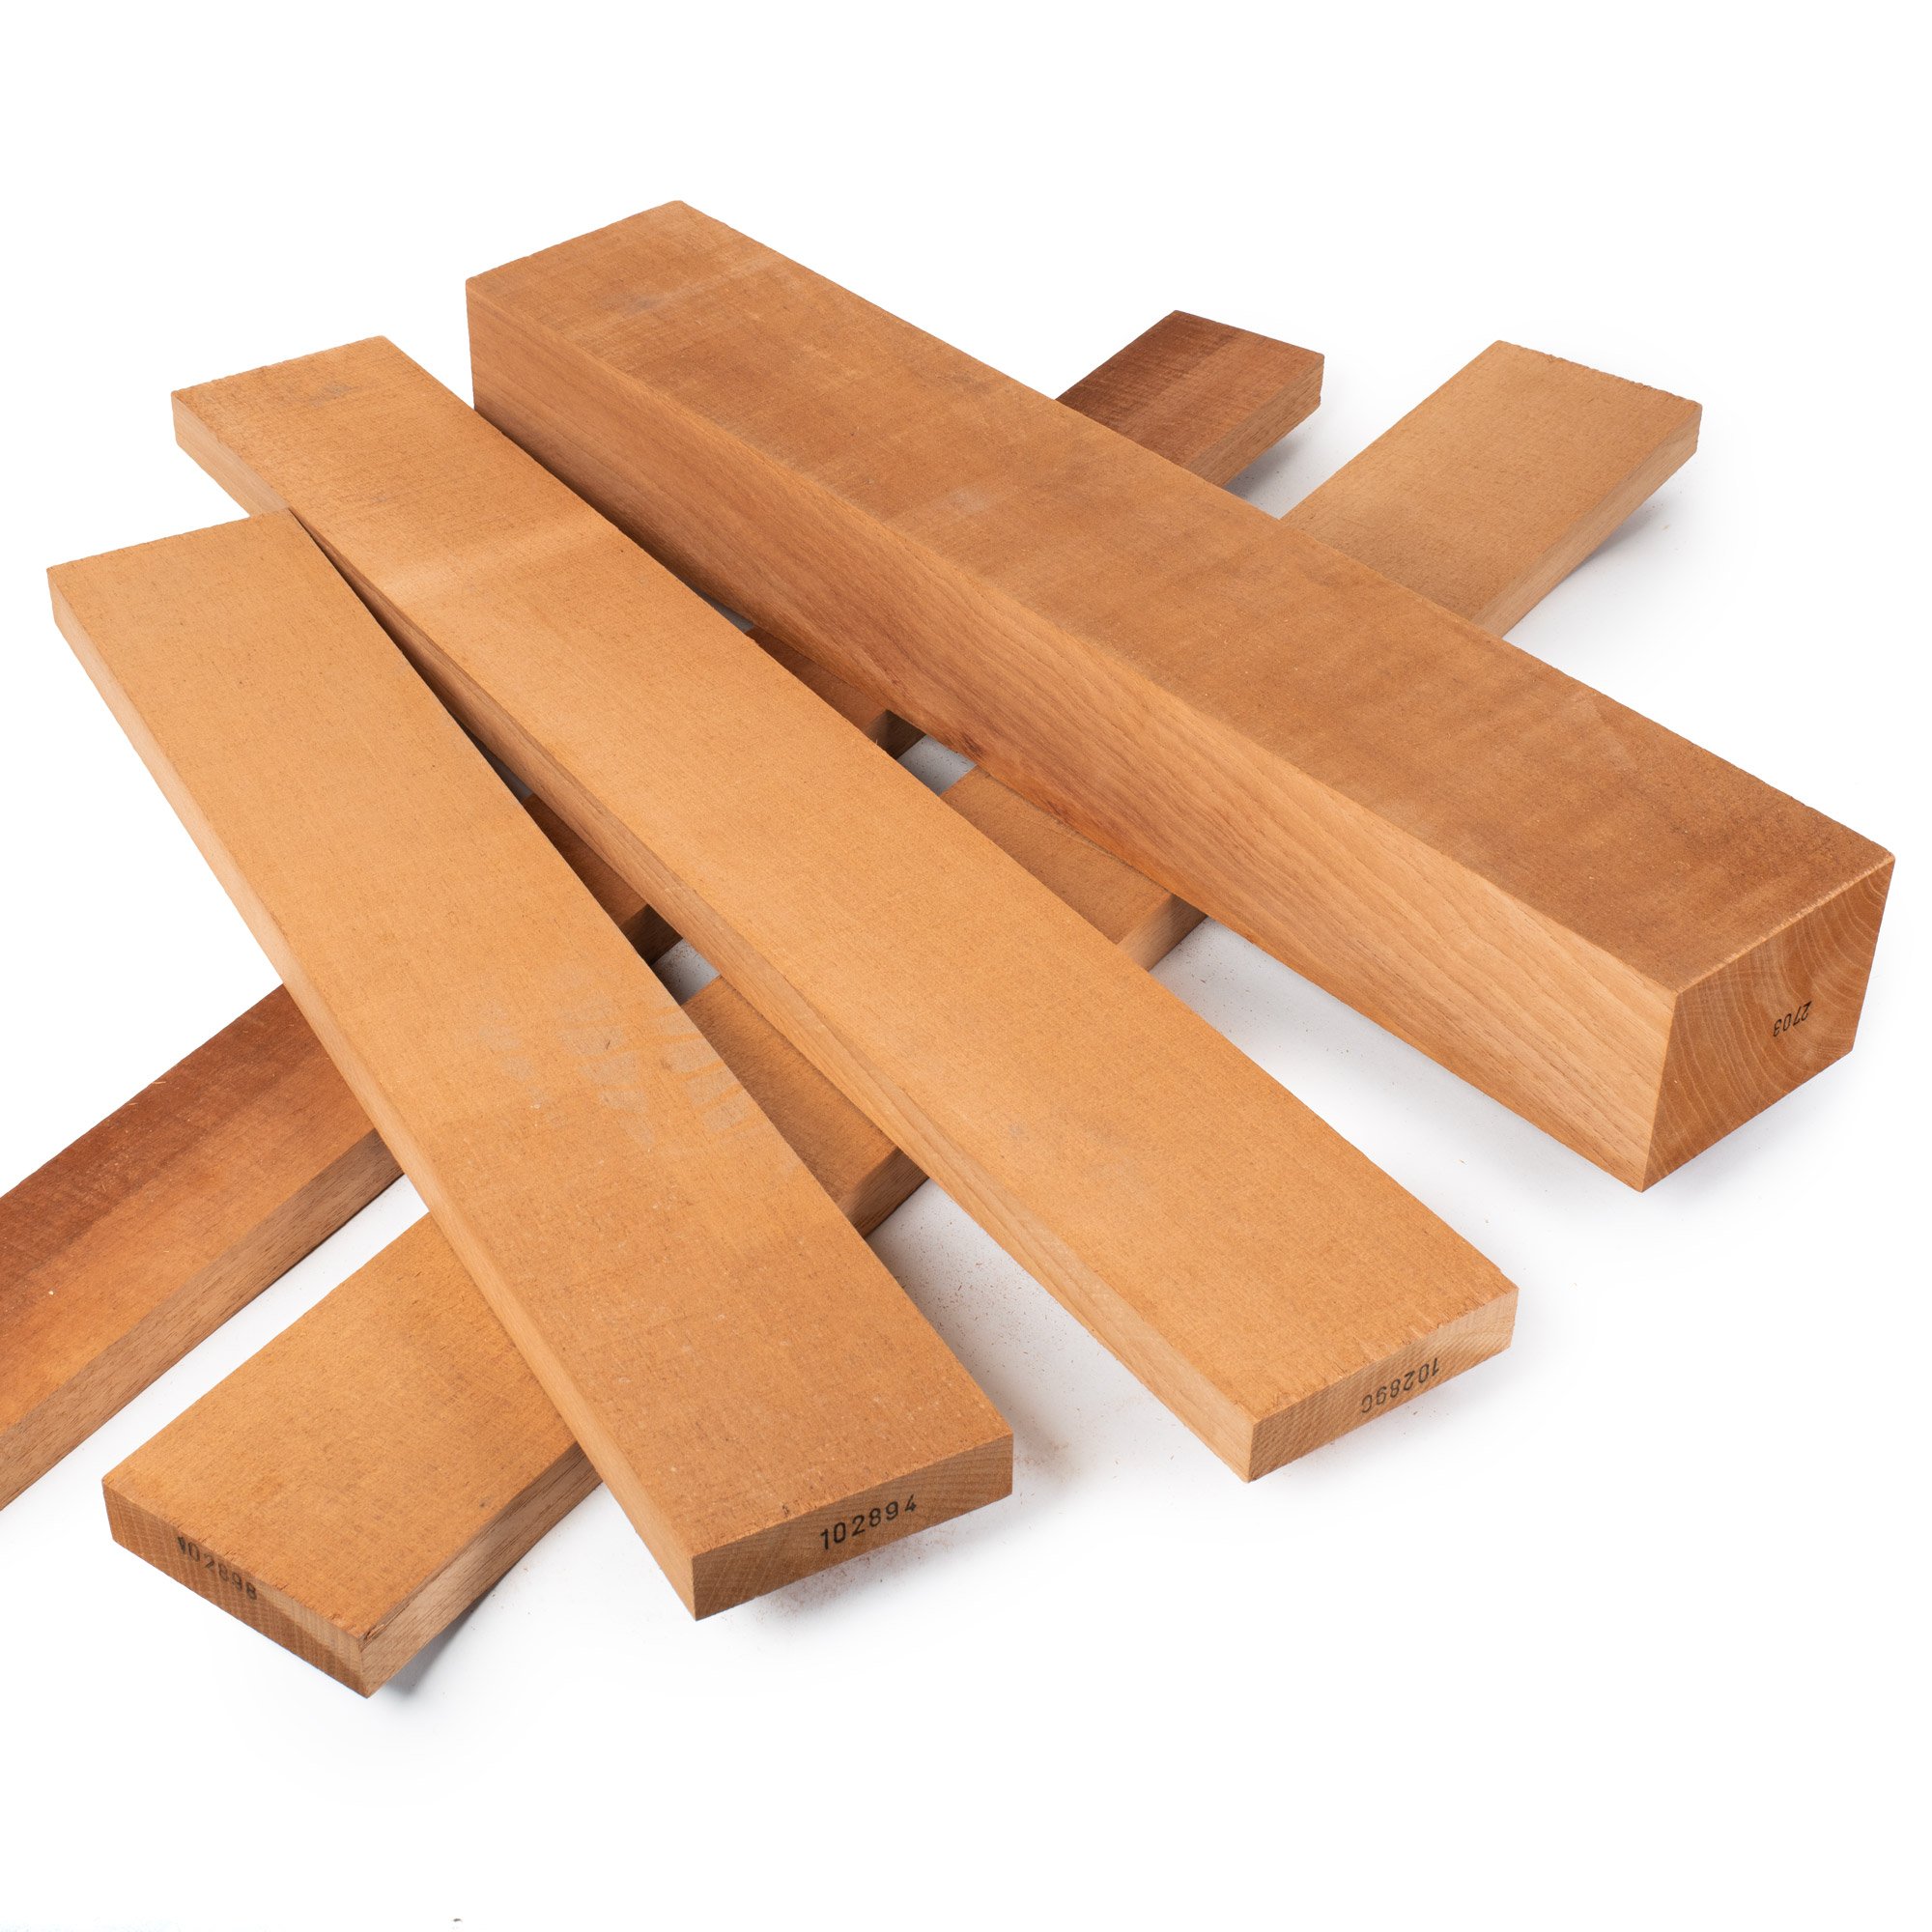
Traditional Martins, Gibsons, Guilds, and other acoustic guitars use mahogany for their necks. Quartersawn wood is used for its added stiffness. Our mahogany neck blank for acoustic guitars is quartersawn. We feel that it is important to an acoustic guitar's tone and the added stiffness of the neck to use quartersawn mahogany. These necks are typically constructed from one piece of wood and don't require laminating of peghead "ears" or the addition of material for the heel.
Archtop guitars
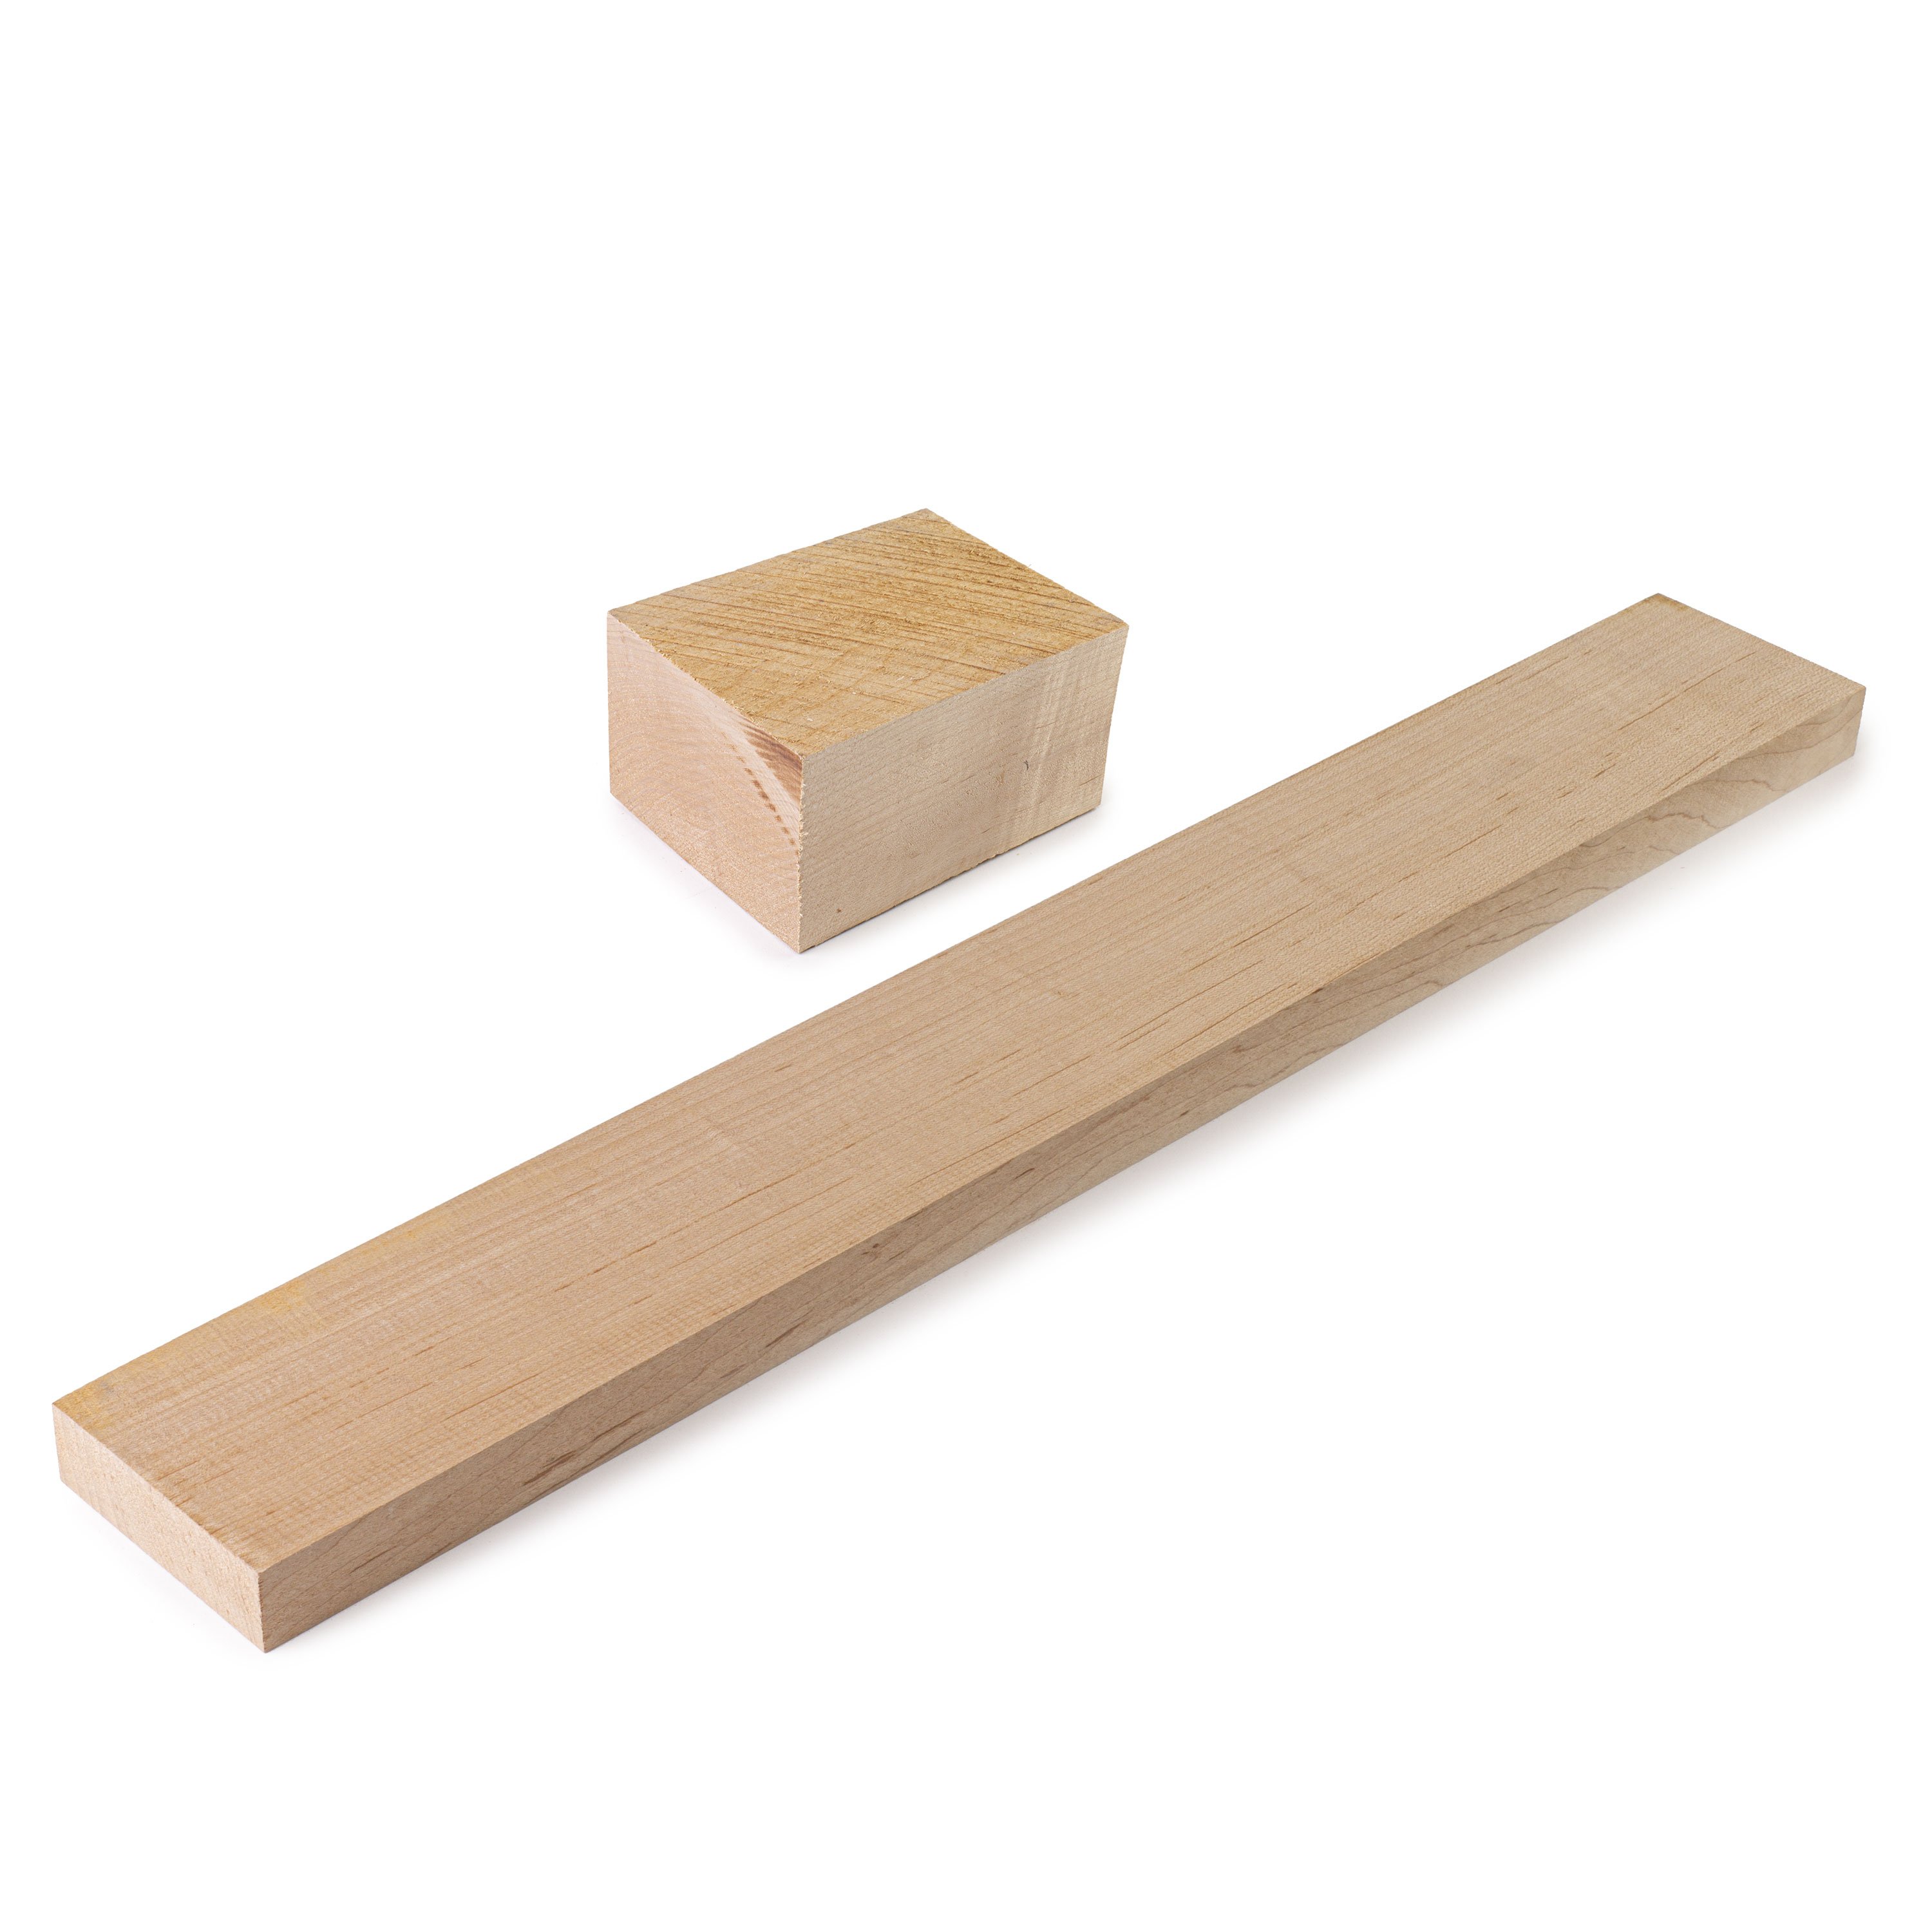
You can use three of the flatsawn curly maple neck blanks or three of the plain maple neck blanks glued face-to-face. This will change their orientation to quartersawn and makes an exceptionally strong neck. You will need to cut the peghead ears from the waste wood underneath the neck.
Classical guitars
The classical guitar neck blank is relatively small compared to what is needed for construction. This is because a classical neck is constructed differently than most other neck designs. The heel of the neck is built up by stacking blocks of wood to achieve the necessary height. The peghead is laminated to the neck using a "scarf" joint, referred to as a "Spanish luthier's joint."
Solidbody guitars, bolt-on necks
When Leo Fender designed his guitars and basses he used a practical nuts and bolts approach. He felt that if something broke, you should be able to simply unscrew it, attach a new one, and then the guitar was good as new. The Fender style bolt-on neck was a key feature in the design of Leo's solidbody guitars. These necks were typically fashioned from one piece of 1"-thick flatsawn maple (it was less expensive than quartersawn) that was rear-routed to accept a one-way truss rod. The slot routed in the back of the neck was then filled with a koa or walnut "skunk-stripe." Two access holes were then drilled; one hole is in the face of the peghead (the "teardrop" plug seen on the face of most Fender pegheads); and the other through the end of the neck's heel for the truss rod adjustment nut.
In the late 1950s, Leo chose to laminate a rosewood fingerboard to the maple neck. He noticed players on TV with Fender instruments that had dirty looking fingerboards. This was dirt and grime from the player's fingers and strings that had worn its way through the clear lacquer on the fingerboard. The addition a rosewood fingerboard gave the Stratocaster and Telecaster a somewhat darker tone.
Our maple blanks for bolt-on necks are intended for laminated fingerboards. The blanks are 13/16" thick and need to be thinned to 3/4" for standard Fender specs using our 1/4" thick "slab" fingerboards available in maple, rosewood, and ebony. Since the fingerboard will be laminated, it's not necessary to reproduce the complicated jigs and fixtures required for routing the skunk-stripe and drilling the peghead teardrop. We recommend our Hot Rod 2-way removable Truss Rod for this style of neck, for its ease of installation and the wonderful control it offers.
Solidbody guitars, set-necks
Electric and semi-electric guitars from Gibson, PRS, Guild, and many other premier builders typically feature a set-neck (glue-in) neck design. These necks typically use some form of a mortise and tenon glue joint, but can vary considerably. Certainly Gibson is one of the most prolific users of set-neck construction.
The traditional Gibson neck is mahogany with or without glued-on peghead "ears" depending upon the size of neck blank used, the headstock size, vintage or era, and design, style or model. Our mahogany blank can be used for a quartersawn neck, you must glue on peghead ears to achieve the width necessary for traditional 3-left/3-right pegheads. You could also rotate the blank 90 degrees so that it becomes a flatsawn blank, and the 3-1/2" depth becomes the width. Traditional vintage Gibson pegheads are generally just less than 3-1/2" wide, and the thickness required to make the neck is 2-1/2" to 2-3/4", depending upon peghead angle (typically 16 to 17-1/2 degrees), length, thickness, and style, model, or vintage.
Solidbody guitars, neck-through designs
Many builders feel that to obtain the best possible tone and sustain, the neck should extend through the body to the bridge. This means that both ends of the strings are all within the same pieces of wood, and vibration and resonance are uninterrupted.
When building neck-through instruments, great care must be taken to insure that everything will align properly. Cutting out and machining parts and components also becomes more difficult, since you're often dealing with the neck and body when shaping. When cutting the body shape after the "wings" have been glued to the neck, a large bandsaw is required, since the neck and other parts of the instrument can impede the sawing process. It's often better to make a body template and rout the perimeter shape of the body rather than using a more awkward bandsaw, or cut the shape of the wings prior or gluing them to the neck core.
It's possible to make a neck-through blank from two of the flatsawn maple bass neck blanks The blanks need to be ripped into three 1-3/4" wide boards. They are then stood on end making them quartersawn. The peghead can be made from the leftover wood or another quartersawn neck blank. Then simply ripsaw a body blank in half and glue the two halves to the neck-through blank for the body.
Installing truss rods and neck reinforcement
Cutting a truss rod slot is typically done using a table saw or a router. Follow the installation instructions included with the truss rod. We recommend our 2-Way Hot Rod Removable Truss Rods shown in our catalog for their ease of installation, control over a neck and strength.
Be sure to make test cuts before removing wood from the neck. Make the jig safe and easy to use. If it's not, redesign your set-up until you have something that works properly and safely. When cutting the slot on a table saw, be sure to use common sense and good shop safety. Table saws are one of the most dangerous tools in a shop, so treat them with respect. Set up a guide fence and set the depth of cut on the saw blade for the required depth. Take two or three passes to get the width needed for the truss rod.
Jigs using routers must be able to support the router and guide it so that only the wood to be removed is cut. Generally a router bit with a ball-bearing guide is used, or a guide-sleeve that is attached to the router's base. Often a routing jig will use a routing table that supports or holds the router. You then have a jig or fixture that guides from the cutter, a guide-sleeve, or some guidance provided by the router table.
Installing the fingerboard
Insuring that the fingerboard is properly located on the neck is one of the most critical aspects of instrument construction. The frets must be perpendicular to the instrument's centerline, the end of the fingerboard must be the proper distance from the bridge, and the centerline of the fingerboard must also be properly placed.
The books and reference materials you're using to guide you through the building process will help determine when the fingerboard is attached.
Cool tricks from days gone by-and a few from today
Below are some methods used in "the good old days," and a few modern tricks as well. By reducing the mass of the peghead as it extends from the nut area, the thinner, more flexible tip of the neck seems to act as a shock absorber for the fragile transition area, which reduces the chances of a broken headstock.
There are several ways to reinforce the transition area from the peghead to the back of a mahogany neck. Gibson, Martin, Guild, and other manufacturers use a "volute" in the back of the neck (under the nut region). Martin uses a "diamond" volute, which is attractive and strong. Other manufacturers use a variety of rounded volutes.
Fender's "skunk-stripe" and peghead plug on 1950s necks is koa, not walnut! If you wish to match or do a vintage repair, the color and graining of walnut will never match the look of koa found in these necks.
Many builders use two pins in the fingerboard to keep it from slipping around on the neck when gluing it on.
Using a staple gun is a quick, simple method to insure that the fingerboard won't move when gluing. Put two staples in the back of the fingerboard-one between the first fret and the nut and the other between the last two frets. Don't try to sink the staple into the fingerboard completely, but leave 3/32" to 1/8" of the staple above the back surface of the neck. Then nip off the backbone of the staple with end nippers. This will leave two small spikes on each end of the fingerboard. Before gluing, properly locate and center the fingerboard on the neck and press down the two ends. This will make four small dents in the gluing surface of the neck and will aid in quickly aligning the fingerboard when the glue has been applied.
A decorative strip of ebony, thin carbon fiber, or laminating the neck with one or more contrasting woods such as walnut, rosewood, maple, or mahogany, provides an interesting look as well as a stiffer, more warp-resistant neck. This can be very important in wider necks on guitars with seven or more strings, and basses with five or more strings.
When gluing pieces of wood together, don't sand the two gluing surfaces too smooth. If the wood has come off of a jointer or planer or has been sanded finer than 180-grit, scuff-up the gluing surface with 80 or 120-grit sandpaper. This will improve adhesion and actually make the glue joint less visible. This is also useful when joining the two (or more) parts of a neck, an acoustic or solidbody's book-matched top or back, and any other glue joint.
The glue in the joint will virtually disappear, since the "fuzz" raised by sanding on each piece will intertwine and the glue will penetrate deeper into the open fibers. The hard, crisp surface left by a jointer or planer is too smooth and also has the fibers of the wood pressed down. This will leave a distinct hard line on each side of the glue in the joint.
Do's and don'ts of neck construction
Measure twice and measure once again before you cut. If you're building an instrument of your own design, take the time to draw accurate, full-size plans. This will help to guarantee that everything will fit and work together properly.
If you're building a neck-through or set-neck instrument it's very important to have a detailed cross-sectional drawing or full-size plans for the instrument. The neck angle relative to the instrument's top, and the top's shape or contour along with fingerboard and fret height, must be taken into account and designed to work with the bridge height. If it's your first attempt at a new design, be sure to have the bridge, truss rod and all other hardware nearby. This will let you know the ranges of application for these components, as well as how they will fit together. You must provide adequate access to the truss rod, and the bridge must be adjustable within the intended string height range determined by the neck.
Don't make your truss rod channel too big or too deep, especially in the peghead/volute region. This will weaken the neck, making it susceptible to neck breaks or the truss rod punching its way out the back of the neck.
Carbon fiber neck reinforcement materials are only used to help stiffen a neck. We recommend that they be used in conjunction with some type of adjustable truss rod. If you're interested in using carbon fiber, refer to our free information sheet Working with Carbon Fiber Reinforcement Materials.
Books and other recommended reference materials
Building Electric Guitars
by Martin Koch
Making an Archtop Guitar,
by Robert Benedetto #1367
Guitar Player Repair Guide,
by Dan Erlewine #0570


