
AEROSOL GUITAR FINISHING COURSE | PART 3
Perfecting a Mirror Shine: Final Wet Sand, Buffing & Polishing

Tools for the Job


See Previous Episode
Getting A Pro Level Shine
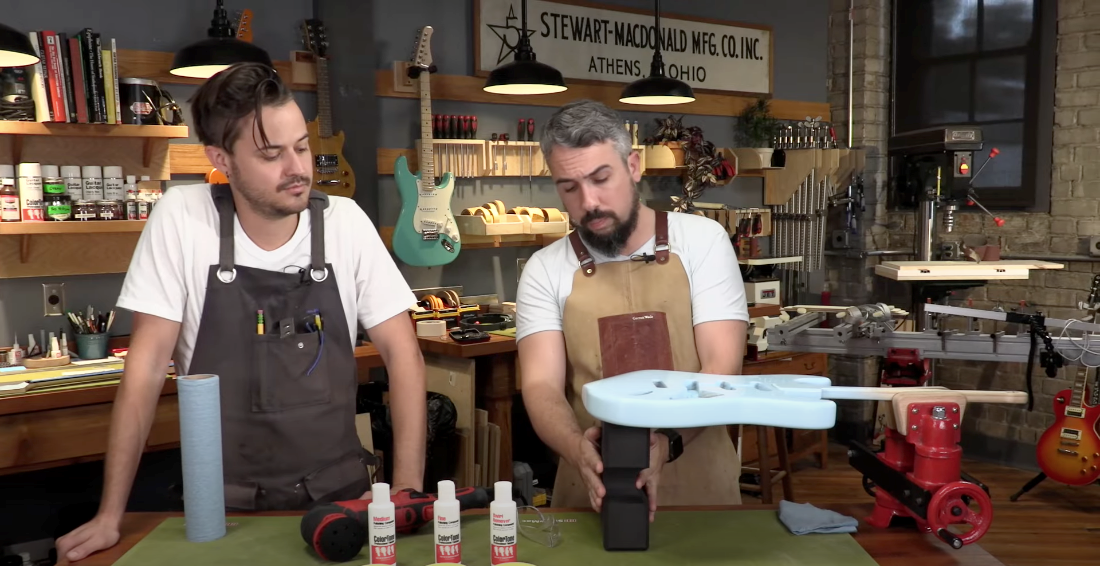
Chris and Matt here again with Driftwood Guitars in Florida. We've been hanging out at the Stewmac headquarters working on a series all about aerosol spray finishing. We are almost done spraying a beautiful finish on our strat style guitar.
In the first and second part of this series, we went over the very important steps of preparing a guitar for finish.
Today, we're going to take this guitar across the finish line by doing more wet sanding and the final buffing. When we're done, we're going to have a guitar that looks just as good as anything fresh out of the factory. So let's get started.
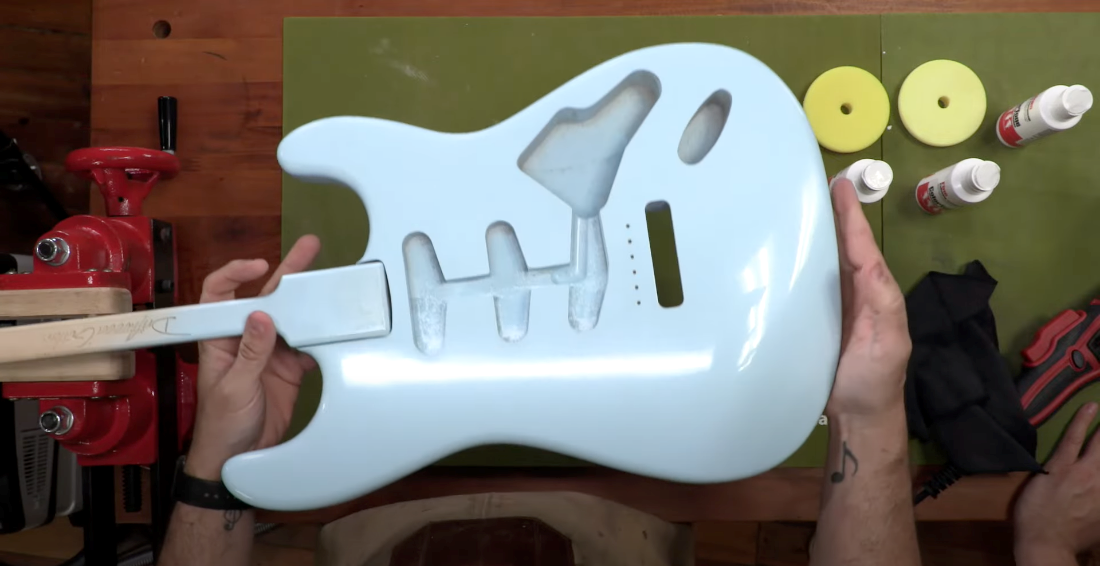
Welcome to the final episode of this series. At this point, we've done the pore fill, the vinyl seal, three coats of color and then 14 coats of clear. It’s been drying for two weeks.
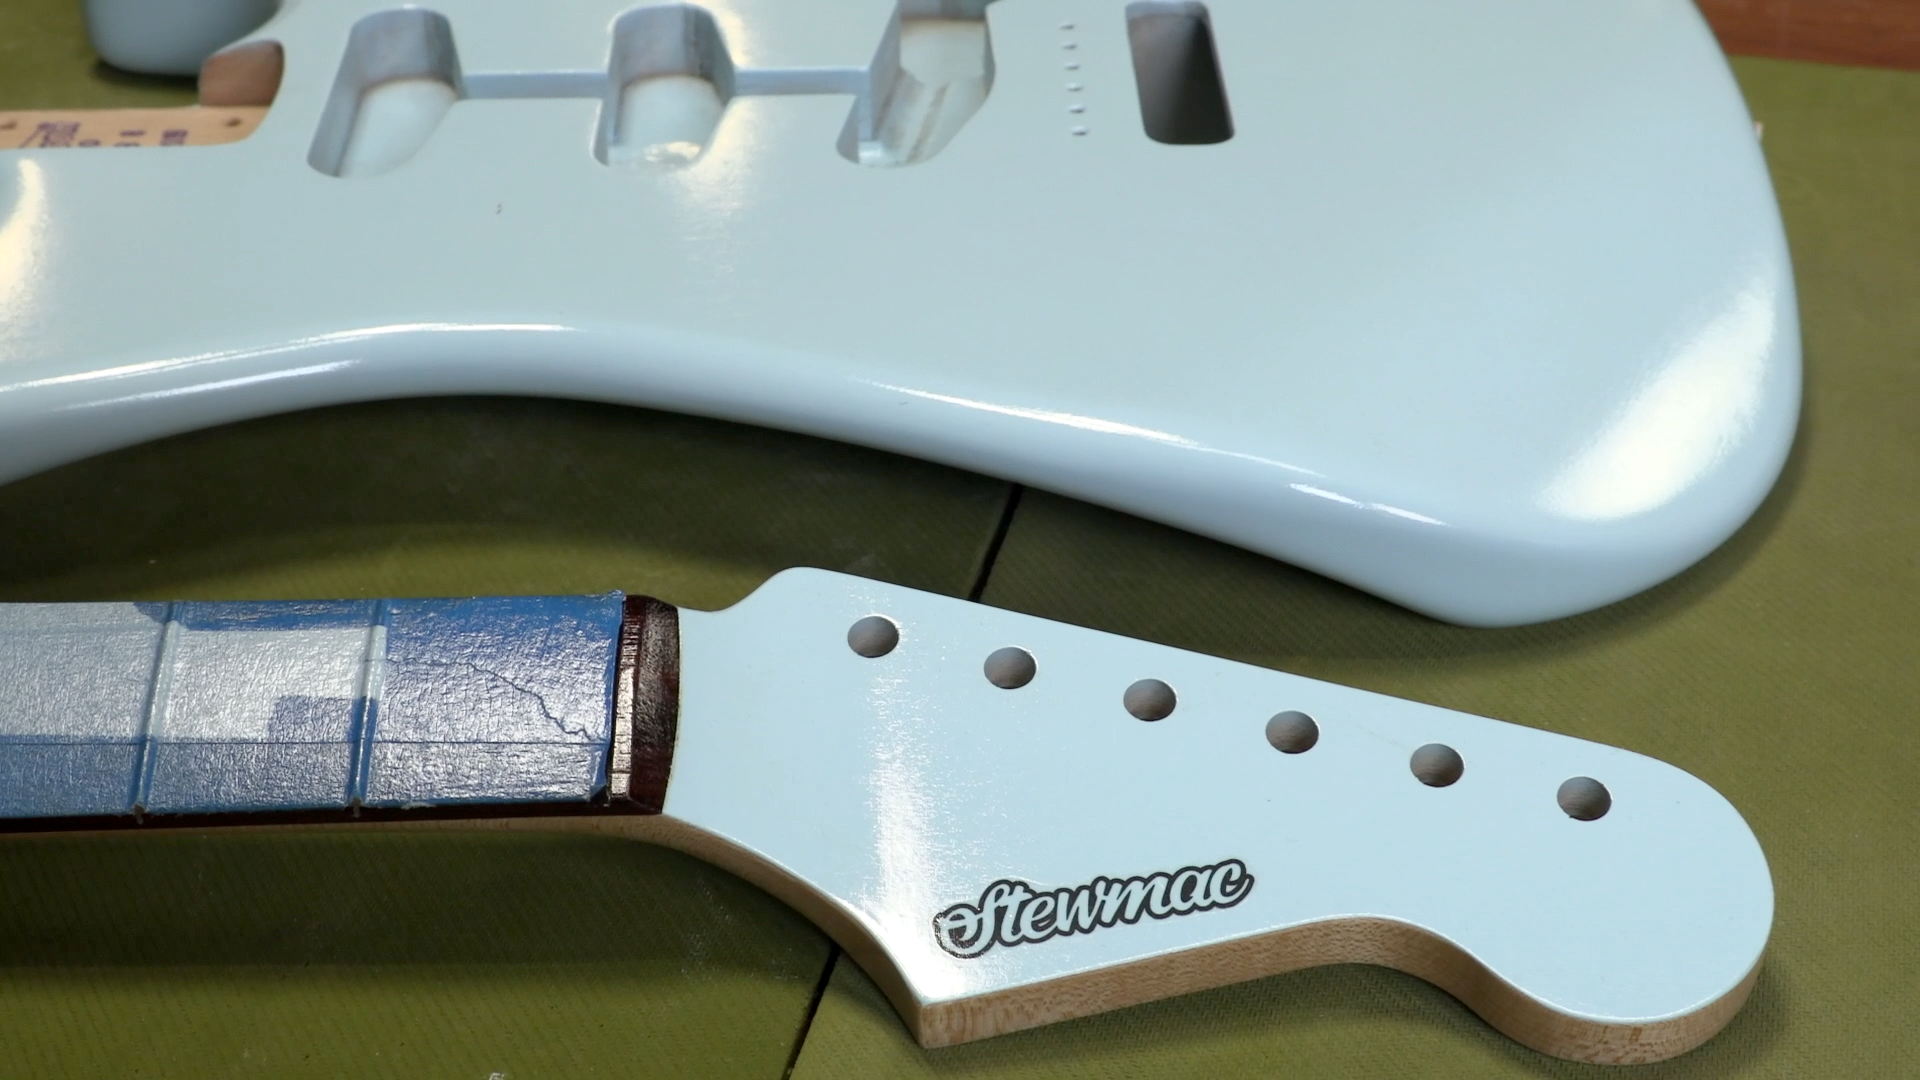
I couldn't be happier with how it looks.
Before we do the final buff out, however, we have to address those drop fills we did in the last part of this series. You’ll need a straight razor with two pieces of tape on it to protect corners of it from gouging up our finish.
Right where the drop fill is, slowly drag the razor across it and knock off the top of it until we get a nice, flat, even spot.
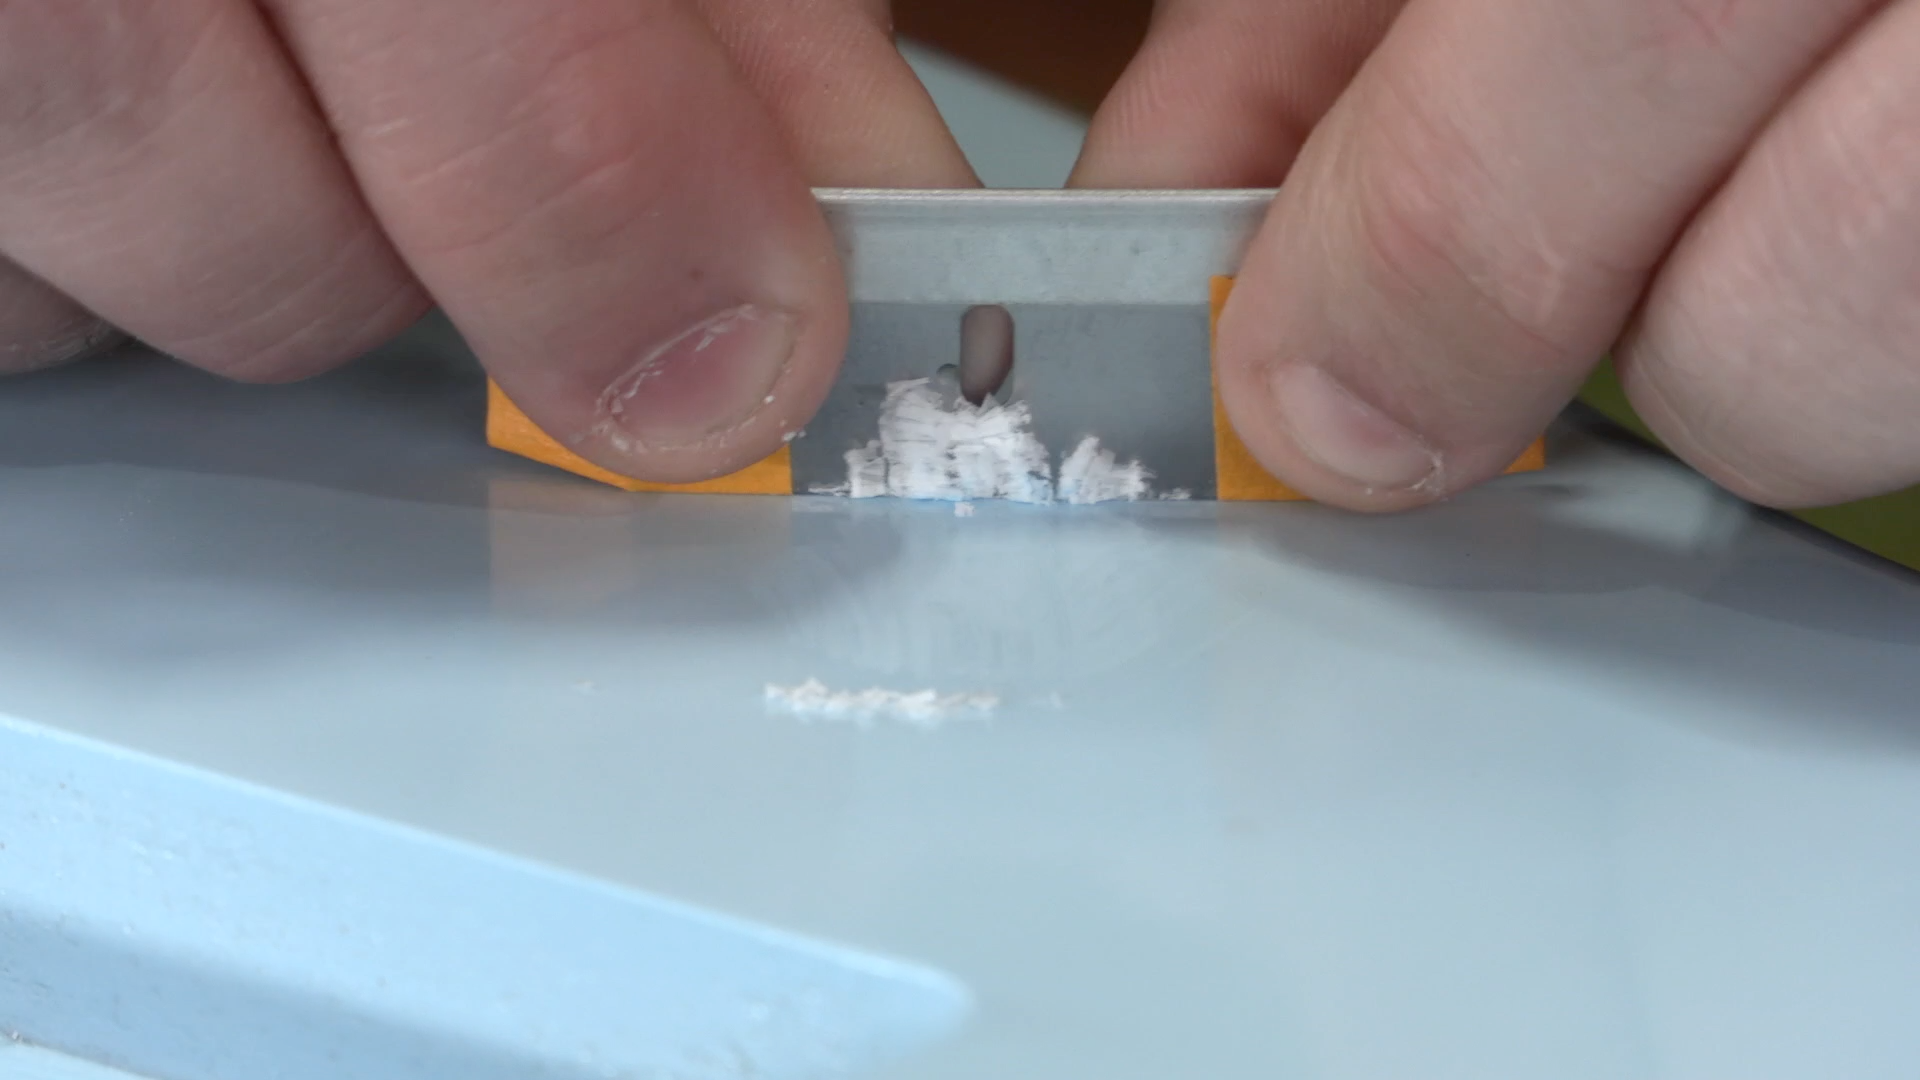
Don’t go any lower than the surface of the rest of the lacquer. It's going to look all scratched up, and you're going to have a little bit of a dull spot in that one place because of the razor blade, but we can resolve that during the final sand and buff. We waited that full two weeks because we wanted the drop fill to shrink back the same amount as the rest of the lacquer.
Final Wet Sand
What You'll Need
800 and 1000-Grit Micro Finishing Papers
Sanding Block for Self-adhesive Sandpaper
Super Glue 10 Thin
Aerosol Accelerator for Super Glue
Optional: FesTool Sander
If you’ve been following along with this series, which we highly recommend because we’ve covered a lot of the techniques we’ll be using today, you’re already familiar with what you need to do a proper wet sand. If you’re not caught up, please check out the wet sanding section in part two.
The main difference here is that we now have fully cured lacquer. It's nice and hard at this point, and we're going to be using very fine sandpapers. We recommend starting with 1,000 grit sandpaper. 800 grit is the lowest grit you can use at this stage.
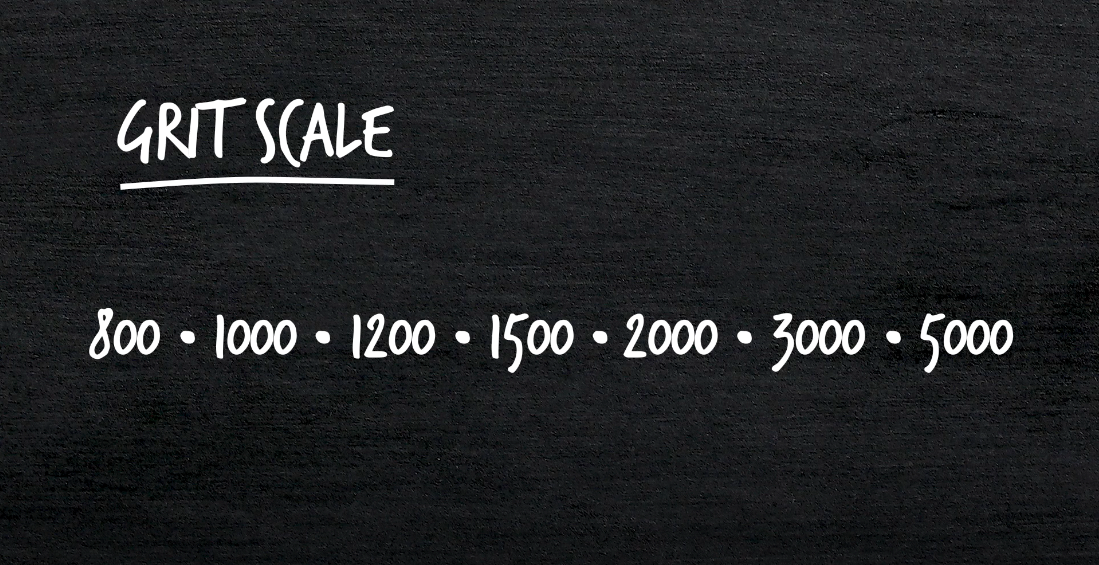
Starting with a 1,000 grit paper, we're going to work our way all the way up to 5,000 grit. The reason why we use so many different sandpapers is because each level up of sandpaper is designed to remove the scratches from the sand paper that came before it.
Today we’re going to use this FesTool Sander, which is what we use in our shop.
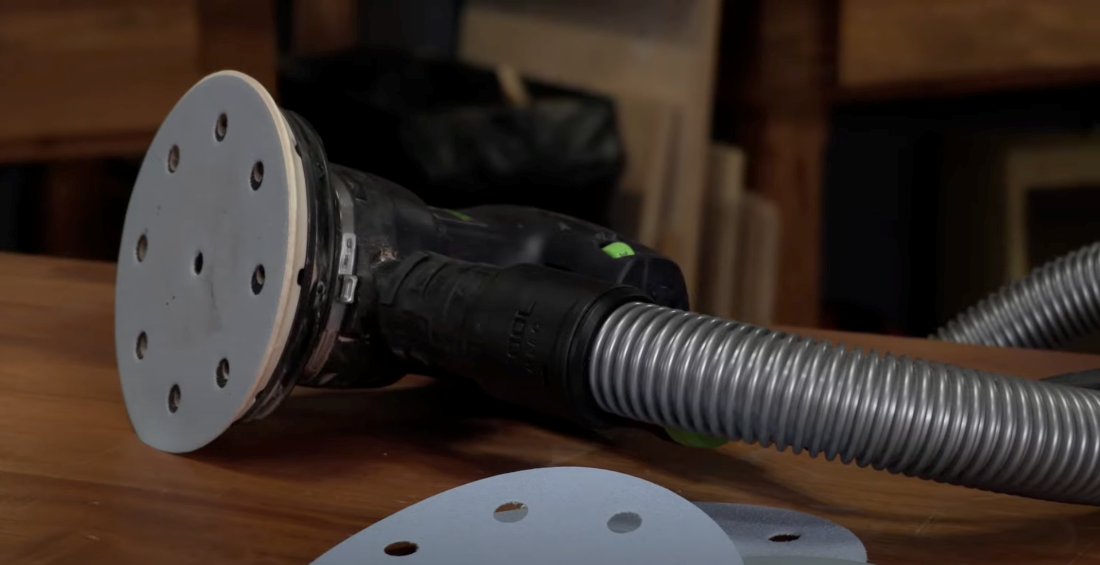
I know the vast majority of you will be sanding by hand. In that case you want to be using a foam block like we did previously in the series.
Reminder, before working with water, you want to mask off any spots on your guitar that have bare wood. On this guitar, the holding stick actually did all the masking for us, but we’ve removed it for the buffing stage.
To seal the spots where the screws were, you can use a number 10 super glue here, drop it in there, and then follow it up with just a little bit of accelerant to make it waterproof.
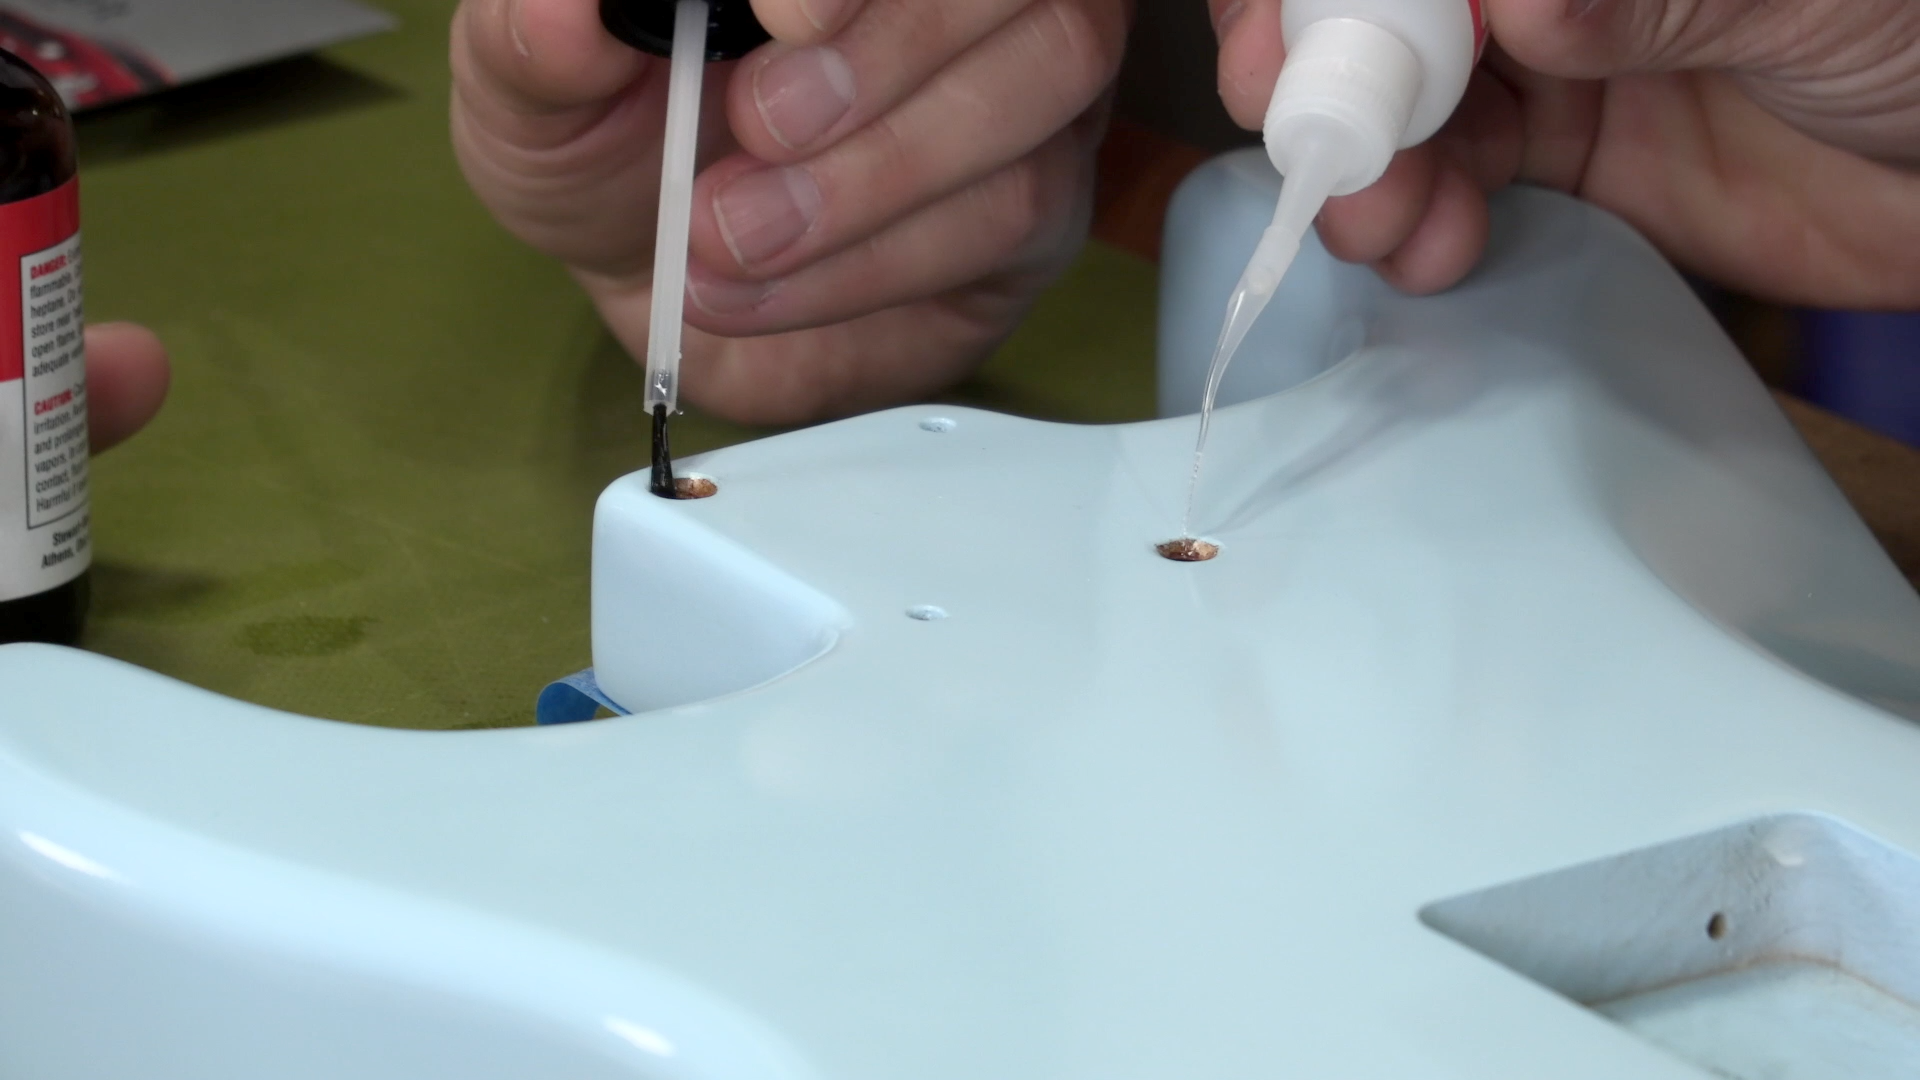
Even with those areas masked off, you should still be cautious about getting water near them.
As you sand, remember that we're not trying to hog away material. Instead you’re trying to get a polish out of this, in six different stages. It's not going to happen all in one step. We’re methodically and patiently working towards that nice matte finish.
PRO TIP: When you’re this close to having a finished instrument, it becomes even more important to keep your work area and surfaces clean. Use clean matts or towels and wipe down often so that you’re not getting particles that could cause scratches on the surface of the guitar.
You’ll need to spend a little bit more time in any spot where you did a drop fill. There’s going to be more scratches there because of the razor blade. Once you’re at least 50 to 60% rid of those little bit of orange peel defects, you can move on to the 1,200 grit sandpaper.
Be careful not to spend too much time on the little ridges and around the edges because you don't want to burn through that clear coat. After the 1,200 grit comes the 1,500 grit. It can be difficult to see the differences so we recommend using a glancing light while you sand or at least between grits. You’ll really start to notice those little improvements, as those orange peel defects fade away.
Be patient, cautious, and meticulous, making sure that you’re covering every area of the body and the neck. It might help to compartmentalize each section. Create a mental grid of the instrument, and work your way through that map, section by section. Each grit should have a uniform sheen to it. If there are areas that are less shiny, that means you haven’t removed the sheen from the previous grit.
Once we're done with the 2,000 grit, it starts to look like almost a satin finish instead of a matte finish.
You can stop here if you like the way it looks. You can achieve a kind of satin finish by stopping in this 2,000 to 3,000 grit range.
But we’re going to buff it all the way out. We're now ready to switch over to a 3,000 grit paper. This paper can be difficult to source. A few years ago, I was at my local automotive store, and I found this 3M product called Trizact. They sell it in 3,000 and 5,000 grit, and it is incredible stuff.
PRO TIP: If you're not seeing that shininess, that means that you didn’t remove all of the scratches in one of those earlier steps. Instead of continuing, go ahead and step back at least one level in your grit to try to remove those scratches.
At this point it's almost impossible for you to sand through. So at the 3,000 grit, you can start to be a little more heavy-handed.
The final stage is the 5,000 grit. This can feel tedious, particularly when working on the sides of the instrument, but as we’ve been saying all along, being patient and meticulous pays off in the final product.
4 Methods To Buffing A Guitar
”I've been doing this for 15 years, and I always still get really excited about the buff out. It's always like all that hard work is finally starting to pay off.”
There are four ways that we can go about doing this.
1. Hand buff with polishing compounds
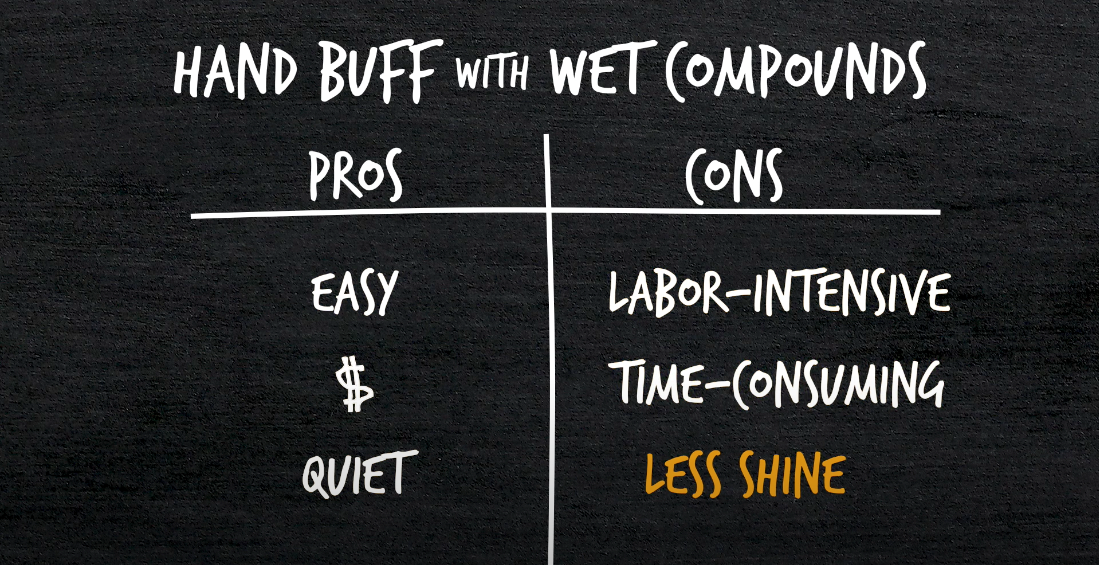
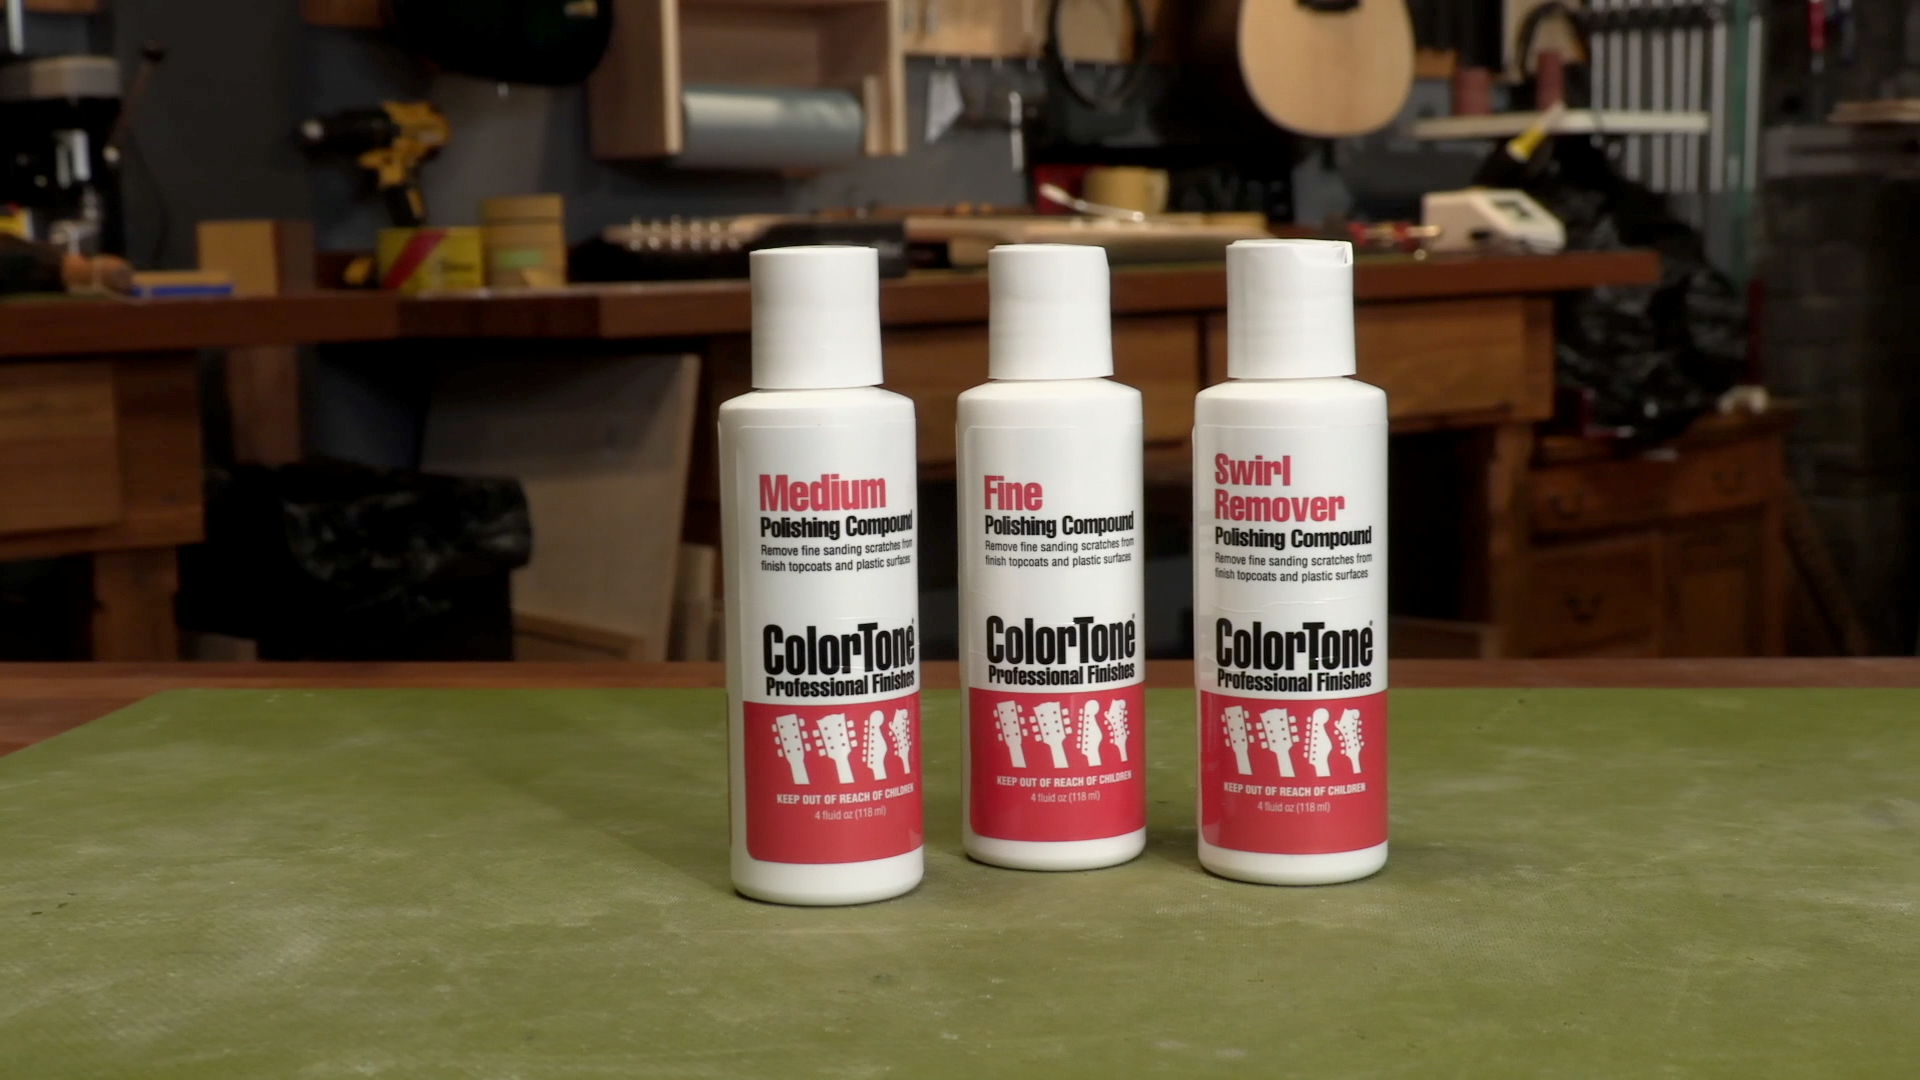
This is a very common at-home method and probably the way you will be doing this stage. A way to think about polishing compounds is as liquid sandpaper. The grit is just finely ground up and suspended in what is essentially a lotion. There are several different companies that sell wet polishing compounds. This one right here is by ColorTone, the same company that we've been using this whole time to spray these guitars. It’s a great product that comes in three different grits, a medium, a fine and an ultra-fine swirl remover.
You’ll need those three compounds and a lint-free cloth. The nice thing about this option is that it’s super cost effective, and it doesn't make any noise.
The downside is that it's really labor-intensive and time-consuming, and the final polish isn’t going to be quite as professional looking as a mechanical buff.
2. Drill buff with polishing compounds
With this method you’re using the same compounds as the first, but now we've added some mechanical leverage, using a buff attached to a drill. This is a much faster method, with a higher quality finish.
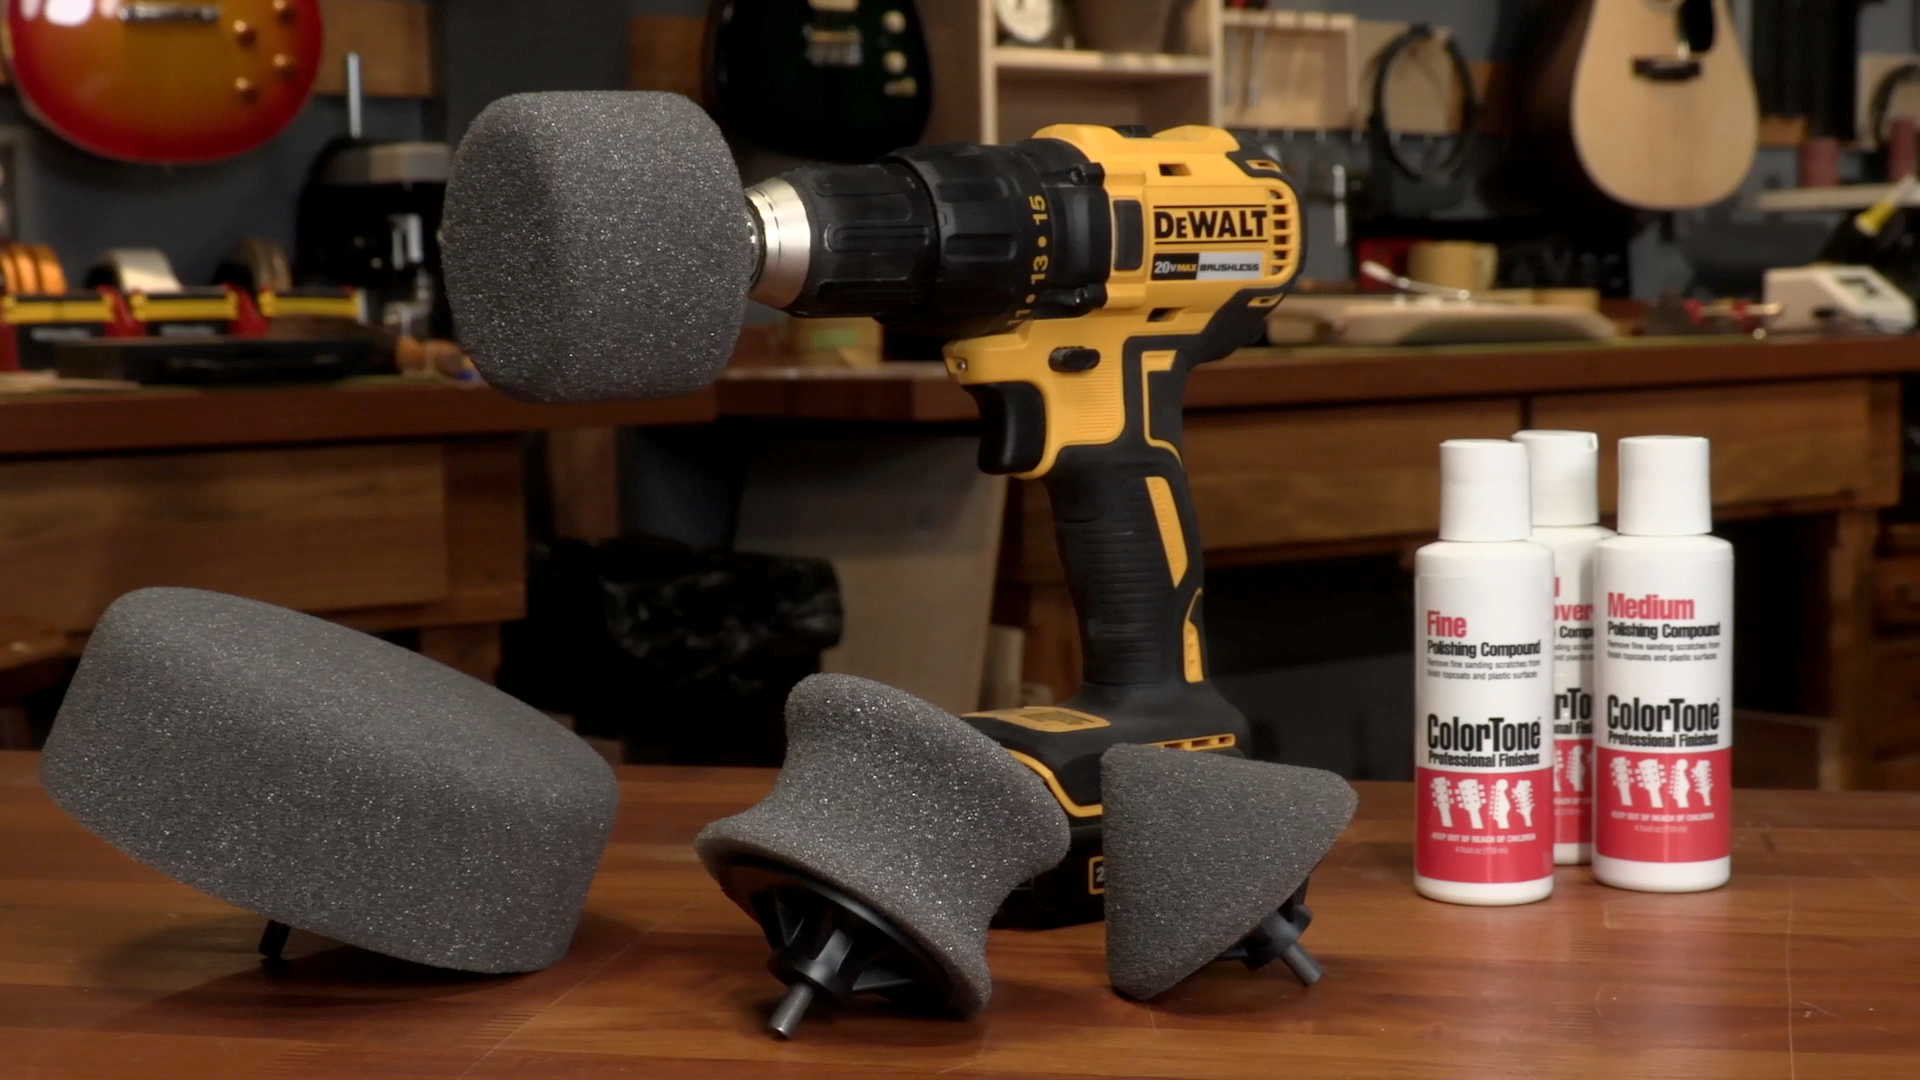
The downside is that this technique can be hard to master. You're attempting to hold a drill at a level angle, it’s spinning, and it wants to go all over the place. It can be awkward, and even cause damage easily. So if you are going to use this method, we definitely recommend that you find something to practice on.
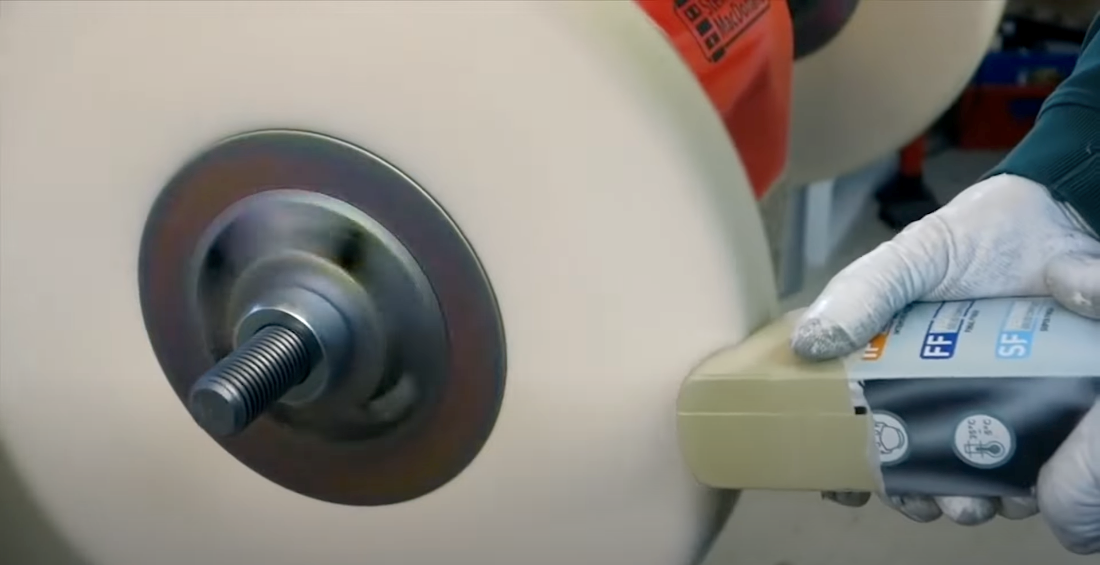
3. Dry buffing compound with arbor
This is the method we use in our shop, and it’s the best way to get a true professional finish. The downside to those is that they're incredibly expensive, and they take up a lot of space, and most importantly, it's really easy to mess up a guitar. They’re very powerful, it’s very easy to chew through a finish, and they can pull that guitar right out of your hands.
 4. Hybrid approach
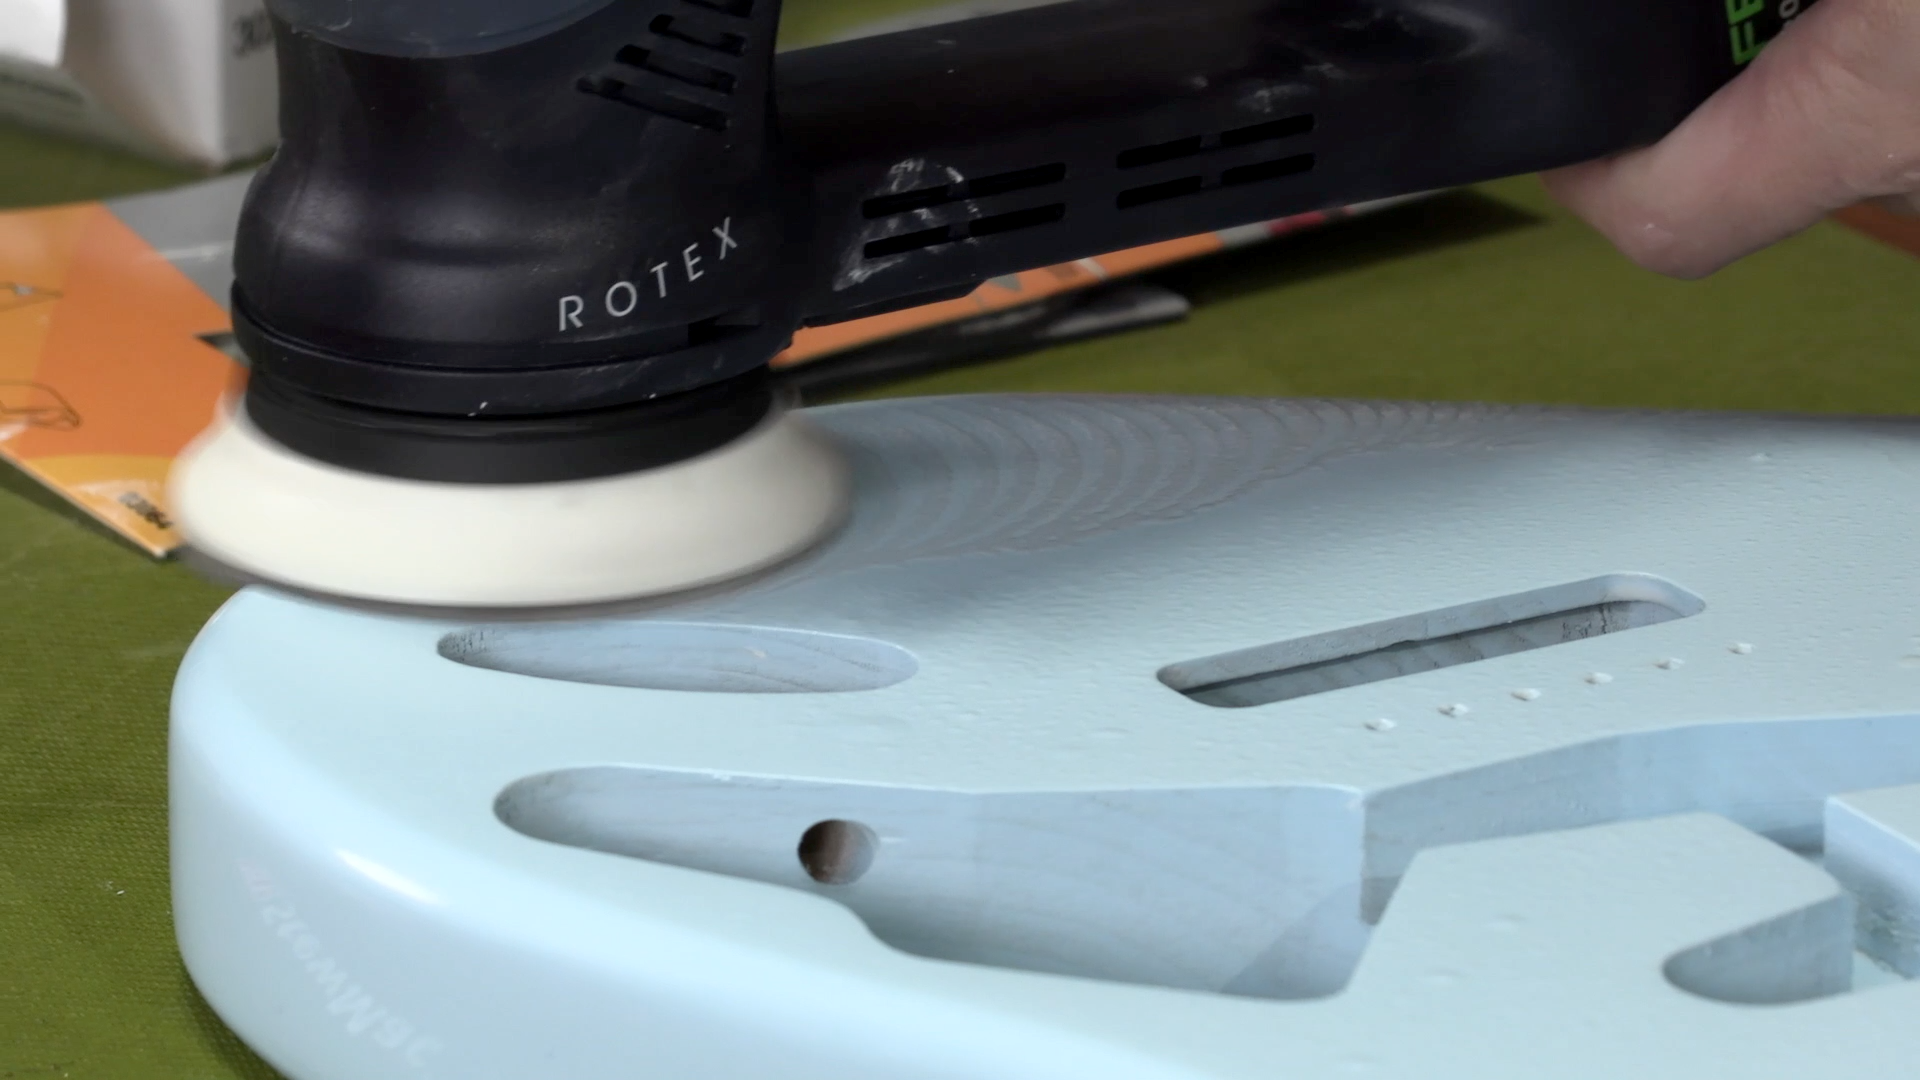
This is the method we’ll be using today. We're going to be using the ColorTone wet compounds, but we're actually going to be using an automotive buffer. This is an awesome one by Griot's. You can get these at your local automotive store.
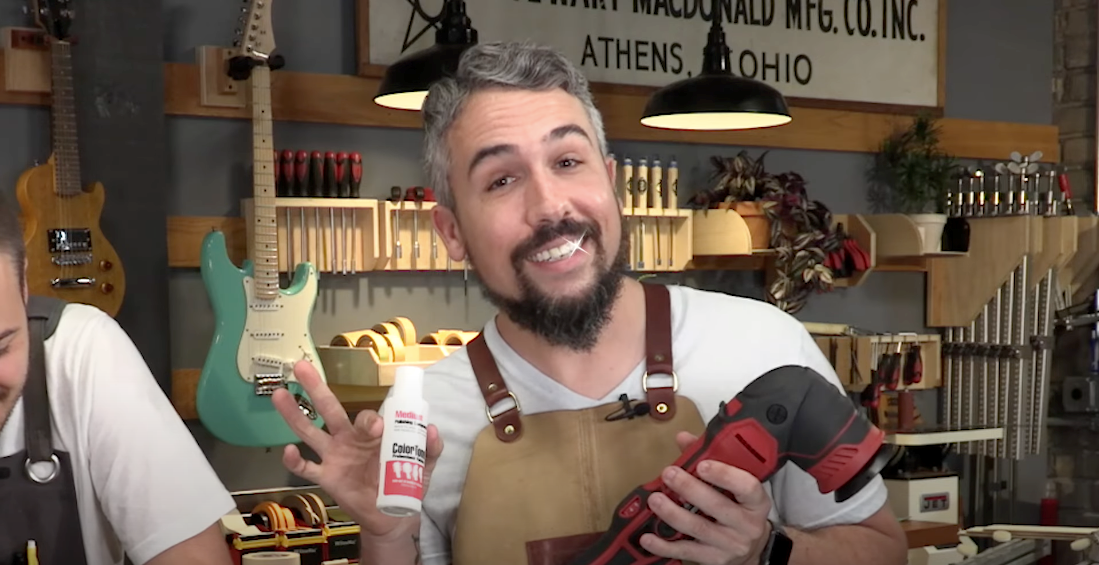
Similar to the benefits of an electric drill, except the ergonomics of it are friendlier. There's a nice variable speed, it's got an easy-to-handle trigger, and readily available buffs. These can cost between $50 and $200, and for that you can get really close to a super high-end finish.
And you can make the sales pitch to your significant other that, "Well, it's not for the guitars. It's for the car."
Buffing The Guitar
What You'll Need
Freehand Holder or Spray Stick
Hi-Lo Featherweight Neck Rest
ColorTone Polishing Compounds
Griot's Automotive Buffer
Foam Polishing Pads
Safety Glasses
Apron
Microfiber Cloth
We’ve reattached our holding stick to the guitar and it's in the clamp. We’ve also put this piece of foam underneath so that we have some work stability. If you don't have this set up, you can fold up a towel and put it on the workbench. At this point, it should be a clean space.
Instead of the medium compound, we're actually going to start off with the fine. The medium compound is pretty coarse. We can look at the guitar and see that it is really well polished. For those of you that don't know what to start with, err on the side of caution and try fine. If it’s not having much of an effect, dial back and use the medium.
Stick the buff onto the buffer, shake the compound and then apply it to the buff. Rub the compound into the foam with your finger a little bit, so that it doesn’t splatter when you turn the buffer on.
Put some safety glasses on, and wear an apron. This can get a little messy.
Don’t start the buffer until it’s already on the surface of your instrument, and turn it off before lifting it away. Without much pressure, basically just the weight of your hand on the tool, do steady passes with a 50% overlap. Let the tool do the work.
Be aware that you can burn through the finish, especially around the edges. It’s important to be cautious. Apply more compound to the buff as necessary. You’ll find that you burn through the compound very quick at first because the buff still doesn’t have much on it. We don't want it to run too dry, but you also don't want it to be just dripping in compound.
Wipe the instrument using a microfiber cloth, being careful not to introduce any new scratches. A terry cloth is also good. There’s one area where I can feel just a little bit deeper of scratches.
This is an instance where you’ll go back with the medium compound and touch up that area. These things will turn up as you start to get a higher and higher quality polish on the guitar. You’ll start to see those things. Sometimes taking a step back is very useful.
PRO TIP: Never use different compounds on the same buff. Before we begin, we label our buffs on the back “1, 2, and 3”. Then we know that 1 is medium, 2 is fine and 3 is that ultra-fine swirl remover. Also, make sure your buffer doesn’t get too warm after running for a while, it could heat up the lacquer.
After you’re satisfied with the fine buff, move on to the swirl remover and repeat the process. This is the cherry on top, where you really get to see all your work pay off.
This looks as good as if I had a full buffing arbor system, honestly.
When working on the sides, if you don't have a safe way to clamp it, we recommend just doing them by hand. Don't use the power buffer. Remember that on the sides and neck, particularly around the horns, you can sand through the finish pretty quickly. So be gentle, and don’t overdo it.
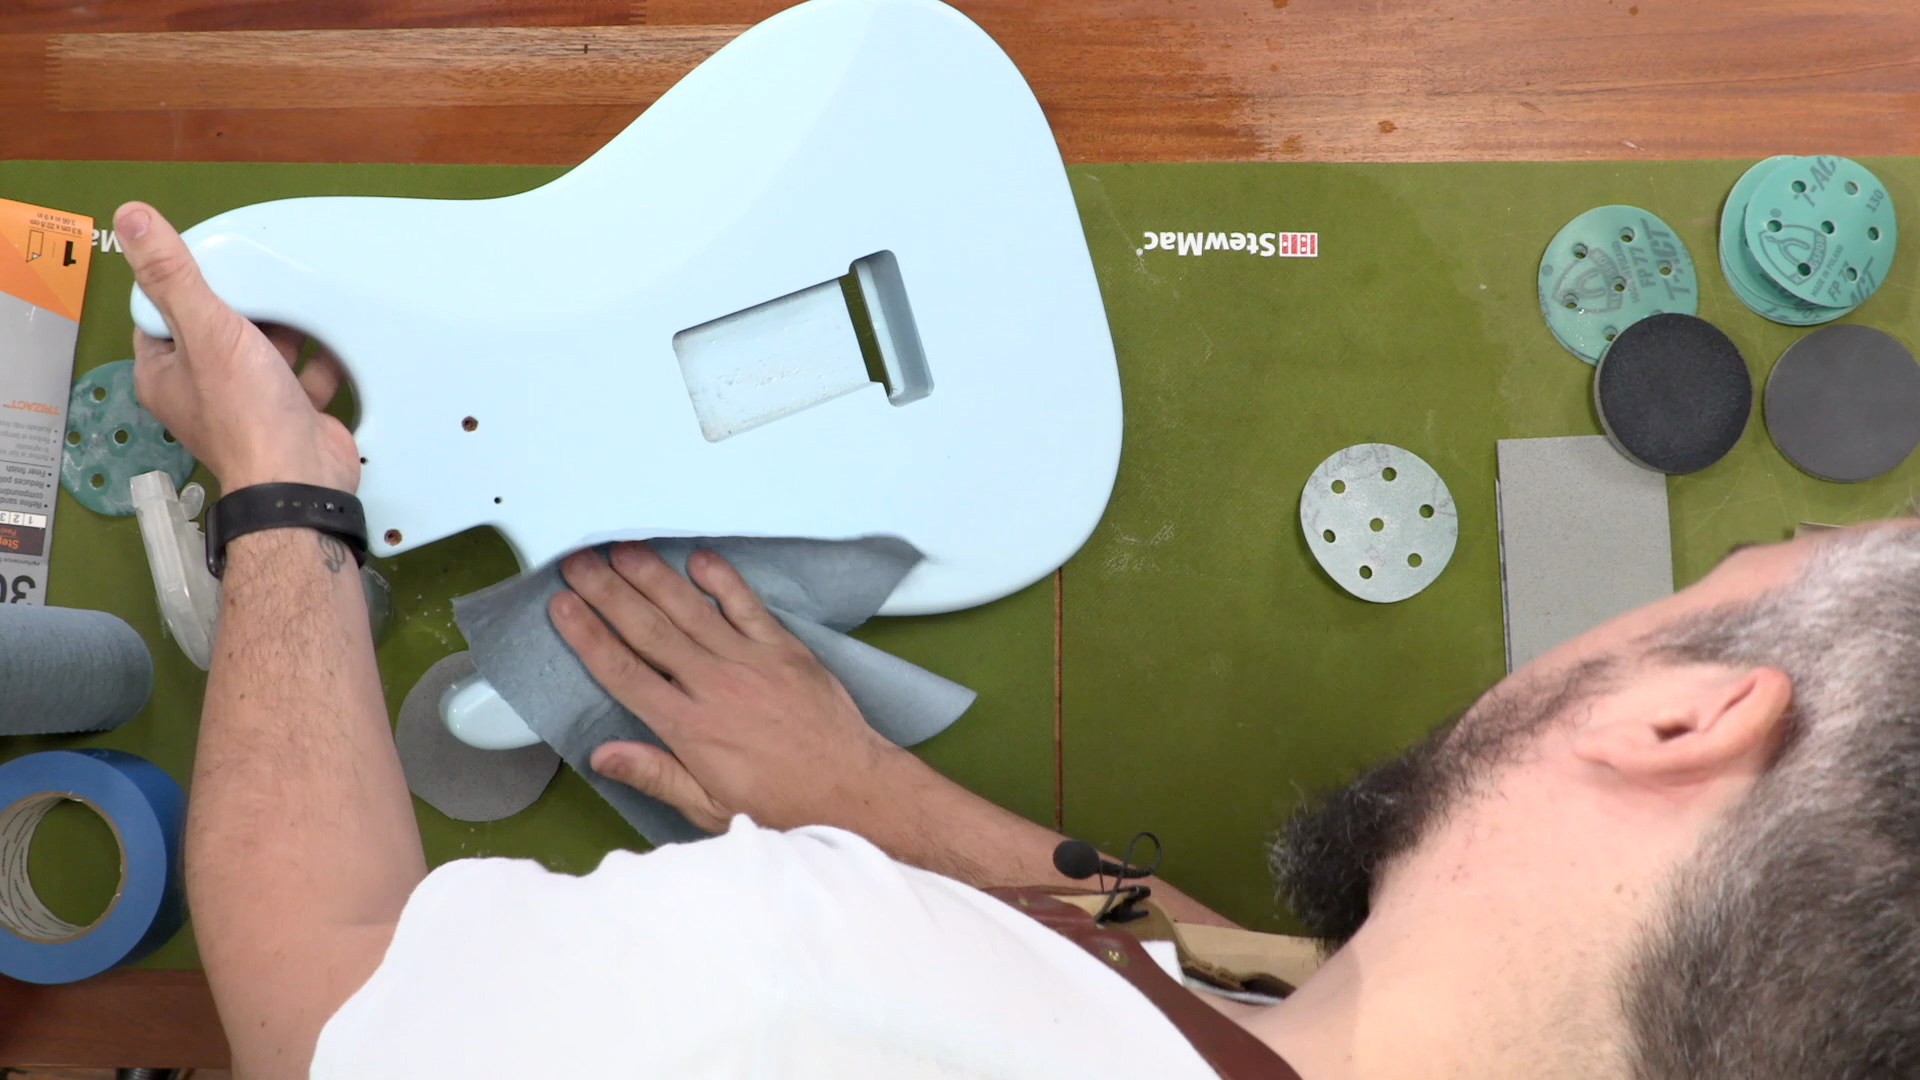
That just leaves the cut away areas, which we do by hand.
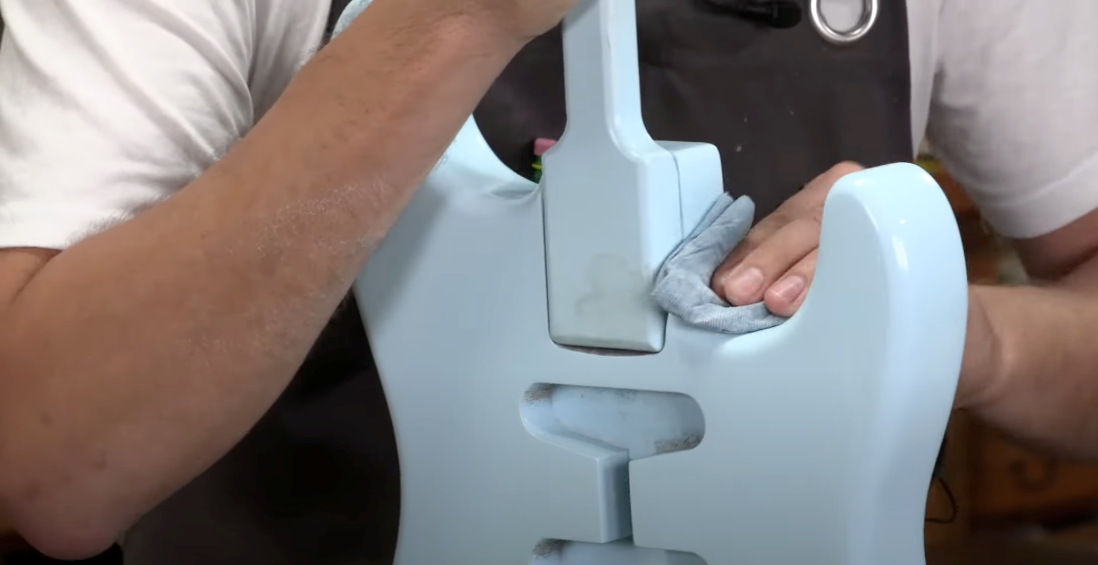
I find that these blue paper towels work well. You can also use terry cloth. Starting with the medium, we're just going to do fine swirls and work ourselves around. This is not going to be quite as good of a shine as we have on the rest of the guitar now only because we’re doing this by hand.
The process however is the same. We're going to go from a medium to a fine and to a swirl remover.
Now for the satisfaction of wiping it down one last time. You’ve put in the prep work, you were patient, and this is where it really pays off.
Removing Fingerboard Tape
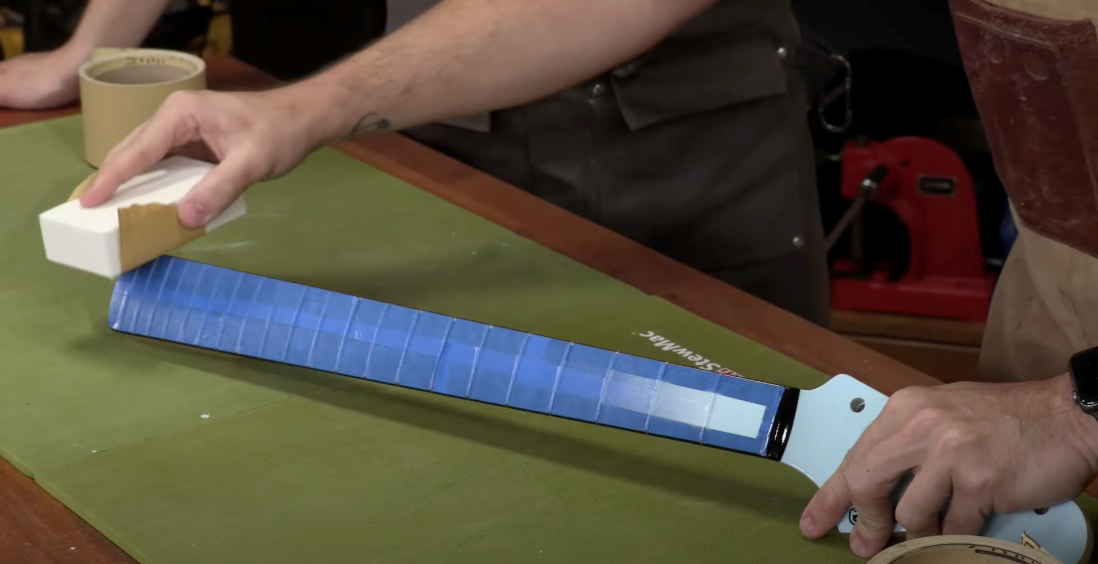
Before we can marry the neck to the body, what we need to do is remove the tape off of the fretboard. If you just go for it and rip the tape off there’s a good chance of chipping out the clear coat that you've applied right there along the edge. So we're going to remove this tape by using a sanding block, either a 400 grit or a 600 grit.
Sand the tape coming in at a 45 degree angle, so you’re not sanding the finish that you’ve sprayed and just buffed out. Just slide the sanding block back and forth until you just kiss the wood of the fretboard. Then do the same thing on the other side.
Then you can gently remove the tape from the fretboard, being careful not to pull up any of your clear finish. You can see it transitions from the lacquer to the bare wood really nicely.
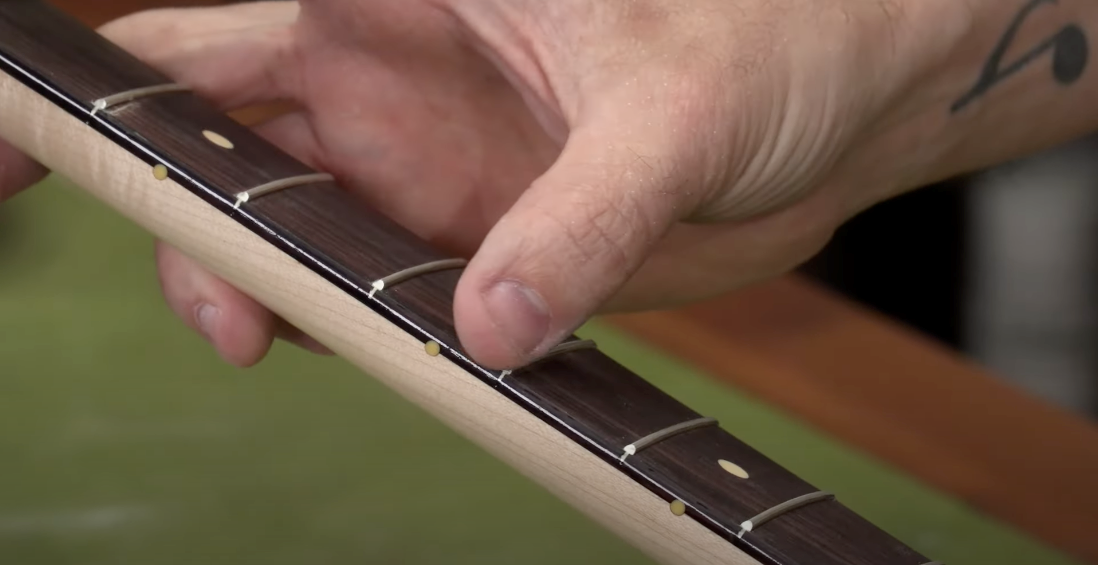
All we have to do now is put some strings on it and have some fun.
The Big Reveal
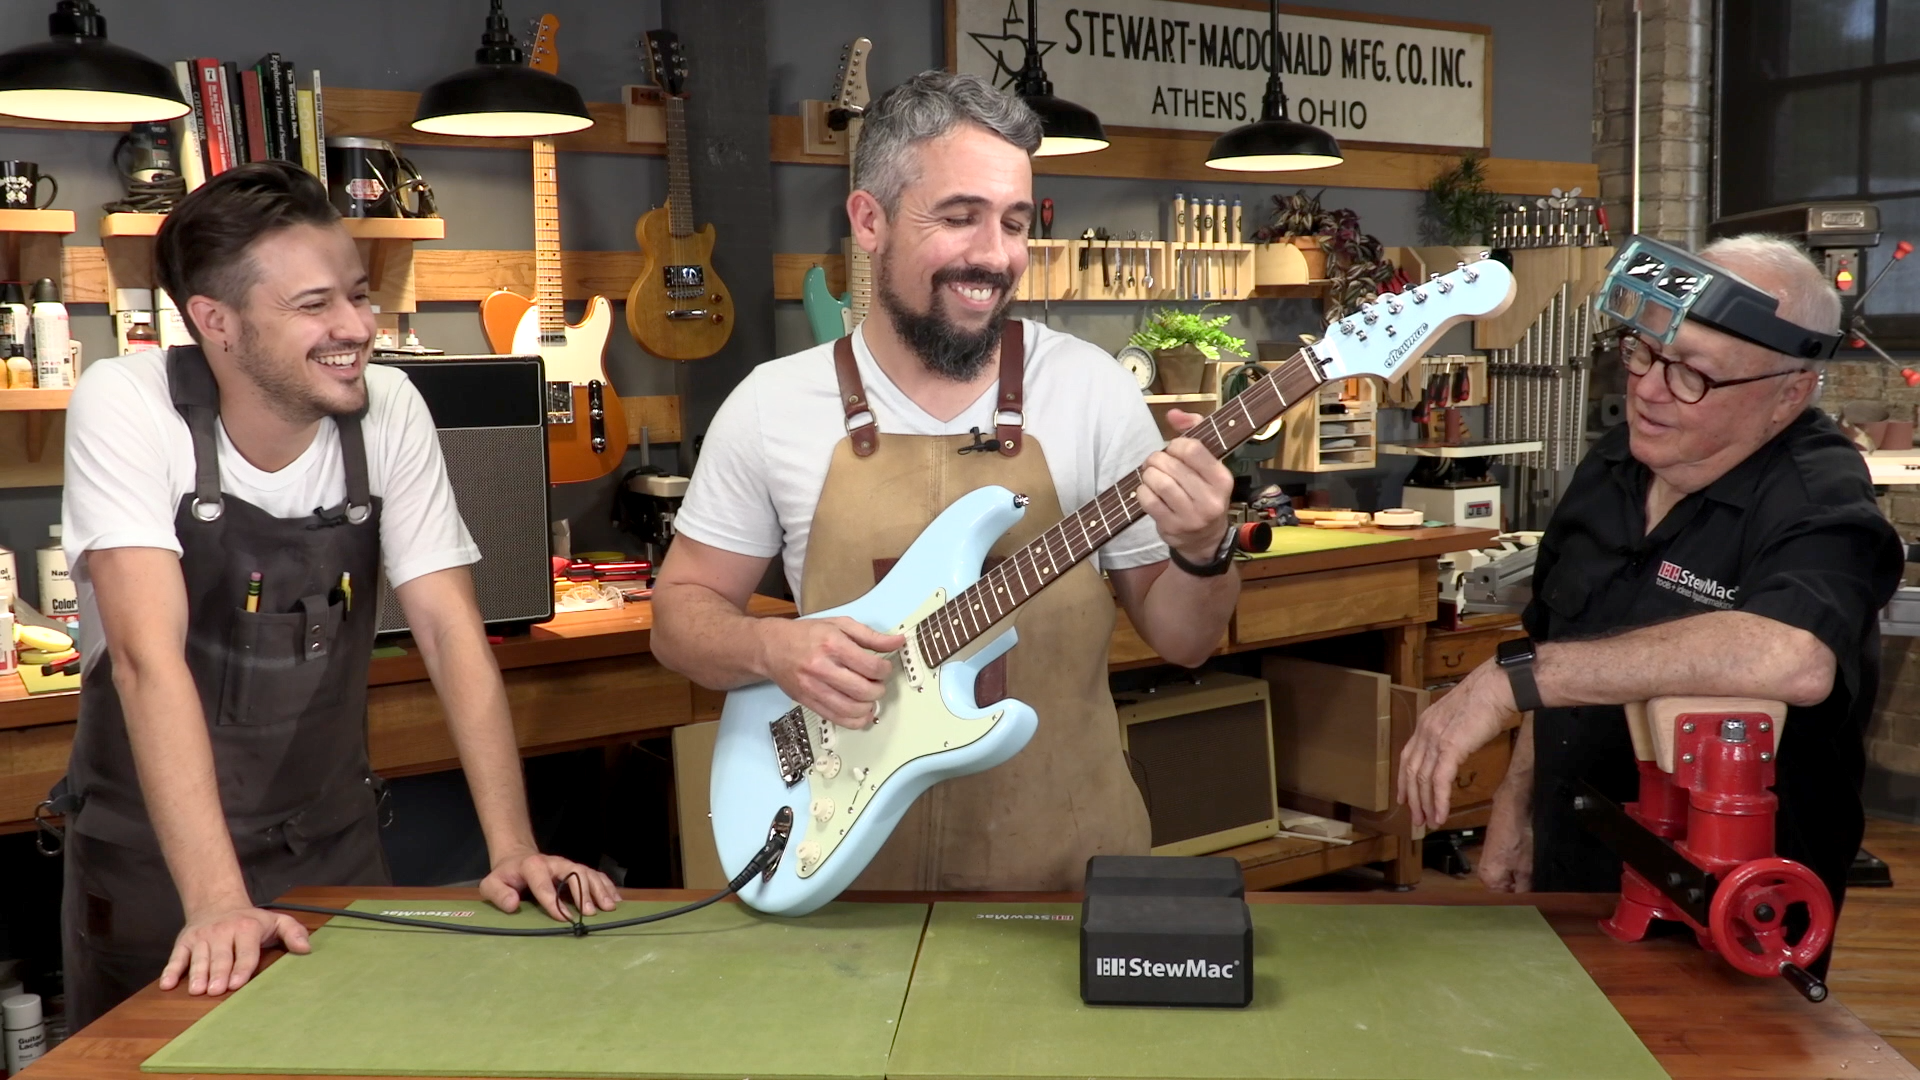
Dan Stops By To Inspect The Work
Even Dan is impressed with how professional our finish looks, and how good the instrument sounds. We could not be more thrilled with the outcome.
Sound Check And Final Words of Advice
All right, folks, that takes us to completion on this amazing project. It's been a long journey, three episodes with a whole bunch of information inside of it, but as you can see, the results speak for themselves. We got to hear what it sounded like.
Remember, this is your first try for a lot of you, and it may not have come out perfect. And that's really okay because I guarantee you, if you could see some of our early work, you'd be like, "Really? Maybe you should hang it up." But you know what we did? We kept going. You're going to learn from your mistakes. We had a mistake or two in this video series where we recovered from it.
Part of becoming a good guitar builder and finisher and luthier is failing sometimes. All you can hope for is that you recover for them as best you can, and hopefully that you learn something by doing it and keep trying, and you're going to get better and better.
With that, we’ll head back to Florida. Thanks for joining us, and please check us out at Driftwood Guitars.