Electric Guitar and Bass Assembly Guide, Part 5: Setup
Setup
The setup of your guitar is very subjective, and is often one of the main reasons for constructing a guitar in the first place. Player preferences will dictate a lot of how an instrument is setup as far as action, neck angle and straightness, bridge and string height, and other factors. When setting up a guitar, you will need to adjust the truss-rod to control the straightness of the neck. With traditional Fender-type necks (heel-adjustable truss-rod), you may have to remove the neck several times before you get it right. Setup can take several hours in many cases. You will find that one adjustment will affect all of your previous settings, and you will have to go back and reset many things. Don't get discouraged! It's all part of the learning process, and once you have done it a few times you will be able to access an instrument's setup much quicker.
Here is Fender's Ten Step setup outline. It allows them to quickly (from a production stand-point) setup the guitars to make them playable and ready to ship. Use this as an outline and fine tune the steps to your playing or setup preferences.
Note
Fender uses a small wooden wedge (1" wide x 2" long, tapering from 1/4" to 1/2") to "block" the tremolo block when setting up tremolo guitars. It removes the issue of dealing with the intricate string-to-spring tension balance. It's probably worth the effort to have a similar block of wood if you are setting up a tremolo guitar. This means that the springs are not installed until the very last step.
String up the guitar with your desired gauge of strings.
"Block" the tremolo so that there is a 3/32" gap between the back of the bridge and the top of the body.
Install capo at 1st fret.
Set neck relief.
Set string height.
Remove capo.
Set string height in the nut.
Adjust pickup height.

Play guitar and check for buzzes-make adjustments if necessary.
Install 3 springs (5 if you want a heavier feel) and tighten the tremolo claw screws until the wooden block drops out.
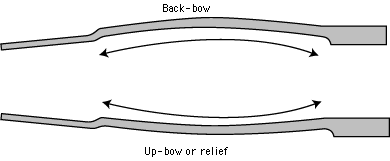
As with most setup operations, neck straightness should be checked in the playing position. Use a straightedge and backlighting to show the gap between the bottom of the straightedge and the tops of the frets. Measure the "relief" (a slight bow in the neck) of the neck with feeler gauges. We usually measure at the 7th or 9th fret and strive for something between .004" and .012". Some necks will play with .000" relief, depending on the player, the components, and the trueness of the frets.
Usually some relief is required to eliminate excessive string rattle (the vibrating arc of the string contacting the tops of the frets above the fretted note), and to allow for sufficient sustain. Experiment with different measurements and see what works for you. Remember that changes in string tension will affect the neck's straightness. Be sure that the instrument is tuned close to pitch.
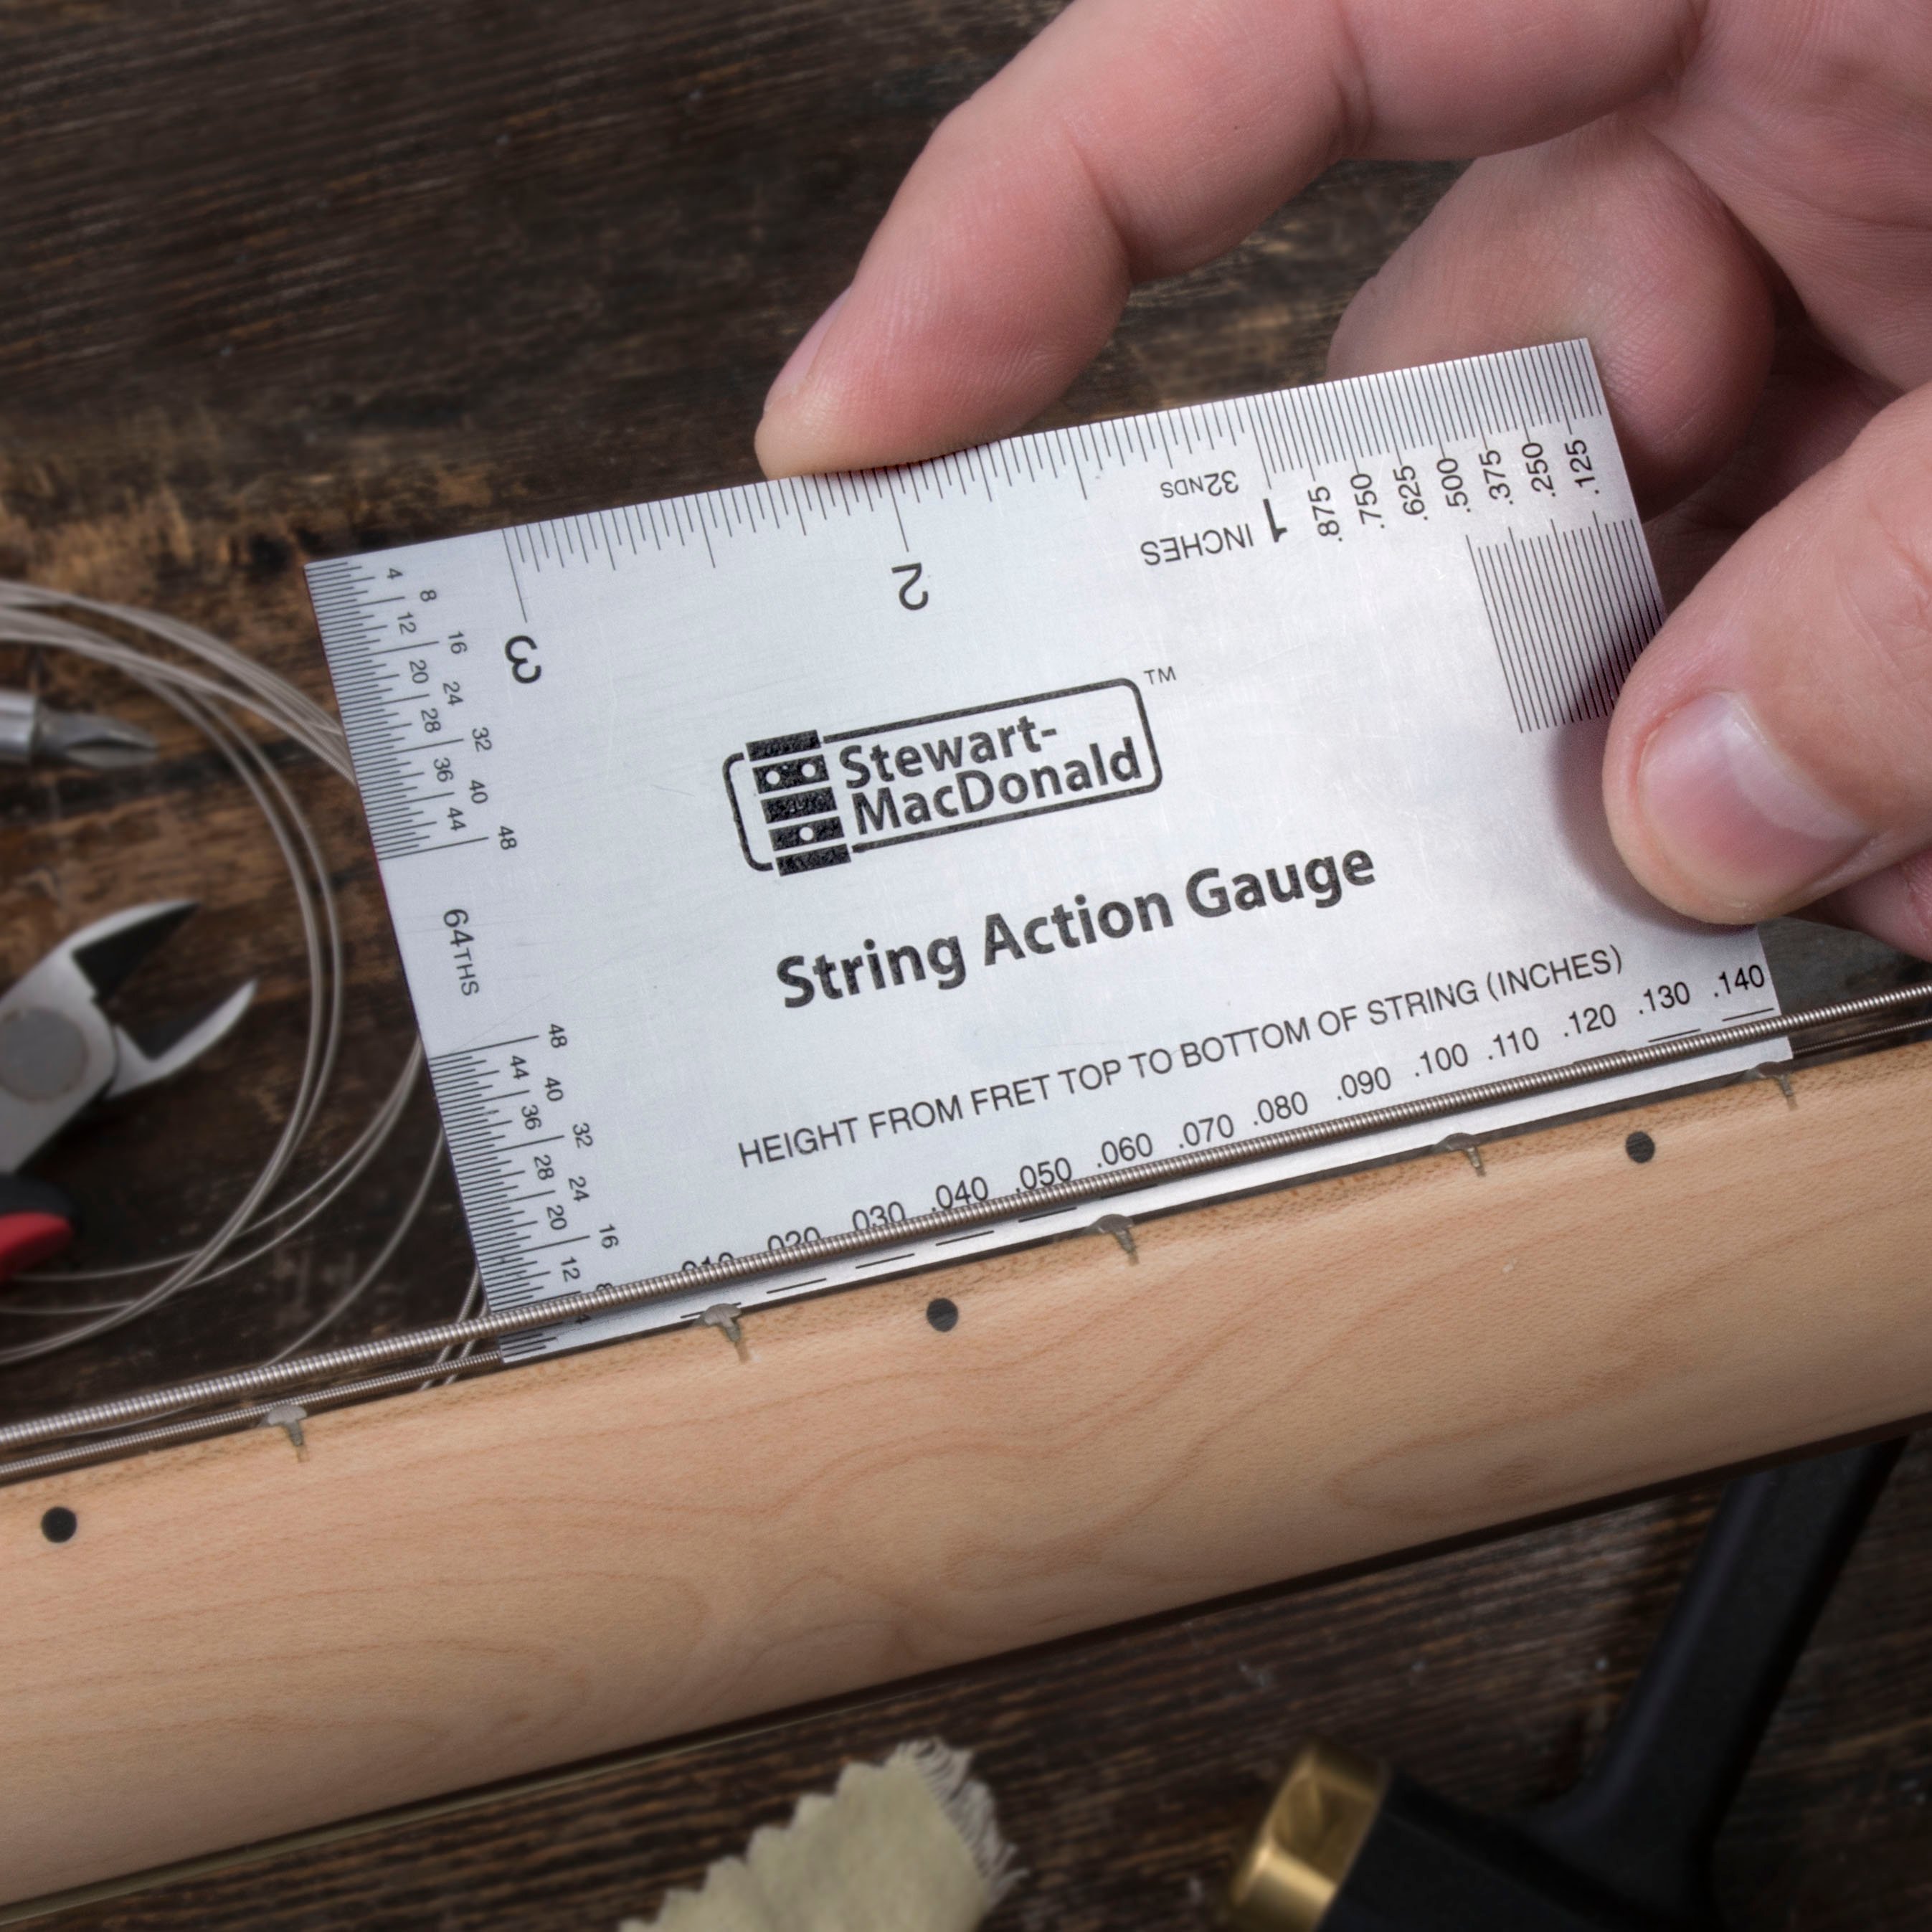
Once the neck is close to where you want it, you need to bring the string's height into the picture. You may want to make these adjustments with the strings capoed at the first fret. This will eliminate any input from the nut slots. First, adjust the two E-strings height above the 12th fret by adjusting the saddle height. Typical measurements are 3/64" - 4/64" for the high "E" and 3/64" - 5/64" for the low E. Depending upon your style, the "feel" you want, and other factors, find the measurements that work for you. After you get the neck the way you want it and the saddles roughed in, you will need to radius the saddles. Use radius gauges (#5432) to match the bridge saddles to the fretboard radius.
Now that the neck and saddles are adjusted, you are ready to finish the nut slots. The slot depth is generally between .007" and .030" above the first fret. Plain strings (high E, B, and G) are in the .007" - .012" range and the wound strings (D, A, and low E) are generally around .013" - .020". The actual height is up to you, the gauge of strings, and other factors. Start a little high and bring them down lower as needed.
Once you complete your instrument setup, the intonation (the tempering of the string length, gauge, and tension to the fret scale) must be set. New instruments need time to completely "settle-in," so you may have to recheck the intonation a couple of times. Also, if you have changed string gauges (.009s to .010s, .010s to custom-lights, etc.), tension of the tremolo springs, height of the bridge, radical changes in tuning (i.e. drop-D, open-D, etc.) or anything else that would affect the string lengths and/or the bridge's position, you should reset the intonation.
Intonation is set by first tuning the instrument to the desired pitch (A-440, down a half-step, drop "D", etc.) in the playing position. Once you get the instrument in tune, and the bridge is set where you want it (i.e. height of the strings above the body, sufficient tremolo up-pull, etc.), compare the 12th fret harmonic and the 12th fret fretted note (we sometimes use the 5th fret harmonic for the wound strings). If the fretted note is sharp, the string must be lengthened (move the bridge saddle away from the neck). If the note is flat, the string must be shortened (move the saddle closer to the neck). Retune all the strings often to maintain the proper bridge position and don't stop until all of the strings are perfectly in-tune when comparing the harmonic to the fretted 12th note.
A high quality digital tuner or a strobe tuner is best for setting intonation. Inexpensive tuners generally are not accurate enough to really nail the intonation. Be sure to set the intonation with the guitar in the "playing position," not flat on a table. Gravity will take its toll on the setup and will cause inconsistencies or a false setup, especially with floating tremolos and/or thin necks.
Intonating a "floating" tremolo like a Floyd Rose or a similar system takes extra care. You must ensure that the plane of the bridge, relative to the top of the instrument, is held constant. Remember that a floating tremolo is a fine balance between string and tremolo spring tension. Any deviations will cause the intonation to be compromised.
More In This Series
| Part 1: | Introduction |
| Part 2: | Recommended Tools and Supplies |
| Part 3: | Hardware and Neck Installation |
| Part 4: | Wiring and Shielding |
| Part 5: | Setup |


