Setting the string spacing at the bridge
Issue 248 August 27, 2015
The string spacing on this old Gibson is uneven. Dan Erlewine shows how he made the E-to-E string spacing wider, then located the other four strings with proportional spacing, not equal spacing.
About the guitar in this video: This 1949 Gibson L-48 belongs to the original owner! He’s now in his 80s, and asked Dan to fix it because he’s going to take guitar lessons. :-)
- Fixing uncomfortable string spacing
- Sanding the bridge smooth and restarting from scratch
- Notching string locations before filing the slots
- Using abrasive cord, then burnishing the slots
Video Transcription
[on-screen text reads: Stewart-MacDonals - Trade Secrets!]
String spacing at the bridge
Dan Erlewine: Here is a 1948 Gibson Archtop guitar, model L-48. And you might have seen it on a recent trade secrets [on-screen text reads: Trade Secret #246] when we plugged a bunch of funky holes in the top, sunbursted over them and sprayed a coat of clear lacquer that blended in and it's looking really good. It's ready to go out as soon as I reshape the saddle, because the strings are not spaced evenly. The factory string spacing is a little too pinched together for me, I like it a little bit wider. Plus, the strings aren't spaced evenly, the B is too far from the E, or too close to the G, so on and so forth.
I can't really just move one string over a little bit to make up for it, because then I'd have a notch right next to a notch and it'd be very sloppy. I can gain a little bit wider string spacing at the bridge, because when I fretted this guitar, I didn't make a really steep bevel. I left it more perpendicular and nicely rounded and gained a little fret width. That means I can move the strings closer to the edge and that's going to feel good to the right hand when it picks at the bridge.
Remove the existing string notches
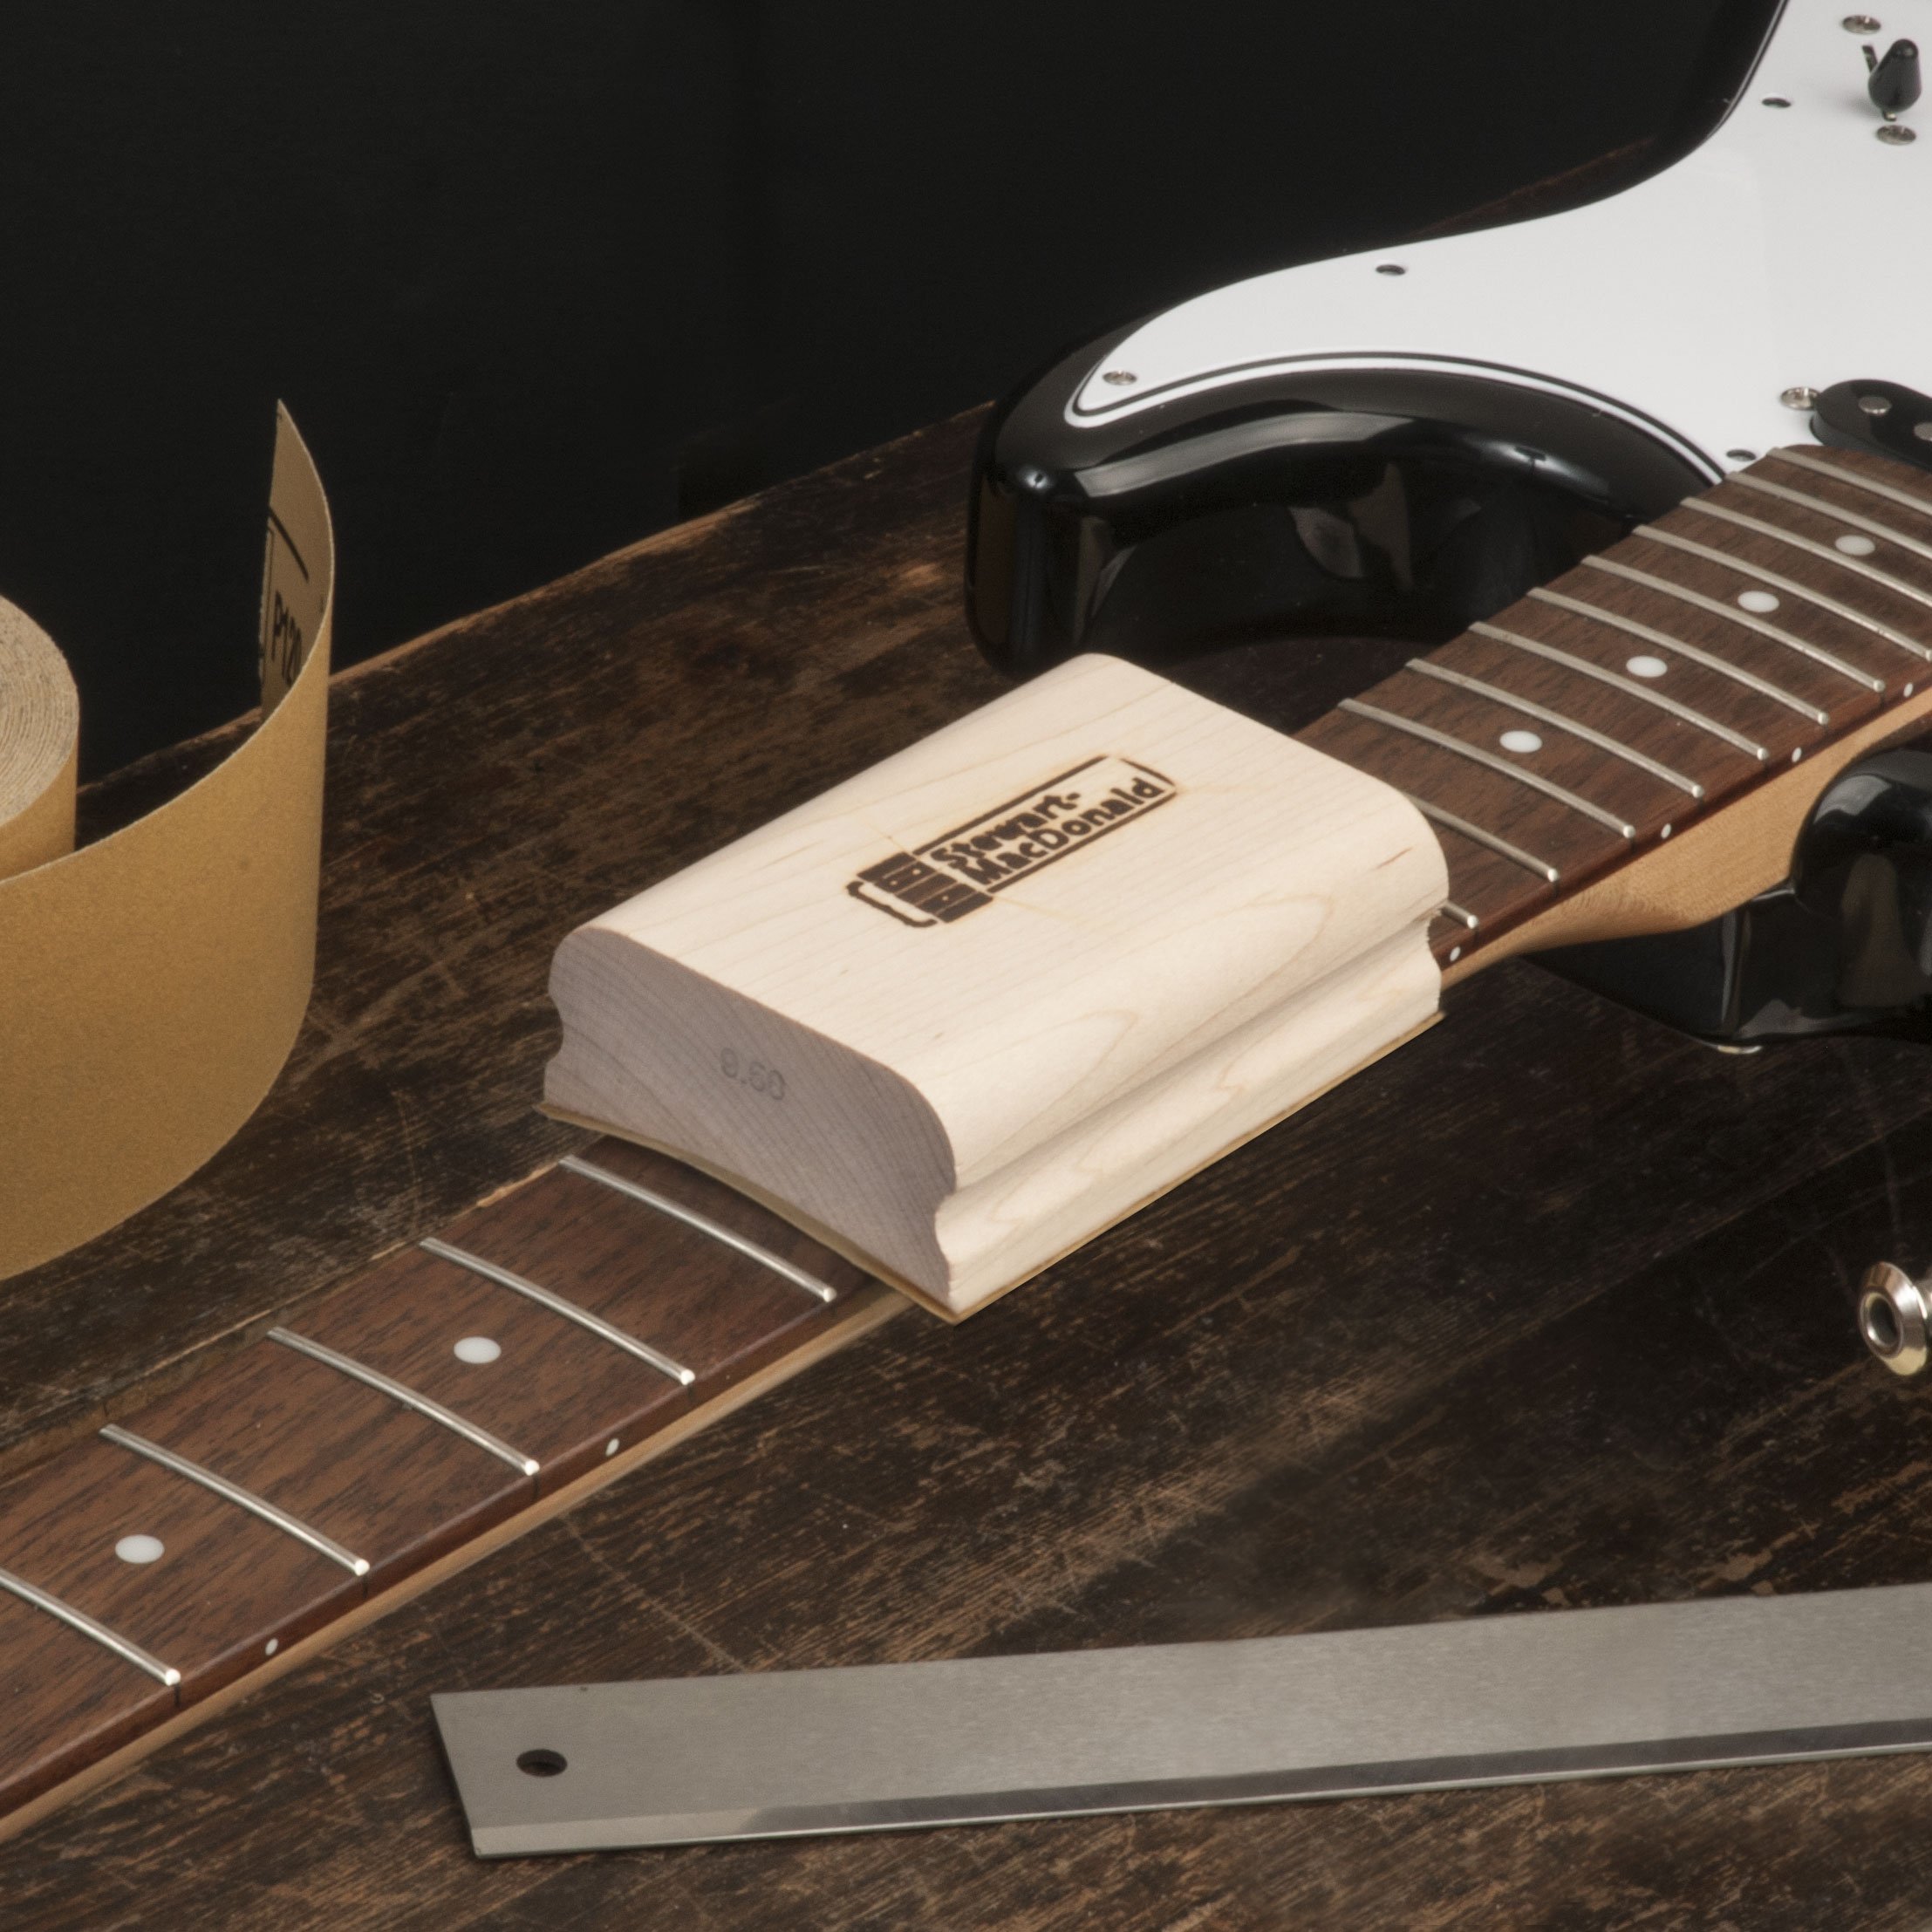
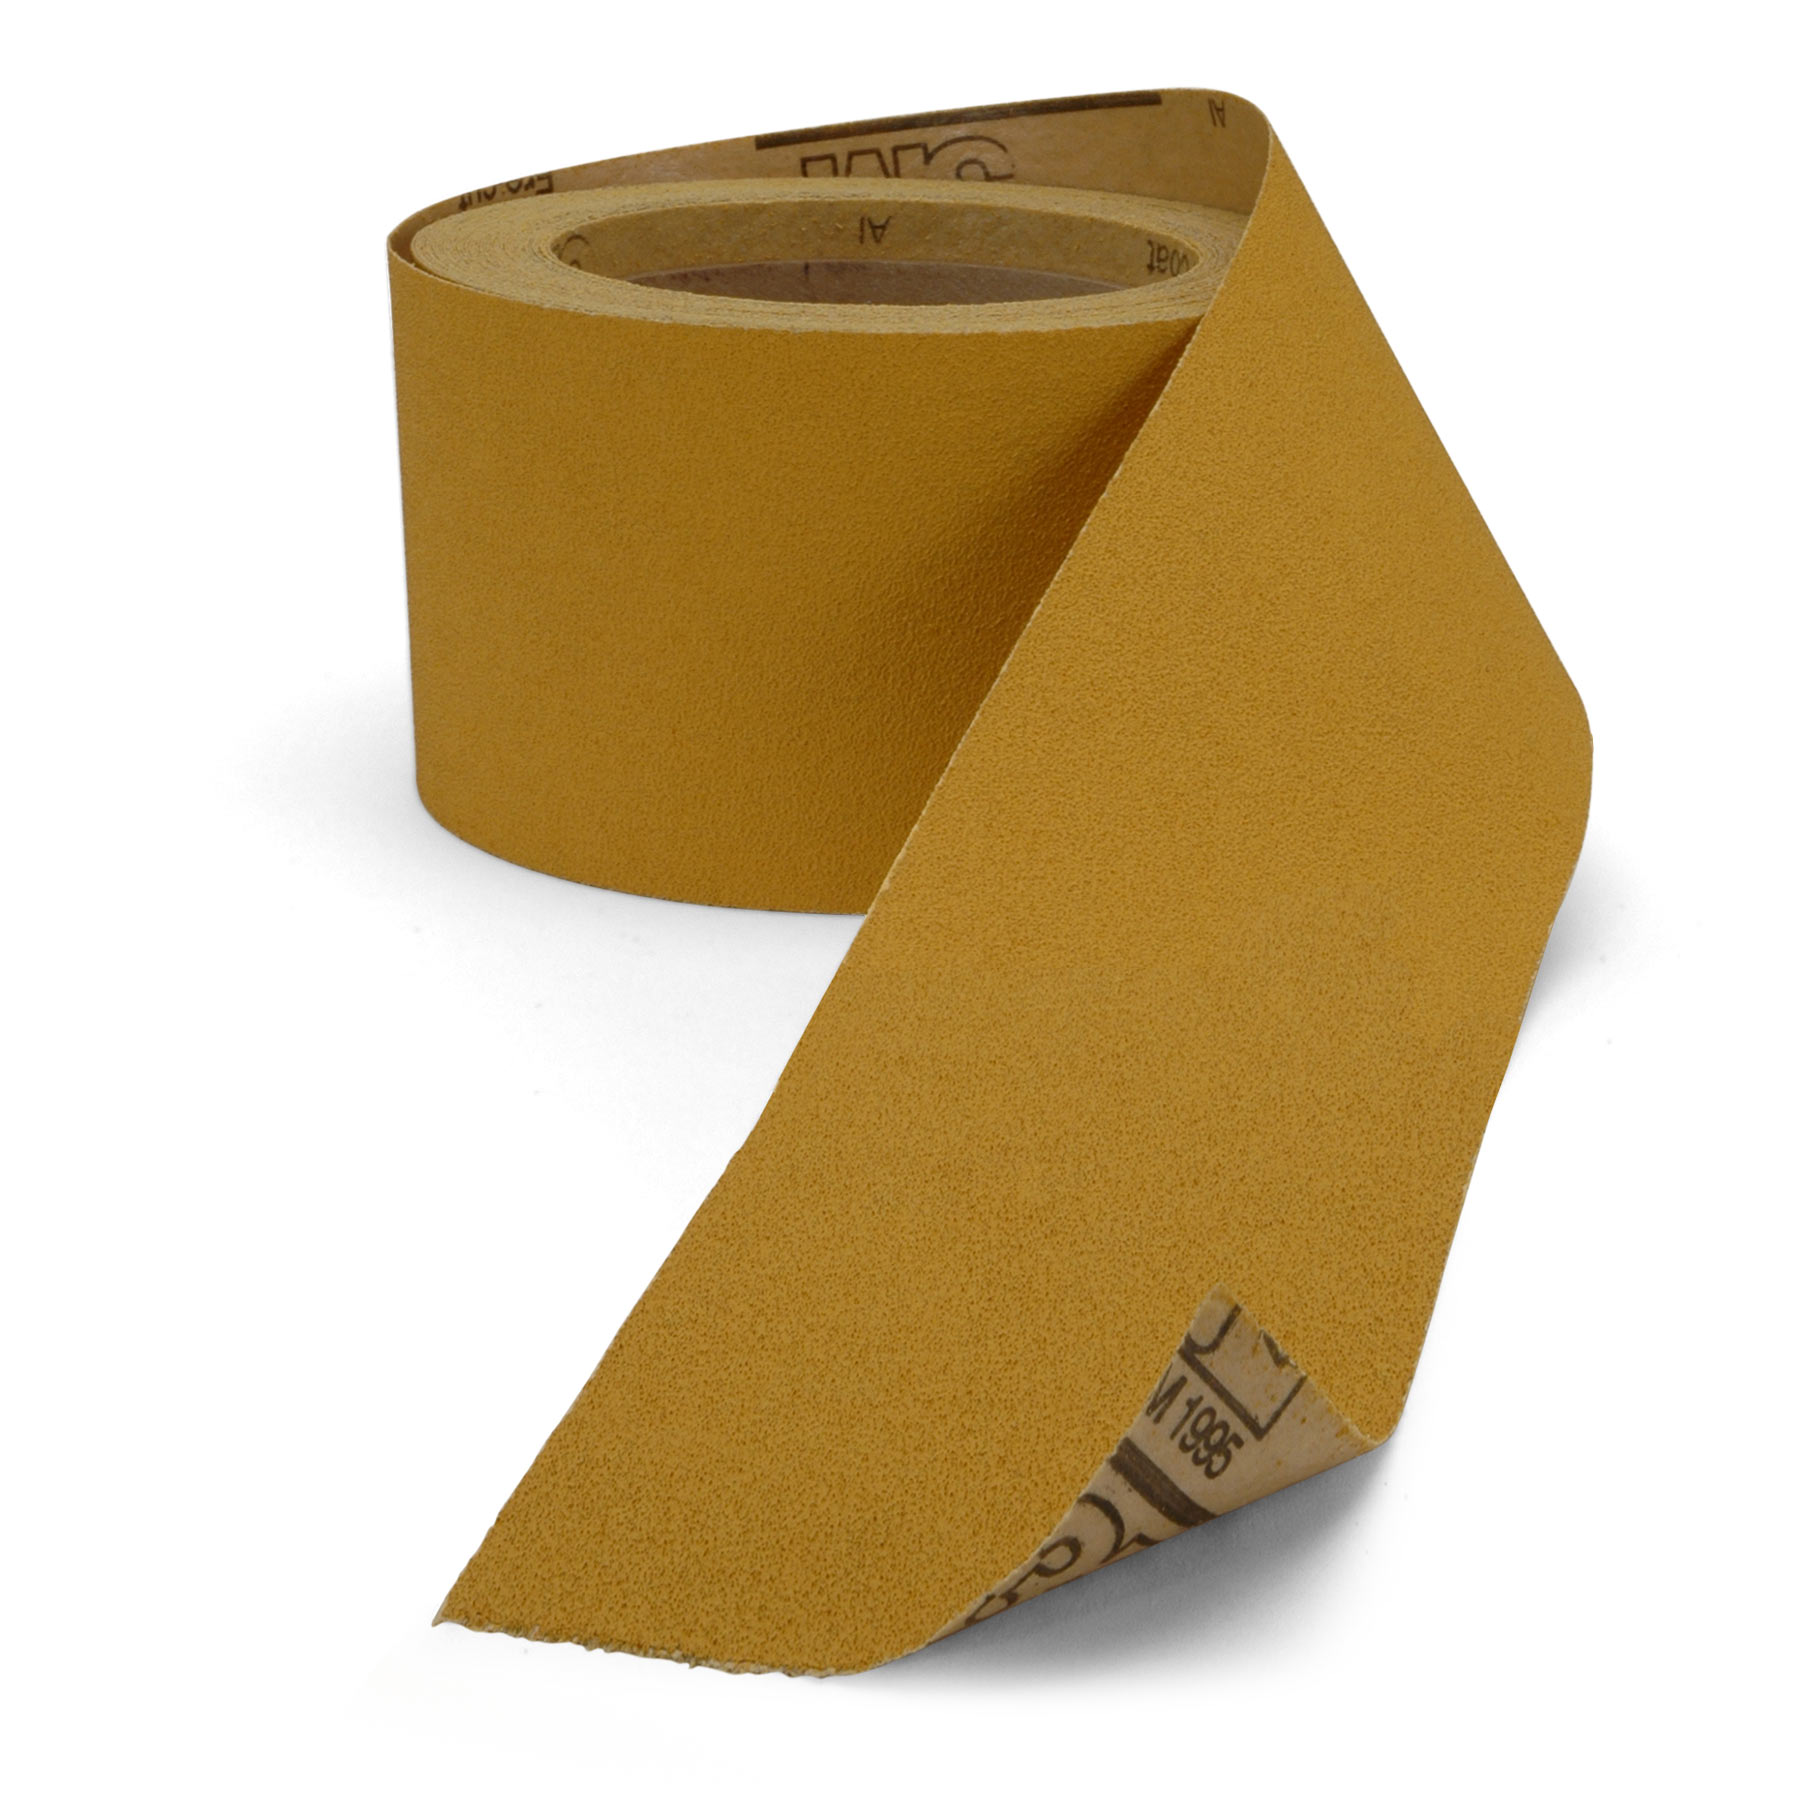
First I need to remove the existing string notches. I measured the fretboard as a 10 inch radius when I fretted it and we want to make the saddle the same. I'm going to run the grits between 80, 120, 220 and 320 gold paper [on-screen text reads: 3M Stikit Gold Sandpaper] and I'm taking most of meat off on the base side, because the saddle is thicker there and the slots were deeper. I'm almost there. Of course, I'm using a 10 inch radius block [on-screen text reads: StewMac Radius Sanding Block] and I'm about done.
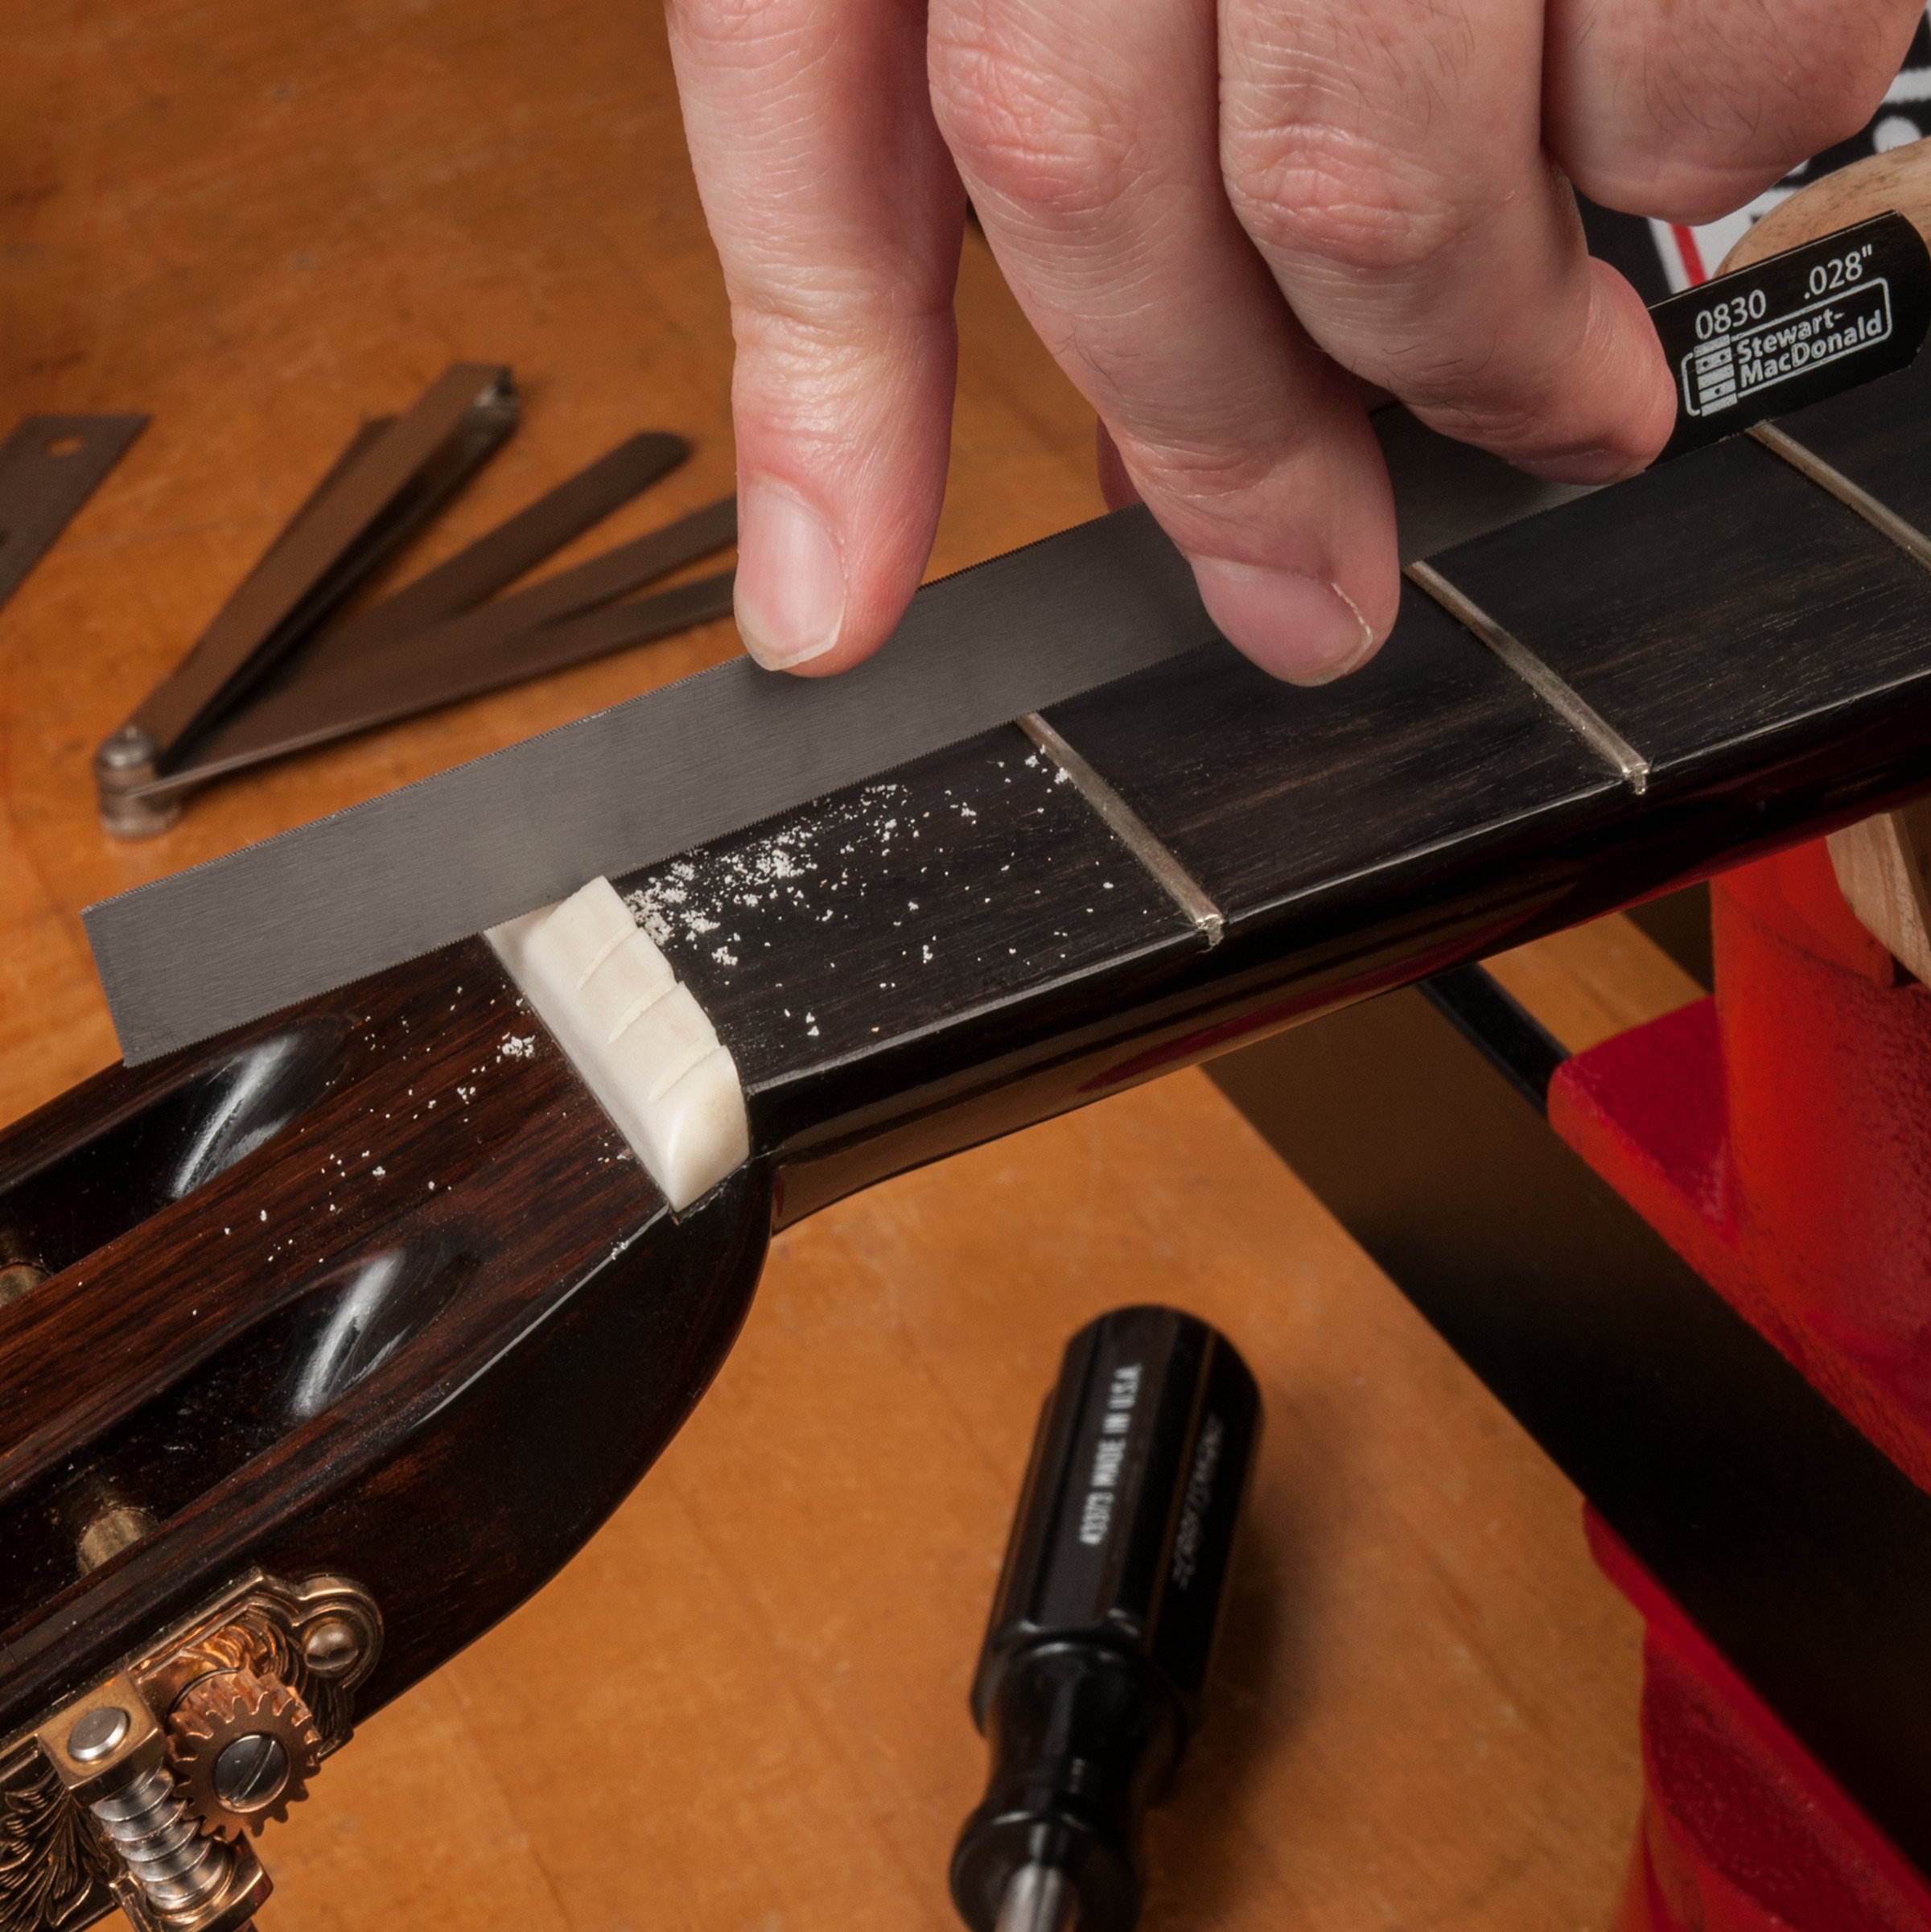
Now I have the outside E strings right where I want them by eye. I've moved them up and I'm going to mark their location by pressing on them, just enough to make an imprint. And that imprint will go away as soon as the string's gone, so I want to come in really fast and make a mark right in the center of my groove. I can deepen that with my smallest 10 thousandths file [on-screen text reads: StewMac Gauged Nut Slotting File], just enough to help hold the string up. I'll file it up bigger later.
Setting the string spacing
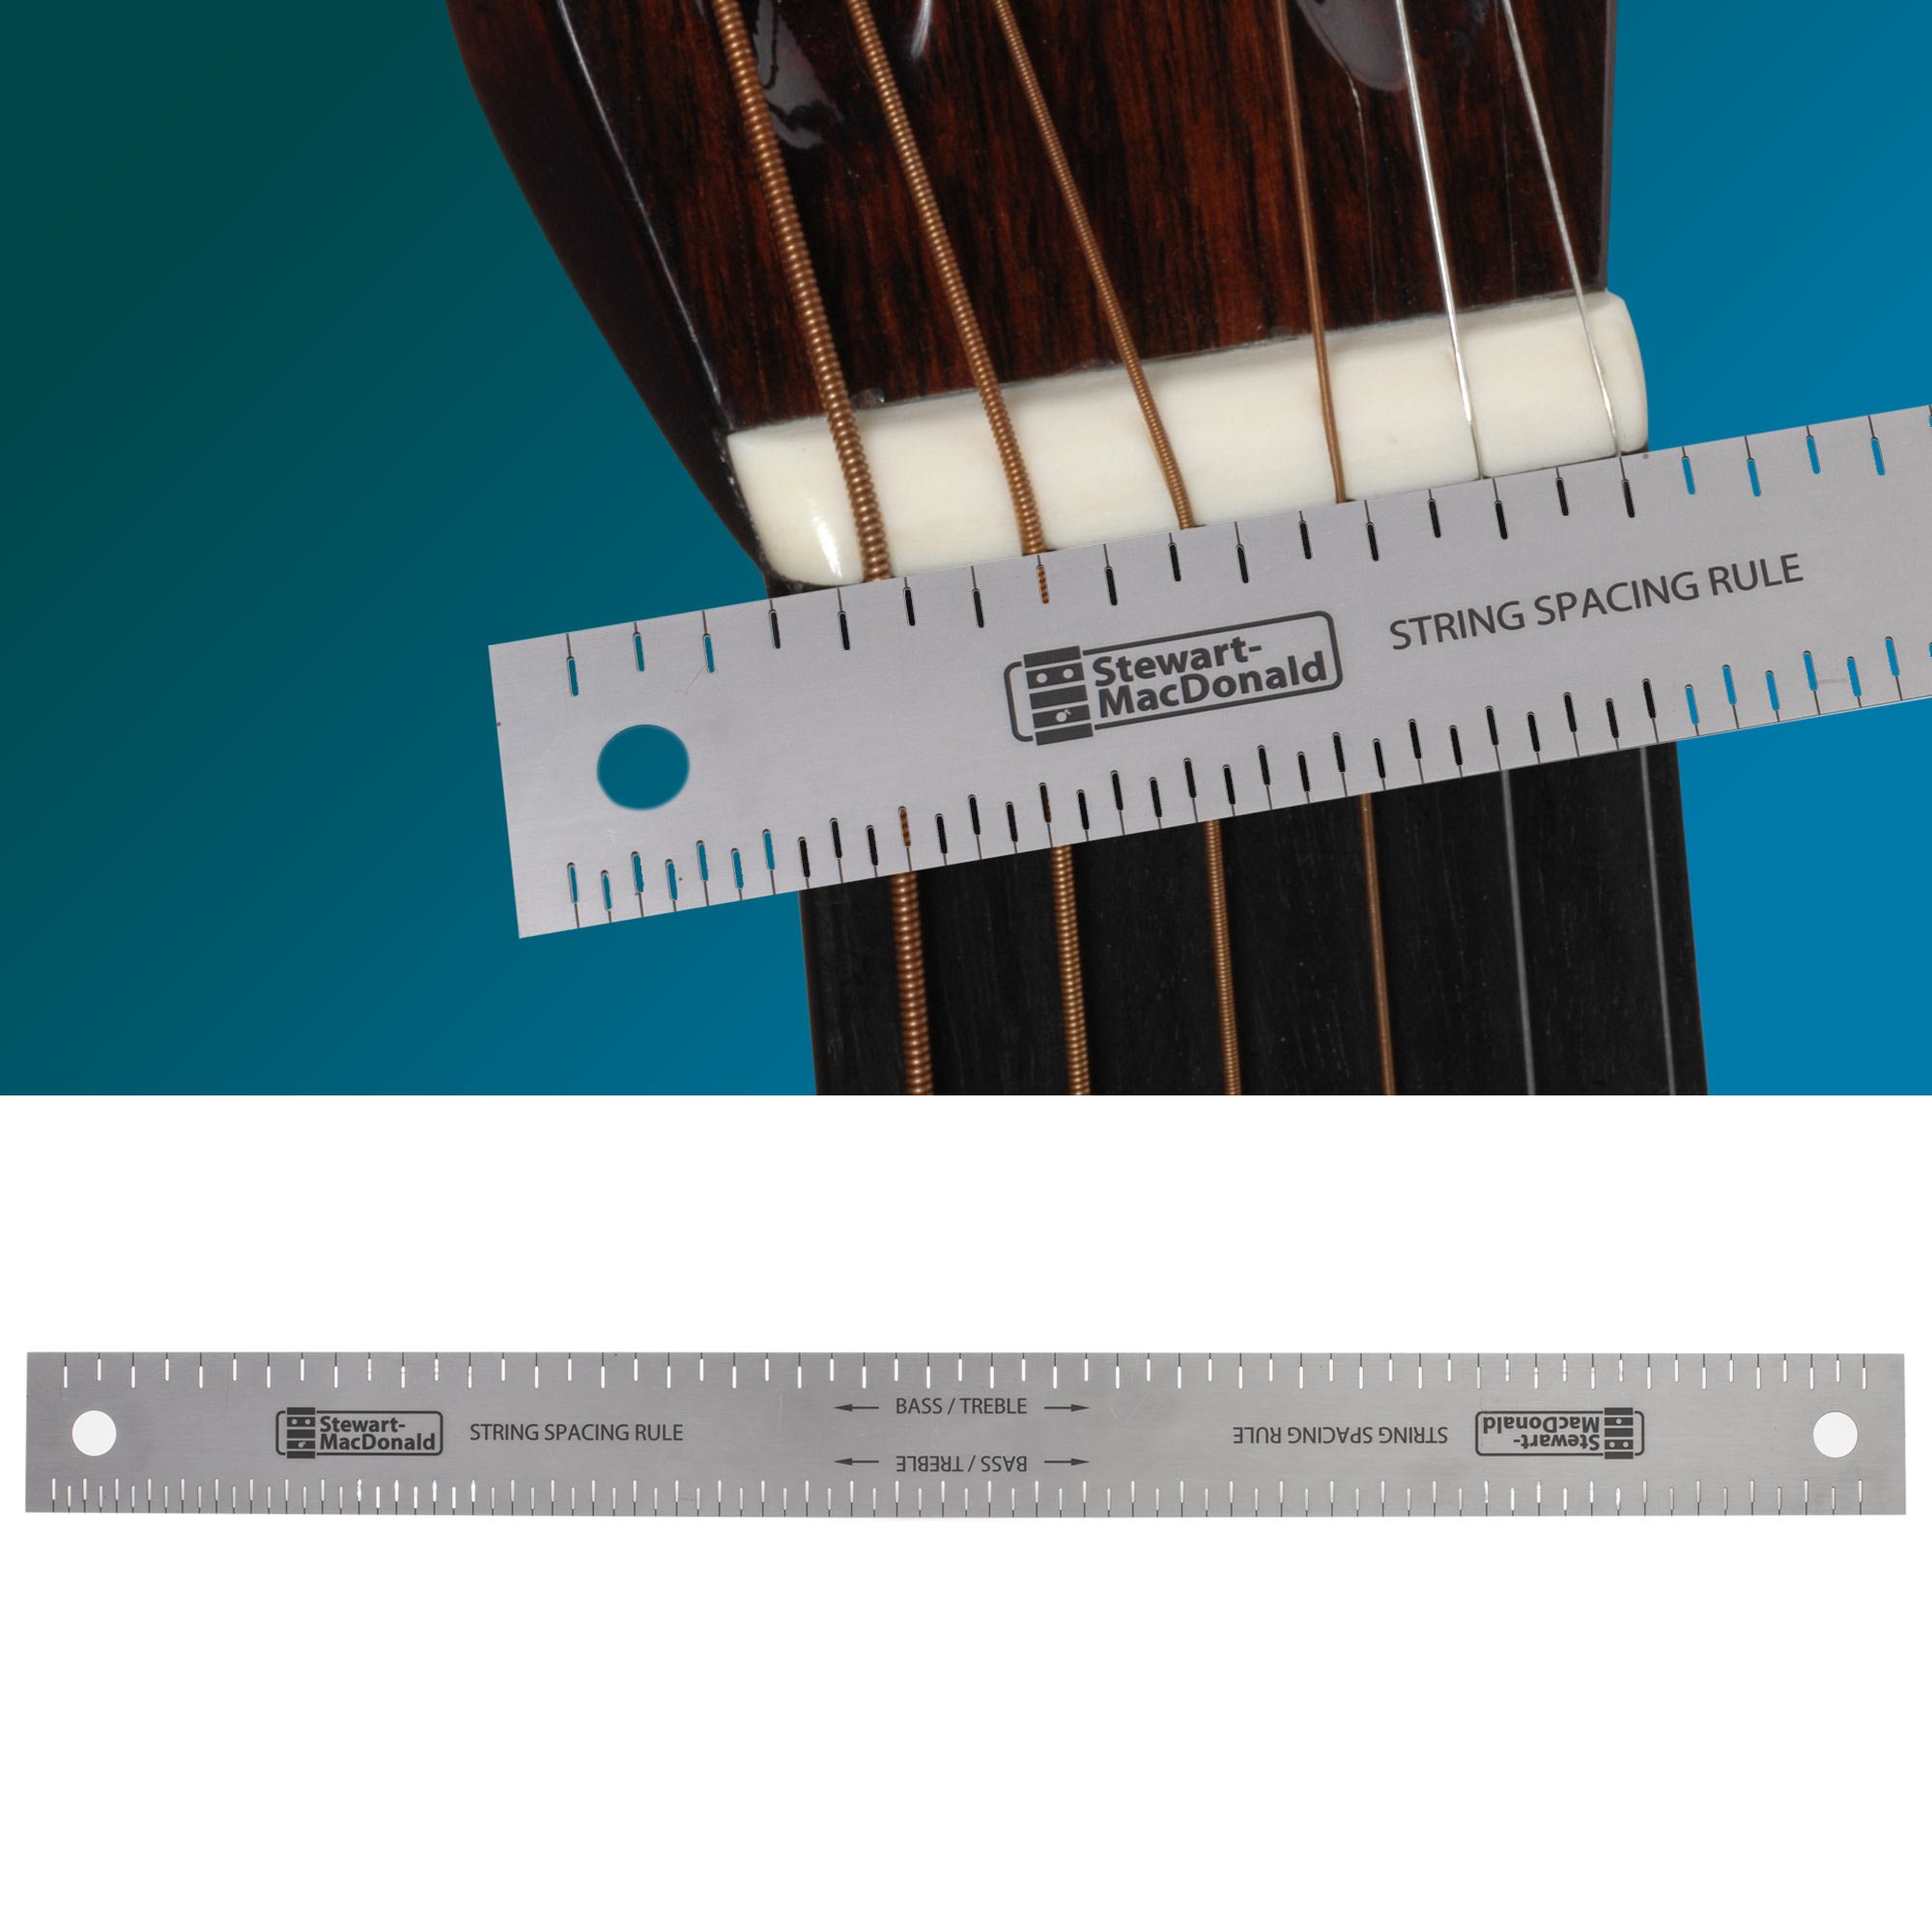
With the outside E strings where I want them, I space the rest of them with the StewMac String Spacing Rule. It doesn't make the strings equal on center, it's proportional, because the wound strings are fatter than the skinny strings and if you space them equally, they get all crowded down on this side. If you're a finger picker, this is way good. Once I get them lined up with the marks on the rule, I'll do the same thing, make a press mark, cut a starter notch, and then I'll switch to the actual files for each string.
[Dan positions an understring radius gauge under the strings]
Deepen the slots
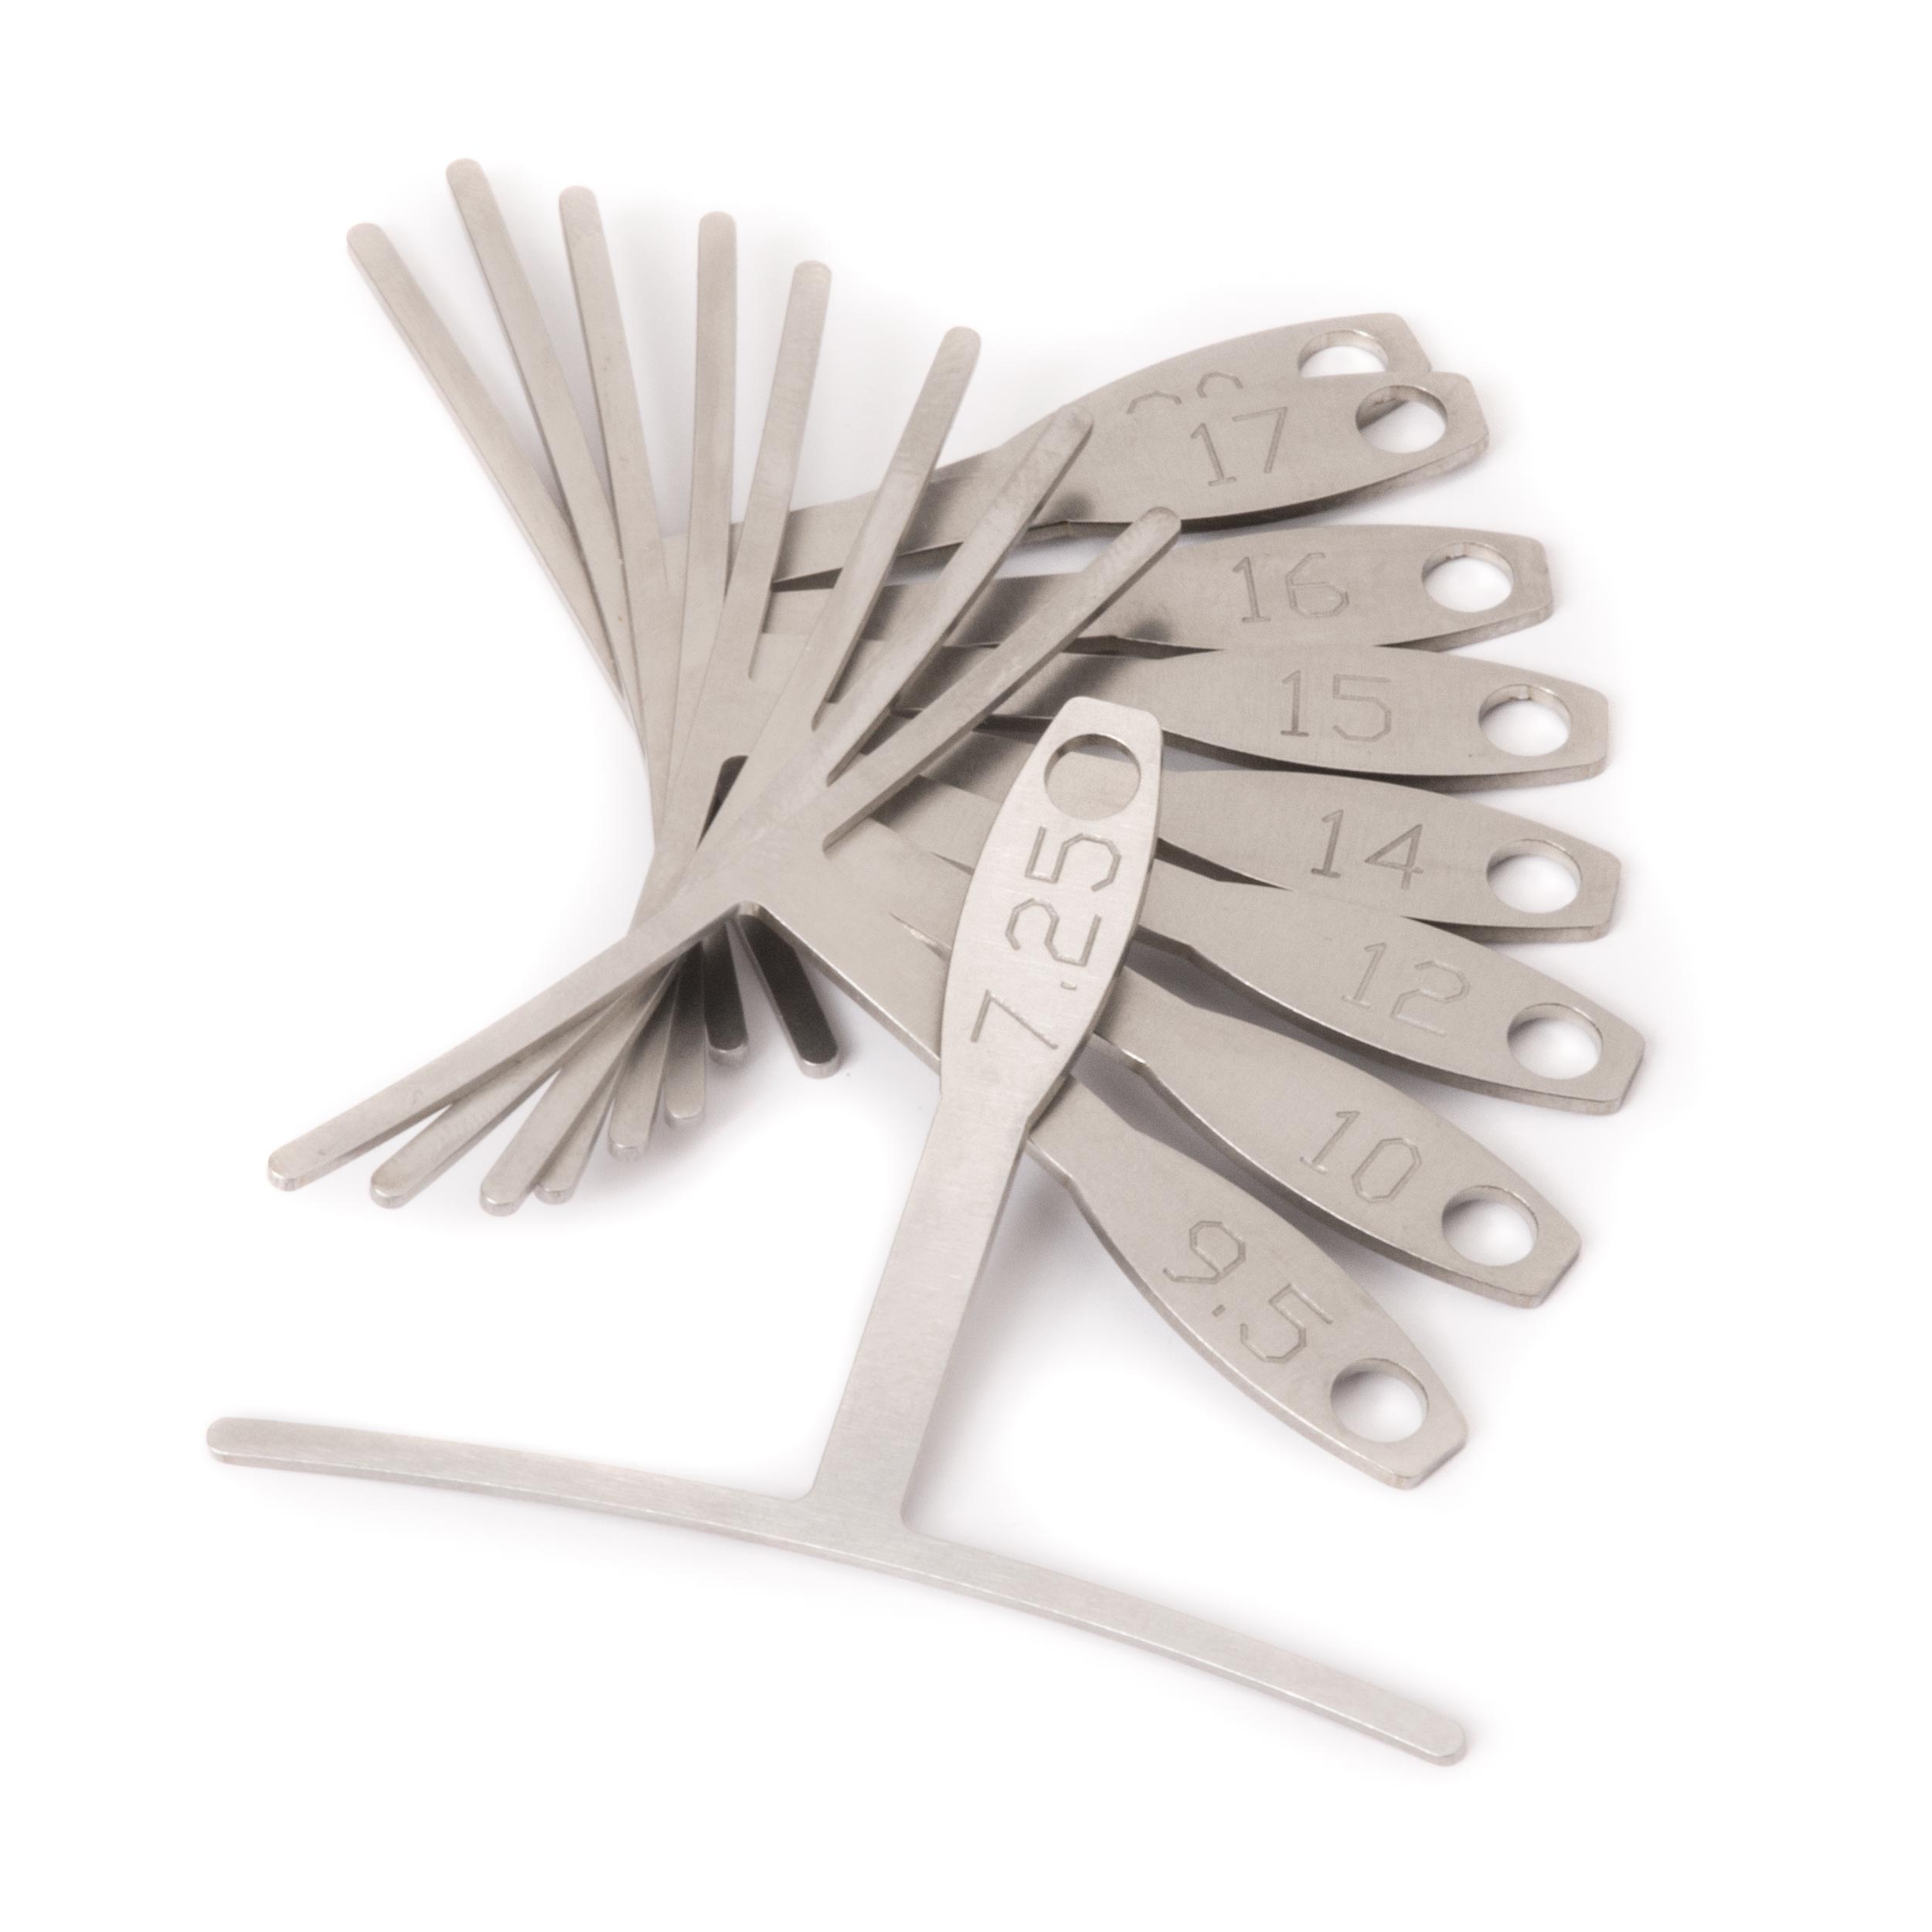
Now I've shaped the top of this saddle to a 10 inch radius [on-screen text reads: StewMac Understring Radius Gauge], but I need to deepen the slots to hold the strings and that'll change the radius and I'll have to check as I go. I'm going to start with the D string, which is a 33 thousandths diameter and I've got a little nick in it, which will catch my file. This is 28 thousandths file, that's smaller, I like to start smaller than the actual size. I work my way up to it. If anything, I want to keep a slight back file to it leading off towards the front edge. And they don't have to be really deep slots, enough to hold the string when you're picking. That's pretty good. That will probably change the look with the under saddle gauge a little bit, because as this string drops, it pushes this one away. So, I'm going to drop all the strings with the appropriate file, until they all have a nice notch and the under string gauge meets them all.
Burnish the slots
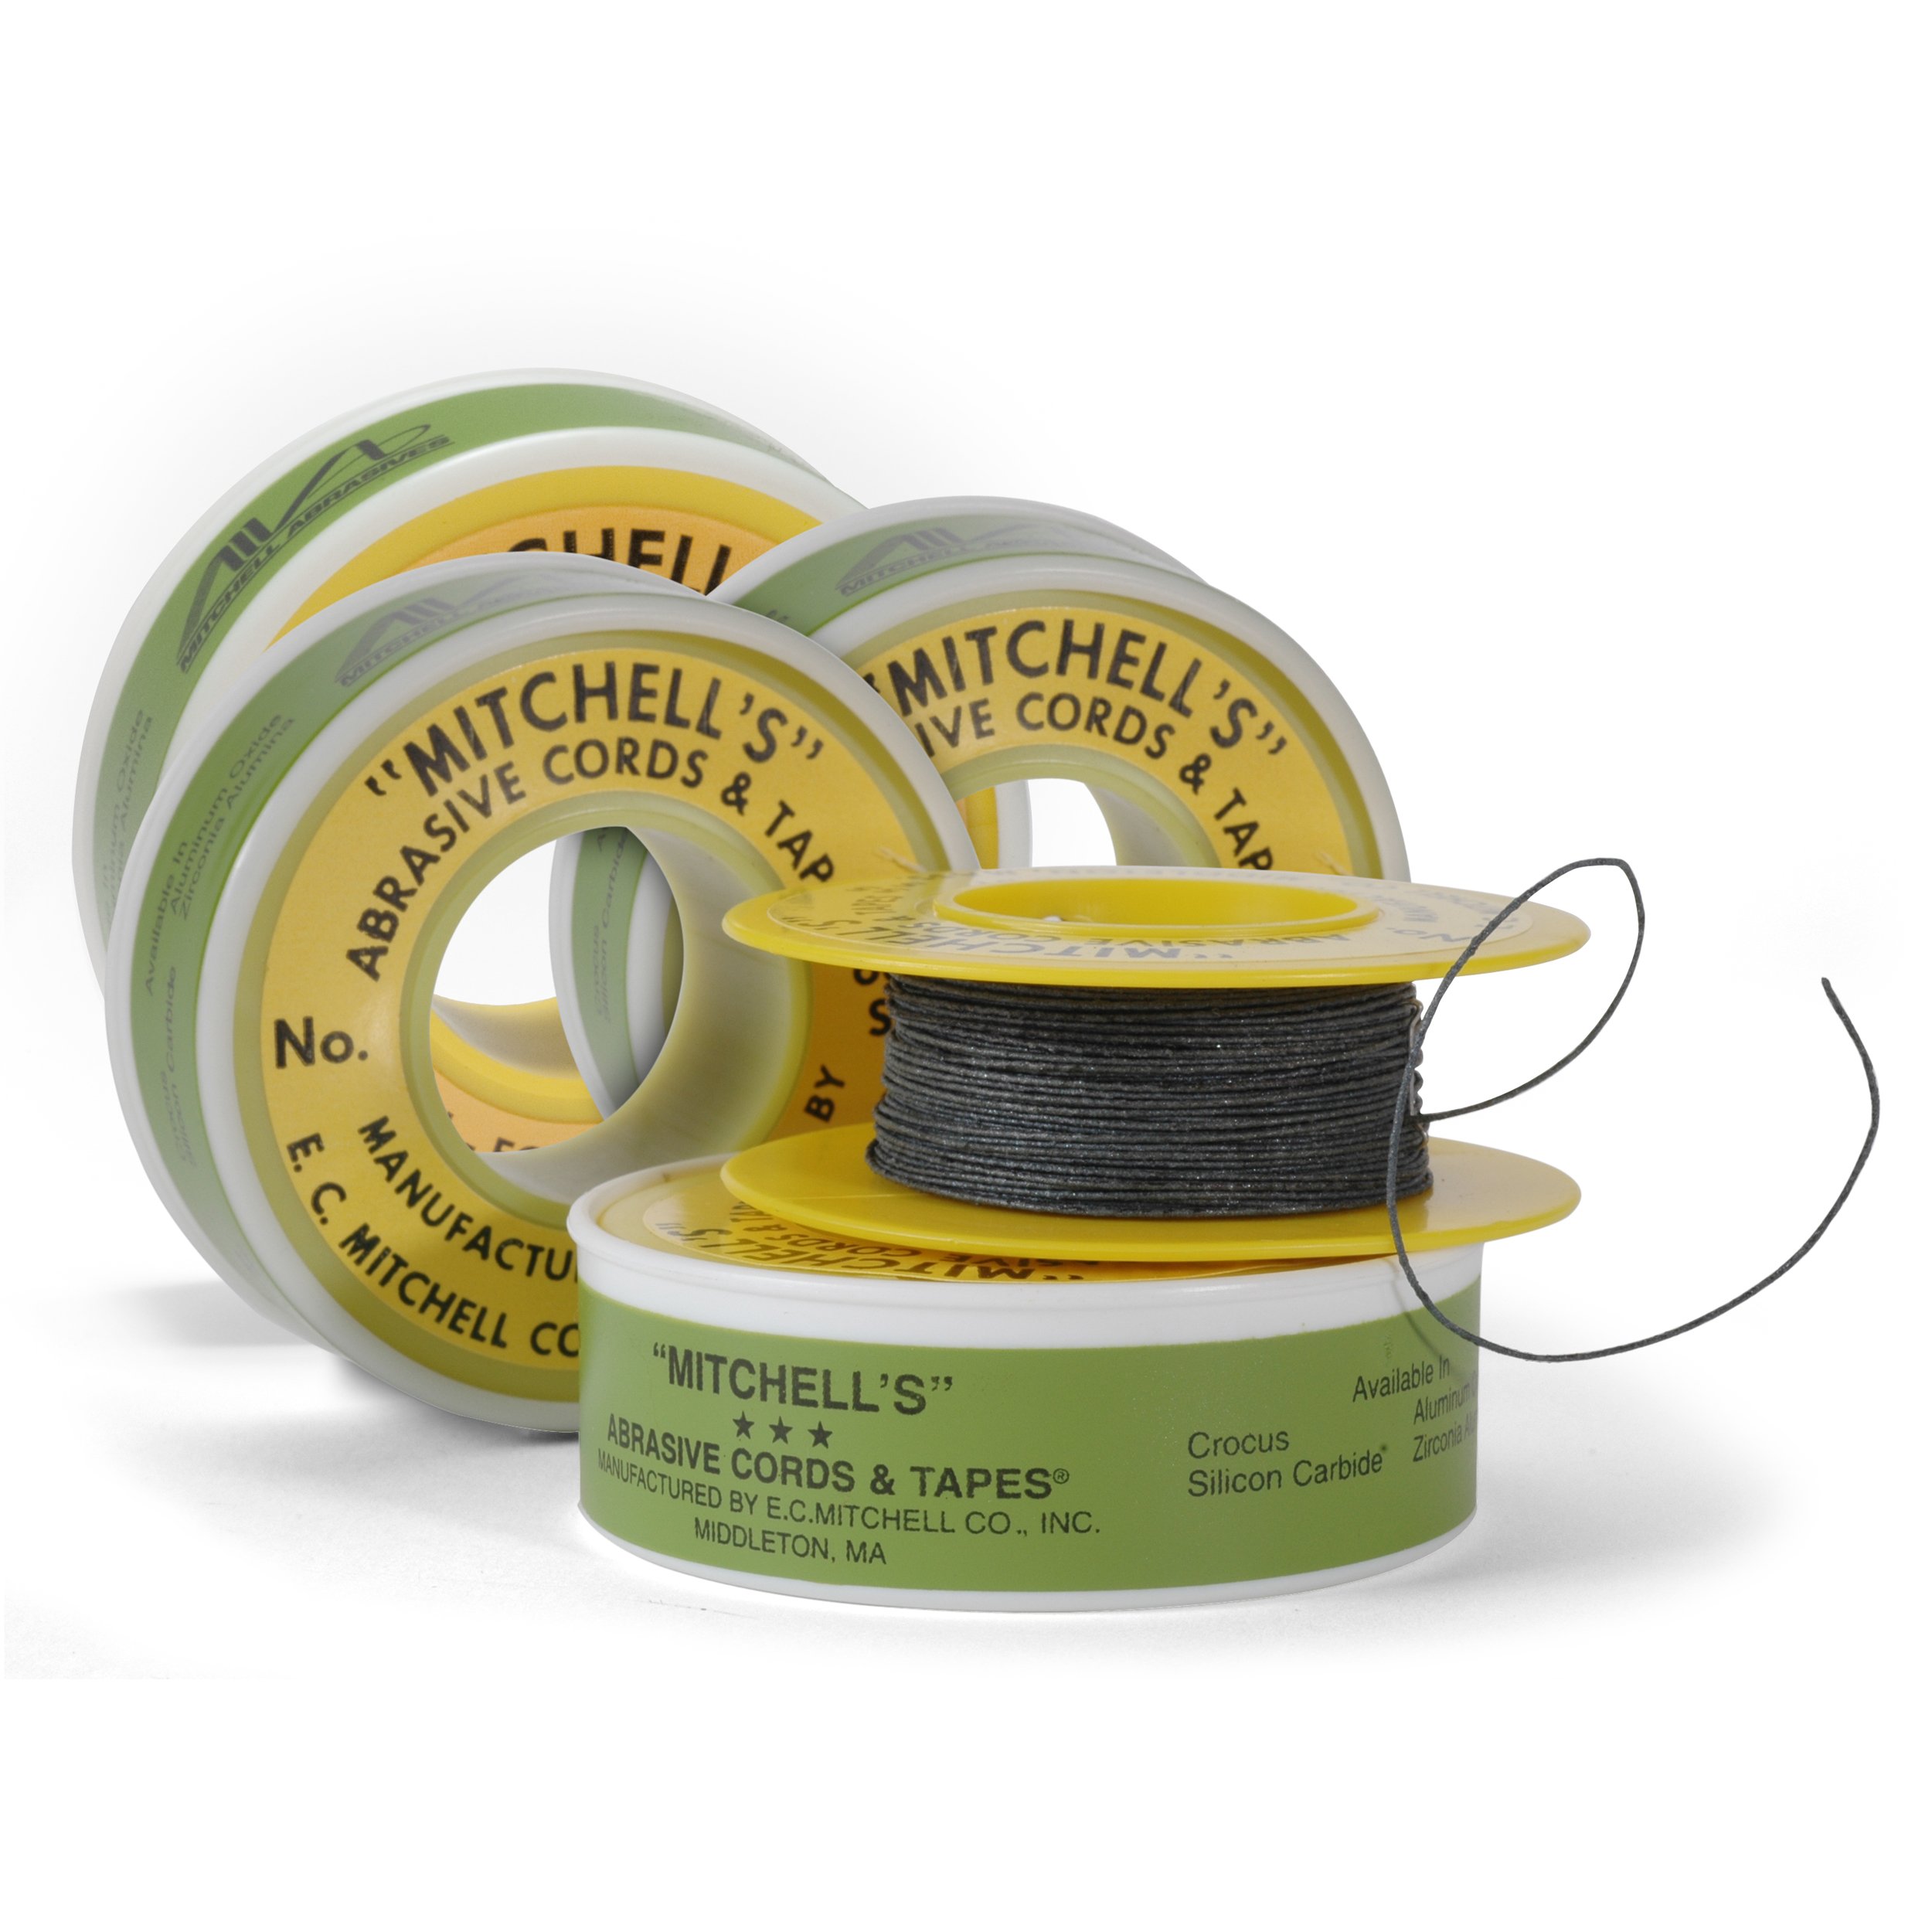
That's a good start on the D, I can make it a little cleaner. This is a Mitchell Abrasive Cord, imagine string with a sanding grit on it. That comes in after the files and does a great job of adding a roundness to it, because it's a round string and it smooths and rounds all the marks. It's a really good finishing touch. That's all I need on this bridge, it's very hard Brazilian. Sometimes on a softer wood, I might follow this with dental floss, or a different piece of string to burnish it and make that wood hard. I'm going to play this thing and see how it feels. The owner of this guitar, Tom Munch had bought it new when he was 16 and that was in the late 40s and I think Tom's about 83 now and he just started taking guitar lessons. Isn't that awesome? Tom, this is going out to you tomorrow.


