Rich Robinson's ES-335: making new tuners look old
Issue 313 September 06, 2018
Rich Robinson of The Magpie Salute and founding member of The Black Crowes asked Erick Coleman to install tuners that match this Gibson’s original factory machines. Erick shows how he made the new tuners look as old as the guitar.
- 3-ring vs. 2-ring knobs: keeping it true to vintage
- Removing and replacing tuner knobs
- Making vintage tuners fit the big holes left from Grovers
- Aging the plastic knobs so they're period-correct
Video Transcription
[on-screen text reads: Stewart-MacDonald - tools + ideas for guitarmaking]
Changing Rich Robinson's tuners back to vintage
[music playing]
Erick Coleman: Rich Robinson recently sent this guitar home with me [on-screen text reads: The Magpie Salute "Send Me An Omen"]. It's a late '60s Gibson ES-335. So I could get it tuned up for an upcoming tour with his new band, the Magpie Salute. You probably remember Rich, he's the founder of The Black Crowes, and he's also a notable fan of vintage guitars.
Just looking the guitar over, one of the first things that I notice is that it had previously been fitted with a set of old Grover Rotomatics. It would've originally come with Kluson tuners on it. And a real popular mod in the late '50s moving on was to take off those old Klusons and put on a set of Grovers. They were considered a smoother tuner, a better machine, and an upgrade at the time. But being a fan of the vintage vibe, Rich wanted this guitar to restore the look it had when it left the factory.
Making vintage tuners fit the big holes left from Grovers
What we're going to do today is reconvert this tuner from the Grover conversion back to the Kluson configuration that it would've originally had. When you're reconverting the tuners, it's not as easy as just putting the old tuners back on. There are some hurdles. The main thing is the pegholes had to be enlarged to accept the body of the Grover. The Grover has this weird little collar on it here to help it fit snugly, and it required the enlargement of these holes in order for it to be a good fit. So that causes a little bit of a problem because a vintage style bushing drops in. It's supposed to be held with friction, but there is none, and it just kind of swims around in the hole a little bit. And I could take it out with my fingers, which I shouldn't be able to do. So we have to figure out a solution to that.
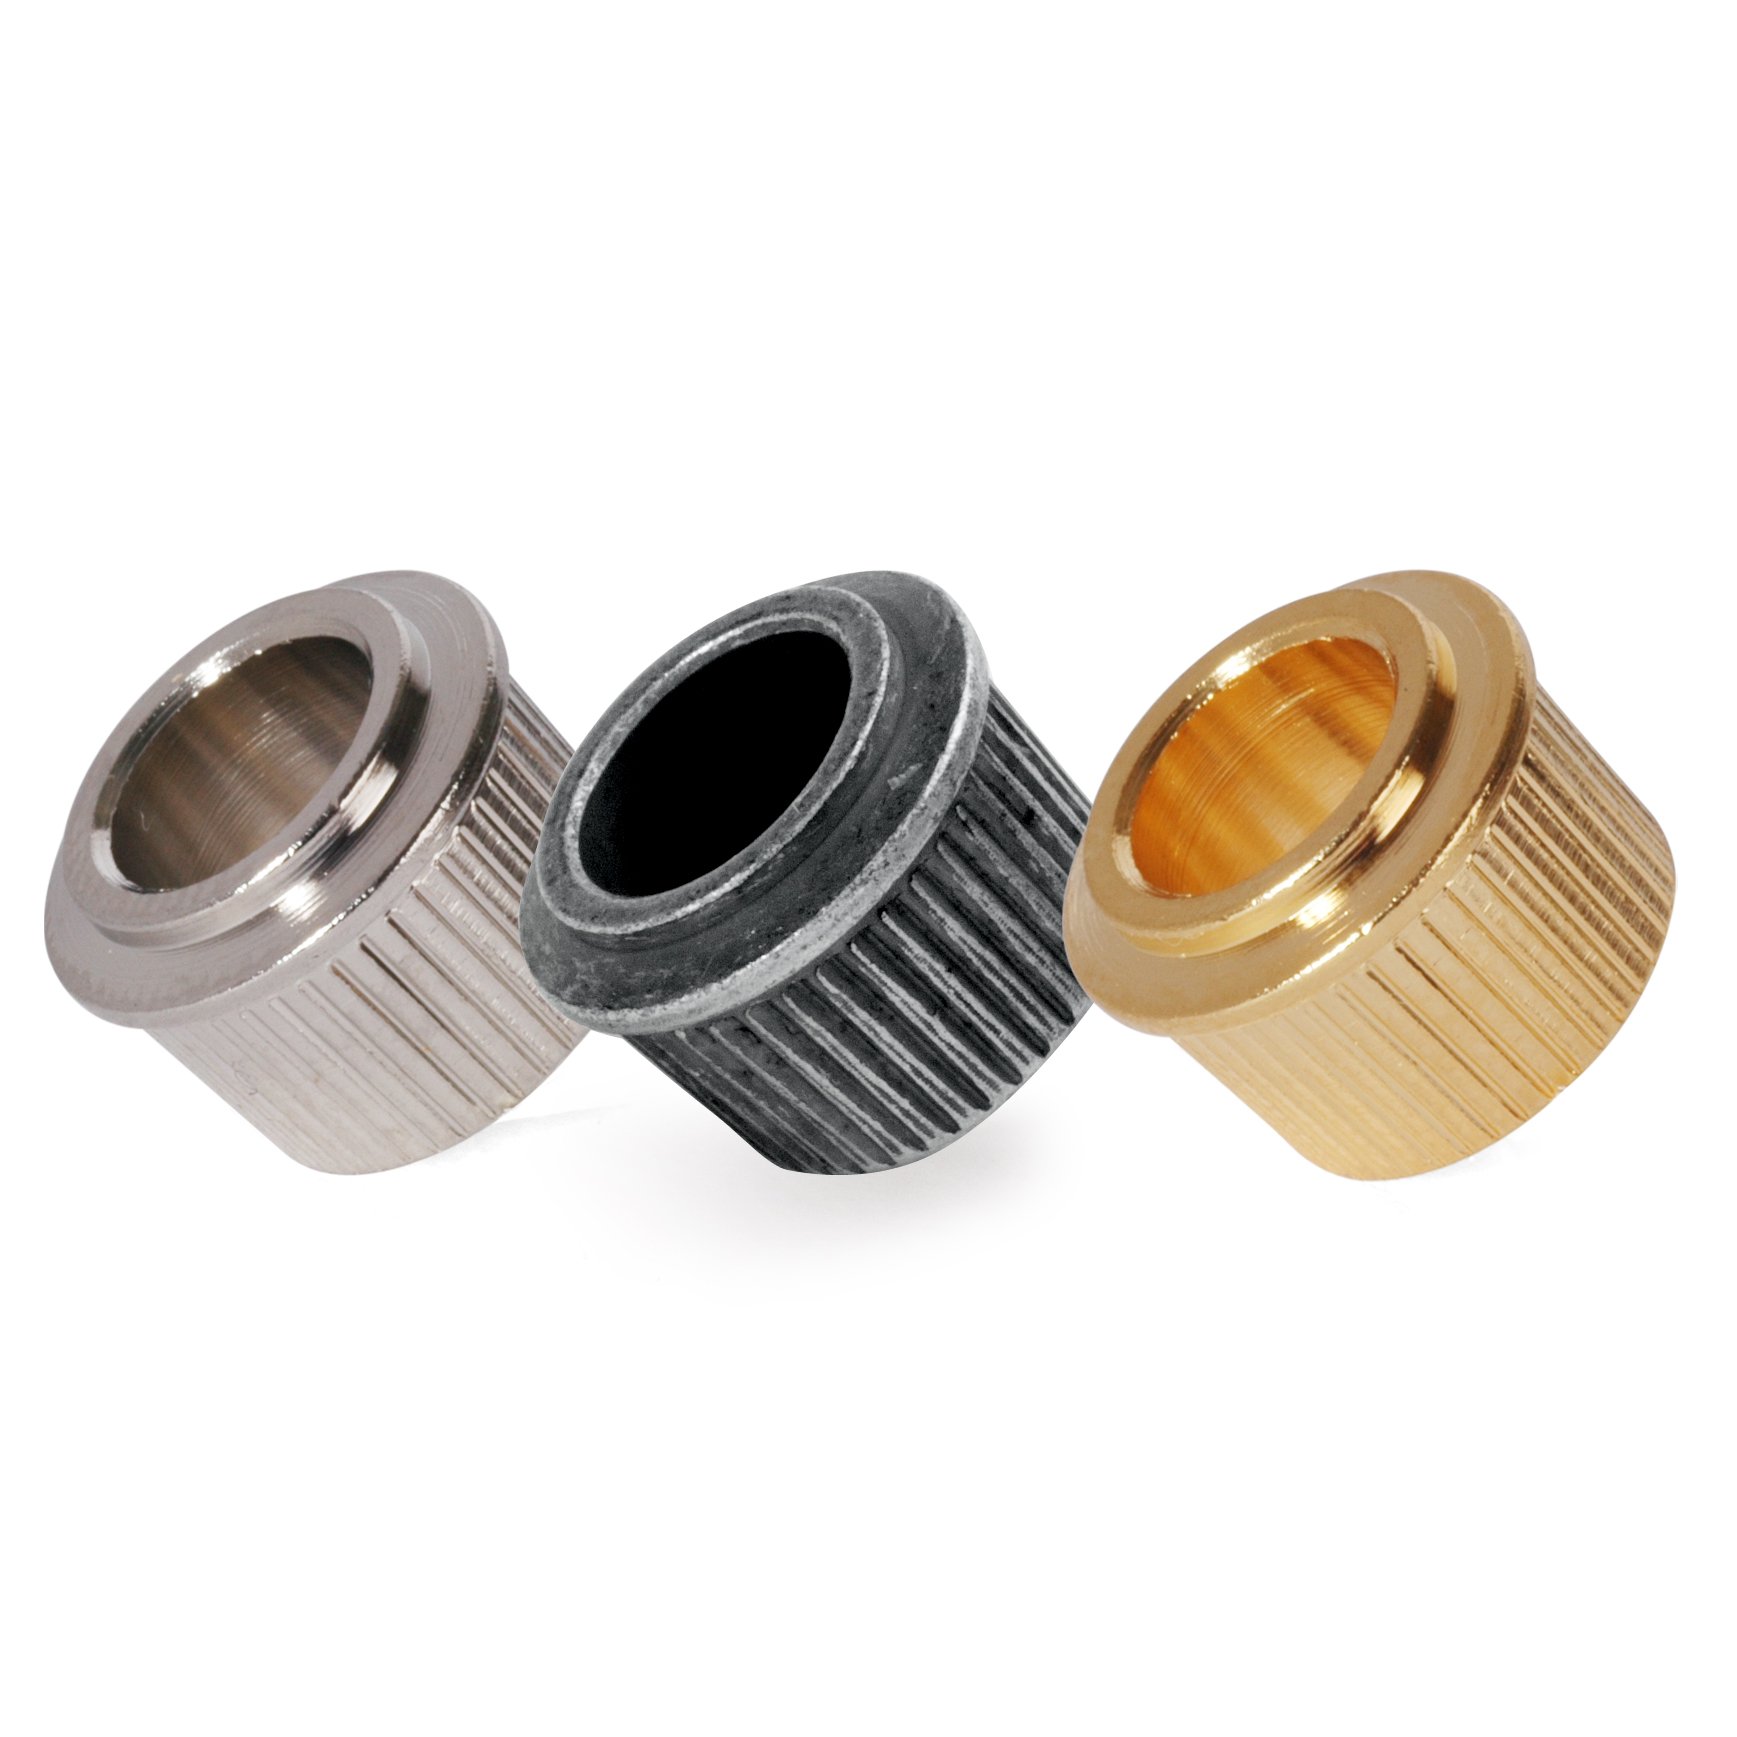
So when I was talking to Rich about the approach we were going to take for this, I gave him the options, one of which is plugging the holes with a hardwood dowel and then re-drilling them to the proper vintage diameter to do the reinstall. Another method is using a very thin veneer to go around the inside of the hole to reduce the diameter of it and install the old bushings. But what we decided on was to just use a conversion bushing. It's a quick, really easy way to do this job. So that's what we're going to go with. We're going to go with a Round Conversion Bushing. So a conversion bushing, it looks a lot like a regular vintage style bushing, but it has a larger outside diameter to fill up the space caused by the modified pegholes. I'll flip these over here and you can see what I'm talking about.
Reaming the pegholes
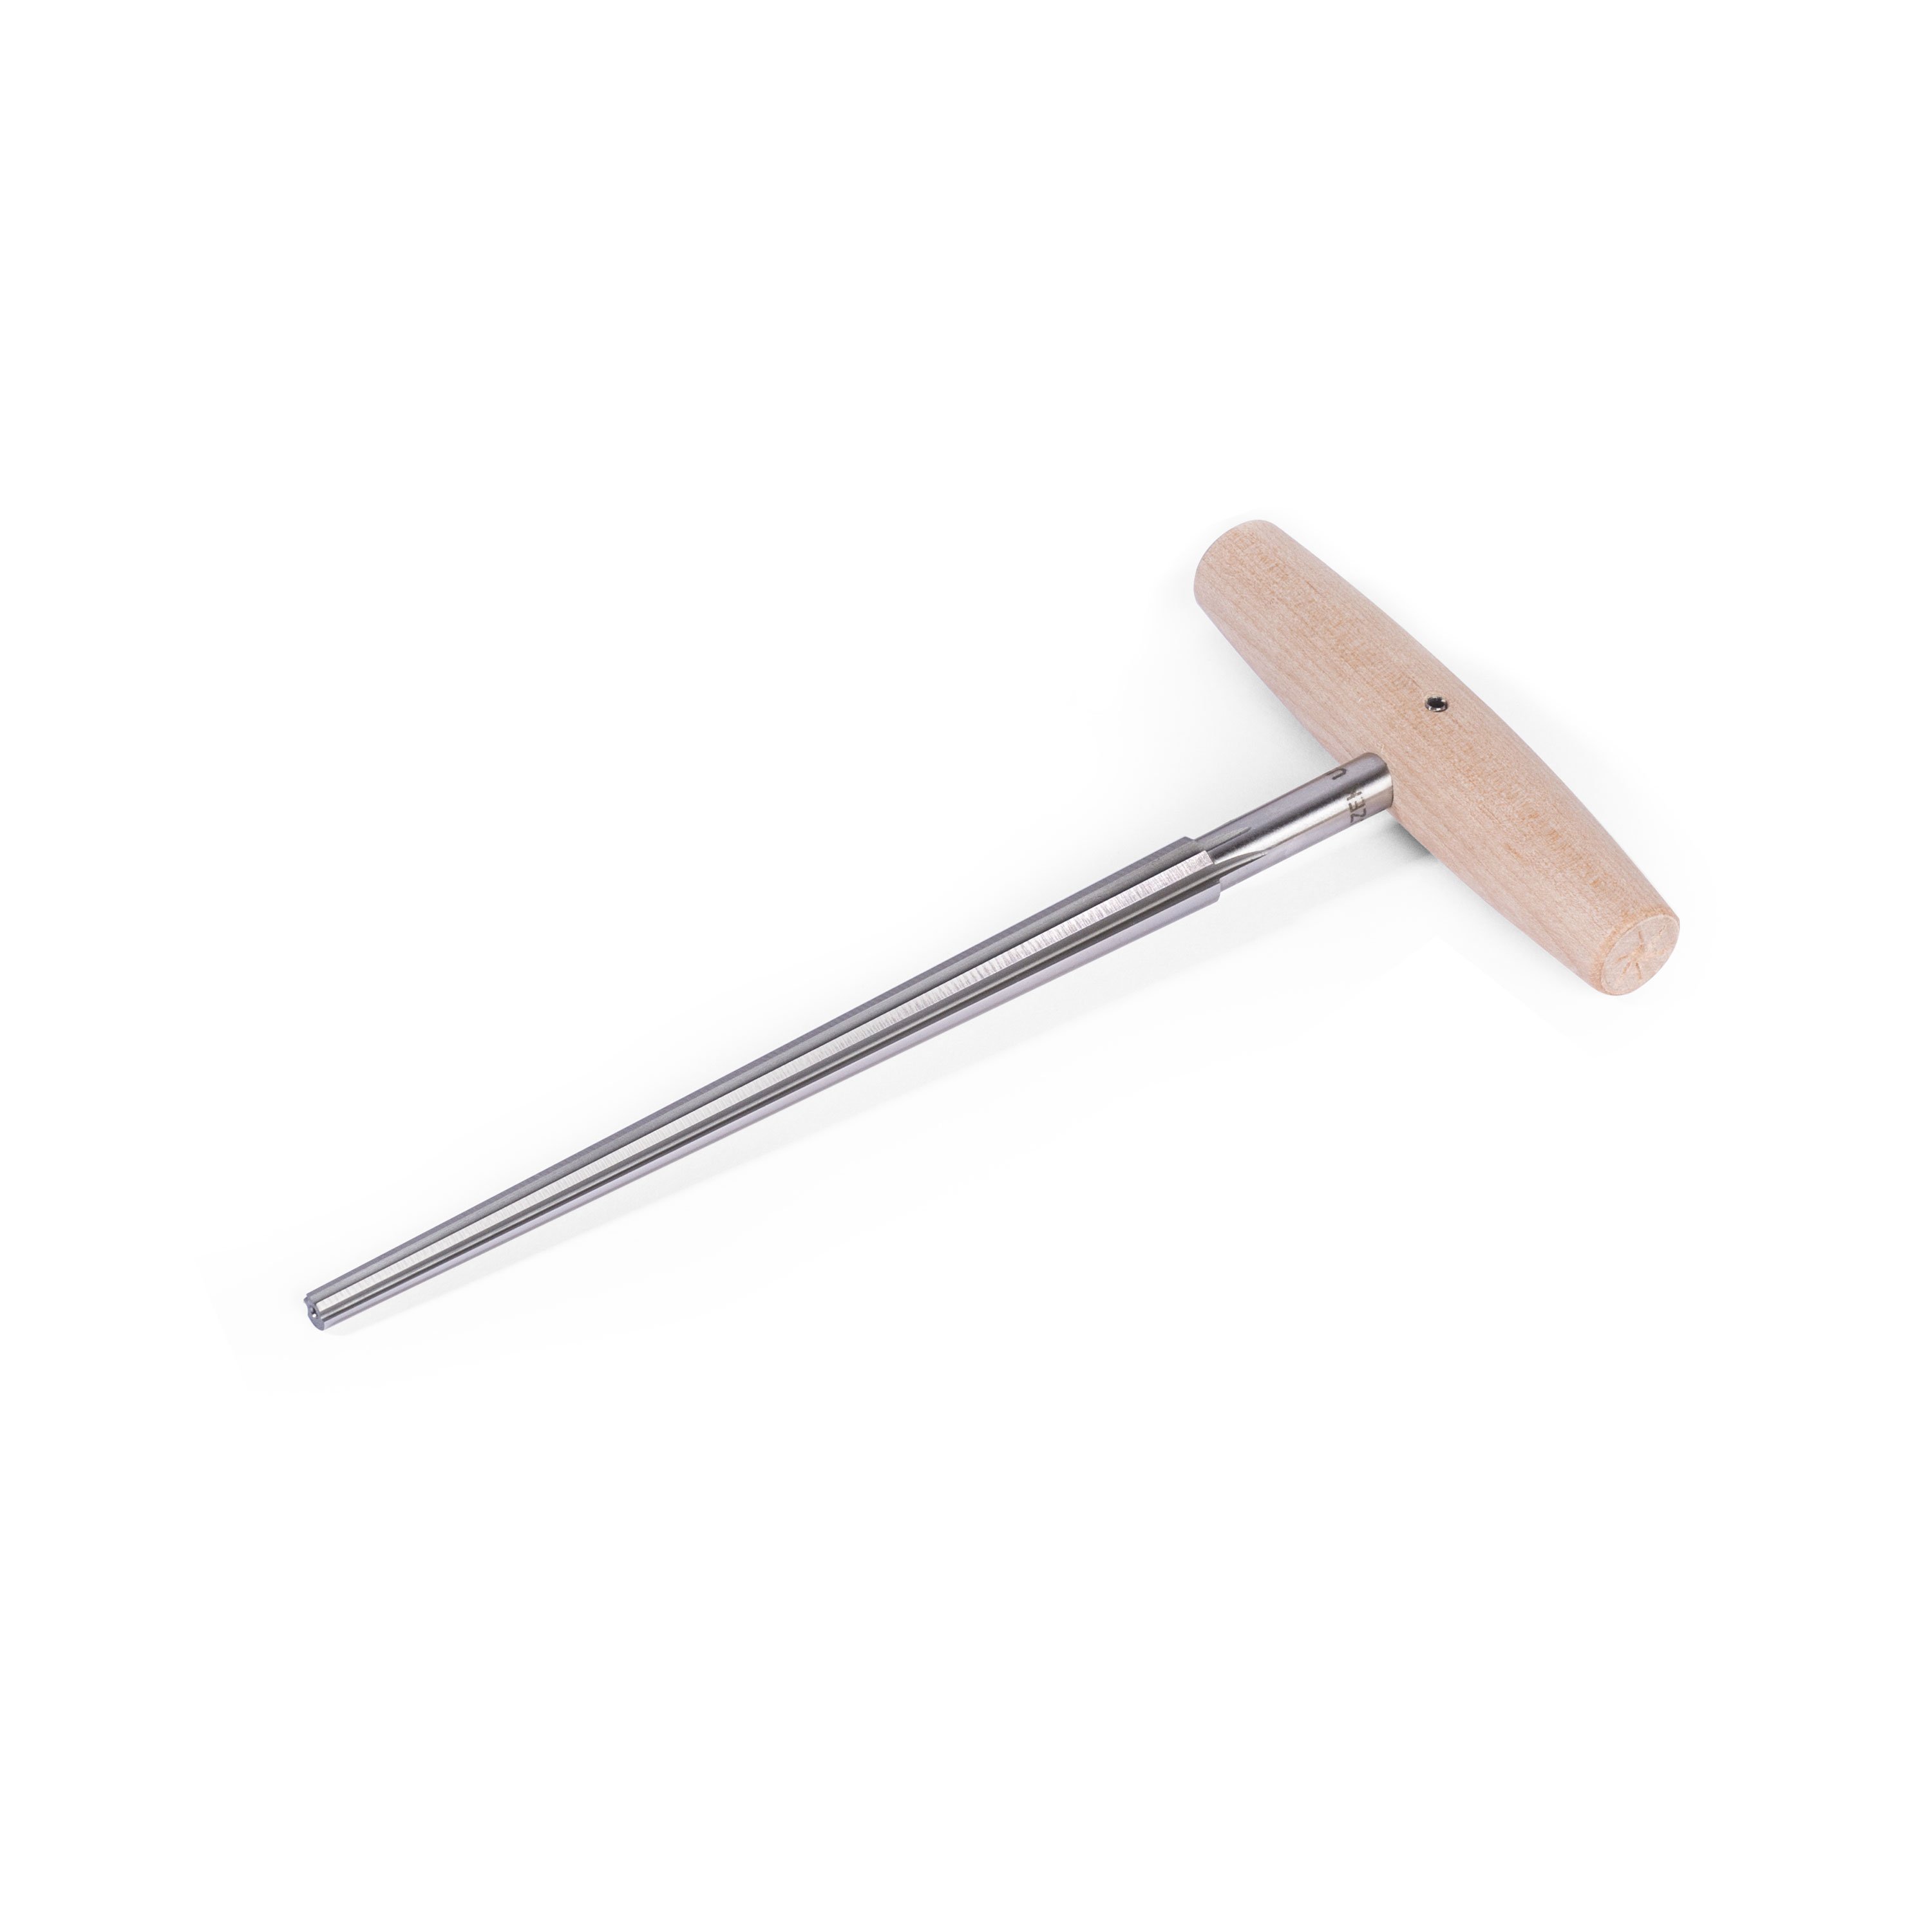
The vintage tuner has a much thinner wall than the conversion, and that's what's going to allow us to pull this off easily. Now it's time to install the bushings. They're a really close fit. They're just a little large for the pegholes. I don't want to press them in because if they're way too tight, the risk of splitting the peghead down the ears is a strong possibility. But on the other side of it, if they're too loose, the bushings won't stay in. So I have to really carefully ream these for a perfect fit.
[Erick sets the Peghole Reamer into the tuner hole in the peghead and slowly turns the reamer]
This is the large tapered reamer. I'm going to go a little bit at a time. I'm going to check my work frequently to see how they fit. Still not there. Don't want to rush it. Definitely don't want to rush it, because you can run into problems if you do. So there's another nice slight turn or two. All right, there we go. Starting to seat in the hole. Again, I don't want to go too fast. I don't want to overshoot it because I want these guys to stay snug for the rest of their lives here.
Okay. That's nice. It's going to go in without a whole lot of pressure, and it's going to be nice and snug. Once you find the sweet spot, mark it on your reamer with a piece of tape so you know where to stop when you're reaming the other holes. I'm going to go ahead and press this guy in so we can get a good idea of fit here. All right, nice and snug. Looks good. Now that I know how deep I need to go with the reamer, I'm ready to knock the rest of these out and install these bushings.
[singing]
3-ring vs 2-ring kobs: Keeping it true to vintage
Whew. It's always scary to do that on a vintage peghead. It's time to choose the tuners for this guitar. I'm not going to put a bright, shiny machine on there, a nice, new-looking machine because it's a vintage guitar. It's old. It's got some bumps and bruises, has a whole lot of character. A bright, shiny tuner like this will stand out like a missing tooth. I need to figure out another option. StewMac sells this really nice Gotoh Vintage Keystone style knob [on-screen text reads: Gotoh Vintage Tuning Machines - stewmac.com], but there's a catch. The tuner that would've been on this guitar has a double ring around the bottom of the keystone. This is an actual old tuner that I'm using for reference here.
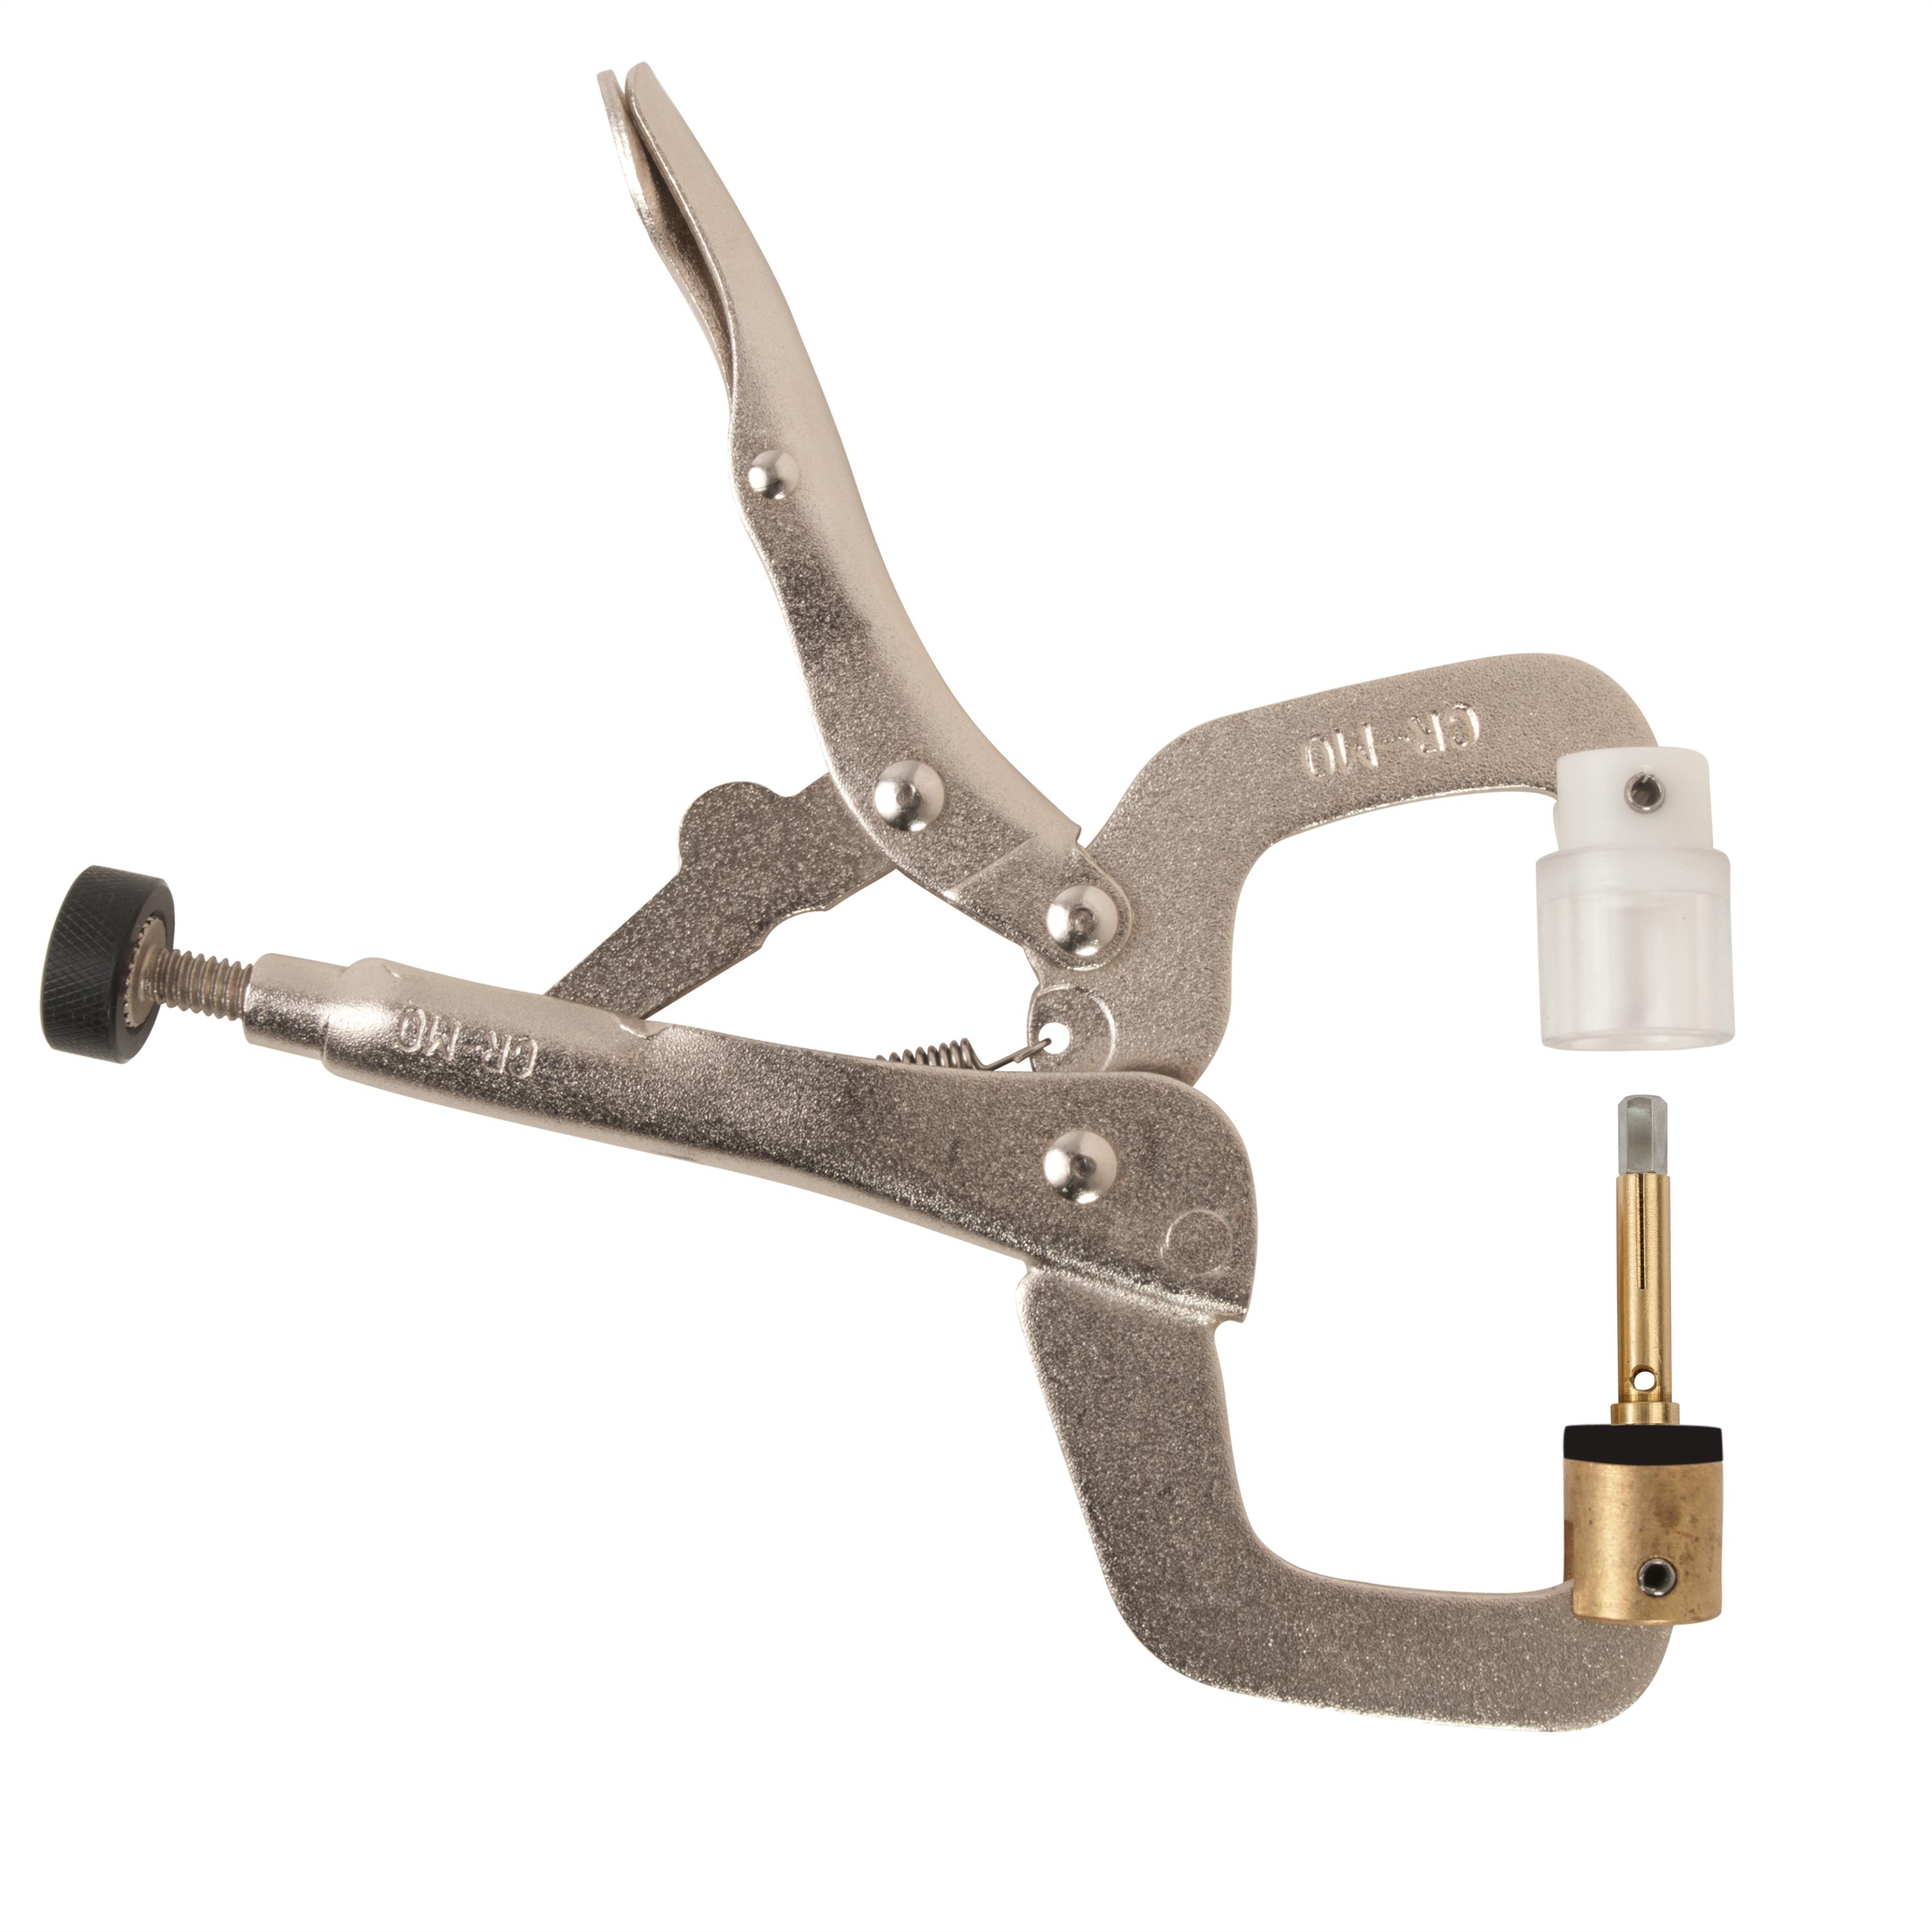
So if you look closely, you notice this is the style they used in the '50s, single ring at the bottom of the knob. Come the '60s, they started using this double ring configuration. So you can see the difference there. We don't sell a double ring machine, but we do sell a double ring knob. So what I'm going to do is modify the Gotoh vintage tuner with a double ring knob [on-screen text reads: Keystone Double-Ring Tuner Knob - stewmac.com] so we have the right looking tuner for this particular era of Gibson. Changing the knobs is actually pretty easy on these tuners. What I'm going to do is I'm going to get my Fret Cutters in here and I'm just going to cut right along the tuner shaft there. Just comes right apart, just like that.
Installing the new knobs on the tuner shafts
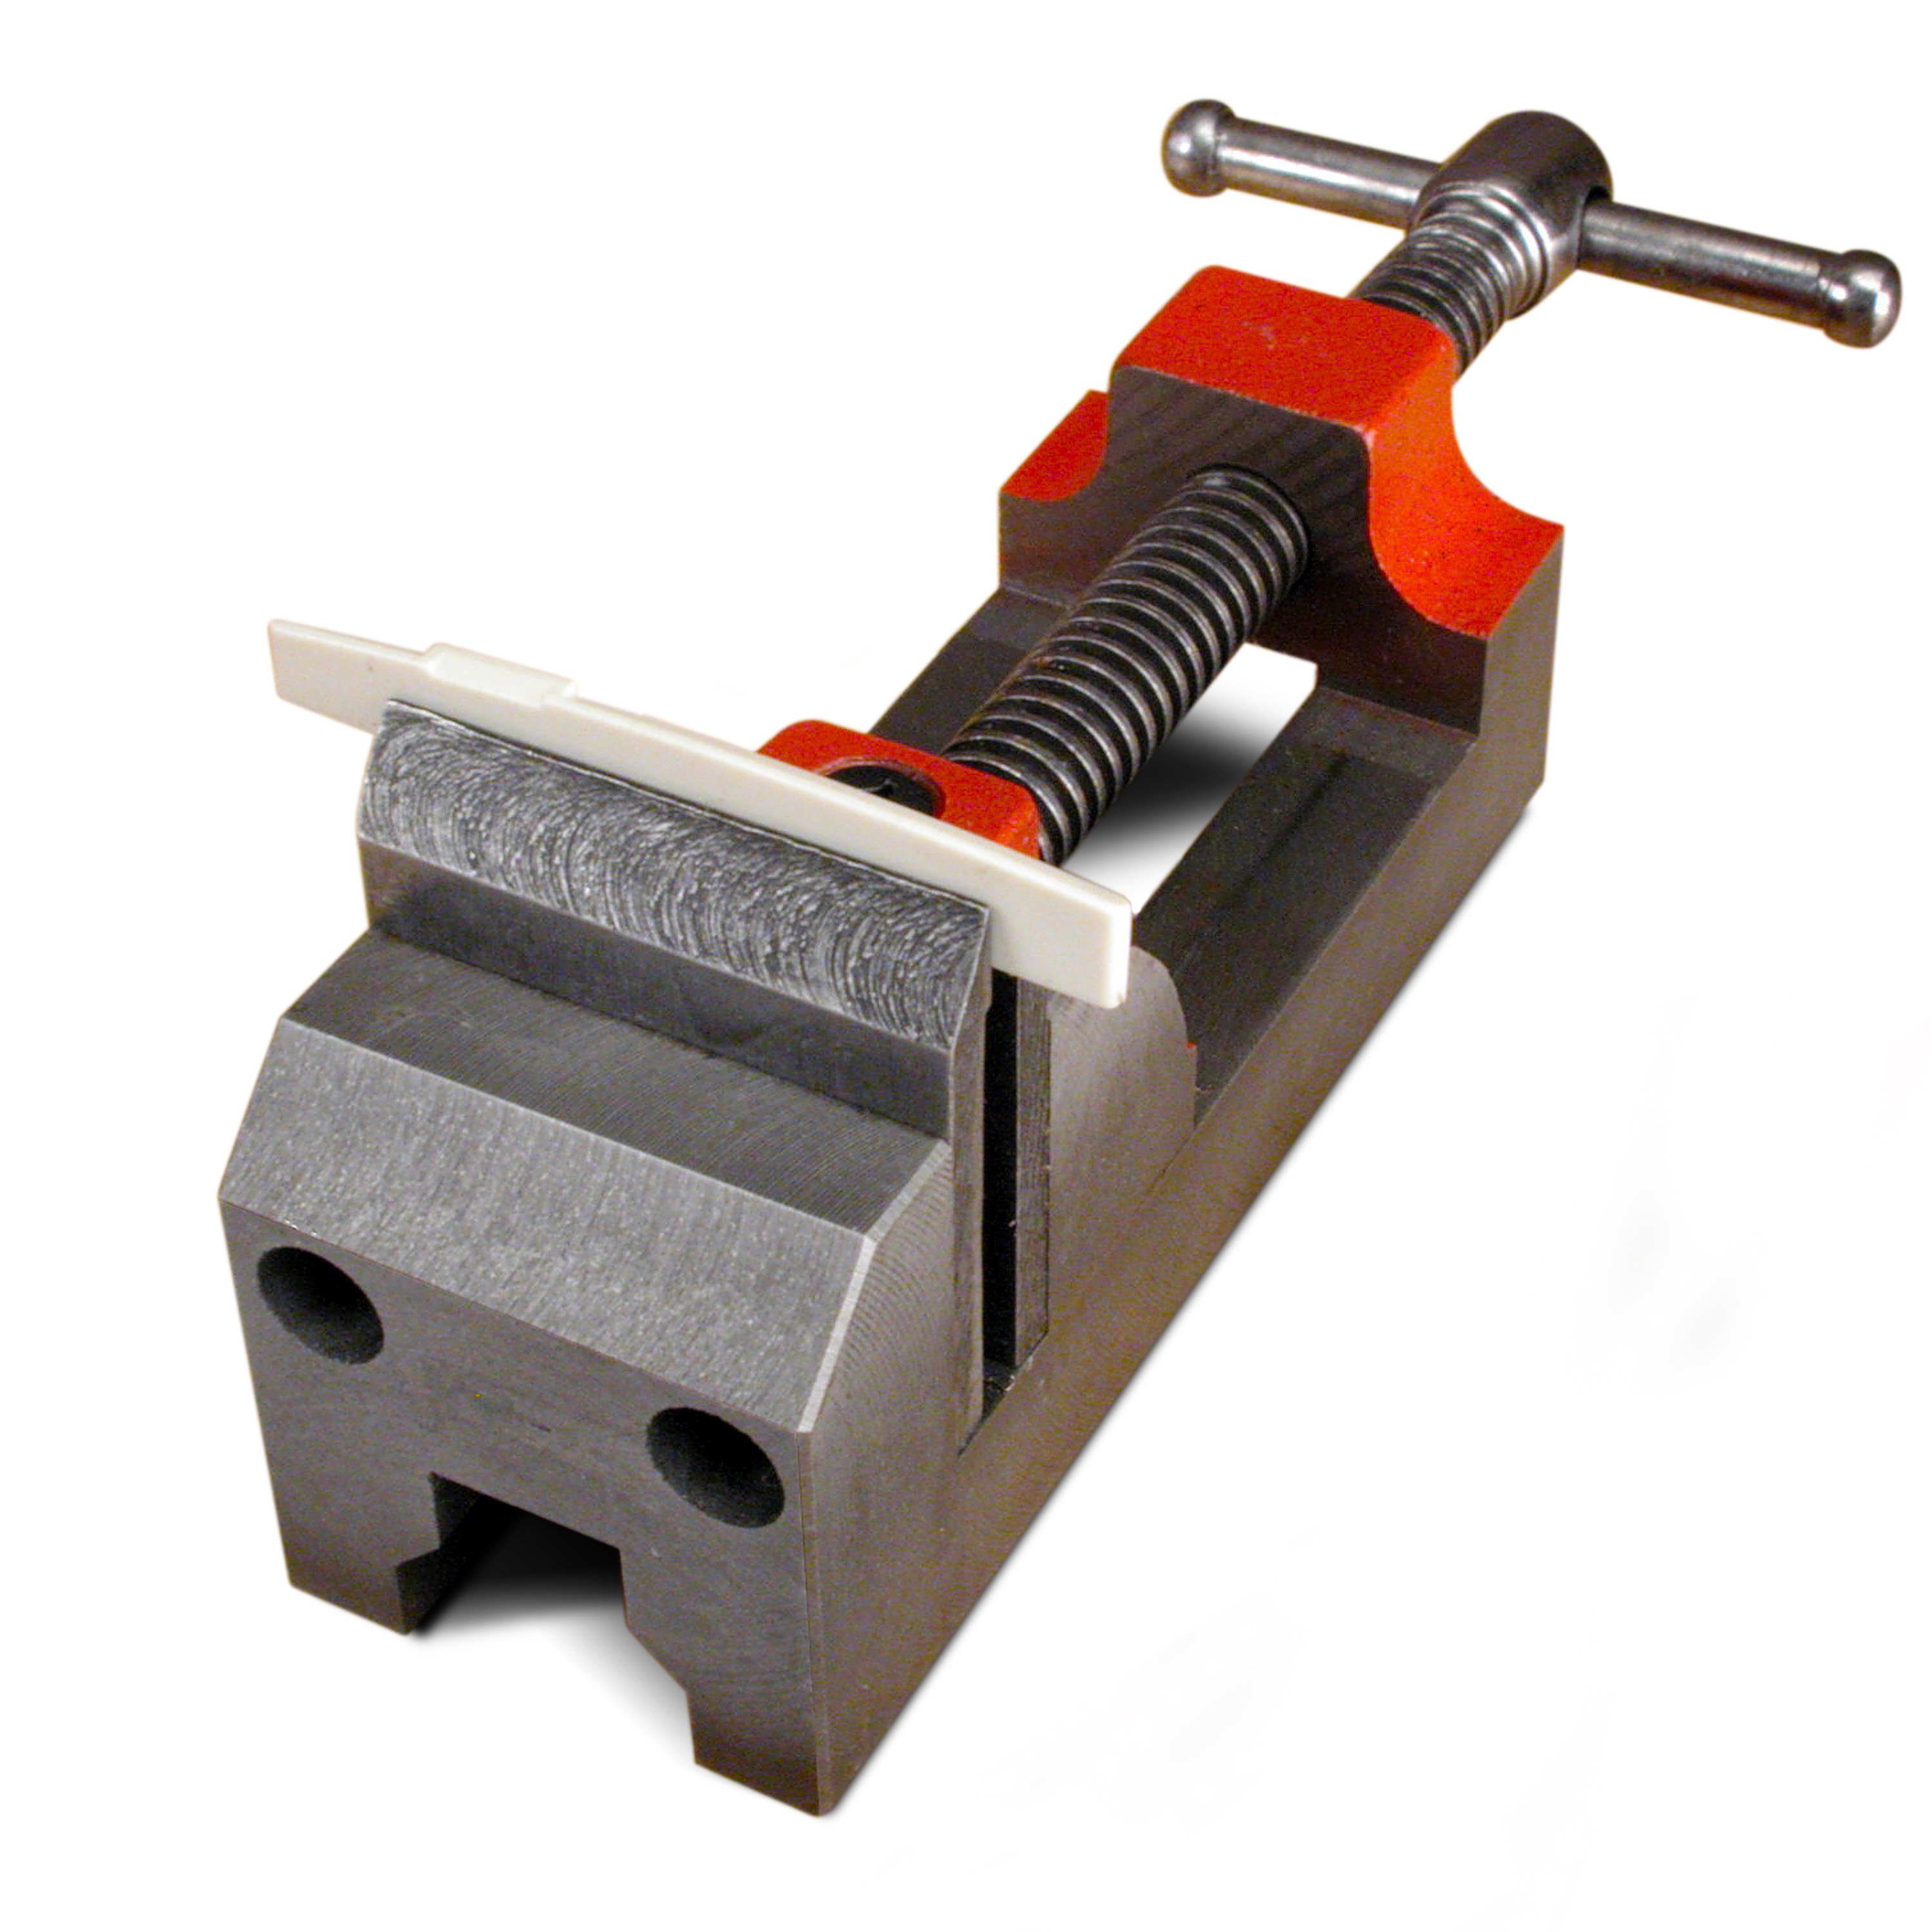
There's a little bit of glue left over from the other knobs. I'm going to get on those and just scrape that glue off just a little bit. Then I'm going to take the other knob, put that on accordingly. It's really only going to go on one way. And then just press it down until it stops, until you can no longer press it on with any finger tension. So now we're going to need to press that on further, and I need to do a little modification to a tool that I have here in order to do that. So this is our Nut and Saddle Vice. As it is, the jaws won't open wide enough to do the job that I wanted to do of pressing on this knob. On the backside, is two five-millimeter screws. I need to loosen those up. The jaw comes out, and I need to remove this spacer and then just tighten down the screws again into the jaws.
There's going to be a threaded portion that sticks out the other side, but that's not going to affect what we need to do here, so don't worry about that when you see it. So when clamping this into the modified vice here, you just want to clamp it just lightly to where it's going to hold it into place and then break out your Soldering Iron. I've got it at a medium-high heat. And then I'm just going to start heating the shaft of this tuner up a little bit. Doesn't take a whole lot. The heat helps soften the plastic, so the knob doesn't crack when you seat it. And now that I'm close, I'm going to put the iron away, and I'm just going to carefully and slowly drive that guy in. Pay attention, because eventually, the shaft is going to bottom out in the knob there and that's when you stop. That's when you take it out and you're ready to go.
These knobs fit on these tuners very, very well. It's a perfect fit, very tight, very snug, no movement, but there probably are some slight gaps in there. So what I'm going to do is I'm going to take some #10 Super Glue, very carefully run it into the gap there. I'm going to go real slow because I don't want to overflow it and get it all over the place. Right there. A little bit. I can see it running in, still running in. Let me turn it around, see the other side here. More glue running in. And that looks like that's where it's going to stop.
If you look right there real, real close, you're going to see a little lip of glue around the top of the knob going into the tuner shaft. So that gives you the indication that it's full. And then I'm going to go in and just sop up that excess just a little bit with this little paper towel that I folded over. While you let it dry, you want to clamp it in the upright position to allow the glue to fully cure for several minutes, shaft up so the glue doesn't run out.
Aging the plastic knobs so they're period-correct
Okay. The final step here is to put a little bit of age on these tuners, make them look like an old guitar would. So I'm going to use a few different things. I have a couple different ColorTone Stains that are diluted a little bit in Naphtha. I have some brown Kiwi shoe polish. Have a little pile of dirt off my floor. So I like to scuff them up a little bit with some sandpaper. I'm just going around the knob all over [on-screen text reads: 3M Flexible Polishing Papers - stewmac.com]. Bend it in a little crease, kind of go around the insides of the rings a little bit to scuff that up. And that's going to help them hold stain a little better, the stains that you're putting on there to make them look like they've been on there their whole lives.
Okay, so I'm going to set this down here. Put on gloves. When using the ColorTone Stains, I like to use two pairs of gloves just in case there's a pesky little hole in there, because you get this stuff on your skin and it's going to hang around for a while.
Okay. So what I'm going to do now is I have this vintage amber stain diluted with a little bit of Naphtha. I'm going to get in here, and I'm just going to go over this tuner with it. Gives it the kind of yellowy color you see in those old knobs. Using care to keep it off the shaft. But if a little gets on there, it isn't the end of the world. You're going to be wiping it off anyway.
Okay, there's that. Don't let it sit too long because you really don't ... this stuff will really dry and keep it a dark yellow. So once you get it all over there, then just can start wiping it off. You don't need to get all of it off, you're just working on the excess and all that. So if you look, this is what we started off with and now we have a nice little yellow tint. So now I'm going to take a little bit of tobacco brown. And again, this is slightly diluted with Naphtha. Same as we did before, just kind of get it down in the nooks and crannies of the machine. You don't have to totally cover it. Some few gaps here and there are good because none of those knobs age totally evenly all the way through. Okay. This is a little more dark, so what I'm going to do is get a little bit of Naphtha on to a piece of paper towel here. And then I'm just going to start wiping these off.
There we go. We're getting close. We have a slightly aged knob there. It's looking pretty good all the way around. I look at some old tuners. I have some tuners for reference. This is an old 1968 Kluson, and that's got a little bit of marks in it from getting bumped with whatever. So I'm going to take the scribe, maybe make a little line or two, something that might have happened to it back in the olden days. And then I get in and I cover this guy with shoe polish and work the shoe polish into those little nicks that you worked. And this is just the regular Kiwi brown. You can buy it at any drug store or grocery store or whatever. It's nothing special. It's just kind of an old standby that we use for this kind of stuff.
I just rub that all over it. And I get in there, and I start wiping her down. Looking pretty good. If I want, I might put a little bit of dirt in there and run some little dirt around to make it abrasive and stuff. Getting in all the nooks and crannies, getting all that stuff off of there. And the whole idea is for it to match this old Gibson tuner that I just happened to have laying around. It's from 1968. So that's pretty close. That looks pretty good. I'm happy with that. But now it's time to put these on the guitar.
All right. New tuners are on and looking really good. Now I need to finish up the setup on this guy and get it into the post office because it's got to go back to Rich next week.
[singing]


