Episode 1: SANDING+GRAIN FILLING
V-MINIEP1
If you ever wanted to build your own guitar, but didn't know where to start, this live build along series will show you every step. Episode 1 includes unboxing, shaping the peghead, and finish prep.
In this 4-part series we'll show you step-by-step how to build, wire, and set up one of our fantastic mini guitar kits. Even if you are a complete beginner, don't worry, we've made this easy—no workshop is required. You can literally build this on your kitchen table with tools you probably already have. This first episode shows the unboxing, shaping the peghead, staining, grain filling, and more.
Video Transcription
Nick: Welcome to StewMac Studios, everybody. We're coming to you live here today. We're going to do this Mini T Kit Guitar build. Okay? I'm going to be hosting this event. My name is Nick. I'm going to be here so I can take any questions or comments that you have. We got our resident luthier here. We got Blake giving us some crunchy tunes for the moment, and we also got Rachel over here on the tripod. And we got Susan over here on the console.
Susan: Whoo.
Nick: Cool. We're going to be all doing this together for you here. Again, welcome. We're really excited to be doing this. I'll go ahead and turn it over to Blake, and we'll get this thing started. All right?
Blake: What up, YouTube? All right, here's the guitar. This is the goal. This is what we're trying to do. We have four days. You have forever. Basically, this is the end result. You're going to be super excited. You're going to see the UPS coming to your door. Your knees will be weak. You'll be shaking, breathing heavy, cold sweats, just ready to get this in your hands and get building. With that said, this is what we're starting with. Let me go ahead and put this down. We can get to talking about this.
Nick: While he's getting situated, just another friendly reminder that we are encouraging you guys, in any capacity, to give any feedback, especially, or any comments or questions that you guys have, because we're really trying to refine this live stream series we got going on. Love to hear from you.
Tools and supplies
Blake: Like I said, here's a brand new guitar. When it comes to you, it comes with a neck bolted on and all this hardware mounted to it. Get your hardware in all these nice pretty little packages. You get a little package of strings too. It comes with a nice instruction booklet, except yours will be a little bit better than mine. This is what it looks like. I'm pretty sure all of the photos are colored, detailed. Right here on the first page, is a tools and supplies list for everything that you'll need to go ahead and get this build finished. If you order a kit, you can look this up in the PDF section, in the description of the kit item online. Then you can look at a digital copy of this tools and supplies list, and get everything you need. With that said-
Susan: They're also in the description of this video.
Blake: Oh, yeah. They're also in the description of this video, so you can scroll right on down and get everything you need. We're going to go ahead and get started. First things first is to get this stuff out of our way. Go ahead and move this. We can go ahead and get the hardware off of the body, too. I already unscrewed everything here. Here comes our bridge pickup.
Nick: Cool. We got a few questions coming in so far. John is asking about, "Is it similar in to the G sharp in scale or size?" I'm not exactly sure what he is asking by that. If you could maybe clarify for that, John, I could get back to you on that. We definitely recommend a wide gauge string for this build. It's going to be way easier on the hands, for sure.
Susan: Can you talk about the tuning, Blake?
Blake: Yeah. This guitar, to elaborate more on what the guitar actually is, it's just a mini guitar. It tunes a full octave up from your regular E standard tuning. Somebody mentioned it'd be a tenor guitar, or soprano. I wish I knew more about what tenor and sopranos were. But anyways, you just tune it the same as a regular guitar, just a full octave up. If you wanted less tension on the guitar, you could put it in a D standard, but it would still be an octave up from your regular D standard. Anyways, I got all of our parts in this nice little parts holder here. I'm going to get this out of the way, too, so we don't junk up our bench.
Create your peghead shape
The first things first is shaping the peghead of this guitar. Now, you don't have to shape the peghead. I'm pretty fond of the way this peghead looks already, but we're going to show you how to do it if you wanted to. I'm going to be using a bandsaw. You could use a jigsaw which looks something like this, if you wanted to. You could use a coping saw. I'm sure somebody somewhere could probably do this with a hacksaw, but we have a bandsaw, so that's what we're going to use.
Make a paper template
I'm going to go ahead and get our template here. I got some files here, too, that we're going to be using. This is the template that we're going to be using. We also have PDFs of the template that you can print out. We went ahead and printed this on a heavier piece of paper than a normal printer paper, but regular printer papers worked. I used it. We just cut this shape out and then trace it onto the pegheads so we can see our lines. We take it to the bandsaw, and we just cut this line right here, out, and then we can smooth this space in. That will give us our peghead shape.
These are the files that I'll be using. We have these Razor Files at StewMac sells, good pretty little files. We have these. These are called Luthier's Files that StewMac also sells. They're a little bit finer teeth than the razor files, so they take off less material, but they smooth your cut. That's good to have. Then, also, I just have my own here that I've been using. I'm a little more comfortable with these.
Nick: Got you.
Blake: We get this out of the way.
Nick: Just to reiterate what Blake says, you don't necessarily need to customize the peghead. We like to do it just as a fun project, but as he said, I think it looks all right just the way it is. Or you can do something completely different. You don't have to follow our mold. Make your own choice about it.
Cut the peghead to shape
Blake: I should also mention that we have how to shape your own peghead video already made. I don't remember if that's a trade secret, Susan, but I think it is.
Susan: I believe so, yeah.
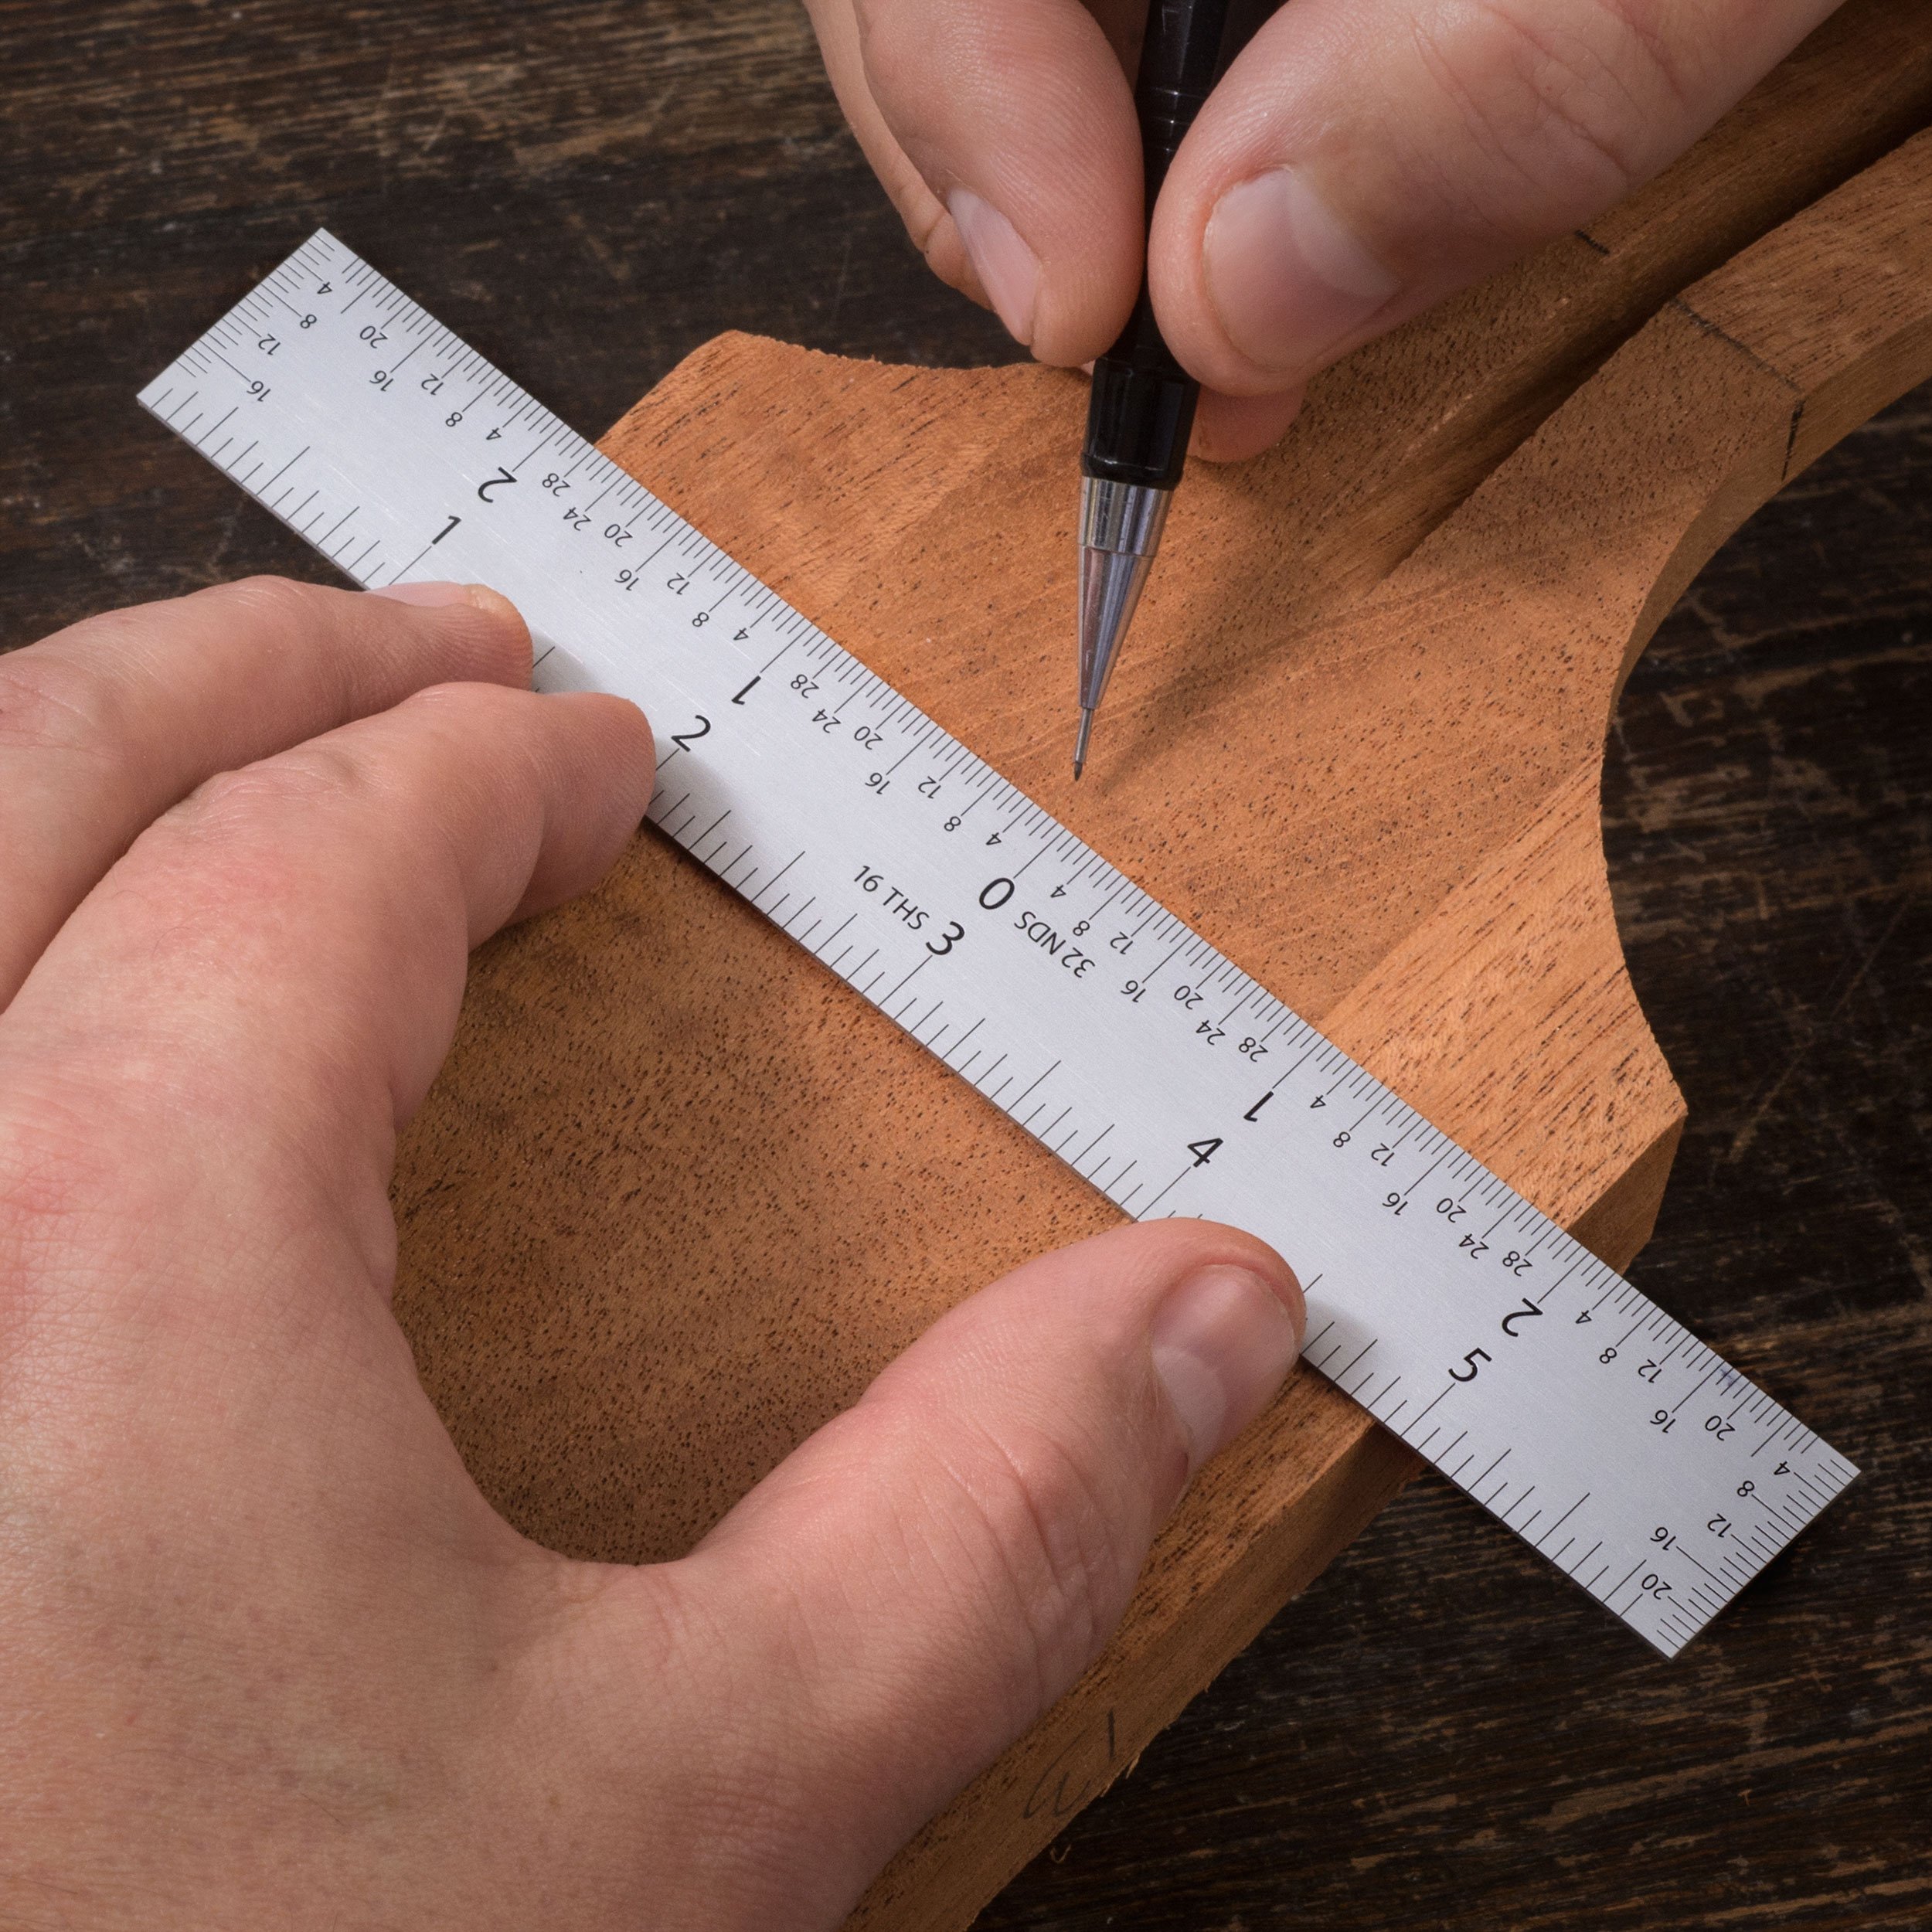
Blake: Yep. You can look that up if you'd like to. But I'm going to start out by just taking a fine little mechanical pencil here. I'm just going to very lightly score the edge of this.
Nick: Exactly. Make sure you don't want to press too hard with the pencil, because you don't want to dent the wood. It's going to make it much more difficult when finishing or you're going to be able to see that dent more pronounced under the finish.
Blake: Here you go. That just wasn't dark enough, so I'm going to line it up again. I'm going to try to give myself a little bit of a darker line. I'm sure somebody who's really good at art and drawing could probably freehand a cool peghead shape, but I'm not that person.
Nick: Me either.
Blake: Now we have our nice light line right there. I didn't jab this pencil down in there, because if you did, you could dent the wood. Then you'd have pencil down inside a dent, and that could just be a mess. I actually learned that lesson the hard way on a spruce top, and it's not fun. It's not fun to try to sand out.
Never cut on the line
Now what I'm going to do is I'm going to make some lines for you guys to see, that come straight in. I'm going to do this kind of a cut on the bandsaw first. So as I come in and cut along this profile line right here, these little pieces just fall out of the way. I'll just go ahead and give myself a bunch of little lines. I think it's important to say that I'm not cutting right on this profile line either. The reason I'm not doing that is because I'm going to file into it and then sand it in smooth. I would also recommend using a spindle sander, but we're going to show you how to do it with files today. Spindle sander will just save you a lot of time.
All right. So just bunch of lines like that. I guess, we can go ahead and get started with the bandsaw. You guys ready?
Susan: Let's do it.
Nick: Cool.
Blake: All right.
Nick: Just so you guys know, the reason why he's making those kerfs, if you will, is so when the pieces fall away, it's going to make it a whole lot easier for you to guide the blade of the bandsaw there. It's not going to get hung up or turn and get you a bad cut.
Blake: All right. With that said, bandsaws are dangerous. Don't hurt yourself with a bandsaw, please. If you hurt yourself, it's not our fault. I'm wearing glasses. It's always a good idea to be safer than sorry. We're going to go ahead and get started here.
[Blake carefully cuts the small vertical lines he traced up to the shape line with the bandsaw]
Nick: Make sure to always keep your fingers clear as well. Okay, cool. I see John did reiterate what he meant by that. Are you aware, right off hand, what the scale length is of this guitar?
Blake: I want to say it's 19 inches.
Nick: Okay. It's pretty close, John, but it's about a 19 inch scale.
Blake: Don't quote me on that.
Nick: We can get a definitive answer for you, for sure.
Blake: Now we're going to go ahead and we're going to cut this profile line. I'm staying to the outside of this line, to the best of my ability, and these little pieces should fall right out of the way. [inaudible 00:11:10].
Nick: Exactly. I want to remind everyone that we're not cutting on the line Cutting-
Blake: I'm trying to stay away from that line.
Nick: Yeah, exactly. Cutting on the inside of the line, so we've got some material to work with to make sure we get that shape exactly right.
Blake: I'm going to go ahead and clear these pieces out of the way. Always trying to keep my fingers away from the blade as much as possible.
Nick: Exactly. What type of wood is the neck and the body again there, Blake?
Blake: I'll tell you after.
Nick: Got you. We'll let him answer after he's done.
Blake: The neck and the body are made out of mahogany.
Nick: That's what I thought. I just wanted to make sure.
Blake: This is our rough cut right here. We got all these little-
Rachel: Let me get a shot of that real quick.
Blake: Show the people. These are all these teeth mark. We get a little bit of a bur on this back edge.
Rachel: Looking good.
Prep for finishing
Blake: All right, cool. Now I'm going to go ahead and take this and clamp it into our vice right here. I'm going to take my safety glasses off now, because I feel nice and safe. I'm going to start out with these Razor Files. These razor files will hog off a lot of material really fast and help me not waste a lot of time doing this.
Nick: Actually, Patrick has got a great comment already. He's talking about saving those extra pieces of mahogany and using them for plugs for small mistakes and screw holes or something. That's a great, great comment, Patrick. I appreciate it.
Blake: Absolutely. Just hanging out in Dan Erlewine's shop and with other luthiers and seeing what people use for culls and for plugs, we save everything, because everything can be used for something. That one moment just years later where you just saved this piece of scrap wood and it comes into play just perfect, that makes you realize that being a pack rat is sometimes okay, especially in this field.
Nick: That's right.
Blake: I'm trying to keep this as square as possible. You know what I mean? I'm not trying to have an angled peghead. I don't want this to be tilted this way or this way. I should mention that I checked the bandsaw blade before we started, with a square, and it was perfect. If it's not, you should adjust it a little bit.
Nick: Got you. Somebody actually did have a question about the reason why you were doing those smaller cuts. I'm going to just explain that again. It's so that the blade can move easier. As you cut to those smaller lines, those pieces will fall away. It just makes it so much more easier to control where the cut is going. That's why. It's a little bit of a safety measure, too. If you've got the blade way into that cut, it could possibly pull the piece of wood in a way that you wouldn't want it to.
Blake: I'm still trying to get these teeth mark out right here. You can see these little horizontal lines. That's from the bandsaw. There's some right here. I accidentally got one right there, but I think we'll probably be able to get rid of that once we come up to this line. I'm going to check my angle, too, to make sure I'm not past the line. I still got more room to come down right here and more room to come out right here. So we should be all right.
Rachel: Let me see that line again real quick.
Blake: You can see where the line is still visible here.
Rachel: There it is.
Blake: The line is still visible right here, and it's still very faintly visible right here. I'm a little low right here, so I'm going to be focusing more where the line is still at so I can remove some of that material, which is good, because in all those spots, that's where the teeth mark are still at.
Rachel: Cool.
Nick: Absolutely.
Blake: I'm going to go ahead and switch over to one of these luthier's files just so you can see me using one of those. I'm going to start with this half round one right here.
Nick: We've got Eddie asking if that fingerboard is Indian Laurel.
Blake: Say that again.
Nick: We've got a question about the fingerboard. Is it Indian Laurel?
Blake: I do not know what the fingerboard is made out of. It's-
Nick: I did-
Blake: ... some kind of rosewood looking-
Nick: I did know. I will find out right now actually.
Blake: The fingerboards are pretty, which is sometimes unusual for a kit guitar.
Nick: That's funny. That's one of the questions I just wasn't prepared for, which is kind of silly.
Blake: We're still starting to get a nice smooth surface here. These teeth mark still a little deep. We can keep filing through there.
Nick: I guess, it doesn't clarify directly on the website. That's why.
Blake: I might just go ahead down this edge a little bit, just to knock off those fuzzies.
Nick: I'll keep looking to find the answer to that fingerboard question here.
Blake: Make sure it's not sharp so we don't accidentally chip a piece of wood off. Mahogany is really soft. It's a lot softer than something like maple. It's really easy to carve with these files, especially the razor files. They just really take off material. Once you start getting rid of these teeth mark ... We still have a couple, but once your teeth mark are gone and your shape is relatively smooth, if you have a high spot somewhere ... Right here, I can feel a ... there's a little bit of a hump from here to here. I can feel it with my finger. I might come back in with a file and just focus on that spot and try to get it to level out and be a little bit more smooth.
Nick: There it's looking good.
Blake: In a normal situation where I'm not limited to an hour, I would spend more time filing, but I'm just going to go ahead and show you what I would do with some sandpaper next, and we will start moving on. Do we have any good questions over there, Nick?
Nick: Just the last one was about the fingerboard, and we will get a definitive answer on that one as well, Eddie. I'll make sure. It's either Rosewood or Indian Laurel. I'm not exactly 100% sure.
Blake: I just have a wooden dowel here. I just cut off a scrap. I went and bought a nice big piece from the Hobby Lobby. I got a little piece of 120, which is the grit that I'm going to start at to get some of these filing scratches out. This is, theoretically, your teeth mark from the bandsaw are gone, is when you would start sanding. I like to use a dowel, because it runs into this curve a lot smoother.
Nick: Yeah, absolutely. That's what I was going to say, too. It just makes it so much easier to use if you're working with a dowel.
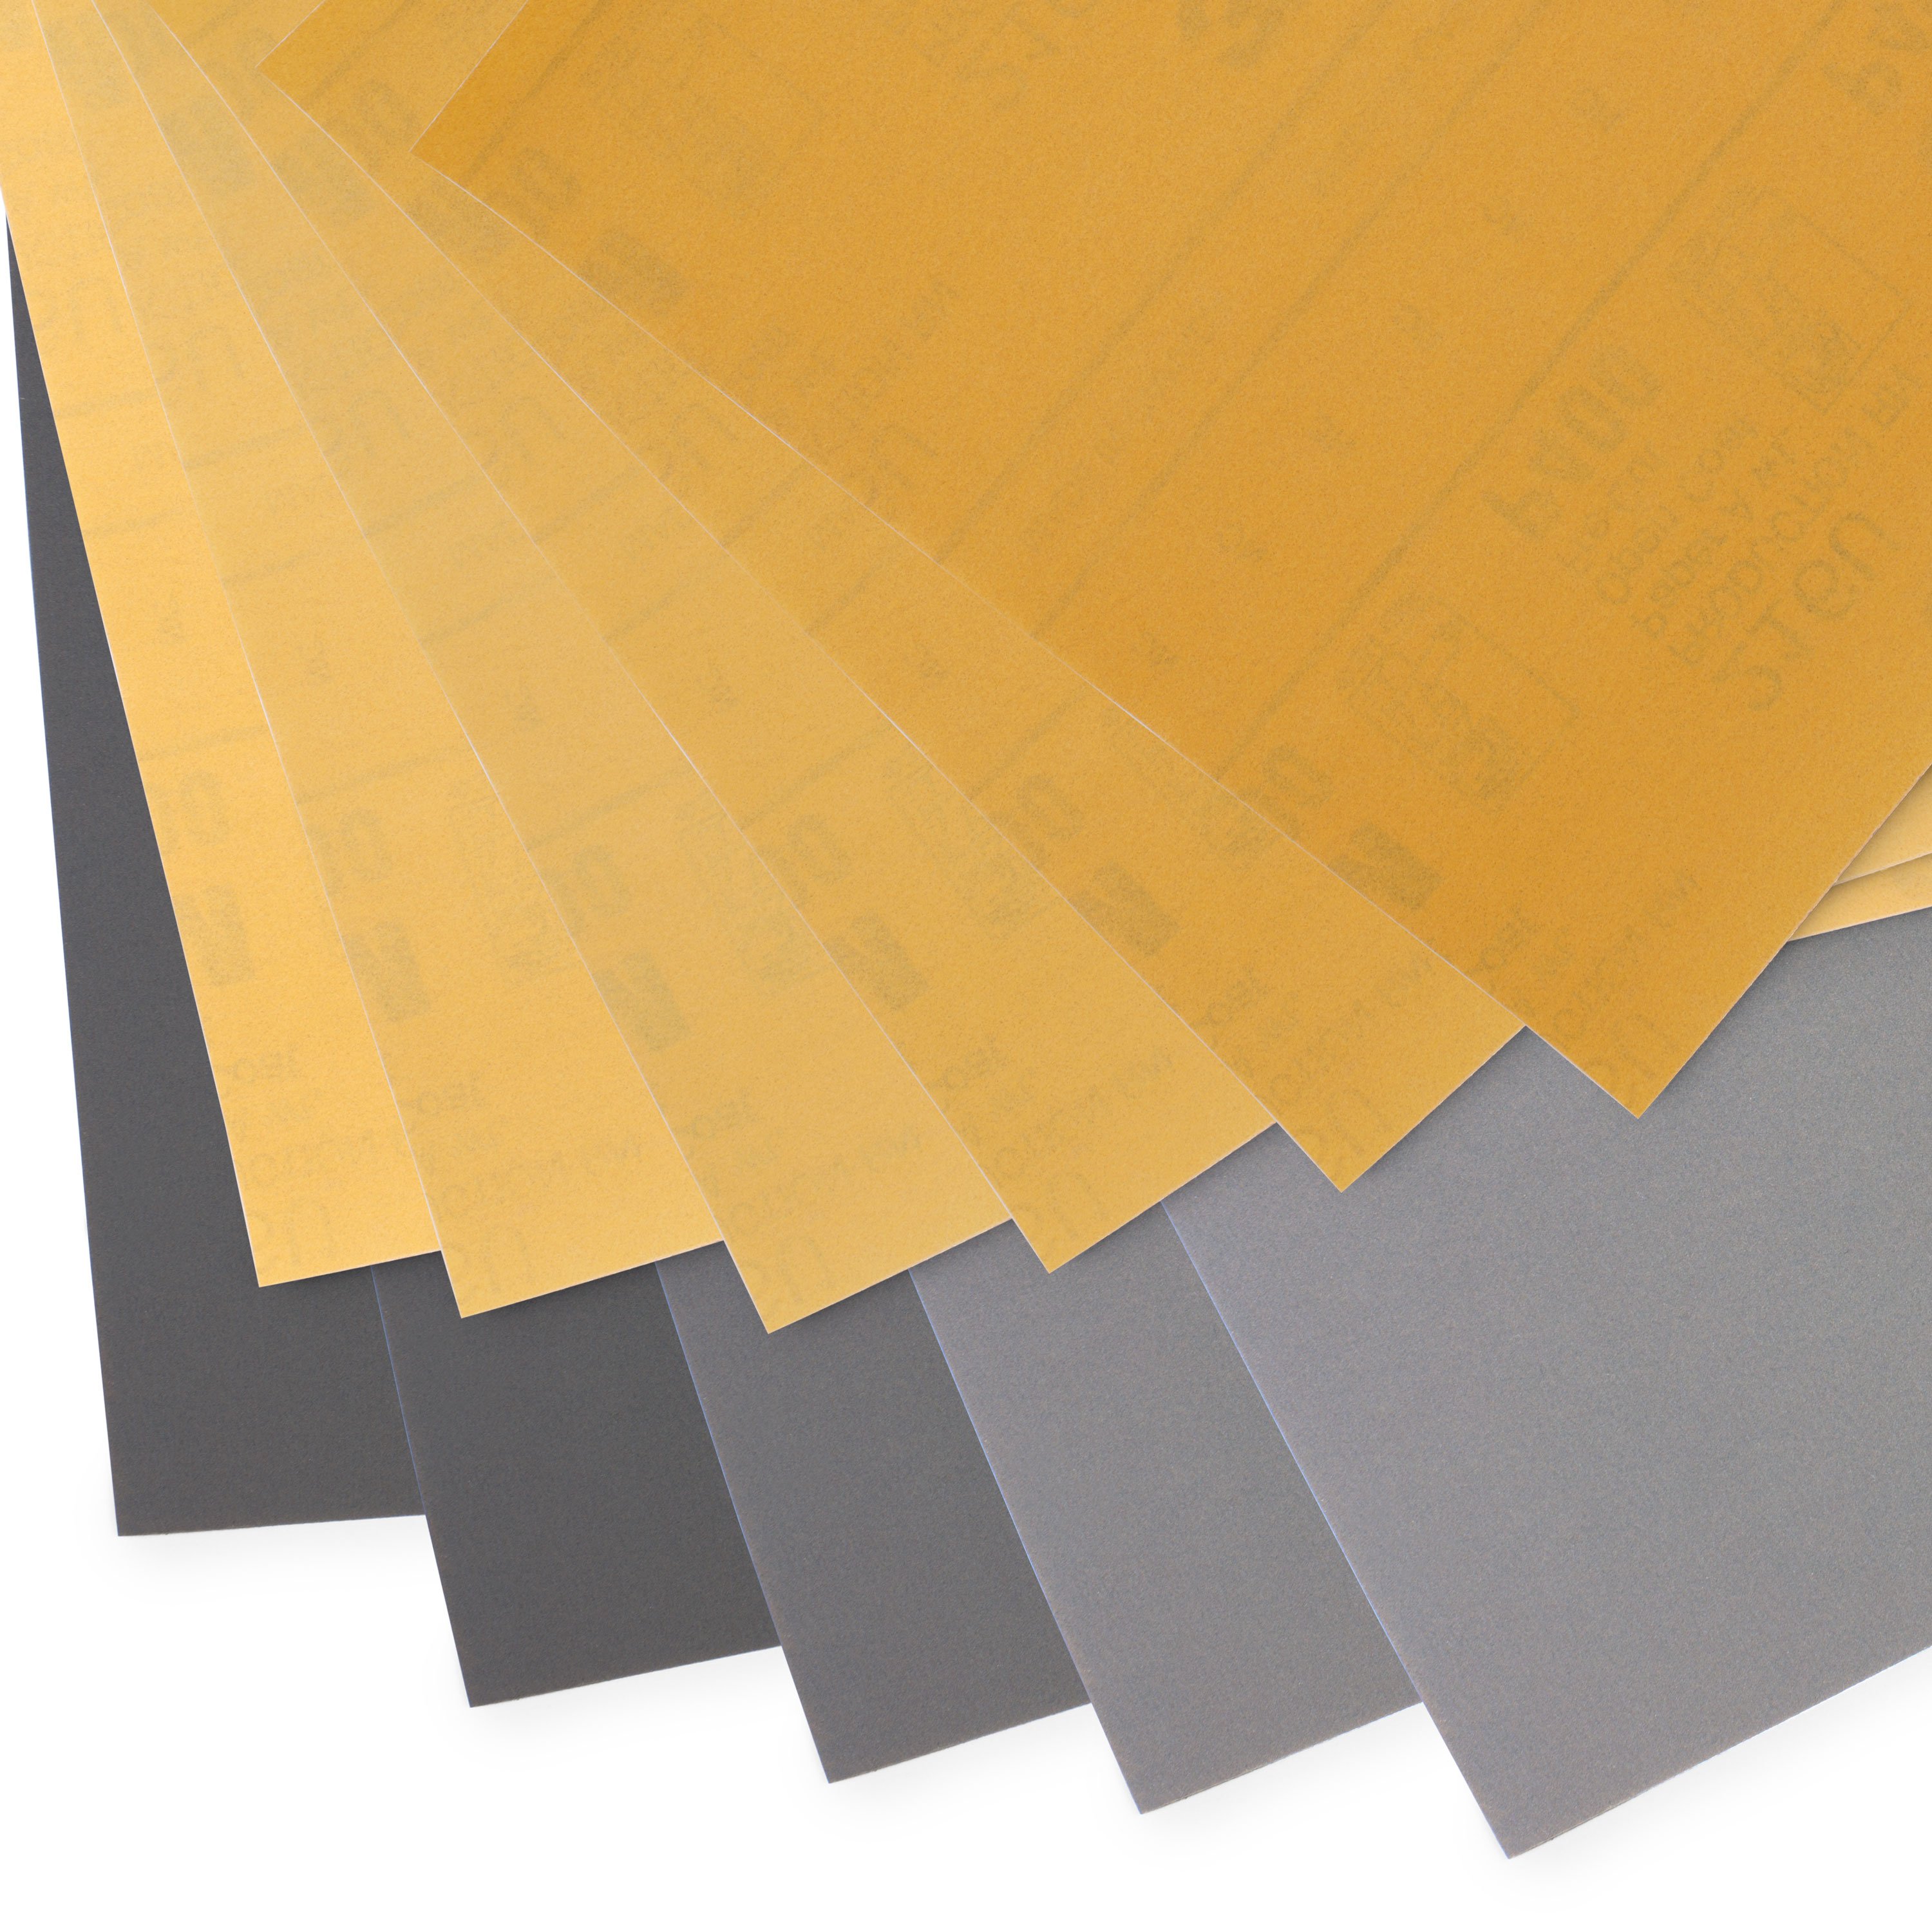
Blake: Typically, when you finish sanding a body or a contour like this, you're going to start around somewhere like 120, 150, and work your way up to 320 or 450. Today, we're going to be starting at 120, going to 220, then going to 320, and it won't be any big deal.
Nick: Got you. Something that Blake has been saying lately when we're talking about doing the sanding, especially once we get into prepping for the finishing, what you're really doing is just making big scratches, smaller scratches. That's essentially all that you're doing. You can really use your eye. If it looks smooth and it feels smooth, then it's good. We're not getting up into thousandth grits here.
Blake: Another thing I should mention is, when you have these edges right here, you don't want to round that over too much unless that's the look you're going for. Here and here, I'm really trying not to round this over this way. I'm just trying to work that material back to that tooth line right there that I accidentally put into it. Try to disguise it as much as possible [on-screen text reads: Live Build-Along! Mini Guitar Kit]. Besides this tooth mark right here, which if I had more time, I would chase with a file... I'm just going to go ahead and jump up to 220 real fast.
Nick: Cool. While he's working, I got a couple questions to answer here, too. Michael is asking about the tuning. It's just an octave up is the tuning that we recommend currently. Same standard tuning. Also, we've got a product suggestion from John for a mini Dan [inaudible 00:20:46]. That sounds awesome dude. I'll forward that over to purchasing and marketing and let them know you're looking for that one, too.
It might not be a bad time to talk about the other two that we have, actually. We've got a Mini S-Style, which I've always been a Tele fan myself. It's like the working class guitar. But this Strat is awesome. It's got your three pickups, your single coils. This thing is rocking, dude. It's awesome. It sounds great. Looks cool. I dig it, man. The other one we've got going on is a Mini LP-Style. It's the LP Junior Junior, I guess. If you're a humbucker fan, this will be your tool. It's probably out of tune but hey.
Blake: All right. I don't know if you guys just saw this, but I just swapped this out for one that I already have prepped up, this one right here, sanded up to 320. I went ahead and I took a soft sanding block, and I just smoothed these edges right here, because once you get done filing and you get done sanding this area, these edges can get sharp, and when we go to put a finish on it, that can lead through some sand throughs, whenever you're going to sand your finish. I just went ahead and smoothed these over just a hair, just to knock some of the sharp edges off.
Rachel: Pop that out of the vise really quick, and we can get a better look at some of those corners.
Blake: Yeah.
Rachel: Let see here.
Nick: Cool. It's looking good.
Rachel: Can you focus up real quick?
Blake: Mm-hm. You can't really see any sanding scratches. You sand with the grain, and that puts all of your scratches in line with the grain. So if there are scratches, it looks like grain, basically disguising it. Once you get up into 320, 400, 600, 800, it gets really hard to see them. Not that there's not somebody out there who can't see them, but it's hard for somebody like me.
Nick: Right. Essentially, it comes down to personal preference in some ways. If you don't mind it looking a little banged up after you've finished, like it's got ... I don't know ... almost like a relicing or something under the finish, by all means. But we're going to do our best to try to make it look pretty clean and almost like a brand new guitar. That's our goal today.
Blake: I'm just going to go ahead and start by cleaning up the bench a little bit. It's always good to keep the stuff out of your way, the best of your ability. That way it's a lot easier to maneuver. You can see the stuff that's on your bench. You don't want to ding up your guitars, either. I'll keep this out.
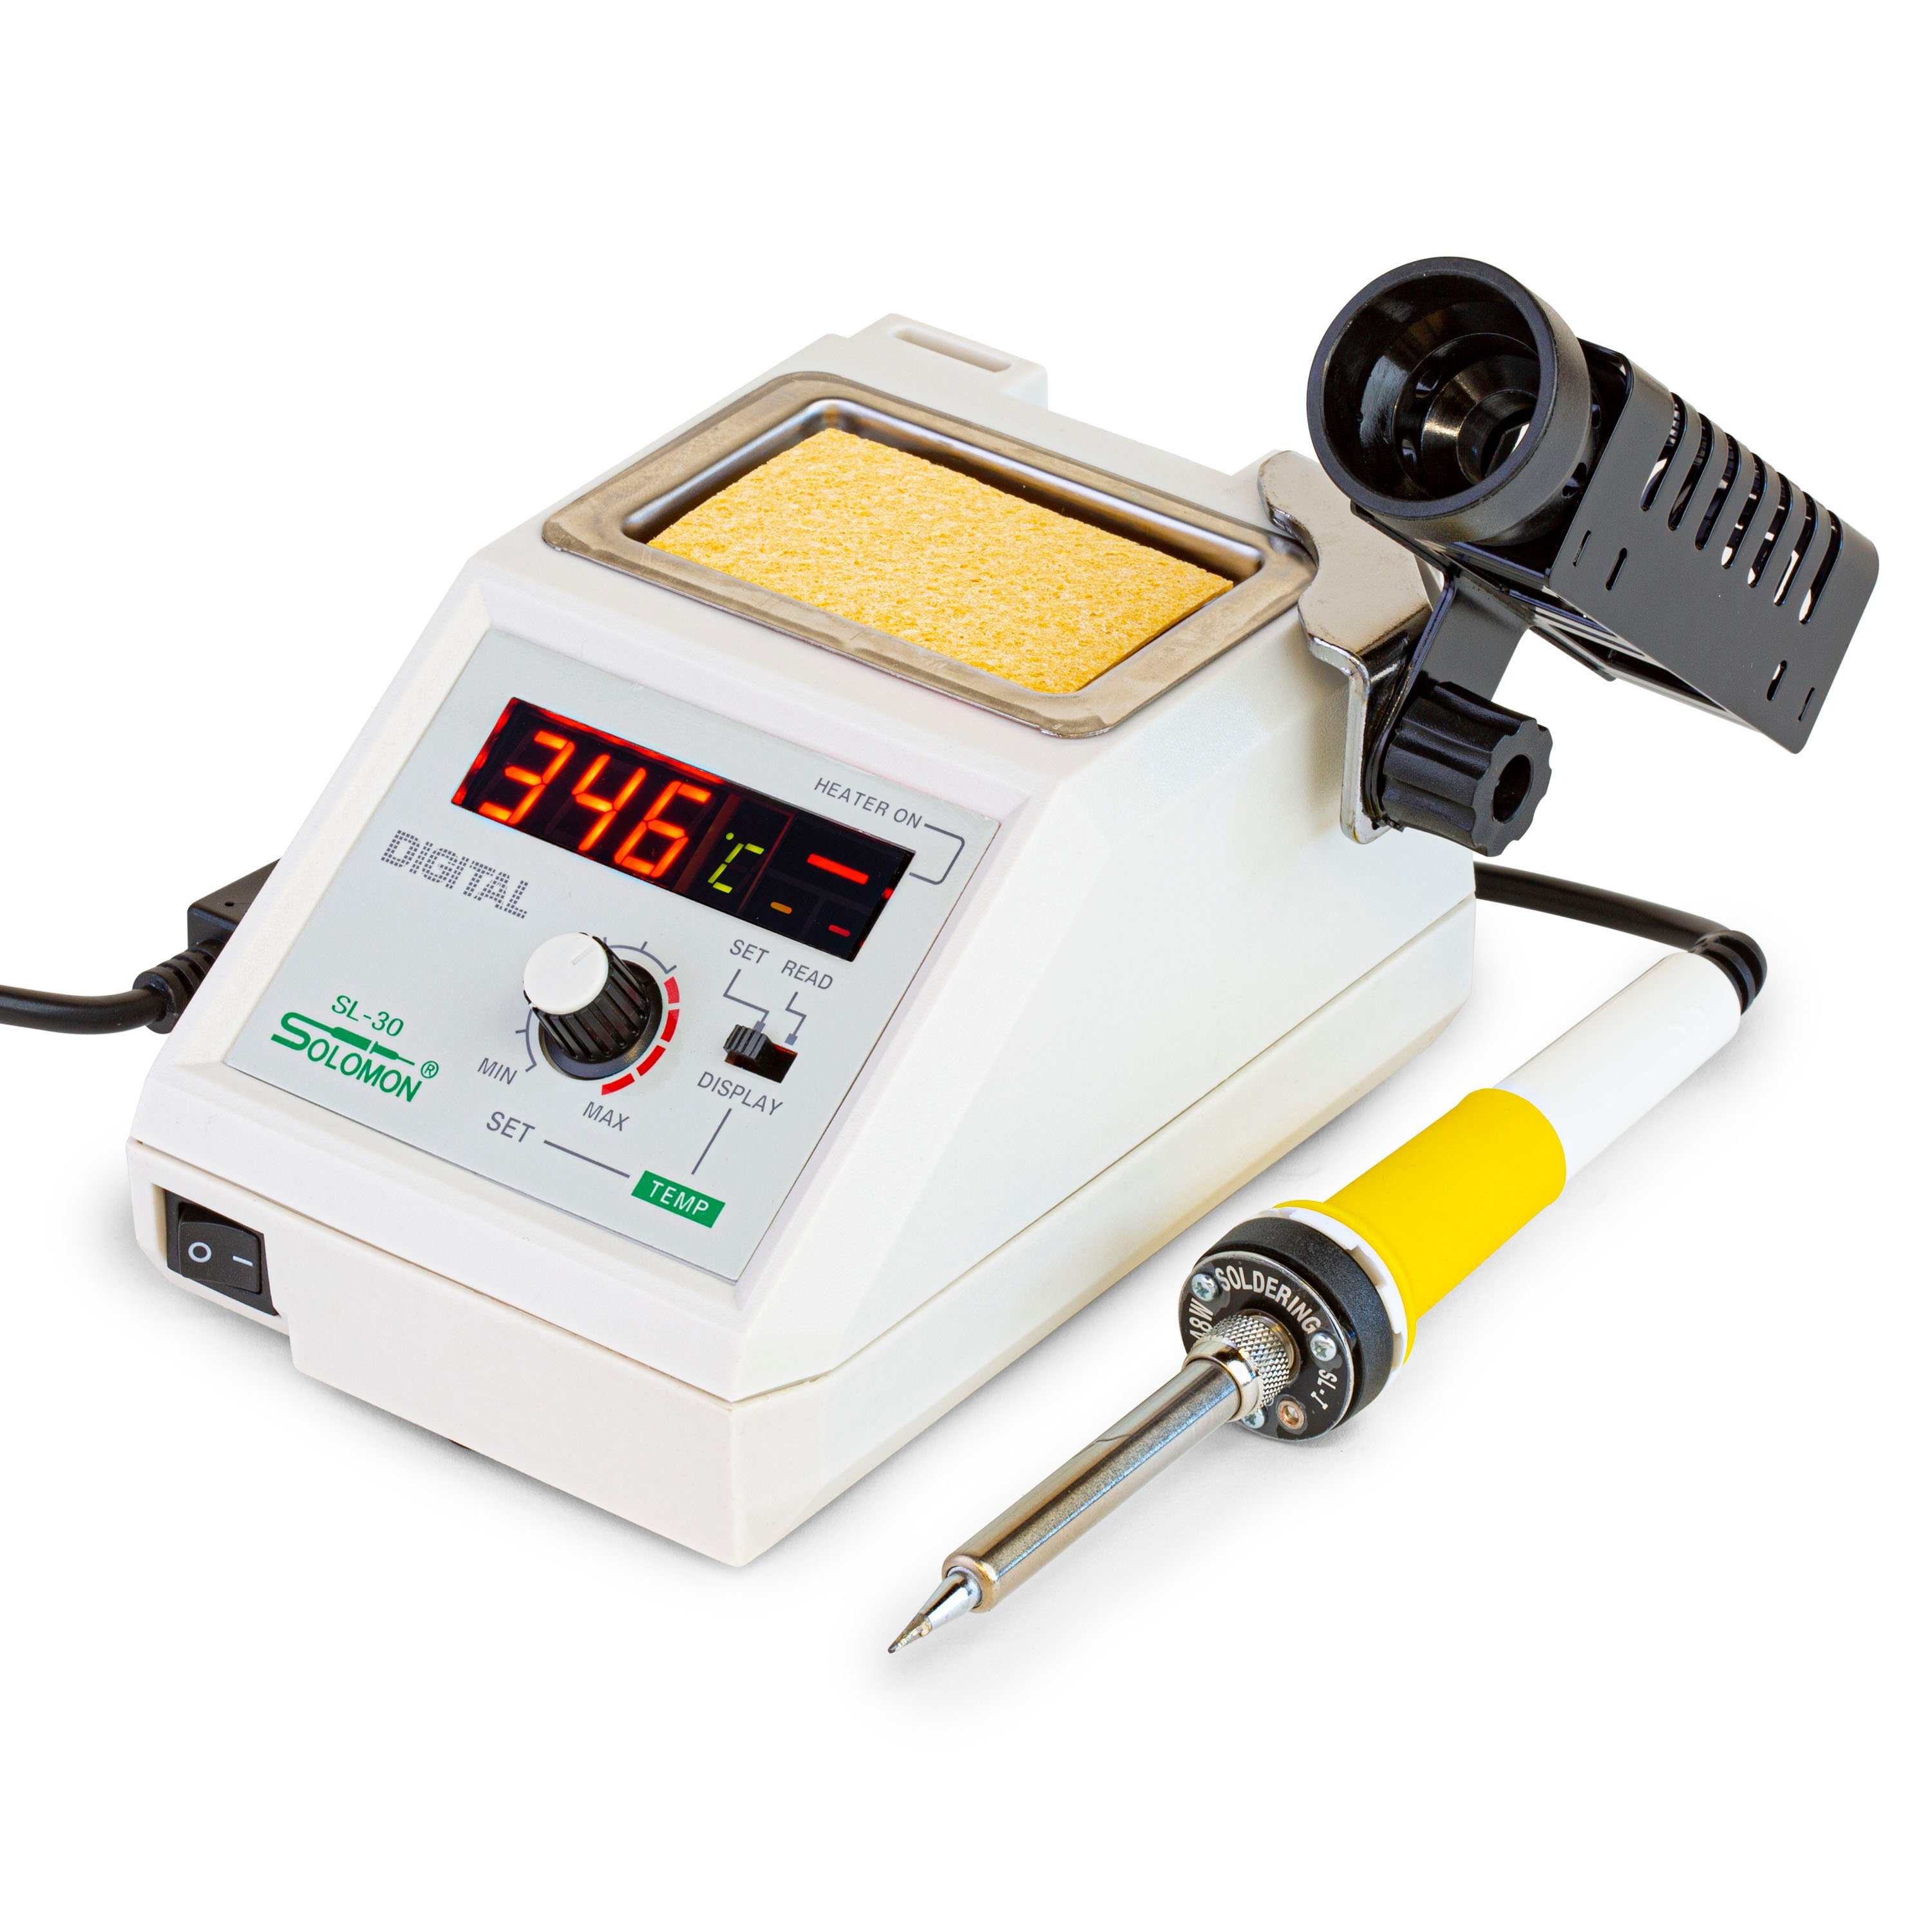
All right. I think the next thing to talk about, now that a peghead is shaped how we want it, is to talk about finish sanding the body. Once I got all the hardware off the guitar, it's time to finish sand it. Now, this body has come out of the box, and it's pretty nicely sanded. I'm decently surprised. Got a couple little marks here. I don't know what that's from, but that'll sand out, because we got a good bit to do. You want to inspect the neck and the body for any dents or anything like that that can happen. Like I said earlier, mahogany is really soft and a dents easy. Anything should happen from the factory, check for dents. If you have any dents or deep scratches, you can try to sand it out with a damp rag and a soldering iron that's going pretty hot. You just put that right on the body. Take the soldering iron. Get that paper towel to steam up a little bit, and that can pull those dents out of the wood. I believe Dan Erlewine has a Trade Secret on that, too.
Susan: Yep, sure does.
Blake: That's really worth the watch, because that can get you out of trouble.
Nick: Absolutely.
Blake: But looking at this, I don't see any dents or chips in this body or this neck, that needs to be filled or steamed out. I'm looking over the neck, too.
Nick: While he's checking that thing out, I always like to remind folks, as Blake did say, to try to keep the benches clean as possible, because if you've got ... Especially, one of the most common things is little chunks of solder. That always happens, especially in my little shop in my basement. I've always got to make sure I clean all that stuff off, because you will get a nice dent in the body from a full chunk of solder or saw dust or whatever else is lying around.
Sand the body and neck
Blake: I'm just going to go ahead get some paper towels here. Now we're off to finish sanding. In the directions, it says that you want to start at, I think, 150. That should be page five. Let you see that. We're going to prepare the neck and the body for finished sanding, where it say, "Start using 150 grit sandpaper and a flat sanding block on the entire body, working only in the direction of the grain." That's really great to know.
I have a couple of different sanding blocks here. I got this one which I picked up at an antique store. This is for using some non-adhesive sandpaper. If you just have a big flat sheet, you can cut it to the dimensions you want, and this has little spikes in it that bite that sandpaper and holds it in place. I really like using this one, the big flat surface of a body. I also have this nice dense, flat sanding block that StewMac sells. I like to use this one whenever I have adhesive sandpaper, because it just sticks right to the block. Then I also have this one that I put a little bit of a round over on, so I can get down in the contours of the side-
Rachel: Turn it on the side so we can see that curve. Yeah.
Blake: Also, it's been chewed up by a dog. That's how you know it's good.
Nick: Got you. Got a couple questions coming in, too. Unfortunately, Andy, No we don't have a four-string option at this point, but we're always looking into finding new ideas and stuff like that so we definitely appreciate the feedback on that one. Also, let's see who. Fernando, yes absolutely they are. They are a little bit closer together than on a standard guitar. I'll just use the S style as an example. It's not quite like a mandolin, but it's similar in ways. But like I said, I'm a cellist and a bass player, so I got pretty big hands and this is comfortable. I got to think a little bit differently than if I was to be playing my acoustic guitar or something like that, but yeah, they definitely are a little bit closer together. But it makes for easy speed if you're a shredder.
Blake: All right. I think we're ready to go here. I got a little bit of 120. We don't have any 150 flat sheets here, so I'm just using this adhesive 120 that StewMac sells. Love the 3M stuff. It's really good. The directions say to sand with the grain. What that means is we're going to take our sanding block, and see how the grain goes straight? This grain right here goes a little bit to the side because this is a three-piece body. You got a piece here, piece here, and a piece here. All the kits that I've seen have been three pieces so far. The grain on this one is going this way, too.
Now, an interesting thing we can talk about right now is the end grain on guitars like this. You see how this center piece right here, the grain is going this way. What the end grain is, if you can imagine a bunch of little straws all wound together, imagine that's like your tree. Then we cut the wood and if you're looking through the straw, that's what the grain is basically. Very, very small tiny pores in it as opposed to, right here, you can have really deep, nice, easy-to-fill pores.
But what Dan Erlewine taught me was, if you sand with the grain, for this centerpiece, I'd be sanding this way. Then for this piece right here, I'd be sanding this way. That way you get all your sanding scratches going in line with the grain and it really helps you come through that a whole lot faster. This piece right here, I'd be sanding this way or this way, but all these pieces on the end grain run at a different angle. It's important to know that, because that can really help you save a lot of time when you finish sanding. But I'm just going to be doing the back on this, because we're trying to build a kit that's supposed to take a whole weekend, in just four hours. We're going to be doing a little high speed maneuvers here. I'm just going to start-
Nick: Got you.
Blake: ... sanding with the grain, long ways. This one I'm going to be coming across just a little bit.
Nick: Yeah, absolutely. Something that Blake was saying earlier, I'm not sure if everyone was here or if you may have missed it the first time around. When he is following the grain lines with the sandpaper, basically, you're hiding the scratches. Like we said, when we're doing sanding, we're making the bigger scratches, smaller scratches. When you sand with the grain lines, it's much easier to hide those smaller scratches. They basically will look just like the grain. You won't be seeing any lateral or perpendicular scratches, if you will.
Blake: Another thing that's worth mentioning right now is, if I was in my own shop and I didn't have to talk to you guys with this little microphone right here, I'd be wearing my dust mask. I just have a 3M mask right here. I'm always wearing this thing when I'm in the shop. As you can see, I've already made a bunch of dust and. I've only sanded on this thing for just a minute, and there's even more dust on the guitar. If you blow on it, you put this thing down, dust goes in the air. I can see dust under these lights right now. You don't want this in your lungs. I'm only doing this because I got to talk to you. All right?
Basically, that's the example I'm going to give you. We're sanding with the grain on the back. I'm going to do the same thing on the front. Then when I get to this end grain right here, ... I'll show you ... for this one, I'm sanding to the side, following that grain. For this middle piece, I'd be sanding across the grain just or with the grain like this, going across the bow. This one, I'm going to be sanding the grain this direction, always trying to follow the grain. All right?
Then once you do that, once you get done with your first grit, it's good to go ahead and take a paper towel and dampen it. I got a little pot of hot water right here. Your water doesn't have to be hot for this. I just need hot water for later. Now, this isn't dripping by any means. It's just damp. You're going to run the full length of the guitar and the neck, I should say, with this damp rag. What this does is this raises the grain once it dries. Basically, we're taking a damp cloth, dampening the wood, and the wood, since it's really dry, is going to absorb this water quite nicely and very quickly. When it absorbs that water, the grain expands. Those little tiny scratches that have been pushed down or pushed over will absorb that water and expand up. Then we can come back through with our next grit and knock it down, which will be 220. That really helps you get through the sanding stages a lot faster than if you were just sitting here sanding your life away, which nobody wants to do. Who likes sanding? Not me. It's not that bad. I'm just being dramatic.
Nick: Yeah. I guess, what's the big benefit of raising the grain? I don't know. Is it going to help to make the finish look smoother or feel smoother, or is it going to help to have the grain filler take?
Blake: Yeah, all the above. It helps you get through your grits a little bit faster. It really helps you get those scratches that are deep down in there, that are hard to see. Helps them expand out and be the same level as the rest of the wood. Come back through with a lighter grit, and you knock those guys right off. If I had to use an analogy, it'd be like the grass growing in your yard. You mow it with a lawn mower and then it grows. You put some water on it, and it grows back up. Then you come back through and you cut it again. It's kind of like that. It's the way I would say that.
As you can see, it's already drying out pretty quick. If you do this, go ahead and do this to the neck, too. I know I didn't hit the neck with 120, but it's already pretty nicely sanded so I'll just start out with the back of the peghead. Just give it a nice little once over with some warm water here. It's important that you don't soak the guitar in water. We're just very, very lightly dampen it. That's enough. It'll do the job. I'm trying to keep it off the fingerboard. You don't want to swell up the fingerboard wood too much and have some frets get loose or something like that.
Nick: Cool. We got a question here. Alan was asking about tuning options. Totally, yeah. People, in discussing that with some of our other mini guitars actually, you can totally do it in standard tuning or can ... Some people have gone down a fourth or a fifth. I personally, wouldn't recommend any high open tunings like E or anything like that. I don't think it would be very comfortable. I'm sure it would work, but I think it would be hard on the hands. That's just a personal thought, but I think most people, if they do change the tuning, tend to go down. That's the norm on that one.
Blake: All right. The back of this is almost dried out. You can see. You still see the damp spots on the neck, but it is drying out pretty quick, too. It's because the wood is super dry. But you can already ... With my hands, I can feel the raised grain. It's rough to the touch, and that's really great because all of those little high spots, that rough-to-the-touch stuff, is going to get sanded off with our 220. That's going to make this whole thing go a lot faster.
I already have ... Let me see. I think this is a 120 one here. Yep, this is some 120. I'm going to go ahead and tear off a little piece of 220. I'm just going to repeat the same thing we just did. I just got it on my nice flat sanding block here. I'm going to let that dry just for couple more minutes.
Another thing, once you start sanding on the back of this guitar, just like we talked about on the peghead where you need to soften those sharp edges, you need to do the same thing on the body, on this contour right here, because we're going to be grain filling that and putting finish on it. You don't want it to be sharp. As you take material off, that round over gets smaller and smaller, so you need to come back through with a nice light piece of sanding paper and make sure you have a good bevel all the way around the guitar. All right? This is looking good now. I'm going to go ahead and take a little 220. Sand with the grain.
Nick: Cool. I feel like a lot of folks are leaving comments and questions and stuff like that, and I'm trying to answer as much as possible. Some are getting lost in the feed, so I hope I'm answering all as many questions I possibly can. We've got some other folks working on that as well. However, if for some reason you think of something afterwards, later on this evening or something, and if you go back and watch and you have another question, you could always email our customer service folks at service@stewmac.com. Those guys will be happy to get an answer for you. Even if it's crazy technical, they can get in touch with any of our techs and get you the answer you need. Keep that in mind.
Blake: All right. Now this back, just after those few hits with some 220, it's already feeling smooth. I would repeat the same thing I just did. Dip your cloth or your paper towel in a little bit of water. Go ahead, wipe it down, and get that grain to raise again. Do it with 320. Like I said, we're trying to keep this to an hour, so I'm going to go ahead, swap out a body that I've already finished sanded.
Degrease with naptha
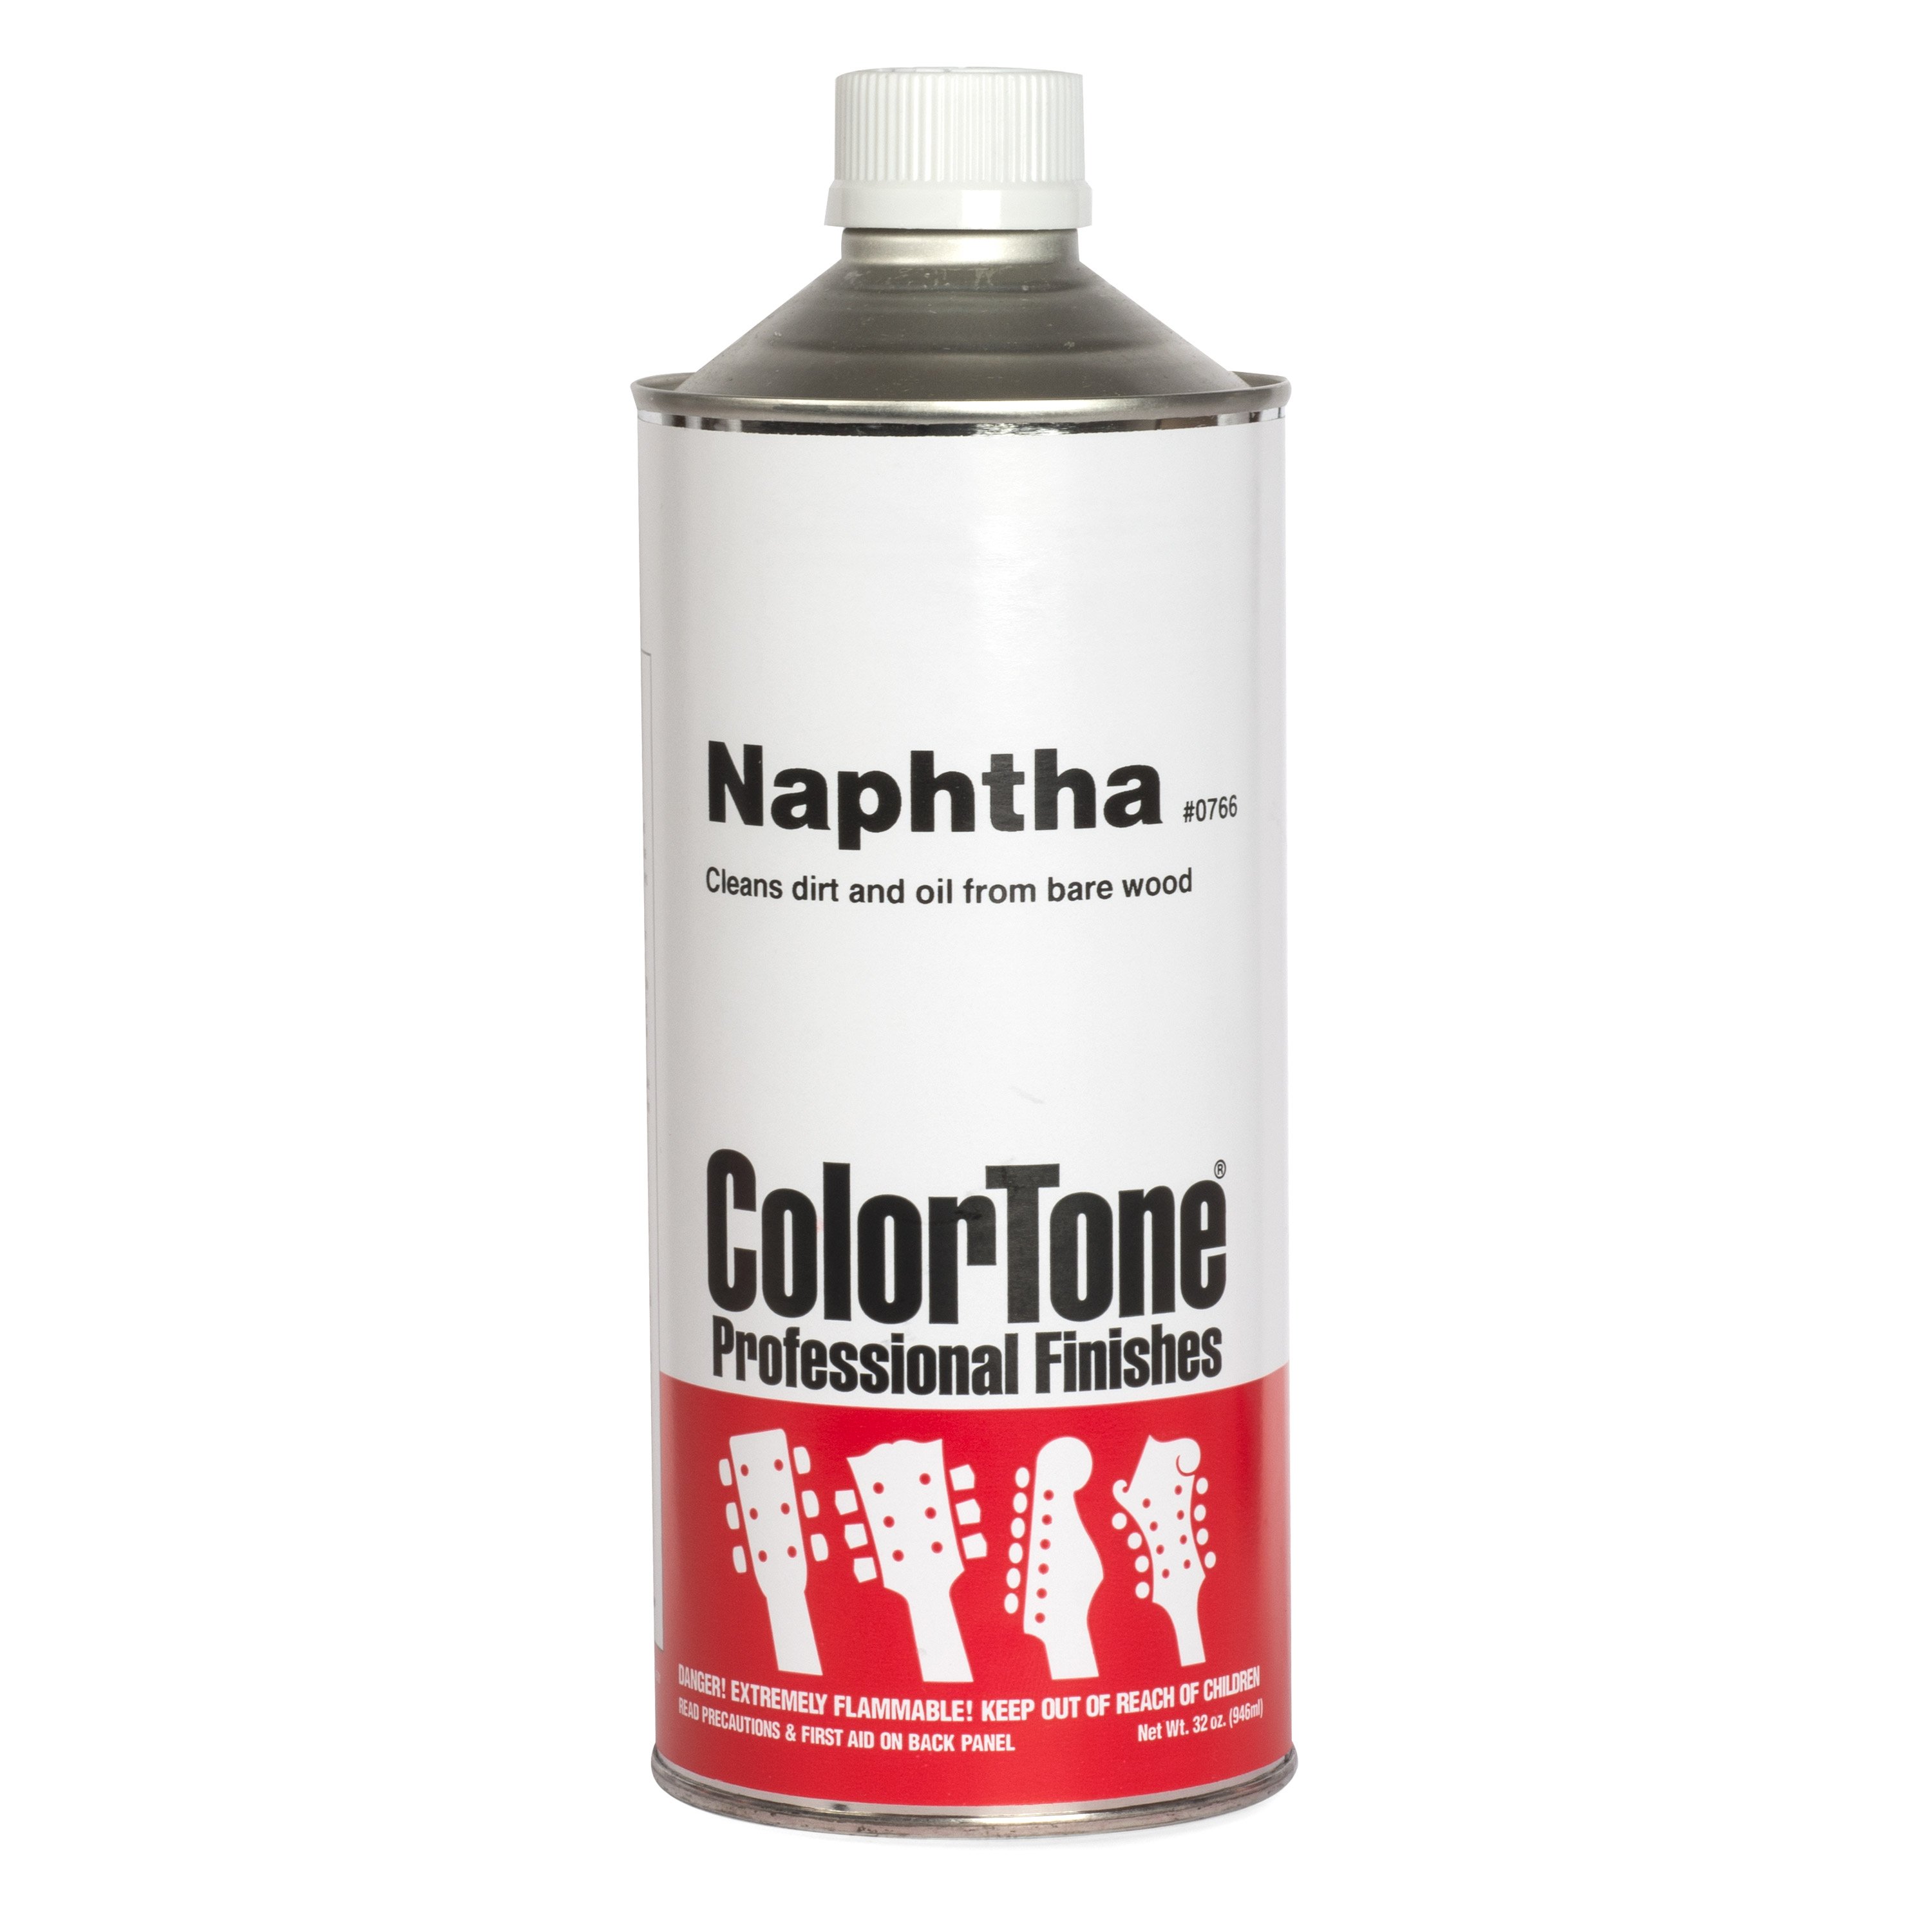
Oh, one more thing with this before you get out of here. Once you're through your grits, I would go ahead and take a little bit of Naphtha. I keep it in a nice little handy dandy bottle here. That way I can just get small amounts out and I don't have to leave this can open. But regular naphtha, this will degrease the wood. It will pull the oils from my hands, that I've gotten in this, out of the wood. It will also pull the dust that's down in those pores out with it. I'll give you an example. I like to just take a little paper towel.
Rachel: You need to throw some gloves on for that?
Blake: Yeah. I'm actually thinking about it right now, Rachel. I appreciate it.
Rachel: [inaudible 00:38:57].
Blake: Sometimes I need a little reminder that I'm not in my home shop.
Nick: Right. I learned the hard way to not use Naphtha without gloves on. It dried my hands out like crazy, and my fingers were not ... they weren't too bad, but they were cracking a little bit and peeling and stuff. I always recommend wearing gloves. I just think it's good, and you're not getting any oils from your hands back on the guitar. It's just going to be a whole lot easier.
Blake: It's like walking up an escalator that's going down, if you're just not wearing gloves and trying to degrease your guitar. I don't think people realize how much oil is actually in their skin. That can give you a messed up finish later on. It's really disappointing to get that far into a build and then realize that, "Wow, some oil for my hands messed me up now." There you go. That's just dust and a little bit of grease and oil from just me.
Nick: Yep. It's pretty amazing what we could pull off a brand new guitar basically.
Blake: Right? Especially after you just sanded it. I'm going to put a little bit more naphtha on the other side. I would keep degreasing and pulling as much dust off of this guitar as you possibly can, until you don't get anything else on your rag. I've seen other people do this with acetone. Acetone is pretty potent stuff. I like naphtha because it off-gases quickly and, besides being highly flammable, it's not too dangerous to the wood. It will dry out your skin if you get it on your skin. It's not too dangerous to your clothes or anything like that. That rag is already loaded up on this side now and this side, so I'm just going to go ahead and get a new one.
Nick: One of our viewers actually said something about denatured alcohol as well.
Blake: Denatured alcohol. You're trying to get that dust and the oil out of the wood. Another thing I like about Naphtha is that you get a nice preview of what this grain is going to look like once you get some finish on it. You see that dust go. As soon as I get this guitar off the bench, I'm going to vacuum this dust up. Be kind of counterintuitive to take the one that I've already sanded and decreased, and cover it in dust again.
You guys get it. I could keep doing this, keep going on this for a while, keep get getting this dust stuff. This is just off the back. We haven't even moved to the sides or the front of the guitar. You can see how finishing a guitar, it's going to take you a weekend. Putting the hardware on, all that stuff, that's going to be pretty fast, doing the setup. The majority of this build is sanding, grain filler, more sanding, and then putting a finish on it. It takes a lot of patience, a lot of prep, and a lot of time. We went ahead and did some of these steps for you. We'll move on. You guys get this.
Nick: Got you. Eddie says, "Is Naphtha like a luthier's nectar?" I would have to say yes. I use it all the time. You can use it on bare wood. You can use it on finishes. You can use it on your fingerboard.
Blake: That's fun.
Nick: When prepping to do a little minor front work, I always clean my fingerboard and all that stuff with Naphtha.
Blake: Sorry, didn't mean to cut you off there.
Nick: Oh, no. That's all right. It's all right.
Blake: Yeah, this is fine.
Nick: I've always said work in the kitchen is clean as you go.
Blake: Now-
Nick: Just a whole lot easier that way.
Blake: Here's the one that I've already finished sanded. I finished sanded the neck. I got the peghead shaped on that one. This is the one I showed you guys a minute ago, that I've already finished. I'm going to throw away my old paper towels. Here's the body that's already finished sanded, and the grain is already sanded on it. Nice, smooth. It's been degreased. Still got some end grain holes there, but you know what? Those aren't worth chasing. Right here, though, you can see there's no scratches. It's nice and smooth. That was just a lot of time spent sanding with the grain. Come down in here, you see how the grain curls right there. I sat here with a little sanding block and worked along with that grain until I got here. Then it curls back this way, and then it goes this way again. It's a lot of patience. All right?
Nick: Got you. Gary's asking if Naphtha is safe to use on the back of a guitar neck which has the lacquer sanded off. I would say yes.
Blake: Yes.
Nick: You can use Naphtha on bare wood. Absolutely.
Blake: Let's see where we're at right now. Back to the instructions. Use 150 grit sand paper. We've done that. Complete sanding. Wipe the whole body with a damp cloth. Raise the grain. Do with 220 and 320. Did that. Run your fingers slightly along the edges of the fingerboard and see if you feel any sharp fret ends. If you do, knock them down. 320. Slightly break the edges of the fretboard or fretboard body. Okay.
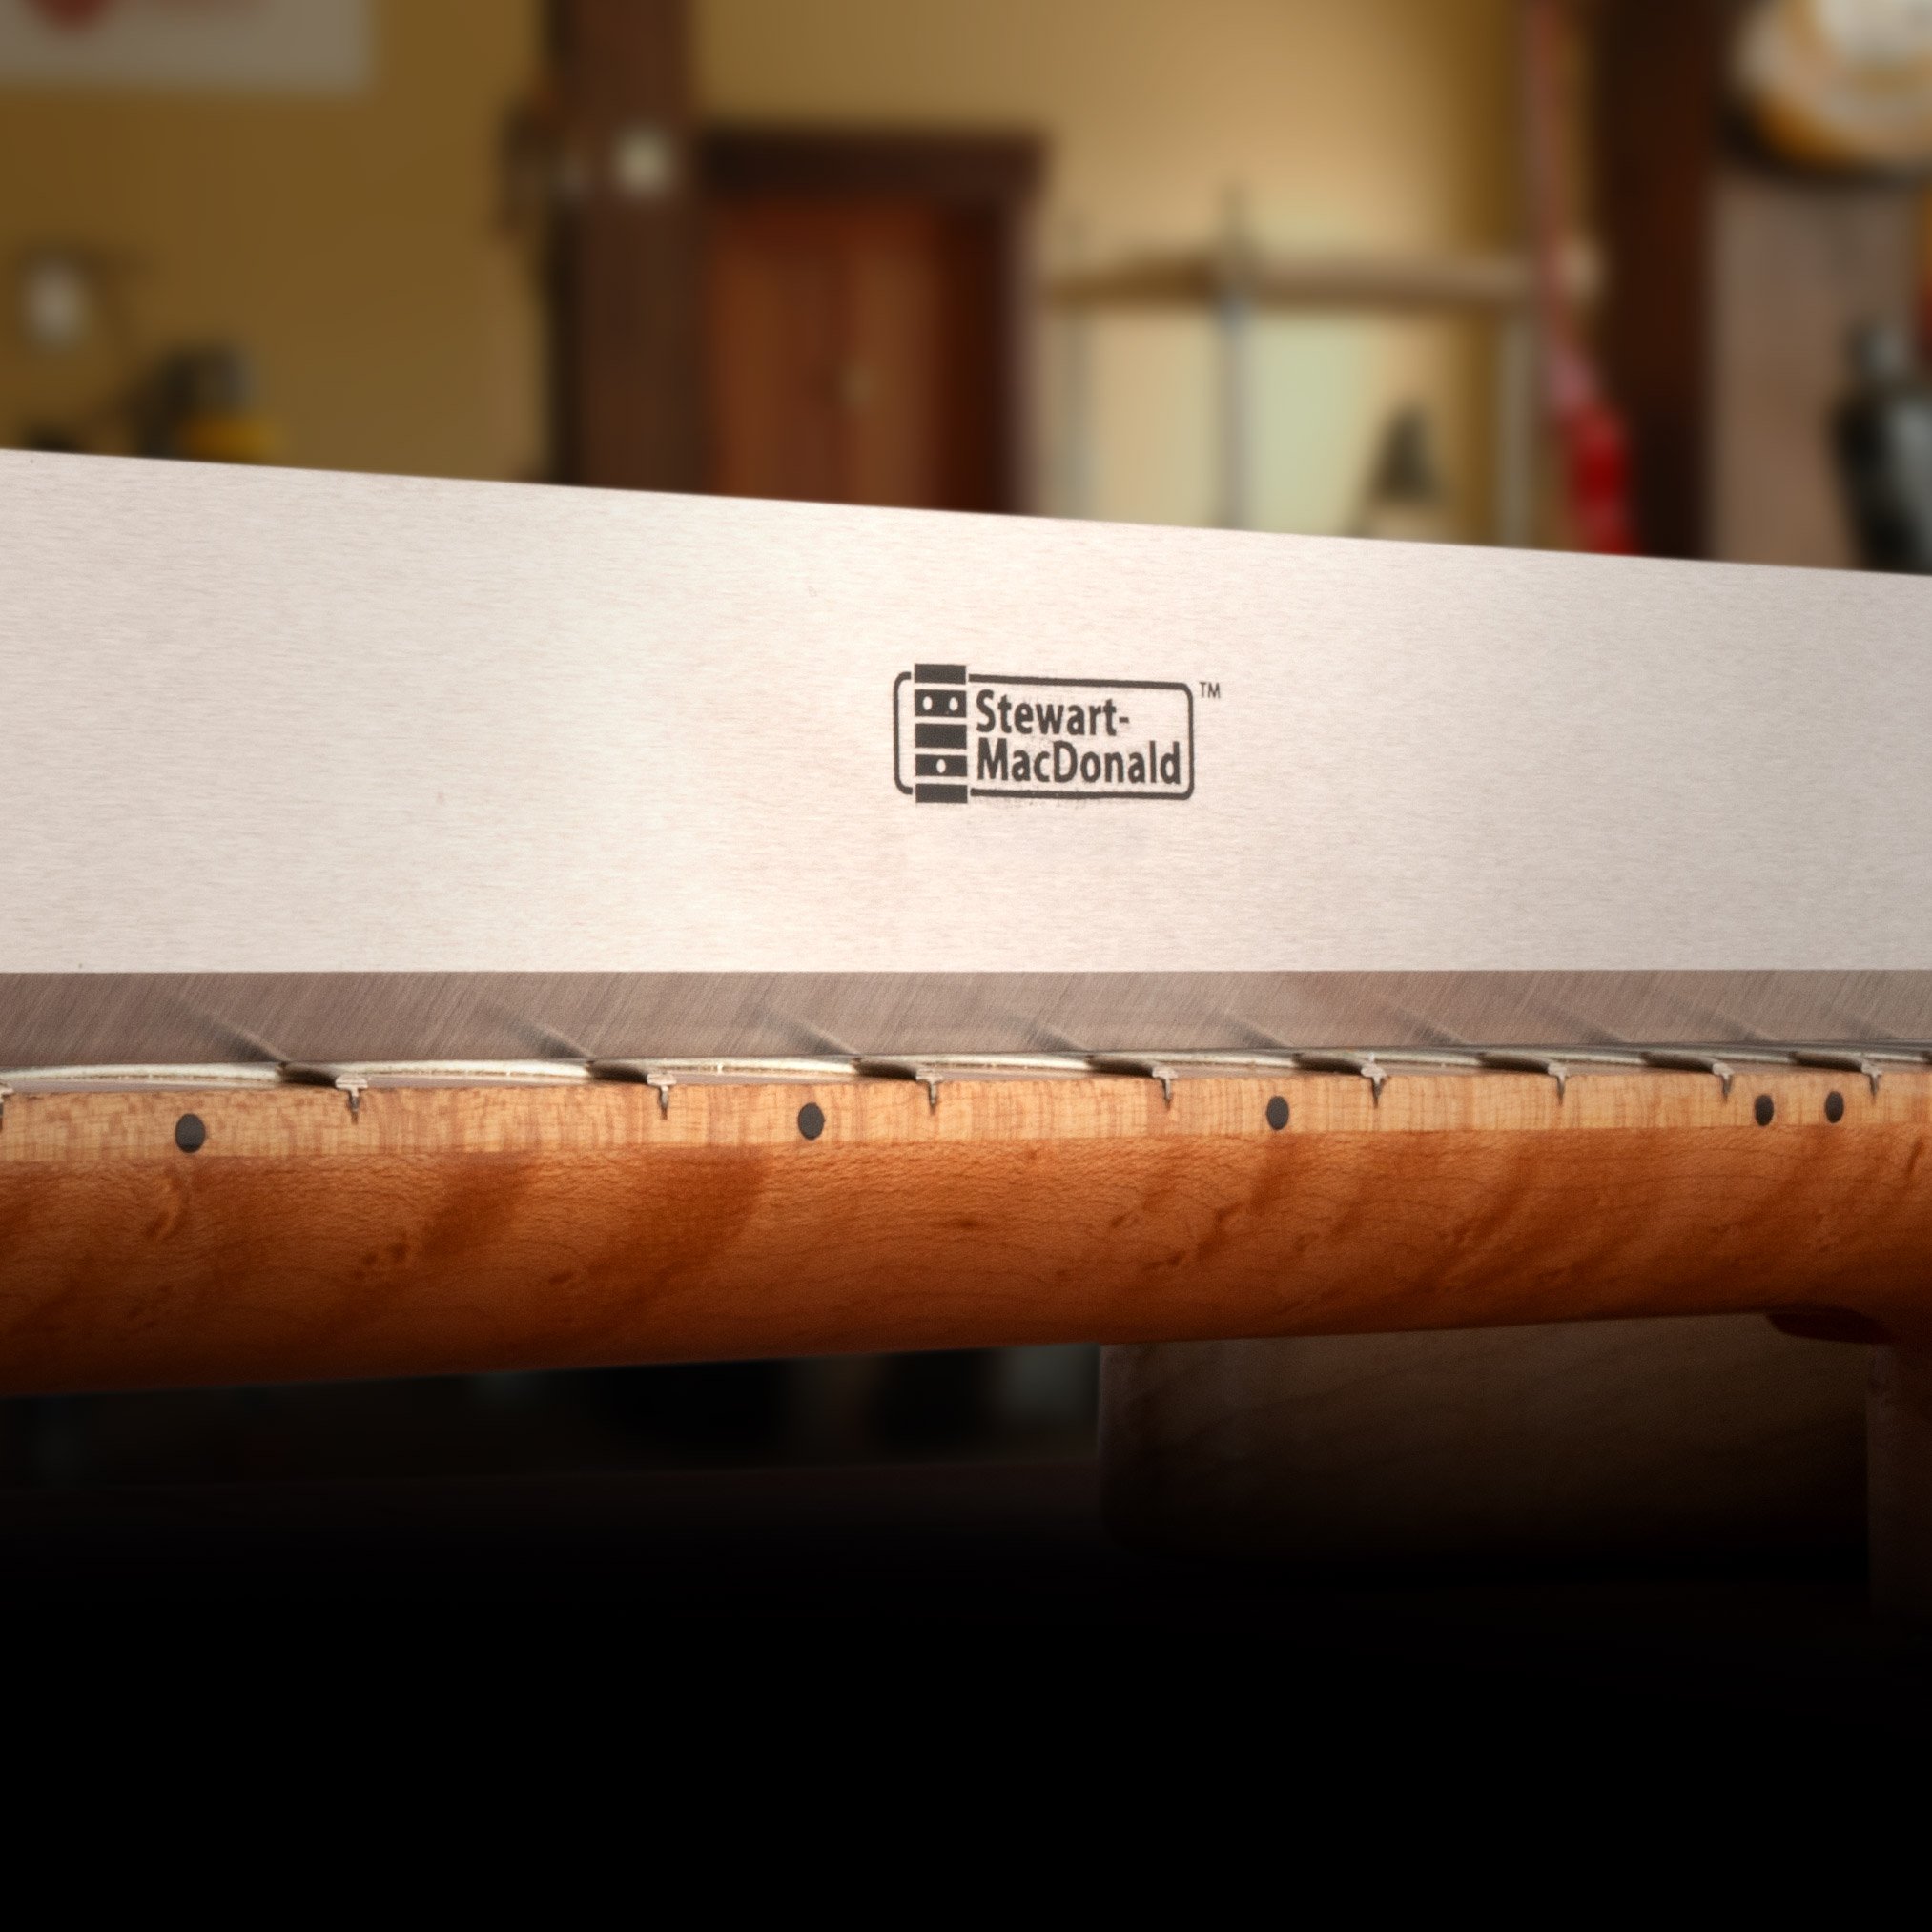
One thing I forgot to mention, while we were finished sanding, talking about finish sanding, is on the edges of this fingerboard, you need to go ahead and check these fret ends. If you feel that they're sharp or they're sticking out a little bit, right now, this would be a good time to take your flat sanding block and run right along the edges of this and knock those fret ends down. I've already done it on this one, but basically all you do is you just hold it vertically with the fingerboard, and you just lightly sand the edge of that fingerboard and the frets, at the same time. That brings those in. People get fret sprout in the winter and stuff when it's a lot drier and the wood shrinks, contracts a little bit. Those fret ends, if there's not binding on it, or even if there is binding, can come jutting out, because the wood shrinks under it. Basically, somebody with enough experience can come through and knock those down, and it'll be playing just fine. Don't forget to do that.
Nick: Cool.
Blake: That brings us on to degrease with Naphtha. We did that. Now we're talking about filling the grain. Dun da da.
Nick: Cool.
Susan: Woohoo.
Nick: Just in case you do have a guitar that has fret sprout, other than this guitar, we do have a Trade Secrets video on that. Dan Erlewine has a video. It's How To Smooth Rough Fret Ends. If you've got a guitar that's gotten fret sprout, check that one out, man. It will help you out a lot. Save your hands.
Blake: One more mention for the people who are doing some finish sanding is, up here in these contours, this is the spot that's the hardest to sand. It's the hardest to grain fill, right here in these tight little turns. I've decided to go ahead and get this little wooden dow. Did I already say this?
Susan: Yeah, you talked about it a little bit at the beginning, for sanding.
Blake: For sanding.
Susan: With the neck.
Blake: For the neck. Okay. I like to use this wooden dowel also for getting into contours right here, the cutaway for your hands to get up on the higher frets right here. There can be some deep sanding scratches in there, and it can be really discouraging to try to get in there and sand those out, because it takes a long time and it's really hard. But something as simple as a wooden dowel can really save you a lot of time, a lot of heartache. Get a wooden dowel and use it. All right?
Fill the grain
Like I said, now we're off to grain filling. The first things first, I need to cover this bench with a little construction paper or trash bag or something to protect the bench, because grain filler can be messy. I'm going to move this to the side. Got me some construction paper here that's already precut. Get our tools out of the way. What are the people saying out there, Nick? Are they satisfied?
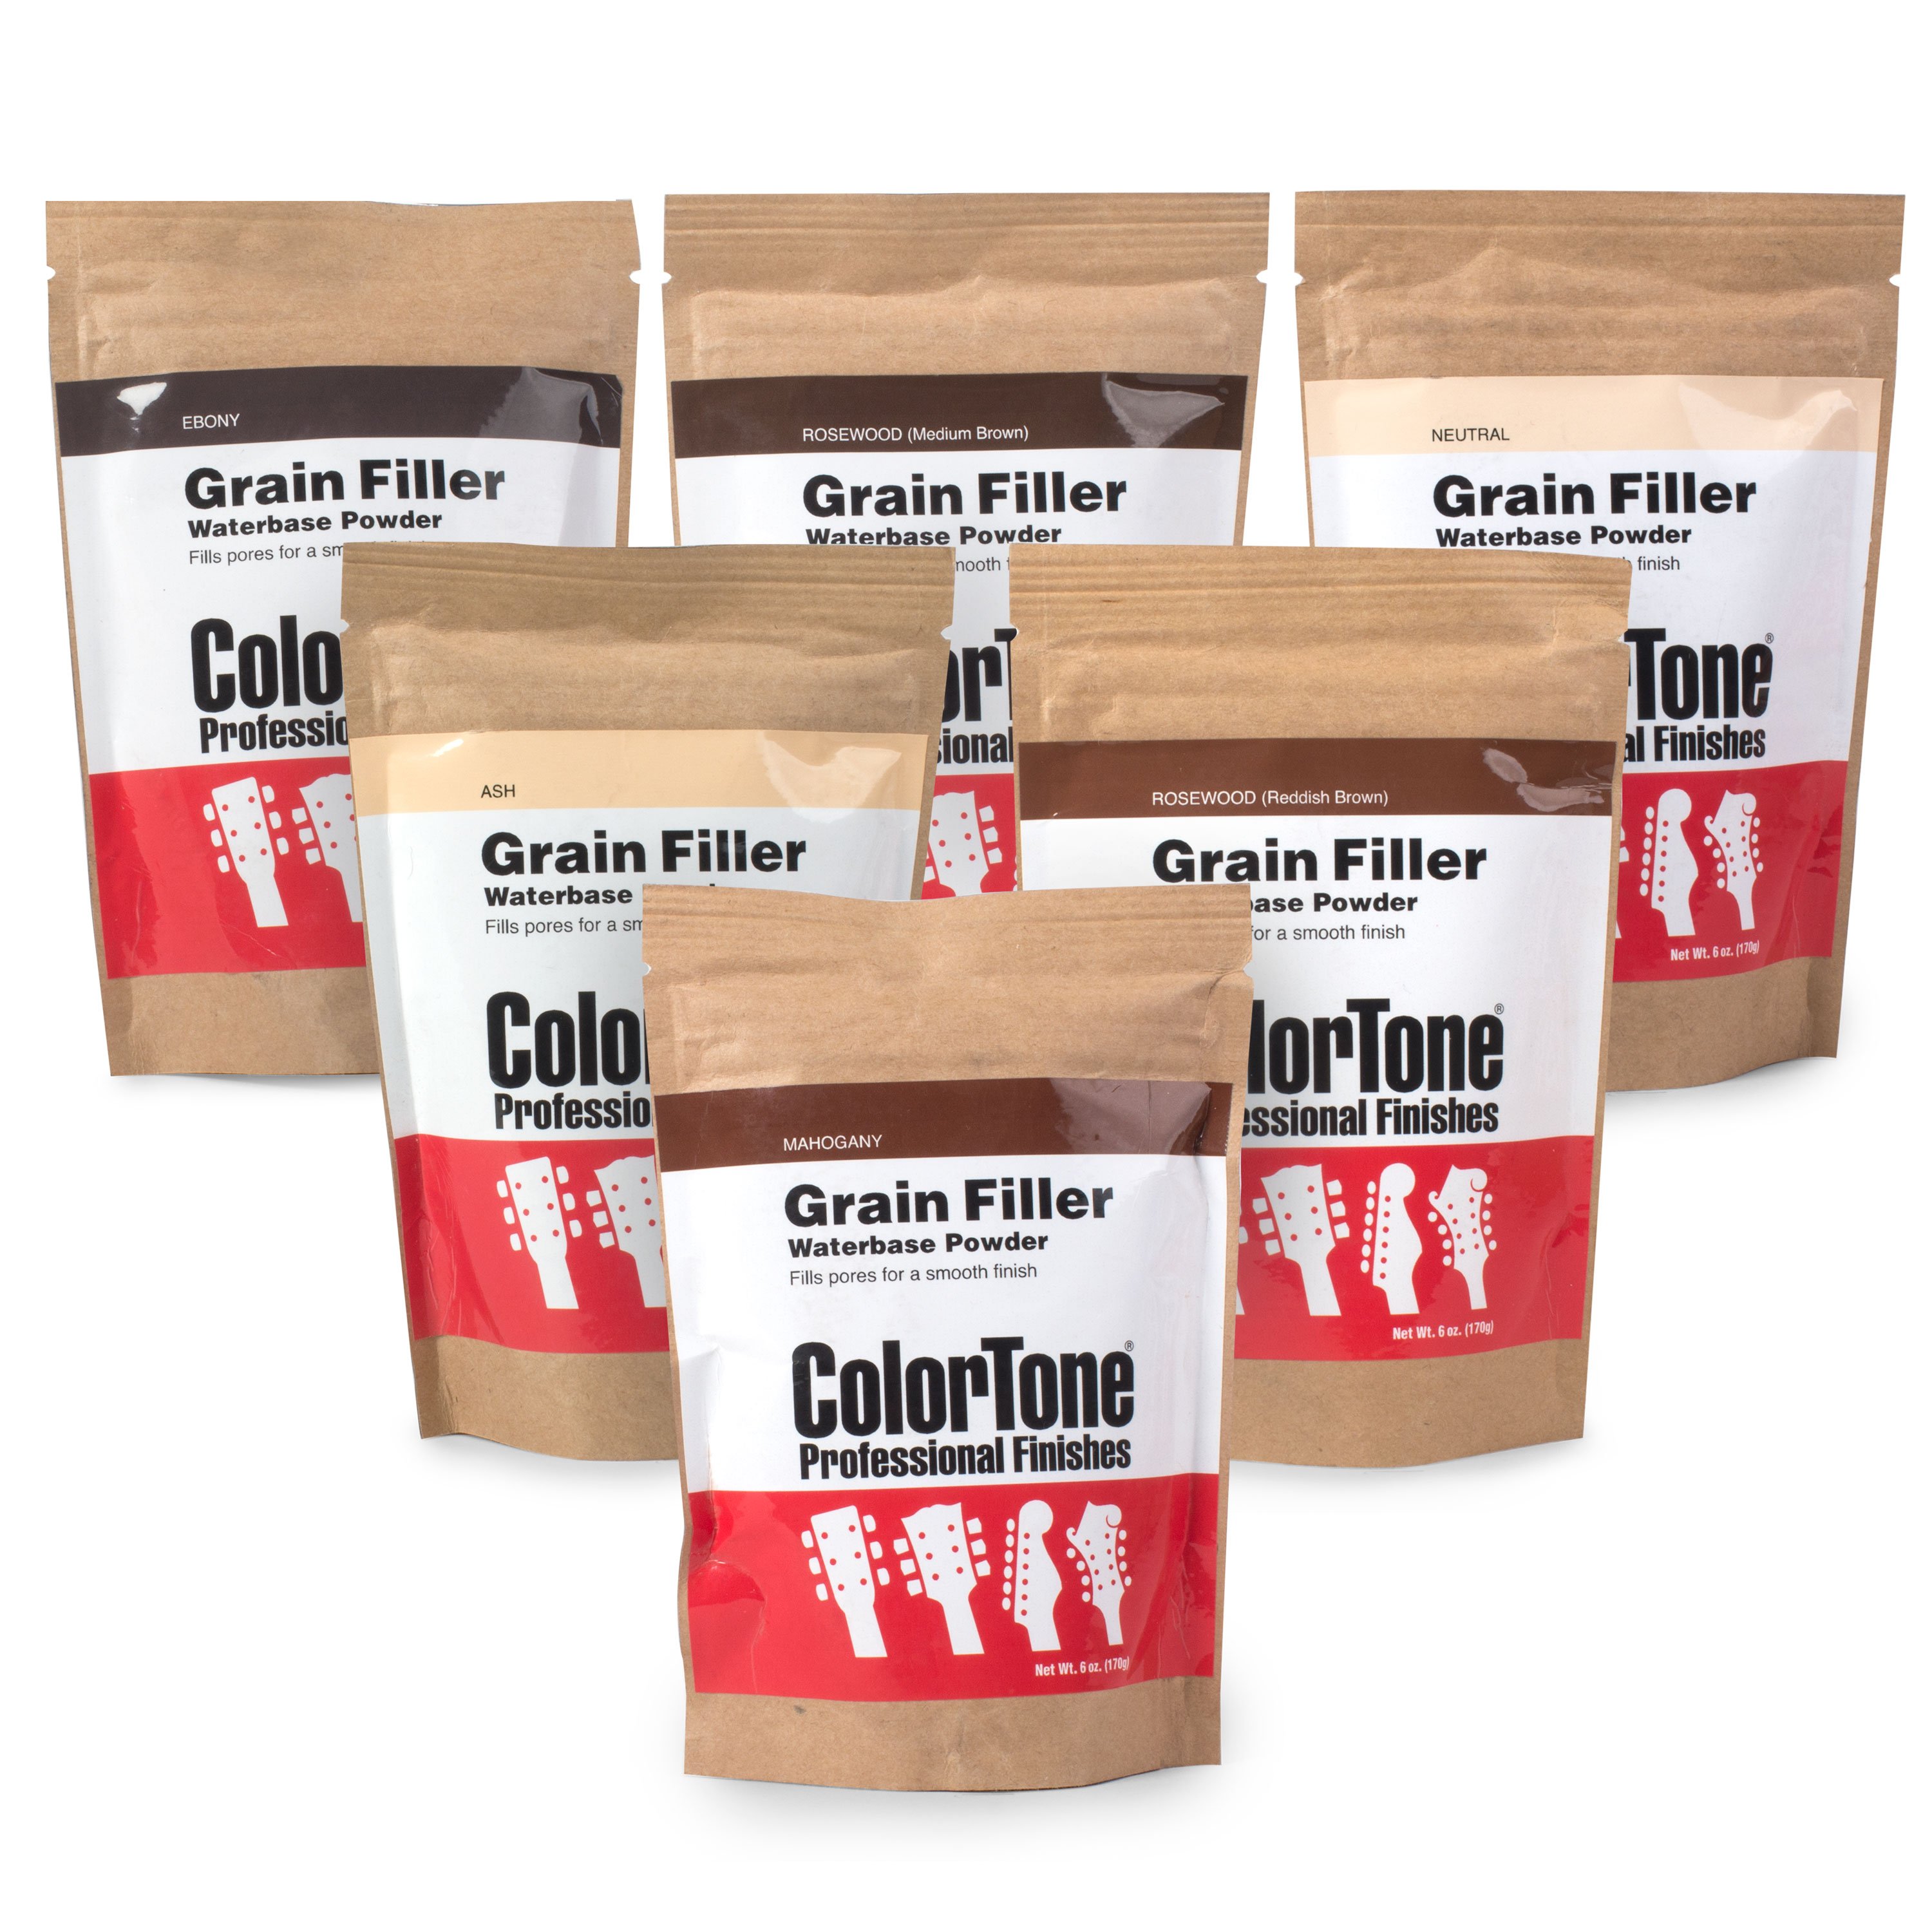
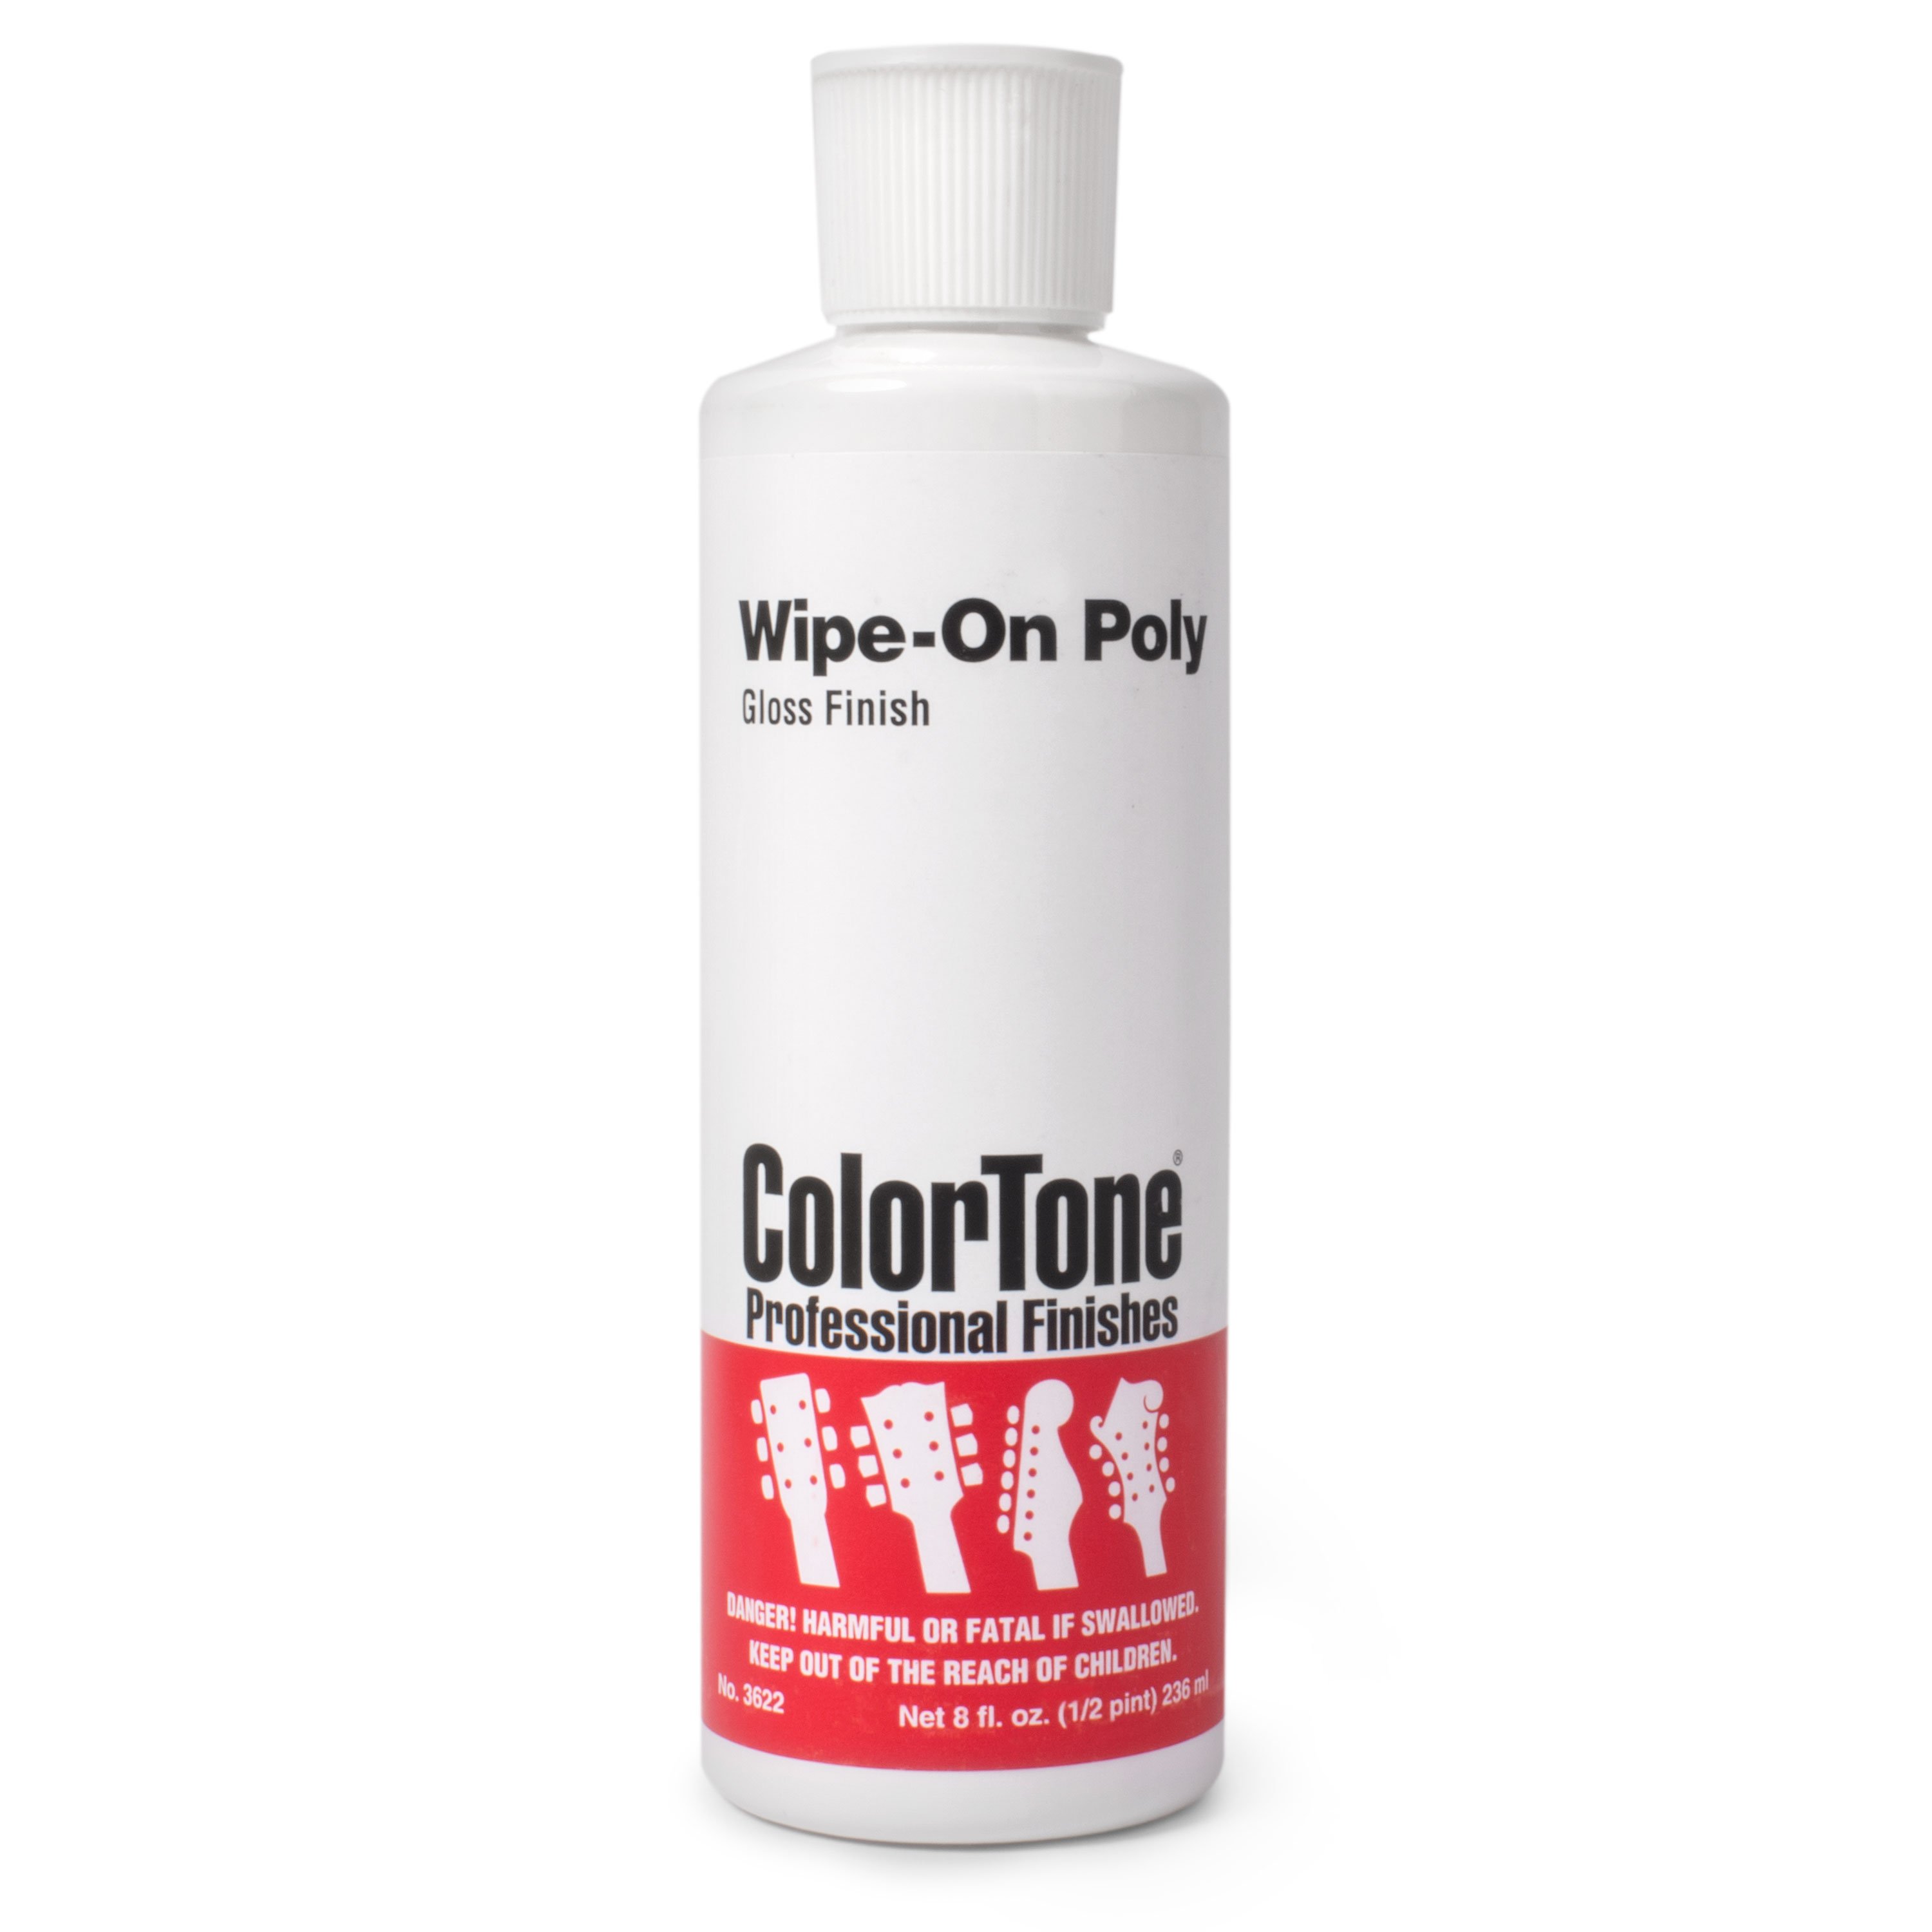
Nick: At this point, absolutely, man. We've had some cool comments. A lot of [inaudible 00:47:46] so hopefully we can accommodate the requests in the future. But, I guess, I was going to say there's something that about grain filler as well. Today, we're going to be using an ebony grain filler. That's just really going to darken up the grain lines. That's going to really make them pop on a guitar you're wiping on, but you don't necessarily have to use that. You can use other type of grain filler as well. We've got mahogany. We've got rosewood. You can do neutral. If you just really want to have a less pronounced grain, you can just use a neutral grain filler.
[on-screen text reads: Live BUid-Along! Mini Guitar Kit]
Blake: I think it's important to say, too, that you don't have to use grain filler if you don't want to. The reason we're using grain filler is to fill up the grain so it's level with the rest of the wood on the back. Because basically what these grains are, they're just little tiny holes in the wood. This is mahogany, so it's very porous. All these little tiny holes, if we don't fill these and we go ahead and start putting lacquer on it, you're going to see little tiny holes in your lacquer. Basically, we can avoid that and have a nice flat finish. If we put grain filler on this. Mixing grain filler and putting it on the guitar is labor-intensive. This is a really long part. If you want this now, maybe grain filler is not the thing to put on it, but we're going to show you how. All right?
Nick: People have different opinions on that. Some people are saying they don't grain fill mahogany. Others are saying they always grain fill, no matter what. Again, it's such a personal preference in that way. I, personally, like doing it this way, honestly. I think it saves me the headache of sanding after the finish is over, I think.
Blake: Right.
Nick: Saves a lot of that. It makes it a lot easier to get it smooth in the end.
Blake: Yeah. I think grain filler gives you a better look and finish. I think it does.
Nick: I like the way it makes the grain look, personally, too.
Blake: Right. This ebony grain filler, it's so dark, it really makes that grain pop and just really exaggerates it. Like Nick said earlier, you could use any color grain filler you want. You could use a clear. You could use a white or a gray, whatever you want to get that look you want. I wouldn't be putting black grain filler on a white guitar or a guitar that you want to be solid white. It'd be like wearing a black tank top underneath a white dress shirt. It would look funny. We're going to go ahead. This is the grain filler.
Susan: Do you mind one second, guys?
Blake: Yeah.
Susan: We're having a little bit of audio issue.
Blake: Okay.
Susan: Nick, can you count 10 real quick?
Nick: Sure.
Blake: Technical difficulties.
Nick: 1, 2, 3, 4, 5, 6-
Susan: We lost your mic.
Nick: ... 7, 8-
Susan: Let's see here.
Nick: ... 9, 10.
Susan: Okay.
Nick: Sorry about this, guys. We're working to get it fixed here.
Susan: While we get Nick's microphone fixed, I'm going to turn his off.
Blake: Okay.
Susan: But, Blake, you are on.
Blake: Can I keep going?
Susan: You can keep going.
Blake: All right, guys.
Susan: I'm going to get Nick's microphone situated.
Blake: Yeah, we're going to get Nick's microphone fixed. Apparently the microphone quit working, but I'm going to continue while we're working.
I just have a little mixing cup right here. I've already used this one for grain filler, so it's a little dark, as you can tell. We're using this ColorTone Grain Filler. It's water-based, so all we need is a little bit of water to add to this, and we can make our mud. That's another. Grain filler is basically mud that you're pushing into the pores. All right?
I'm going to take a little bit of this grain filler. I'm only going to start out with 30 milliliters, which is to the top line of this cup. Yeah, 30 milliliters. Top line of this cup. Because this grain filler goes a long way. I'd rather mix not enough than too much, and just take my time with it and have a whole bunch of extra, because it can get messy. I just got a little spoon here. Try to keep it off the little guitar. This is a really fine dust. Chinchillas would love to take a bath in this stuff. Go. Get a couple more scoops out. We are about 20 milliliters right now, so I need about another 10. The mix ratio of this stuff is two to one, to start out with. For 30 milliliters, I'm going to be mixing 15 milliliters of water to it. That'll be our good starting point. Depending on how you want it, you can either add water or less water to get that consistency. I'll read the directions here and tell you what it says. Because they use food as a describer to ... All right, I guess I need a little bit more. Running out of this bag. I might have to open a new bag. We need about another five.
Nick: Okay, I believe I've got my mic back on. Hopefully, that-
Blake: You back with us?
Nick: Hopefully, that fixed the audio there. You guys, please let us know if we got a problem again. We appreciate that.
Blake: Thank, Susan, everybody, Susan Hilbert. Don't stalk her. I didn't mean to say her last name. All right, there's 30 milliliters of dust. I just have an old paintbrush here. This is what I'm going to mix it with. I just found this in my garage and cleaned it up. The bristles are soft, but they're also kind of stiff. It's just a good one.
Nick: Cool.
Blake: I have an old dog dish that's been chewed on. Stainless, so it just cleans up really easy. I just ...
[Blake pours the grain filler dust into the bowl]
Nick: Got you. We do have a question from Sonya about the neck. Unfortunately, Sonya, we don't have necks without the inlays already in them. These do come prepackaged to our warehouse from our supplier, but we'll definitely put that in as a comment and feedback, for sure. We're sorry about that, but we definitely appreciate the comment though.
Blake: I just scooped about 15 milliliters of water. You can see the steam coming off of it. It's not vital that you use hot water. It's just what I got on set. I'm going to put it in here. That doesn't look like much, but watch this. I'm going to mix it very slowly, because if I start mixing fast, this dust is going to come flying out and going everywhere. I take it. I just start out slow. Try to keep it off the walls as much as possible. You'll see how this becomes mud basically. It's acting pretty dry, so I think I might add a little bit more water to it and get a little bit of a wetter look.
Nick: Yeah, absolutely. It's amazing in both ways, how much a little will go a long way in terms of either using a little, the grain fill powder or water, depending. Little bits at a time. Add little bits to either thin it out or make it thicker.
Blake: That's looking a little bit wetter. I still like it moving a little bit more than that, so I'm going to add a little bit more. That was a lot. I like it a little bit wetter. I think it's easier to get into the grain of the wood that way. I think it's a little bit easier to clean up, but it takes a lot longer to dry. That's your give and take there. I'm trying to get those little chunks broken down. Then I'm going to dab off this brush. Then we're going to take a second and read the instructions on the back of this grain filler, so you can hear their descriptors.
Nick: Got you. We've got a couple questions coming in and some that I should probably direct to service at StewMac, because some of them are just a little bit more technical. It'll be hard to describe right now. We got a question about phosphorescent finish. That would be a great question for our techs. Again, I'll go ahead and reiterate that, that if you've got any super technical questions or questions even after the fact, you can always email us here at service@stewmac.com. Our customer service reps are awesome. They can forward anything over to techs that they can't answer personally, and they can get you a detailed answer. You can start a thread with one of those guys, and they'll help you out. They'll get you any info you need.
Blake: All right. The back of the instructions or the directions on our ebony grain filler here, I'm just going to read it so you can hear it. Mix powder filler with water to the viscosity needed. Mix thoroughly. Tint with ColorTones stains or pigments, if desired. This is pretty dark, so I'm not going to go ahead and tint with anything. Start with a 1-to-2 liquid to powder mix. Then add water to thin or powder to thickness. Mix thoroughly. If applying with a brush, mix to ketchup consistency, no thicker than sour cream. If applying with a card, mix to the viscosity between sour cream and peanut butter. I'm hungry. Prepare the surface by sanding to 220 grit. We went to 320. Remove all the dust and oils and solvents from the surface. We did that. Brush the filler liberally in the direction of the grain, then against it. Allow to dry for up to five to 10 minutes, depending on thickness. Use the grain filler spreader or plastic card to squeeze the excess filler. Wipe at a 45 degree angle to the grain.
Then when dry, wipe off the remaining residue with a dry cloth. Let dry before sanding. Color will change to a chalky look. Sand the surface with 320 grit sandpaper. It can be sanded after one hour. Clean up with warm water. You may need additional applications to get a level surface. In our instruction booklet of this Tele kit, it recommends that we do two to three coats. All right? I'm going to show you a couple different ways to put this grain filler on.
Nick: I've got a couple of comments here that I can-
Blake: Lay them on.
Nick: ... try to answer real quick here. Somebody was asking about gluing in a nut while they're using wood glue or super glue. Actually, somebody did answer it quite well. One drop of medium super glue is fine. Just so, as you said, the next guy doesn't have to rip the thing out. Let's see here. Somebody asked if you could do a spray nitro finish on this. Absolutely. You can totally do any type of finish you want. We're we're going to end up doing a wipe-on poly, but if you're comfortable spraying nitro, absolutely. Go right ahead.
Blake: All right. This stuff goes a long way, just a little bit. I'm just going to be putting a couple little dots. I'm going to give you a couple of different ways to do this. I'm mixing all of the directions and all the different ways. I'm going to be applying it with a brush first, just a couple little drops. This looks scary. I scares me every time I do it.
Rachel: Just do the left half so we can see what it looks like side-by-side.
Blake: Okay. There's just a few dabs. Then you can start wiping it on. It looks like you're painting the guitar black, and it freaks me out every time. I'm brushing it with the grain. Then I'll brush against the grain. Since we don't have all the time in the world, I'm going to go ahead and do this a little bit faster than the directions recommend. I recommend you follow the directions. You take your time and you work slow, and you'll get the best result. But I'm going to show you how to do this, and I'm going to be doing it fast. There's that.
Now, if I let that sit and dry on there, I'm going to be sanding for the rest of my life trying to get this grain filler off. I'm going to take this little squeegee that StewMac sells specifically for grain filler. I'm going to go ahead and start working it. Actually, you can even use an old credit card or an old gift card or something like that to use this as well. You don't necessarily have to buy that scraper that we sell. I shouldn't really call it a scraper, but you get the idea.
Nick: It's a scraper. It's just a different kind of scraper.
Blake: I'm trying to work this into the grain. I'm coming at a 45 degree angle to the way the grain runs. I'm just trying to scrape that excess grain filler down into the wood. All right? I'm going to come in with a dry, clean cloth. I'm just going to go ahead and wipe this excess off. I'm going to use this paper towel to rub it in there even more.
Nick: Okay. Kayla's actually asking, "Are we doing just one coat?" Actually, the directions do recommend that we do two to three coats of grain filler. We will probably only show you one today, just because we don't have a whole lot of time. We're trying to keep it within around about an hour. I know we're going a little bit over now, but we would say, generally, two or three coats on the grain filler, for sure.
Blake: It looks like we just painted this thing black. It looks scary, but once we get done, it'll be all right.
Nick: Right now, we're trying to speed up the drying process. To make this really efficient and have it work really well, I think we generally say to let it dry about an hour or so.
Blake: Look, you can see the grain starting to come back right there. I went ahead and prepped a bunch of these paper towels because it's going to take a lot.
Nick: Good question, Sonya. Yeah, absolutely. We're going to be doing the entire guitar this way, so you wouldn't need to tape off anything. We're going to be grain filling the whole thing. We were going to do a-
Blake: Actually, she might have a good point. We do need to tape off the fingerboard and the frets.
Nick: Okay, great, great. Great thinking. Absolutely. As Blake said, we're definitely taping off the fingerboard, for sure, but since we're just doing some of the body right now, we won't need to be doing any taping.
Blake: I'm trying to get as much of the excess grain filler off as possible. That way when it hardens and dries, I don't have to sand for hours. Right?
Nick: That's interesting. Do you know if you can mix grain fillers to get some kind of rainbow effect? That's a really interesting question, Garrett.
Blake: You know what? I don't know if you could or not. I think it would be hard to keep it contained into different sectors of the guitar. Not to say it's impossible though. People have done some pretty wacky stuff. I don't want to say it's impossible, but I would say it's probably pretty hard to do.
Nick: I wonder if that would be easier to achieve with a stain rather than a grain filler.
Blake: Yes, I would say a stain is easier. Look at Paul Reed Smith's stuff. They do hand rub stains. They can do some wild stuff. It's beautiful. I'm taking a little bit of hot water just to clean up the surface a little bit more. I want a damp rag. I'm going much faster than the directions recommend. I recommend you follow the instructions. See, we're getting some more of that stuff off. What are we at, Susan, time-wise, or Nick, anybody?
Nick: We're about 66 minutes right now.
Blake: Okay. We're a little over an hour.
Nick: A little over an hour.
Blake: I'm going to show you one more way to do some grain filler, and then I'll show you what the end of it looks like. Basically, I'm going to let that dry a little bit, and then I'm going to hit it with a little bit of sandpaper. But the other way I like to do this is I like to take a little bit of grain filler just on a paper towel. You could use t-shirt rags or something like that. I like to rub it on. Now, this gets drier a lot faster, because this paper towel absorbs some of that moisture. But I feel like, in the long run, I have a little bit of less work to do. It's just this is not the way that it's recommended. It's just something that works for me.
Nick: Got you.
Blake: You can see I'm just filling those pores.
Nick: Absolutely. Yeah. It looks to be drying a lot faster.
Blake: It's not as dark. I'm not staining the wood as much. That was working for me a lot when I was prepping all these kits.
Nick: It looks to be taking to the grain.
Blake: The cool thing is that since this is a water-based grain filler, if it's too thick or you accidentally let it sit on the guitar and harden, you can always reactivate it with a little bit of water. You have some grace there. Excuse me.
Nick: Absolutely.
Blake: Miller's chicken just wanted to be heard. All right, you guys get the idea. Basically, we're trying to fill the grain. Then I would sand it down with a little bit of 320. You just keep carrying on, carrying on until the grain is filled. This is starting to chalk up. You see how this is gray? I don't know if you guys can see that very well on camera or not.
Rachel: I can see it great.
Blake: Okay. Get my sanding block here. Getting my 320 sanding paper.
Nick: Got you. Got you. Nick's got a question there. I believe that the nut is plastic, unfortunately.
Blake: Yeah.
Nick: It's definitely not going to be a bone nut on this kit guitar.
Blake: But we do sell bone nut blanks, and you should try it yourself.
Nick: Absolutely.
Blake: Not saying you should just buy all StewMac stuff, but buy all of StewMac's stuff. All right, now once it starts to get gray, normally I would wait a little bit longer, but we're already over our time limit here. I'm just going to go ahead and start sanding. Basically, what you're doing is you're trying to take that surface stuff and get all that black powder off the guitar and get that natural look in between the pores back.
Nick: Okay. I got a couple questions here I'm going to try to answer in rapid fire here. Kayla, unfortunately we don't have any of our kit guitars already finished. That's something that would need to be done on all of our kit guitars. We do sell some bodies that are already finished, but not any of our kits, I do not believe.
Let's see here. Sonya, the grain filler is not toxic, so it wouldn't need to be ventilated. We talked about this earlier. We normally would wear a dust mask when doing this. He's actually not doing it today, just so that he can be heard well. Yeah, absolutely. We definitely recommend that.
Let's see. What else? Did I miss another one? Actually, Eddie, absolutely. That's how we would normally recommend doing it, spreading on the grain filler and letting it dry for about an hour till it gets nice and chalky. That's exactly right.
Blake: You can start to see where it's coming through. That's what we're going for. I'm just going to take a damp rag again, wipe some of this dust off. You can already see where we're going. This is the direction we're trying to go. I think you guys get it. You just keep sanding with 320.
Once you get it sanded down, I would go ahead and apply another coat. Then I would wait for that to dry, and then I would go ahead and apply another coat. That way you're sure that all of the pores in the wood are filled and ready to go for a finish. That's going to look something like this guitar I'm about to show you. All right? I'll show you this just before we leave here, real quick so we can wrap this up. I'm going to go ahead and move this stuff off the bench, because we don't want to get all this dust on this guitar that we've already finished.
Nick: I got a question from John here. Actually, John, yeah, that's a great question. He was asking if water will swell the wood. It's possible it could. We just want to use a very damp paper towel. It doesn't want to be dripping wet. It just wants to be damp, just enough to get any of the excess dust and some of the excess grain filler that's on the guitar. That's really the ... I don't know ... the point of that there. Great question, yeah. Don't use a towel that's too wet, just damp.
Blake: Correct. This is your finished product. This is what you're looking for. You get this nice ... it's almost a gray hue to the wood, but once you start putting your color on top, because we're going to dye poly and then stain this. Then we're going to put clear on top of that poly. This grayish darker hue to the wood, it will not change a thing. You can see how all the pores are nicely filled. You are very exaggerated, very easy to see. This is what the back will look like. For the person that asked earlier about taping off, fingerboard is taped off. Nut is taped off. This is what the neck looks like when it's filled. The hardest part to fill and the hardest part to sand, one more time, is the end grain, areas like this, areas like this and like here, areas like here [Blake points to the outside edges of the guitar body and neck]. That stuff is hard to fill, and so persistence is key. But this is your end result and where we're going to end our day one. Right? Is there anything else we need to cover?
Nick: Sounds good to me. We tried to get as many of these questions answered as we possibly could. I'll just go ahead and remind everybody again that if you've got any more questions about what we covered in today's episode ... which was basically just modifying the peghead, finish sanding it, and grain filling it ... if you've got any other questions concerning that kind of stuff, you can always email us at service@stewmac.com, and one of our colleagues will take care of you.
Then we'll be right back here tomorrow at two o'clock. We're going to be doing the finish tomorrow. Again, a reminder about that's really the longest part of these builds is going to be taking care of the finish. That's why we're devoting two whole episodes basically just to prepping for the finish. Then after that, we'll be putting on the hardware and getting it all set up and ready to play. We'll see you guys next time here at two o'clock tomorrow, same time. We'll see you then.
Blake: Thanks.
Nick: Yeah. Thanks, guys.

