Tomo Fujita's '65 Fender Mustang is in BIG Trouble
Tomo Fujita reached out to us about one of his favorite guitars, a vintage '65 Fender Mustang. It badly needed a truss rod adjustment, but the nut just spun when tightened past a certain point. We thought this would be a great opportunity for Dan Erlewine to show us how to diagnose the problem and attempt to fix it.
Video Transcription
[on-screen text reads: StewMac]
Tomo explains the problem
Tomo Fujita: Hello, can you see me?
Dan Erlewine: Professor.
Tomo: Hi Daniel, how are you?
Dan: I'm good. How are you doing?
Tomo: Nice to meet you in person. Yeah.
Dan: I wanted you to know that your guitar got here safely.
Tomo: Thank you.
Dan: He was the best guitar packer I've known. Man, that was so perfect.
Tomo: Oh, thank you. Thank you. Yes, yes, yes. I love buying and selling guitars, amps. It's really important for me to pack really well so that the other person be happy, you know?
Dan: You did, I'll tell you Tomo, it took me about an hour to unpack all this stuff, so nothing went wrong on the trip out.
So tell me about the problem here with this '65 Mustang.
Dan: Yes. When I got the Mustang, the neck was a little bowed and I tried to fix it a little bit, and then I turned the truss rod nut, and just keep moving. And I just try many ways, but just doesn't work. So basically I gave up about the original neck, so I just found 1965 Duosonic Fender. So kind of similar, right? Same size. So I kept playing that way, but then it doesn't set a Mustang, so I mean I want to play the original Mustang, you know?
Dan: Well, it could be a lot of things. It doesn't have a truss rod nut with it.
Tomo: Yes.
Dan: Somebody could have had a bigger nut than it should have been on it and it was spun. I've seen them where they come loose down here.
Tomo: Yeah.
Dan: So if you were turning here, it could be turning at that end and broken.
Tomo: Oh, I see. Yeah.
Dan: So it could be a bunch of things and I don't, I can't promise that I can fix it, but I'd be very honored to do this for you.
Tomo: Oh, Dan, thank you. Thanks so much.
Dan: I'm going to call you as soon as I know something.
Tomo: All right. All right. I'm looking forward to it.
Dan: Thanks.
Tomo: Thank you. See you. Bye.
Fix #1
Dan: Okay, we're going to get to work on this killer 1965 Fender Mustang that belongs to the great Tomo Fujita. He's got an old Olympic white finish that's yellowed and all checked lengthwise like this. Beautiful. I can sure see why he wants to get this thing playing with its own rightful neck, which is up-bowed right here.
Ooh [Dan sets the Precision Straightedge down on the fretboard], it certainly does have a big up bow in it. Oh, that's, that's huge. That must be almost a 16th of an inch. The big question is, what's wrong with this truss rod and why isn't it working?
Tomo said that the nut he was working with just kept spinning and spinning and didn't do anything. It could be that the truss rod threads in there, it's hard to see down in that hole are stripped or overly worn. Or maybe, I guess it could have been just the wrong size nut and it wasn't catching.
The worst case thing would be if it was spinning because it's loose down here [Dan points to the very end of the fretboard closest to the headstock] and has pulled out of the anchor or broken off. Let's hope that's not the case because then I'd have to pull off some wood, dig out the end of the rod, pull the rod out, re-thread it and do all this fancy stuff. So I'm crossing my fingers, that's not what we're dealing with here.
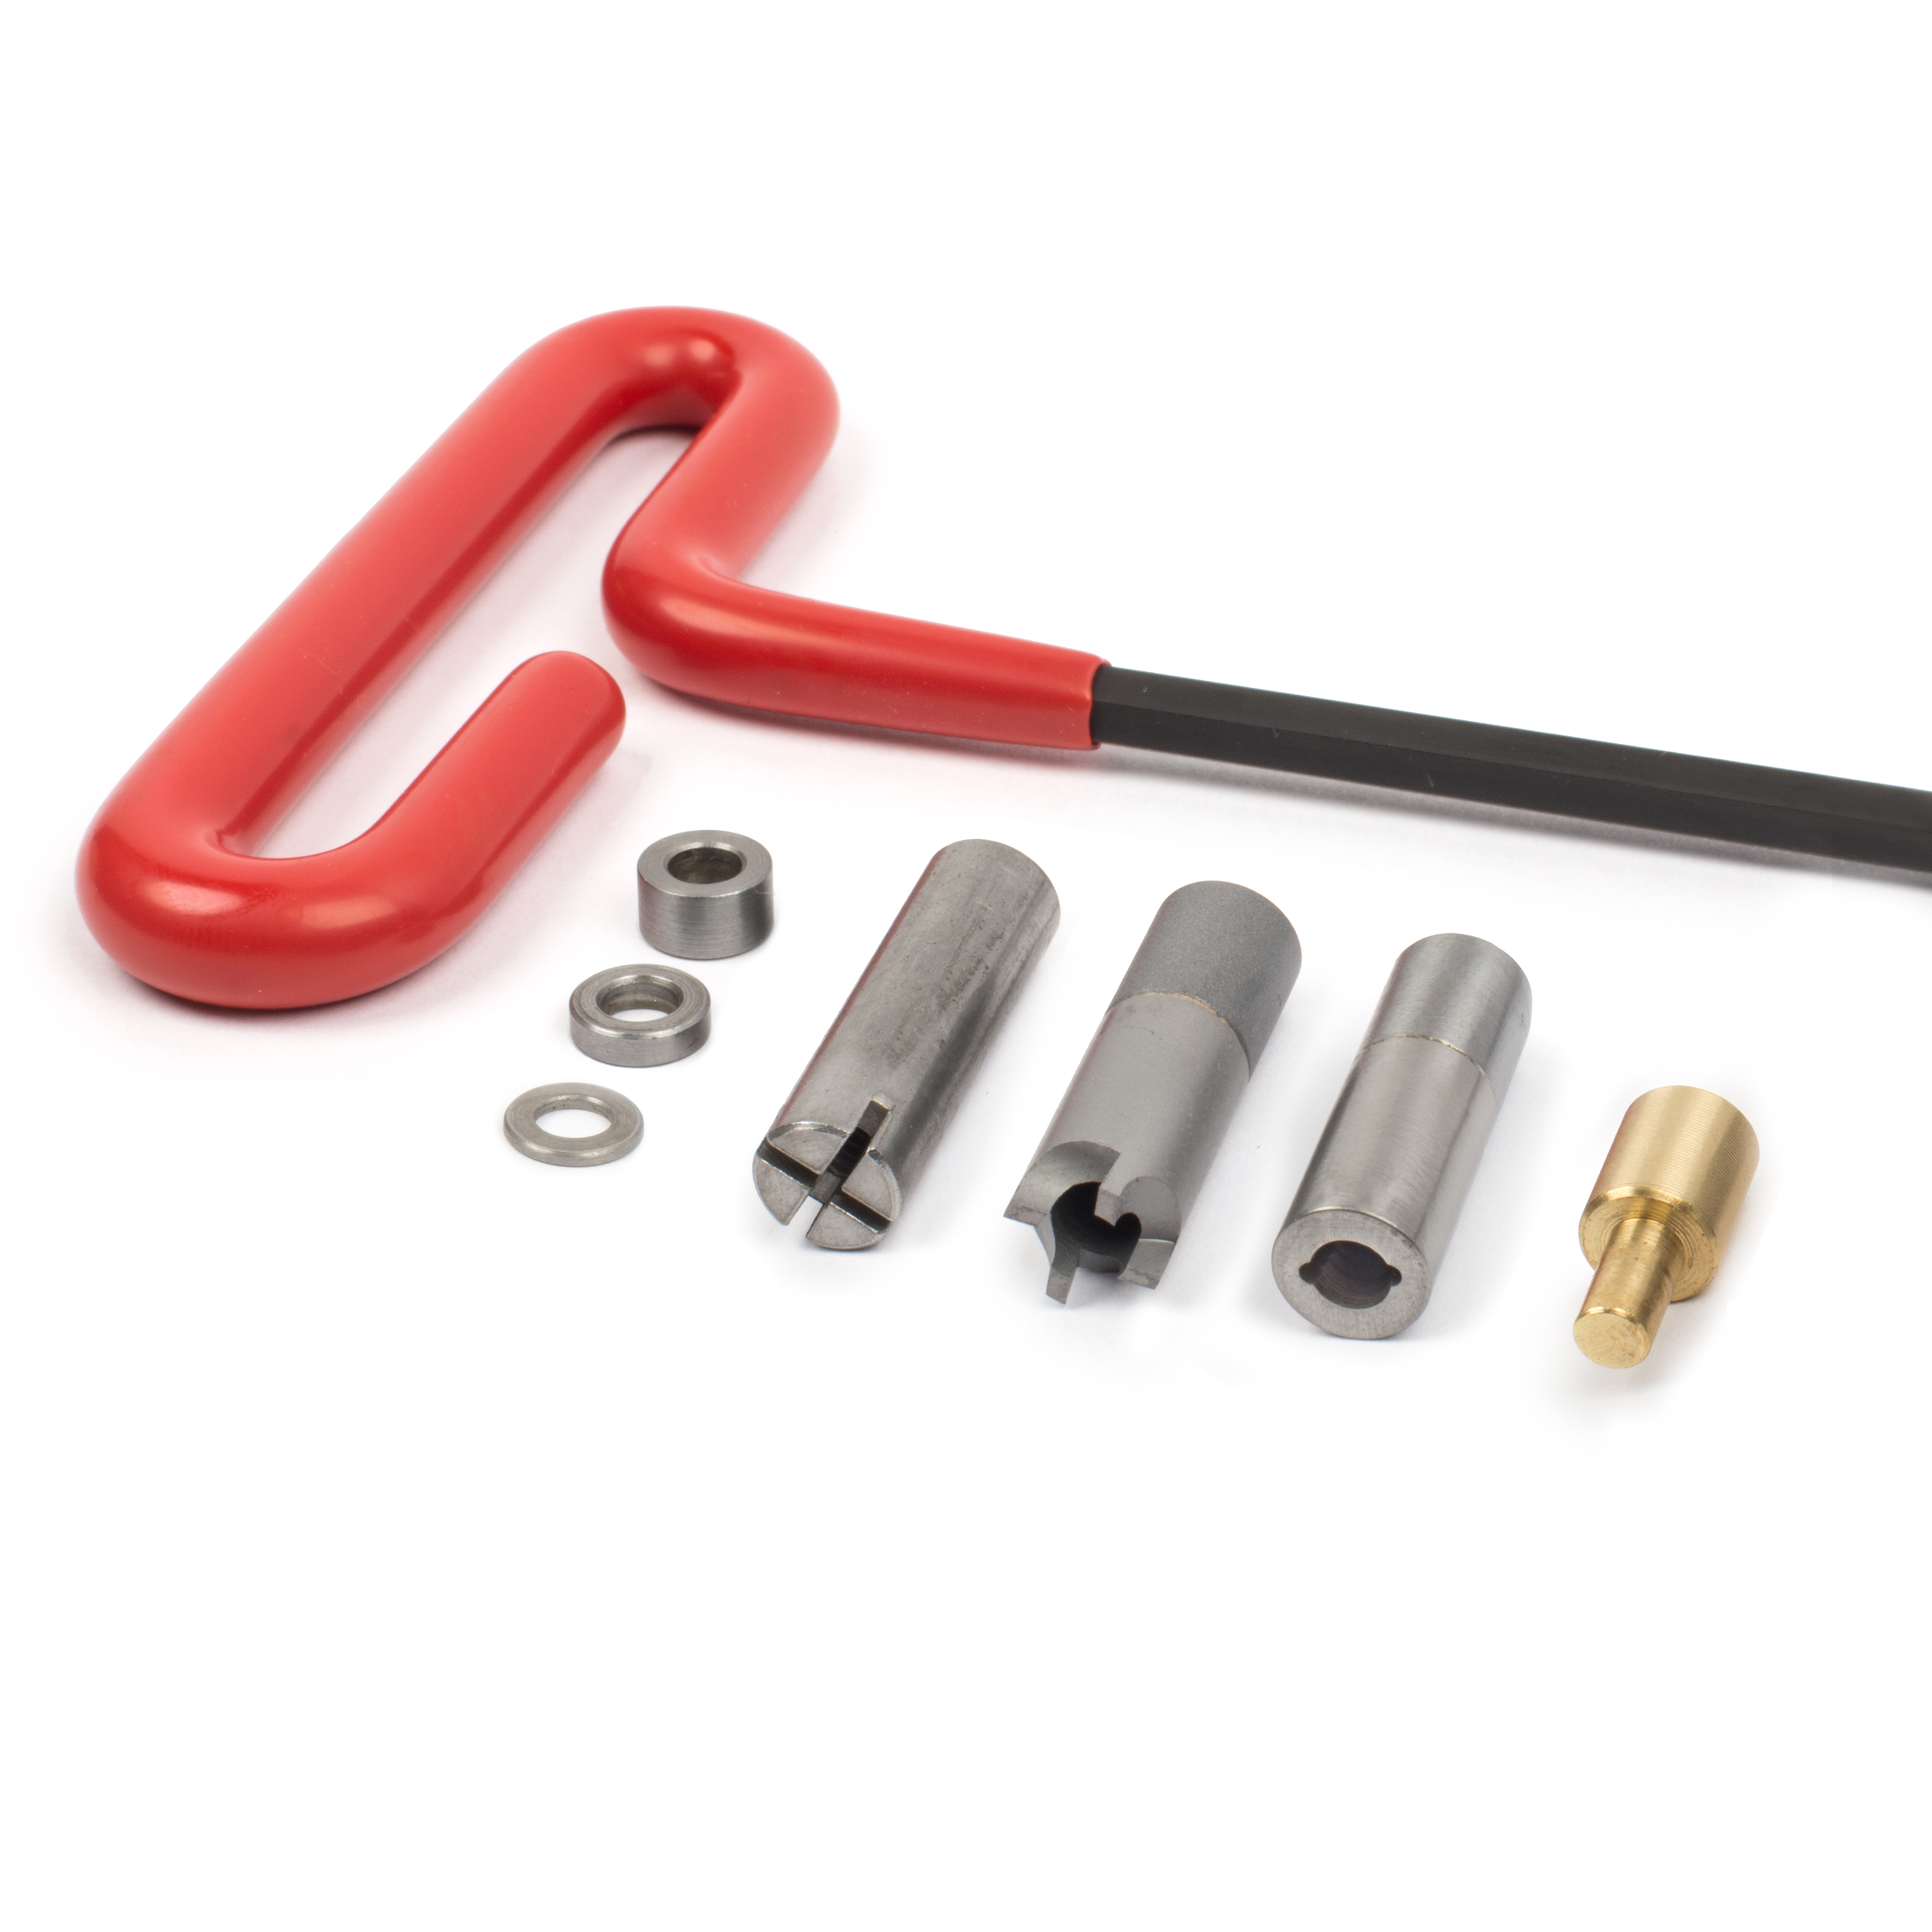
Since I don't know this neck and how well it's been treated over the years, I'm going to assume that it might have had a little mistreatment, and before I try to put a nut or anything on it, I'm going to do this. I'm going to put a little lubrication on with some wax, and I would clean the threads up with a die from the truss rod rescue kit. A die is a metal tool that cuts threads or in our case it's going to chase the threads.
The threads are there, but they could be kind of bunged up and this sharp die will go in and clean them up, rejuvenate them. It'll put sharp edges where it's dull. I'll show you what I mean before I do it.
Here is a scrap truss rod from the drawer. It's an 8-32. I actually took a hammer and smashed it even worse so it has bad threads and here's the 8-32 nut. Now when I try to thread that on, it's going on, and it gets so far and it stops. It doesn't want to go any further. It's hung up on those bad threads. Now I can take an 8-32 die from my rescue kit, lube that up a little bit [Dan uses a Q-tip to apply a little wax to the inside of the die]. Once I start getting on there and fill that rough spot, I can keep on turning. Take it back off. Now if I take the 8-32 nut, it threads right on, I'm going to do the same thing over here.
I'm going to put the neck in my vise to hold it and do what I just did, but this time on a 10-32. Little wax [Dan uses a Q-tip to apply some wax to the inside of the die], juice it up. I can feel it going on. I'm all the way down with it And that's chased the threads out beautifully. I can't wait to put the nut on it.
Here's the moment of truth. I've got a fresh 10-32 nut here. Actually it's an older one from a box of nuts that I have because it looks more realistic. I'm going to put it in there and thread it lightly and let it get it in there. It's on.
Now, I'm not going to tighten this all the way. I'm just going to take it up 'til it stops. We're not out of the woods yet because when I put pressure on this, it could be turning down here and that was what was spinning all along. We're not going to know 'til I try to tighten and straighten the neck, but I'm not going to tighten it until I do what I always do. In a case like this, I want to help the neck adjust.
Adjusting the truss rod
Whenever we're adjusting truss rods on adjustable necks, we're asking a small piece of metal to straighten a big piece of wood, and that's quite a task. So we like to help the rod adjust so it doesn't have to do all the work by itself. What I'm about to show you is really something I do whenever I adjust a truss rod. I don't take any chances, not just on one that's got troubles, any guitar.
In fact, recently we shot a video on just adjusting truss rods and helping it adjust. If you'd like to see that video, click right up here [on-screen text reads: Can You REALLY Adjust Your Truss Rod Without “BREAKING YOUR GUITAR?]
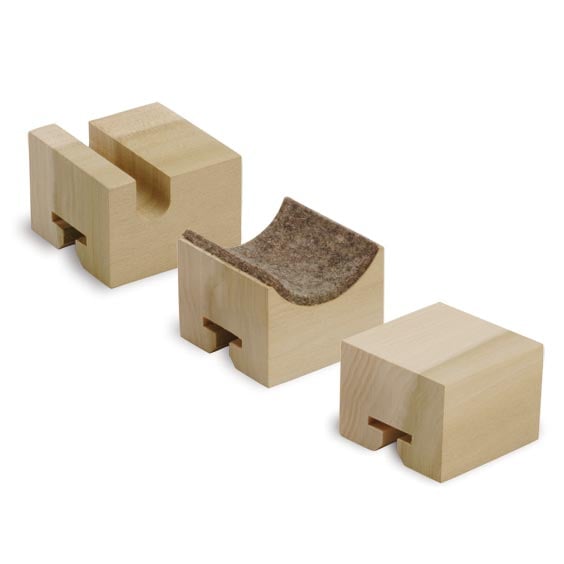
So to do this job, I built myself a little assistant. It's a piece of wood with two blocks of wood on it that can slide on a channel. I get the blocks at one end of the neck and the other. I used to do this with my dad's carpenter's level on two blocks of wood. This is a little step up, I think.
The next part of the tool is a neck caul that slides onto a clamp, so I can apply the pressure in the middle and not scar the neck when I do it, and it's a little balancing act [Dan tightens the bar clamp down onto his wood assistant]. Once I feel it, I'm just slowly tightening into a back bow, and I check it as I go. I can give it more than that. And I've got a big curve going in there now. This is when I will adjust the nut [Dan starts tightening the nut]. It's the fun part. It's going in. It's engaged. It's tightening, feeling good.
Uh oh, I'm getting... Nah, shoot. It's doing the same thing Tomo said. It's just spinning and spinning. This is sort of disappointing, but there's probably a reason for it. I would guess this has been abused enough times years ago, over-tightened and re-tightened that it stripped metal off the threads. There's just not a full thread left on the diameter of that rod.
Fix #2
We're going to back up and punt and don't give up because I have something up my sleeve that I came prepared for in case this happened, and I'll show you. Okay, let's get the truss rod rescue kit back out and we're going to do something new. We're going to go into that hole with one of these tools and we're going to bore wood around the truss rod and get deeper down in there and put a new nut on. I'll show you what I mean.
Check out this x-ray that my dentist pal took for me [Dan holds up the x-ray in front of a bright light], of a healthy Fender truss rod. That's the nut. It's at the bottom of the hole and look at all the thread that's still there. A ton of it. We can use that by getting the nut out of there, taking the truss rod rescue kit out again and using the cutter that will run and bore around the rod and remove wood down to here. Then I'm on a new set of threads and I'll put a new nut on it and it's going to work.
There's the cutter [Dan points to the cutter set into the truss rod hole at the end of the neck]. It's at the bottom of the hole now. It's hitting wood. Often you're going to find a small metal washer on there. This one doesn't have it in there. I'm glad because it's hard to get the washer out if that's in there, but I'm lucky there isn't one. Let's see what this does for us.
Can you hear it [grinding, cutting sound]? It's cutting wood. Now you'll have to go in deep, but not all in one fell swoop. I'm going to cut a bit and empty it out. I'm not at all surprised that we ended up having to do this. It's still the lesser of two evils. The worst pain if I had to go down here and dig it up from that end [Dan keeps turning the cutter into the wood using the rescue kit hex wrench, pulls the cutter out and dumps out the wood dust].
Getting close.
[Dan blows into the truss rod hole to get any remaining loose wood dust]
I'm ready. I'm going to clamp it back into a back bow and check this out. If you look at these two nuts, look at the difference in length. This is the one made for this job, to go along with the cutter. It'll go deeper in there on a new thread. I'll put a little wax in this one, too.
Okay, I'm going to try it again. This is for you out there, Tomo. The proof's in the pudding, so wish me well. I sure want this to come out. It's getting tight. Yeah. Okay. Here goes nothing. I think I've tightened it quite a bit.
[Dan removes the caul and clamp from the fretboard, then removes the neck from the vise]
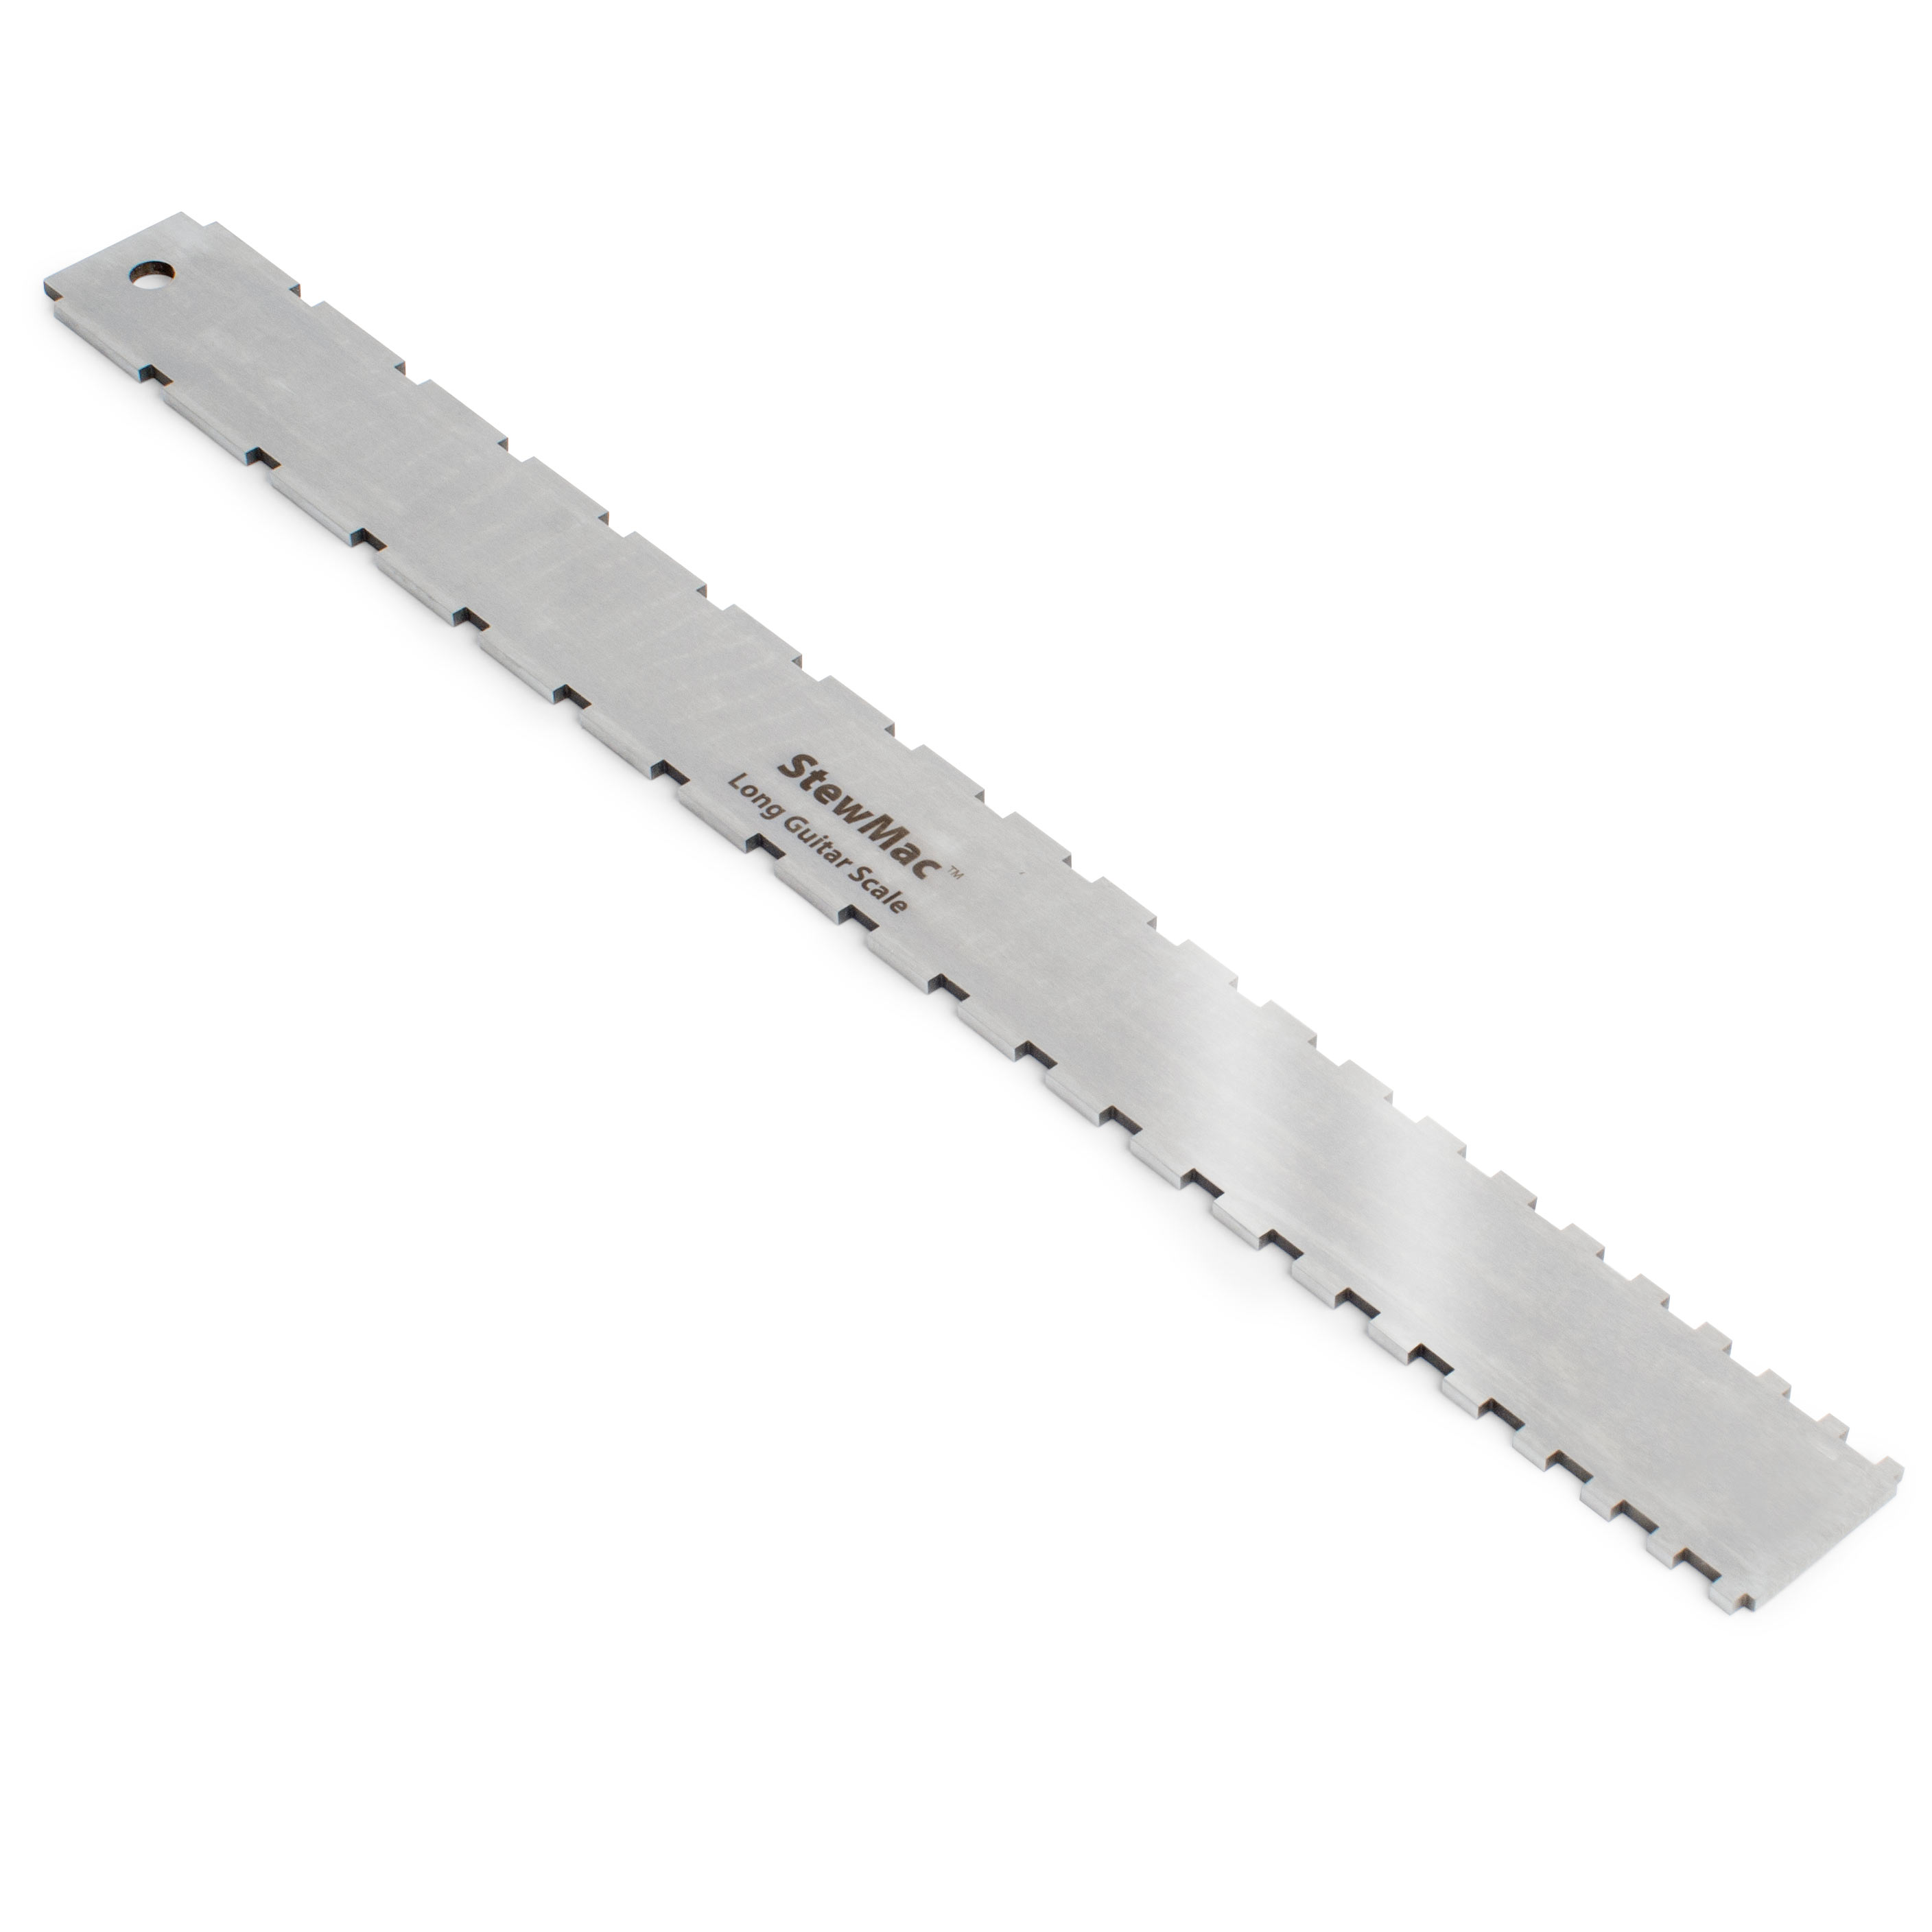
Let's check this out [Dan holds the fretboard up in front of him and looks down the fretboard]. Wow. It looks really straight to my eye. Way better, but that's not good enough at this stage. Let's look at it with a straightedge. I'm using a notched straightedge, not just a regular one because I want to read the fretboard, not the frets [on-screen text reads: Precision Notched Straightedge]. This tells me what's really happening. Wow. If you're seeing what I'm seeing, you're seeing a dead flat fretboard. So that neck is straight and then the real test will be to put this back on the body and string it to pitch and see if our truss rod is holding that neck straight.
Replacing the neck shim
But before I put the neck on, let me point something out to you. From the factory, this guitar had a neck shim in it. That's very common. I've actually never seen this shape before and you can see the imprint of it in the paint down here. It just pressed itself in over the years. I can feel the ridge with my finger. It's squashed this down quite a bit.
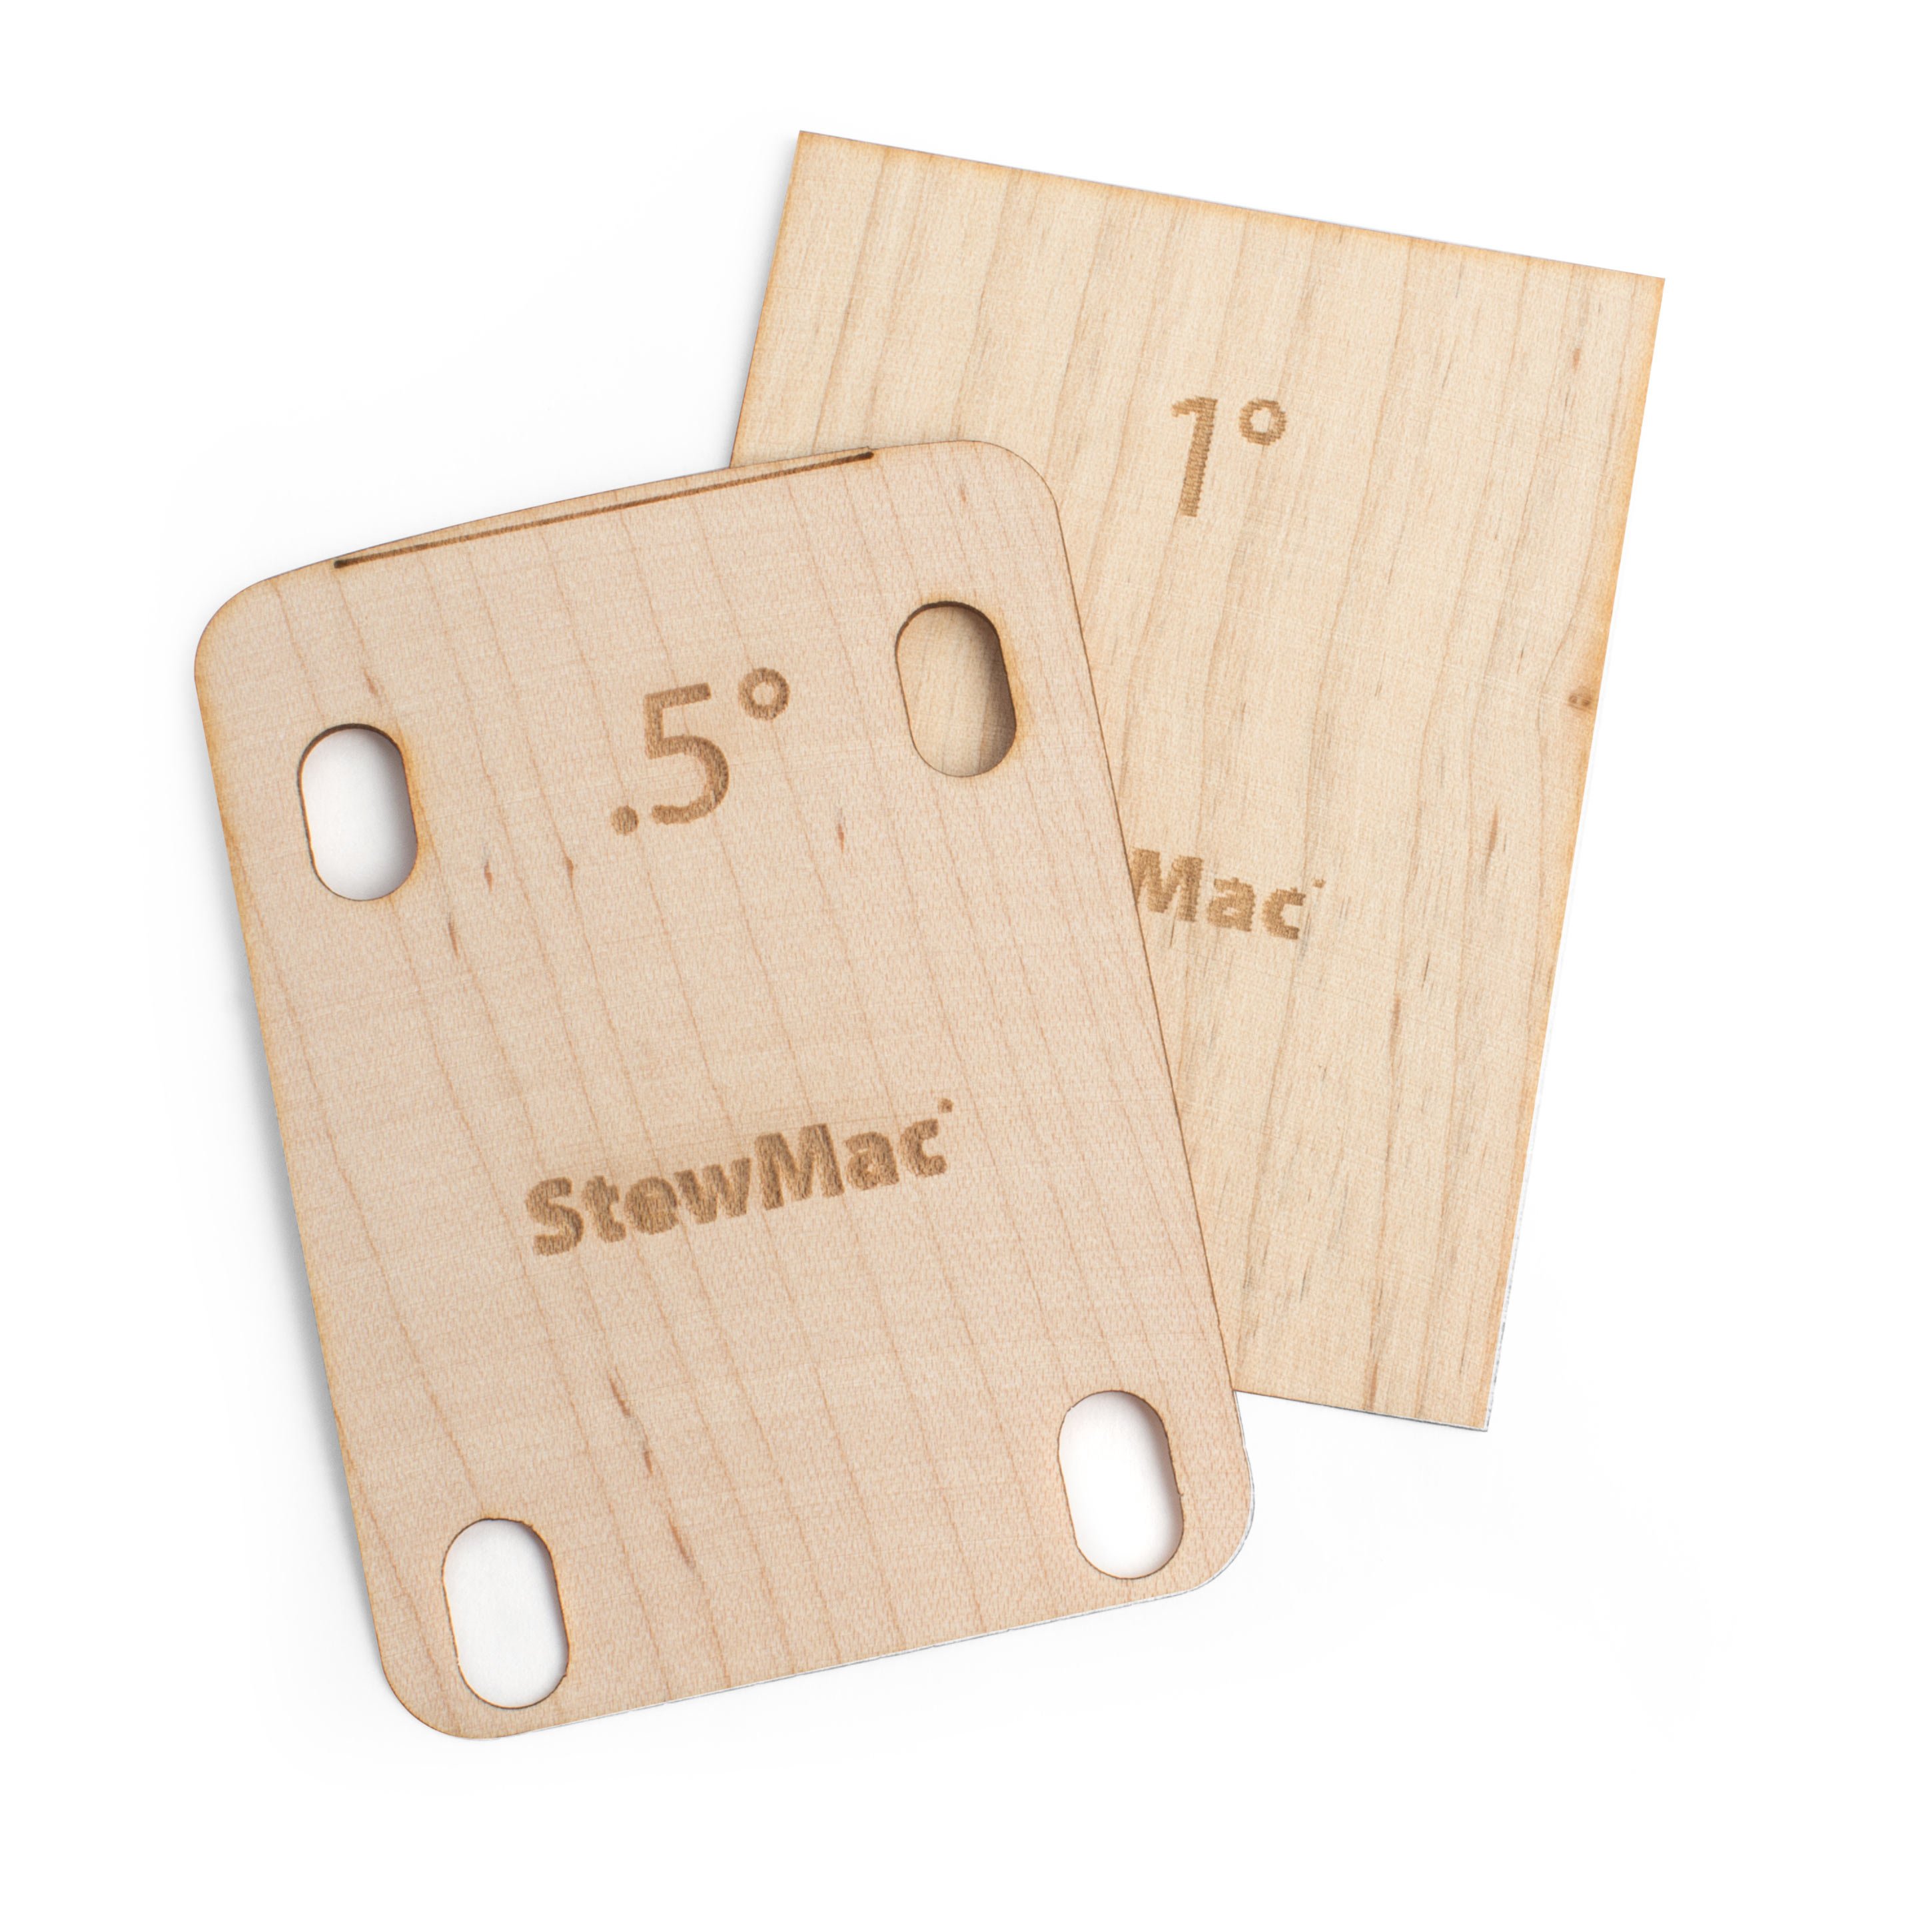
The shims are used in production to set the neck angle to the bridge. If one guitar is a little low on the action or a little high, the shims can tilt the neck. My complaint with this is that, with that shim in there the neck is not contacting the whole surface of the pocket. This is all hollow space and airspace. And you want to get rid of that gap because that gap can cause problems with that portion of the neck heel. It can create a slight hump that you can barely see, but it means those last frets up here always need to be dressed down or even you have to remove wood during a fret job. The fix for this is to get rid of this shim and have a shim that covers the entire surface, so it's a perfect contact between the wood.
Over the years, myself and all my friends out there in the business have had to make these shims ourselves and it's not easy to do. So at StewMac we have really accurate laser cut wooden shims [on-screen text reads: Neck Shims for Guitars] in three different sizes that taper for a one degree, a half a degree, and a quarter of a degree. That's what you want for best sound, best contact of the neck to the pocket and to keep from warping it again in the future. The one I'm going to use is the one degree because it measures 60 thousandths here.
Okay, here we go. We got to put the shim in [Dan sets the shim down into the neck pocket]. Sometimes these will fit perfectly and sometimes you need a little shaving. This one's just about perfect.
[Fast up-beat guitar music plays]
Did the fix work?
So let's get the neck on there and see if this worked and see how it plays.
[Dan attaches the neck to the guitar body, restrings the guitar, ]
That's close enough.
Okay, let's see what happens with strings basically tuned up, this is the test. Wow. It's straight as an arrow. You could probably squeeze a couple of thousandths feeler gauge underneath that. This is good news. We got to go tell Tomo.
[Dan starts video conference call with Tomo]
Hi, Tomo.
Tomo: Hi Dan. How are you?
Dan: I'm good. How are you doing?
Tomo: Okay. How's my Mustang?
Dan: I have some good news for you.
Tomo: Oh, wow that's all together.
Dan: The truss rod's working. There was a little minor surgery we had to do to it.
Tomo: Man.
Dan: Just like you said, when I put the nut on, the threads weren't catching, just spinning and spinning. So I took one of the tools, which is, it's a tooth cutter with a hole in it. Can you see that?
Tomo: Yep.
Dan: That can slip over the rod and cut deeper into the maple. And down in there, there's brand new thread. So on the new thread with the longer nut, it straightened it perfectly.
Tomo: Amazing. Amazing.
Dan: I think you're going to be able to play on this real well.
Tomo: Yeah. Amazing.
Dan: You'll be the judge. I think someday you're probably going to want to do some fret work on it.
Tomo: Yeah.
Dan: Possibly the nut, they're pretty worn.
Tomo: Yeah, Right, right, right. Definitely. Well, I was just thinking my classes are just over. So next week I'm free because i'm in a winter break. What if, if I took a trip to Athens to pick up my guitar, but also I can see you. That'd be awesome.
Dan: Are you serious?
Tomo: Yeah, yeah, yeah, because I'm off so it is all possible.
Dan: Yeah, come out. I would love that. Maybe we could play some songs?
Tomo: Yeah, some songs together.
Dan: Well, let's make plans then.
Tomo: All right. Let's make a plan. Yeah.
Dan: Okay.
[Video conference call ends]
Tomo's special surprise
Hi everybody. We're back again and guess what? Tomo wasn't lying. He's here. He came out on his vacation to get this guitar, and I'm going to present it to him right now, sir.
[Dan hands Tomo his guitar]
Tomo: Oh, my God.
Dan: The first time with the neck and the body together for you.
Tomo: Wow. This is amazing. This is straight.
Dan: I know.
Tomo: I mean, this one's like this. I gave up completely and look at this, the color is so matched now.
Dan: I love that finish, the way it is.
Tomo: Yeah, it's very old. It's awesome.
Dan: Yeah.
Tomo: Wow.
Dan: There's one thing, and that's a little bit different on it, from the Duo Sonic neck that you had on because it had this shim underneath it in the pocket.
Tomo: Okay. Yeah.
Dan: And I took it out, because I preferred-
Tomo: I remember something in it. Yeah, I sent this. Yeah. Yeah.
Dan: That was factory. But I don't like putting these in because it leaves a hollow airspace.
Tomo: Oh, that's right.
Dan: The neck sits here and up at the front and that's the airspace.
Tomo: Oh, right, right, right.
Dan: So I put one of these in it.
Tomo: Oh, I see.
Dan: We make these shims. This is exactly the same thickness as that.
Tomo: Wow.
Dan: It tapers to zero.
Tomo: Oh, so this, you're going smoothly.
Dan: Yes.
Tomo: And then touching the neck and the body together.
Dan: Everything, all-
Tomo: Ooh.
Dan: It's probably going to sound better than ever.
Tomo: Freaking crazy, ala acoustically. Let's plug it in.
[Tomo starts playing Amazing Grace on his electric guitar plugged into an amp]
Dan: Heh, heh.
Dan: You are awesome.
Tomo: Thank you.
Tomo: As you see, it's no problem. Amazing. Yeah, I mean definitely, frets are a little old. At some point we need a replacement or something like that, but it seems more sustained. Wow.
Look at that, she's still going. Wow. Thank you so much, Dan. This is amazing.
Tomo: I'm so happy.
Tomo: Dan, I see your guitar here. You brought it. I'm going to just look at it or you're going to play?
Dan: No, it's just to look at it.
Tomo: Okay, yeah. But let's play. Let's play something.
Dan: Oh, I'm not-
Tomo: Please, Please.
Dan: In your league, man.
Tomo: Music.
Dan: All right.
Tomo: Yeah, music.
Dan: Okay.
Tomo: Yeah, let's do it.
[Tomo and Dan start playing blues music together]
Dan: Thanks, man. That was fun, to get a chance to play with someone as good as this man here.
Tomo: Oh, thank you so much. Well, thanks for having me.
Dan: Oh, everyone that has been so excited at StewMac that you're coming, and-
Tomo: I was really excited too.
Dan: And you know, you mentioned something about some fret problems on that.
Tomo: Right.
Dan: I think I might know somebody that could help you with that.
Tomo: Really?
Dan: Yeah.
Tomo: Oh, wow. That would be amazing.
Dan: That might give you a reason to come back and we can fix that up for you.
Tomo: Okay. That's amazing. Then I can come back to see you again. We can jam again. How 'bout that?
Dan: I can't wait. Let's jam now.

