How to Adjust Your Truss Rod Without Breaking Your Guitar
It seems like every guitar player has been told, "Don't touch your truss rod—you'll break your guitar!" But in this video Dan shows you a safe method for adjusting a truss rod—even the most difficult necks can be tamed using this trick.
Here's what's in the video:
You CAN Adjust Your Own Truss Rod!
As a guitar player you often hear people say, "You should never adjust your truss rod, because you can break the neck of your instrument!" People told me that when I started out, but that's the wrong thing to say.
You should learn how to adjust your own truss rod. Necks move around based on humidity; in winter they do one thing, in summer the other. Adjusting the truss rod on your own guitar is probably the most important thing you could do to keep that guitar playing well from season to season.
Today, I'll show you a simple method that I use to adjust the truss rod. It's something you can do yourself, and it's the safest way to ensure that you won't harm your instrument and have to pay for an expensive repair. I've adjusted thousands of truss rods using this method and I've never broken one. This method will get your instrument sounding its best.
Overview of Neck Positions
Here's a Gibson® Les Paul® in the shop for a truss rod adjustment. How do I know it needs one? The action's too high. That's the complaint. You can really see how much upbow the neck has with a straightedge.

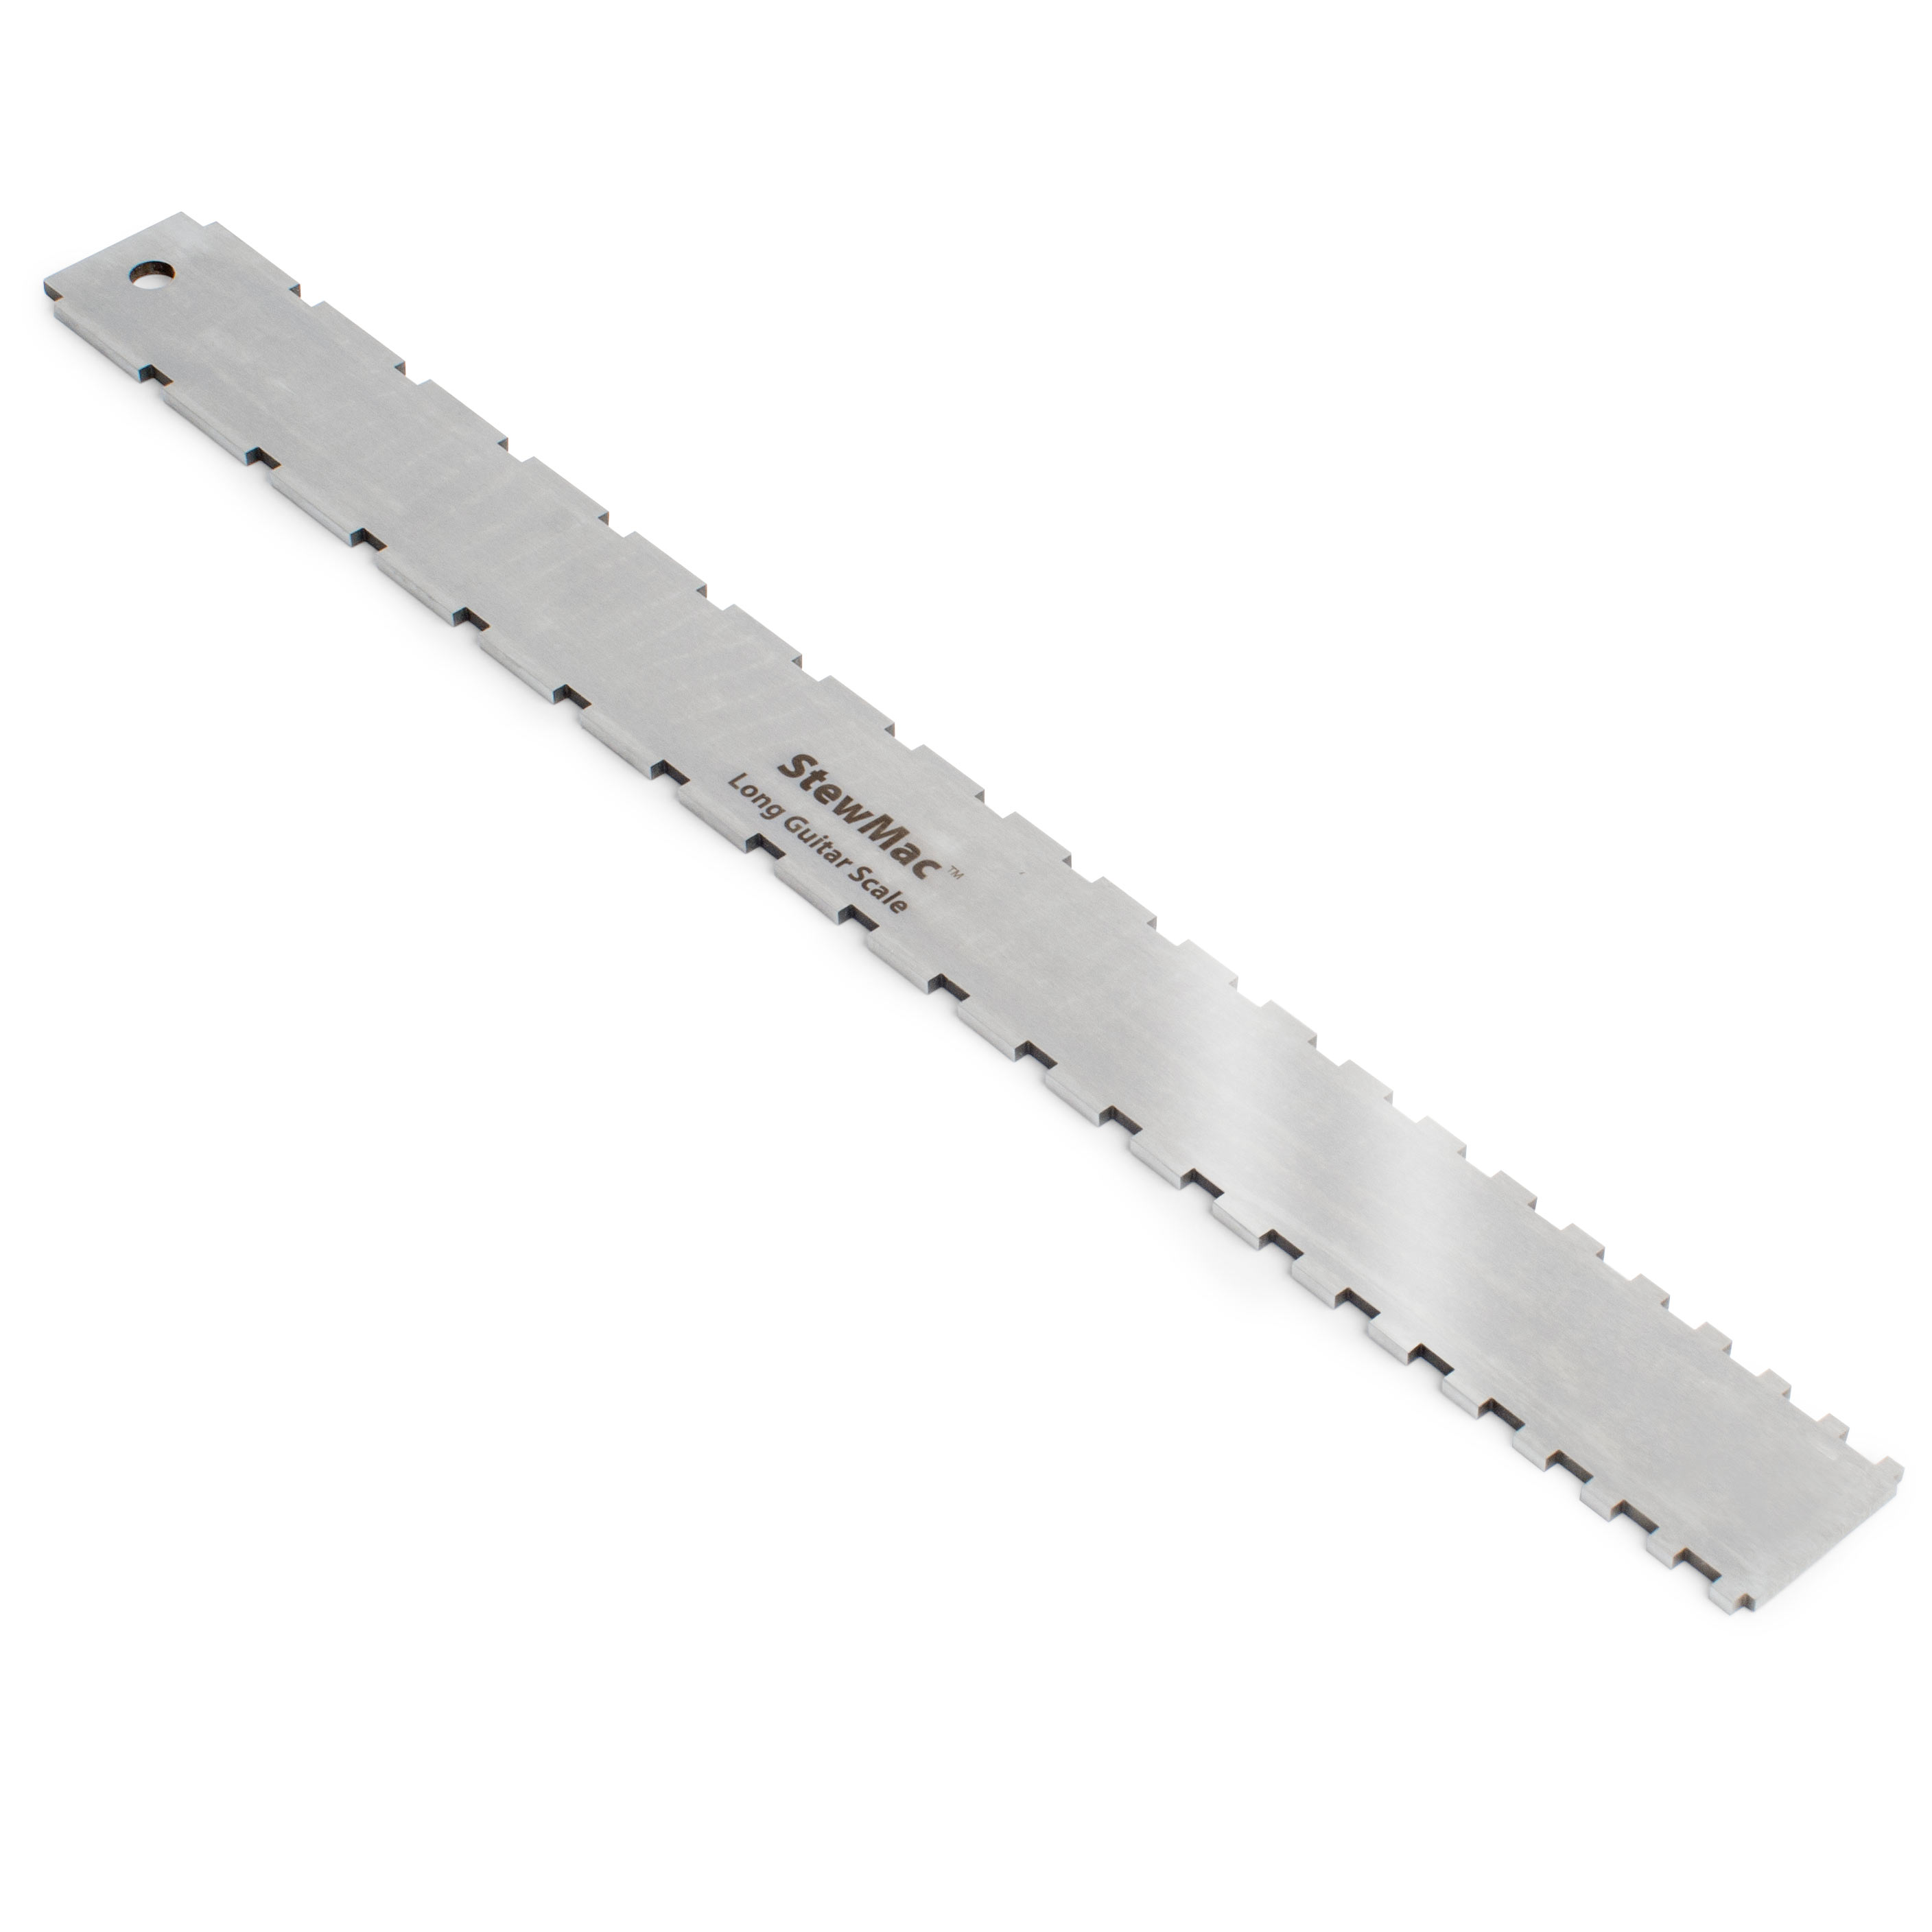
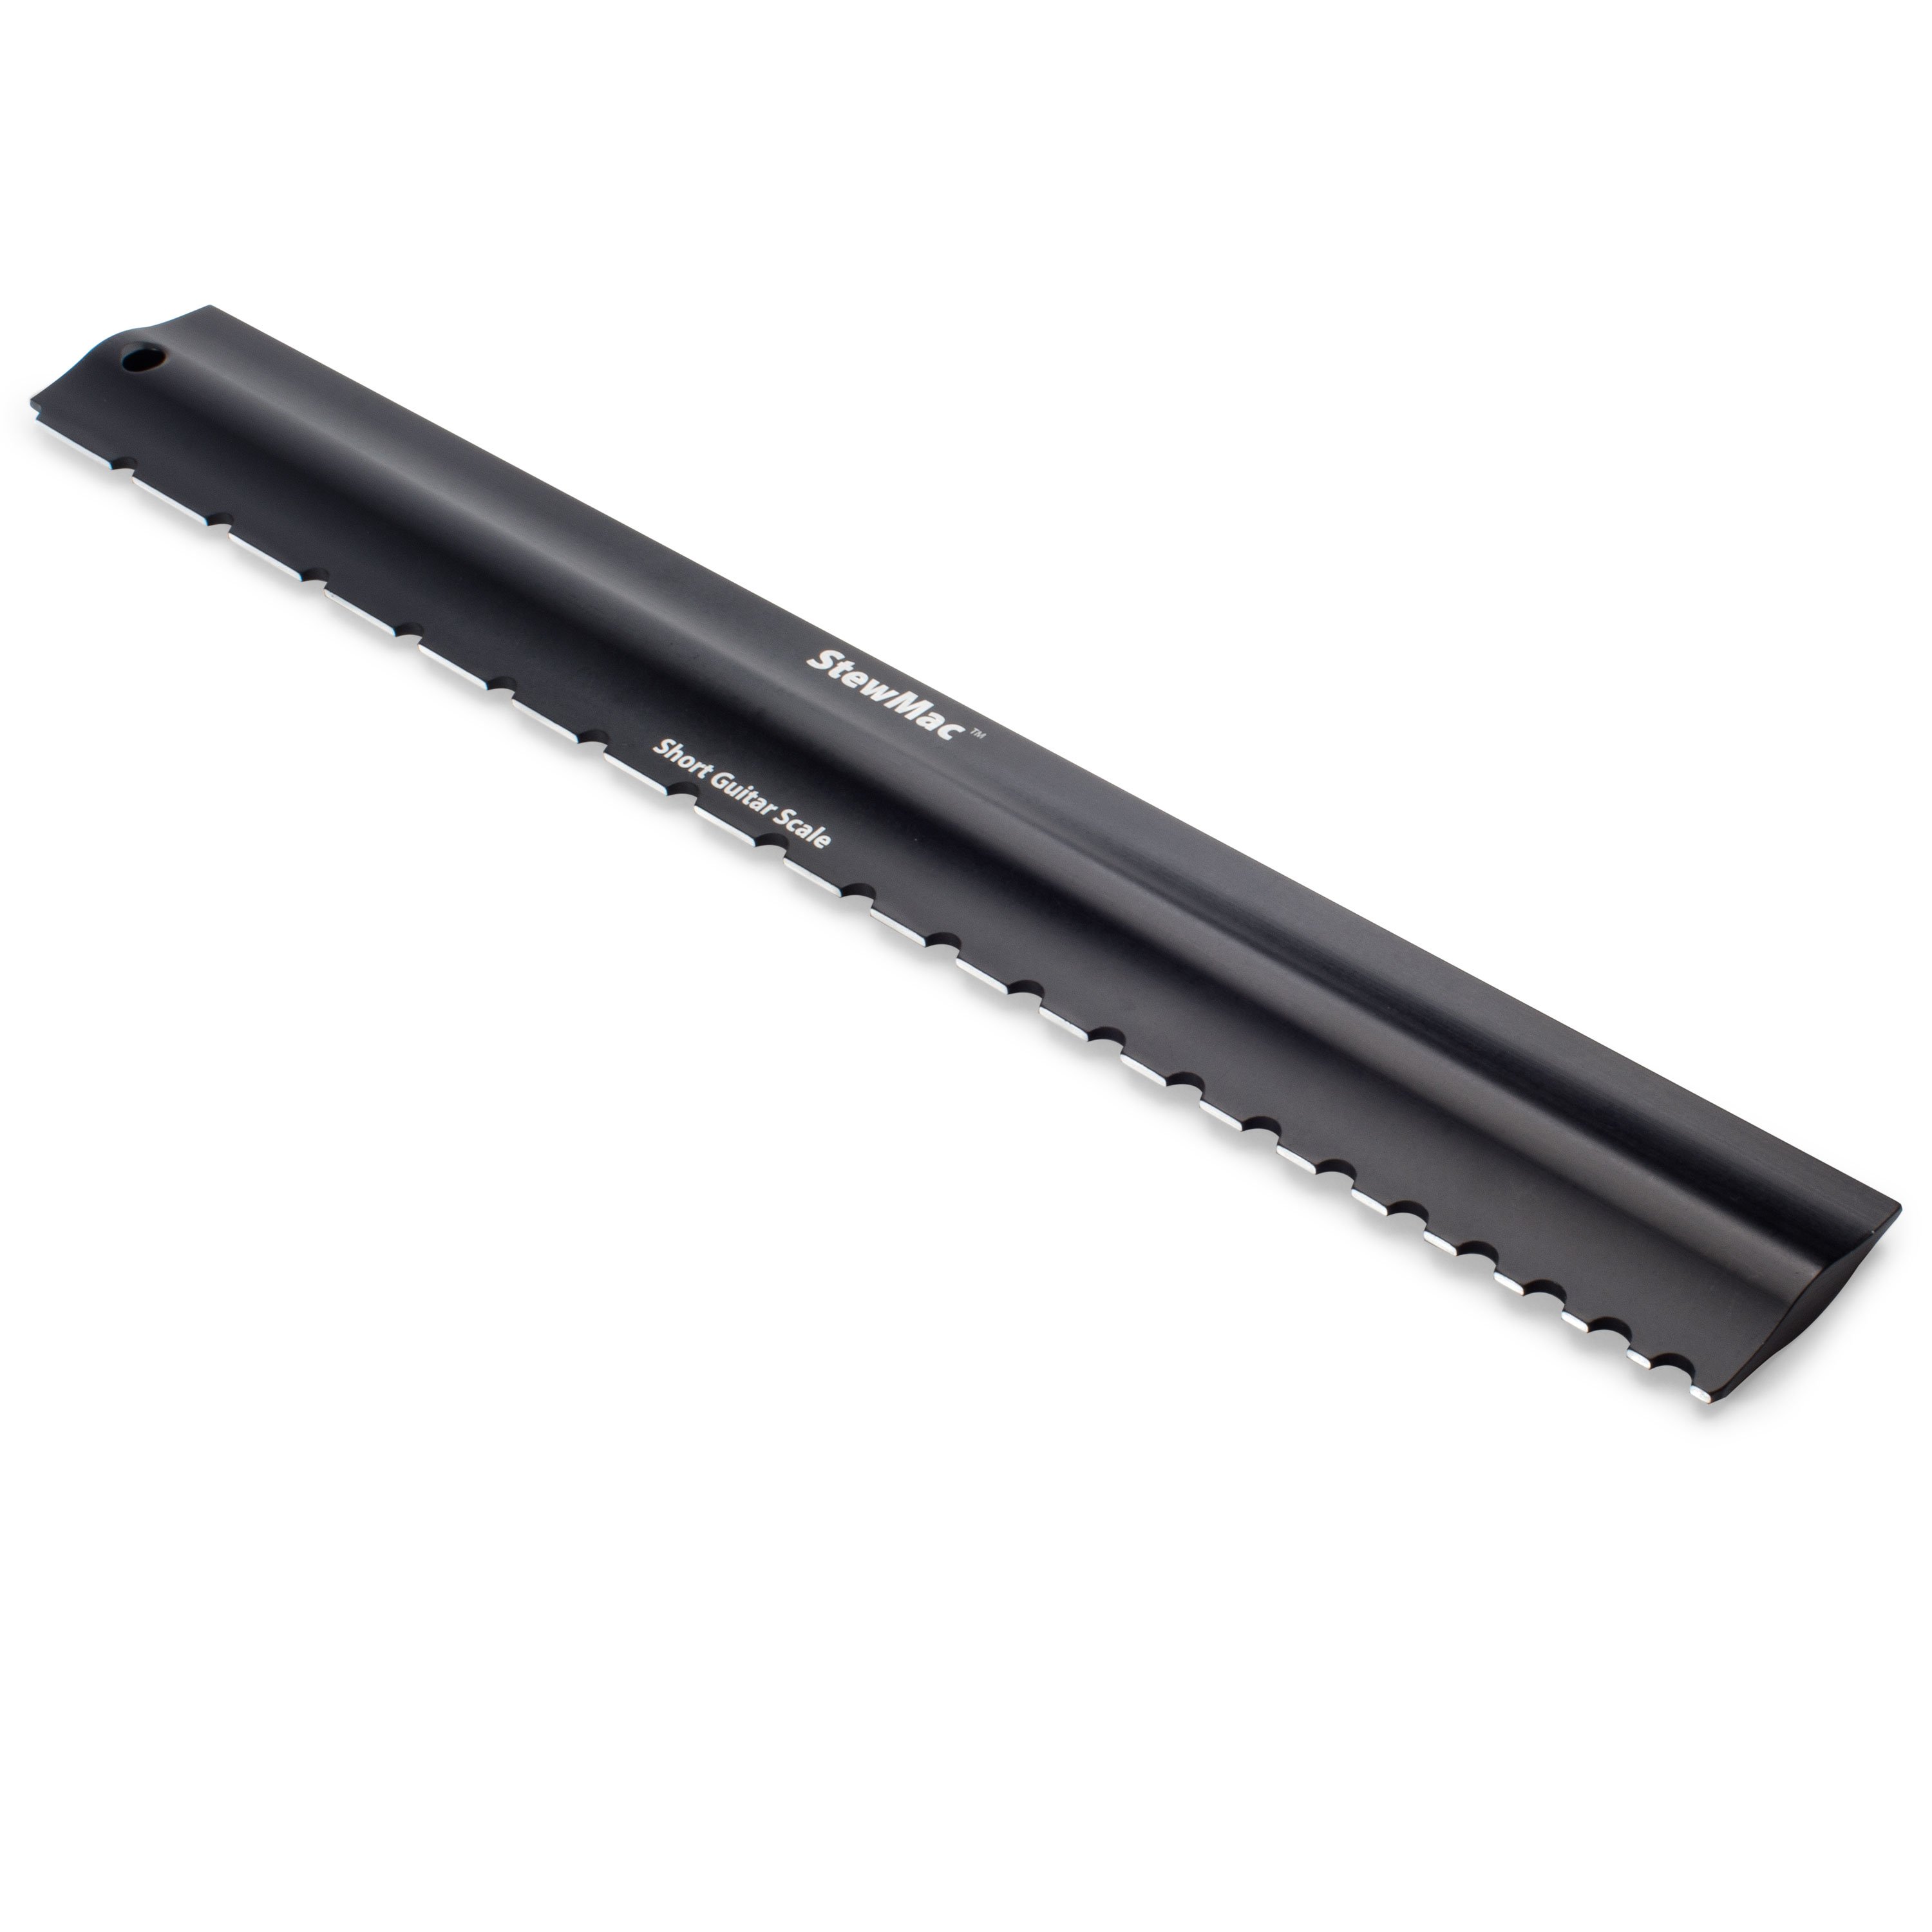
This is a Precision Notched Straightedge, specially made for this kind of work. It sits over the frets and reads the fretboard itself. I'm seeing an awful lot of upbow. Look at the gap there: that's some high action. It's high enough to make it very uncomfortable to play.

Many players, including myself, prefer a guitar neck to be dead straight. The strings will have a nice low action, and there's no buzzing on the frets.

Some like a little upbow, and that's called relief, but too much upbow is not good. That's when your action is too high and it's too tough to play.

You never want to have backbow. The action will then be too low and your strings will buzz on the frets towards the center of the fretboard.

A truss rod is the mechanism that helps you put your guitar neck in the correct position, right where you want it. And that's a very big job to expect a little piece of steel like that to do.

If you consider that you can have as much as 200 pounds of string-pull tension on this neck, that's asking quite a bit of a truss rod. If you put too much strain on a truss rod, bad things can happen, you could snap it off at the threaded end.
I've even seen truss rods pop right out the back of a neck from too much wrenching on it, when you don't know what you're doing.
What I do when I'm adjusting a neck is help it adjust, so the rod doesn't have to do all the work by itself. Let me show you what I mean.
Adjusting an Electric Guitar
What You'll Need
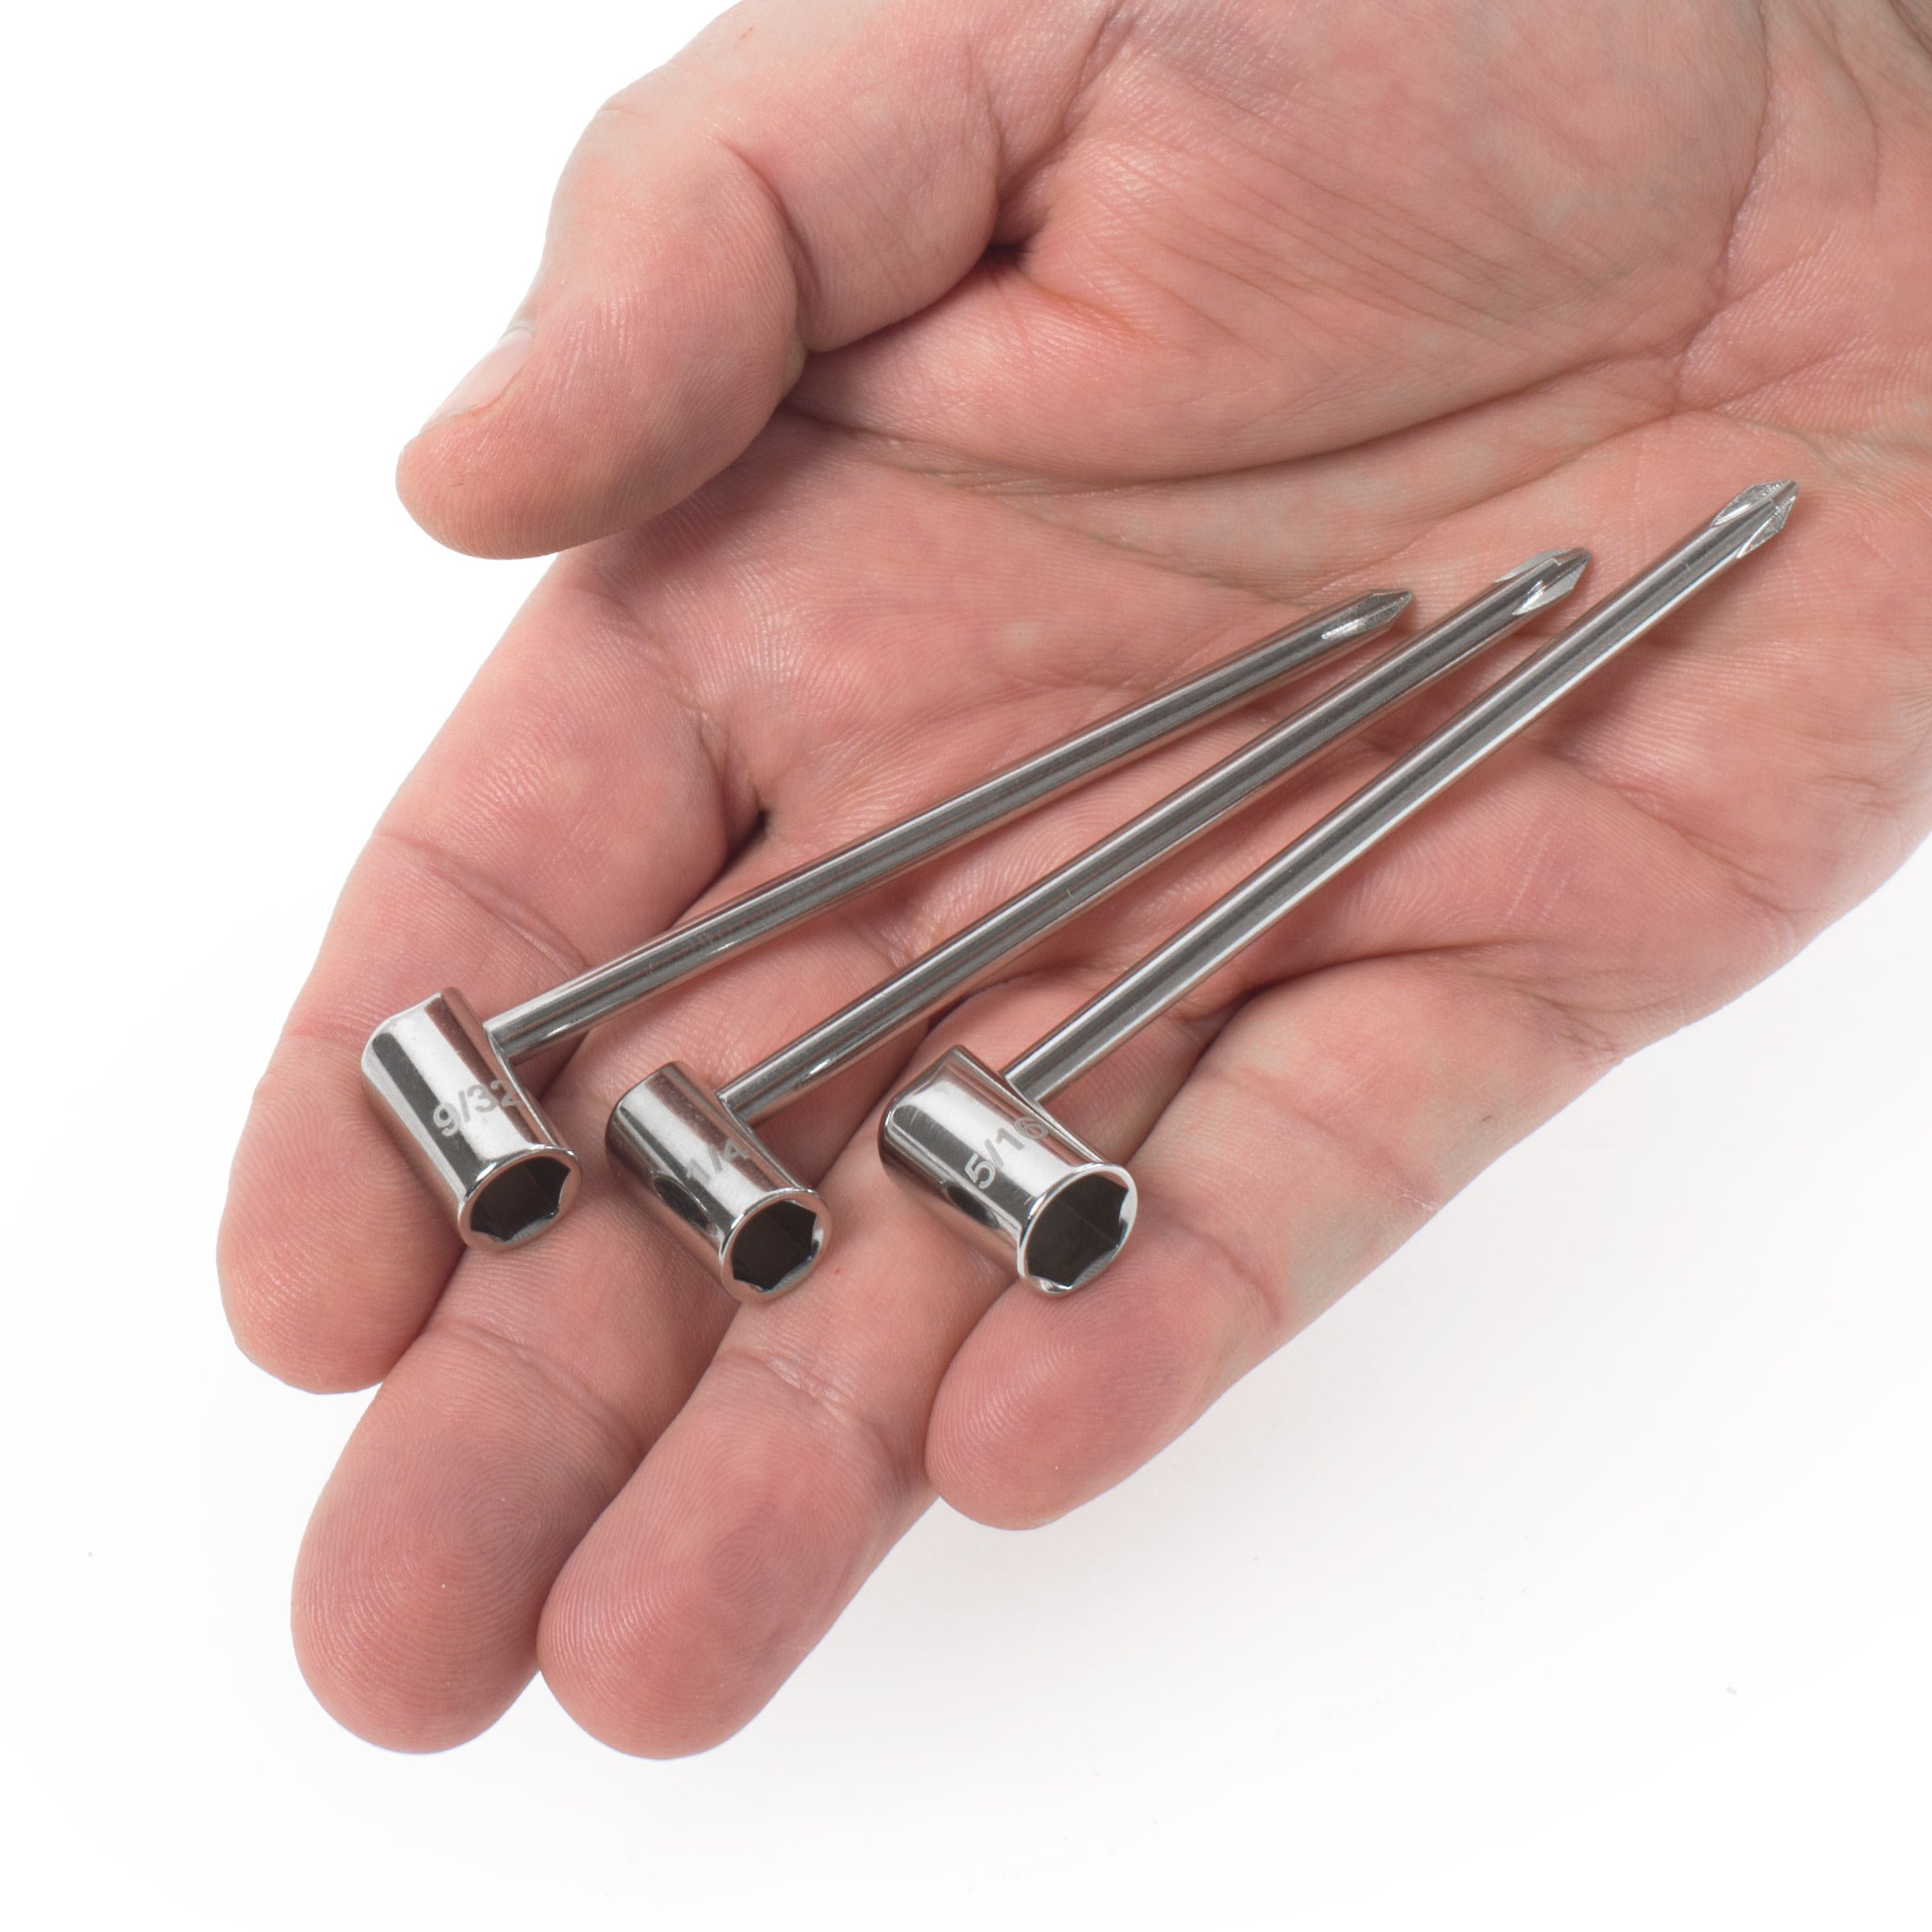
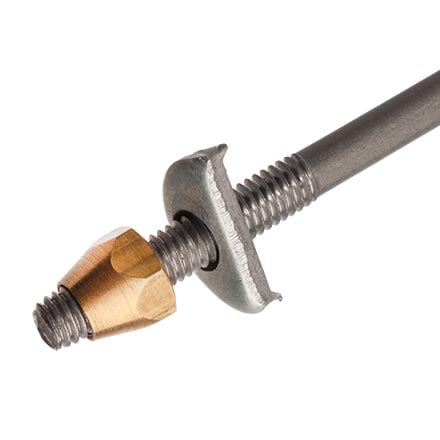
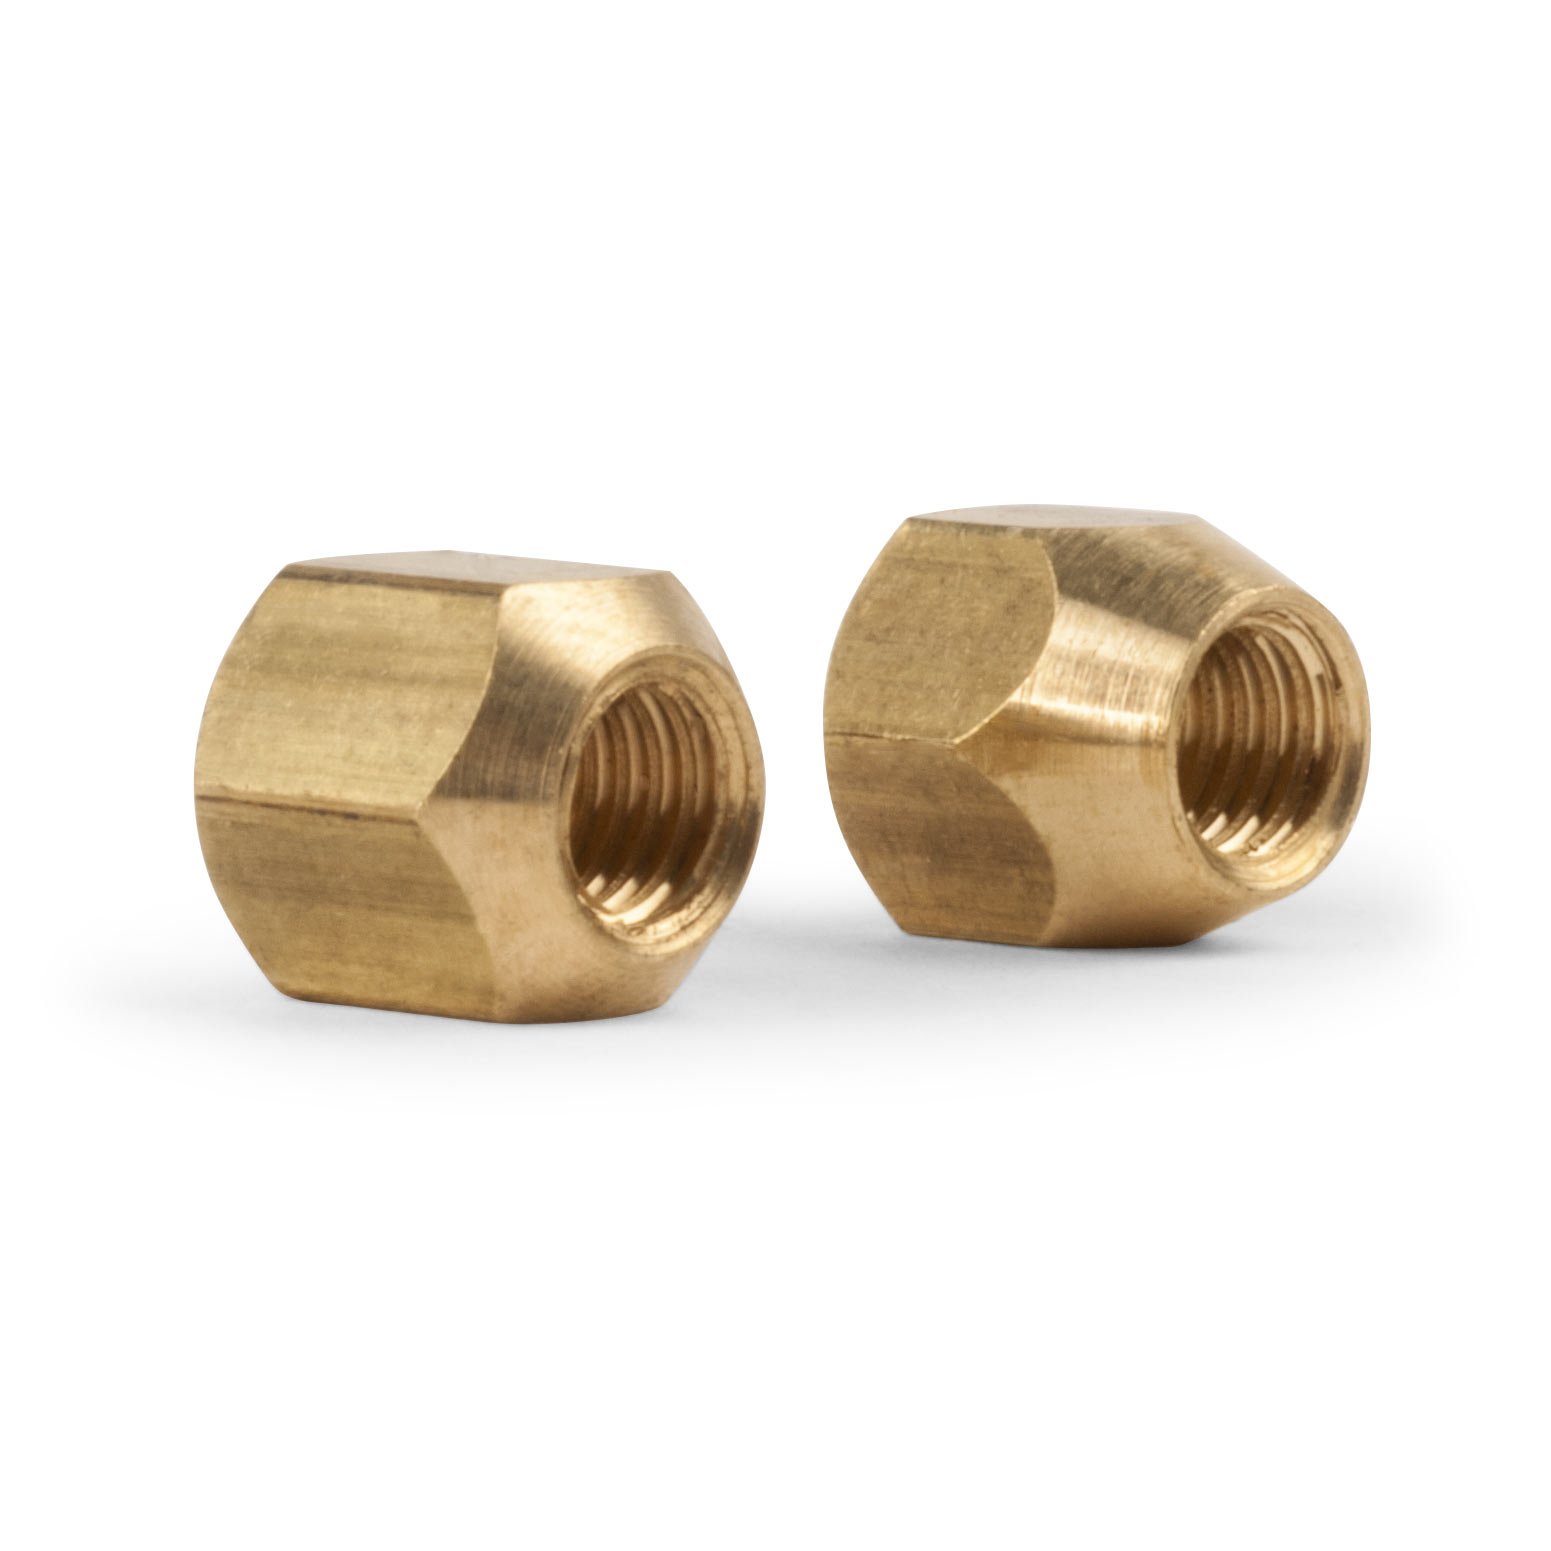
First let's prep the guitar for an adjustment. You can do this job with the strings on or off. I like to loosen the strings a bit just to take the pressure off. With a truss rod wrench I'll remove and lubricate the nut. I'll be using a 5/16" sized wrench because that's the size Gibson® uses.
In some guitars the nuts are not removable, instead they're welded onto the rod. Luckily, with Gibson® and most vintage Fenders the nut comes right off. I like to use Vaseline for a lubricant because it doesn't run all over the place.
I also put a little where it bears against the face of the washer and some right on the truss rod threads.

Next, I'm going to take the truss rod all the way up to where it started when it was just snug. Now I'm going to show you my magic trick. We're going to build ourselves a little assistant to help us do it.
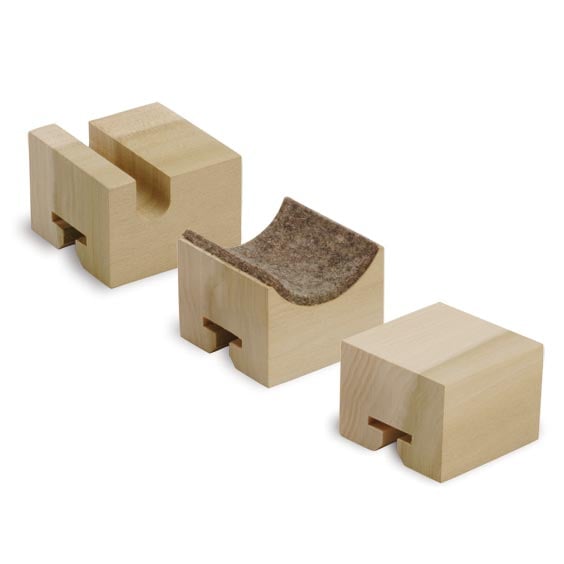
I've got the neck propped up on a Hi-Lo Featherweight Neck Rest and I want to put two blocks of wood at each end of the fretboard. They can be any kind of wood. The idea is you need a spacer to clamp against.

If the strings are off of the instrument you can just place the blocks directly on the fretboard. If you leave the strings on like I did, you can easily rig a riser block. These have little notches cut out from the bottom to sit over the D and the G strings.

Another simple way would be to cut a little V notch in two blocks of wood so it spans the strings and sits outside them on the frets. These are two pieces of wood dowel superglued to a block. I like these—they sit right between the strings and nestle in there. That's what I'll use today.

Next, we span those blocks with something long and strong—could be a piece of 2x4. This is a carpenter's level that my dad had when I was a kid.

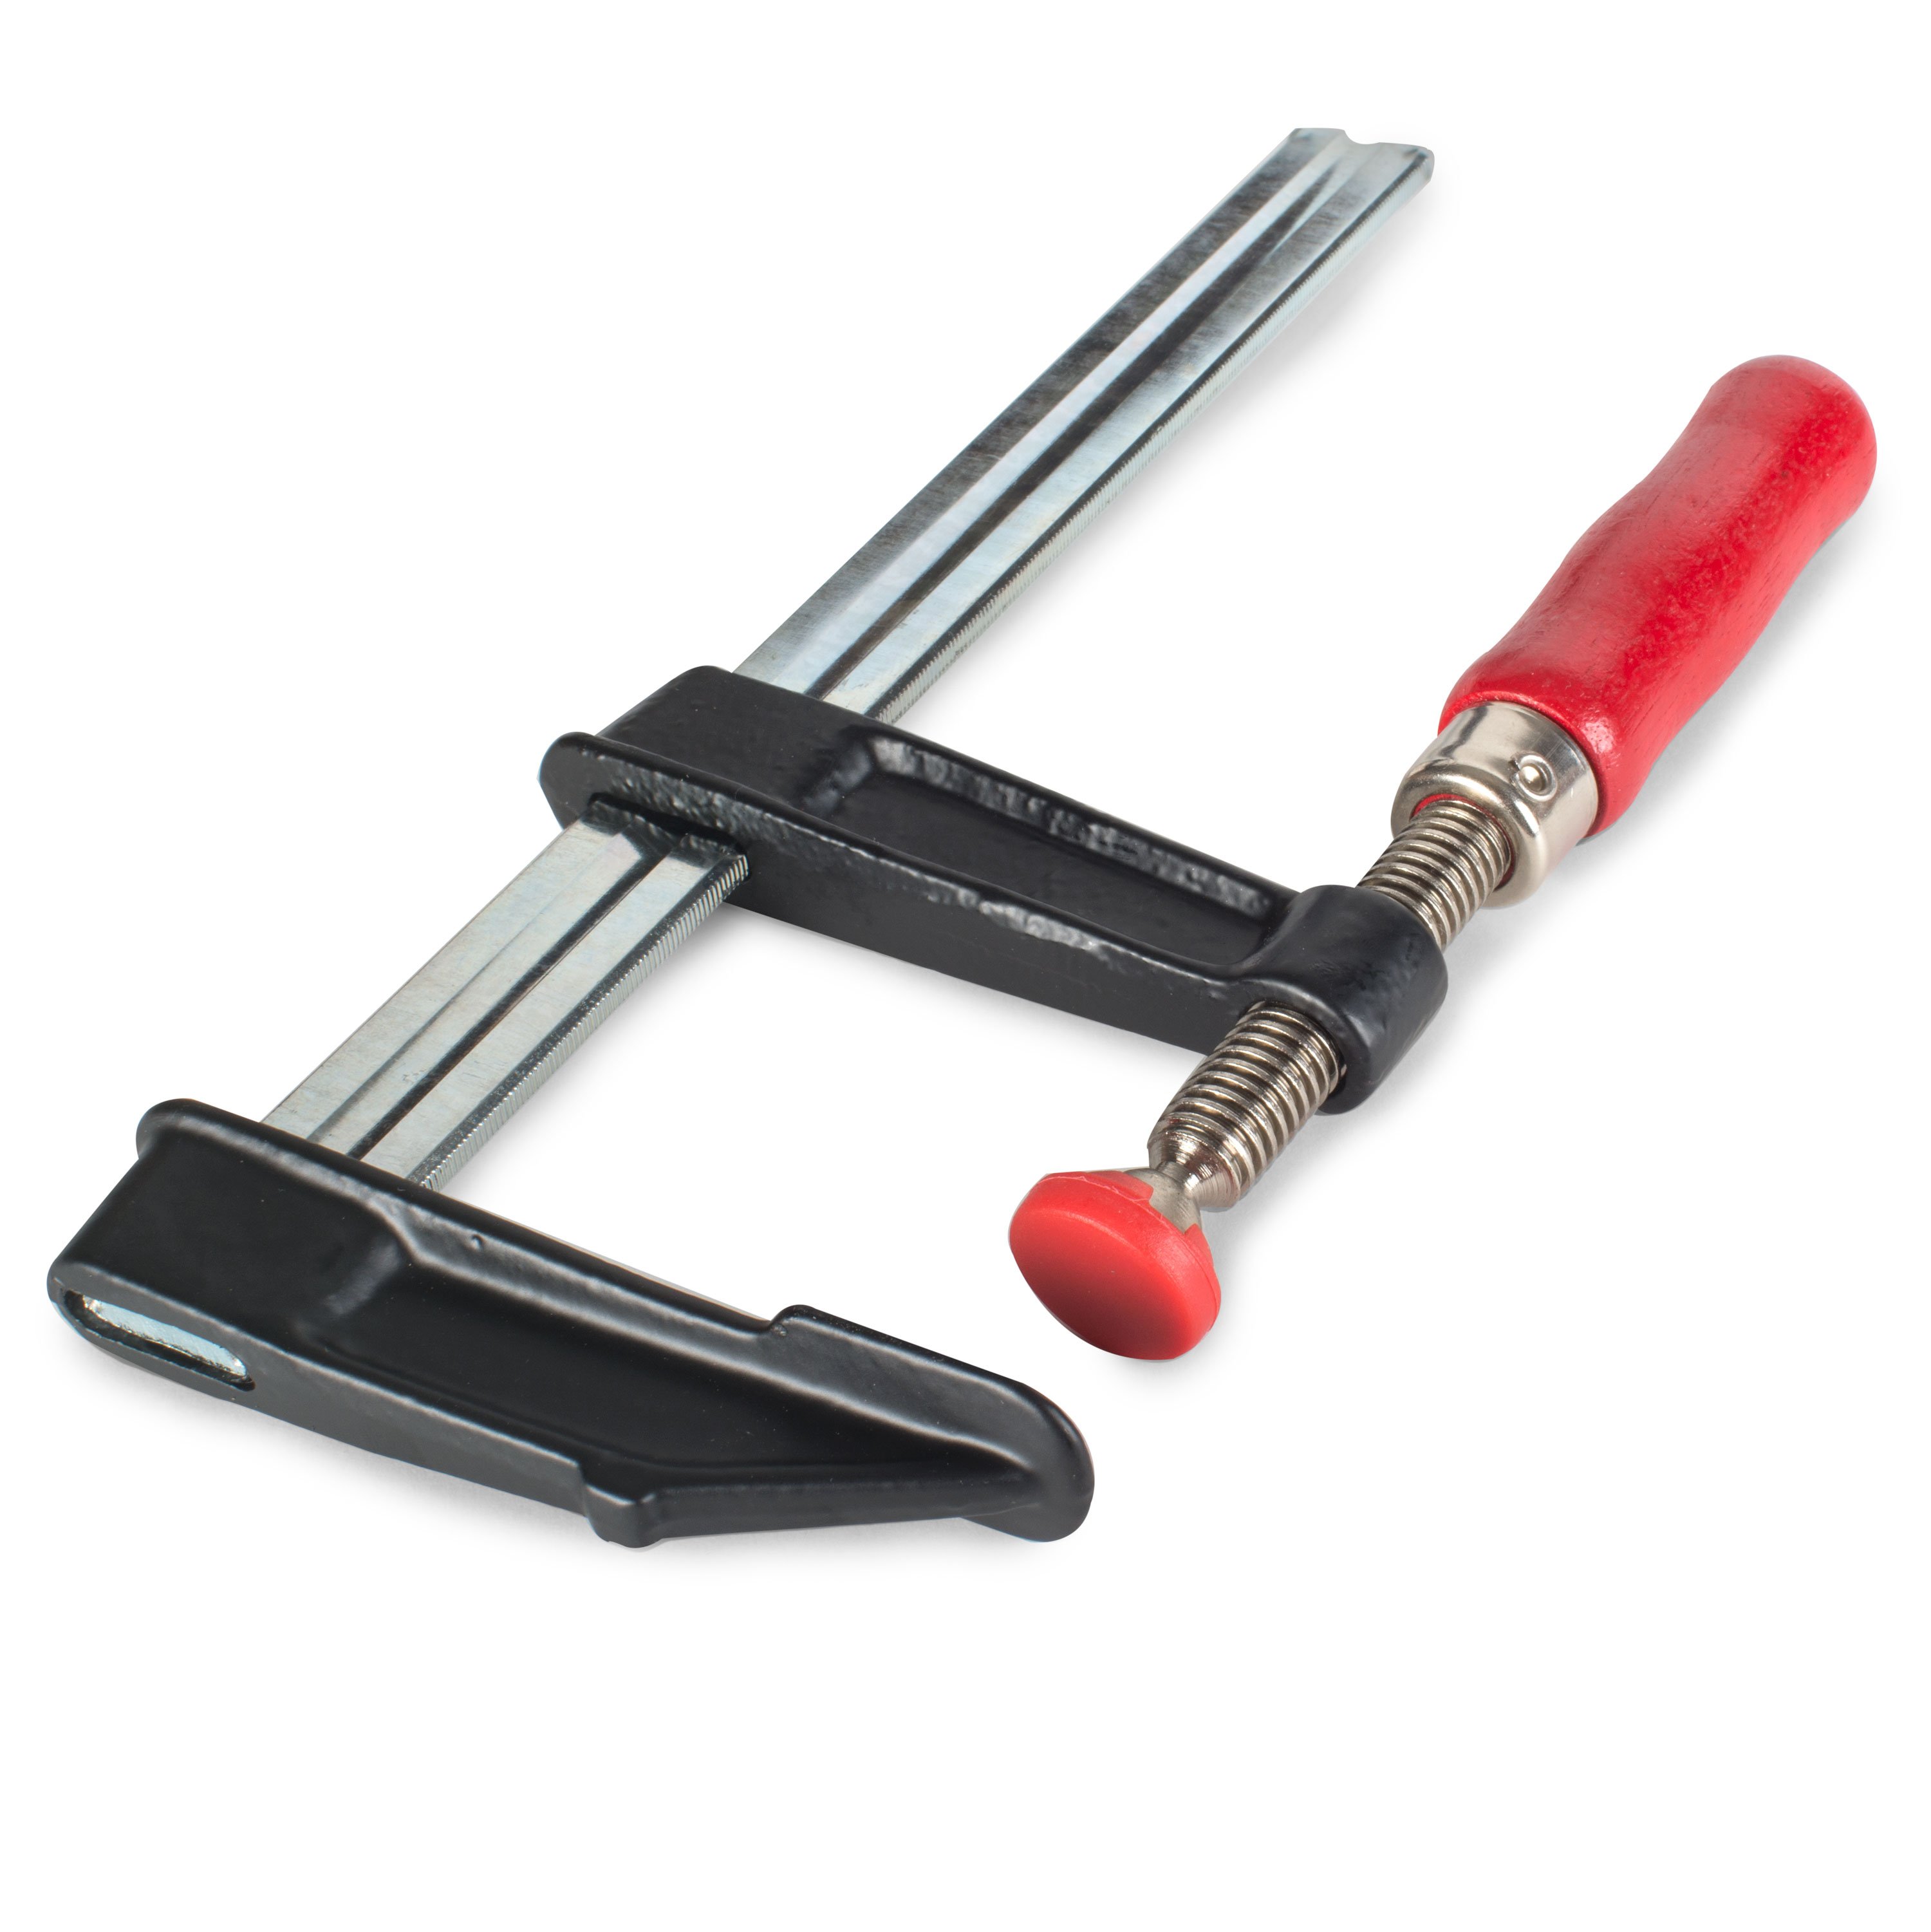
The idea is I'm going to clamp this, and that's going to clamp the neck into a backbow, to reverse the upbow that's happening. To do that I'm using a clamp and a neck caul. This caul is made for exactly this purpose: for fret jobs, clamping fingerboards on, and so on. It's curved and padded to go on the back of the neck.

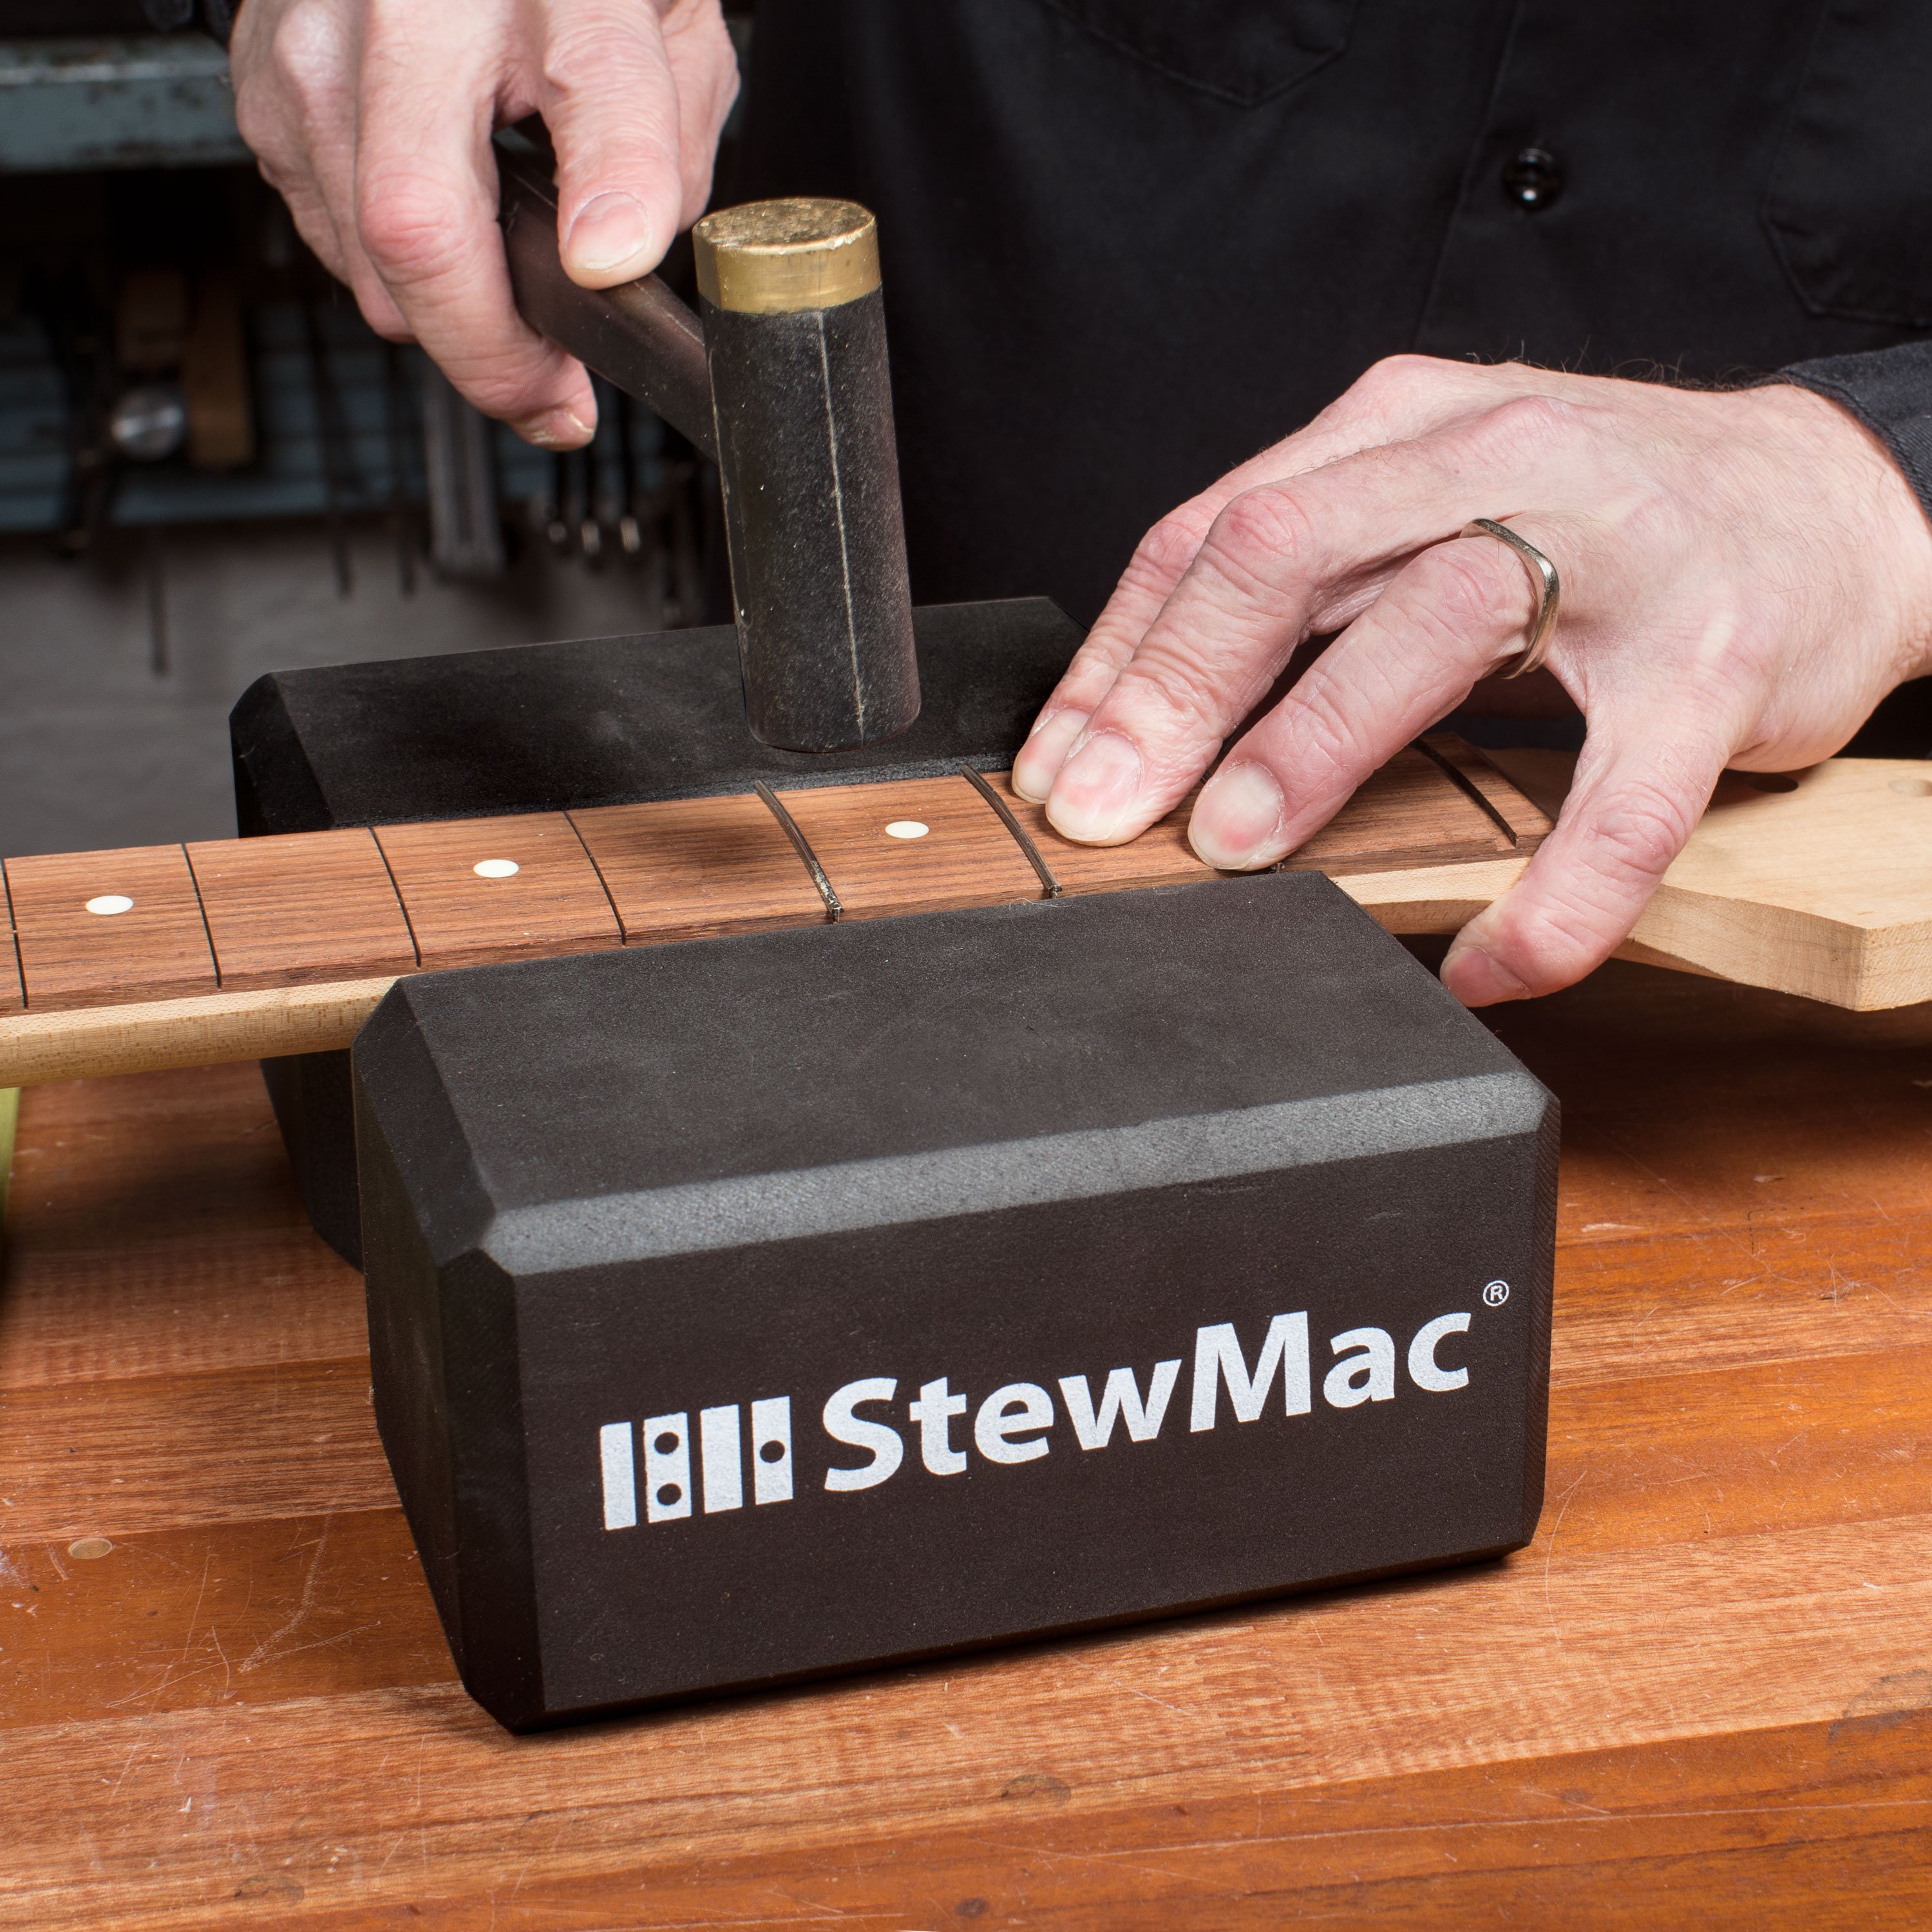
If you don't have a block like this you could use a firm piece of foam, like a sanding block. You could take a block of wood and put some rubber or cloth on it. The idea is you don't want to crush the back of the neck with the clamp. I'm going to clamp right in the middle of the neck, at about the seventh to the ninth fret, tightening up real good. Clamping this neck into a backbow takes a lot of strain off the truss rod.
I can see it backbowing nicely. I'll tighten the clamp just a little bit more. What I'm doing is gently bending the neck until it looks nice and straight. Now with the backbow established, what we call "pre-adjusted," when I tighten the truss rod nut, it's going to help hold it in this position.

When you tighten the truss rod nut, you don't make a bunch of turns. A whole turn would be a lot on a truss rod nut. So I'm going to put a little mark of ink right here. I can watch that and I'll know how far I'm going.

I've gone about three quarters of a turn and it finally feels tight. Now I'll take the clamp back off and see how we did.
It's actually in a slight backbow now. We'll string it to pitch and see if the string tension pulls the neck straight. When I string it to pitch, if it's perfectly flat and straight, I'm happy. If it happens to be in a little bit of backbow, that's fine. All you need to do in that case is loosen the rod a little bit and let the neck pull straight.
Now I'm basically at pitch and there is still a slight backbow. The straightedge is rocking just a little bit when I measure it. I'm going to loosen the truss rod (lefty-loosey) a little bit, and the strings will pull the neck up. Now the neck is straight.
Anytime you adjust the truss rod, you're probably going to have to adjust the bridge up or down. They go hand-in-hand. In this case, I need to raise the bridge. The action's so low that it's buzzing a bit on these lower frets. To do that I'll just turn these thumbscrews to bring it up a bit with the ESP Multi-Spanner.

Checking the Action After Adjustment
What You'll Need
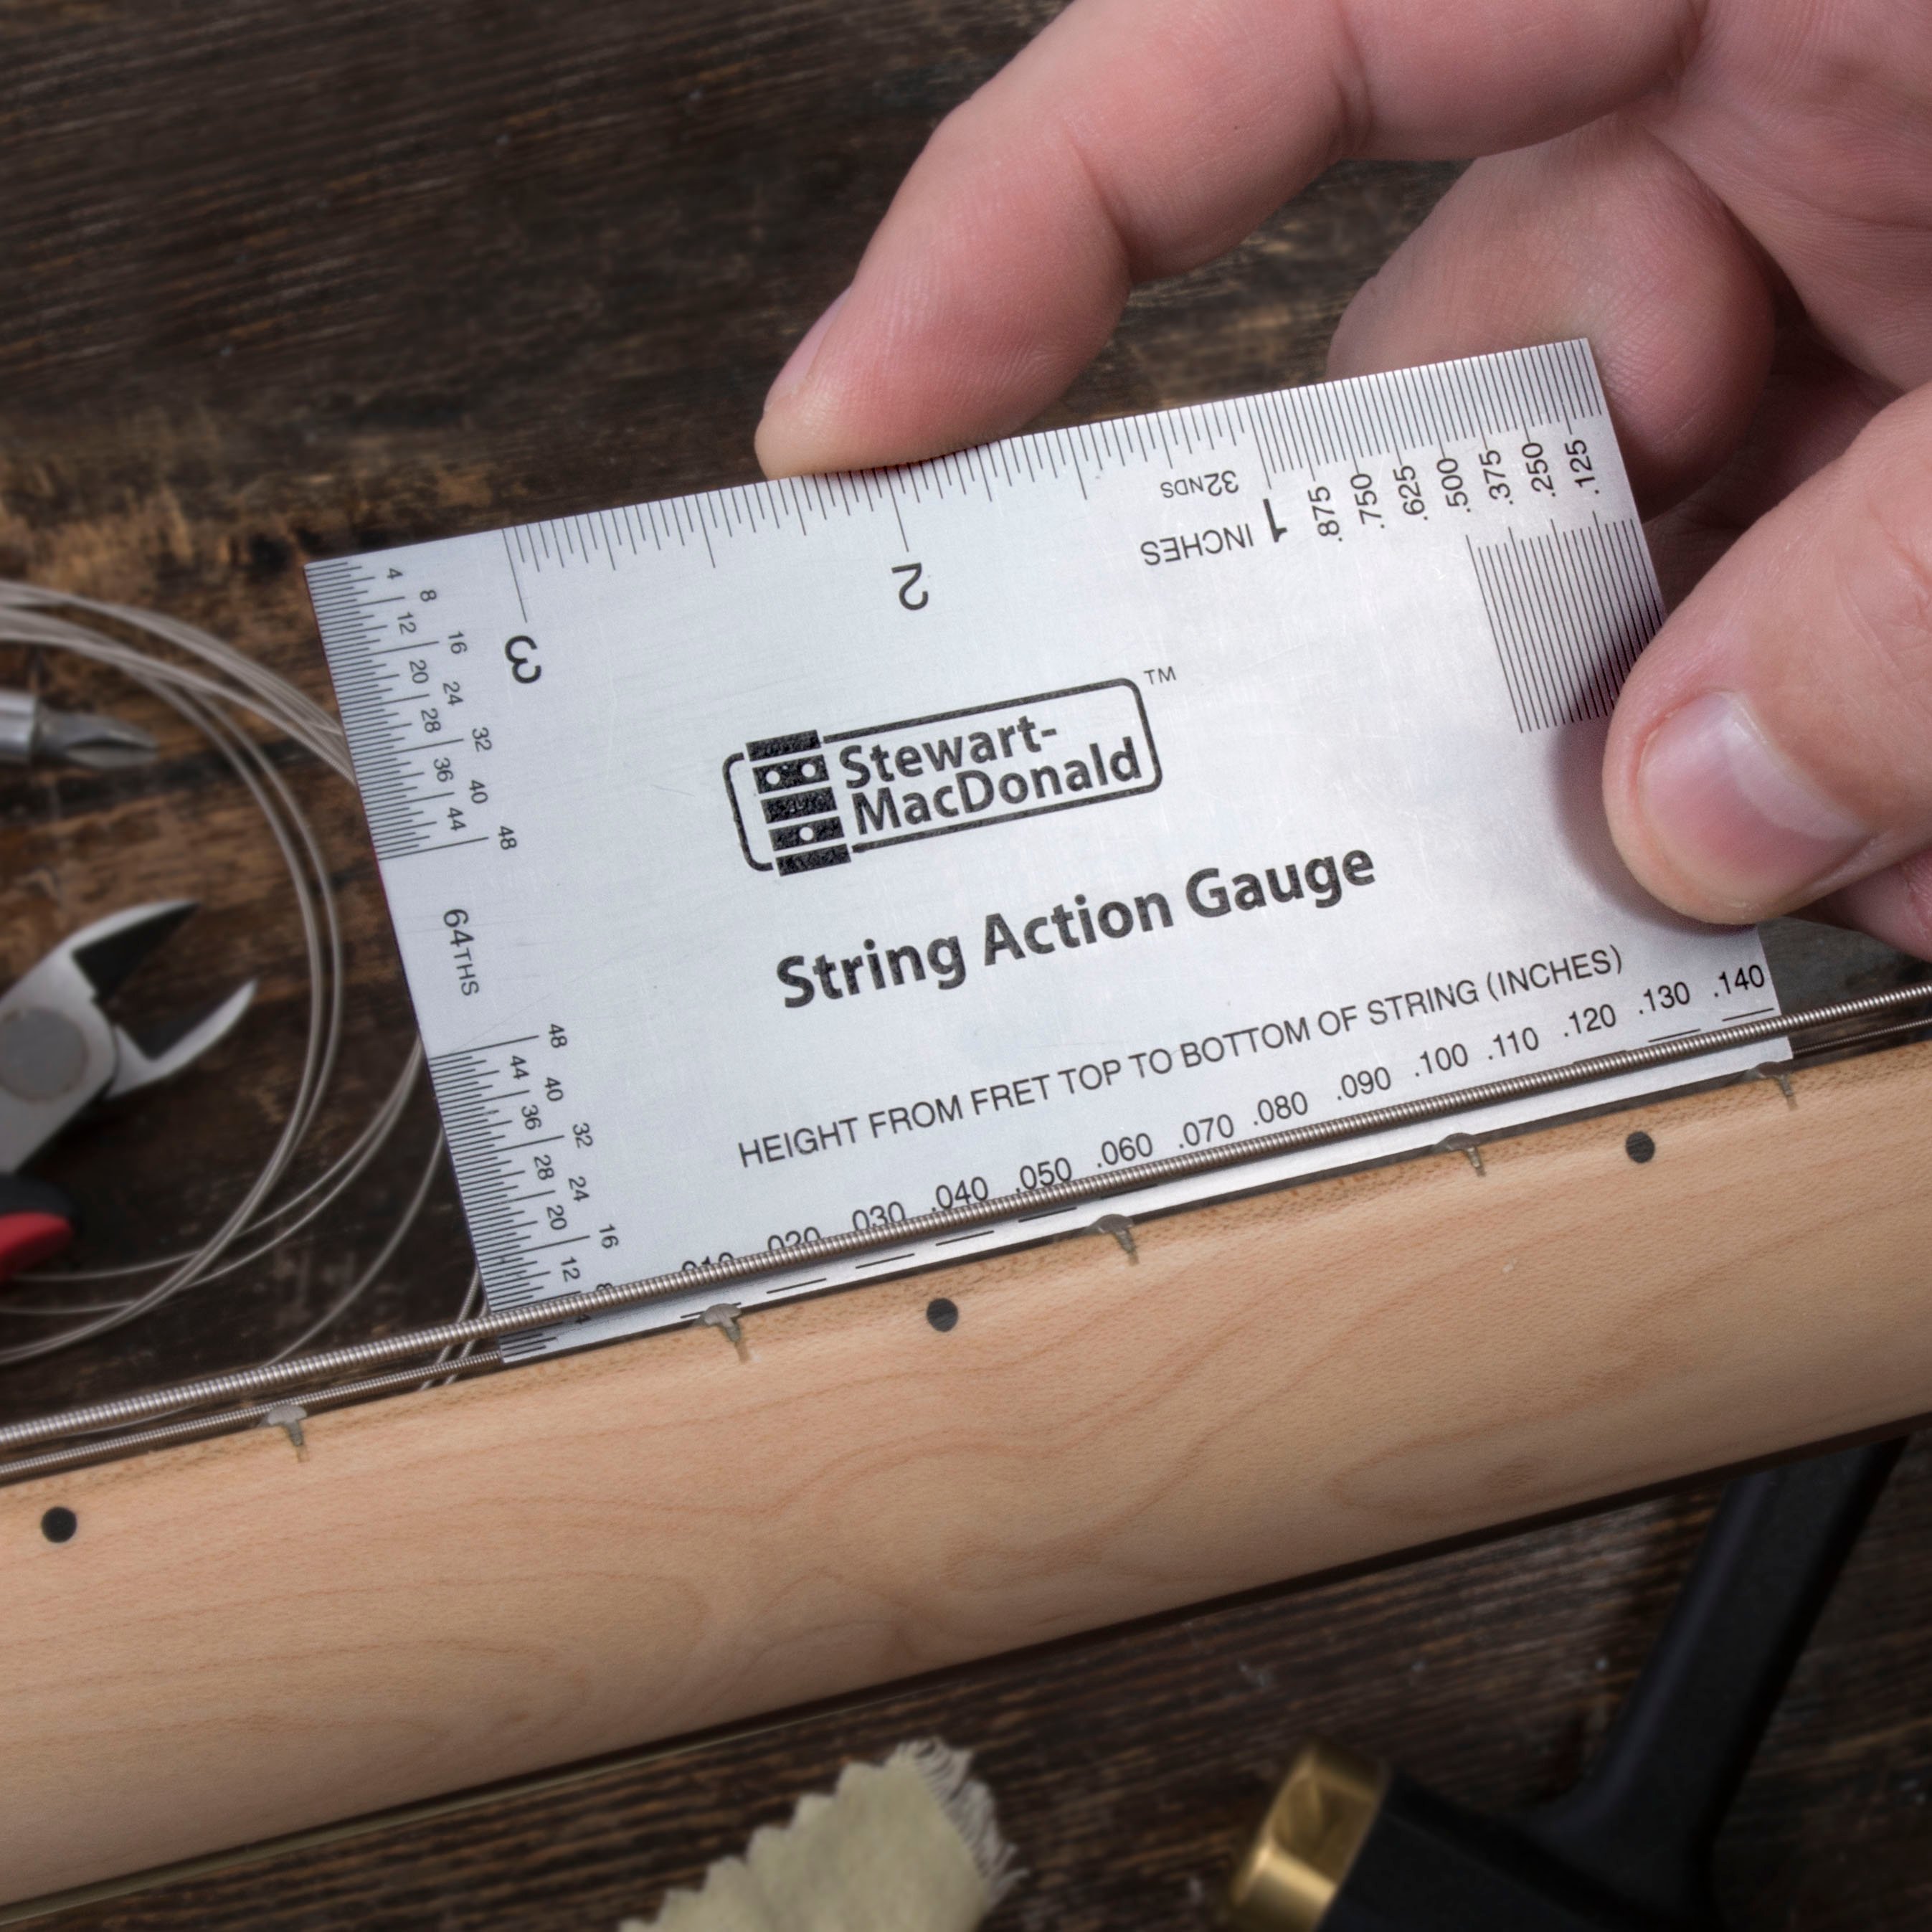
Now let's see what the action is at the 12th fret. I'm using the String Action Gauge. It has marks on the bottom that tell you how big the gap is between the bottom of the string and the top of the fret.
Action is the way you adjust your guitar until it feels good for you and plays the way you want it. Once you get that sound, then you can measure that with a String Action Gauge and set all your guitars up that way.

On this guitar I'm reading 0.070" underneath the low E string to the top of the fret, and then 0.050" under the treble E. That's a fairly low action but it feels good to me. I won't really know if I like it until I run it through an amp.

It's playing great. I'm happy with that and look how easy it was. That's something you can really do yourself and it makes all the difference in the world.
The Buddy Method
What You'll Need
By the way, if you don't have a bar, a clamp, and a caul, you can have a friend hold the guitar body firmly on a table with the neck hanging off the edge of a support. Now you can pull back on the neck as you adjust the truss rod. I call this the "buddy system."

Different Tools Needed for Different Guitars
Next let's adjust the neck on an acoustic guitar.

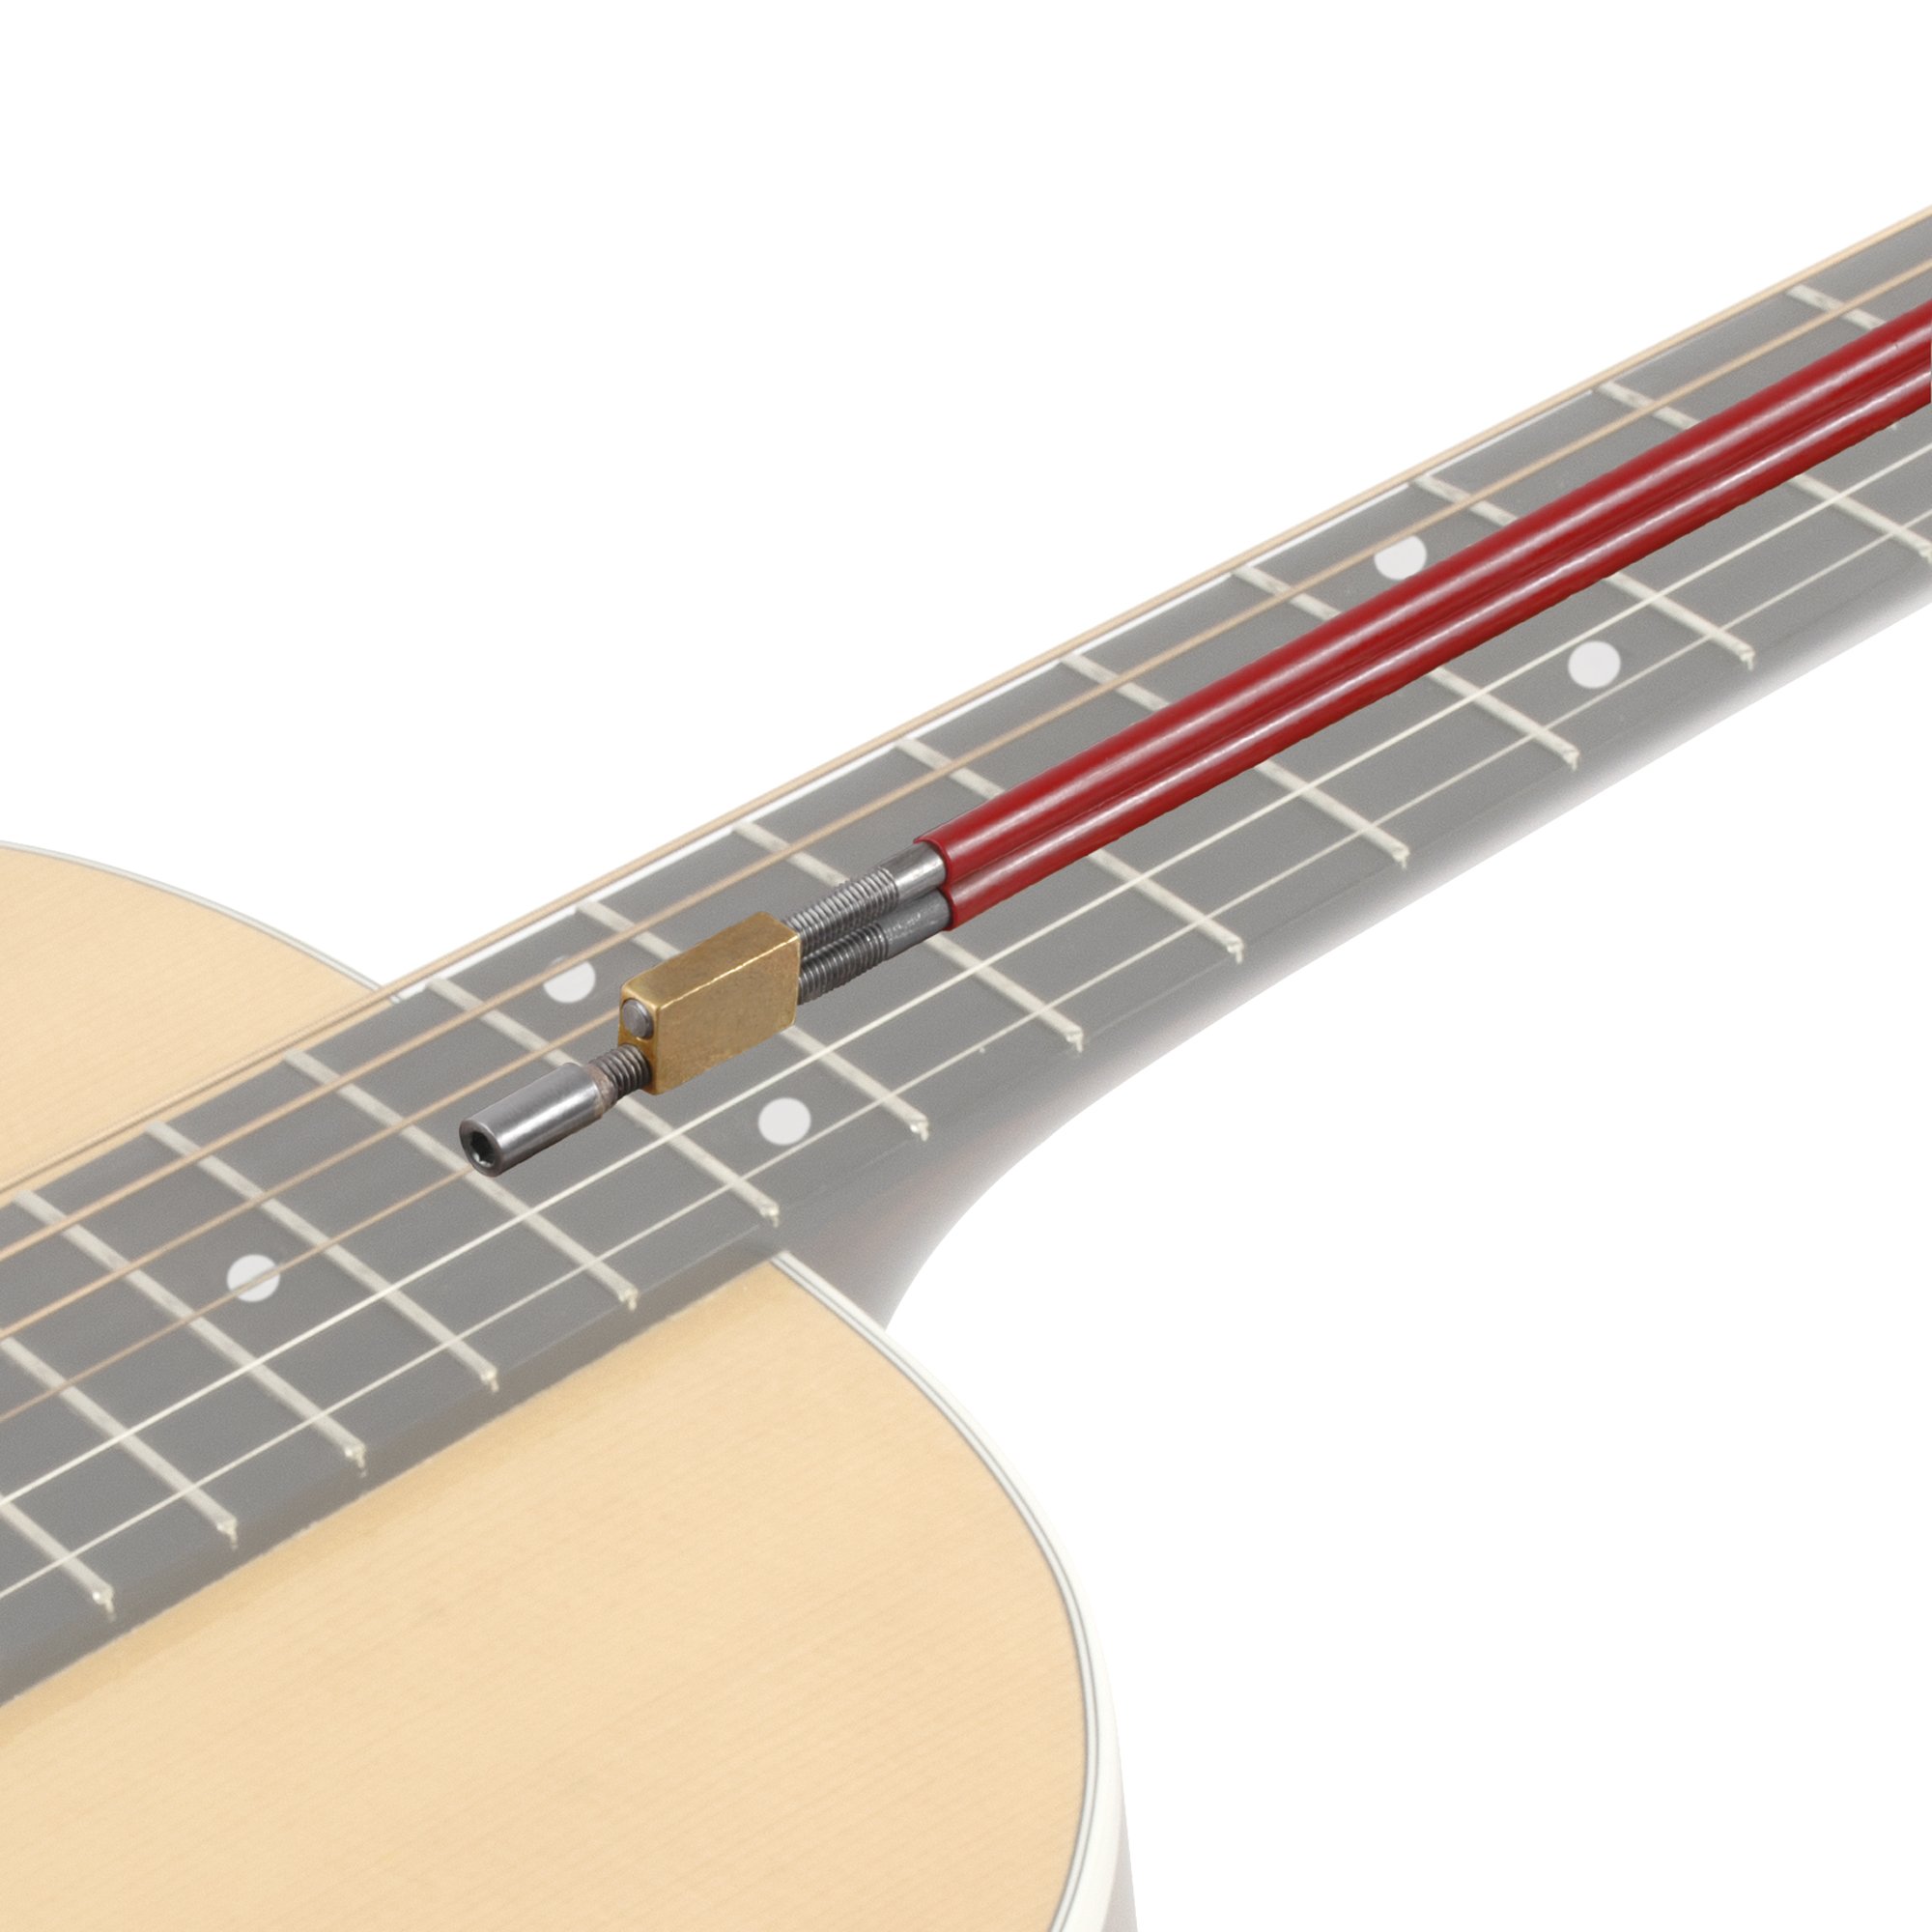
Here we have a Recording King, which is different from the Gibson® because it adjusts through the sound hole. Your guitar will either adjust through the sound hole or down at the peg head end.

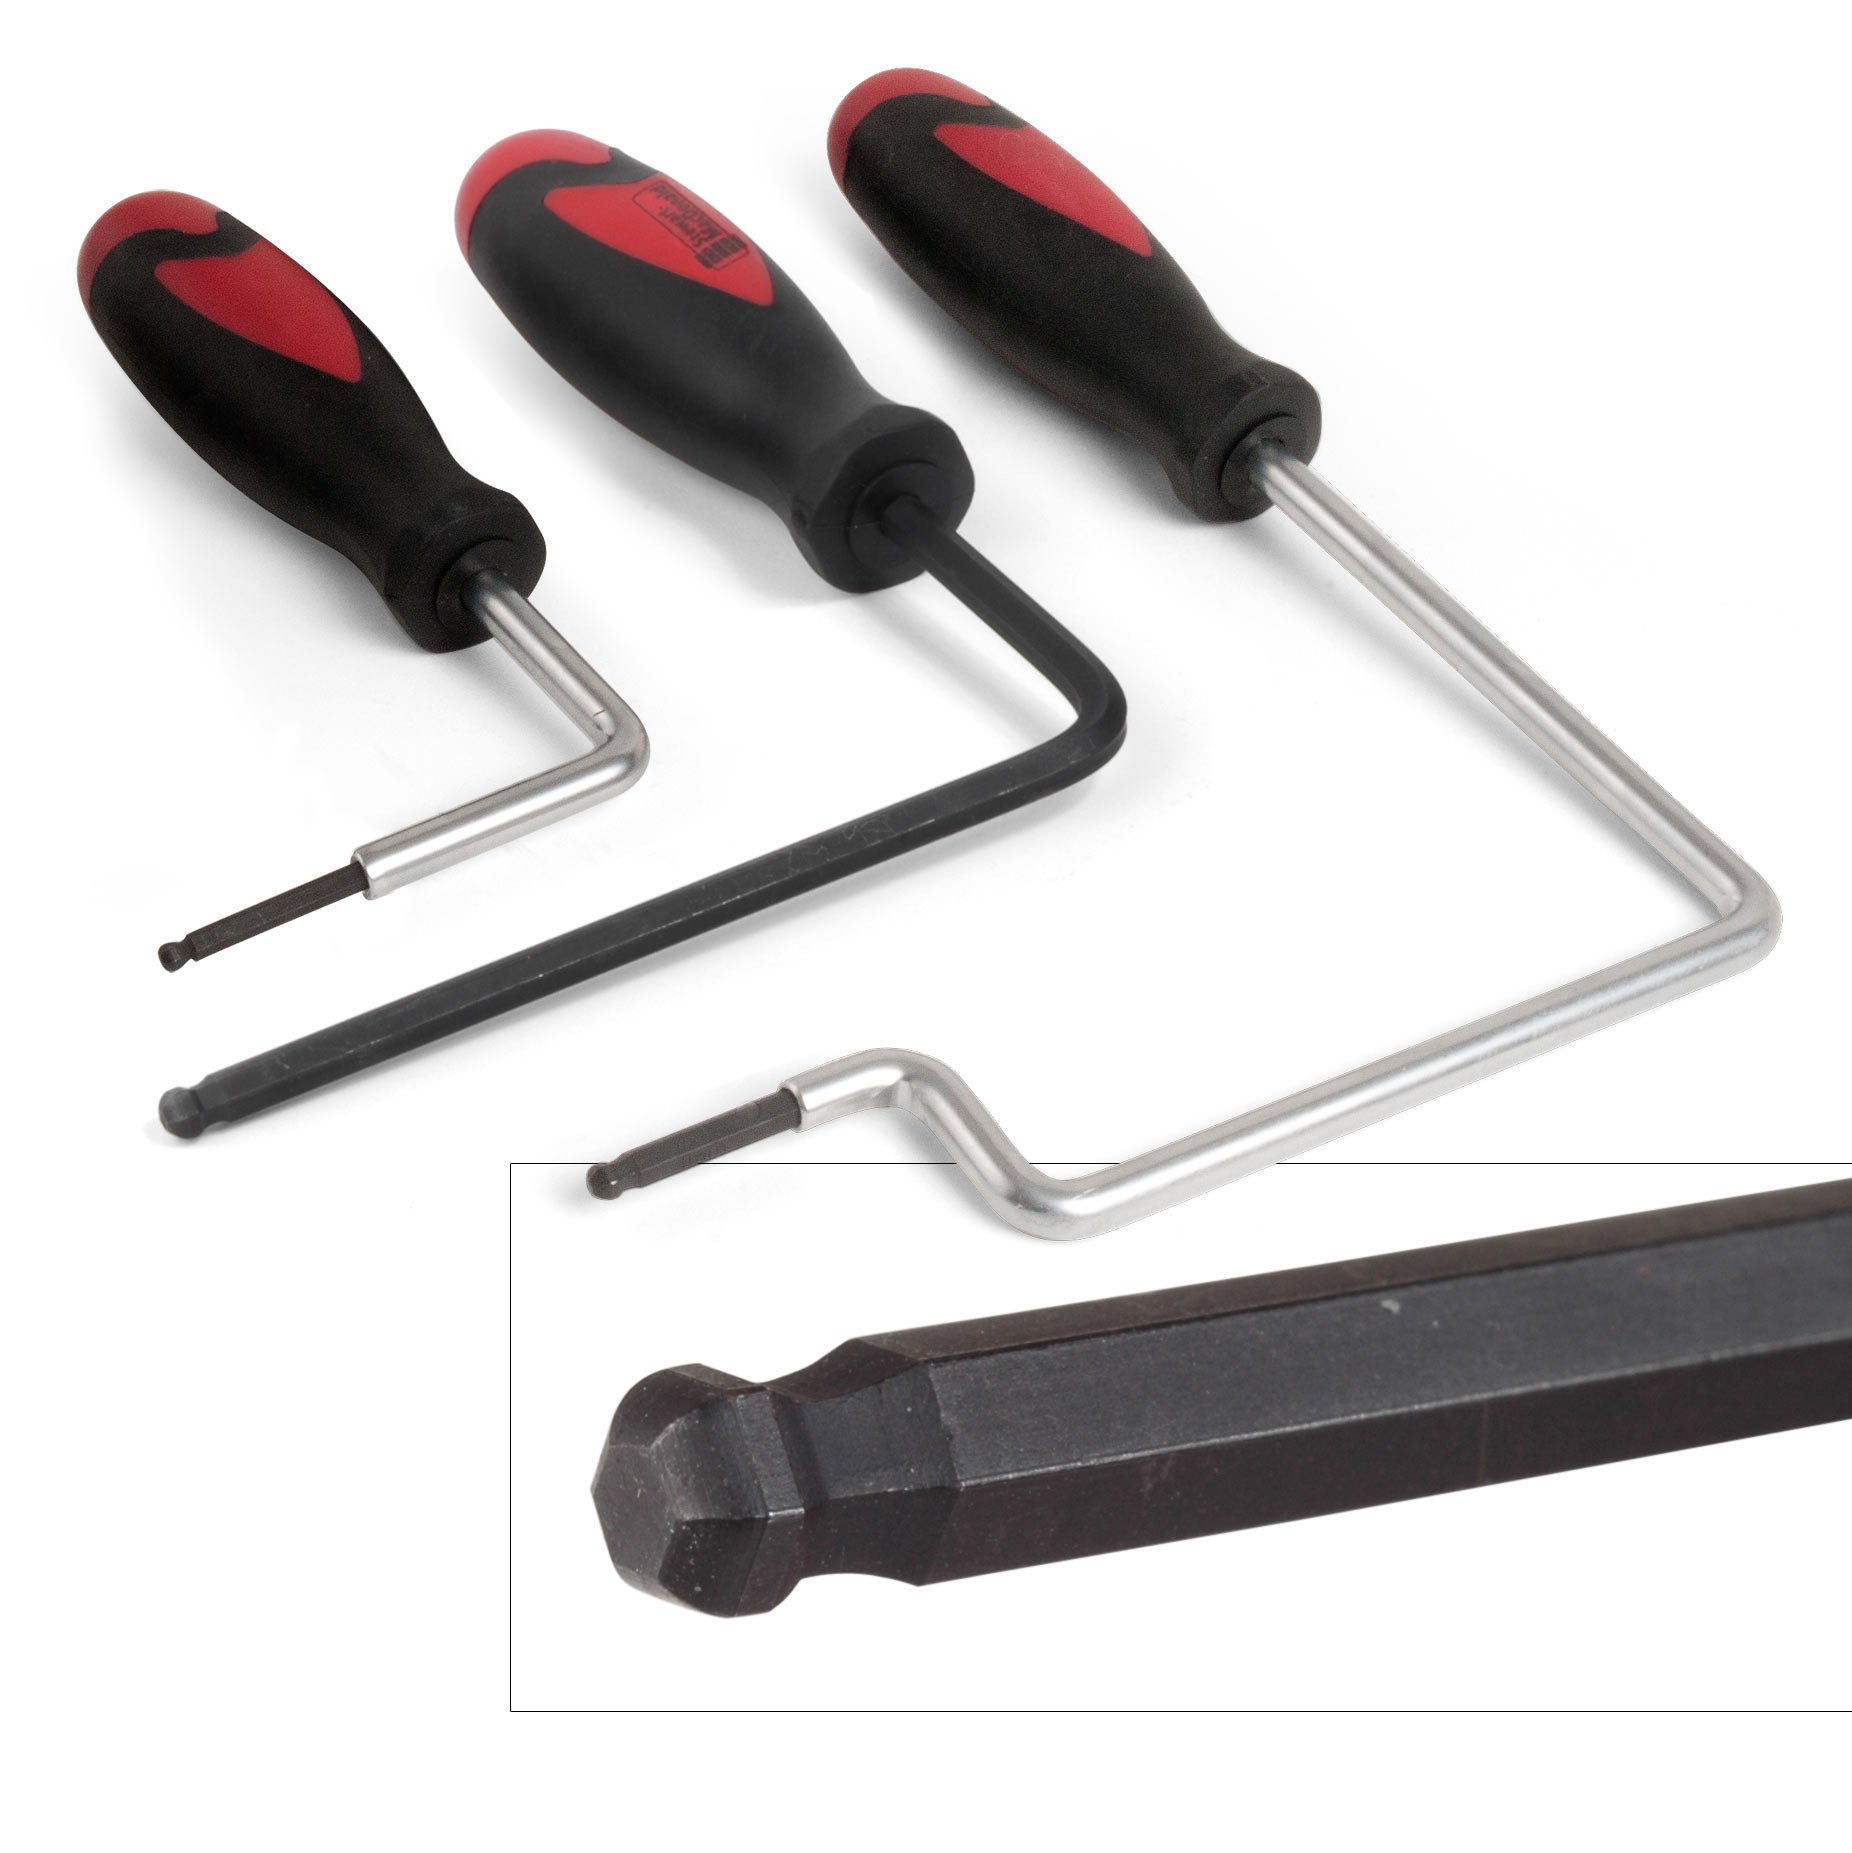
It's important to do a little research and know what tool you need to adjust the truss rod with. Earlier when we adjusted the Gibson® Les Paul®, we used the socket hex wrench set. They come in different sizes for different types of guitars.
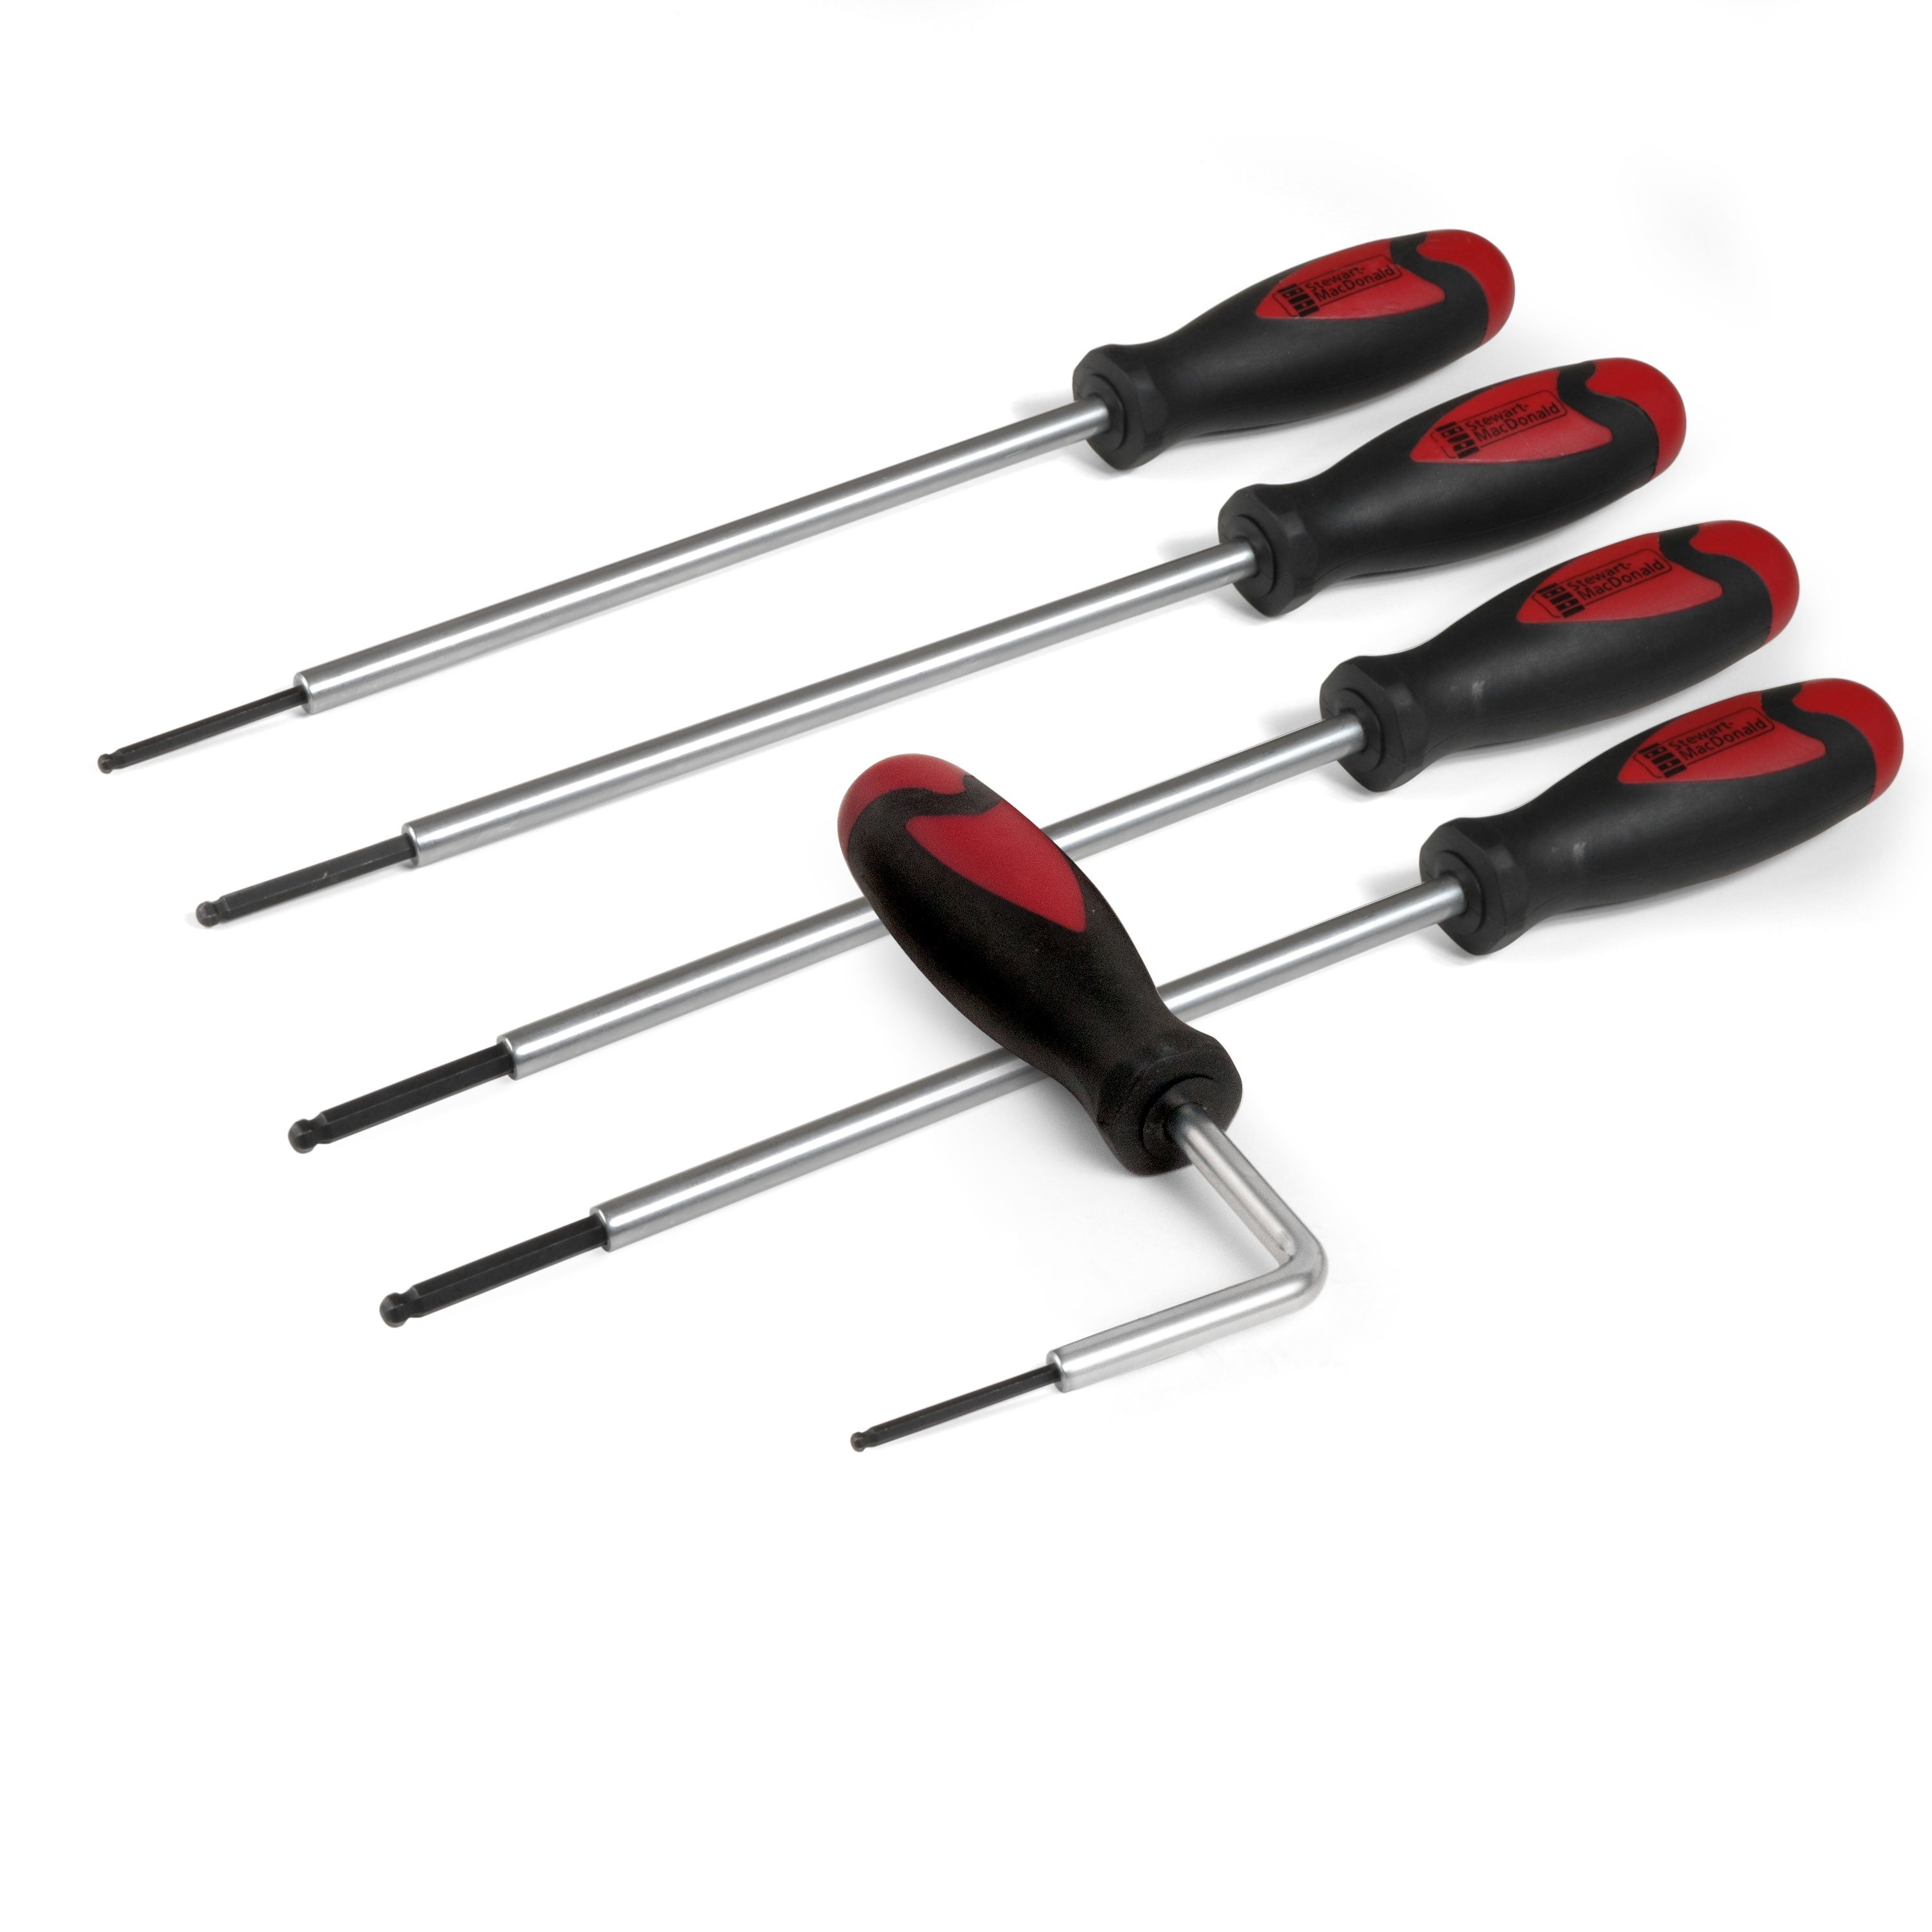
You also have Allen wrenches that come in different sizes and reaches for different types of guitars.

For some vintage Fender guitars you can use a Truss Rod Crank for Tele that lets you adjust the nut at the body end without having to take the neck off.
Next up for this Recording King we're going to need our Allen wrench set. For this guitar we need a 4mm Allen wrench.

Single Action vs Double Action Truss Rods
Another difference between the Gibson® and this Recording King is the type of truss rod that's in it. The Gibson® had a single action truss rod.
With a single action rod when you tighten your adjusting nut, it will straighten out the neck and even pull your neck into a backbow against the pull of the strings. When you loosen it because of the string tension, it goes either straight or back into an upbow.

With a double action rod, if you turn it to the right, it's going to pull the neck back away from the string pull just like the single action rod. But when you loosen it, turning it to the left, it actually forces the neck in the other direction. So you can actually force a backbowed neck into a straight neck or into an upbow.

It's a two way rod, one's pulling one's pushing. So if your guitar has a double action truss rod, you never have to worry about how to straighten the neck.
Adjusting an Acoustic Guitar
What You'll Need
In this case, this guitar sat unplayed for quite a while. The strings were loose, the truss rod was loose, and the neck warped into a backbow. That can happen when a guitar is unplayed for some time.
Once again, we'll loosen the strings a bit. Instead of just going ahead and cranking this two way rod to the left and making it do all the work, I'm going to help it along like we did with the Gibson®, but without the clamp.
By propping up the peghead on a foam block and pushing down on the guitar at the shoulders, I can relieve a bit of the pressure as I make that adjustment. With the peghead propped up I have a long expanse of the neck to flex, and pressing on the shoulders is going to help me do the job.

Now I'll turn the truss rod nut to the left about half a turn.
Checking the Action After Adjustment
What You'll Need
I'm going to pause and check it at pitch with the straightedge. If it hasn't worked on the first attempt, I'll go back and do it again. It's almost dead straight.

It's got the smallest bit of relief in it, which I know this particular customer likes. So I'll keep it there. It's got a nice straight neck, a good low action and no buzzing. The next time you adjust your neck, try this method and it'll keep you out of trouble.


