How To Install the ZerO Glide
V-7030INST
How to install the ZerO Glide Nut in your instrument.
Video Transcription
[fast guitar music playing]
[on-screen text reads: Zero Glide - Fretted Instrument Replacement Nut System]
Zero Glide Installation Tutorial
Speaker 1: Today we're going to be demonstrating the installation of the ZerO Glide Nut system. For details on the great benefits that the Zero Glide adds to your instrument, please see our product demonstration video. The individual Zero Glide Nut Systems are available in 11 different models. A comprehensive sizing chart containing necessary specifications to help you find the correct replacement nut for your instrument can be found at zeroglide.com. The most common sizes for guitar, mandolin, and banjo are already available pre-slotted to fit your instrument with factory string spacing. If a pre-slotted nut does not fit your exact string spacing or you desire a custom spacing, Zero Glide offers unslotted nut blanks that can easily be cut and fit to any fretted instrument, including uncommon instruments like bouzoukis, lap steels, mandolas, and so on [on-screen text reads Installing the Zero Glide Nut]. The blight kits are best installed by a professional luthier, as the individual nut slots need to be cut with dedicated nut files. This video will demonstrate the installation of a pre-slotted Zero Glide Nut System on an acoustic guitar.
[on-screen text reads: Zero Glide nuts are sized to fit all nut slots and may require more sanding than video suggests. Using a pad sander or small belt sander will quicken the job. Be sure to use wooden block for final sanding]
Recommended Tools
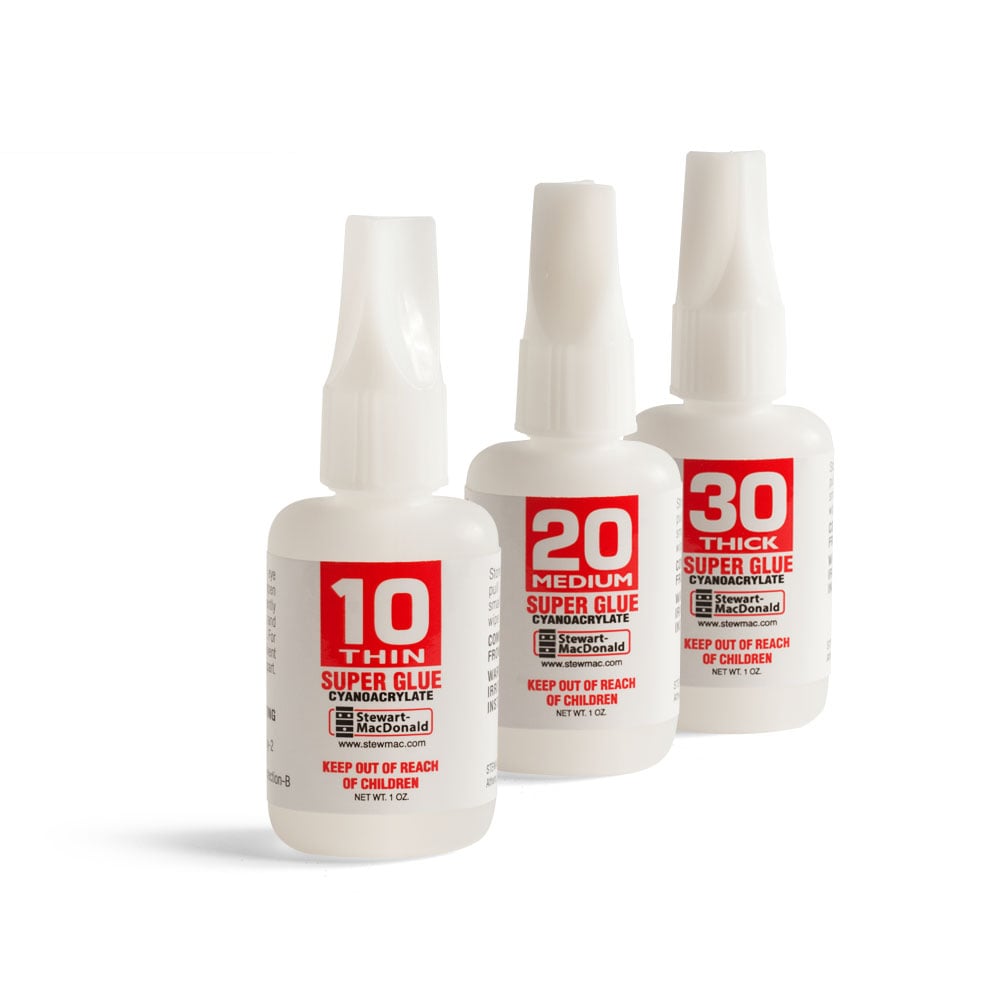
All of the Zero Glide nuts are slightly oversized in width and height and will require some minor sanding to allow for an accurate fit. The tools you need to perform the installation include a razor blade, a flat sanding block with a glued 120 grit sandpaper, a small hammer and wooden block, masking tape, a sharp pencil, super glue of medium or thick viscosity, an applicator or toothpick, wire snippers, and a small ruler.
Removal of conventional nut
With the razor blade, score the edges along the existing nut and fingerboard. This is done to prevent any chipping when removing the existing nut. Using a wooden block and a small hammer, gently tap the nut from the fingerboard side to loosen it from the slot. Scrape away any remaining glue with the razor blade to allow for the Zero Glide Nut to fit flush.
Shaping the Zero Glide Nut depth
The thickness of the Zero Glide Nut must accurately fit the nut channel and should be sanded to match the same thickness as the original nut. Sand only the back of the nut opposite the steps to make a nice tight fit.
The Zero Glide Nut comes slightly wider than the neck width and needs to be sanded to fit flush with the edges of the fingerboard. Slide the nut into the proper position so the outside string slots are an equal distance from the fingerboard edges. Place the two outside strings into the two outside slots of the nut to better visualize and determine the accurate placement.
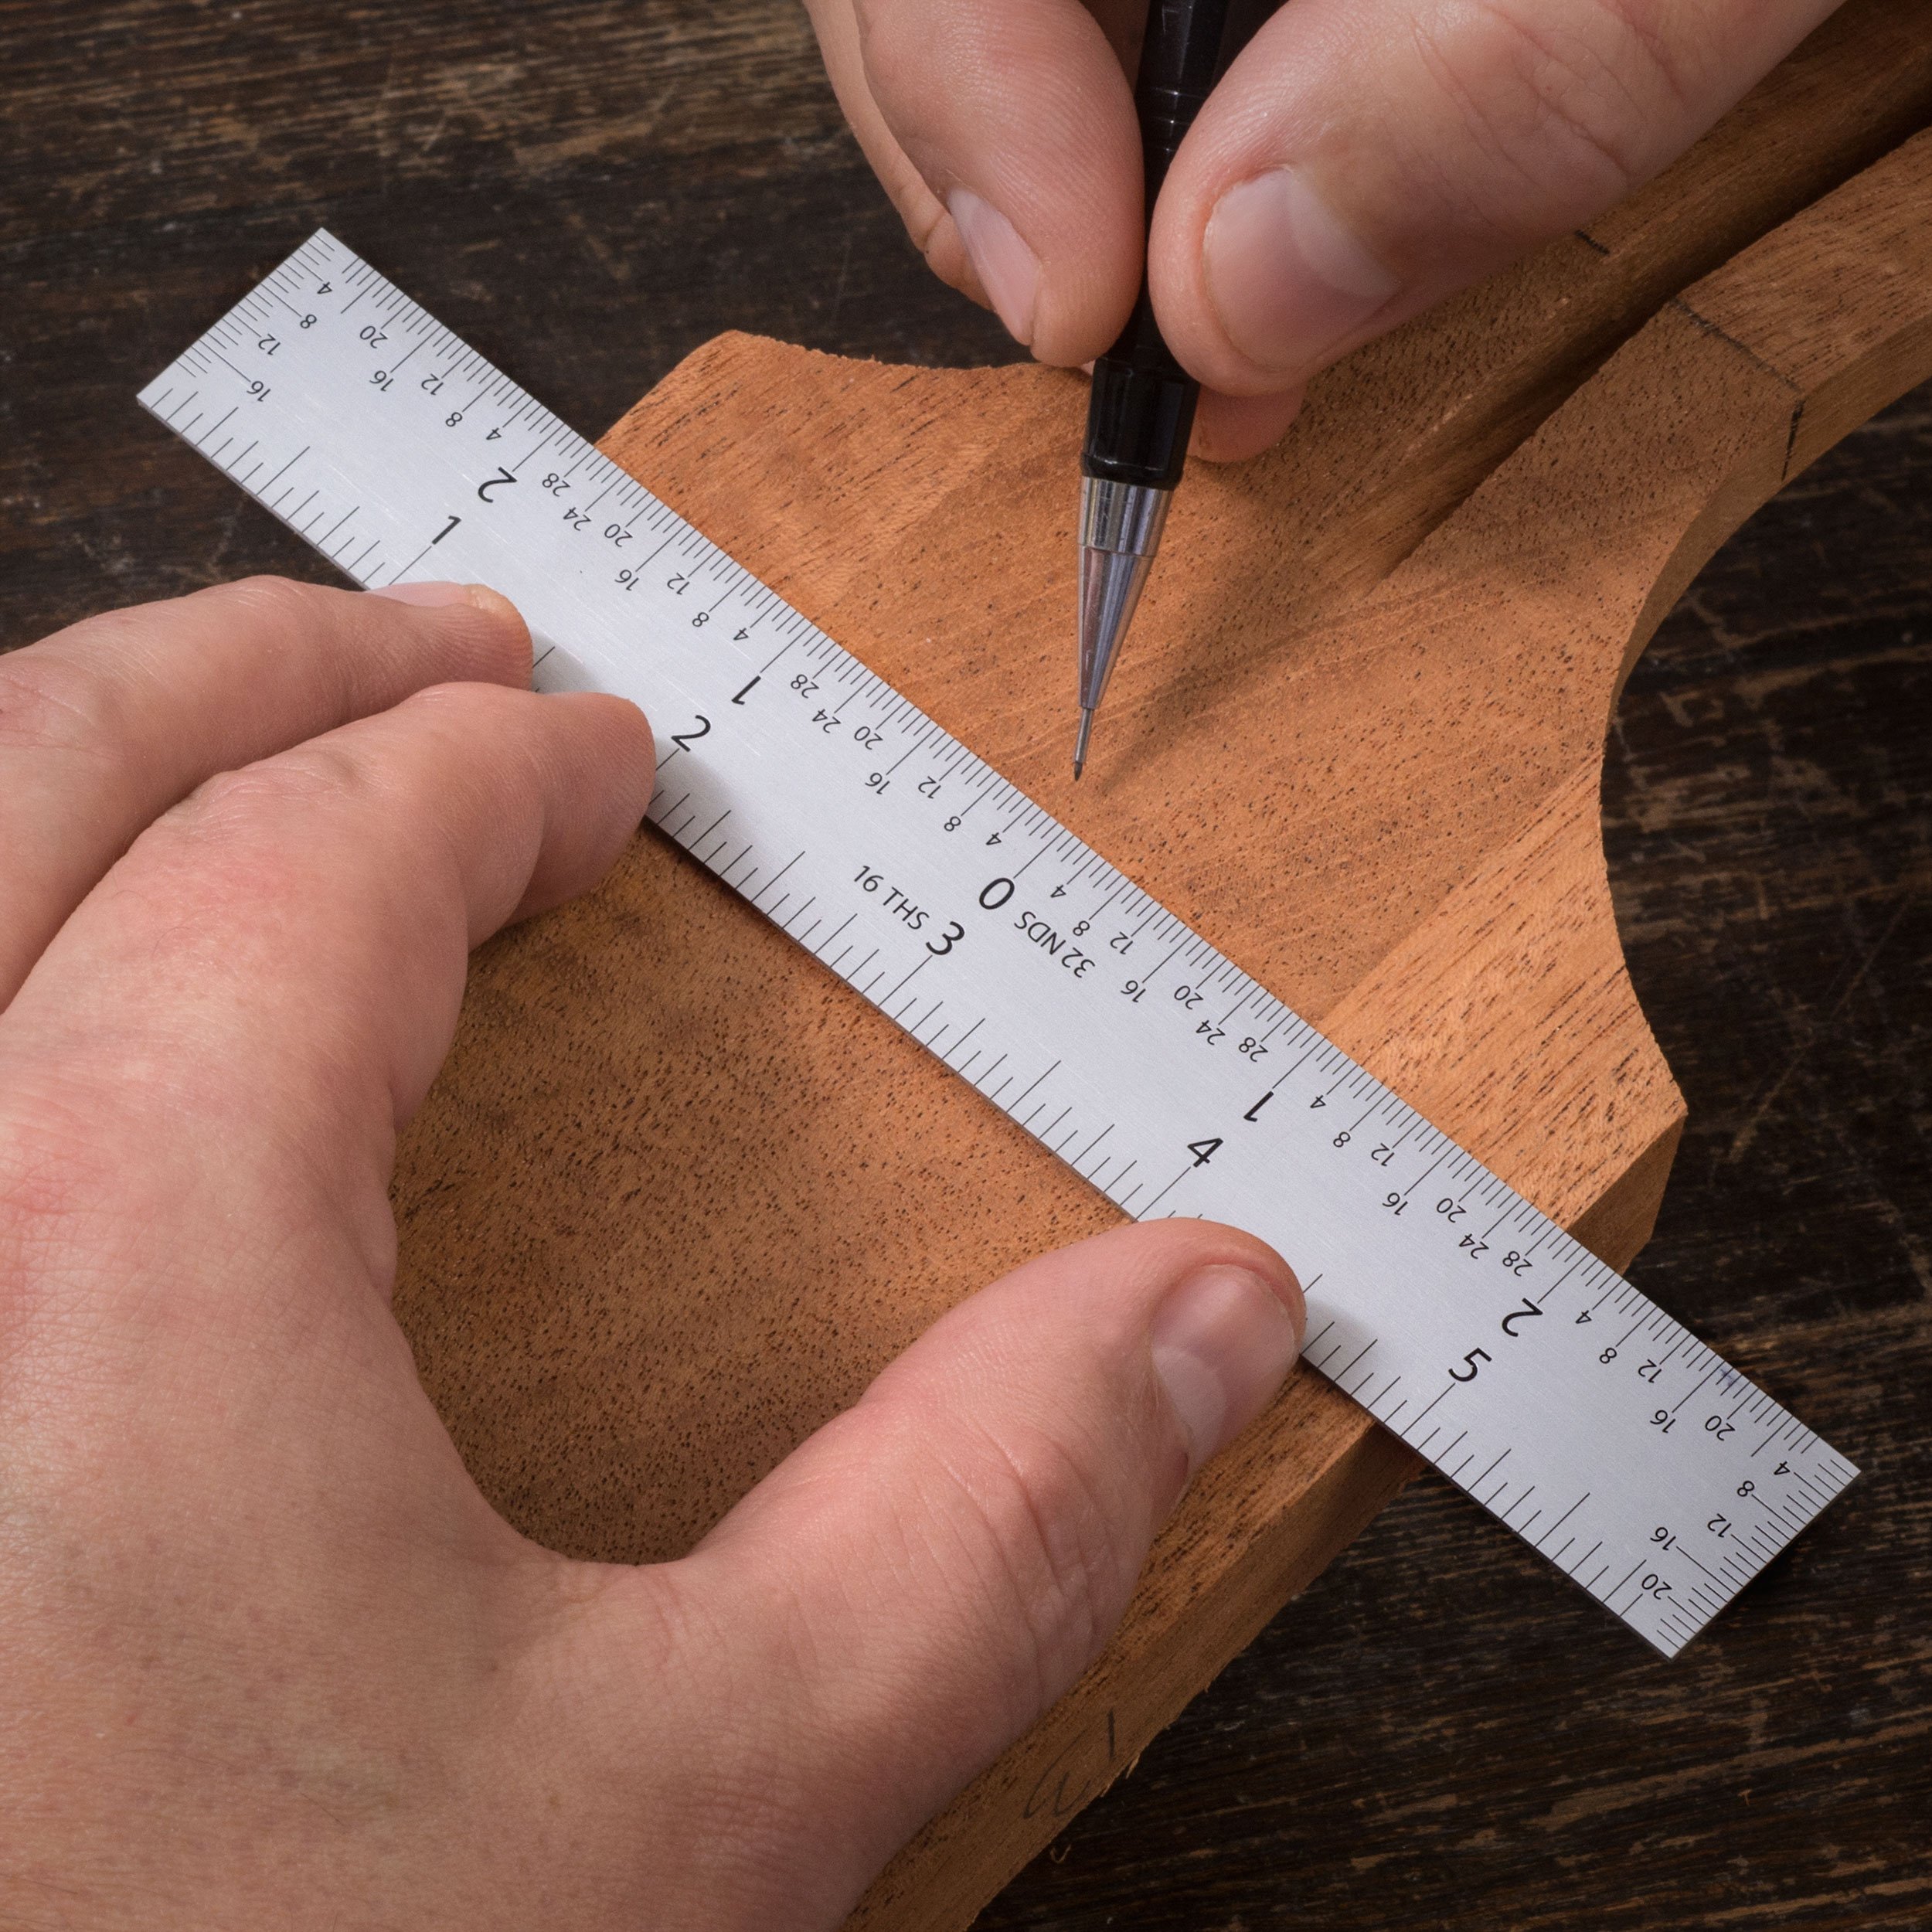
Here you can use a small ruler to measure for accuracy. Tape the nut into place, turn the instrument over and trace the neck contour on the nut with a sharp pencil.
Remove the nut from the neck and then sand the edges to the drawn lines on the nut.
Shaping the Zero Glide Nut height
Now we need to shape the height of the Zero Glide Nut. The top step in the Zero Glide Nut must be level with the fingerboard. Use the same sanding block with 120 grit sandpaper and carefully sand the bottom of the nut. Check often to make sure that the bass and treble sides match the height of the fingerboard.
Choosing the correct fret
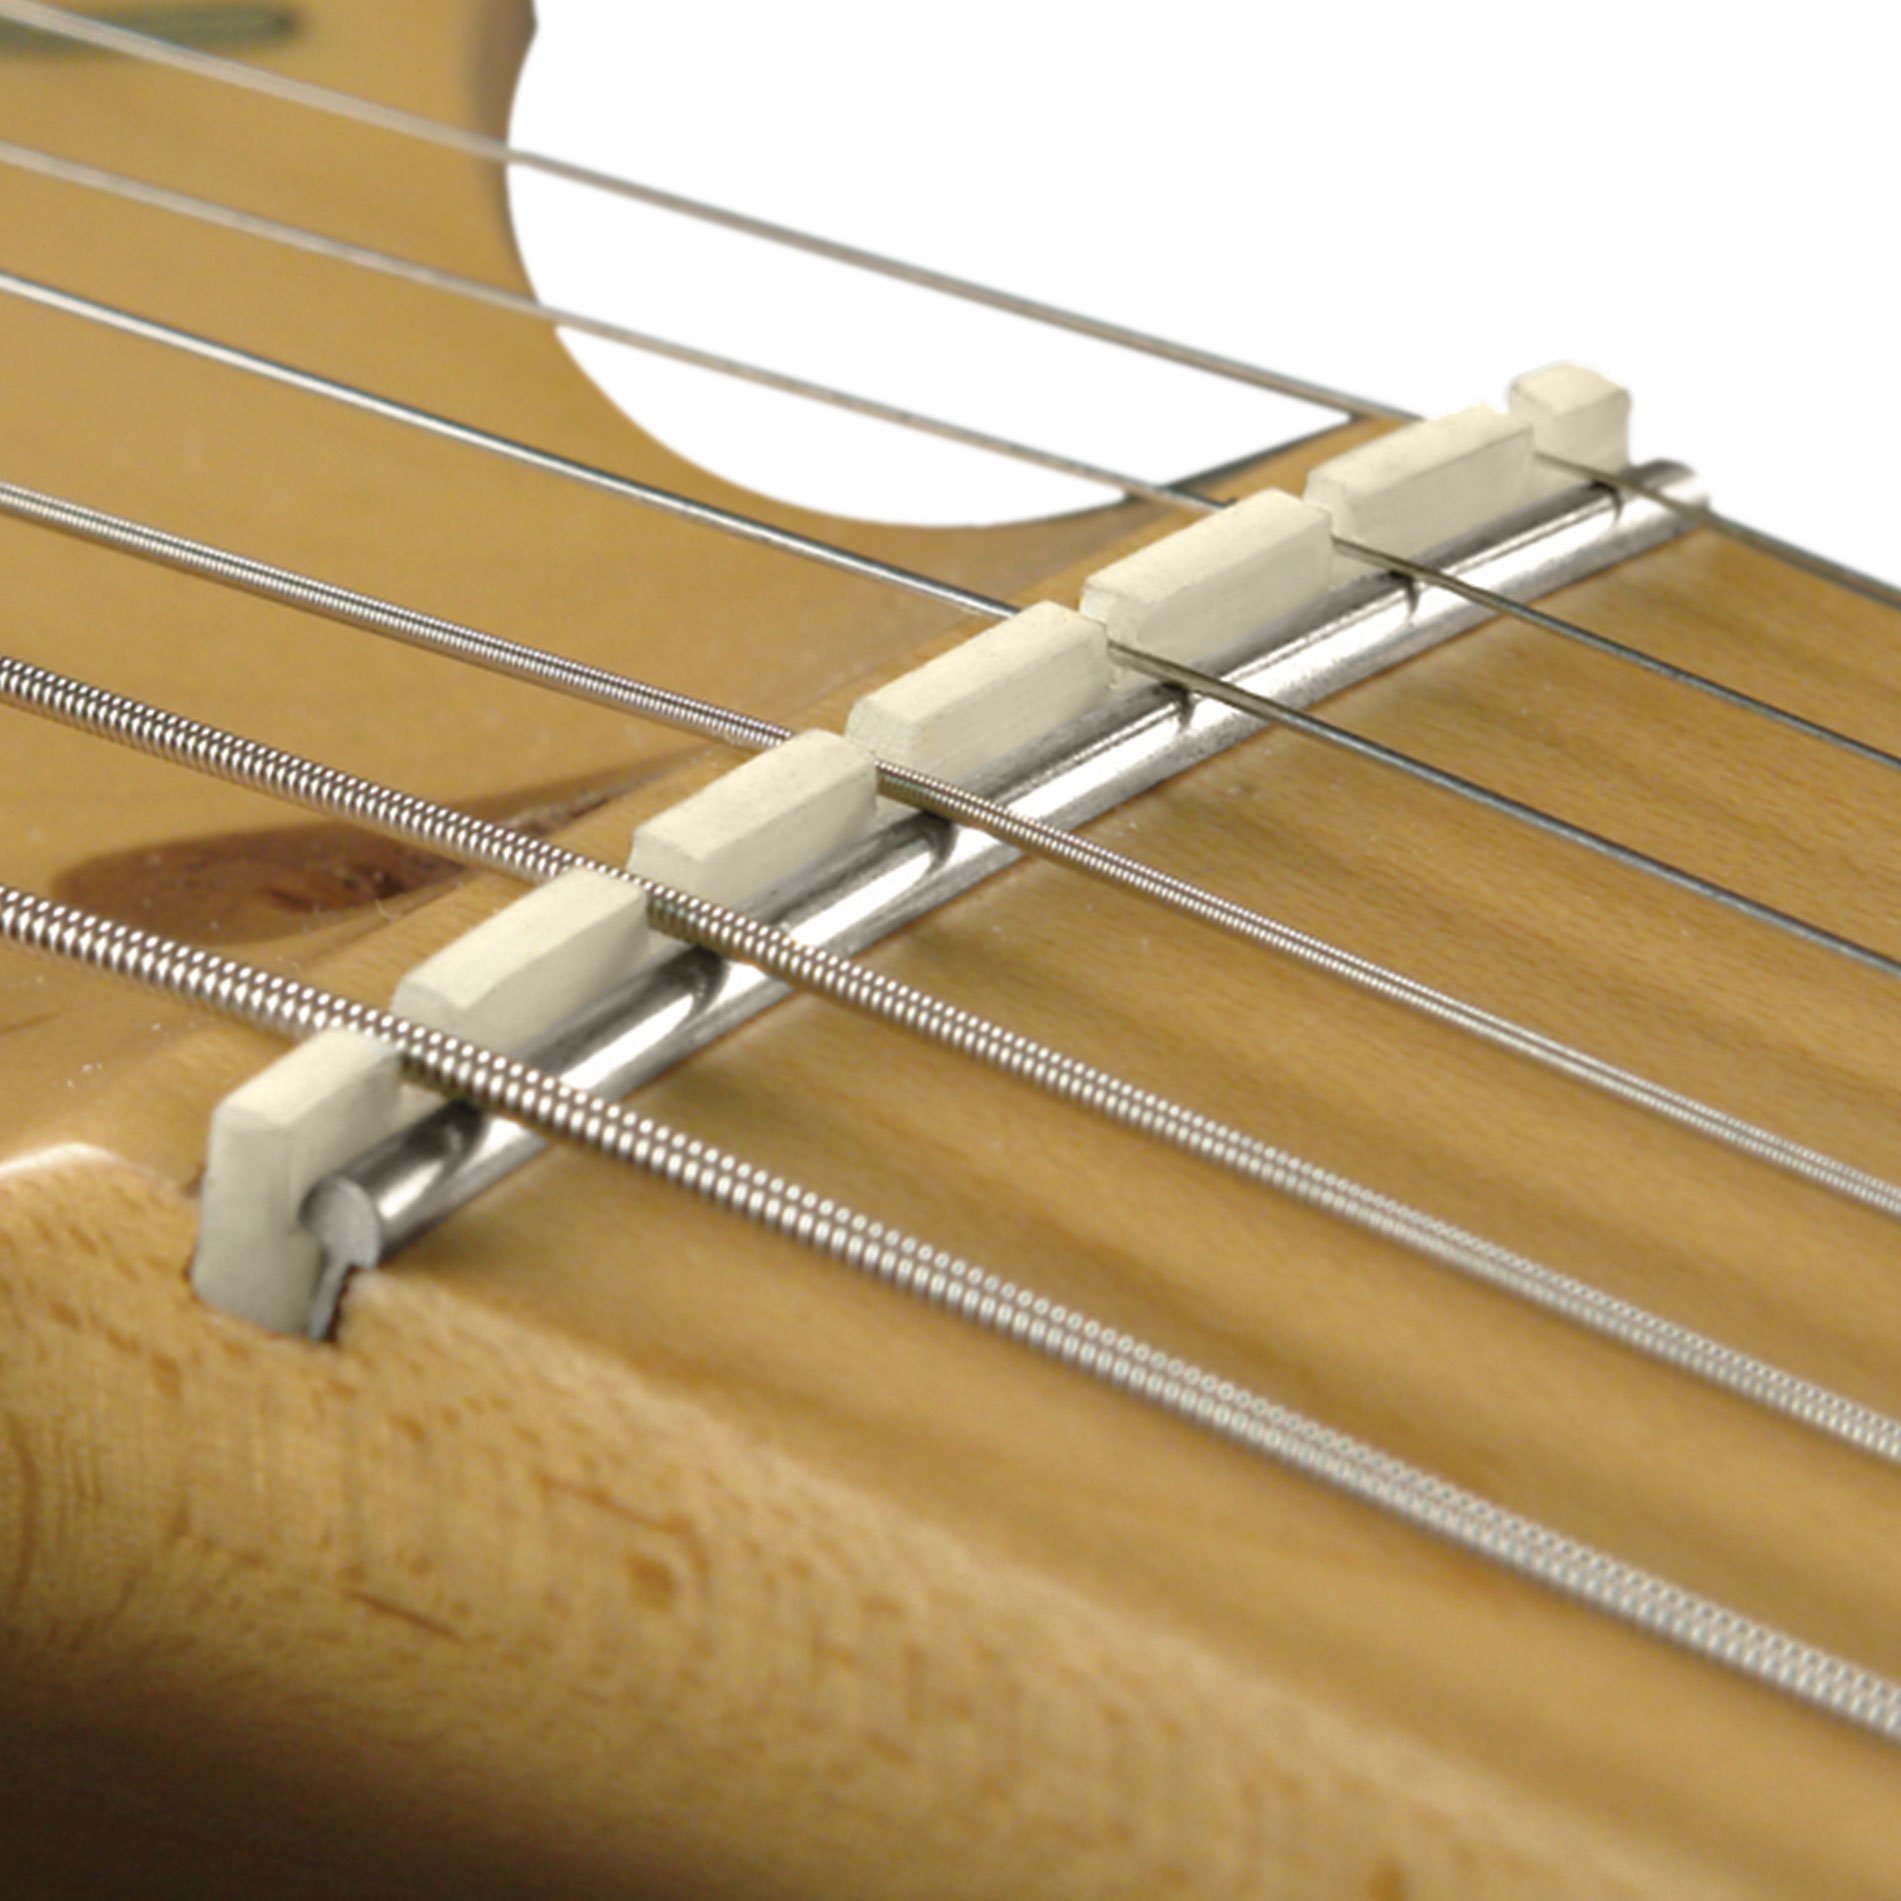
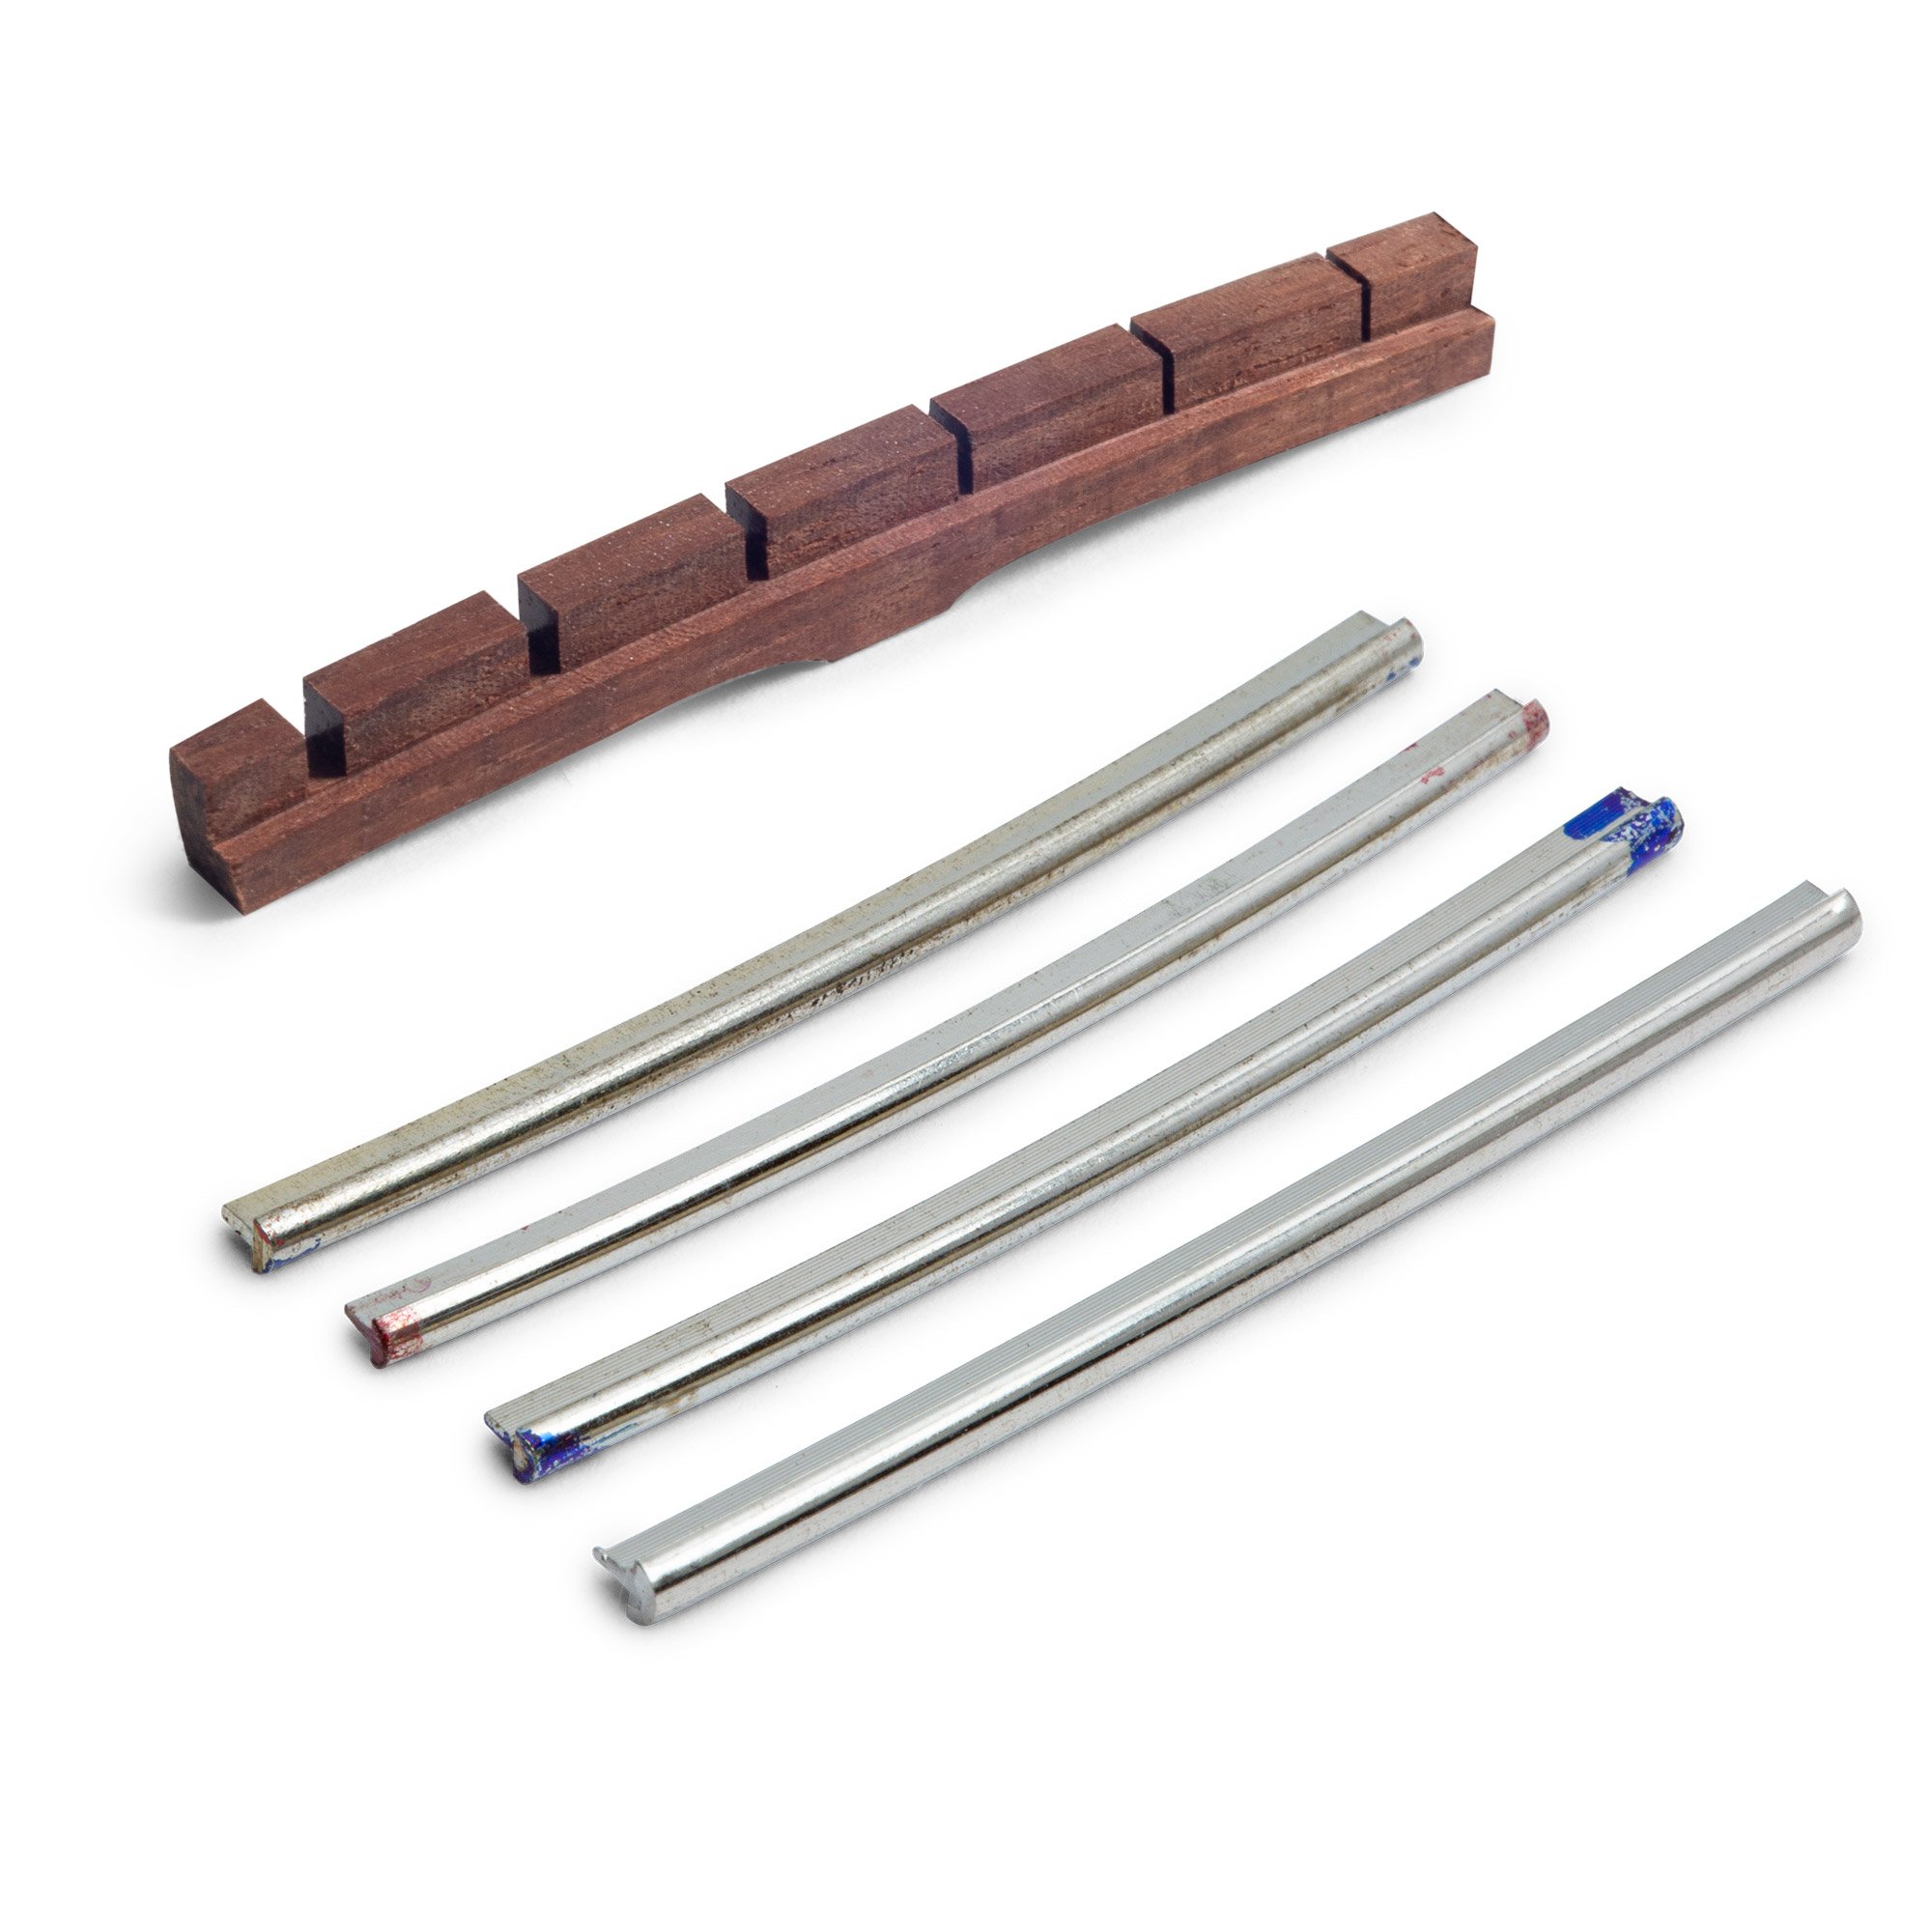
The nut is now completely shaped to fit the nut channel in the neck, and we'll decide on the correct fret wire size to use. There are three fret sizes of varying heights that are included. Choose the fret size that's the most similar to that of the first fret on the instrument, and position the fret tang between the fingerboard and the top step of the Zero Glide Nut so the fret is seated. String the instrument and tune to pitch to test the fret height.
Play each open string. If fret buzz occurs, de-tune the strings and replace with the next largest fret size. For best playability, choose the smallest fret size that does not allow the string to buzz when played open.
The string slots in the Zero Glide Nut are lower than the fret so that no nut filing is necessary.
Shaping the fret
Now we're going to trim the fret ends. Lie the fret on the edge of the nut. Take a sharp pencil and mark the edge to be trimmed. Cut the excess fret wire with wire snippers. Using the sanding block, carefully sand the fret ends to match the end of the nut. Then the fret ends can be beveled using the sanding block to match the bevel of the other frets.
We are now ready to glue the nut into the correct location.
Installing the Zero Glide Nut
Using a small applicator or toothpick, apply two small drops of super glue to the bottom of the nut. Press the nut into place and let dry for a few minutes. Now the fret can be glued into place by applying a small drop of super glue to the bottom of the fret and then pressing it into position. String up and tune the instrument immediately to allow the string pressure to firmly seat the fret.
Congratulations. Your fretted instrument will now tune better. Open strings will be brighter, and notes played on the first fret will be easily fretted. For those using detuners on banjos or vibrato arms on electric guitars, you may periodically spray on some silicone lubricants such as Finger Ease on the Zero Glide fret for an even better glide while tuning.
[on-screen text reads: Zero Glide - Fretted Instrument Replacement Nut System]

