Reduce Fret Tang Height for Shallow Fret Slots
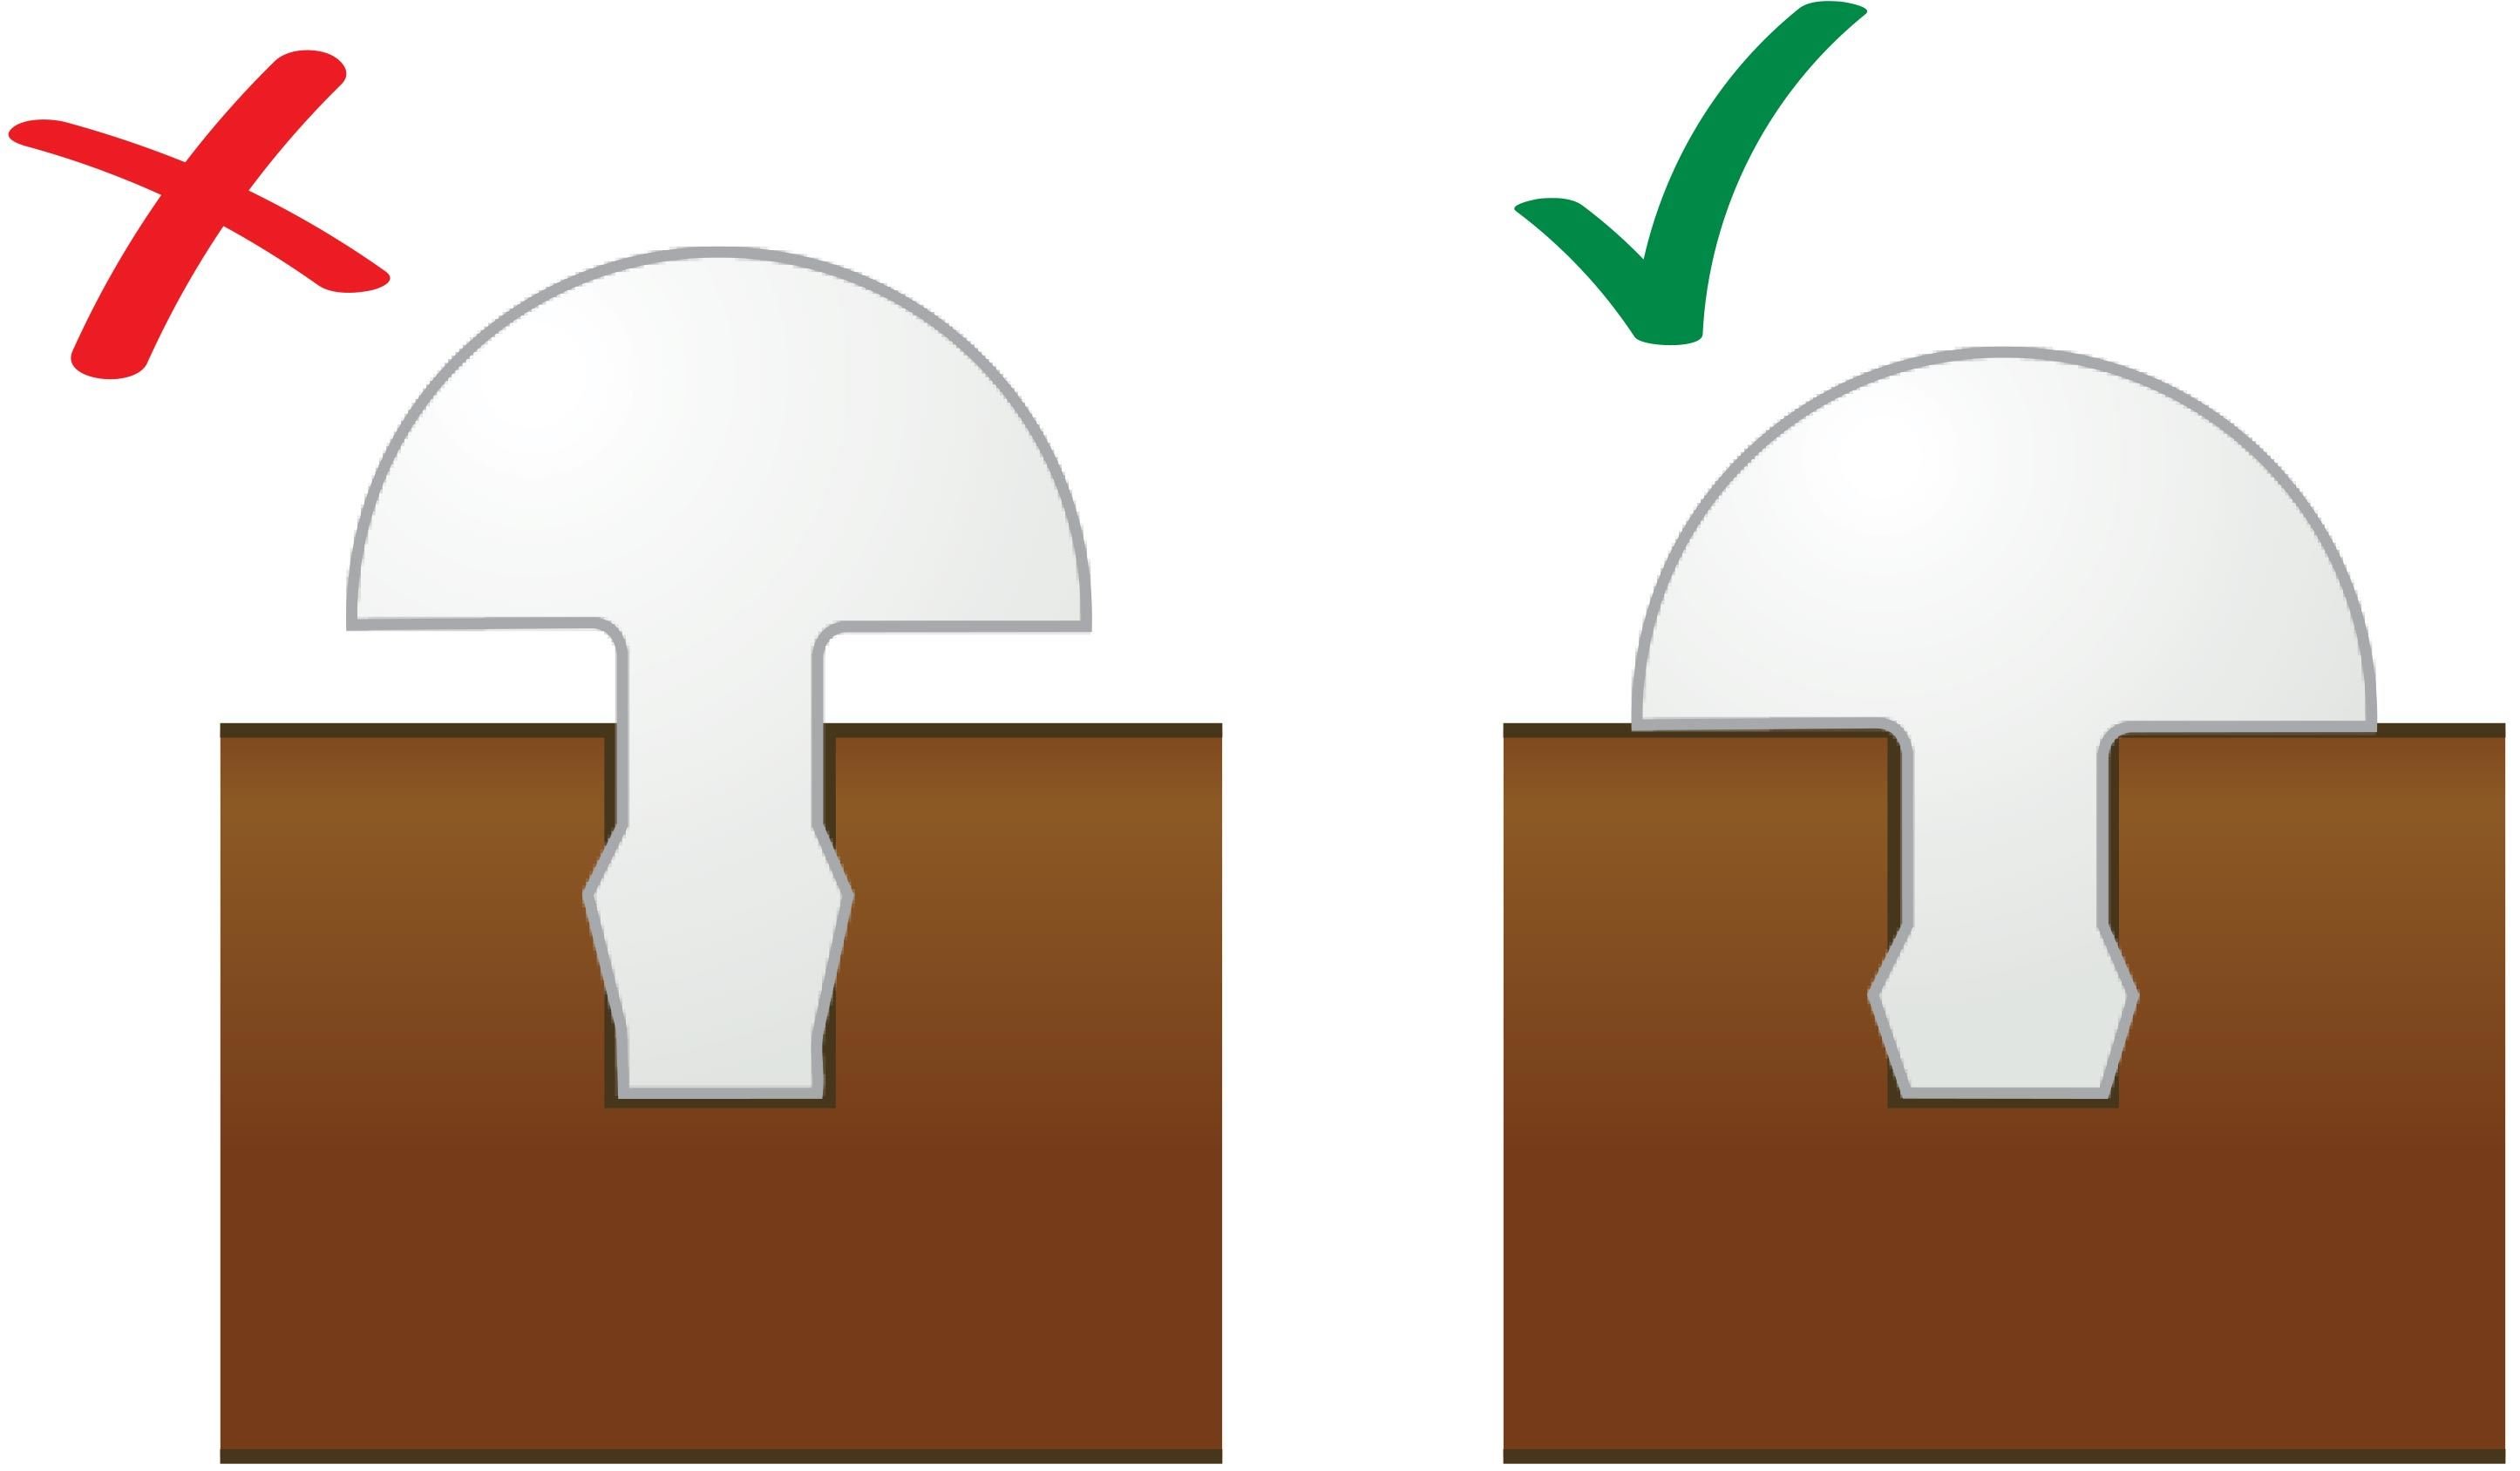 |
| Trim the tang to fit the slot |
In 1962, Fender switched from slab rosewood fretboards to thin maple or rosewood veneer laminated over radiused maple necks. Dan Erlewine often refers to these as "round-lam". Along with the round-lam fretboards, Fender also used frets with short tangs—around .040".
In 1962, Fender switched from slab rosewood fretboards to thin maple or rosewood veneer laminated over radiused maple necks. Dan Erlewine often refers to these as "round-lam". Along with the round-lam fretboards, Fender also used frets with short tangs—around .040".
Since modern fretwire is around .050" and deepening fret slots on round-lam risks cutting into the maple neck, fretting these thin fretboards can be difficult. The other option is to lower the tang length, but that’s easier said than done. Trying to balance the wire over a belt sander while attempting to evenly remove material is extremely difficult, and other methods are inconsistent at best.
Our own Erick Coleman, Josh Hurst, and Paul Lampley developed the solution: The StewMac Fret Tang Reducer allows precise tang height adjustment for exact fret fit without modifying the slot. This tang-shortening tool delivers quick and consistent results along entire lengths of fretwire.
What You'll Need
- StewMac Precision Fret Tang Reducer
- Fret slot depth gauge
- Fretwire: unradiused
- Dremel or similar rotary tool
- Clamps or screws to secure the baseplate
- Screwdriver
- Fret Dressing Stick with Micro-Mesh Belts
- Vacuum


StewMac Precision Fret Tang Reducer

Determine the Fret Tang Height
First, use a Fret Slot Depth Gauge to determine the maximum allowable fret tang height on your guitar neck.
Then measure your fret tang to see how much material needs to be removed to fit the slots. Make a note of the measurement.


Choose the cartridge that best fits your fret crown and screw it to the baseplate with the included mounting screws.
Finally, roll the o-rings over the threads of the screws until they are snugged up to the cover, and install it on the cartridge. Keep it loose for now.


Install the Dremel
Chuck the provided carbide tipped bit all the way into the Dremel’s collet. Then thread the Dremel into the tang reducer plunge base.
Insert a length of fretwire into the cartridge so it spans the bit’s access hole and is flush with the exit end. The ends will not be reduced and will need to be cut off and discarded. Clamp or screw the baseplate to your work surface.


Set Up the Fret Tang Reducer
Loosen the ball grips and lower the unit so the bit’s cutter head blades are parallel to the fret tang and just touch it. Re-tighten the grips to lock the position.
Set your depth stop and then remove the wire.


Reset your depth stop using feeler gauges (we used a Post-it note), increasing the gap an additional .005" to .010", and loosen the ball grips. Your first cut will leave a flat, even surface to take final measurements from.
Re-insert the wire as before, so both sides are captured. Use a screwdriver to tighten the cartridge cover. This will hold the wire in place under the cutter. It needs to be snug, but not so tight that the wire is difficult to guide through.


Reduce the Tang
NOTE: This procedure creates dangerous metal shavings and should be vacuumed immediately. Attach the vacuum hose now, and wear eye protection during the reducing process.
Turn the tool on at a high speed—25-35,000 rpm, and lower the bit until you hit the depth stop. Slowly guide the wire through using both hands. Raise the cutter and turn off the tool before removing the wire to avoid wire damage. Run each wire through at this depth to avoid multiple tool resets.

Measure the tang again to determine how much more material needs to be removed. NOTE: It is important not to take off too much material in one cut. For best results, remove less than .010" at a time. This makes for a cleaner cut and won’t stall the tool.

Reset your depth stop as needed based on your measurements.
Repeat the reducing process, taking off no more than a few thousandths of an inch at a time until you reach your final desired height.
Remove the Burr
To remove the burr, run a Fret Dressing Stick with a 120-grit micro-mesh belt along the tang. Avoid hitting the crown. Once the wire is deburred and smooth, it is ready to be degreased and installed on your guitar.


