How to Intonate a Guitar
V-INTONATE
If you've ever experienced tuning problems as you play up the neck, you have problems with your intonation. In this video Aaron shows you some easy ways you can intonate your guitar at home without taking it to a shop.
Video Transcription
Aaron Smiley: Intonation is an important part of making sure your guitar plays and sounds the way that you want it to. And it's the last step, or one of the last steps, of any great setup.
Now, to be clear, we are not talking about tuning, which is something that you do at the headstock. We're talking about adjusting the intonation which is something that you do by moving the saddles forward or backwards at the other end of the guitar.
Basically you can be in tune at the headstock, but you'll never be perfectly in tune if your intonation is off.
In this video, we are only talking about adjusting electric intonation. Acoustic intonation can be an entirely different monster. It's not always a quick screwdriver turn or a file stroke away from being right. Sometimes it can get really structural.
Step 1: Set up the guitar
Before we go perfecting our intonation. We need to dial in the rest of the setup first. Now that means adjusting your truss rod. So your neck is straight or with the relief that you like. Adjusting the height of the strings off the fretboard so you have the action that you like, and of course, making sure you're in tune at the headstock. If you make any setup adjustments after you're done intonating it can throw your intonation off making you have to start all over. Now that the rest of the setup is done. Let's check the intonation to see where we're at.
Step 2: Check your intonation
A lot of times you can hear if your intonation is off, especially when you're playing up on the higher frets, but the differences can be subtle. The way to check that is either to strike the open note of the string or the 12th harmonic, whichever you prefer. Then fret the 12th fret and strike with the same attack as before. Although there's an octave difference they're still going to be the same note.
For example, a high E string, you'll get another high E at the 12th, just an octave higher. And you're listening for the difference between the two. If those notes are both the same note, then we're okay the intonation is all right, so we don't need to make any adjustments.
But this string is pretty far off. I can hear it. The open note is a B, but as soon as we fret it, we can hear that it's pretty flat. Now, this string's pretty bad. So it's easy to hear, but when you're making intonation adjustments, you always want to use a tuner.
Step 3: Adjust intonation
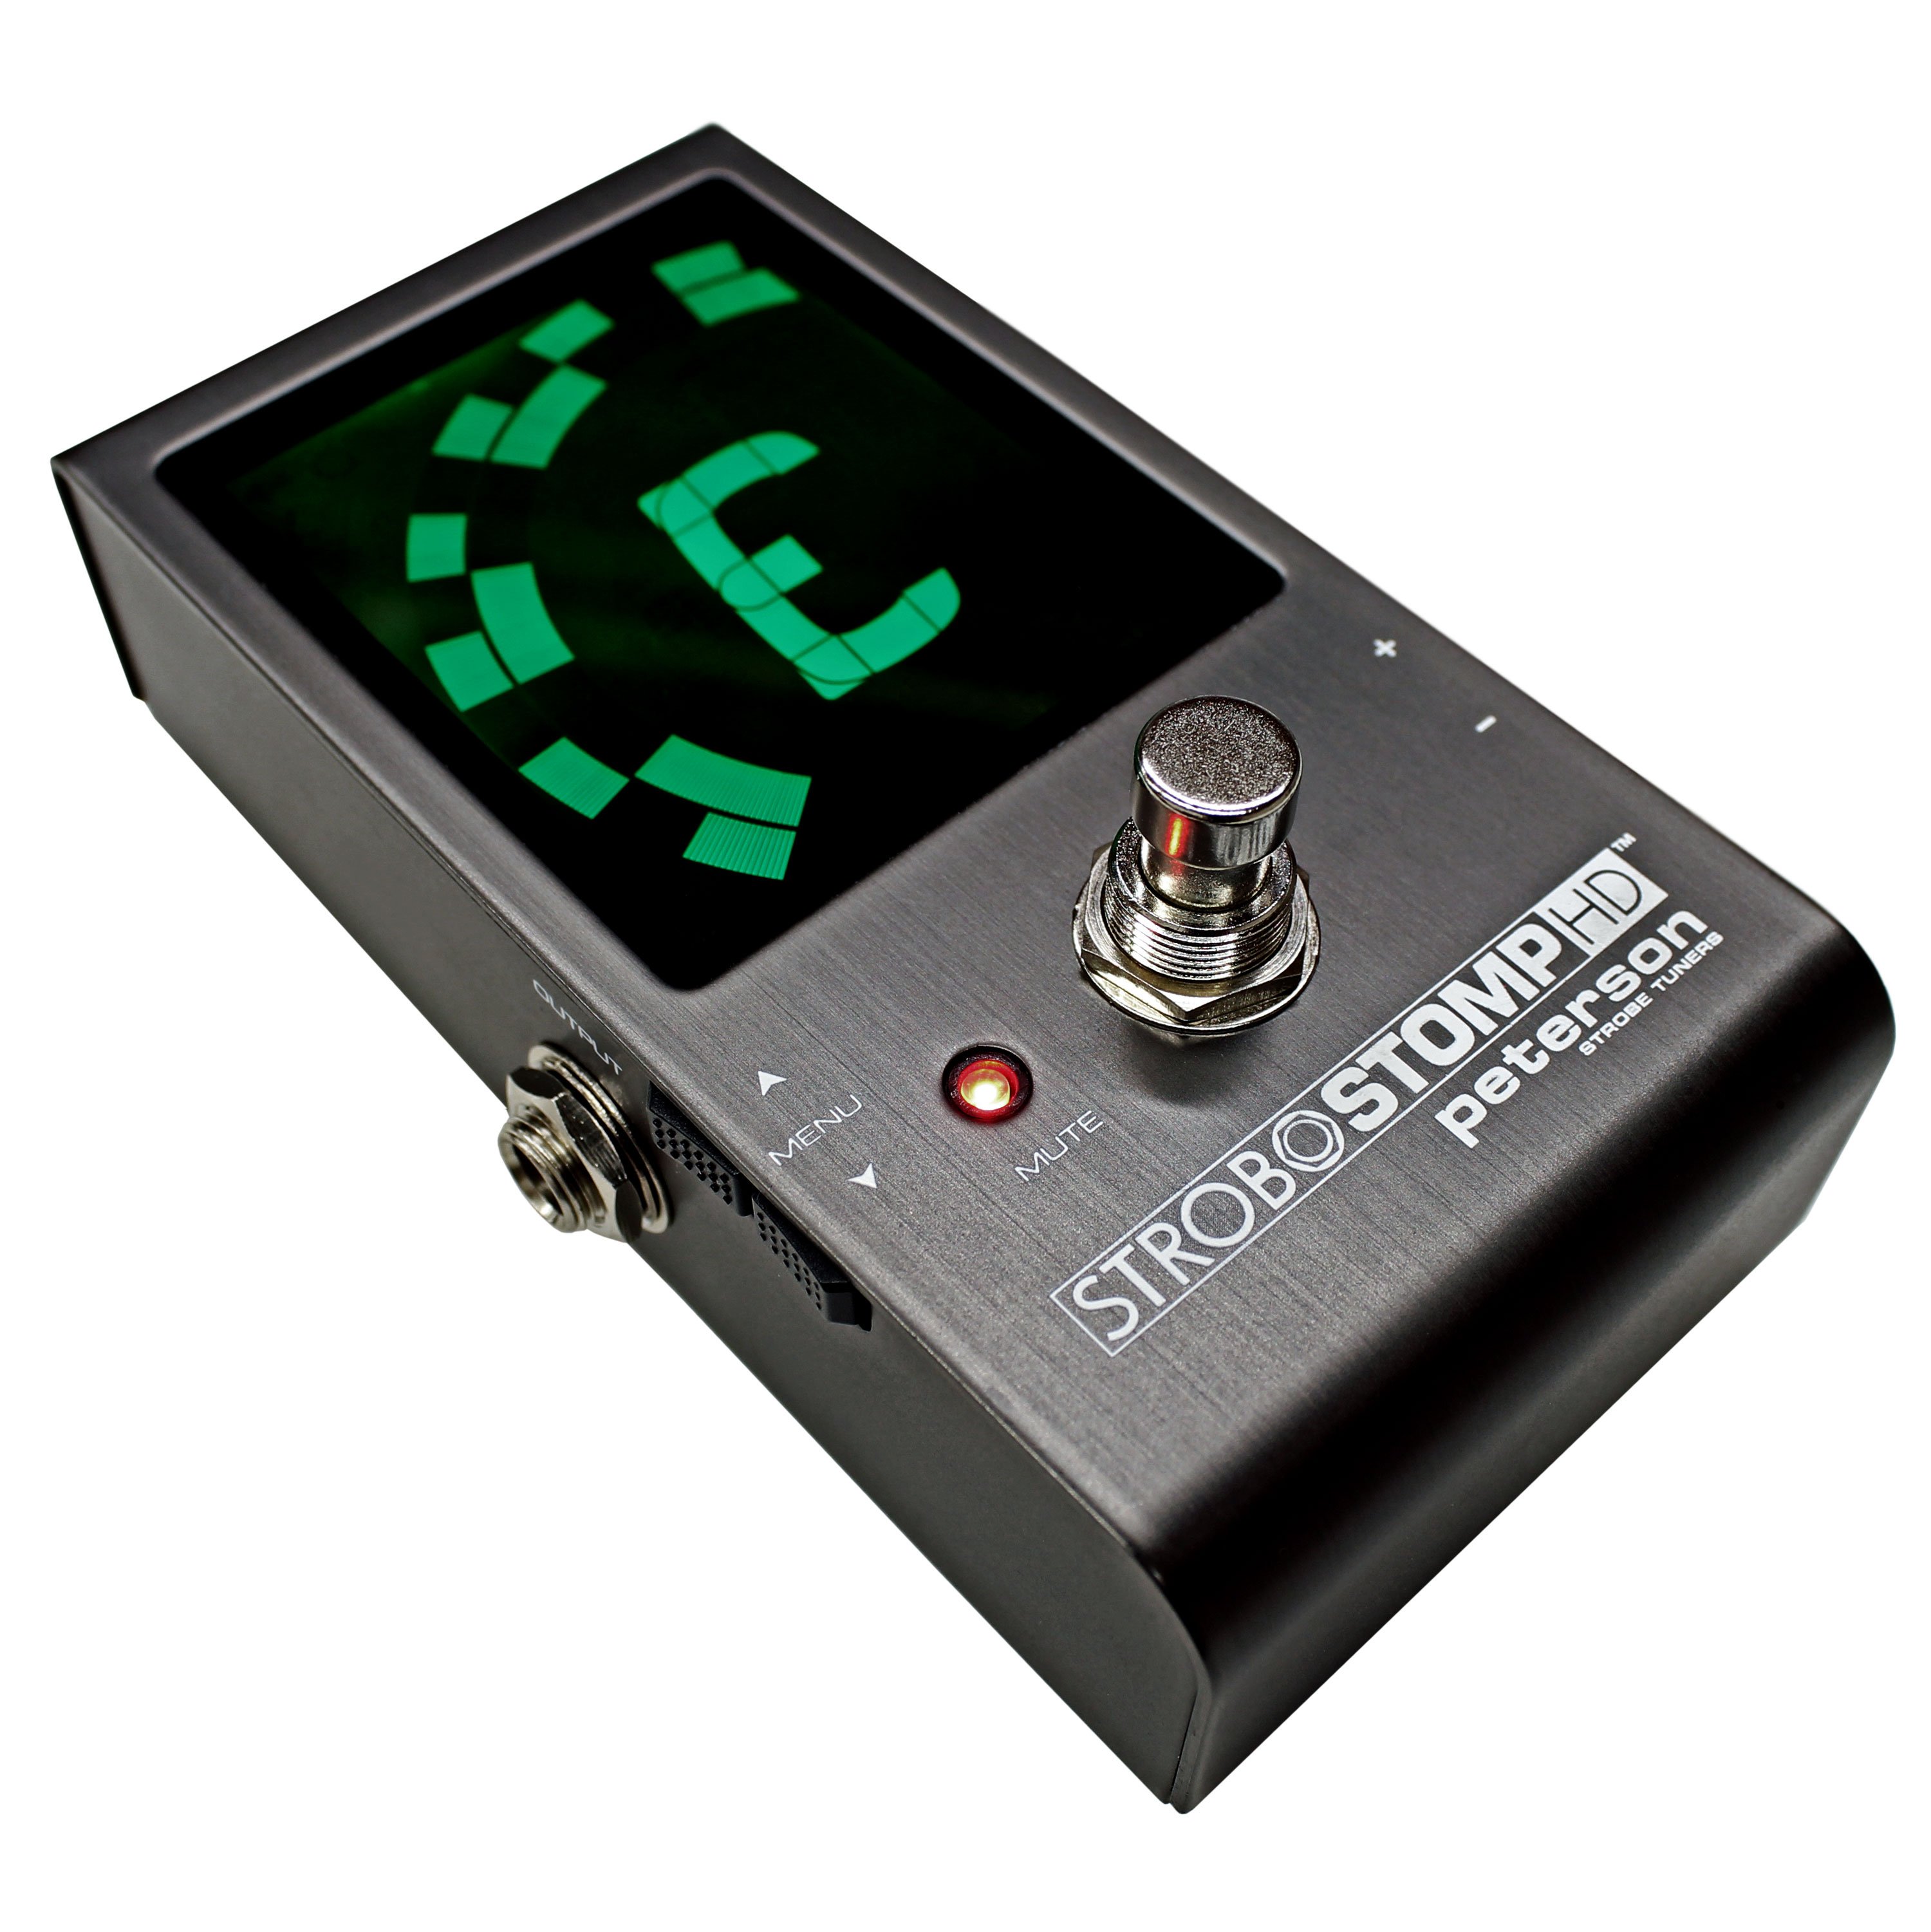
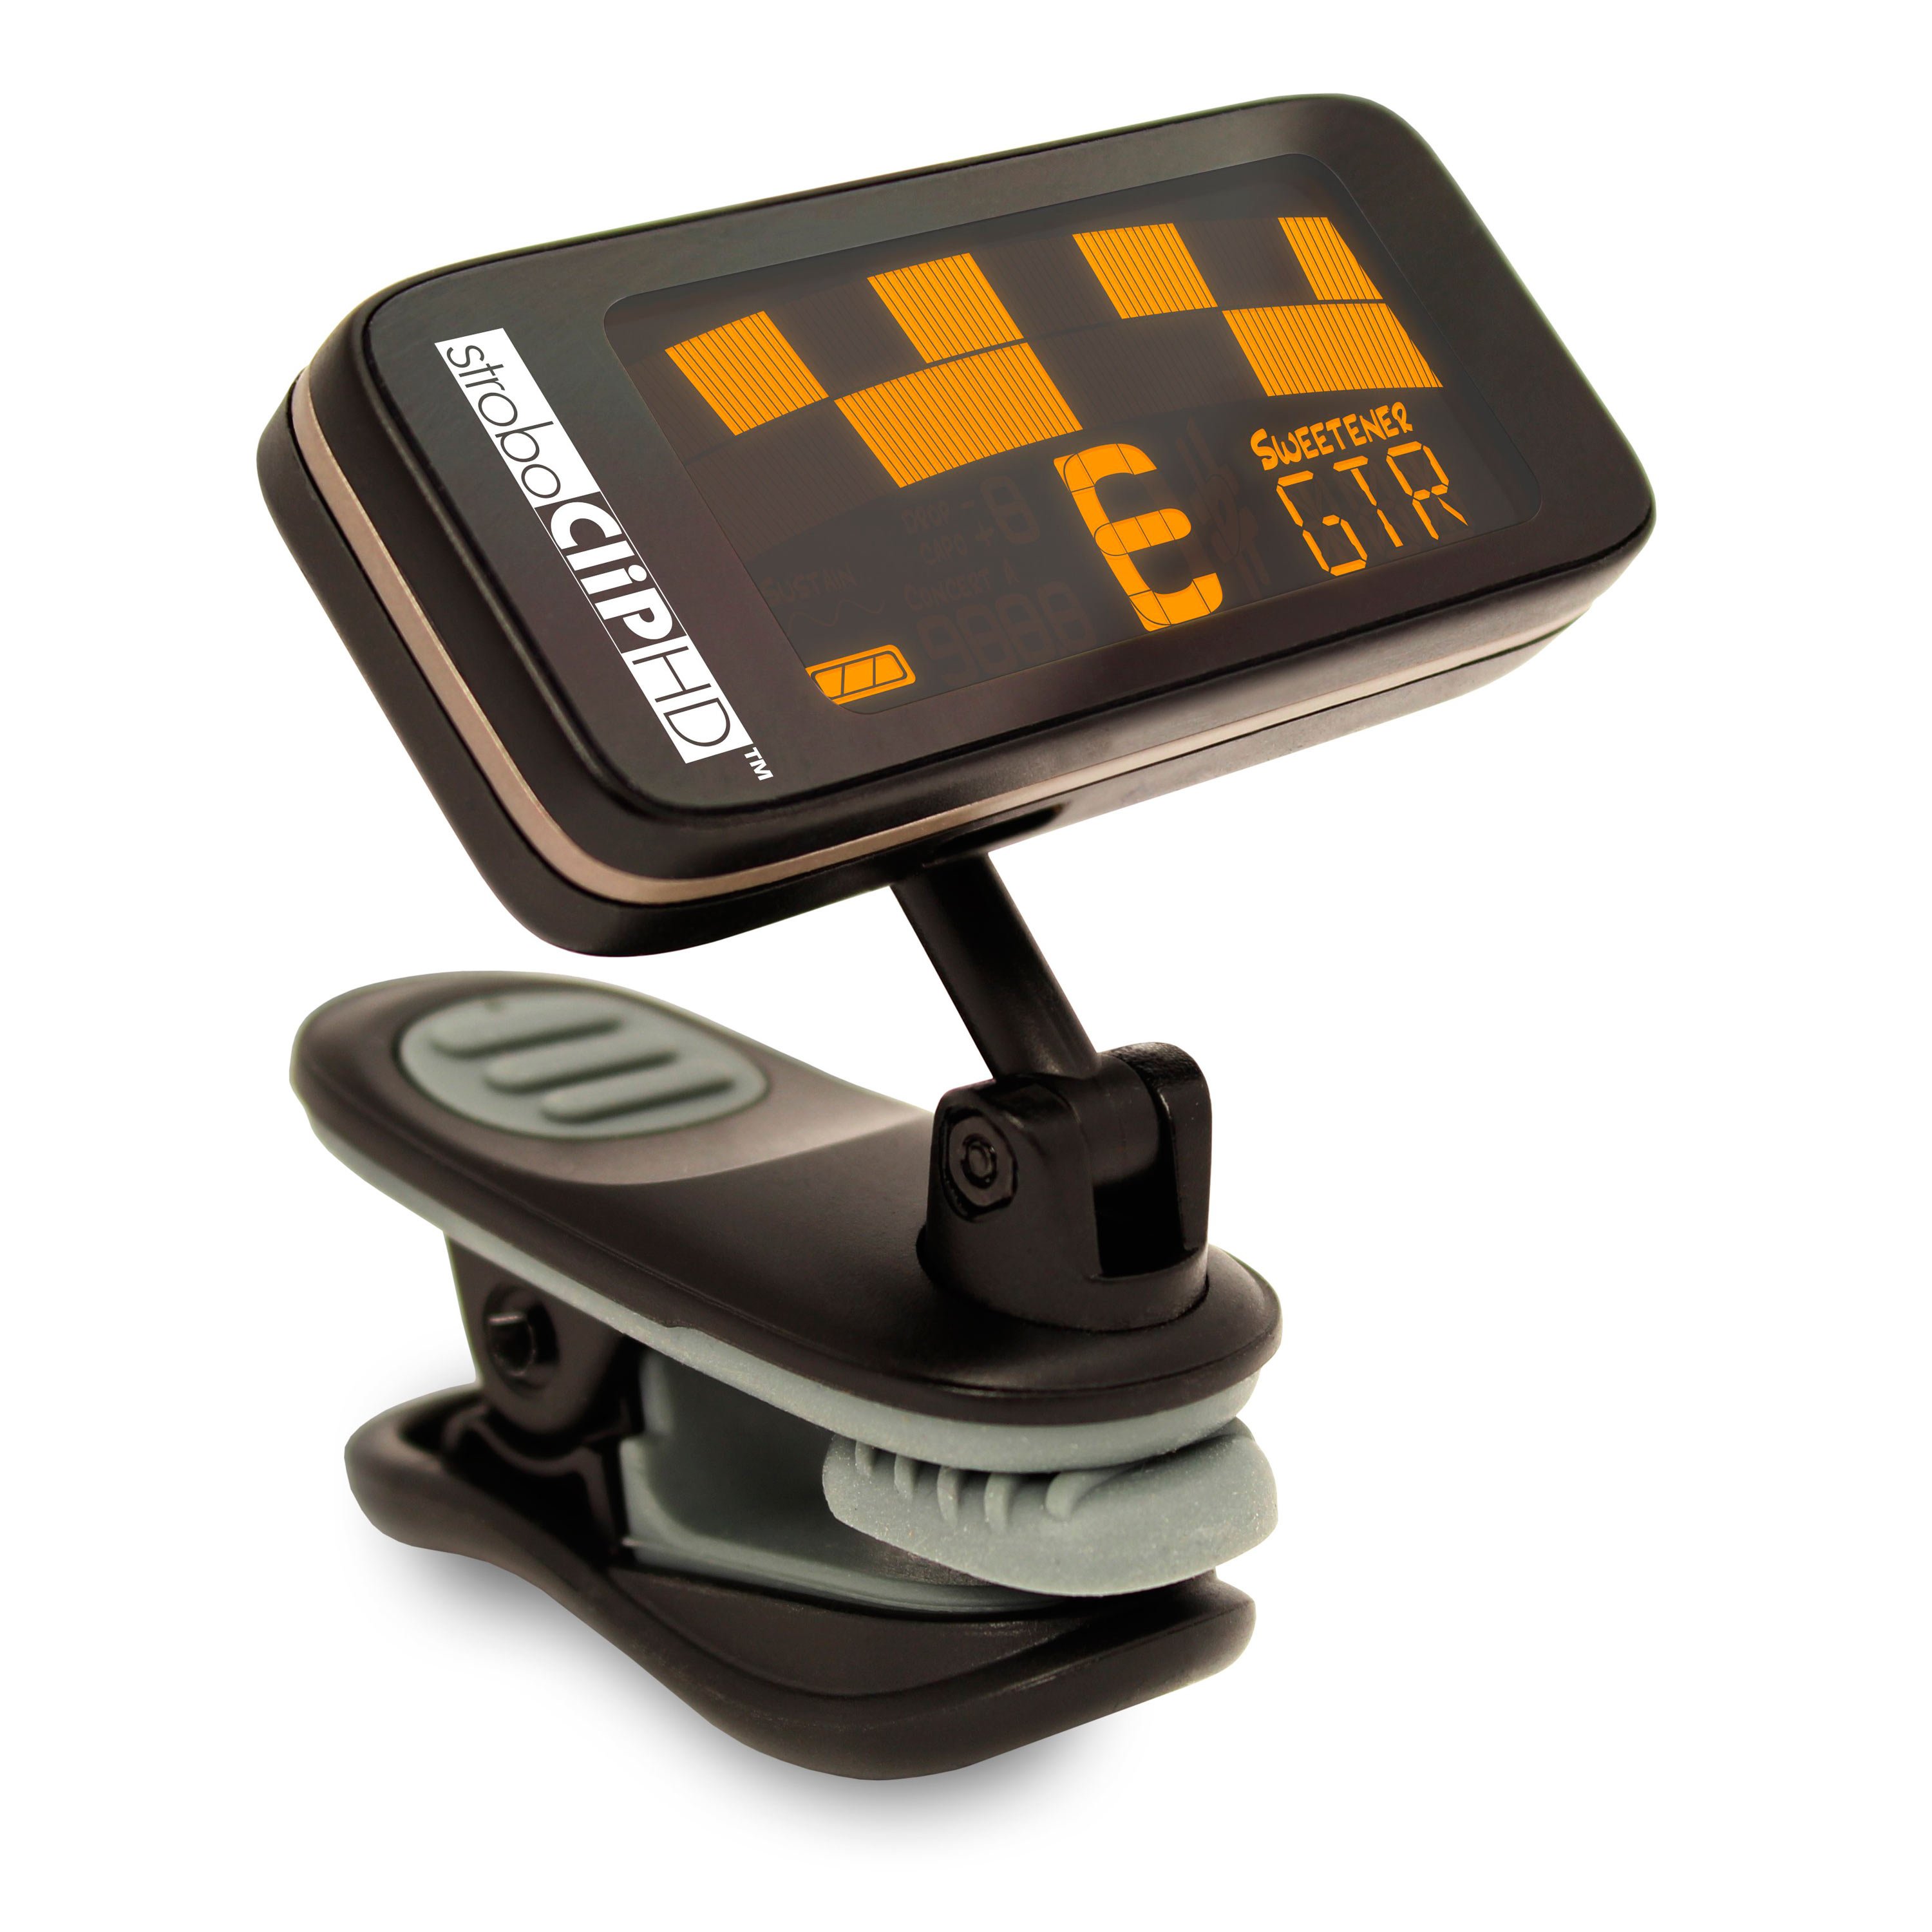
A lot of professionals like to use strobe tuners, because they're so accurate and we're doing some really fine adjustments here. But if you don't have a strobe tuner, you can always use a headstock tuner and that'll get you pretty close.
It's always a good idea to check the intonation in the playing position, partly because you're used to playing in that position, but also because gravity has a lot more of an effect on a setup then you might think. This tuner is confirming what we've heard. This string is flat, or the pitch is too low. To fix that we need to adjust the saddle towards the nut, which is going to shorten the string length and increase the pitch. If we are in the other situation and the string was too sharp, we would need to do the opposite. Move the saddle away from the nut, which lengthens the string and lowers the pitch.
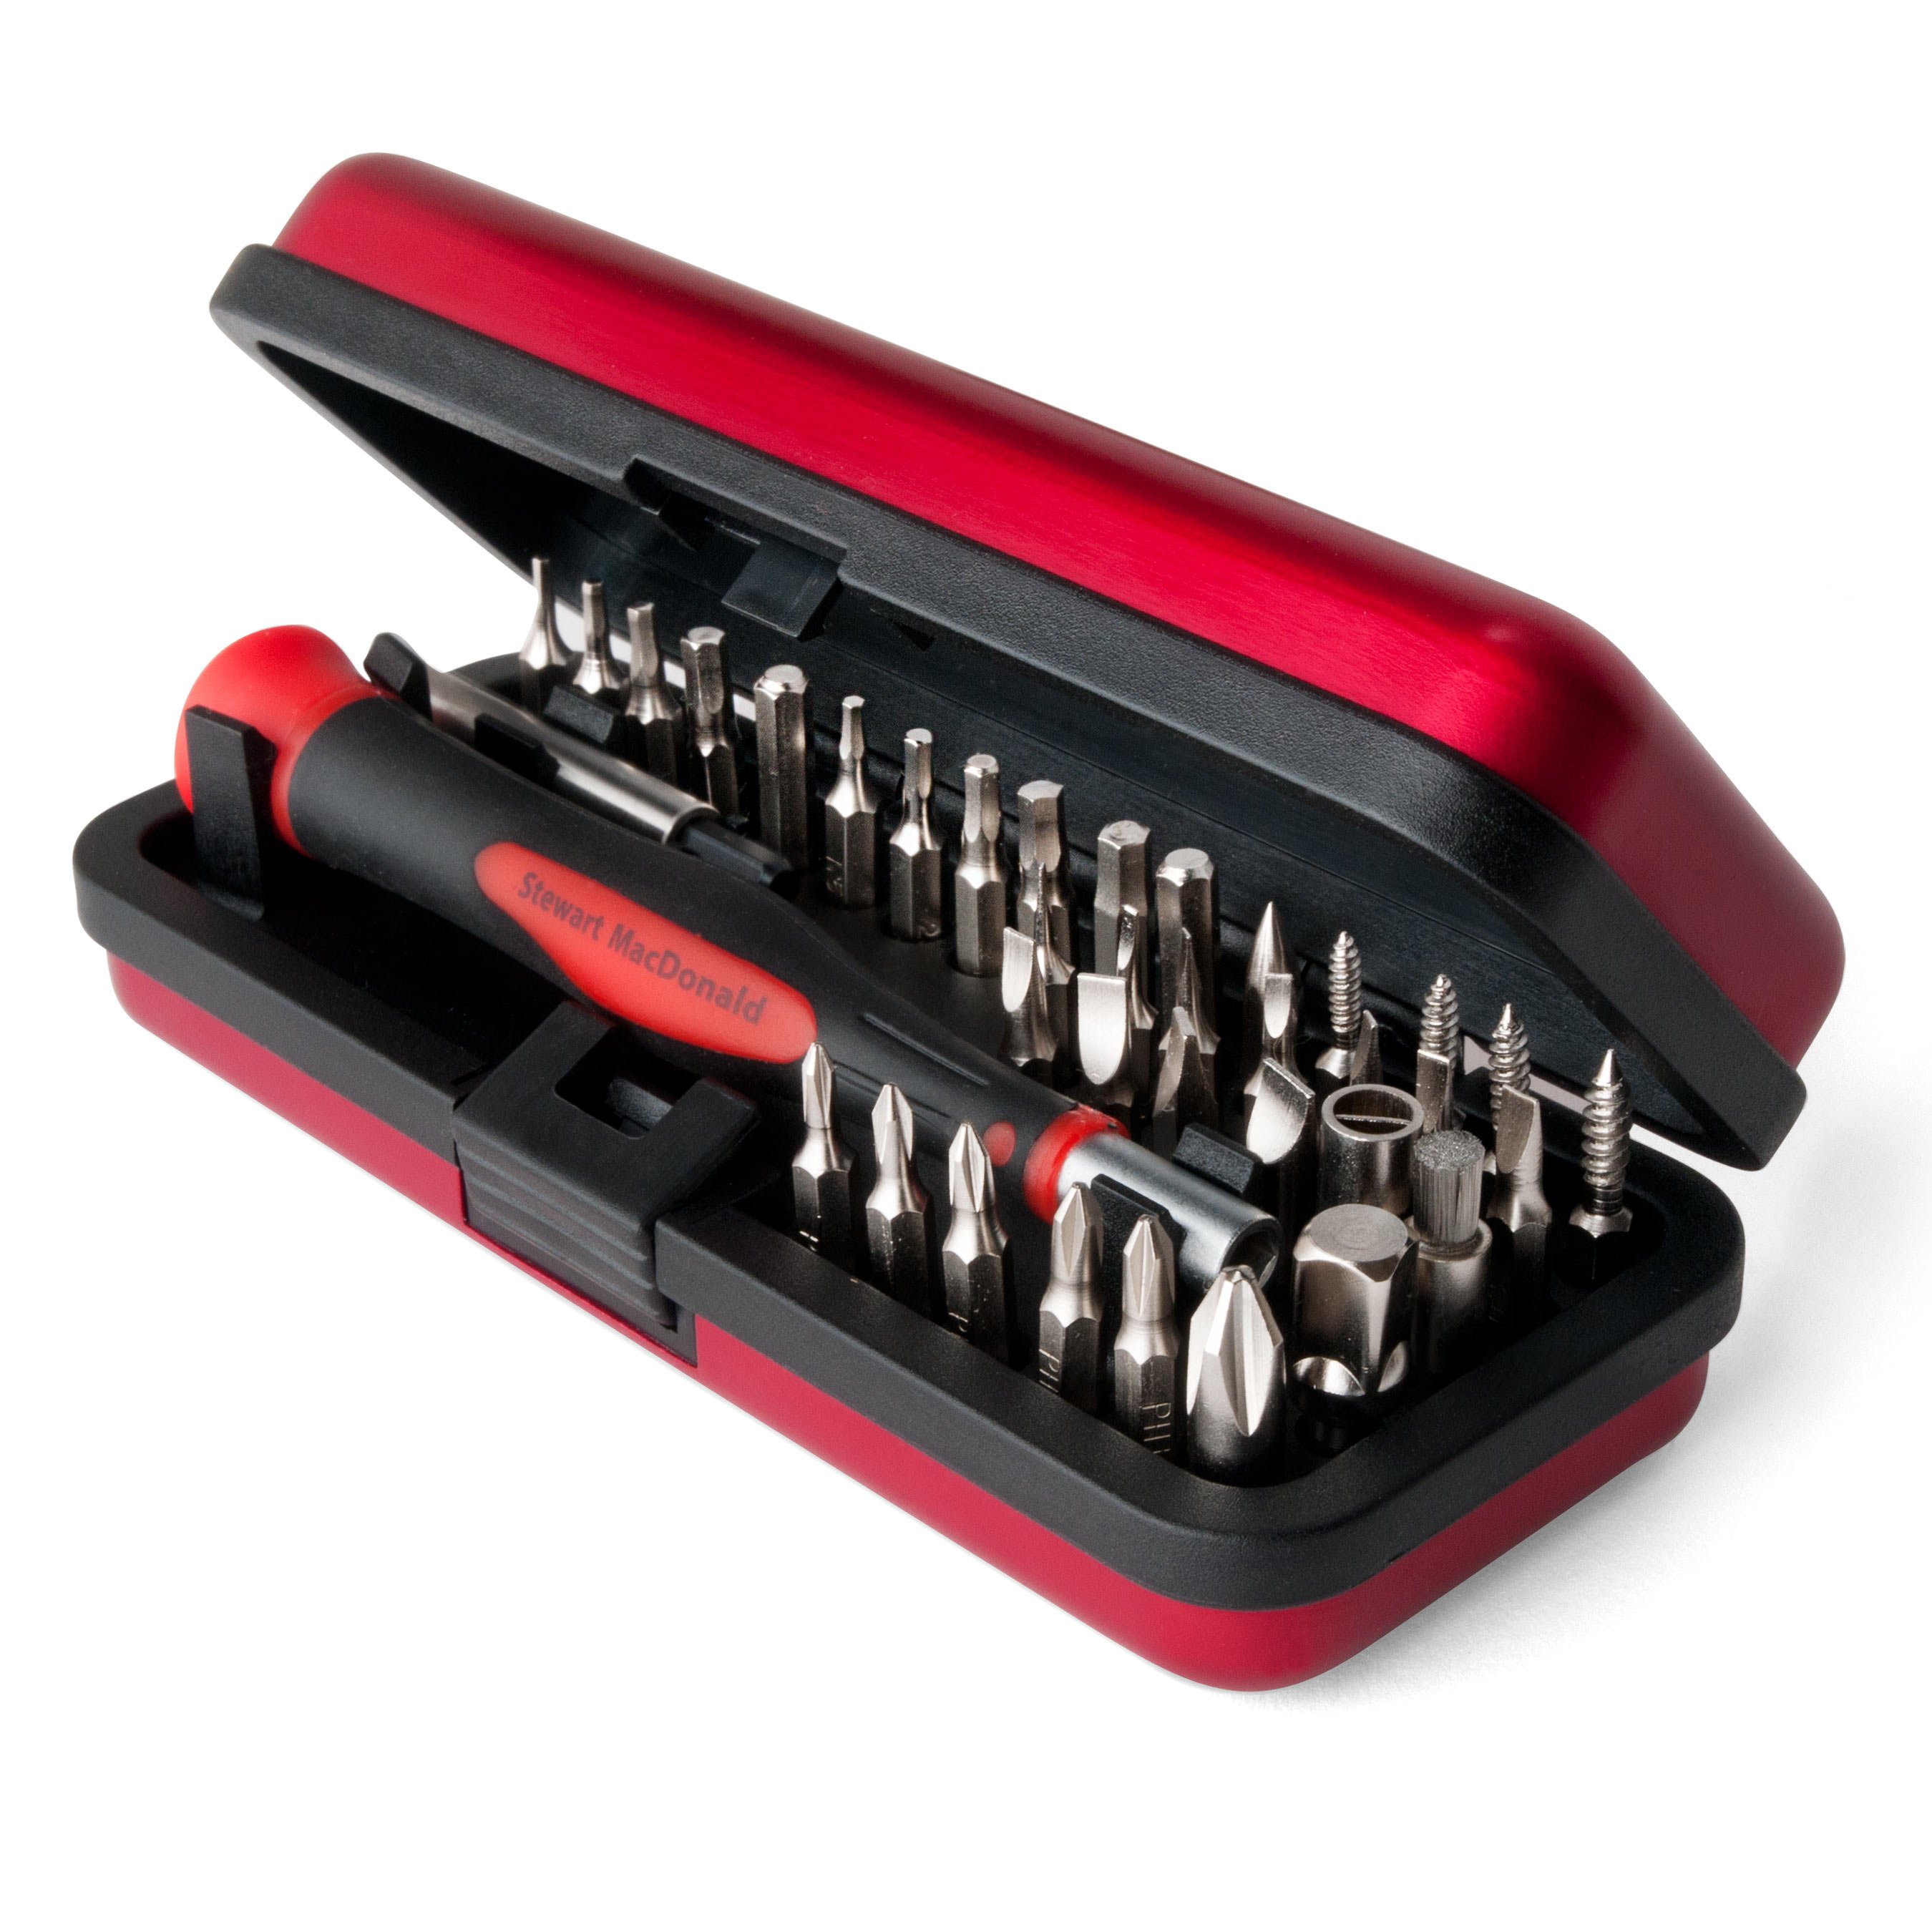
A lot of times a screwdriver is all you need to make adjustments. Like on this Tune-O-Matic style bridge, for example. But you might not have a Tune-O-Matic style bridge and you might need a little bit of a different approach. This Hard Tail Bridge with six saddles also adjusts with a screwdriver, but this Floyd Rose needs an Allen wrench to change the location of the saddles. You might even have an archtop guitar that has a Floating Bridge that you need to physically move back and forth to change the length of the saddles. No matter what you're doing, the concept is the same. We're changing the length of the string by moving the saddles forward or backward.
Step 4: Final tune
Making these adjustments will pull the string out of tune. So it's always important to retune the string at the headstock after you make an adjustment before you check it again. Once you have that string dialed in, just move on to the other strings, with the same technique and you are all set.
Adjusting your intonation is something that you're probably going to have to do again. It's not a one-time fix. You may have to readjust the intonation as the seasons change, or if you change your string gauge. I usually like to give my intonation a quick check every time I change my strings, it doesn't take too long. And I also keep an ear out whenever I'm playing my guitar for any sour notes.
Overall adjusting your intonation can seem kind of scary but it's a pretty simple concept. And if you have a tuner and the right tool for the job, you can really dial in your setup that much more.


