Understanding guitar truss rod adjustment
Issue 338 September 19, 2019
With the right tools and this guide, you’ll be able to adjust your truss rod with confidence to achieve that perfect playability and sound. Here's what you need to know in order to properly adjust your guitar’s truss rod. Learn how the truss rod works, different truss rod types and configurations, common issues, how to measure neck straightness, and how to adjust the neck straightness using the truss rod.
- How the truss rod works
- Different truss rod types
- How to measure neck straightness
It's been my experience over many years of repairing guitars that most players, most of my customers, are afraid to adjust their own truss rod. They're afraid they're going to break it. It's not very easy to break a truss rod and you don't need to fear it.
How Do Truss Rods Work?
So let's take a look at truss rods and how they work. Guitar necks bend, especially over the years from string tension. Pulling them up, they can get into a very deep up-bow.

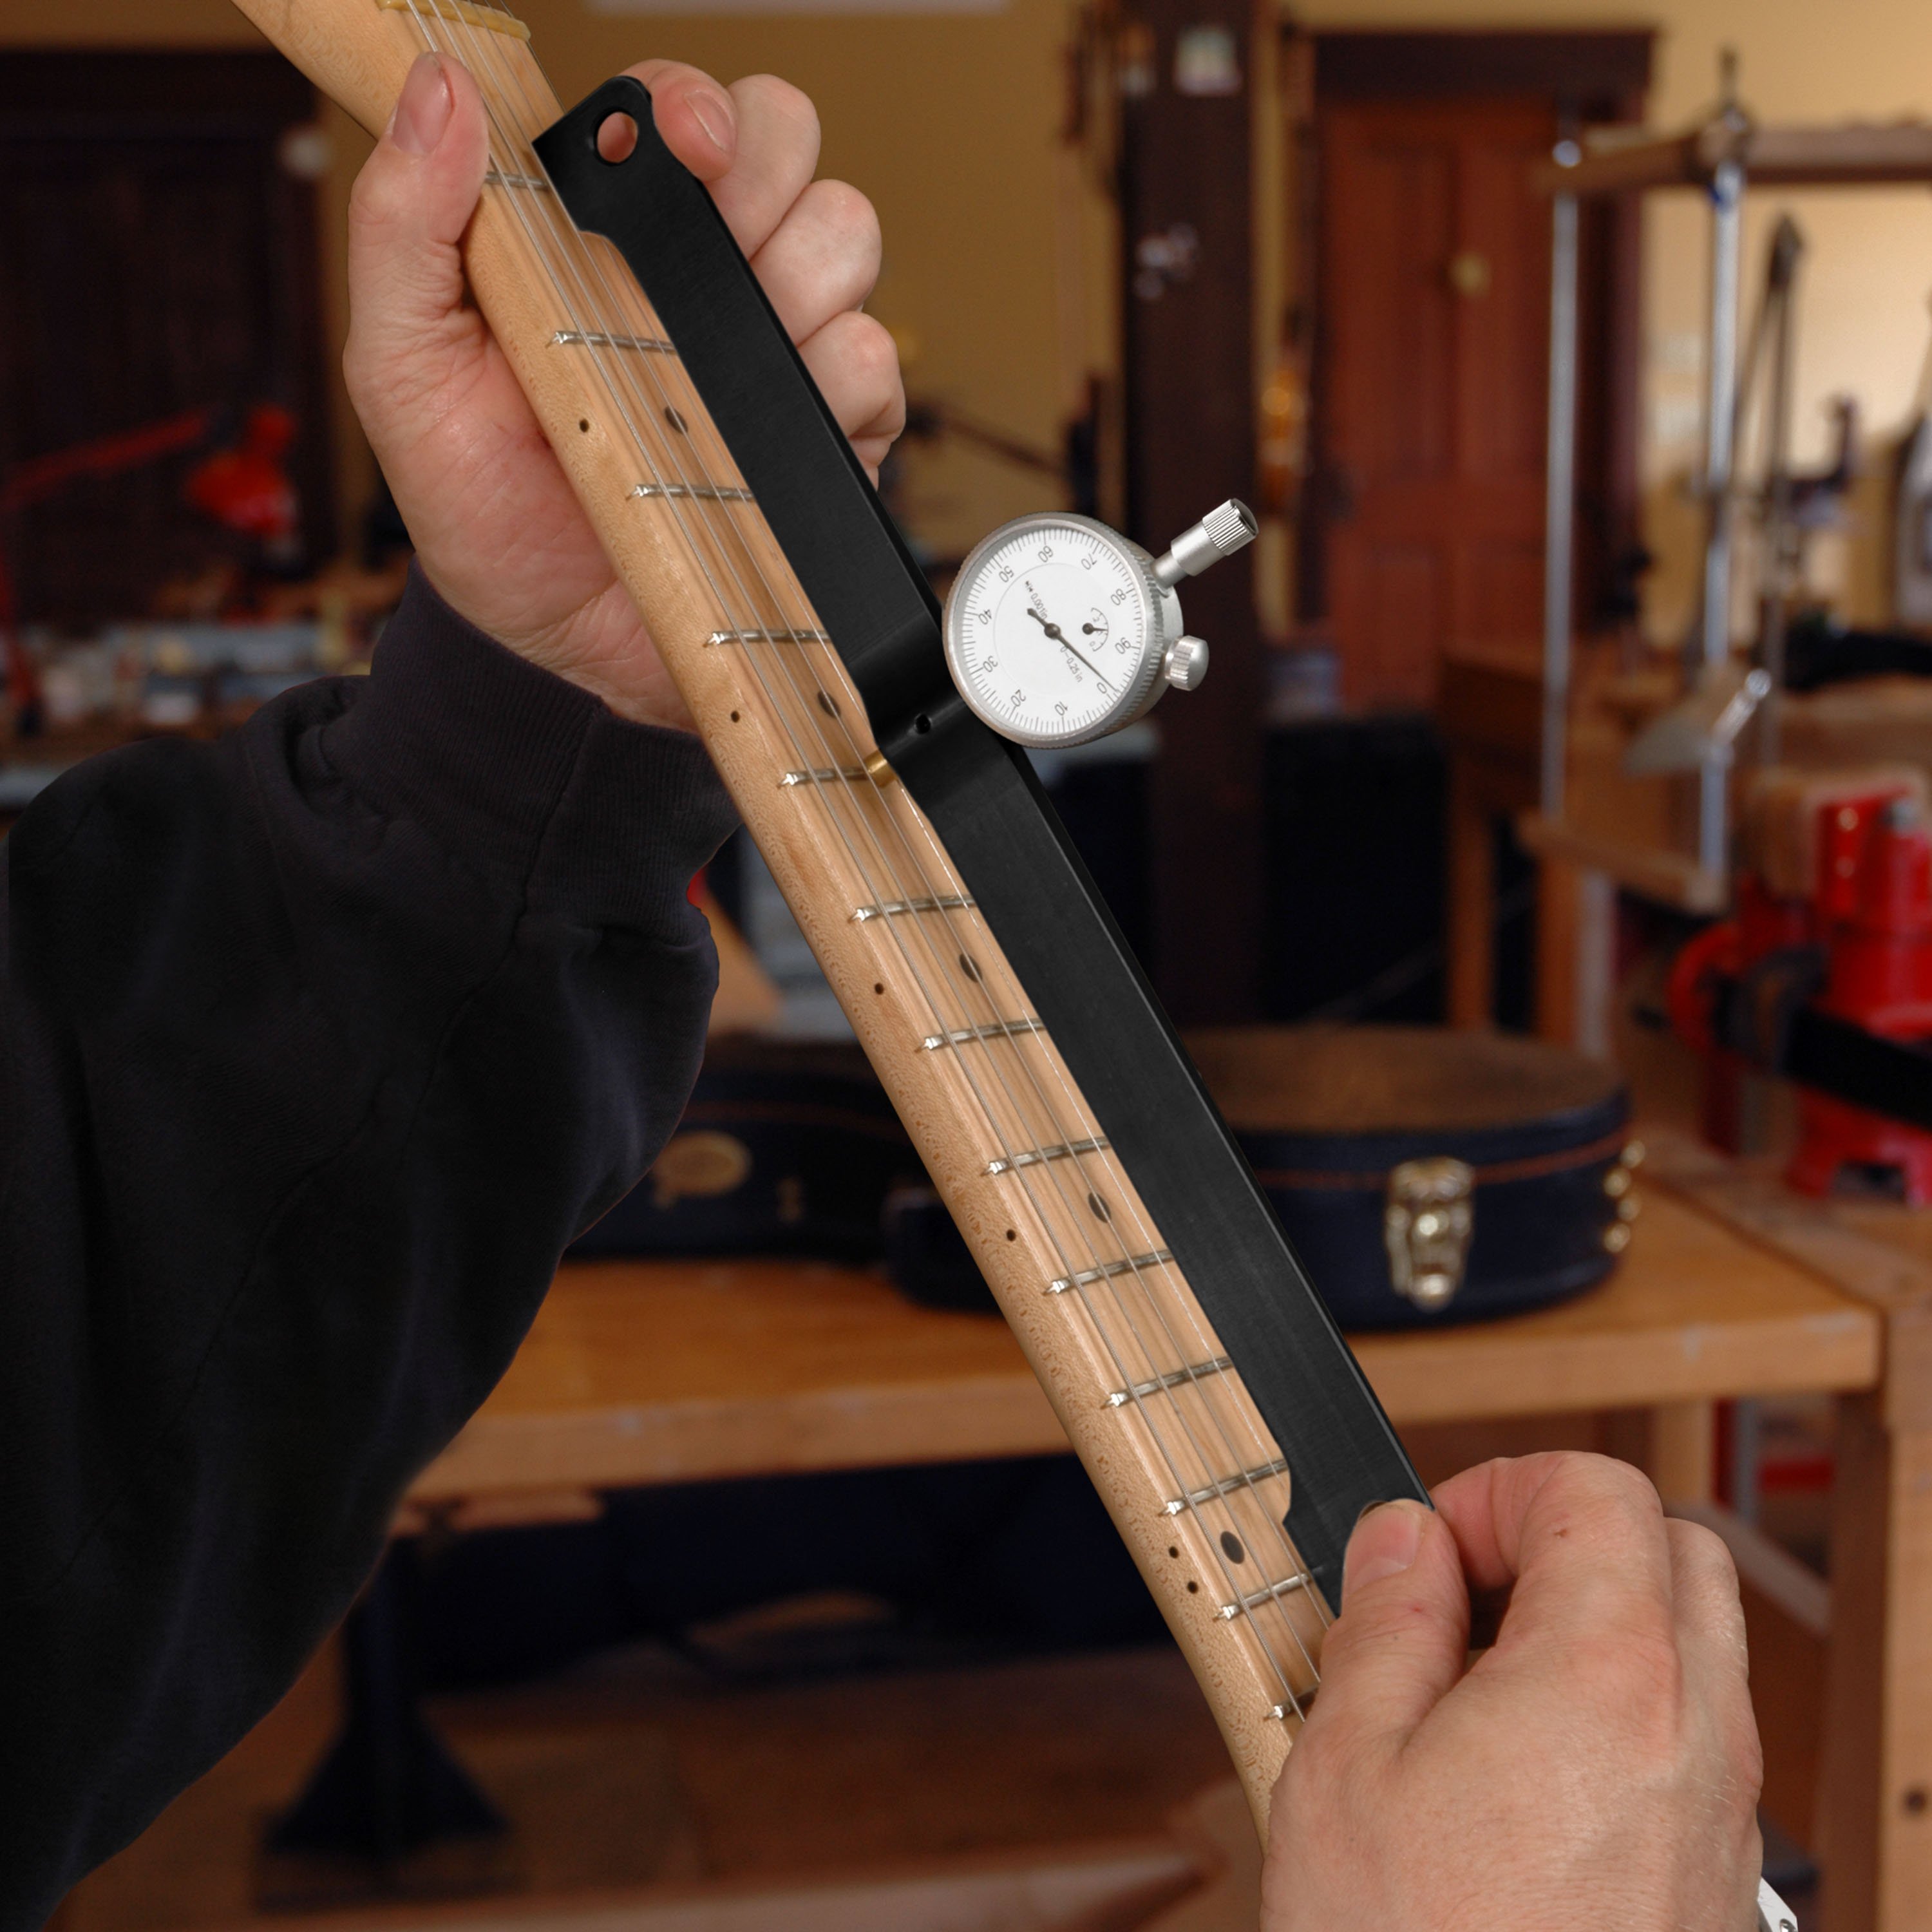
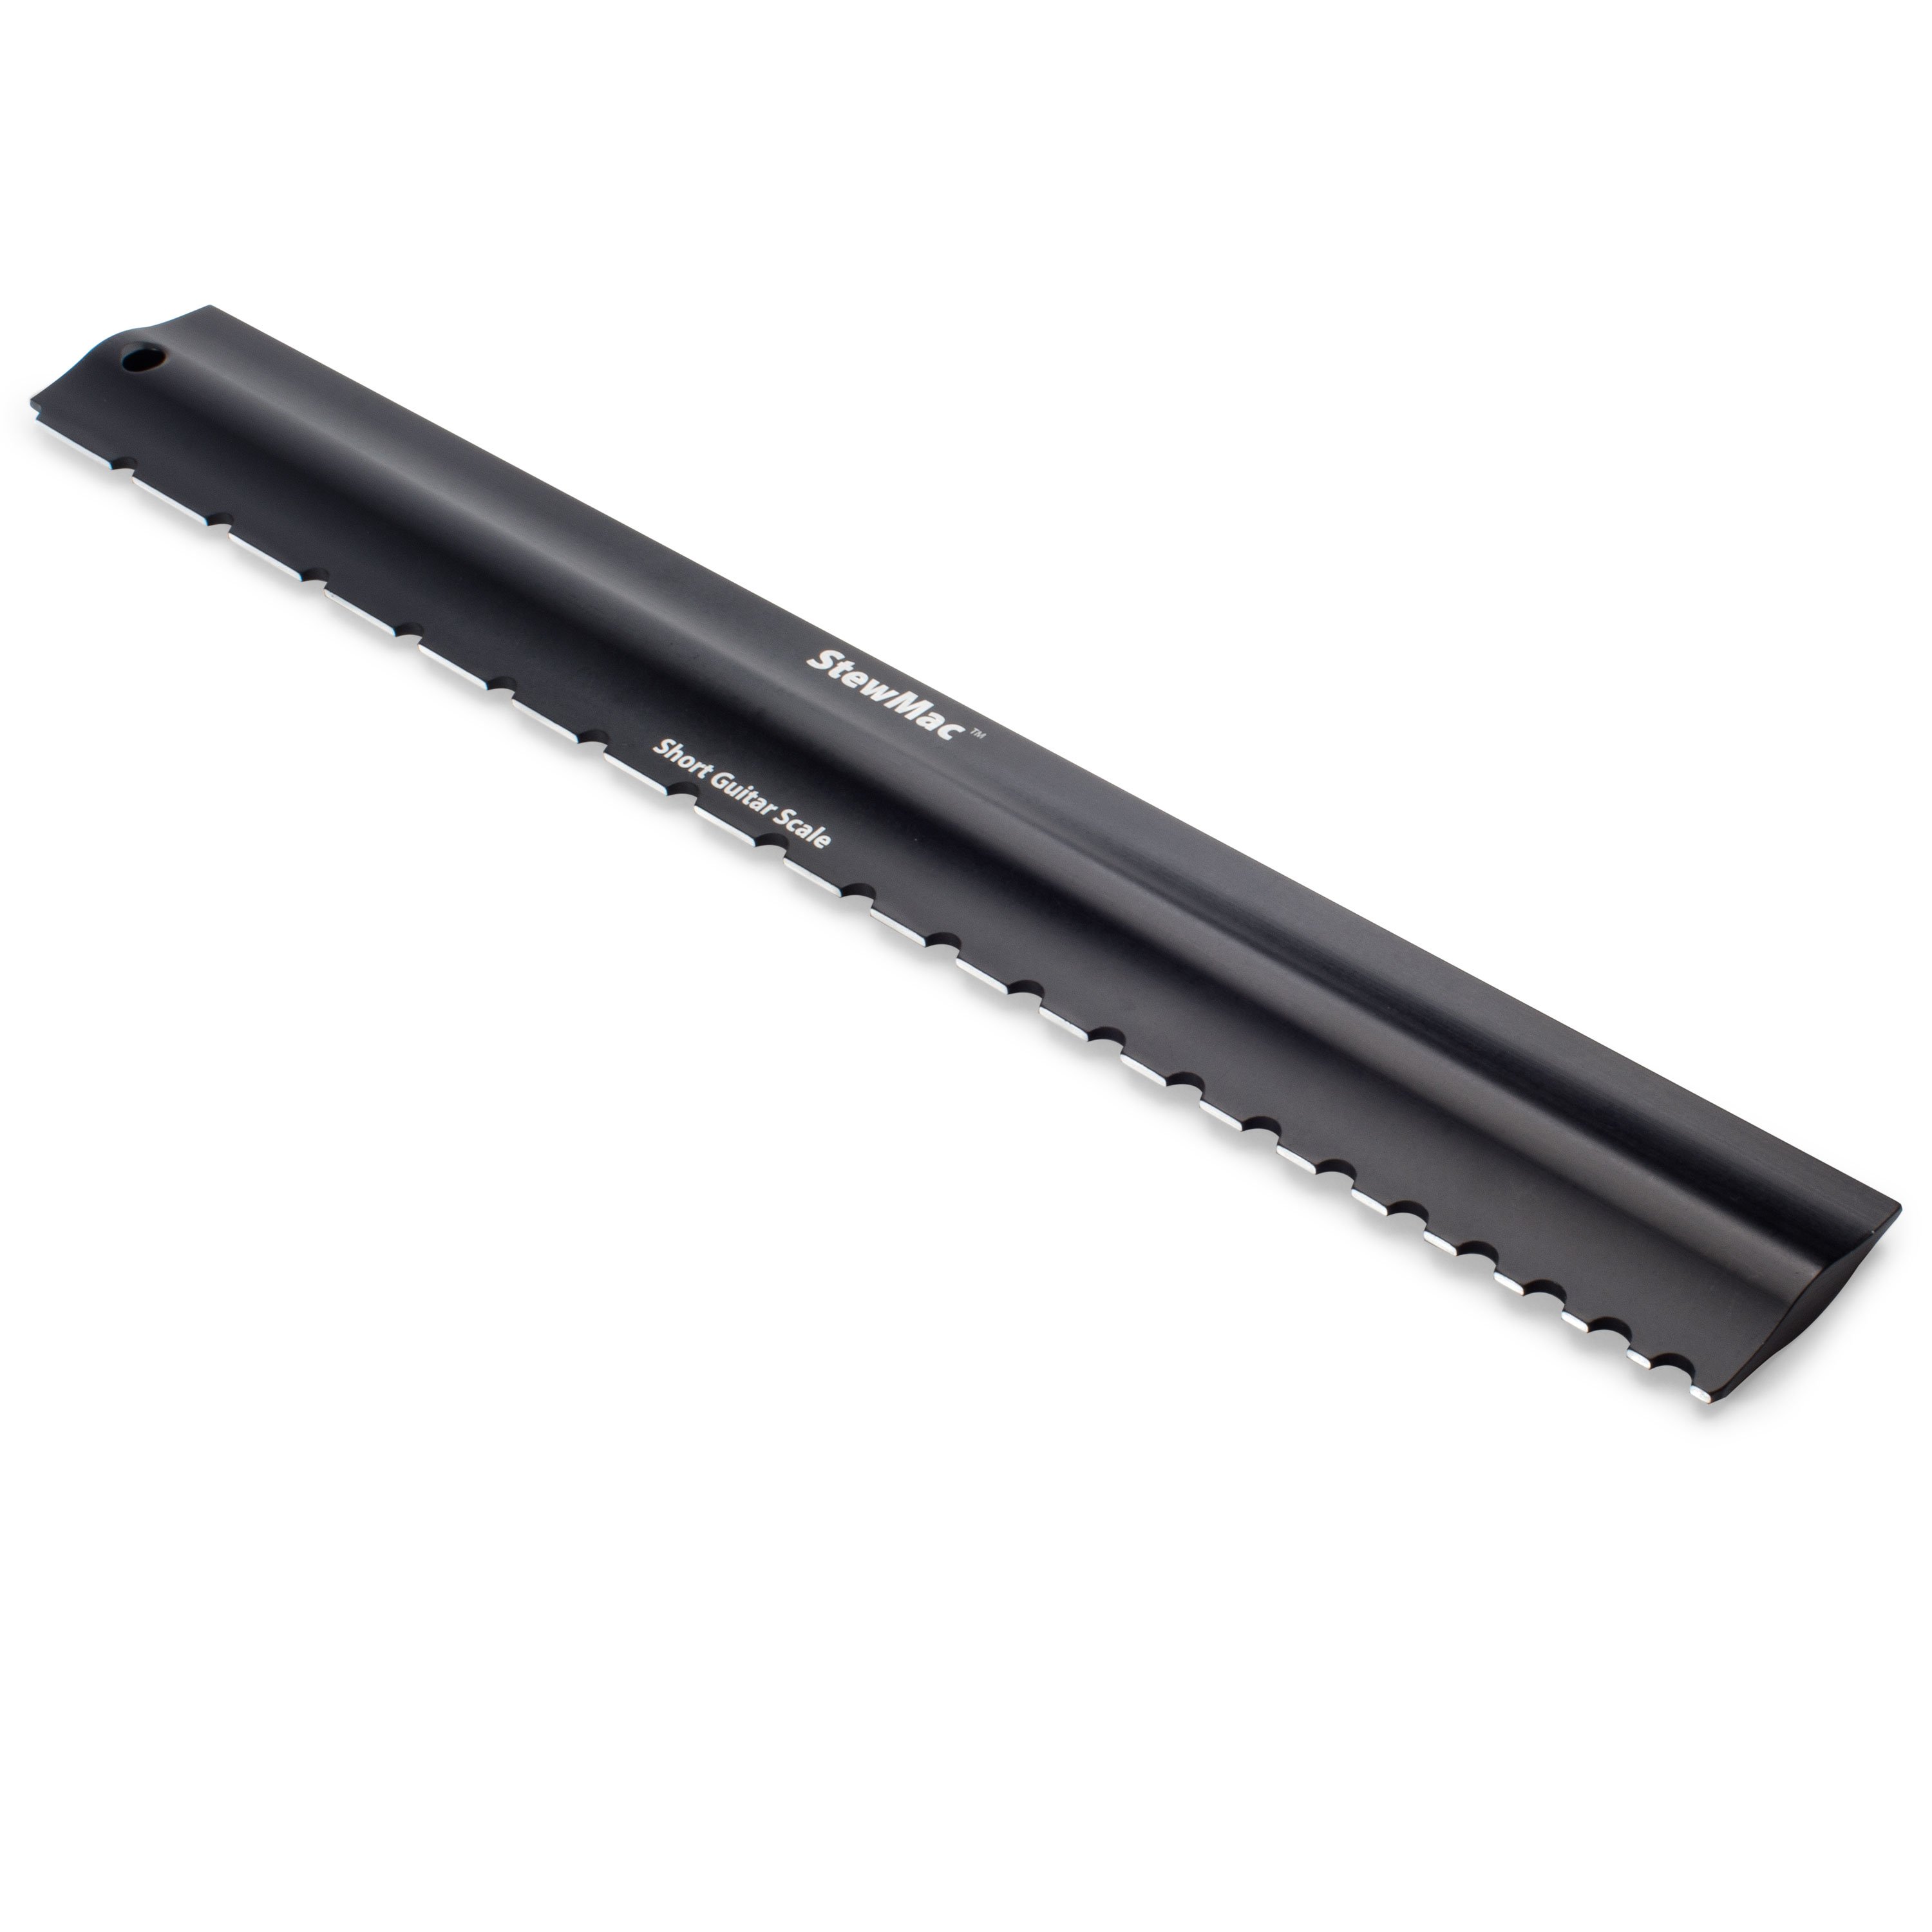
Imagine if the straightedge was the string line, the action would be horrible up here. And nobody likes that. Or if I pull back now, the straightedge is rocking from end to end. If this were the strings, they'd be touching the frets in the middle of the neck. Another thing that makes wood bend or not bend is humidity or the lack of it, and all this is controllable with the truss rod.
Single vs Double Action Rods
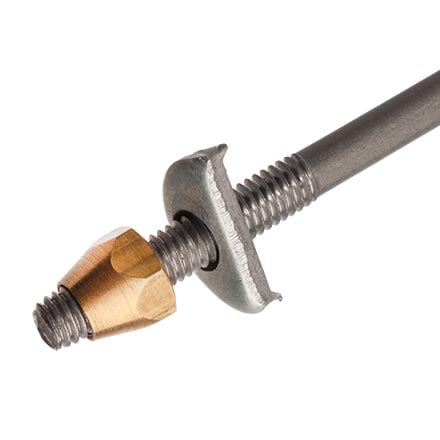
So there are two kinds of truss rods that are most commonly used, a single action rod or a double action rod. This is a single action rod, a very common rod and the type that's used in the guitar neck we're demonstrating. It's a long piece of steel that's fastened at one end of the neck down by the body, and it's threaded on this end, down at the peghead.

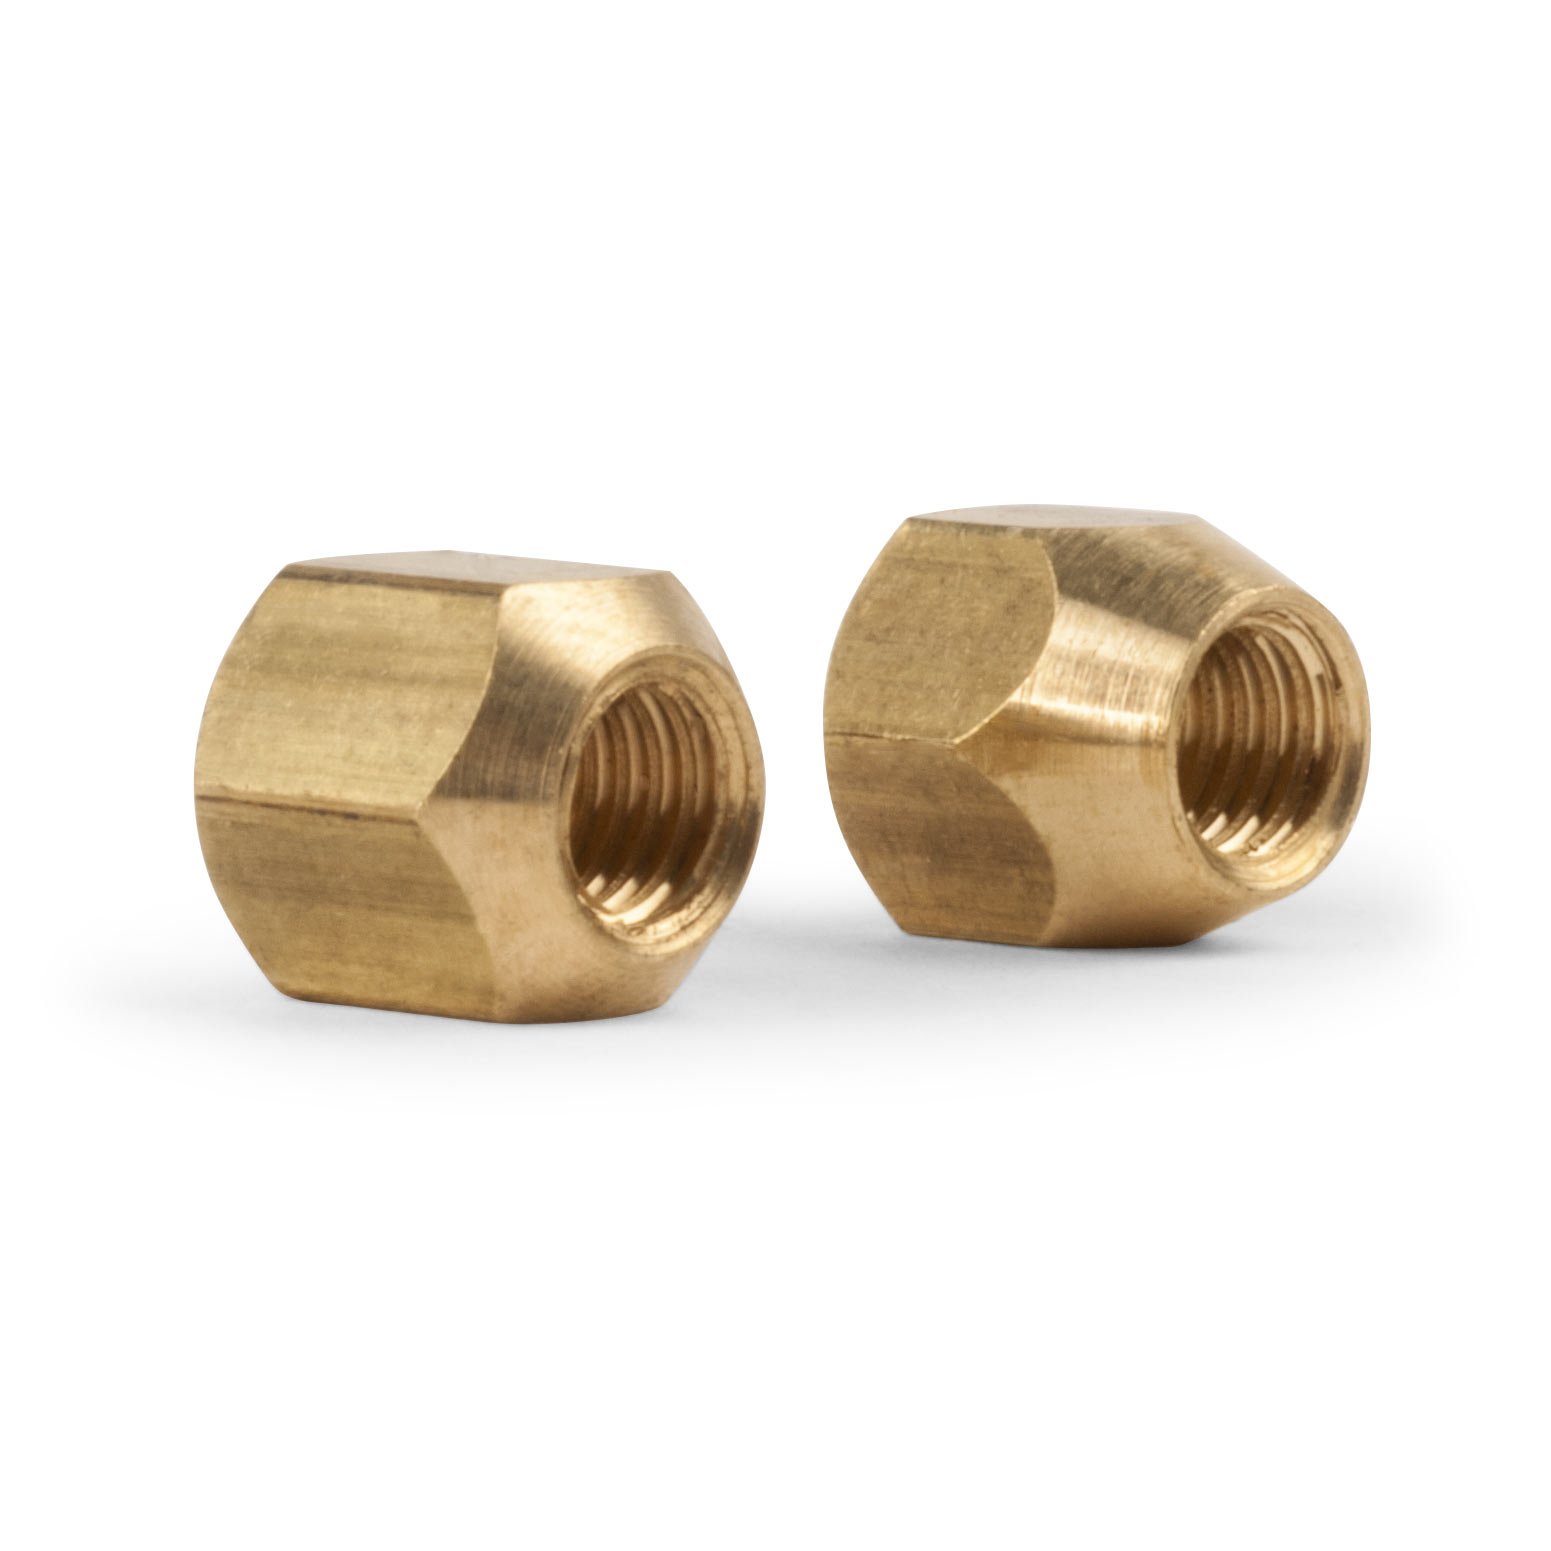
The steel washer bears against the mahogany at the end of this cavity and the brass nut tightens on the threads and exerts pressure. We call that an acorn nut.

This rod is installed into the neck on a curve, and when you tighten the threads, it's trying to straighten out and it will pull the neck back straight against the pull of the strings.

If you tighten it a whole bunch, it will actually back-bow the neck and then the strings would hit in the middle on the frets. When you loosen it, because of the string tension, it goes either straight or back into an up-bow. That's a single action truss rod, and there are many types.
So now I'll show you which way to adjust the rod in case you don't know. If I want to tighten the rod and pull the neck back from the direction of the string pull, I'm going to turn to the right or clockwise.

If I turn it to the left, I'm loosening this single action rod—that's counterclockwise. That'll go back up towards the direction of the string pull.

You can stop when the neck is straight if it were in an up-bow, or keep going and get a lot of relief. Follow the rule "righty-tighty, lefty-loosey," corny as it is.
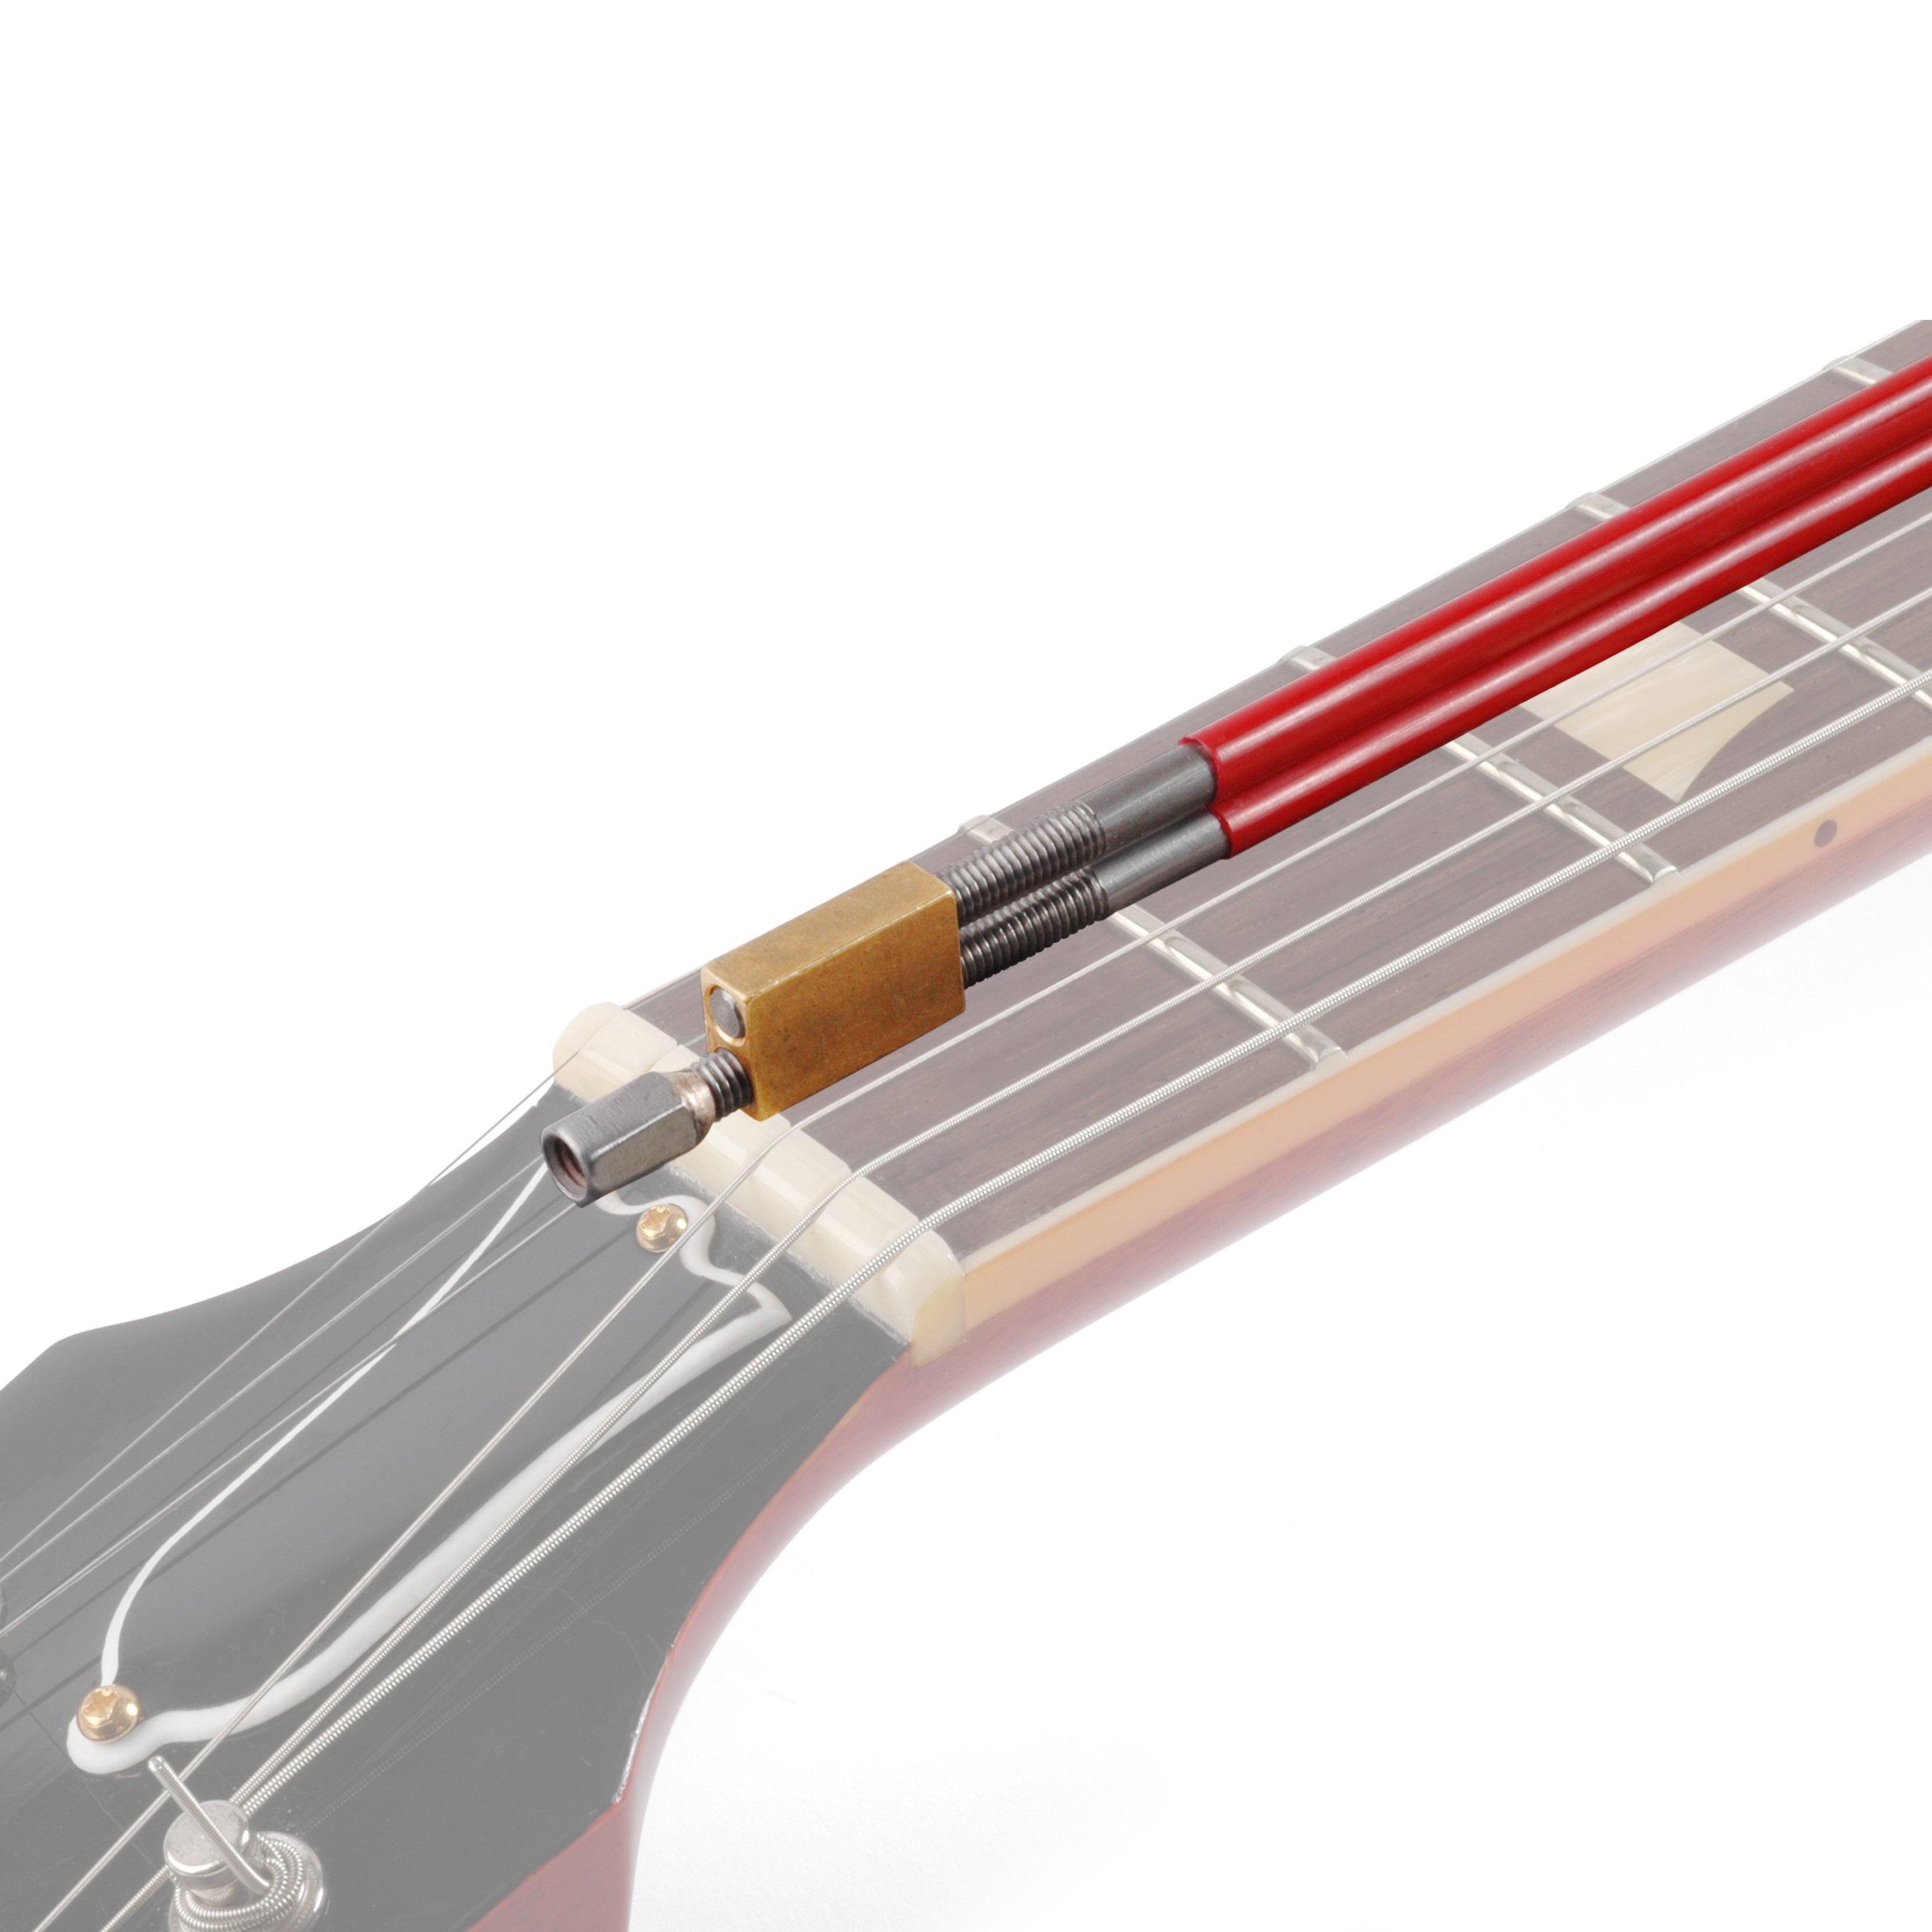
Now, here's a double action rod (in red). This is the StewMac Hot Rod. It adjusts the same as a single action rod. If you turn it to the right, "righty tighty," it's going to pull the neck back away from the string pull.

But when you loosen it, the nut doesn't come loose. It will force the neck in the other direction. So you can actually force a back-bowed neck into being straight or even into up-bow or relief. When you turn it, the two rods are compressing and they can bend in either direction.

How To Adjust a Truss Rod
What You'll Need
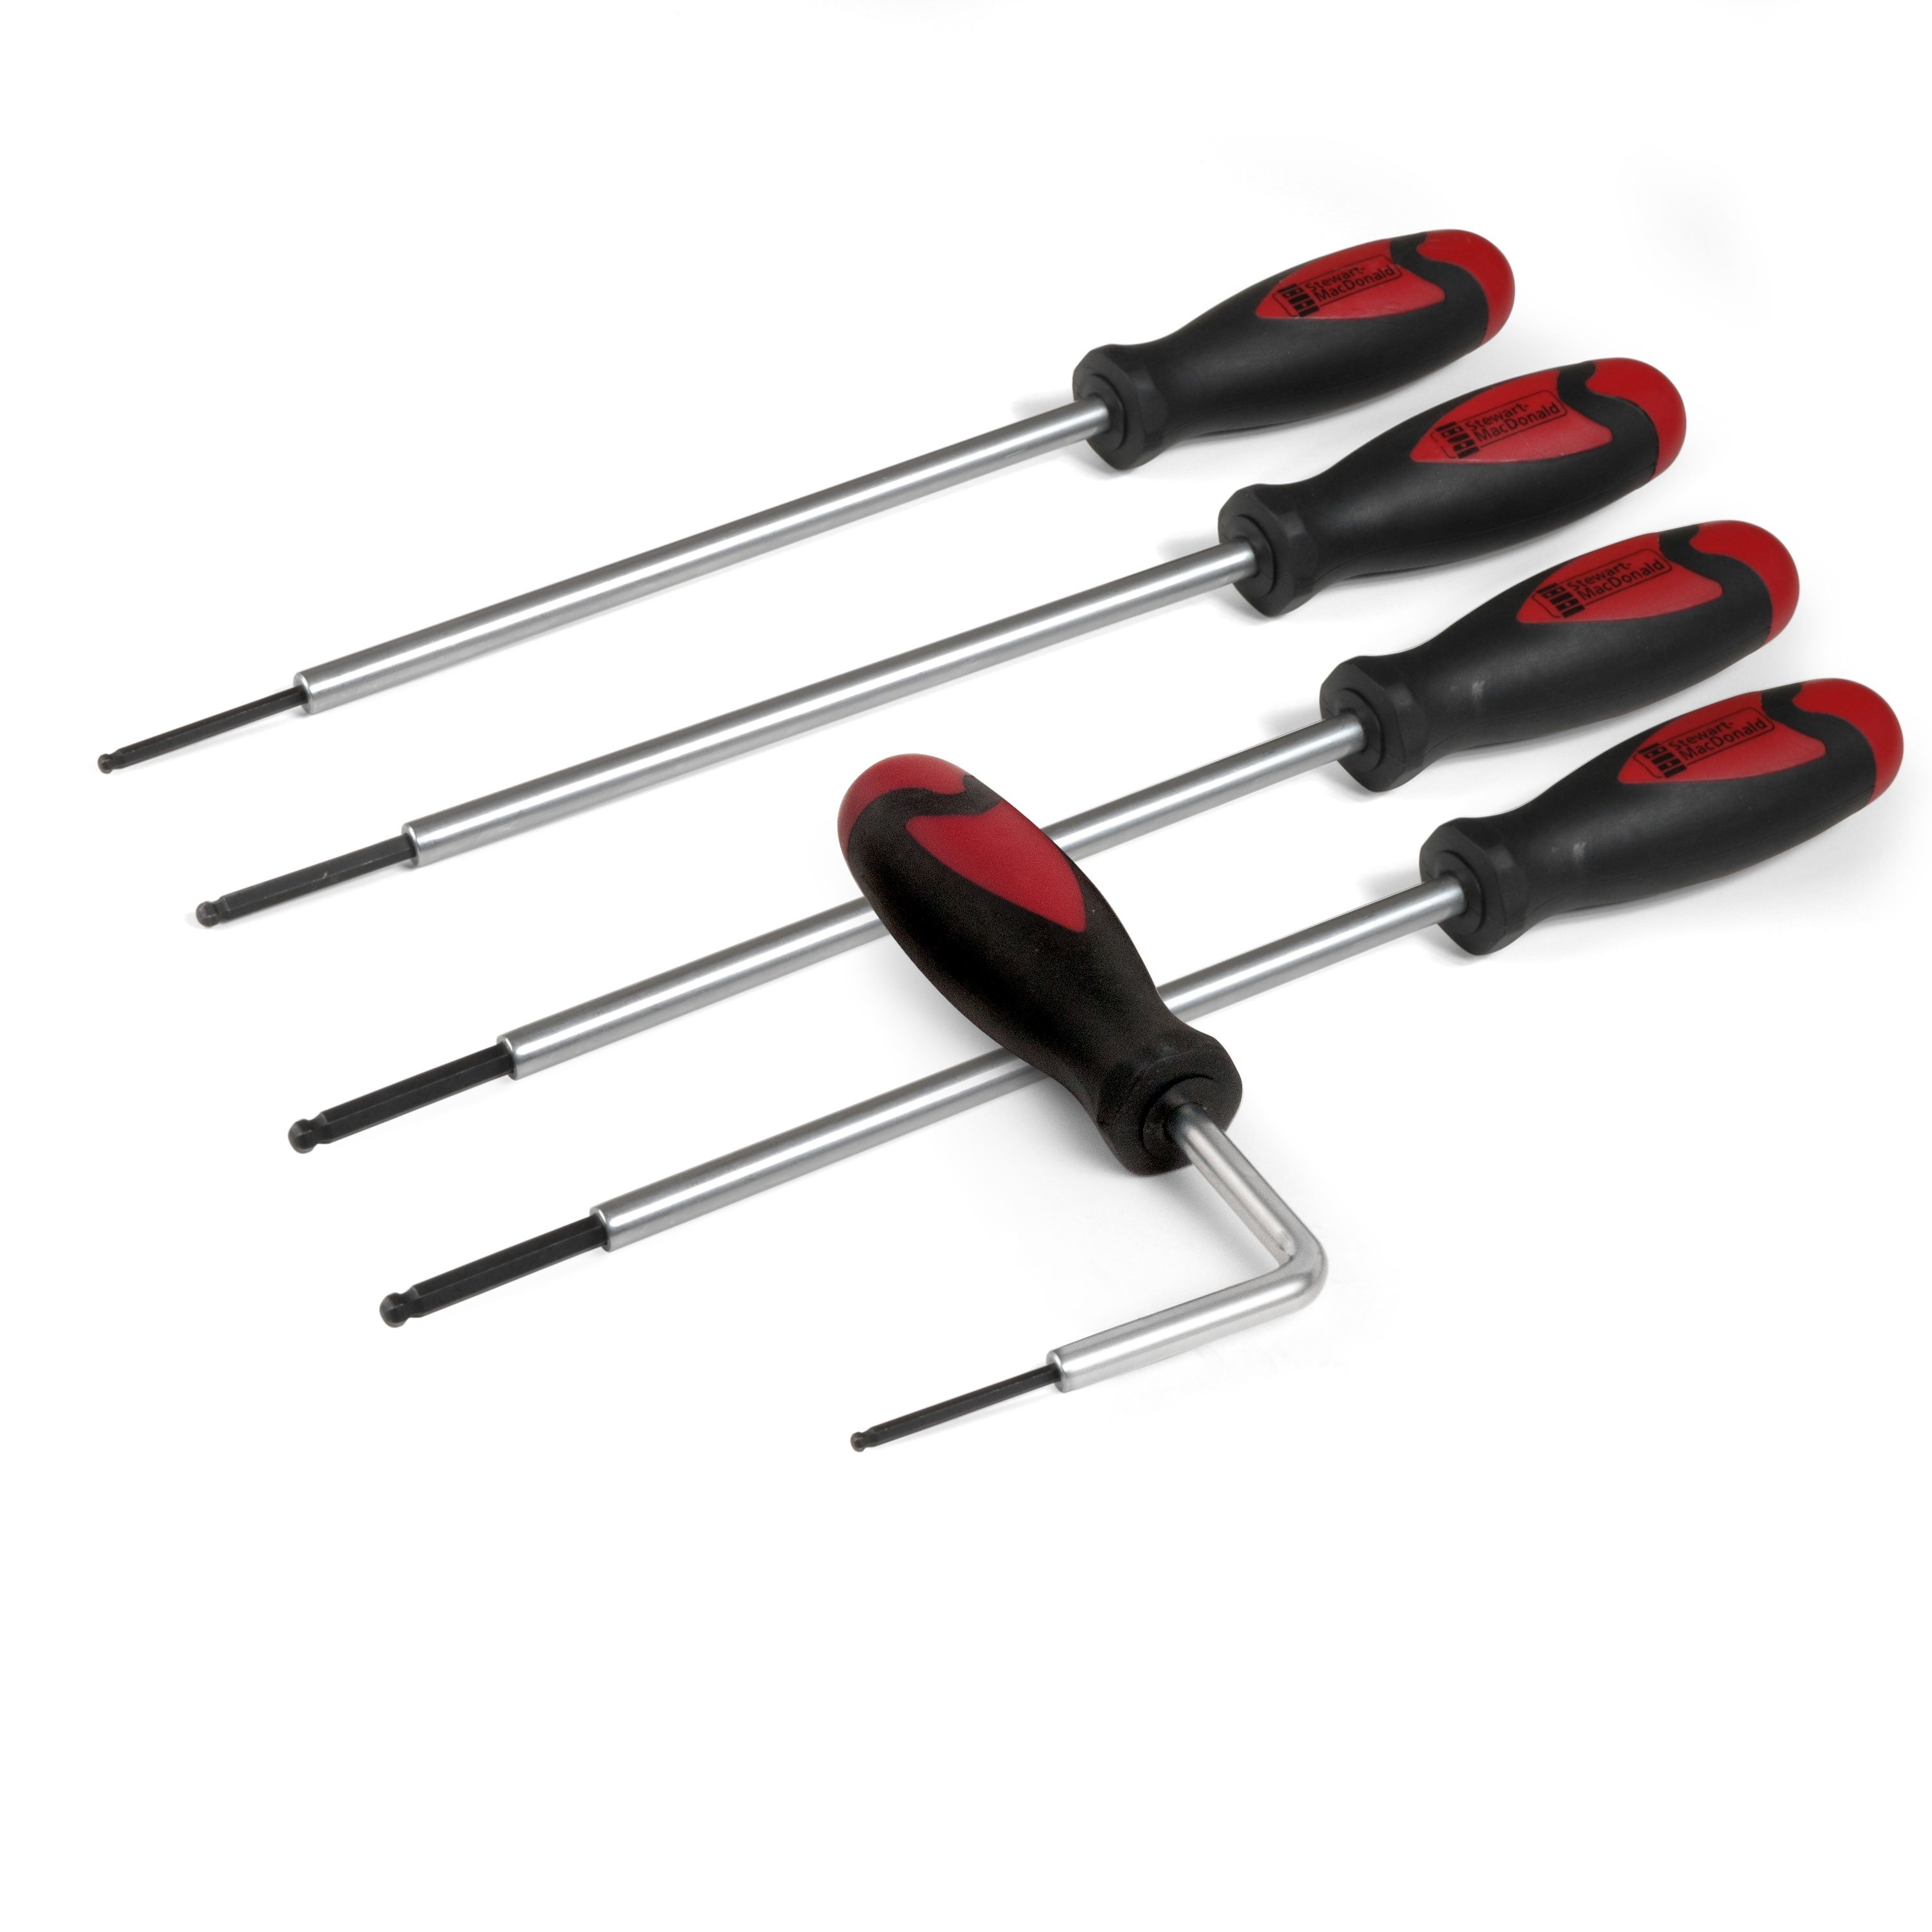
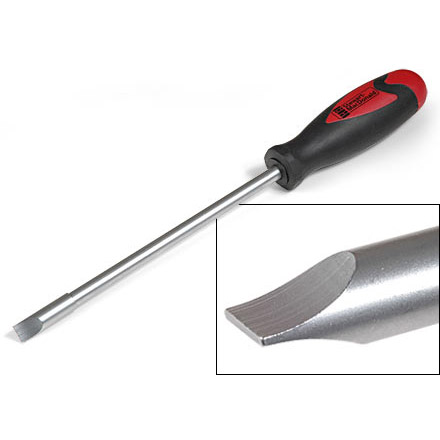
So let's adjust the truss rod. We're going to adjust this 1960s Gibson SG. One nice thing about this little tech screwdriver set is that the barrel is magnetized so you can hold a screw and put it right in without fumbling. My favorite tool—everybody I know gets one for Christmas. Under the truss rod cover is the acorn nut. I look down the fretboard on this guitar and I know that it has an up-bow.
Can you see that gap right in the middle? It's deepest right in here. That's a lot of relief. That's an up-bow.

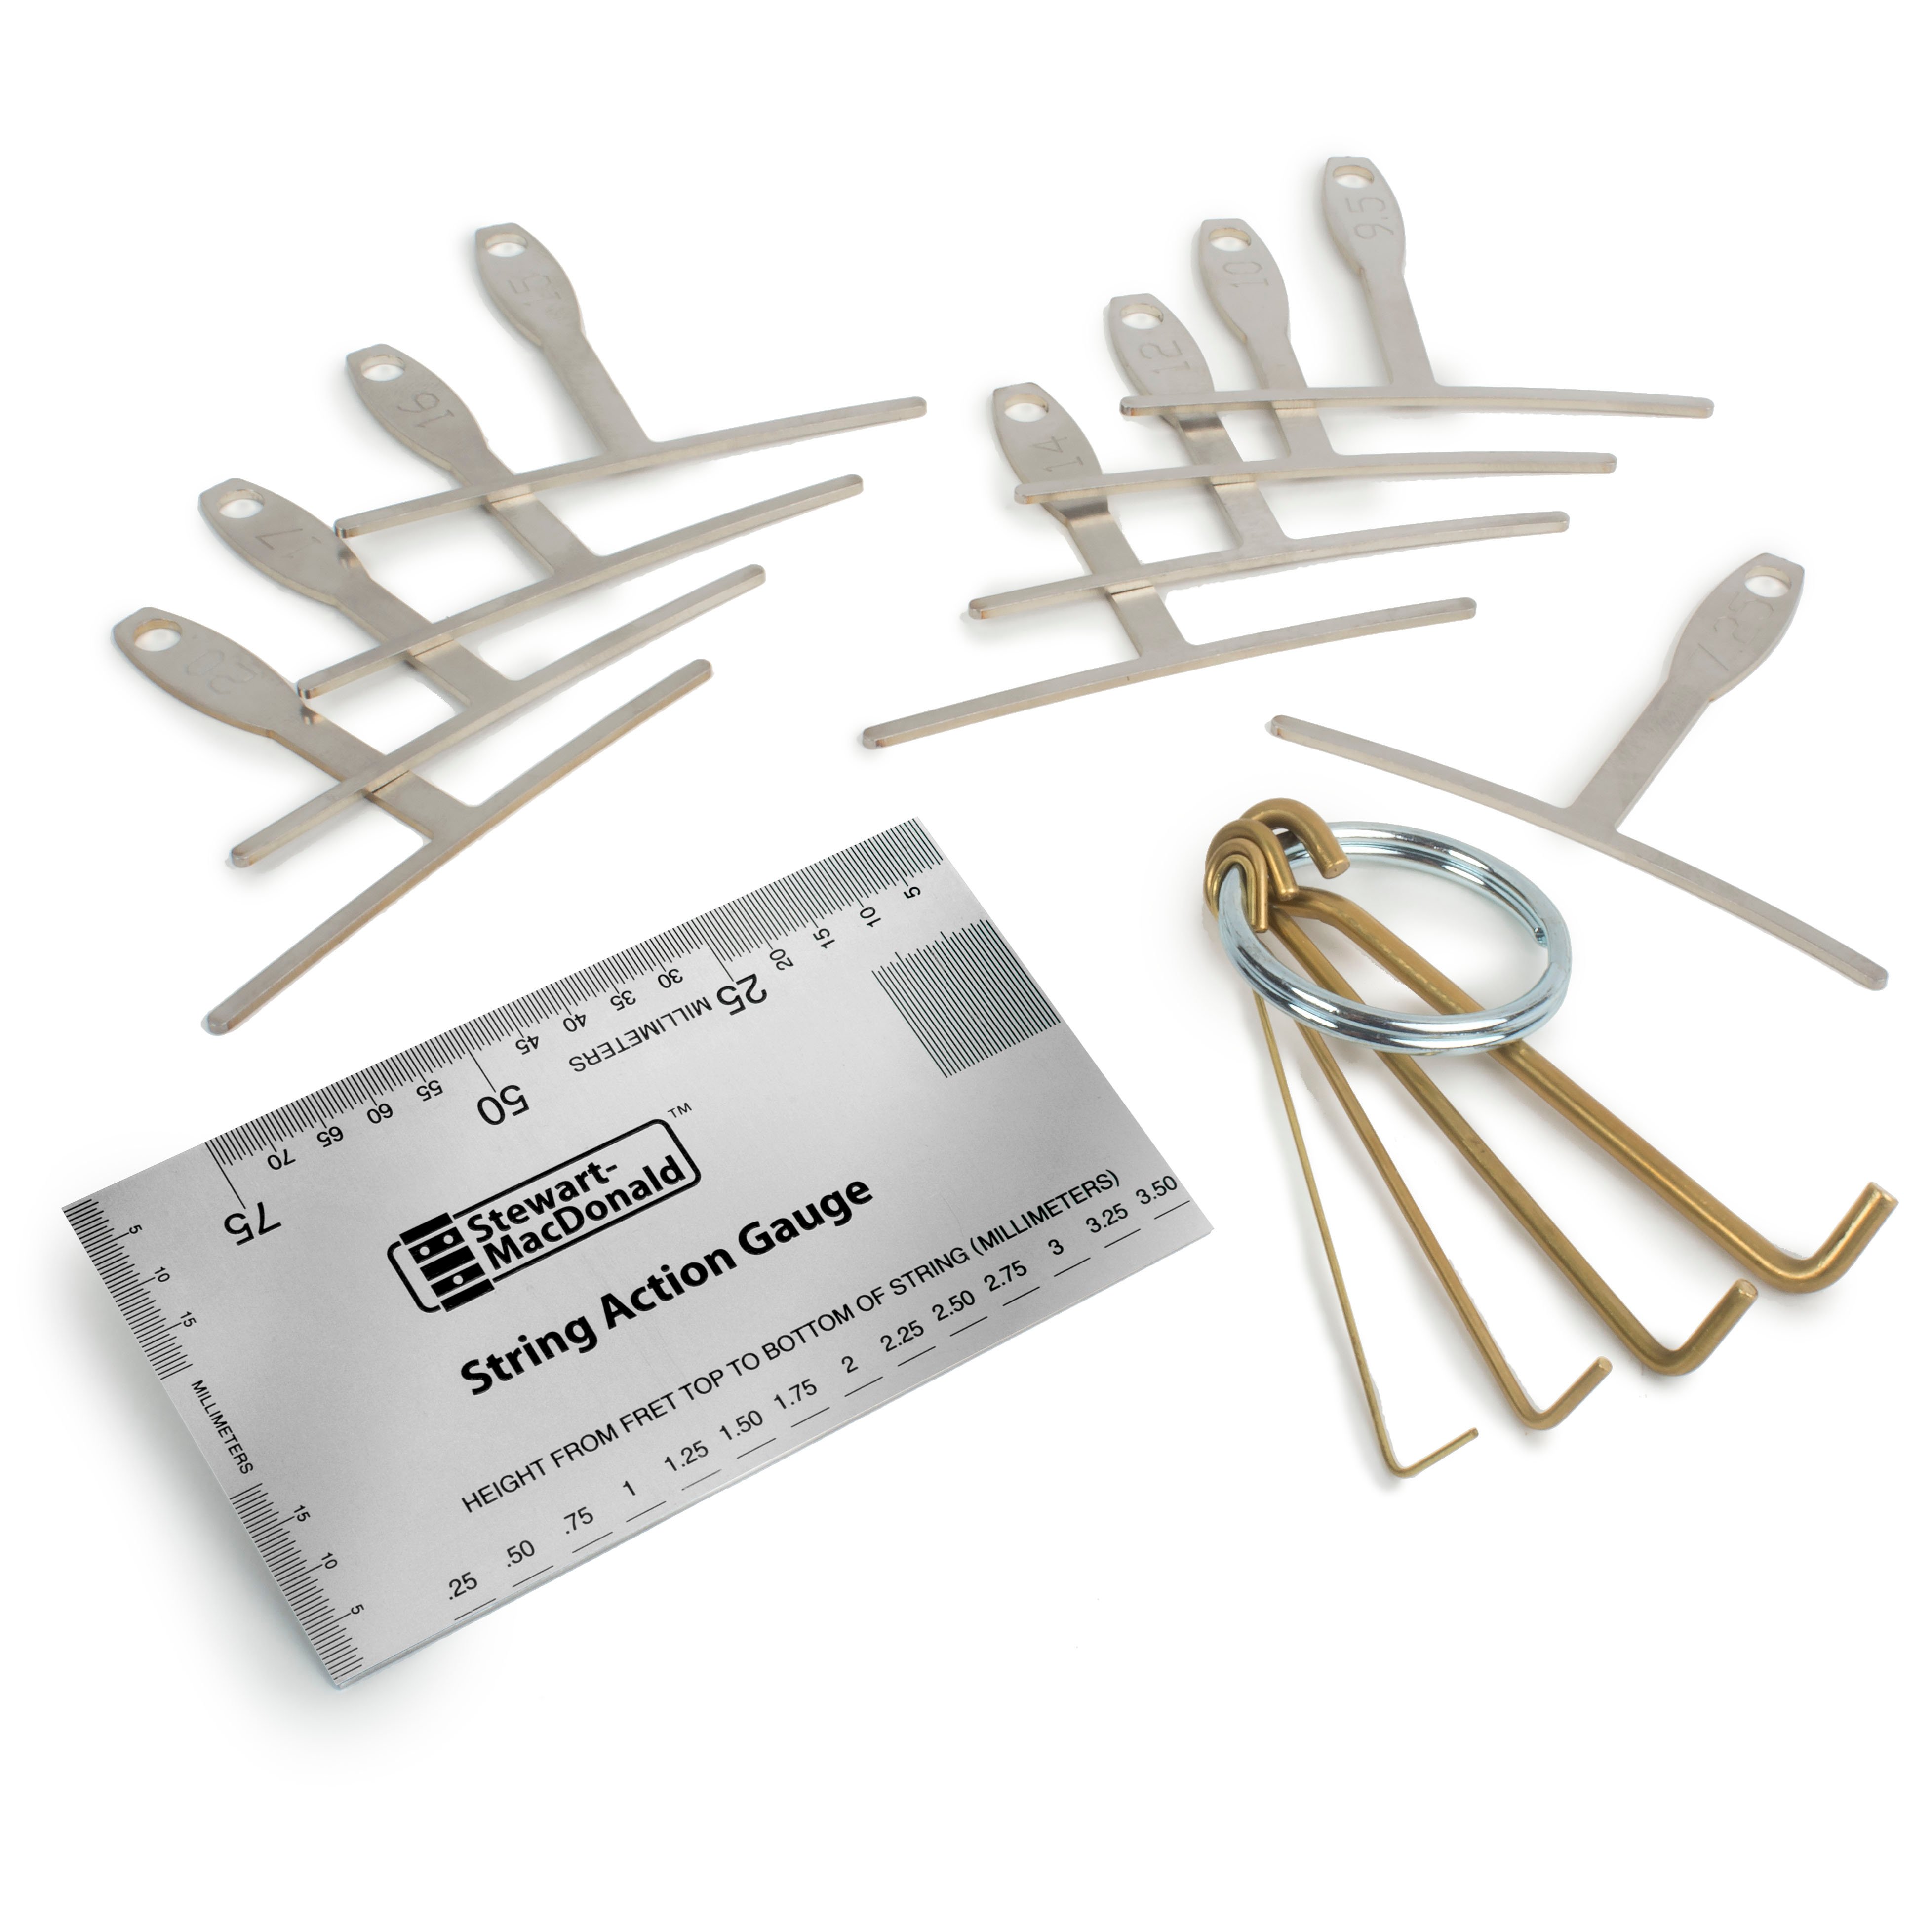
If you don't have a straightedge, a string can be a straightedge. Put one finger at the first fret and one finger way up high, maybe at the 17th fret, reach out with another finger and press it up and down and watch it. You can see the motion. That also shows you the up-bow.
I'm going to adjust that straight by turning the truss rod to the right.
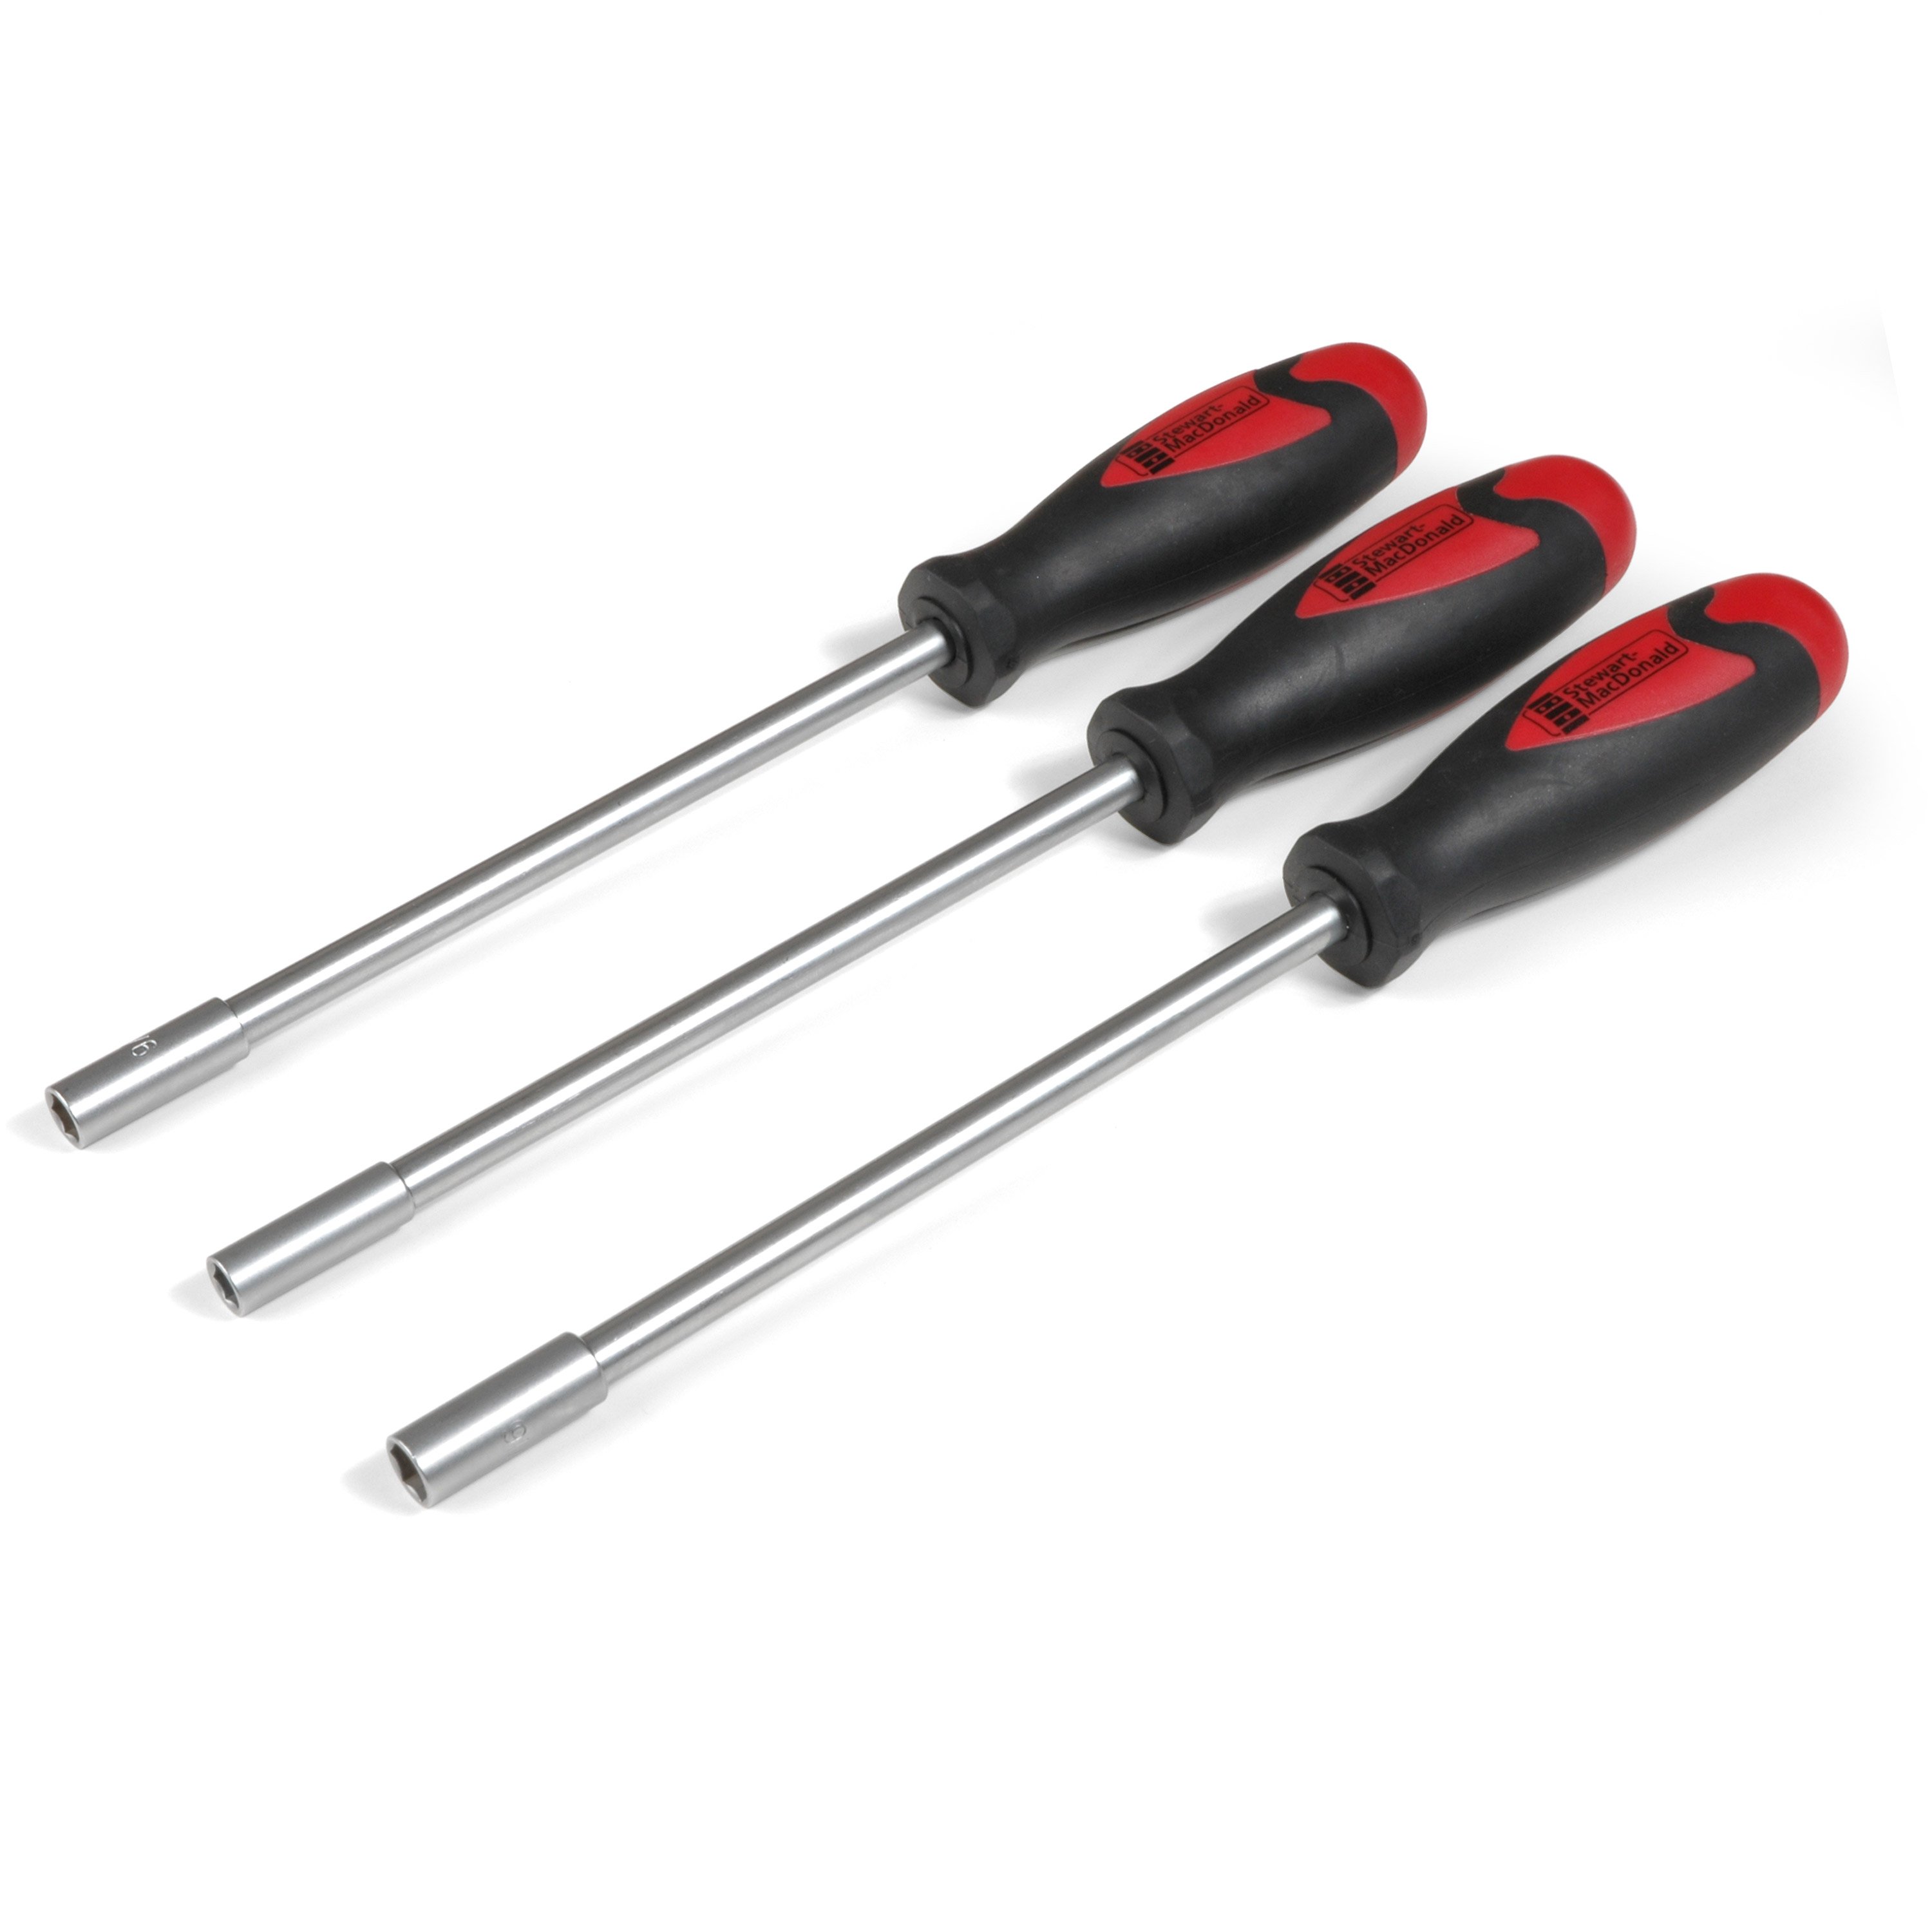
Pro Tip: Before I tighten the nut to adjust the rod, I put a mark on it so I know where I'm starting out. An acorn nut takes a 5/16" socket.

I'm going to turn it towards me, which is right. And I'm going to strart by giving it between 1/8 and 1/4 turn. After that it's almost straight. I could go a little further, which I will. It doesn't take a lot to tighten a rod. Now the neck is straight. The frets are a little bit uneven, so there's a slight gap you'll see, but the neck is straight as an arrow. The final number of turns is roughly half a turn plus an 1/8.

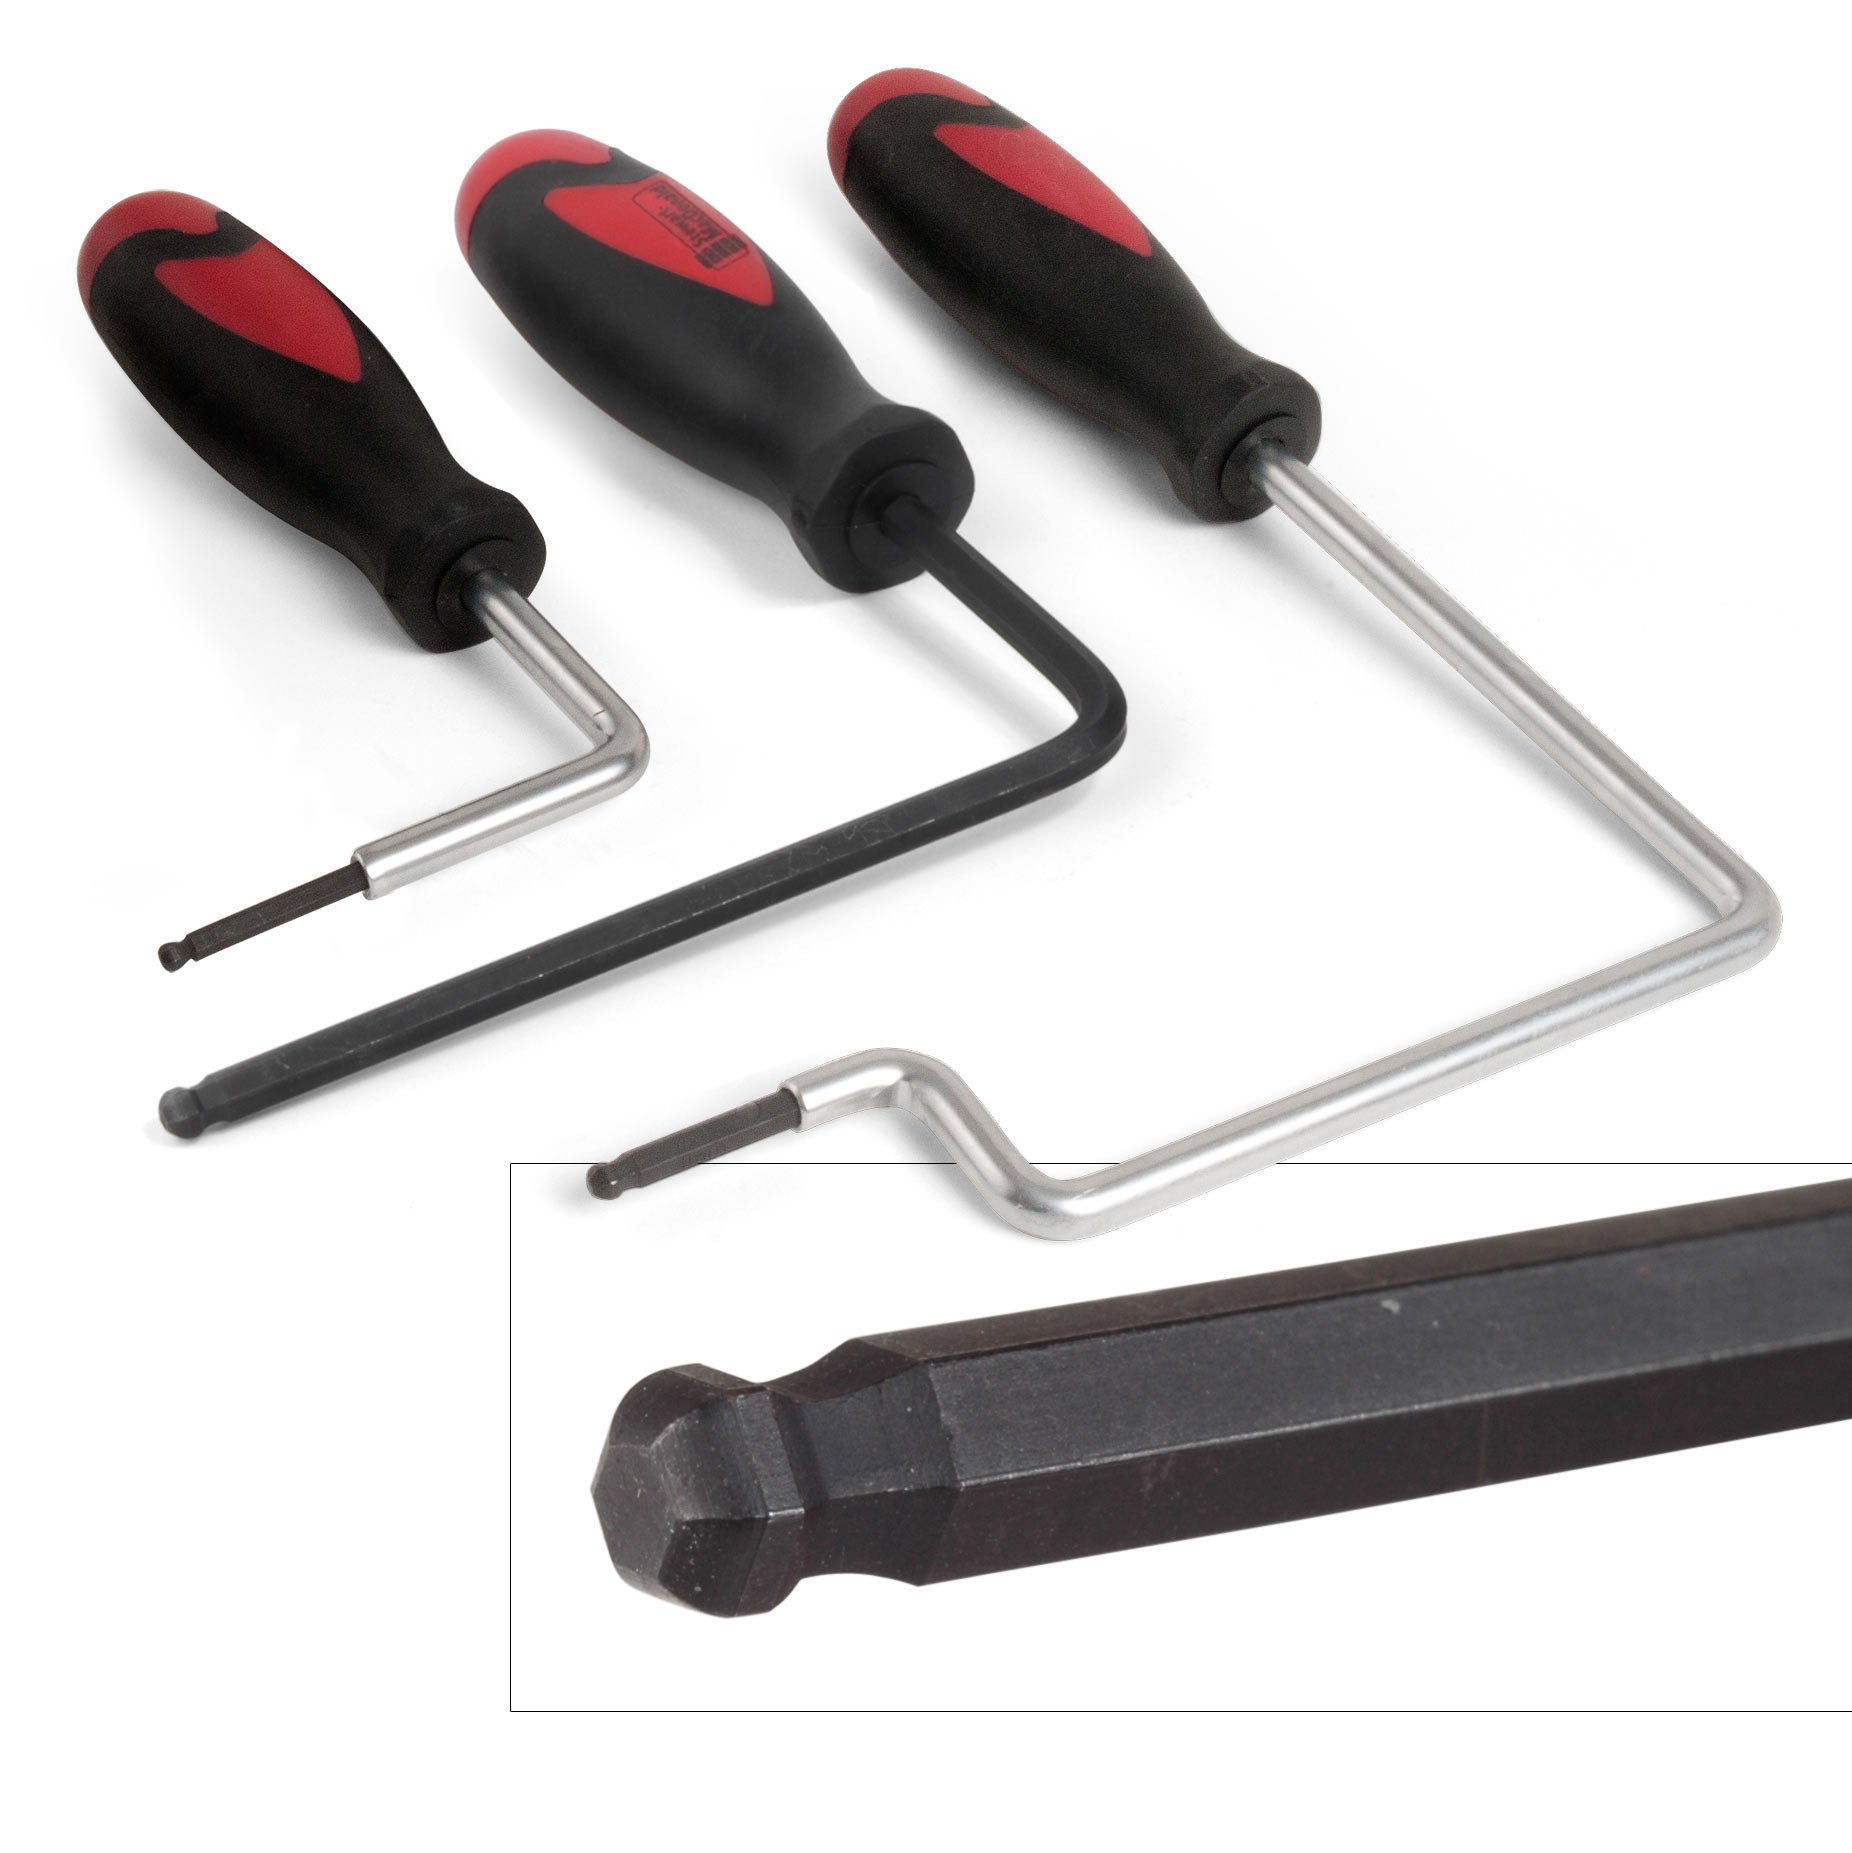
Many guitars don't adjust at the peghead end. Vintage Fenders and many others adjust at the body end. That's not easy to get at. So you have to take the neck off to make your adjustment, tighten or loosen, put it back on until you get the straightness you're after. And that's a lot of work. It's not uncommon to have to do that three or four times in a single setup.

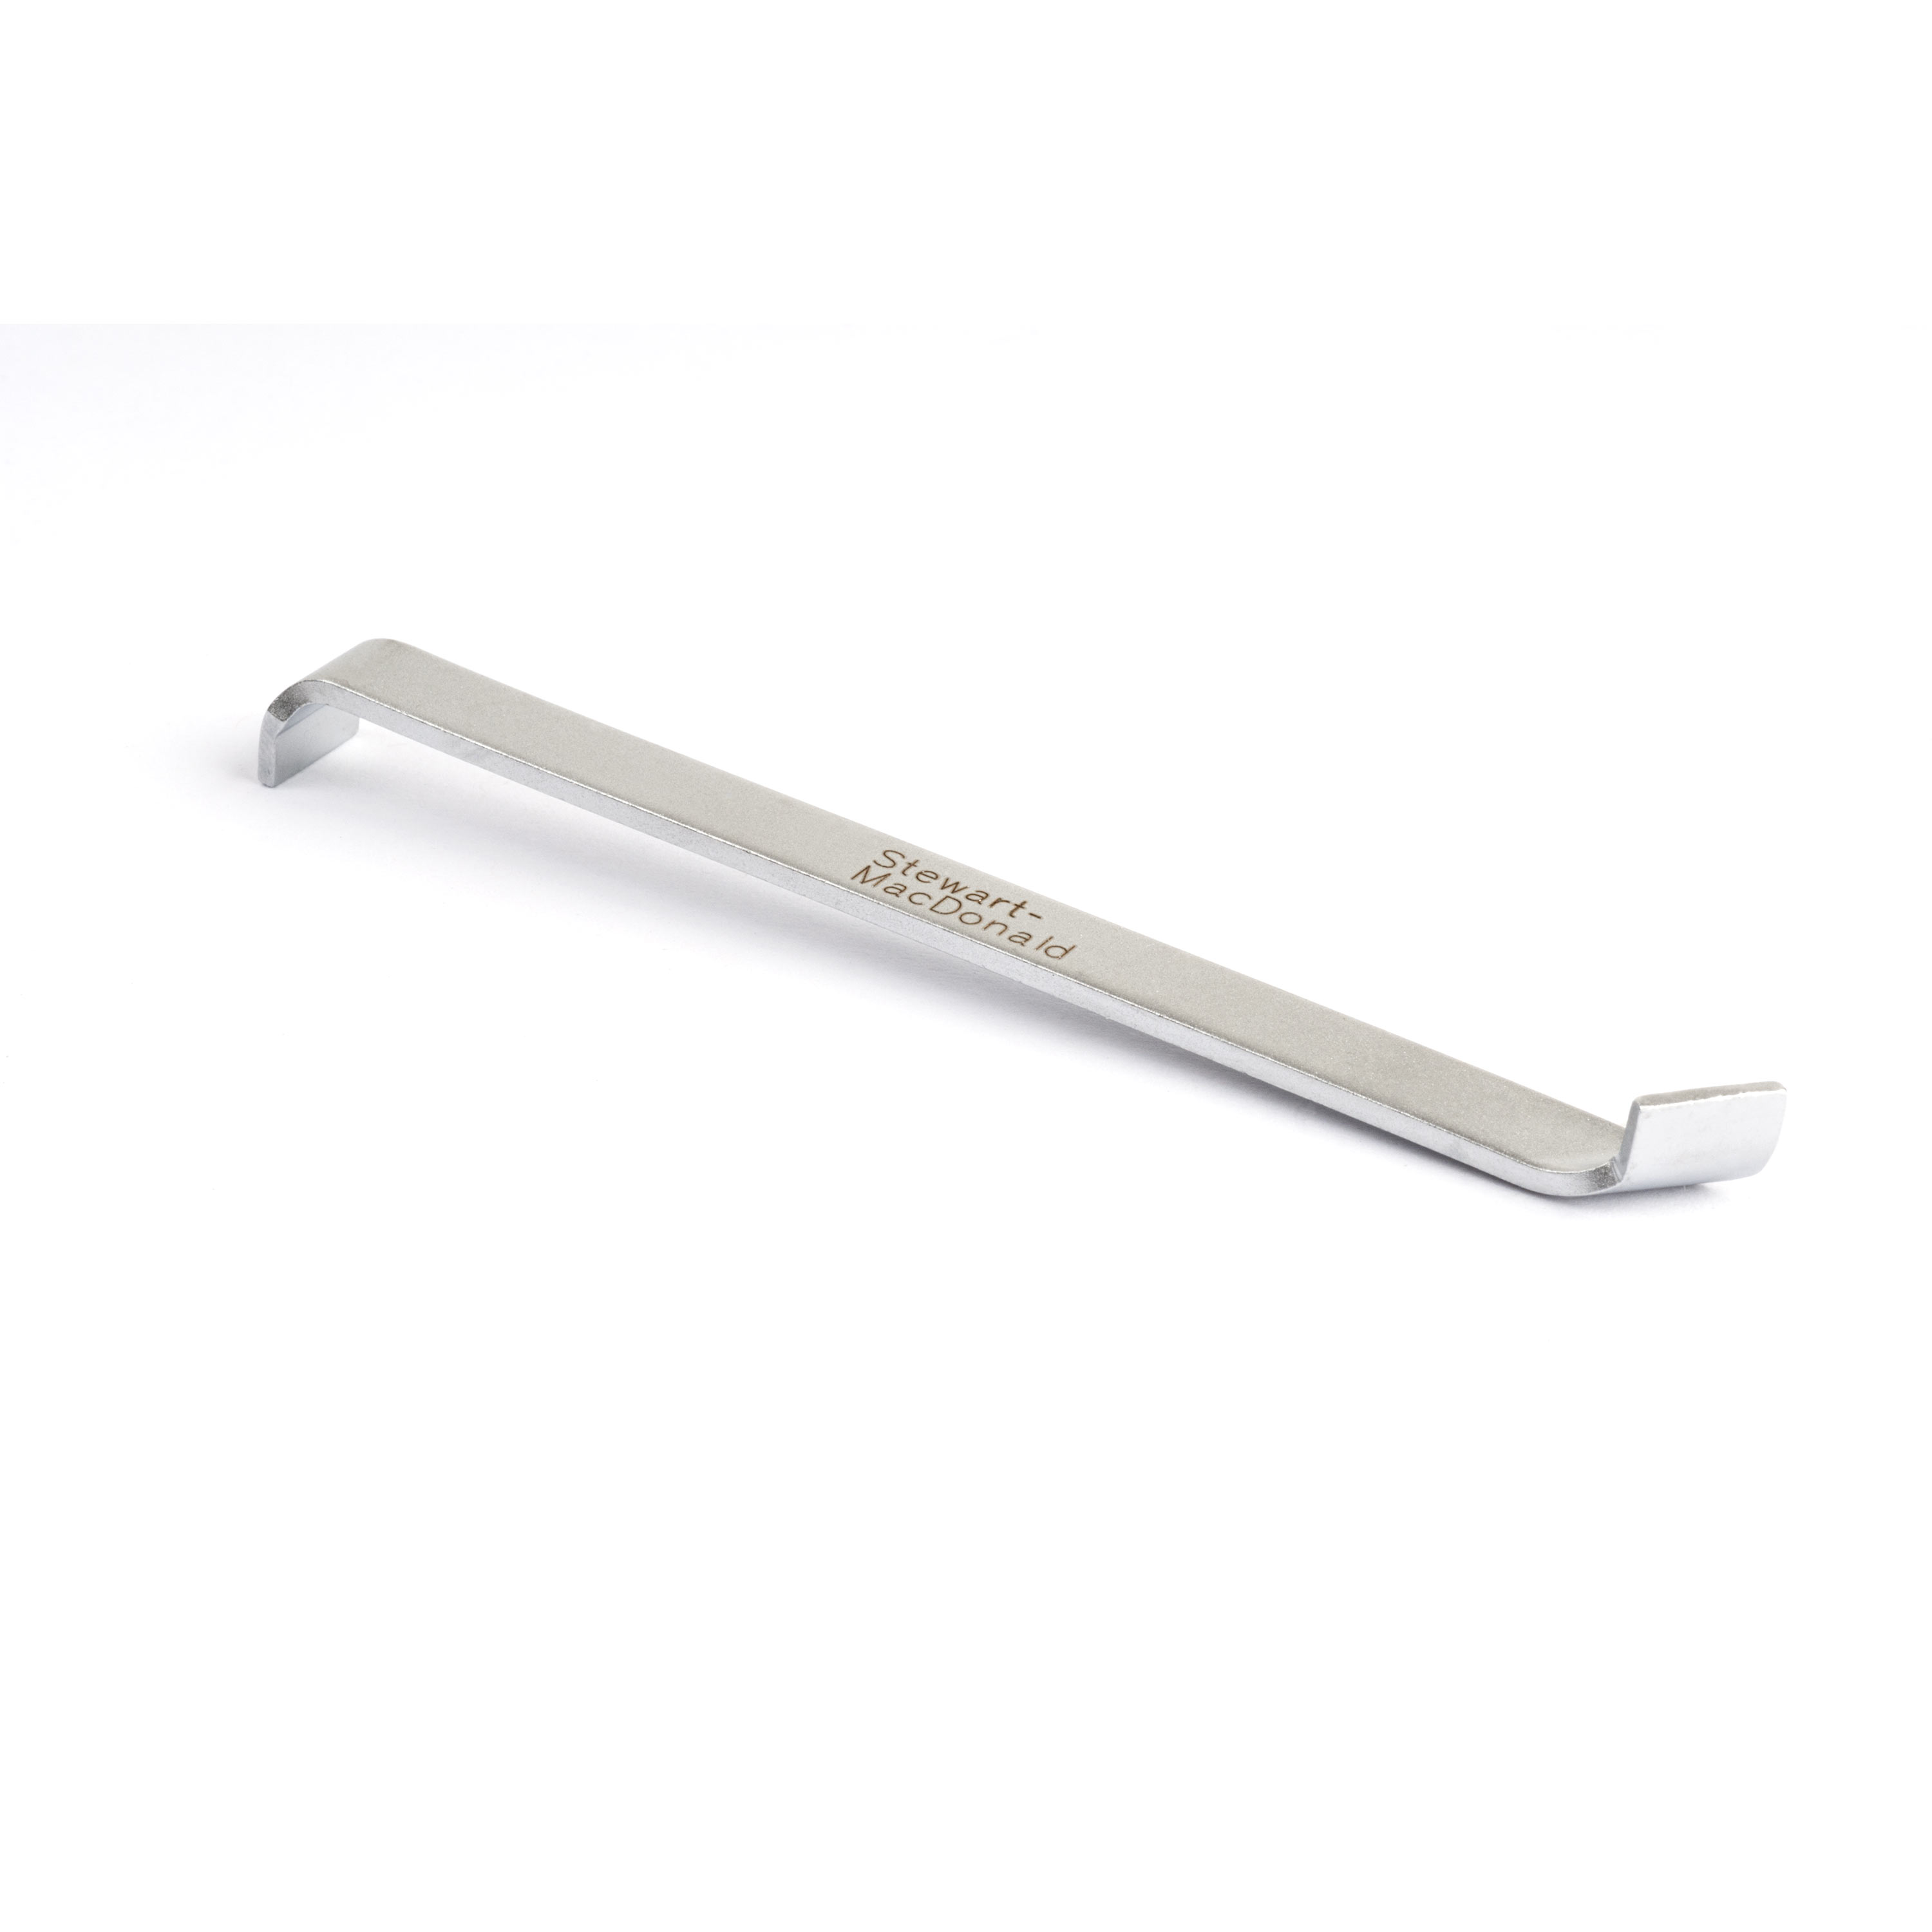
If there's a gap down there between the end of the neck and the pick guard, and sometimes there is, we do have this little wrench. It can fold down in and you can turn. You take off the pick guard to get at it though. Each time as the slot comes up, one of these ends will fit and allow you to turn. And it avoids damaging the body by jamming a screwdriver in there.

So don't be afraid to adjust your own truss rod. Give it a try. If it feels stuck and you're worried about it, take it to a good guitar tech and see what's going on. But don't be afraid to try it!


