How to Replace a Fretboard Inlay on a Martin D-45
Have you ever wanted to repair or replace a fretboard inlay on your guitar? Dan Erlewine tackles that project in this video. He replaces a dark abalone inlay from a Martin D-45 with a brighter, more colorful piece of shell.
This project is easier than you might think. Here's what's covered in the video:
An Almost Perfect Guitar
A new customer of mine just bought his dream guitar: a brand new 2021 Martin D-45. A D-45 is the high end of the Martin line, loaded with beautiful abalone inlay work.

It's gorgeous, but there's one thing he doesn't like about it. It's the inlay at the third fret. He said, "Dan, it's just too dark. I waited so long for this guitar. I just want it perfect."

He asked me if I would pull that out and replace it. Well, I'd never turn down working on a D-45. It's not that hard of a job to do, but it does take a good eye and a real attention to detail. So let's walk through this step by step and see if we can't make this almost perfect D-45 perfect.
Choosing an Abalone Blank
What You'll Need
Abalone has been used for centuries as an inlay material. An abalone shell looks like this. This is what you'd see down there in the ocean, if you were diving for it. These are very old. They belonged to my wife's great-grandmother.

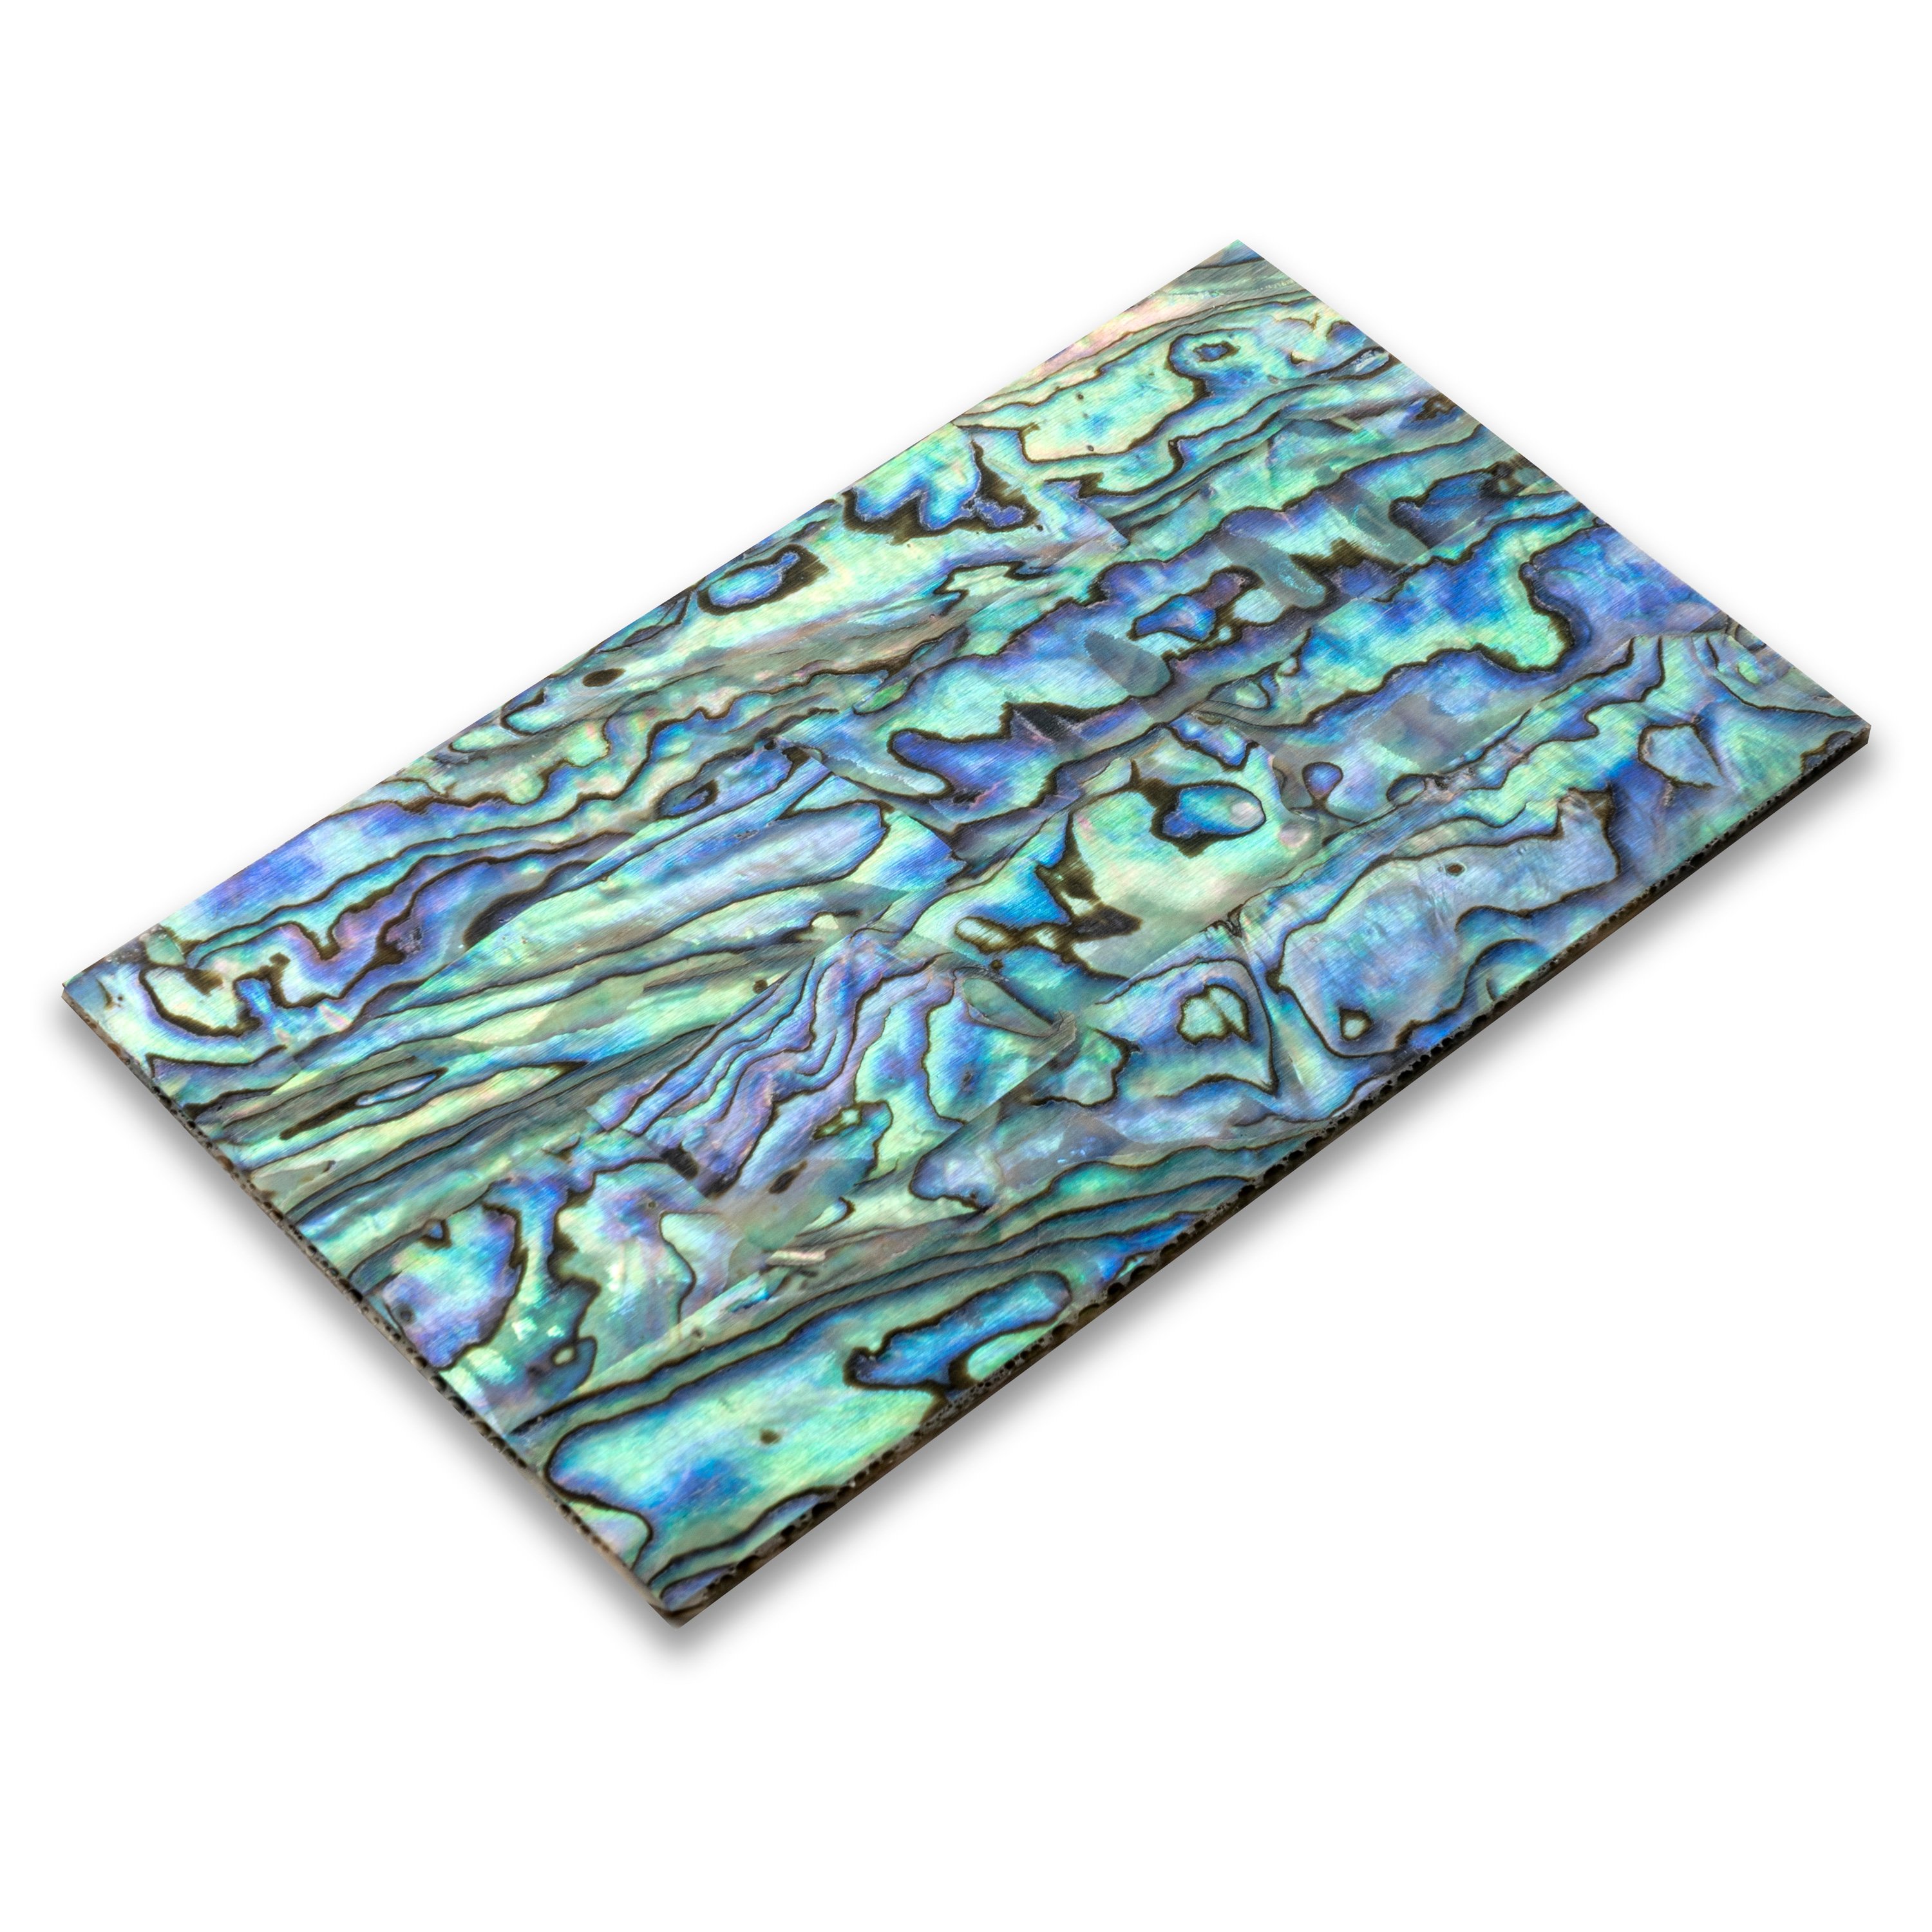
Another material that's often used for inlay work is Abalam. It's small pieces of real abalone, compressed into a matrix. It looks almost identical to abalone.
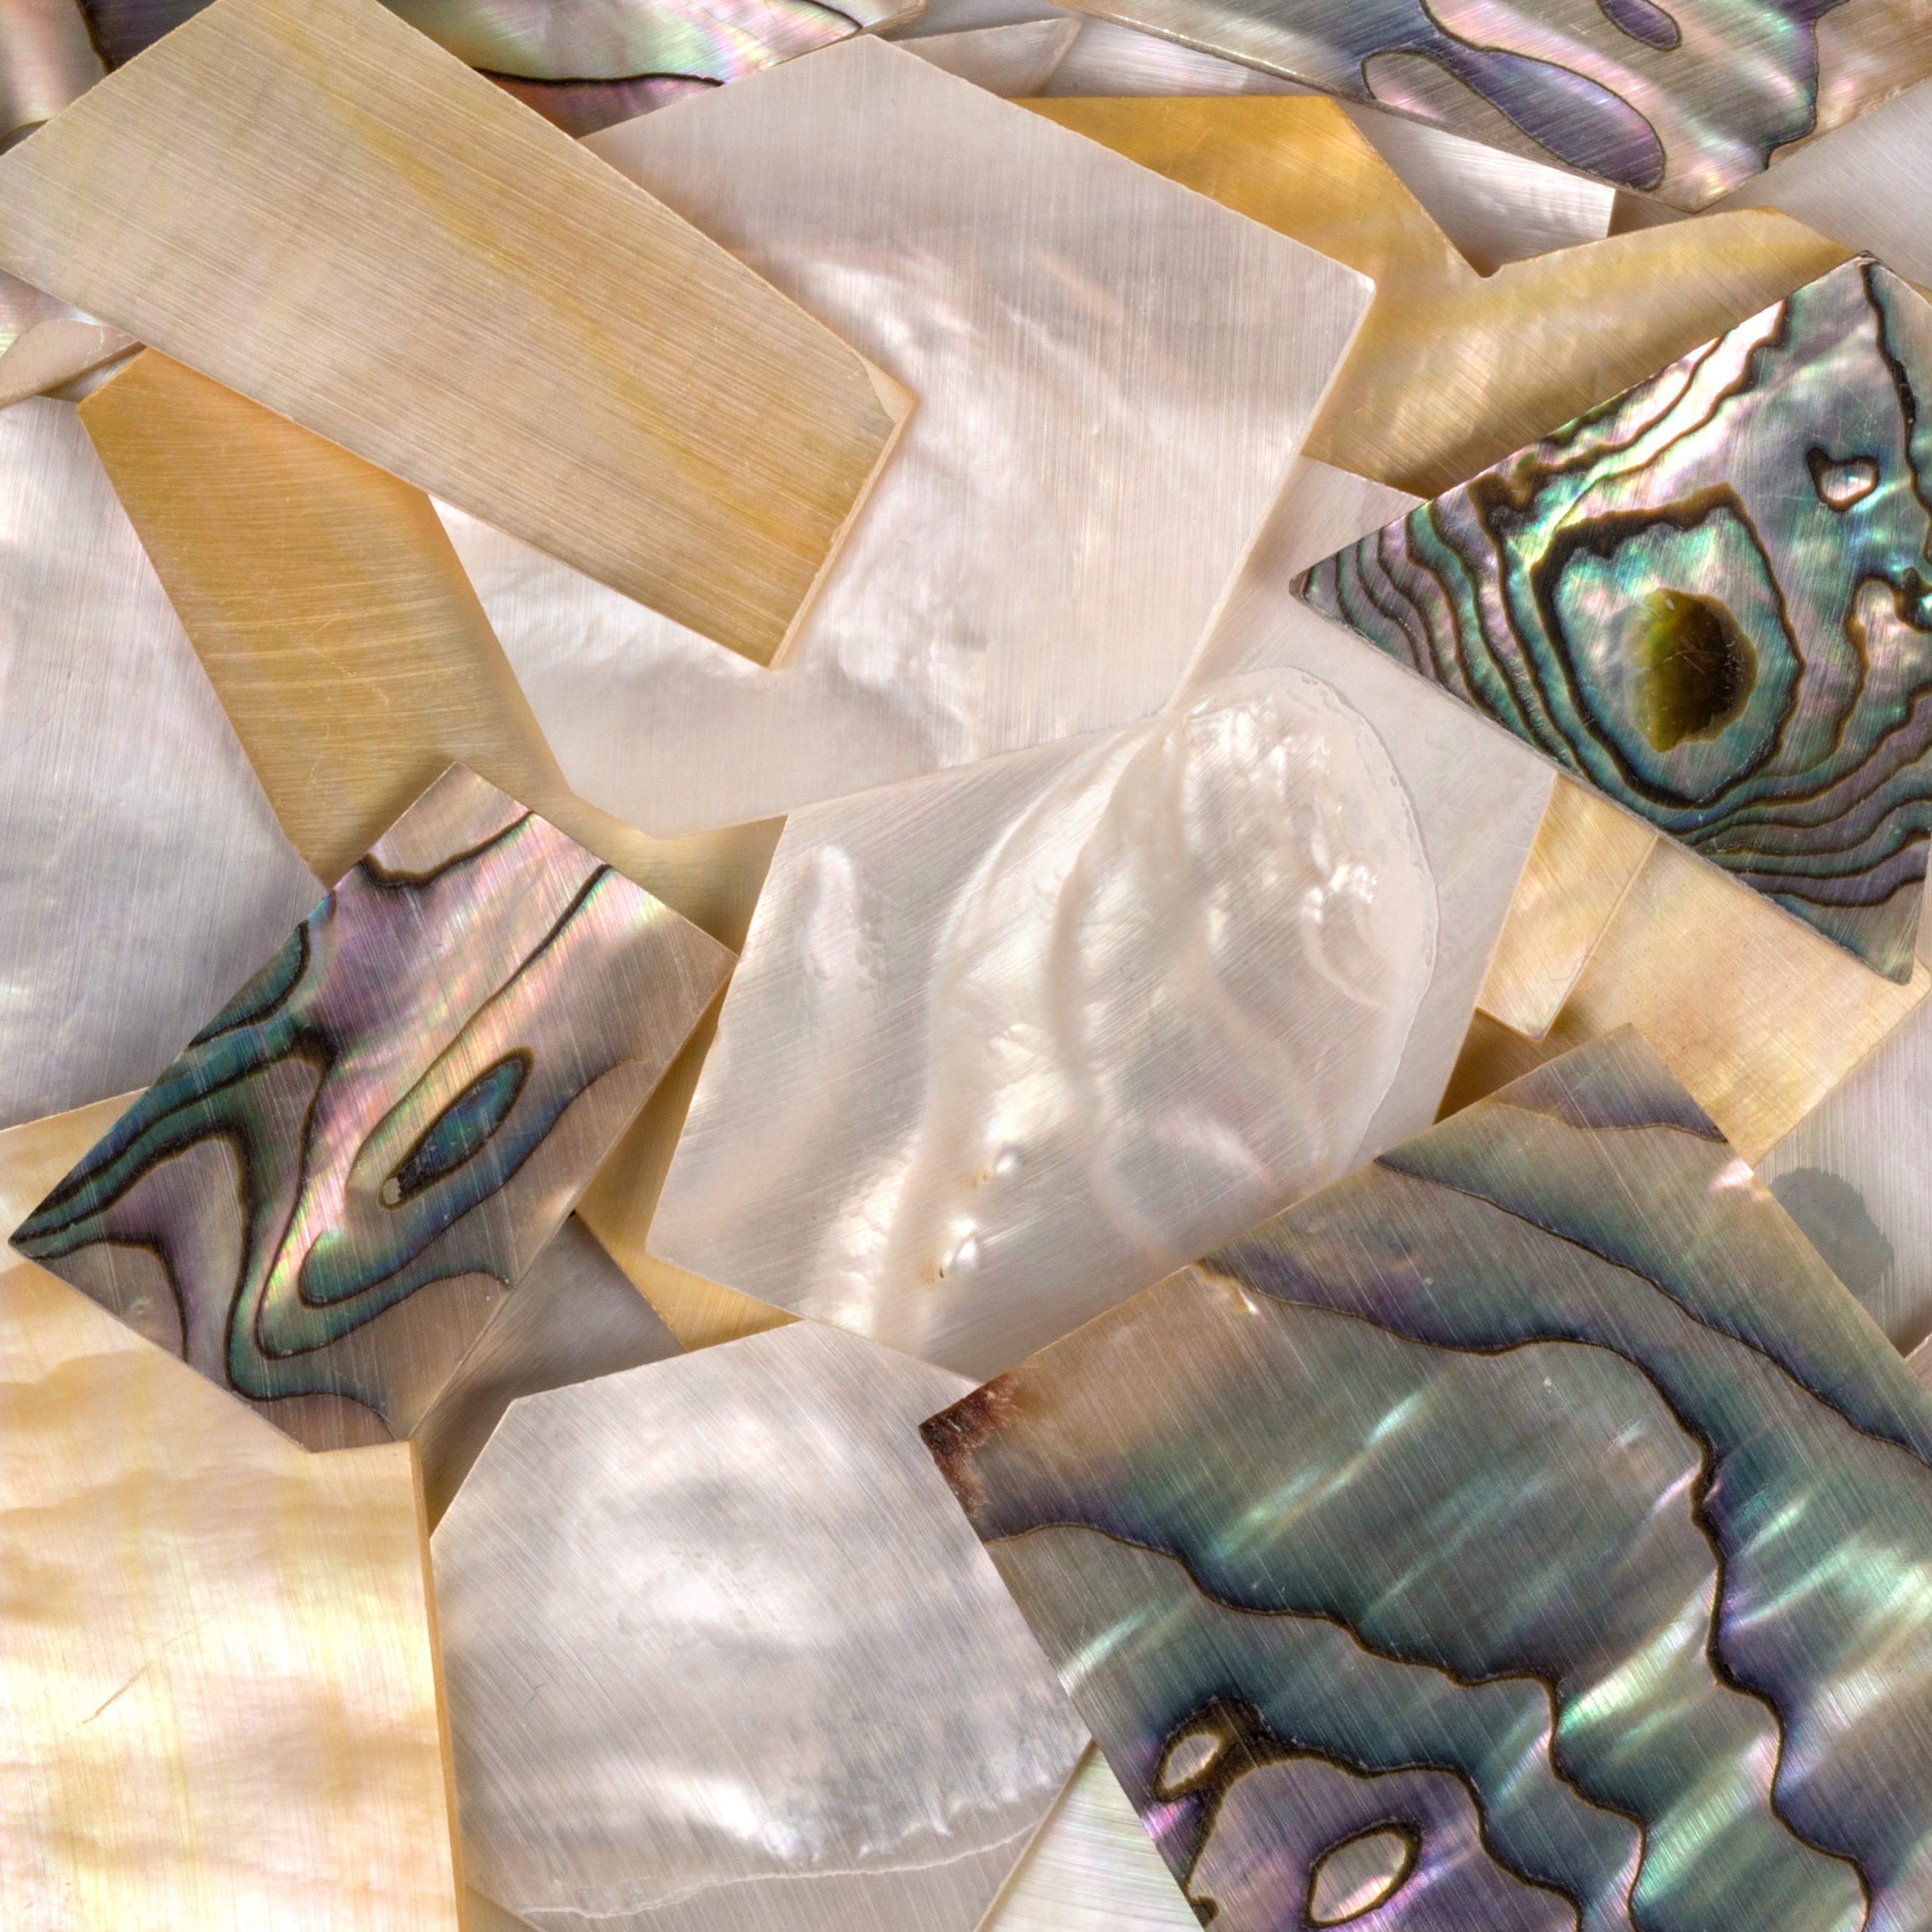
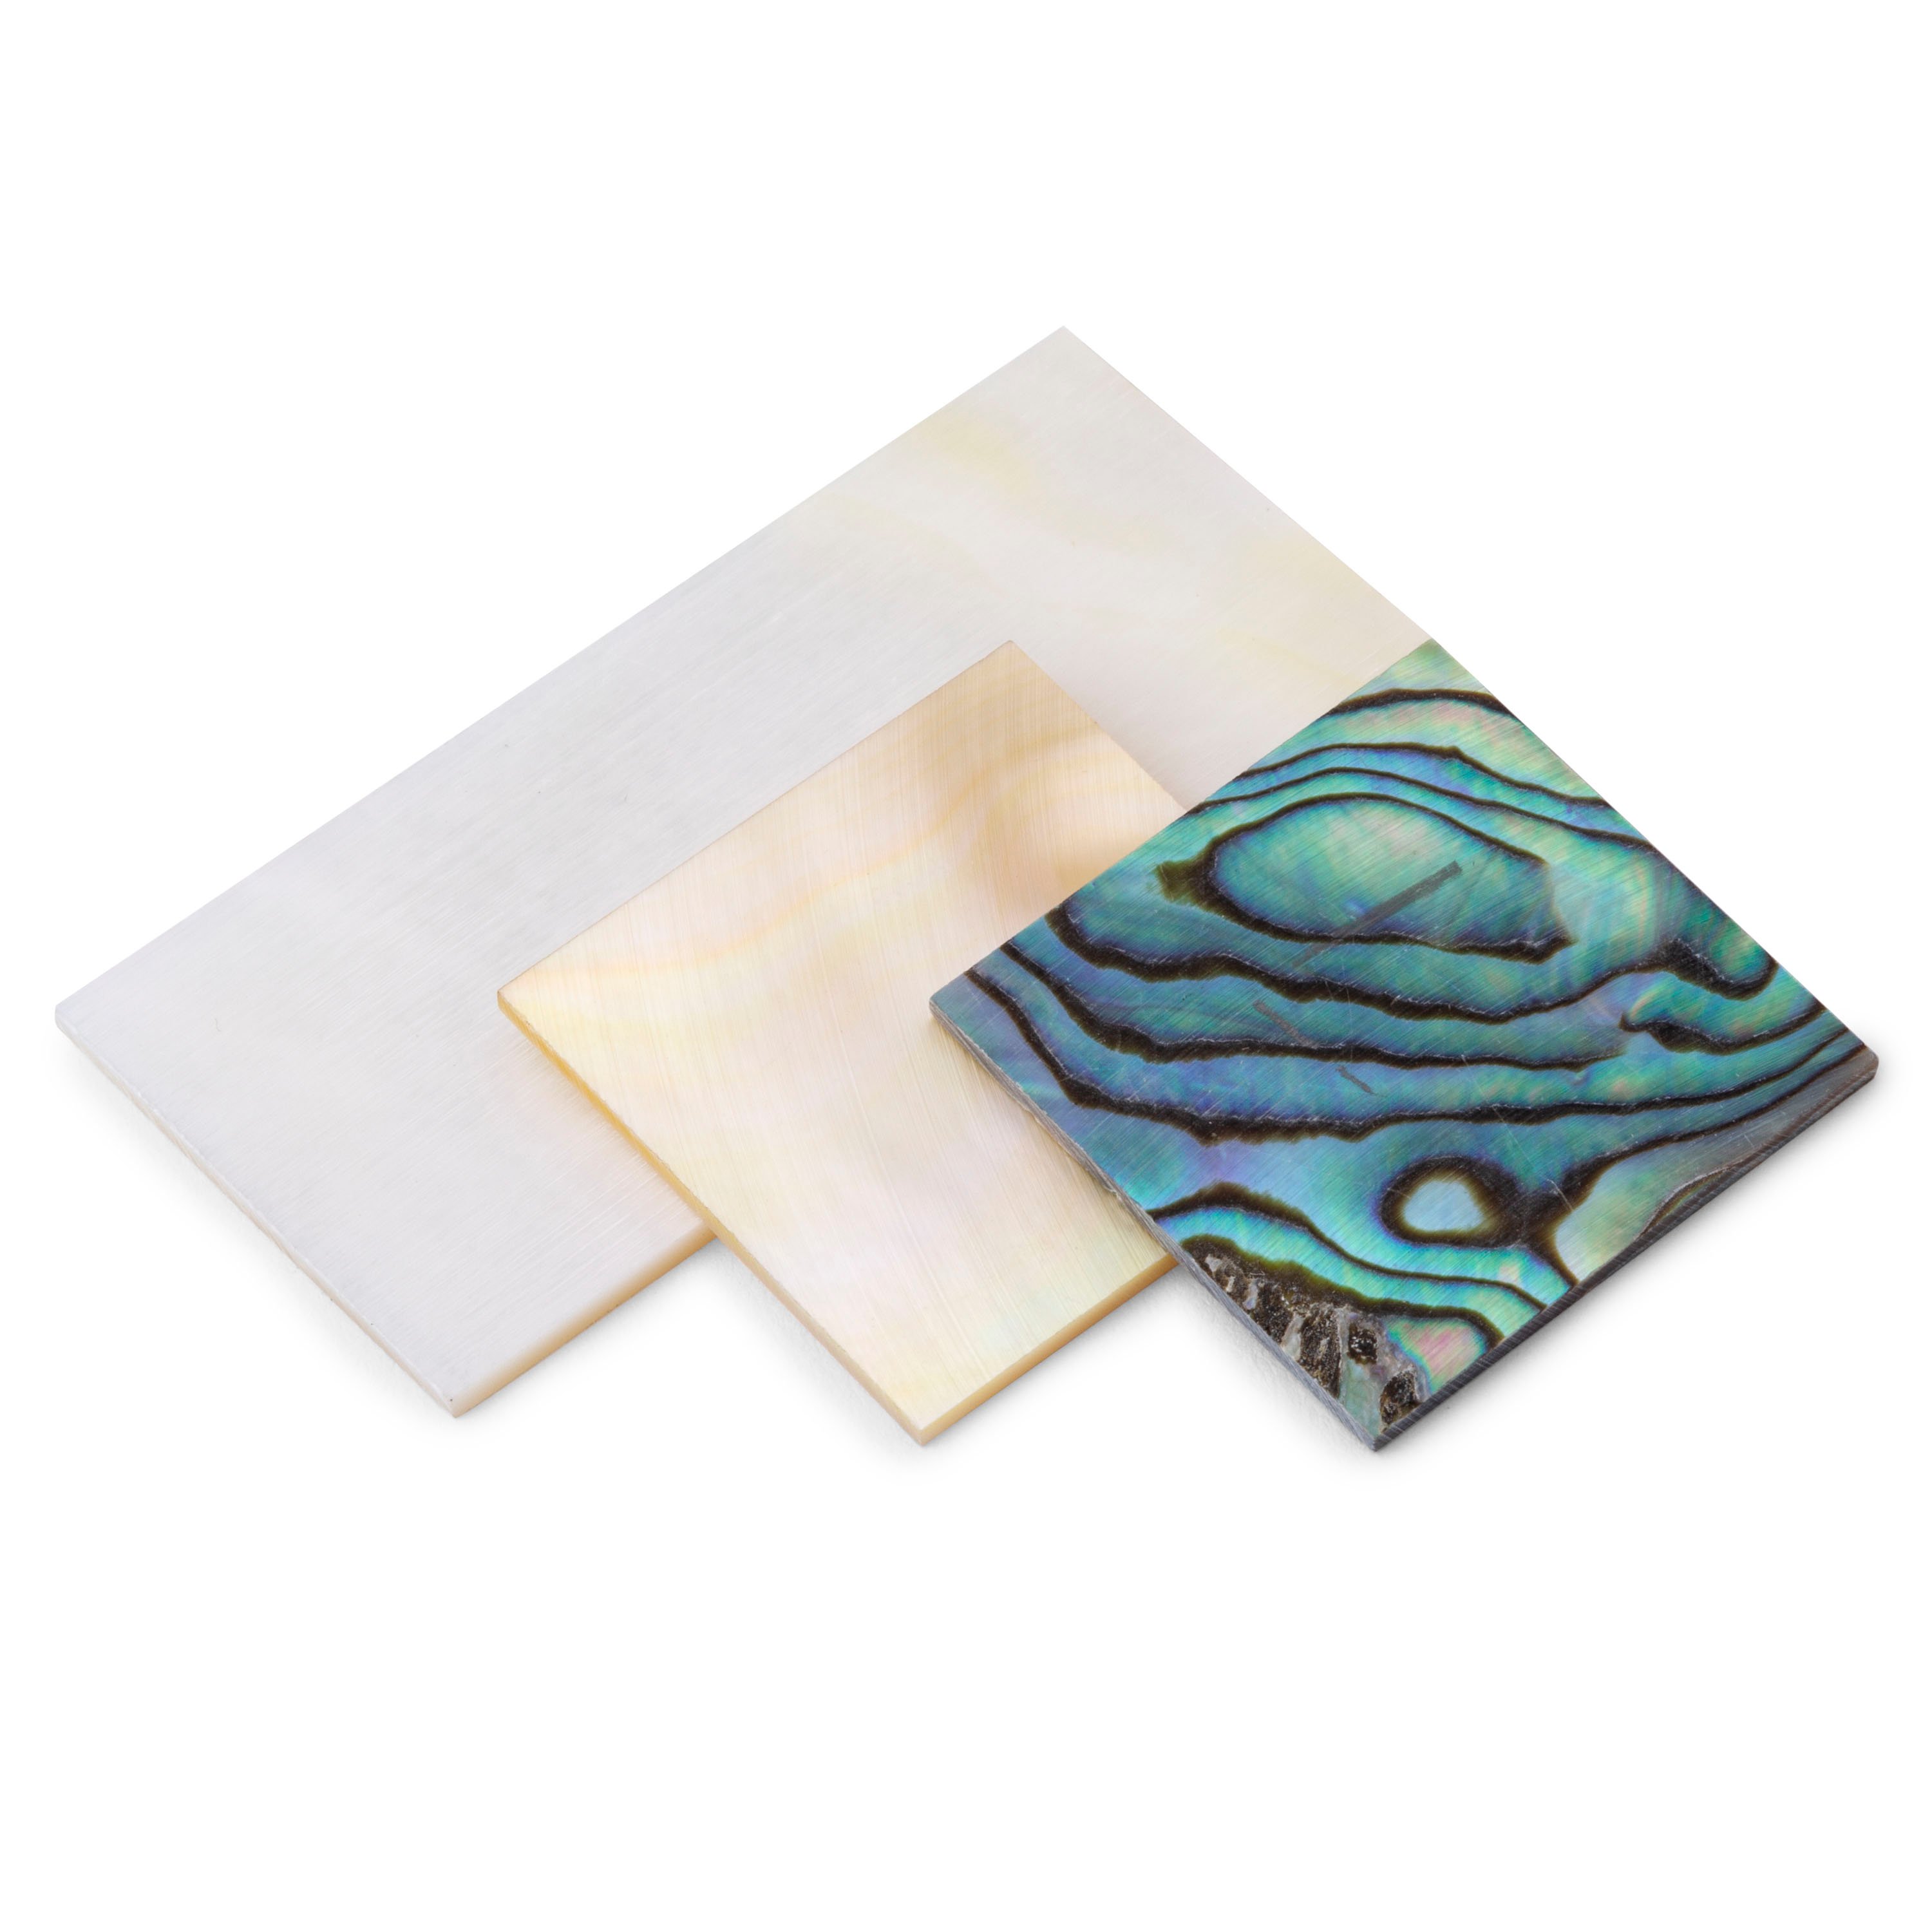
Abalam is nice to work with because it's perfectly flat. Real abalone slabs can vary a bit in thickness. This Martin here has, to my eye, real abalone in all the stripes going around the edge, and on the inlaid Martin logo on the peghead. On the fretboard though, some of these inlays are abalone and some are abalam. At StewMac, we sell packets of real abalone, and we sell blanks of Abalam.

I have to decide what piece I'm going to use to replace the inlay. Looking through these, I like this one because it has that fluorescent red in it. It looks like every other inlay on this instrument has that pinkish quality to it as well. I want something that fits with the rest of the inlay work.
Making a Template
What You'll Need
Clear Pickguard MaterialBefore I take the inlay out, I want to make a little template of it. For my template material I'll use a clear plastic pickguard that I had lying around the shop. I'm going to tape it down over the piece we’re replacing, take an inlay scribe, and at every corner of the design I'm going to make a mark.
Another way I can make a template is to put a piece of tape or paper on that hollow cavity after I remove the inlay, and rub a pencil on it, and trace the image that way.
So now we're going to cut out this hexagon. First, I just need to connect these dots. This is not THE way; it's just A way. You could draw this out on a computer and print it out if you’d prefer.

Removing the Old Inlay
What You'll Need
Soldering StationNow that I've got the template, let's take this unwanted inlay out. What I’m going to do here is drill two holes, one on each end of this inlay. This might make you cringe—me drilling into a D-45. I’m going to drill until I start to see a little bit of ebony dust coming up through the hole—that’s how you know you made it through the abalone.

Now we’ll use a soldering iron to heat the glue that’s holding that piece in place. This is not the regular soldering station that I would use for electronic work. It's a 100-watt iron with a big wide tip, so it's got a lot of surface area. I’m putting a little piece of wet felt on top of the inlay to transfer the heat.
Next I'm coming in with the drill bit I used for the two holes. It's my little pry bar to get the inlay out, but it's not coming. I’ll put more heat on it, right on the abalam surface this time. This could be held in place with super glue or epoxy, we don’t know since we didn’t build it. But heat will break all those down. If it doesn't come out, I'll get my Dremel tool and I'll route it out.
This Abalam is just breaking apart like a piece of fudge or something. So, I'm going to quit there. I don't like it.
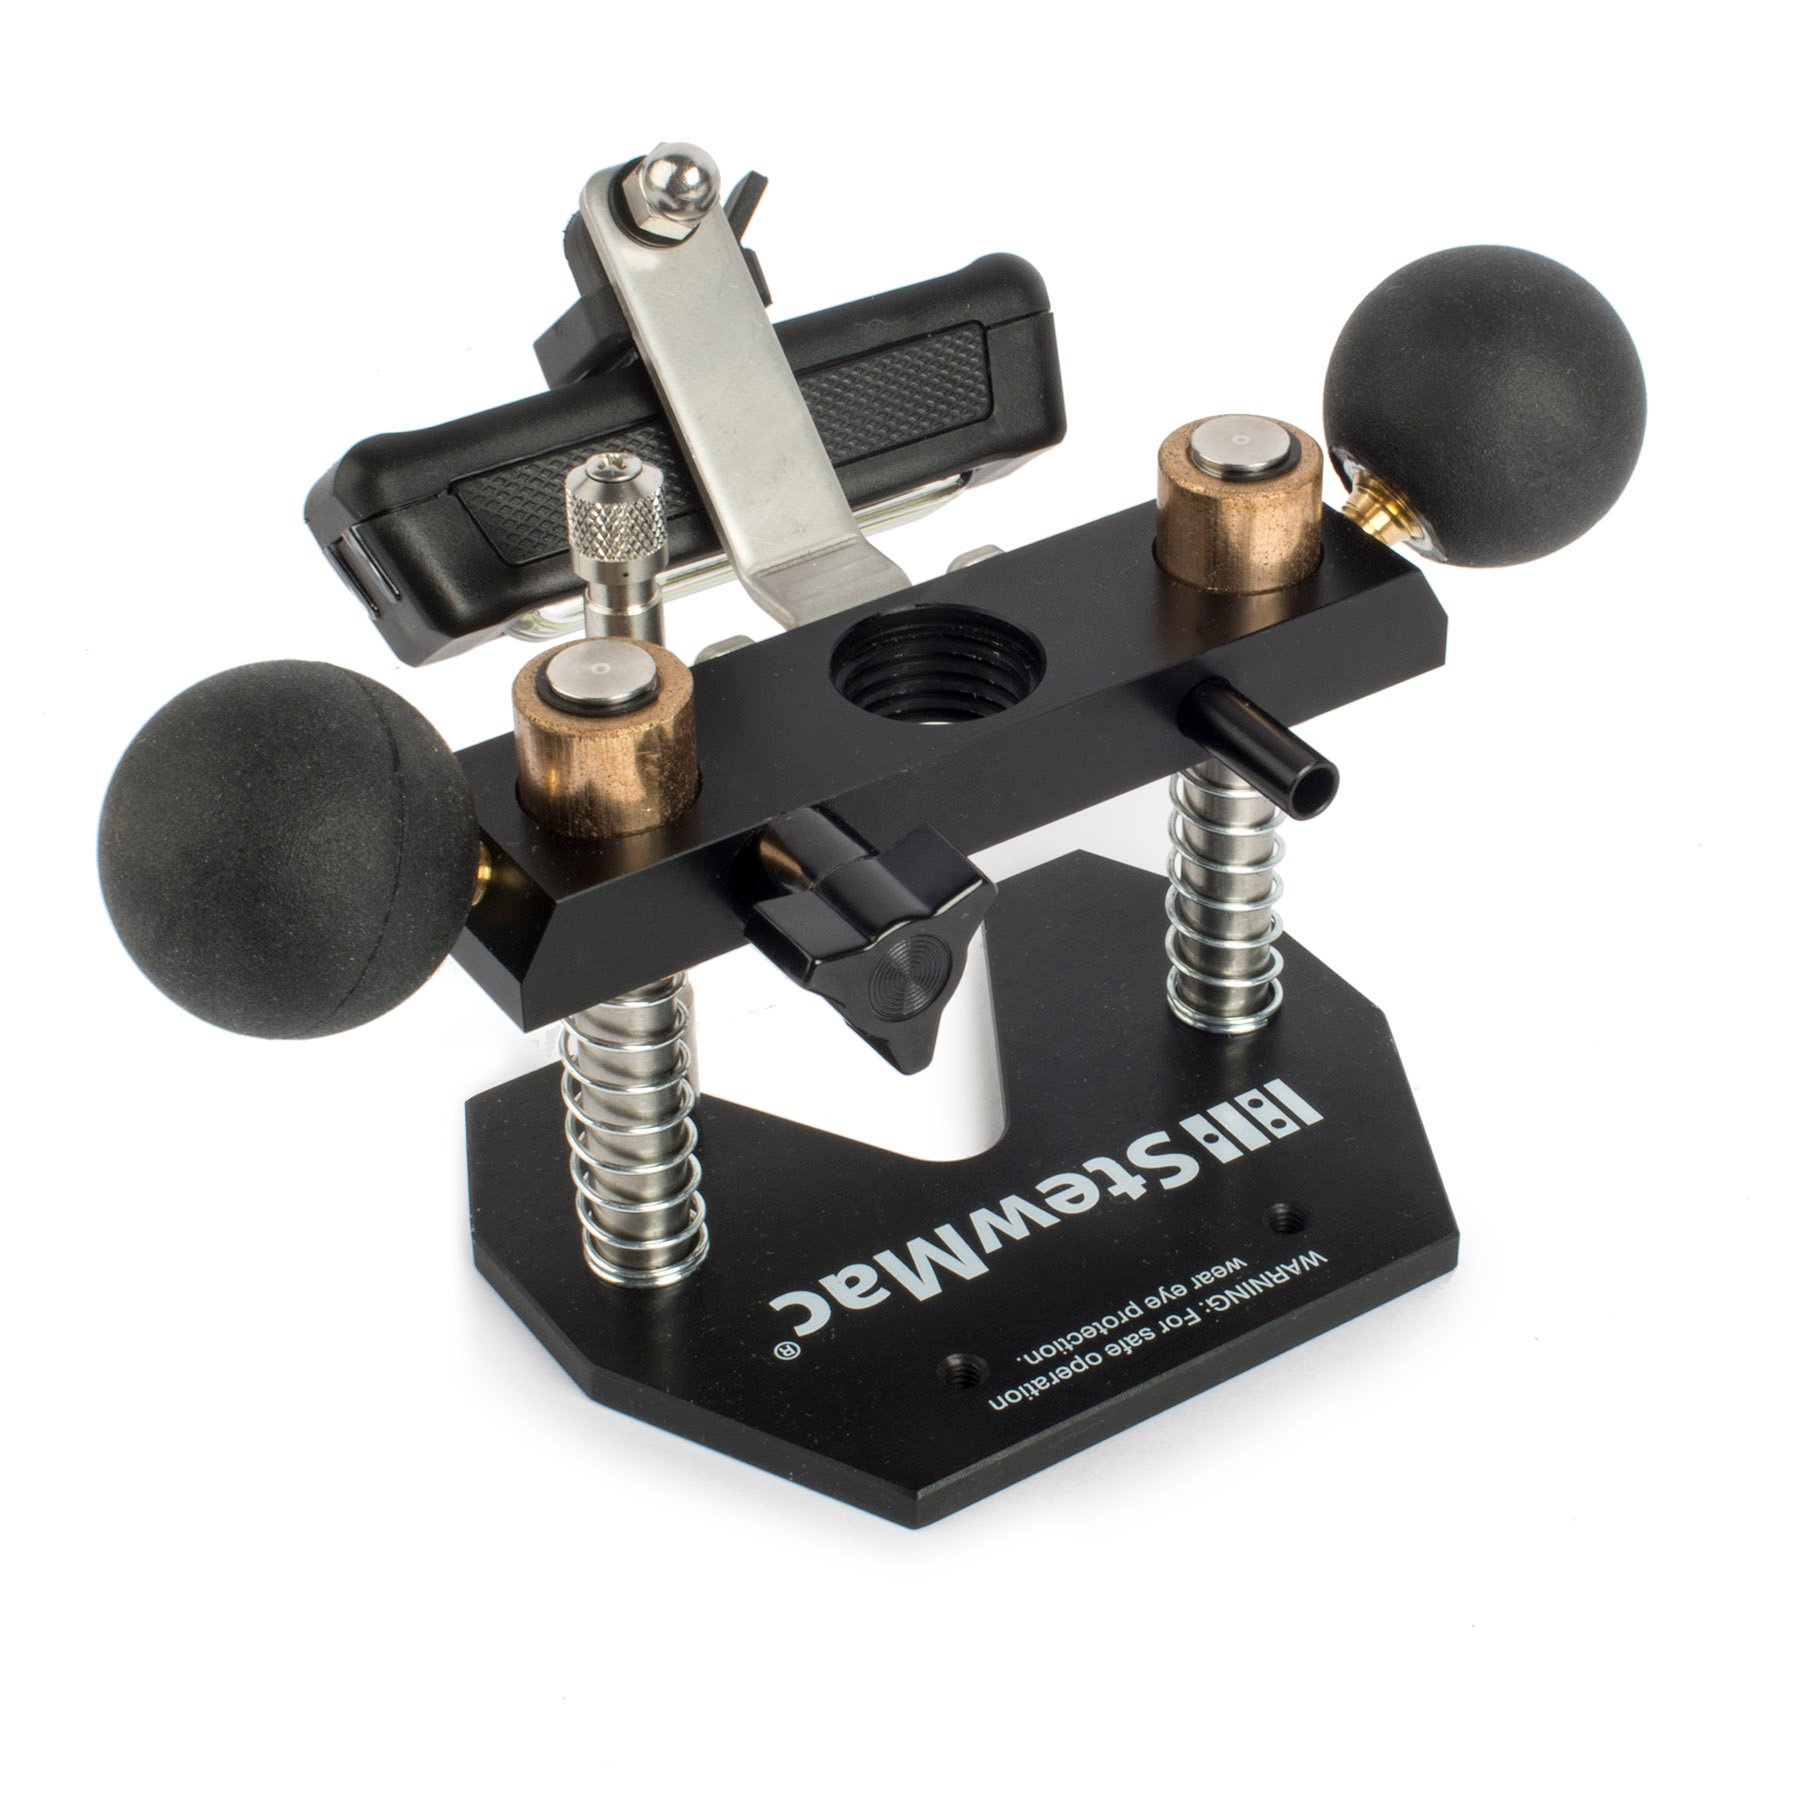
Instead I’m going to switch to my Dremel tool. I'm going to use this miniature plunge router. It’s nice to start by plunging through one of the holes I’ve already drilled, and then route my way out from there.

PRO TIP: You always want to wear a mask or a respirator when working with inlay dust. You don't want to breathe pearl dust. I also have a vacuum going at my workstation to try to keep as much pearl dust out of the air as possible.
I’ve stopped because I want to put down some tape along the border here. It'll give me a much better view of where I don't want to get too close with my router. Now I can see my path a little more clearly.
I left pearl all along the edges here, because I’m hoping that just a chisel tap will chip it out, but it's bonded in there pretty well. One thing I can say I've learned today is that Abalam doesn't come out easily. If this was solid pearl, it would pry right out.

You want your pocket to be as clean as possible. I’m going to carefully use acetone.
PRO TIP: I like to drop a little 1/2" repair magnet in my little mixing cup of acetone and set it on something steel on my workbench. That way I won’t be tipping it over accidentally since it’s so light, and getting acetone on things I definitely don’t want to, like the binding or finish. The acetone got the last of that glue and inlay out of there easily.
Cutting and Shaping a New Inlay
What You'll Need
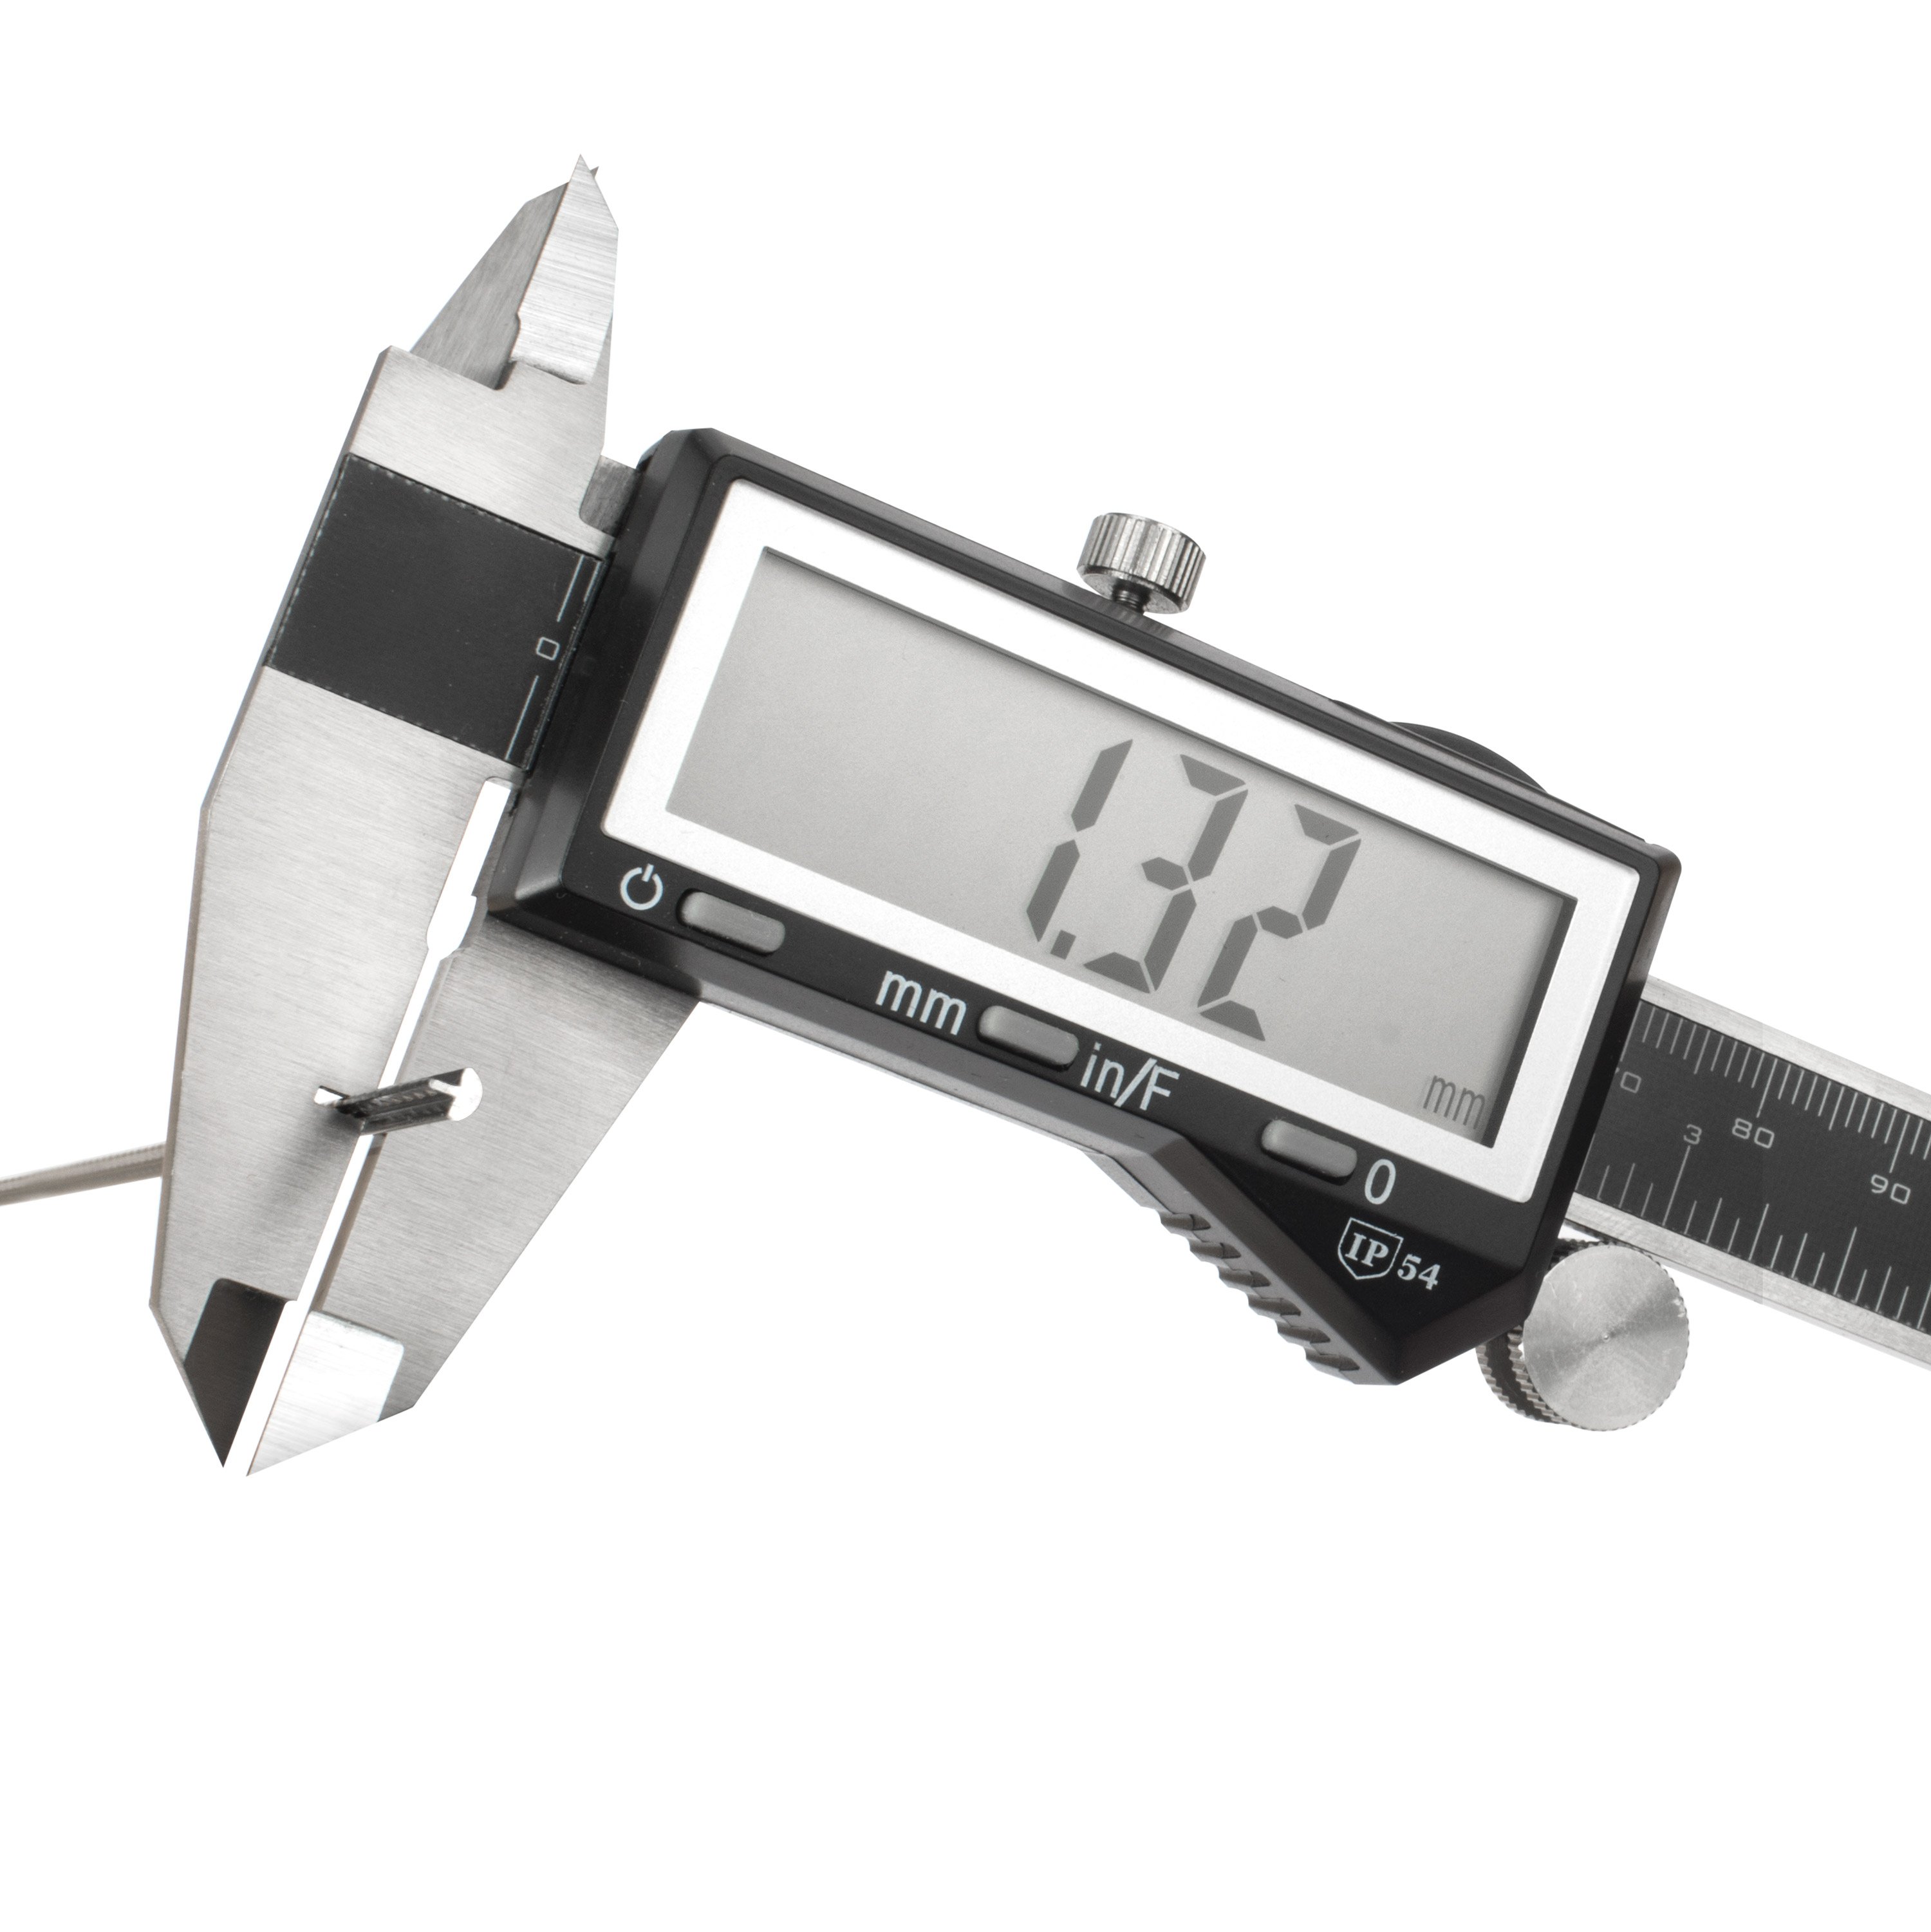
Luthier's Digital CalipersNext, I'd like to know how deep this cavity is compared to the thickness of the abalone. So I’m going to get out my calipers. First, let's measure the abalone: 0.049". Then using the depth-stop function on the calipers, I'll measure the depth of the cavity: 0.052".

That's very close in size. The cavity is just the slightest bit deeper. I'm ready to cut our new piece and if we can get a good shape on it, it'll drop right in. Then if it's too low, I'll put thin pieces of paper under it to shim it up when I glue it in.
I want to decide which part of this piece of abalone would look best in there, and then use my template to trace around it. The abalone has these little wavy lines on it that look similar to one of the other inlay pieces, and I think that will look nice.

I'm going to take my little template, and drop it in the routed pocket. When it's in, it leaves about 0.012" of a gap on one side, and it tapers up toward the edge on the other side. These are things I'll be sure to take into account when I trace and cut the abalone blank.
Next I’m going to take the hex template and put it up to the front edge of that blank, which is pretty straight and square, and then mark it with a pen.

I'm going to add a little bit of width to the design to accommodate for those gaps we saw, and I think I'll have a pretty good shape.
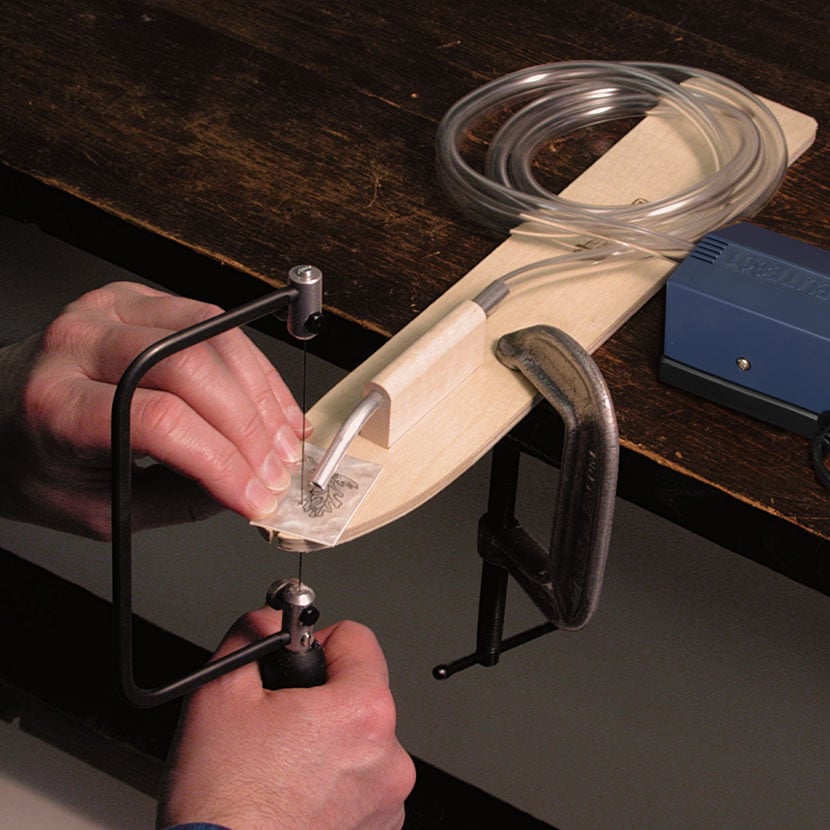
This is your main tool for shaping inlay, a pearl cutting saw.
We have extra fine, fine, and medium blades for the saw. I chose fine because I practiced on a piece earlier and it worked well. I've got a short stool here to sit on and it really supports my weight evenly. I have a jig clamped here, called a bird’s beak.
It's a little jig fixture to cut pearl against. StewMac makes a pearl cutting jig that you can attach an air pump to and lightly blow the dust away as you cut. If you use that, be sure to wear a respirator. You don't want to be breathing pearl dust.
Today I'm going to use this one that Craig Lavin made when he shot our pearl inlay video. You definitely want to watch that if you're getting into pearl cutting, because he is a master.
I’m going to position and rotate the abalone so that I’m always cutting a straight, directional line.

There we have it, and it's going to be a pretty one. See, we stayed outside the lines and that gives us some breathing room to shape it in. We'll see how it fits by getting the guitar back out and seeing where we need to trim.
What I've done here is taken the inlay and set it carefully over the routed area, until I can't see any of that cavity down there. Then I held it down very carefully, because it's going to want to slide just by touching it. Ever so carefully, I came in and laid tape on all the sides.
Now, I have a pretty good idea of where the inlay is hanging over the cavity. We need to take a lot off of one edge, and a little bit off of the others.

To bring this newly cut piece down to size, you have several options. You can use files, sandpaper on a flat surface, or if you have a belt sander, that's the fastest way. That's what I'm going to use. I put a little piece of Double-stick Tape on the top of the abalone so my finger can grip it.
This is a much bigger sander than I need for this job, but I'll try my best to be really careful. From this point on, it's just a matter of back and forth. Sand a little bit and test fit it. Sand a little bit more and test fit again, until you get it just right. Take your time and test fit often.
Well, that's almost a perfect fit. With that big sander I went a little bit too far and there is a little gap on one side. We'll take care of that later with a little of old Dan's magic. Don't worry about the leftover black marker, because that'll come off in the next step.

Radiusing the Inlay
What You'll Need
4" Radius BlockI'm about ready to glue the inlay in but before I can do that, I've got to radius the top of the abalone because the fretboard is curved and the pearl blank is flat. You can't put a flat inlay into curved wood or it will stick up on each end.
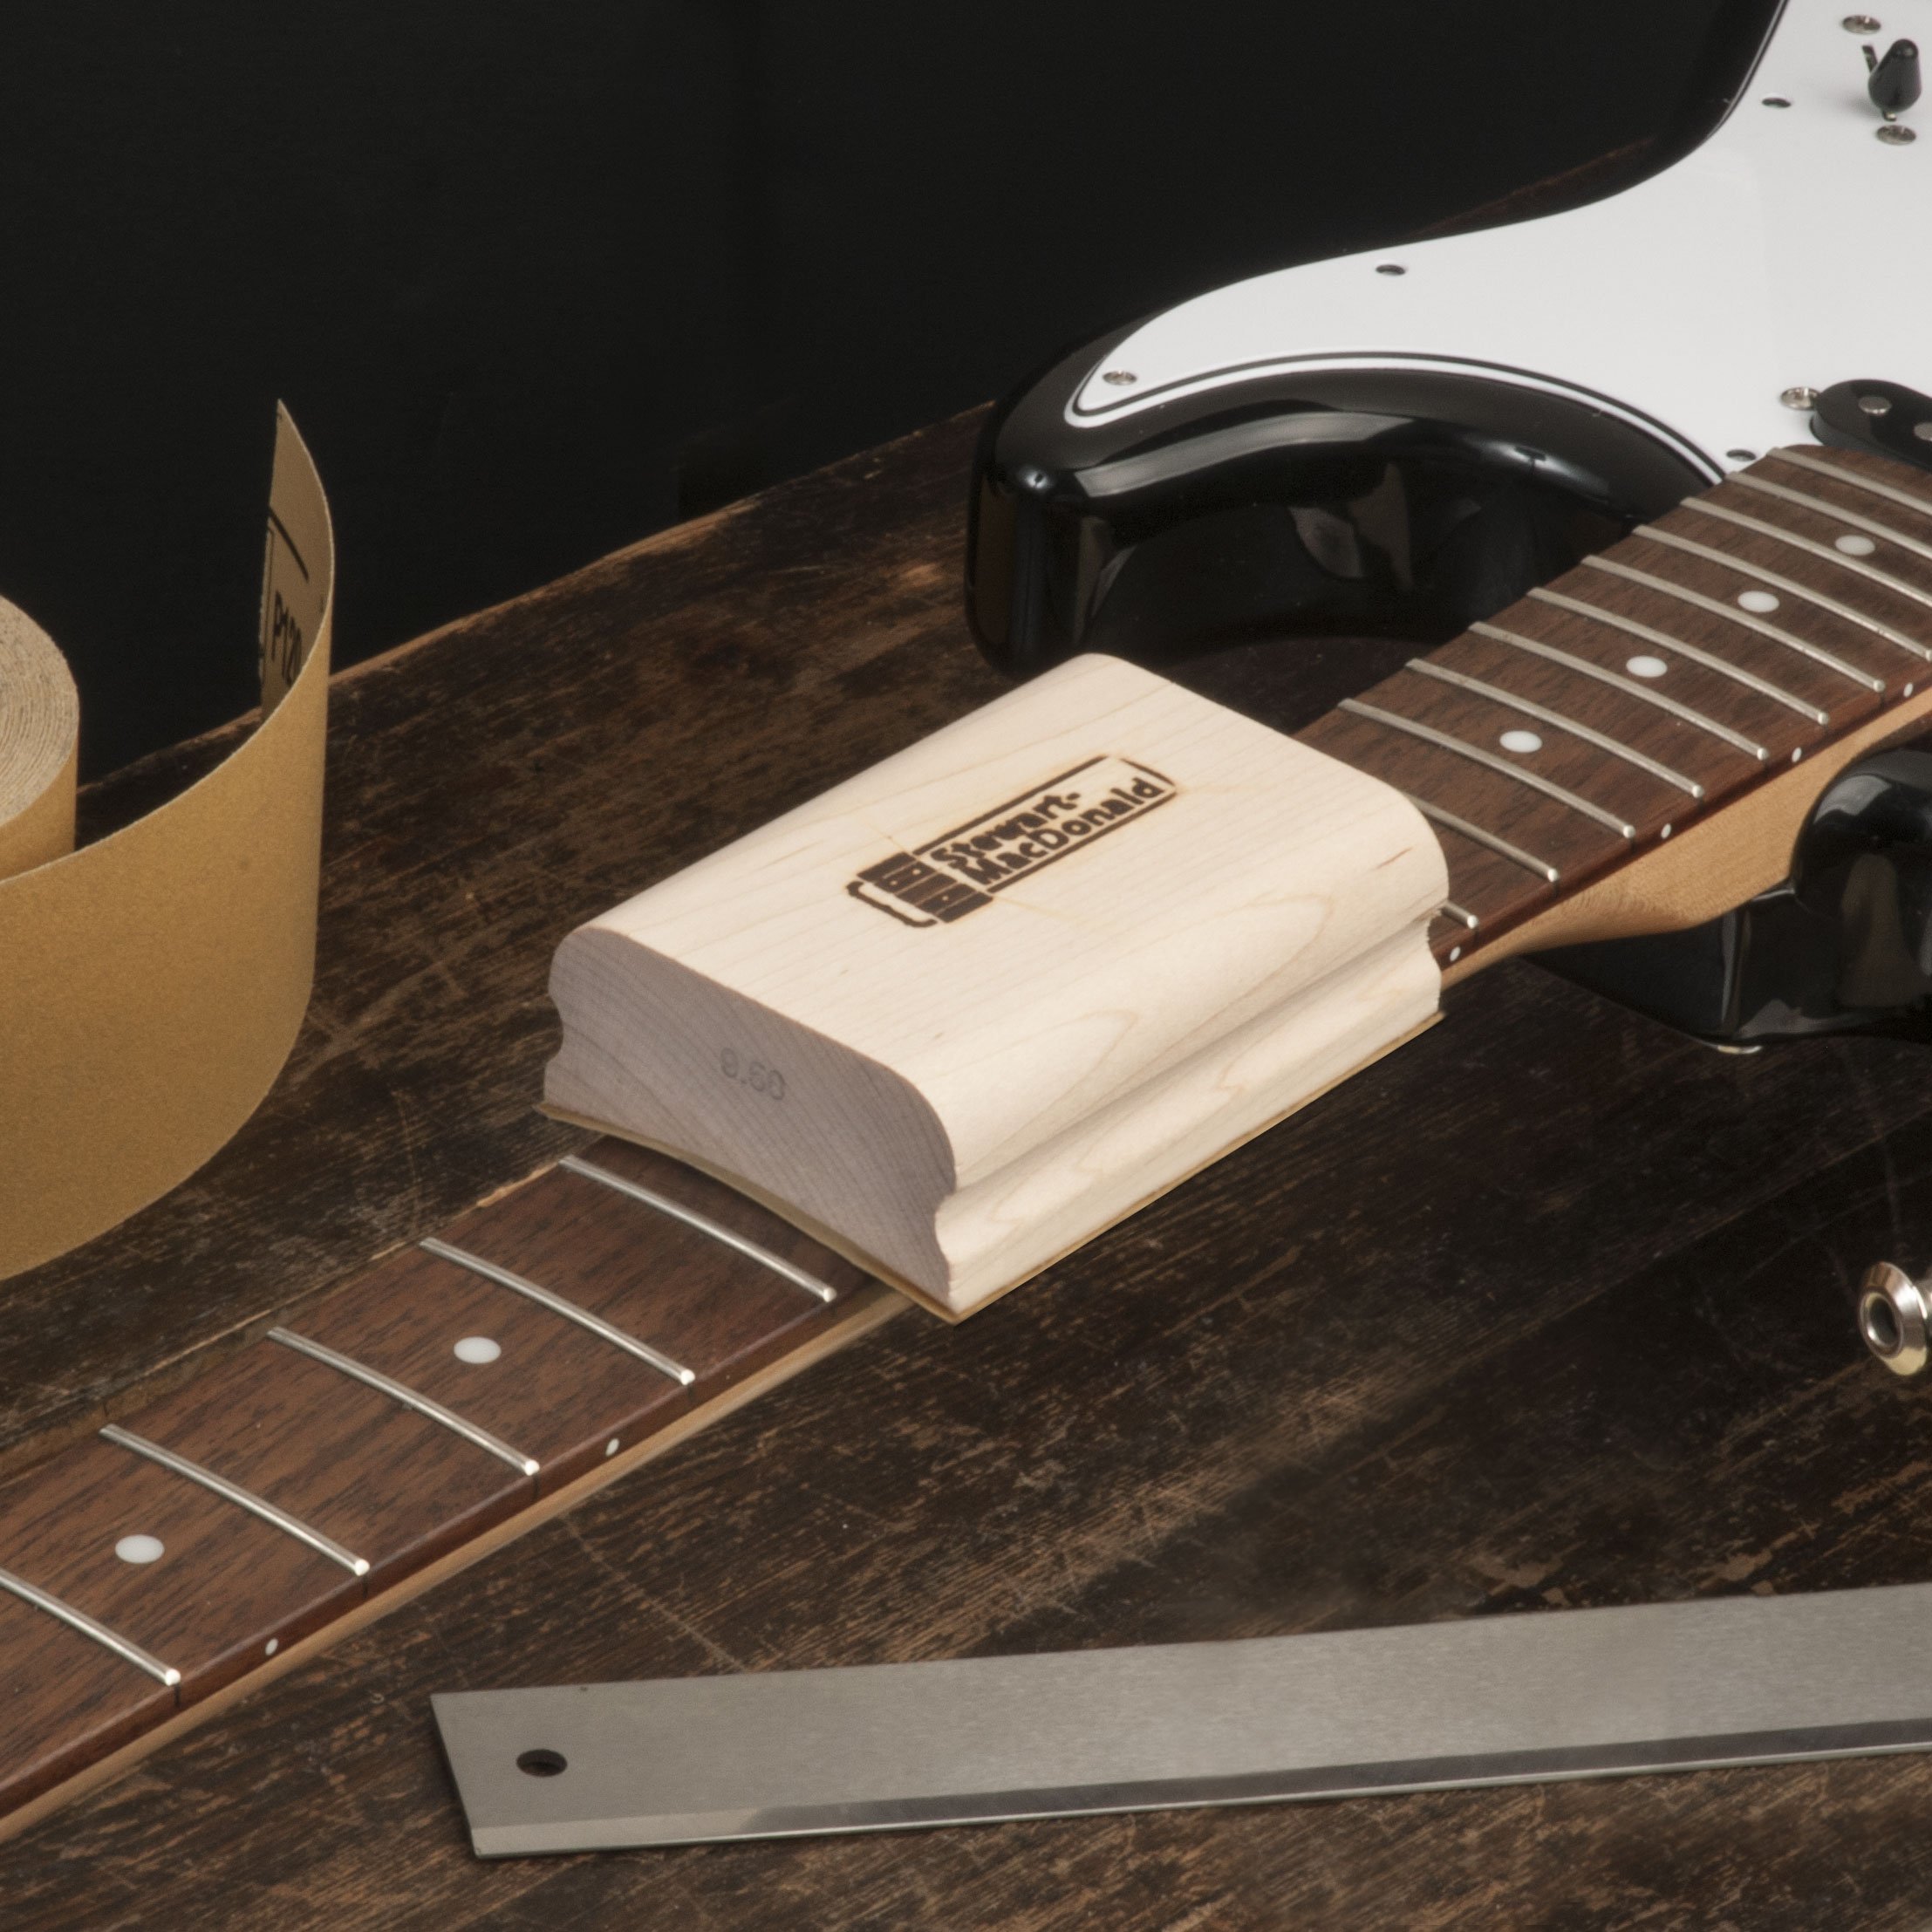
This fretboard has a 16" radius. I know that because it's a Martin and it’s been that way for years. So I have a 16" radius block.
Radius blocks are used to sand fretboards. If this guitar were a fresh build, or in my shop to have all of the inlay on the fretboard replaced, I'd be using a big radius block to sand them all at once. I definitely cannot do that on a totally finished guitar though.
We have to pre-radius the inlay blank. I'll be using a number of different grits of sandpaper, with double stick tape on it to stick it to the radius block. I'm going to start with 220-grit. I could start with 120 if it were a bigger piece maybe, but you can lose a little color as you go through the layers of abalone. So I don't want to scratch it too deep.
PRO TIP: I made a fence to help steady my hand as I sand and polish. Just a chunk of wood with a straight edge that I clamped at the end of my work table. Then I squared it up so that the radius block, when it rides along the fence, will always be on the center line and we won't get a wonky, misshapen radius. Another tip is to lay your scrap inlay next to your piece while you sand. This will help stabilize the radius block, and keep it from rocking.
I'm putting pencil marks on the top of the abalone so I can see my progress. The 220-grit is going to take the most off on the edges and that's going to happen pretty fast.
Now I want to put some pencil marks back on it and I'm going to switch to a different grit, 320. It's just a few strokes with each level of grit.
It's not too early to check the radius. I'm going to use this little Fret Slot Depth Gauge.

We could be there, folks. So what I'll do is change right to a 400-grit and start polishing it. I'm not trying to take any more off, just polishing what's there.
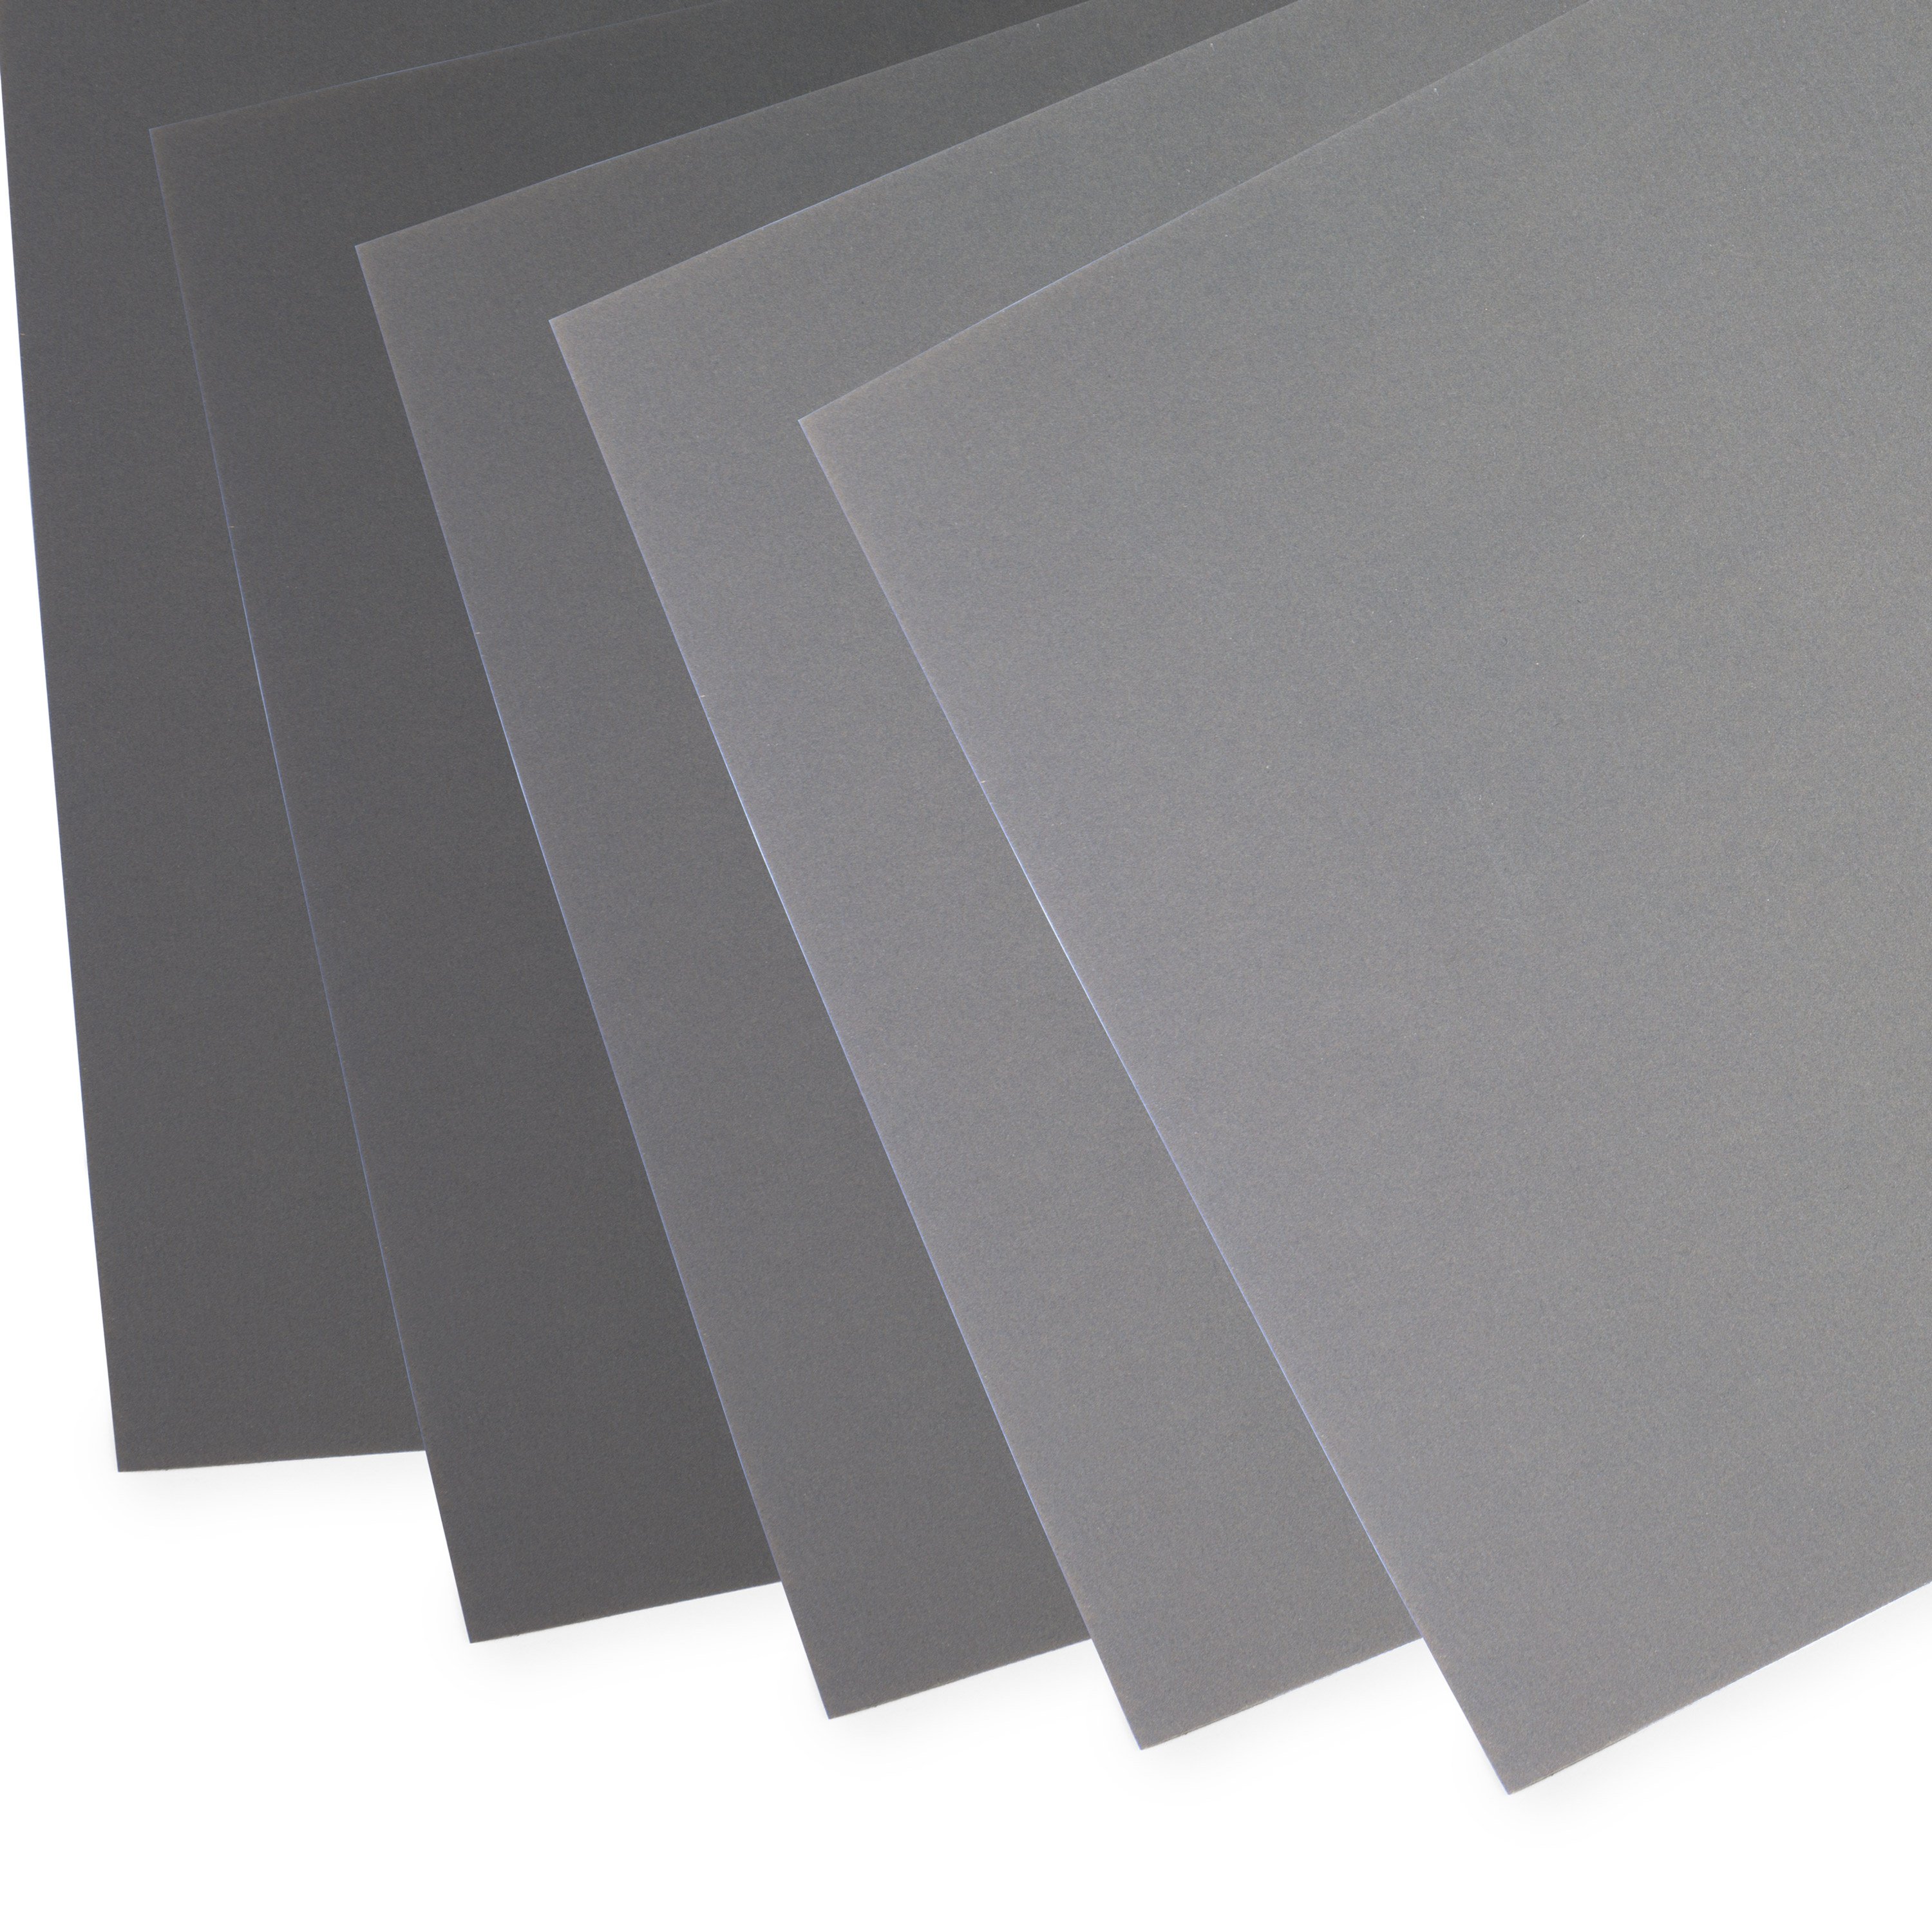
After that I’ll switch to the 600-grit. Each time I do it, I'm still going to put a little pencil on it because that tells me I'm really polishing evenly. Next is 800. Even though I can almost stop at 800, I'm not going to. I'm going to go through 1000, 1200, 1500 and 2000-grit Micro Finishing Papers.
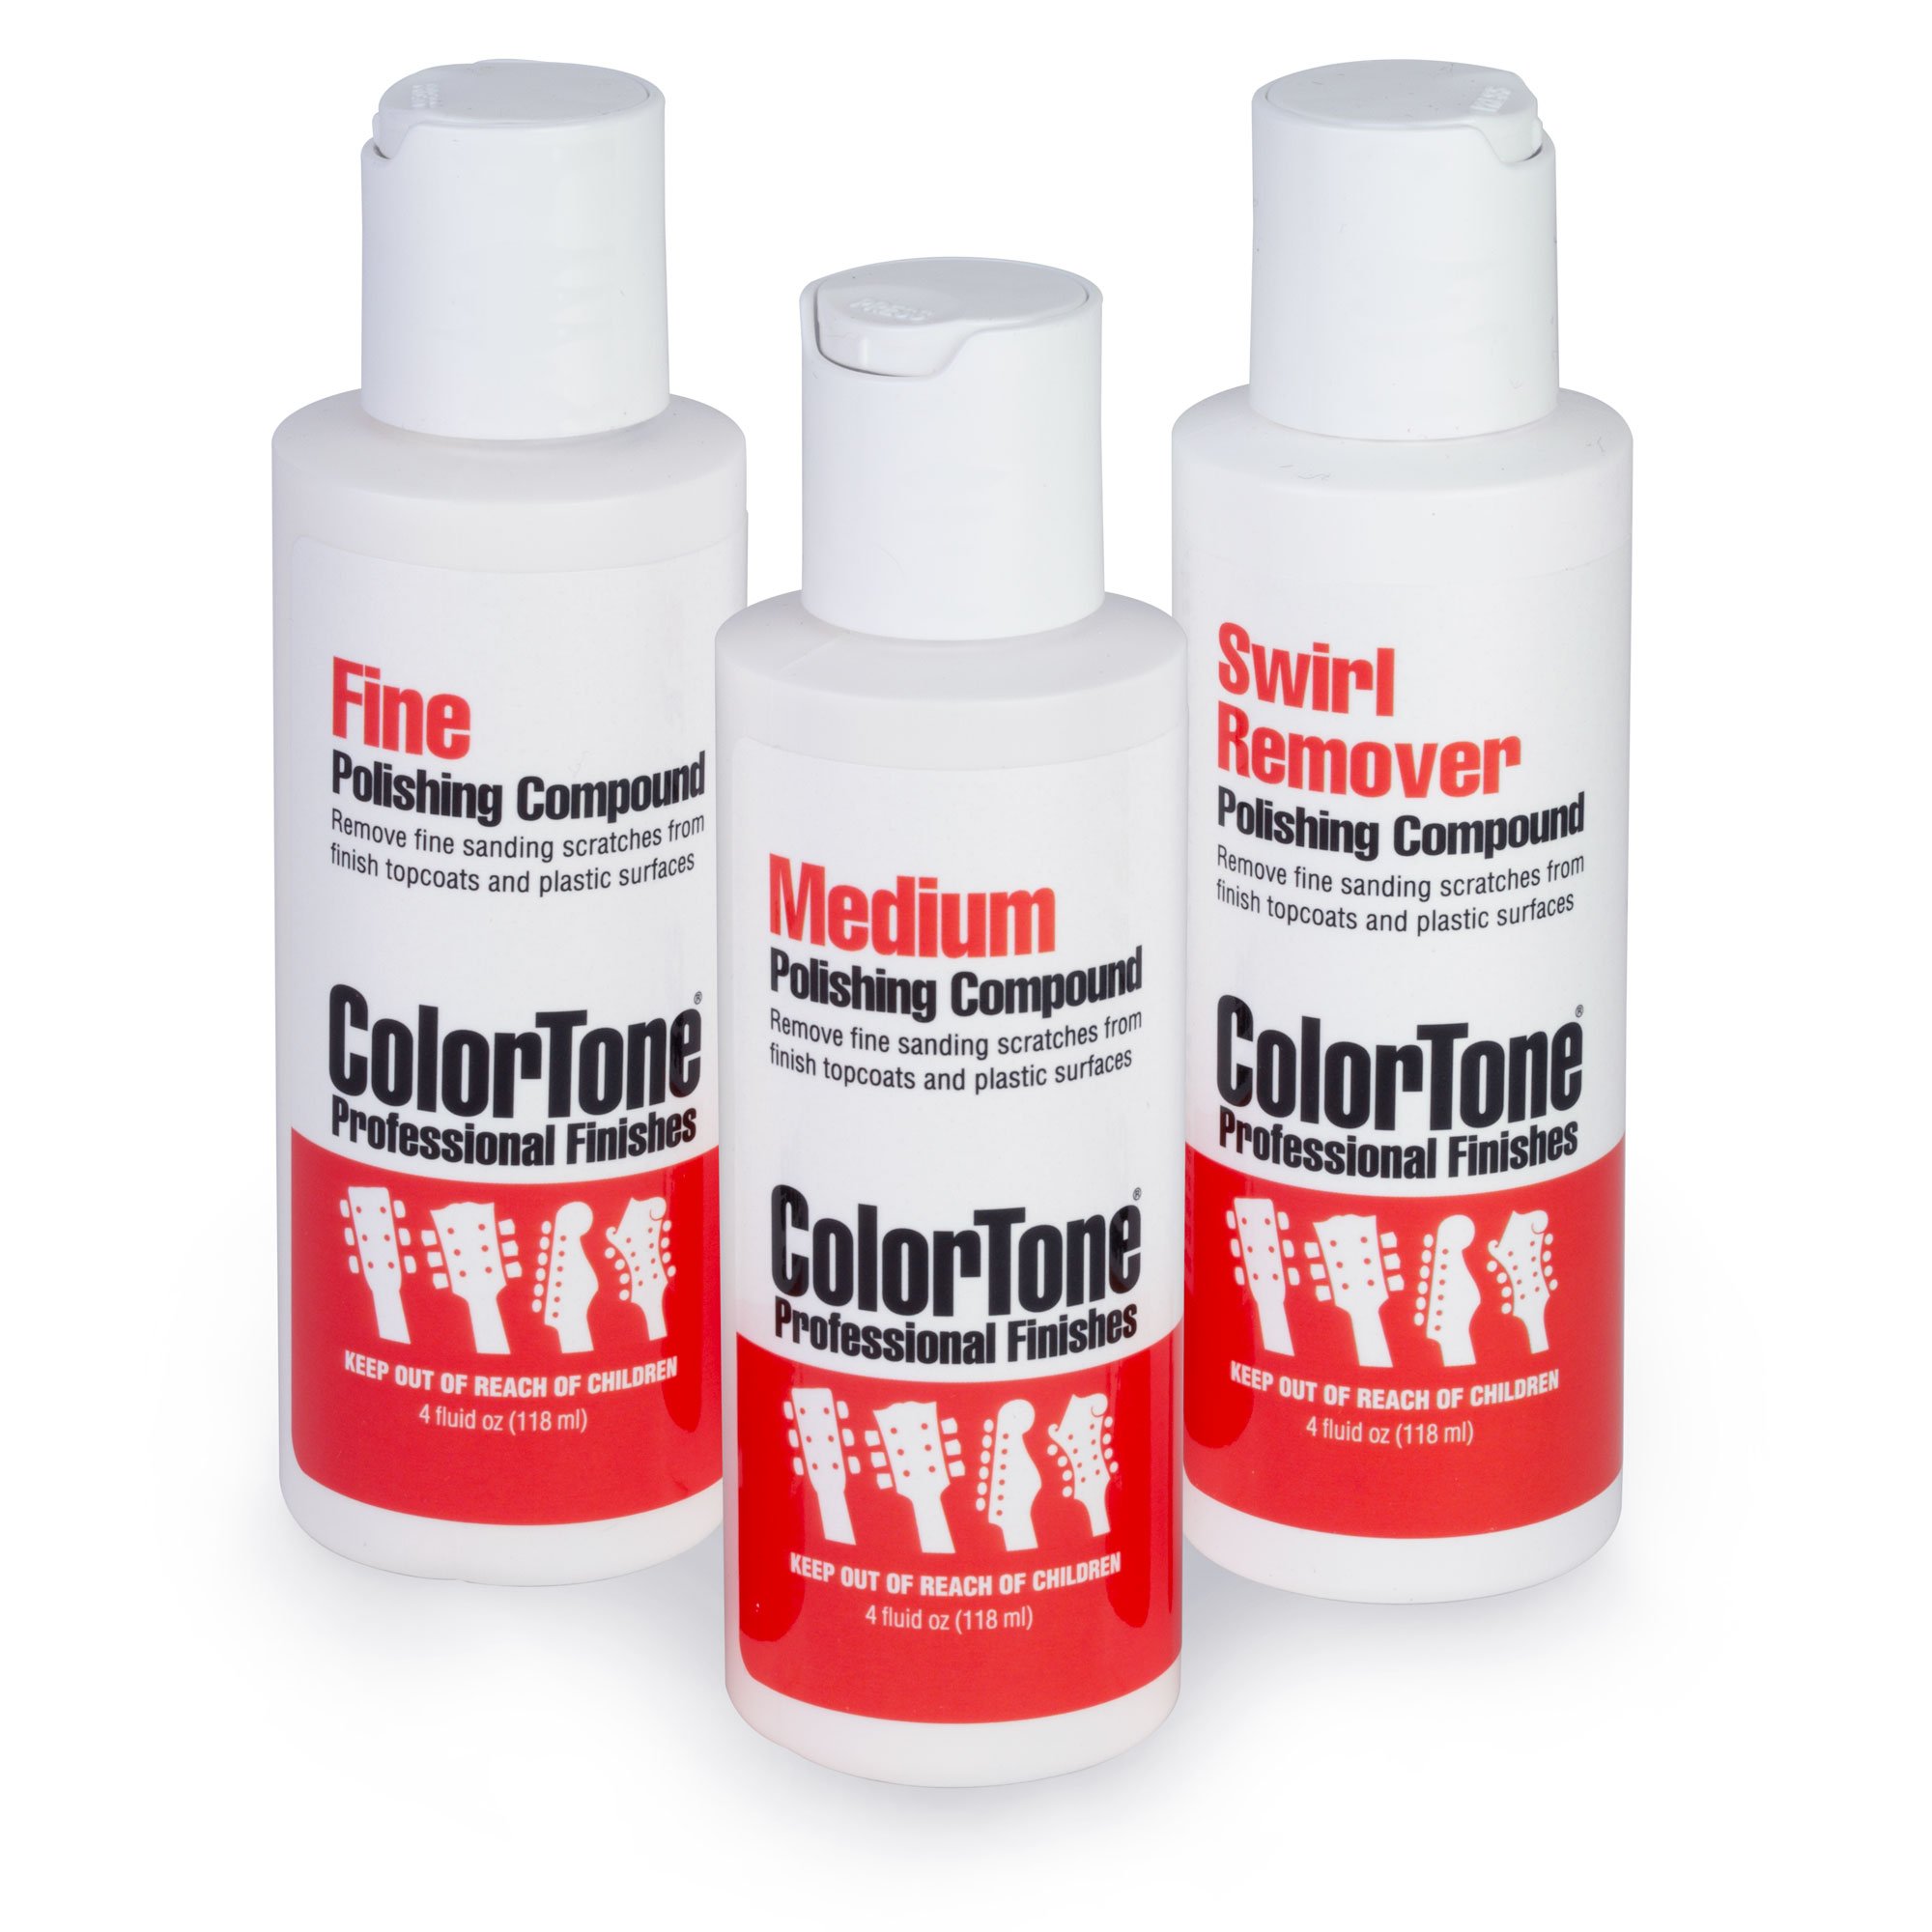
And now for the big moment, let's test fit this and see how well we've done. The height feels perfect. It's flush to the wood around it. Your fingers are a really good testing device, believe me. It's just beautiful. And whatever glue I glue it in with will fill the little teeny cracks on the outside because there'll be black in the glue. I'm going to use a piece of paper towel, put a little polishing compound on it, and wipe down the inlay piece. This will just put a nice shine on that abalone.

Installing the Inlay
What You'll Need
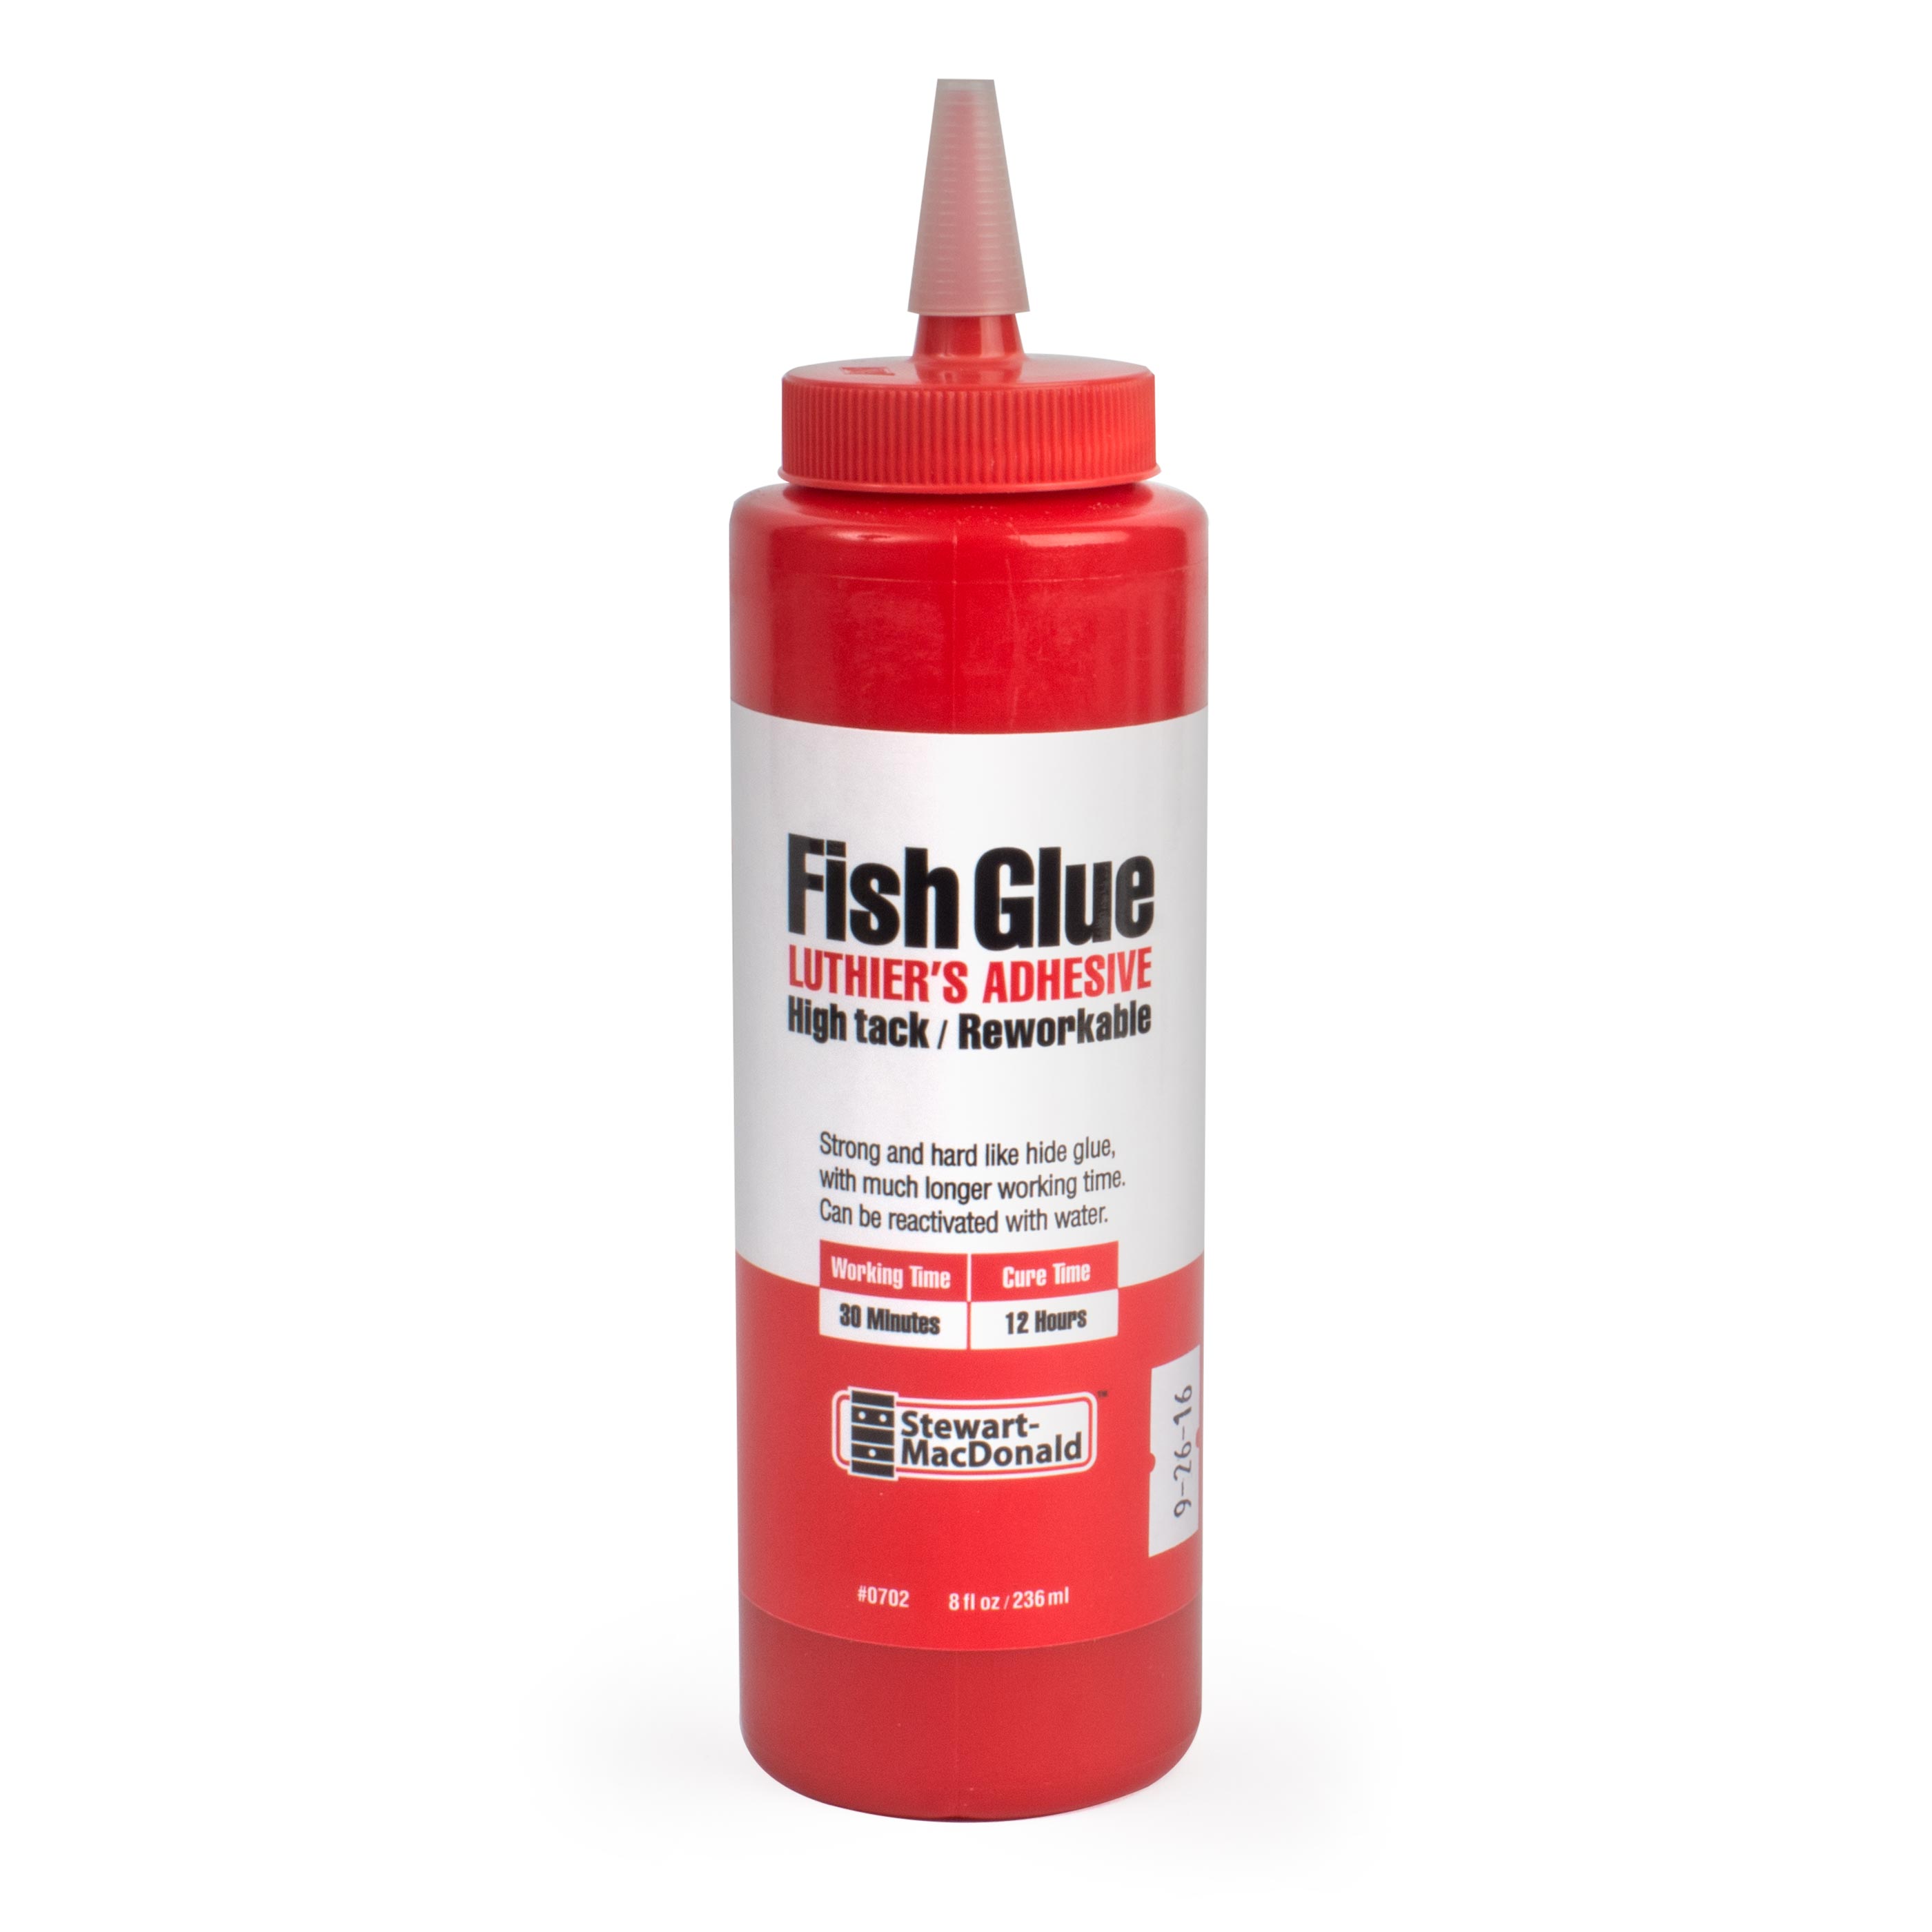
Fish GlueOkay. We've got the inlay polished and flush in the board and it's time to glue it in. You have a lot of options when it comes to the glue to use. A standby is this two hour epoxy that mixes up jet black. Inlayers all over the world use that. Another glue would be black super glue. I'm not going to use these though, because I can't wipe them with water. These are great options for a new build, when you’re able to sand and finish the whole neck after gluing in the inlay.
Instead I'm going to use a water-based glue. Could be hide glue, fish glue, or Titebond. These are all water soluble and easier to clean up. On this project I’m going to be blending this glue with this black powder, so that’s going to affect my glue choice. The Titebond is a creamy white color, and it would take a lot of powder to ever get a real black out of it.
I think I'll use fish glue. Fish glue is already mixed, it's translucent, and it doesn't take a lot of powder to make it black.
When I press this pearl down into the glue filled cavity, it's going to ooze up through any fissures and cracks. So before I start, I'm going to tape off right up to the edge.

That way, I can peel the tape off and take most of the excess glue with it when I’m done. I'm going to mix my glue in my favorite mixing dish. It's the little package that your repair magnets come in. I've saved these for years. I probably have 40 or 50 of them because they're perfect little mixing cups.
This glue has a long open time. That's another reason I might not want to use hide glue because it sets up very quickly. So I want to coat the bottom of the pocket with this glue and black powder mixture. When we press the abalone in there, it will ooze up and fill in those gaps on the side.
Next I’ll drop my new inlay into the pocket and gently press it down. Now we can take the tape off. It didn’t get all the excess glue, but that’s why we used a water-based glue. It will be easy to clean up. I'll take off some of the excess glue with a little cleaning swab.

Now I'll let this dry a few hours and come back with some hot water on a cloth, and the remaining excess glue will come right off. Finally, once it’s fully dry, I’ll go over it with some 12,000-grit Micro-Mesh to buff it out one last time.

I love the way this came out. It all worked out perfectly, and I think that my customer is finally going to have his dream guitar. I hope you've enjoyed this tutorial and learned something.


