What's So Special About this '55 Special?
Join Dan and Gene as they geek out over a vintage gem—a 1955 Gibson LP Special in mint condition! Learn about its historical significance, pick up some tips on how to authenticate and date a vintage guitar, and watch Dan and Gene do some minor repair work to restore it back to its original glory.
Video Transcription
Dan Erlewine: In all my years of working on guitars, I still get excited when a great one comes through the shop. This week's showstopper is a 1955 Gibson Les Paul Special in the classic TV yellow. It's got the unmistakable P-90 pickups, Brazilian rosewood fretboard, and it's in extraordinary mint condition, almost like it just rolled off the factory line. To see a vintage guitar like this in such immaculate shape, back from a time when the electric guitar was still a new invention, it's a jaw-dropping moment for me.
Gene Imbody: If you're a real guitar nerd like us, you know how great this guitar really is. 1955 was the year that Gibson released the Les Paul Special. They only made 373 of them that year, and there are some details about this one that lead us to believe it's one of the first few that were ever made.
Dan: Whenever a guitar like this comes in the shop, the first thing we do is check out what sort of repair work, if any, it might need. The second thing is we go through it with a fine tooth comb to evaluate every little part and see what might've been done to it, and to tell the owner if it's original. So we're going to run you through the process of dating this piece of history, and we're going to look for any repairs it might need, and if you stick around and all things go well, at the end, we're going to have a special surprise for you. So Gene's going to start us off here and show us how he goes about dating and authenticating a vintage guitar.
Dating and authenticating a vintage guitar
Gene: Where I like to start is just with some general history of Gibson, and of this particular model, and to me the best place to do that is with an original 1955 Gibson catalog.
Dan: And I haven't seen one of these in a couple of minutes.
Gene: How cool is that, huh? So in 1955, Gibson offered five models of solid body electric guitar, at three basic price points. So the top of the line was the custom. It was all mahogany with a carved top ebony fretboard. It was more ornate, gold hardware. It sold brand new for $360, and it was also the first Les Paul model to feature the Tune-o-matic bridge. Then in the mid-level was just the basic Les Paul model guitar-
Dan: Gold top.
Gene: The gold top, right. So it had a gold maple top, mahogany body, mahogany neck, Brazilian rosewood fretboard. So it was still quite fancy, but the $235 price tag made it a little more accessible. Then at the bottom tier you had the Les Paul Junior and the Les Paul TV model.
Dan: You own a '55 junior, right?
Gene: I do. I've had a lot of different Les Pauls over the years and it's one of my favorites. Still all mahogany and beautiful Brazilian rosewood on the fretboard, no binding, single P-90 pickup. The Junior was about $100, the TV model was about $120. So we have these three basic price points and then in 1955, along comes our star of the day, the Les Paul Special. For $169.50, this fit in perfectly between the bare bones Junior and its bigger brother, the Gold Top Les Paul. So it has two P-90s, four controls, a switch, bound fingerboard, pearl inlay. It was a little bit nicer and more sonically diverse than the Junior. But the really cool thing about the Special was the finish, TV yellow. For the Special, they called this "limed mahogany." What's interesting is that they also had the TV model Junior, which they called "limed oak."
They're both the same woods, same finish, and there are different theories about this color, but what I think is most plausible is the popular furniture finish of that time was called "limed oak." You found it on lots of different things. What was really popular were TV consoles. This was their limed mahogany TV yellow special. The other popular theory around this finish was that on black and white televisions, a white guitar looked overblown. Yeah, it just stood out too much. So with a little bit of yellow in that color, it actually appeared more white on TV, right?
Dan: That's what I've always heard.
Gene: Okay, well that's a brief history on Gibson guitars. Let's get back to actually dating and authenticating this, and we start with the serial number.
Dan: Cool. With the Gibson from this era though, man, the serial numbers were all over the place. They could change the numbers on the year. They could change it whether it was an electric guitar, an acoustic guitar, sometimes they reuse numbers, so you can't just judge by the serial number.
Gene: Yeah, we always look at other details too, but it's the best place to start.
Dan: And I see six numbers [Dan points to the back of the peghead]. Tell me what that means.
Gene: In 1953, Gibson started a new method for serialization of their solid body electric guitars. It originally started out as five numbers, a single digit followed by a space and then four digits. The very first number represents the last number in the year, 5 for 1955. The remaining numbers would be the production number of the guitar, and then in 1955, as the level of production increased enough past the 9,999 mark, that space rolled over into a one. So then you ended up with six digits and no space. I was unable to find a 1955 that had a space and then four digits for the production number. That doesn't mean they don't exist, but I think they're more rare and if we could find one, that would mean it would be earlier in '55. I think that this 11,000 range production number is probably around the time when they came out with the Special, but there are a few other things that reinforce the hypothesis we already have here, based on the serial number, and the most obvious that Dan and I noticed.
Dan: Pickguard.
Gene: Yeah, the space between the two pickups. You've got about a quarter inch on either side, and then as you look at later '55s with a higher serial number, this pickguard is touching or really close to touching. Another clue that we have an early Special can be found in the electronics cavity. Take a look here at these capacitors. See we have Grey Tigers. These are the caps that you find on older Les Paul's, earlier '50s. Sometime around mid-'55, these changed out to Bumblebee caps, and then you find those going forward. My last bit of evidence that this was an earlier version of the Special are the tuners it came with. You'll notice these have been changed. We'll talk about that more in a minute, but these original tuners are referred to as no-line Klusons. That means they didn't say anything on the back.
There's nothing that says Kluson, Kluson Deluxe. Later on you find what we have here and what was on my '55 Junior, these are called single line. It's kind of hard to see on these old ones because they're rusty, but it does say Kluson Deluxe right down the center. A lot of the Specials I found around this serial number and earlier had the no-line Klusons on them. You see these on older Les Pauls. In later years, they actually went to what they call the double-line Kluson. Here's an old set of six on a strip, but they say "Kluson Deluxe" in two separate lines. So you can find examples that stray from this, but I think it's worth mentioning, it's just more evidence. This may be one of the first few they ever made.
Dan: Yep.
Gene: There's one last thing we could look at that would really narrow all of this down and remove any doubt, and that would be to drop this harness and look for the serial number on the control pots. I've gotten in here with a small mirror and a light and I can't quite make out a number. There's some tarnish and some rust around these. Here's a '50s era Gibson control pot. If you look closely, right on the side here, we have a serial number. We can use that serial number to not only date the year, but that will take us down to the week that this control pot was made, and that would help us obviously narrow down when this guitar was built, but-
Dan: We don't want to.
Gene: We don't want to do that.
Dan: We could be taking a volume knob off and it could pull the shaft out, or chip the little bit of this.
Gene: Or chip the finish. Look how pretty this finish is. It's pristine.
Dan: So good that-
Gene: I think with the rest of this stuff... We know for sure it's a '55. There's no question. It's part of knowing when not to do something on a guitar like this.
Dan: So all signs point to this being an original early '55 Gibson Les Paul Special.
Gene: We've gone through everything on this guitar. We even took a black light to it to make sure there's been no finish touch-up or any less obvious repairs that aren't visible under normal light, and this thing is super clean.
Dan: So the inevitable question is, what do we think this guitar is worth?
Gene: What plays the biggest role in this guitar's value is that it's mint. It's all original and it's in such pristine condition. Even the truss rod doesn't look like it has ever been touched. All of the original black lacquer that Gibson sprayed is still on the nut. I don't think anybody's even had a wrench on this.
Dan: If you get a wrench on that a number of times, the paint will start coming off.
Gene: Yeah, it'll come off immediately. So the paint's on there. There's not a bunch of thread poking out. It's in great shape.
Dan: The Les Paul Special looks so perfect. It almost looks like it's been refinished, but it hasn't.
Gene: It has not.
Dan: Got the original nut.
Gene: Still has the lacquer on the edges, and then we get down into the frets. I mean, you don't find that size fret wire anymore, do you?
Dan: Nope. Those frets, I mean, even the little nibs are still there. That's original frets.
Gene: What you find almost on every single one of these from this year is either that this plastic jack plate is cracked and broken, or it's been replaced. This one is perfect.
Dan: Amazing.
Gene: And then there's these old speed knobs that are in perfect condition. I love these things. This was the last year you'd see speed knobs on a Les Paul Special. In '56, they changed them out for top hats. Another thing I think is really cool on this is if you take the pickguard off, you would expect to see a pretty significant shadow under this, right? From where the finish around the pickguard has been exposed to light, and you definitely see it-
Dan: Oh, that's not much.
Gene: But it's not much, really.
Dan: It definitely wasn't sitting in the music store window.
Gene: And another thing we noticed right away on this was, it doesn't have the typical problem you see on these where the bushings have blown out. Let's take a look at these bushings and we can compare this to my '55 Junior which had this problem. So we got a little bit of lean here, but there's no damage. Everything's structurally solid. Back when this guitar was brand new, they didn't have light gauge strings at that time, did they?
Dan: Nope.
Gene: No. They had heavier strings, and usually a wound G on all of these. It was common for those heavy strings to pull forward, and all of this would start leaning, then everything would collapse forward, and you'd get cracks and that wood pushing out. That has not happened at all. This is all still totally pristine. Let's take a look at my '55 Junior, and have something to compare this to. When I got this guitar, everything was pulling forward. The studs had given way, this wood was breaking out into the cavity, and then you see this damage here that's been repaired. It's really cool that we've got an example here from the same year that hasn't had any of this damage. Well, the last thing that plays into the value of this guitar is the case, and what's in it. First of all, this is beautiful.
Dan: This it's in great shape.
Gene: Original case in beautiful condition, but what's in the case is even cooler. But check this, look, there's an old original cable, an original strap that would've come with this. How cool is that? I'm definitely old enough to remember when every guitar I first had had a pitch pipe in the case pocket. There's some original case candy, original key-
Dan: You can lock this thing.
Gene: ...to the case.
Dan: He probably locked it every night, and that's why it's in such good shape.
Gene: Original hang tag, how cool is that?
Dan: And that pick, that's antique. It's beautiful.
Gene: So given the shape it's in and all the cool little bonus things we have in the case, and the case itself, and I'd say this guitar is probably in the $20,000 range.
Dan: I would agree.
Gene: Yeah, that's probably-
Dan: Should be.
Gene: ... the upper range of what these are worth. If it was in worse condition or some things have been changed out or we had some other repairs, you might get down to half of that, 10, 12, maybe $15,000.
Fixing the binding
Dan: But the price is no issue here, because the owner inherited this from his grandfather who bought it new in '55. However, going through the guitar from a repair point of view, we did find three things that needed attention. I did notice there was a piece of binding missing on the end of the fretboard, and I don't know why that piece is gone. Somebody might've taken the pickup out or it just fell off. But I did take some footage of that when I did it, and I'll show it to you right now.
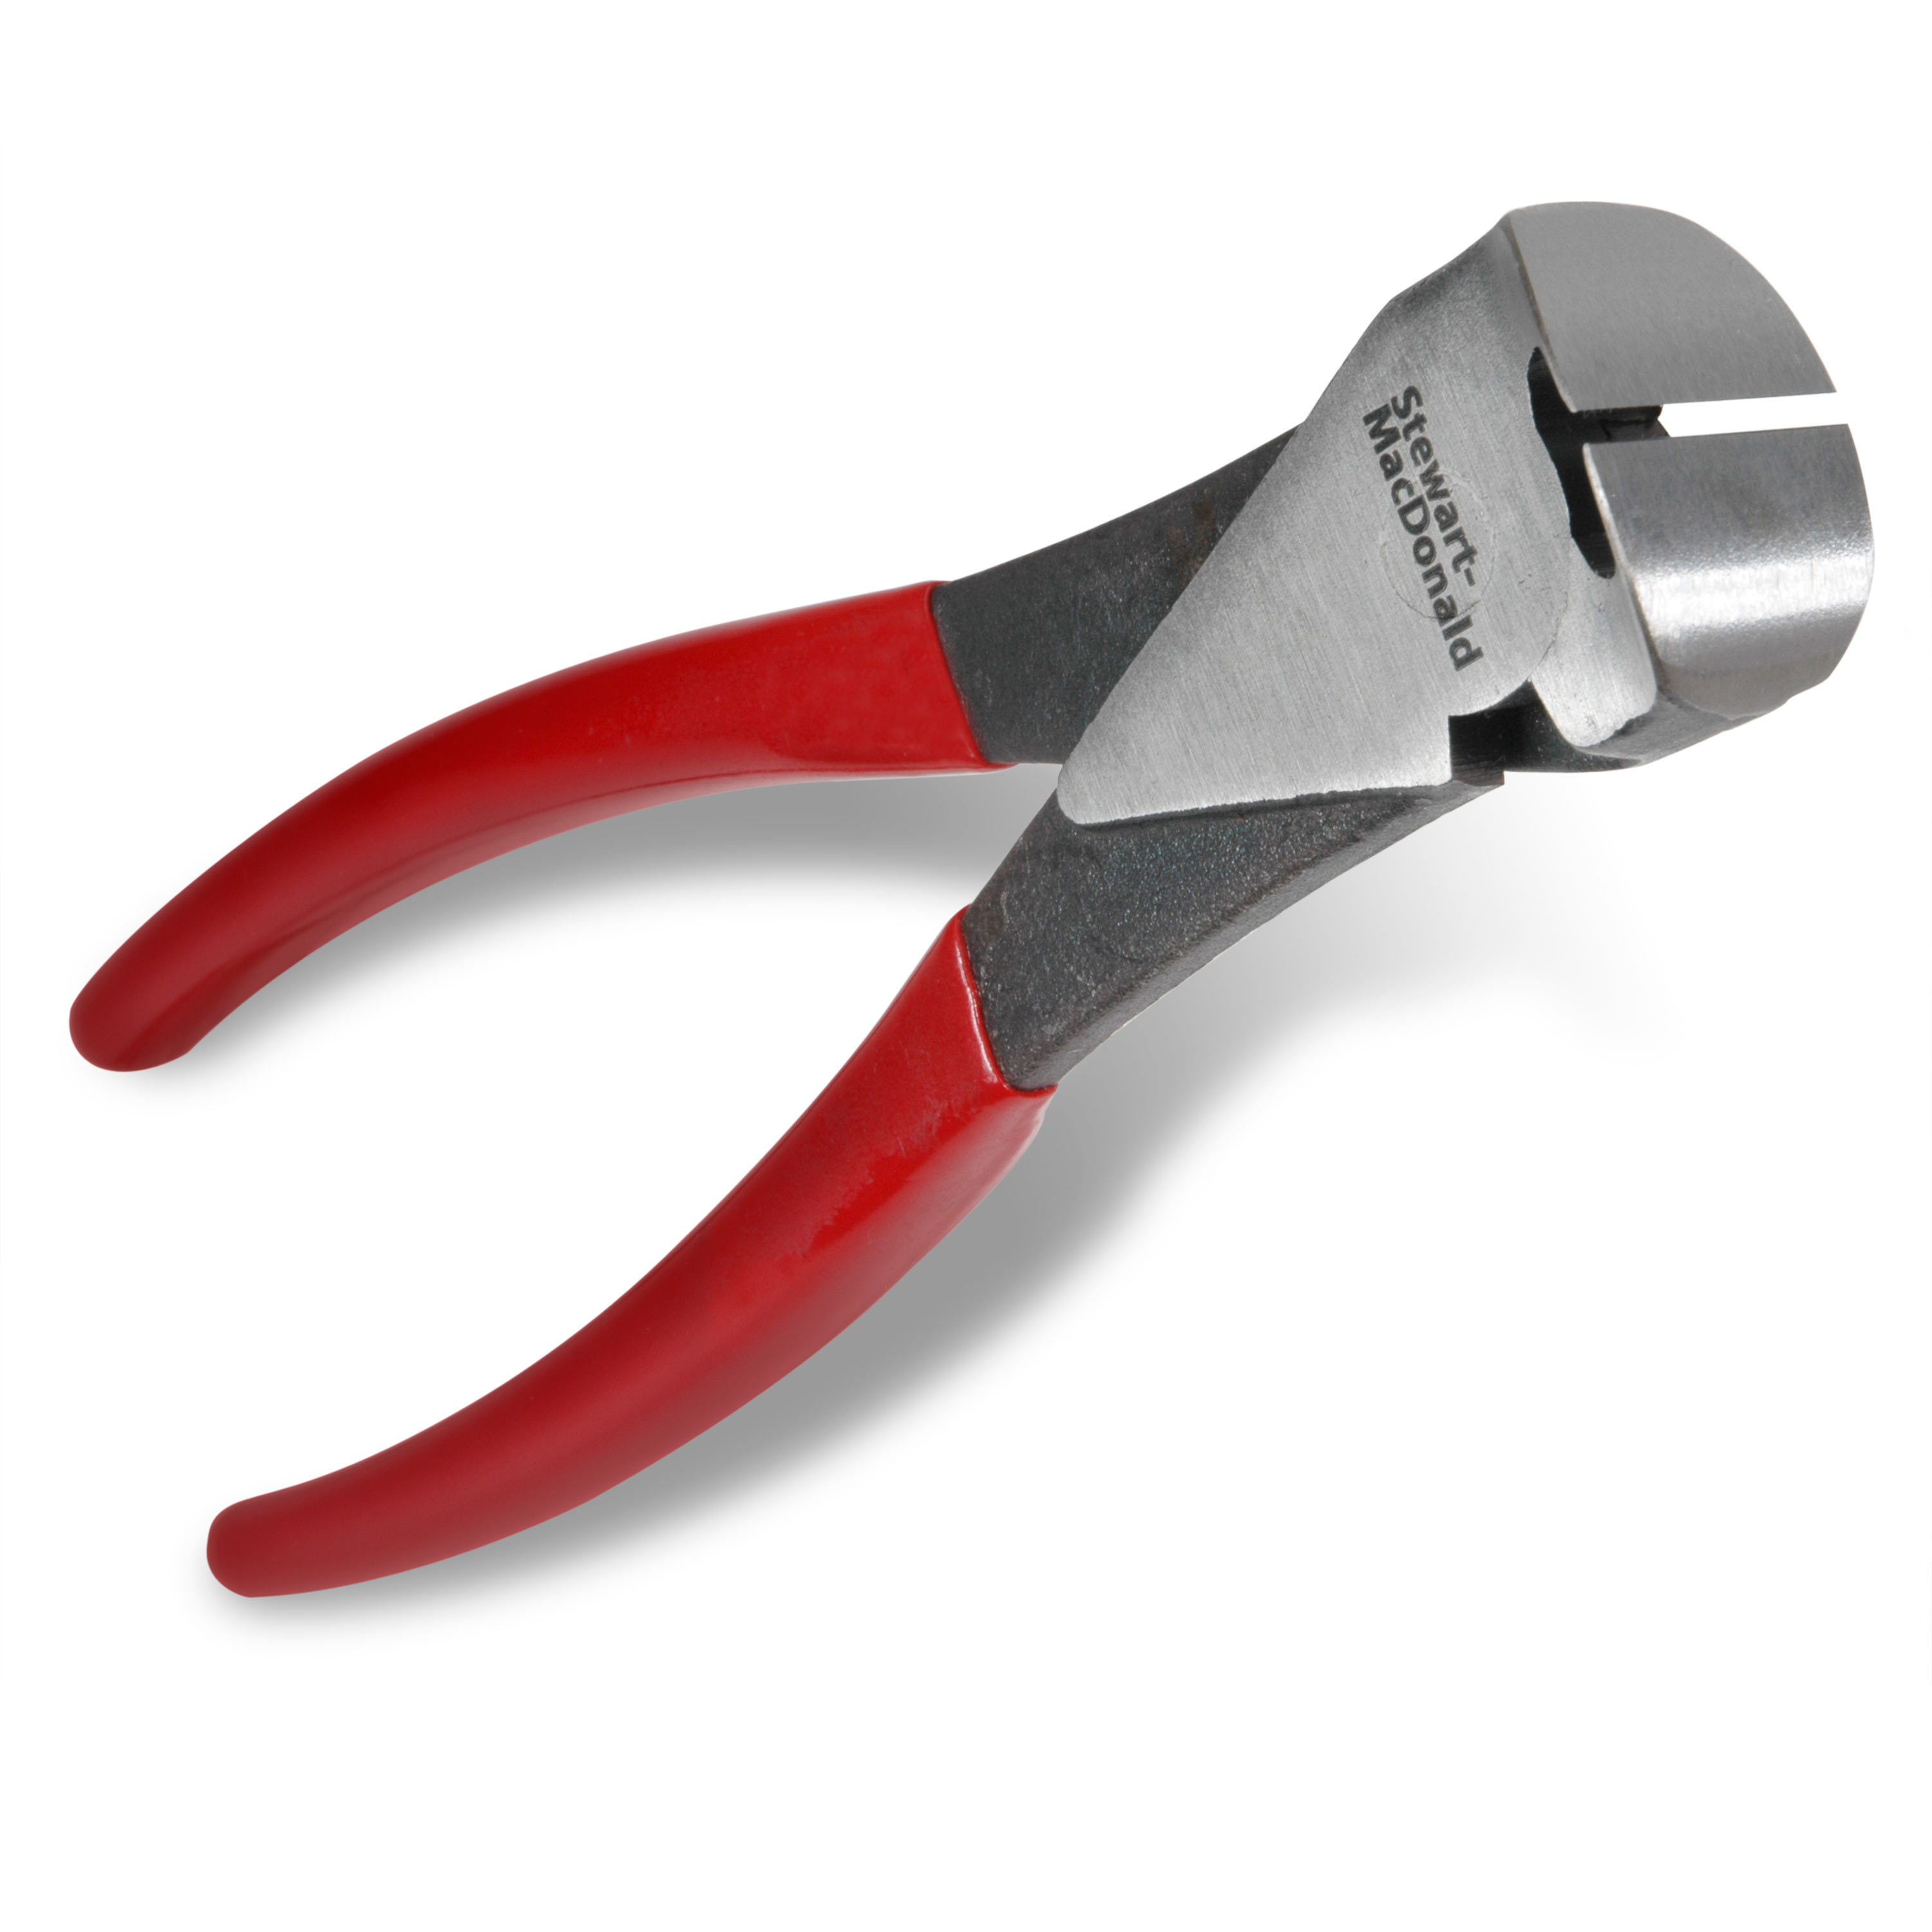
The first thing I did was measure the length of the missing binding with some calipers. For the replacement binding, because this is such a special guitar, I'm going to borrow a piece of binding from this old 1956 Gibson L50 neck. I've saved it for years for parts. The fingerboard binding is the same bone-colored binding used on the special, and all of the guitars back in the '50s, plus it even has a vintage hammered lacquer reliced finish [Dan removes the binding from the fretboard using an exacto knife]. I rough cut the binding close to final with some Fret Cutters. Then I used this StewMac Miter Blade tool in a drill press to trim one end to fit the original piece. Once it's fit, I'll trim the other end.
I used a series of scrapers and files to clean off the leftover glue that was on the old binding, and then I went in with a small sharp chisel to do the same thing on the end of the fretboard, where the binding was missing. You want both of those areas nice and clean before you glue it back up again. Now it's ready to glue up. I'm using Bind-ALL, a solvent glue. It bonds well, but it does dry quickly, so I have to work fast. So I have my cauls ready to go. This caul I made just for this job has springs on it to press firmly onto the binding and push it in place. Then I wedge a block behind it to hold it there. I waited for an hour to dry.
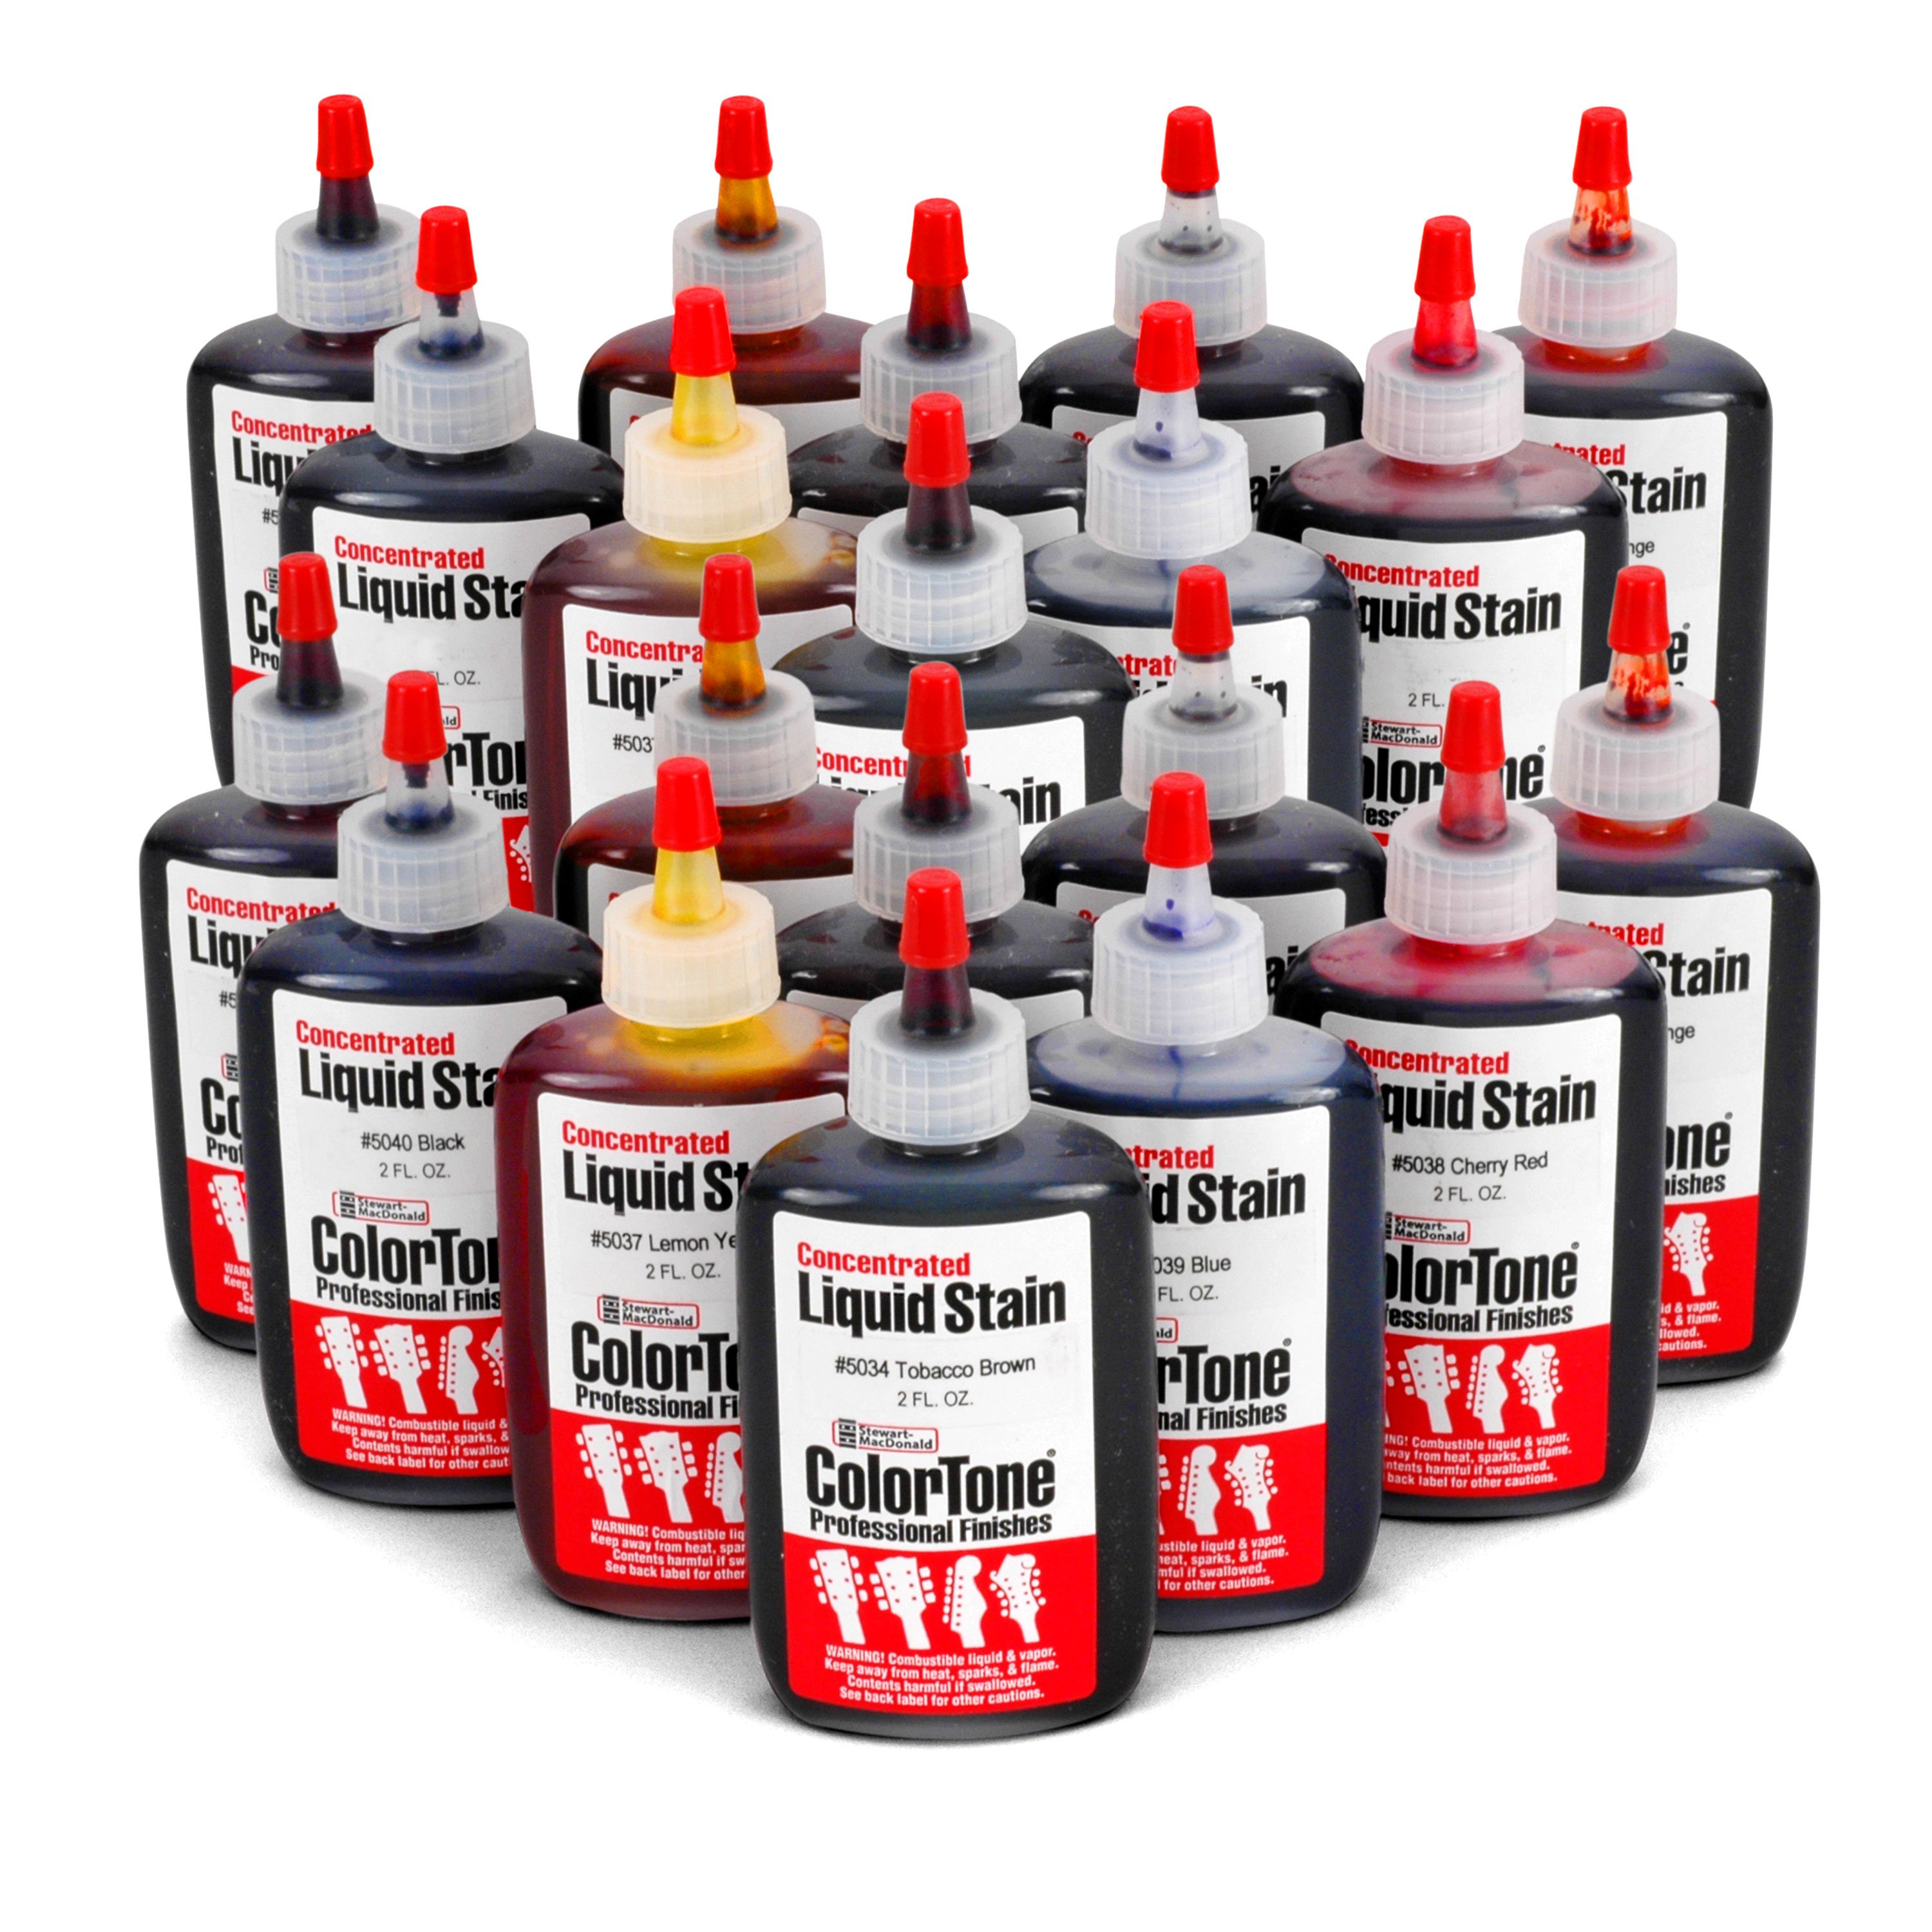
Now it's time to fine-tune the shape. I use some sharp chisels and files. You'll notice that the old bind is sort of dark and scruffy, so I'm going to scrape this new binding up a bit with a diamond-coated thin stainless sheet. You could do the same thing with some 120-grit sandpaper. Now we've got to get the color to match a bit better, and I like to use ColorTone Liquid Stains for that. I use a little acetone as a solvent so the stain isn't so concentrated. For this job, you just have to use your best judgment, play around with the colors and don't go too hard with the stain [Dan applies the stain to the new binding with a Q-tip]. A little goes a long way. I decided to come in with a fine point brush and a little darker color to give it a bit more dimension, and that's it. I think it turned out pretty good.
Gene: Man, that looks awesome. Nice job. I'm always blown away by the old parts you have hanging around your shop.
Dan: I know, I have so many parts I got to get rid of. If you ever came into my shop and you were a guitar repairman, you'd go crazy. So what are the other two fixes that we found?
Broken solder joint
Gene: So the first thing I noticed when I took this cavity cover off was that we have a ground disconnected at this tone pot. What that means is we have no tone pot. As you roll down to zero, you're going to get no change in tone. So I can repair that so it's virtually undetectable. Let's get into that right now.
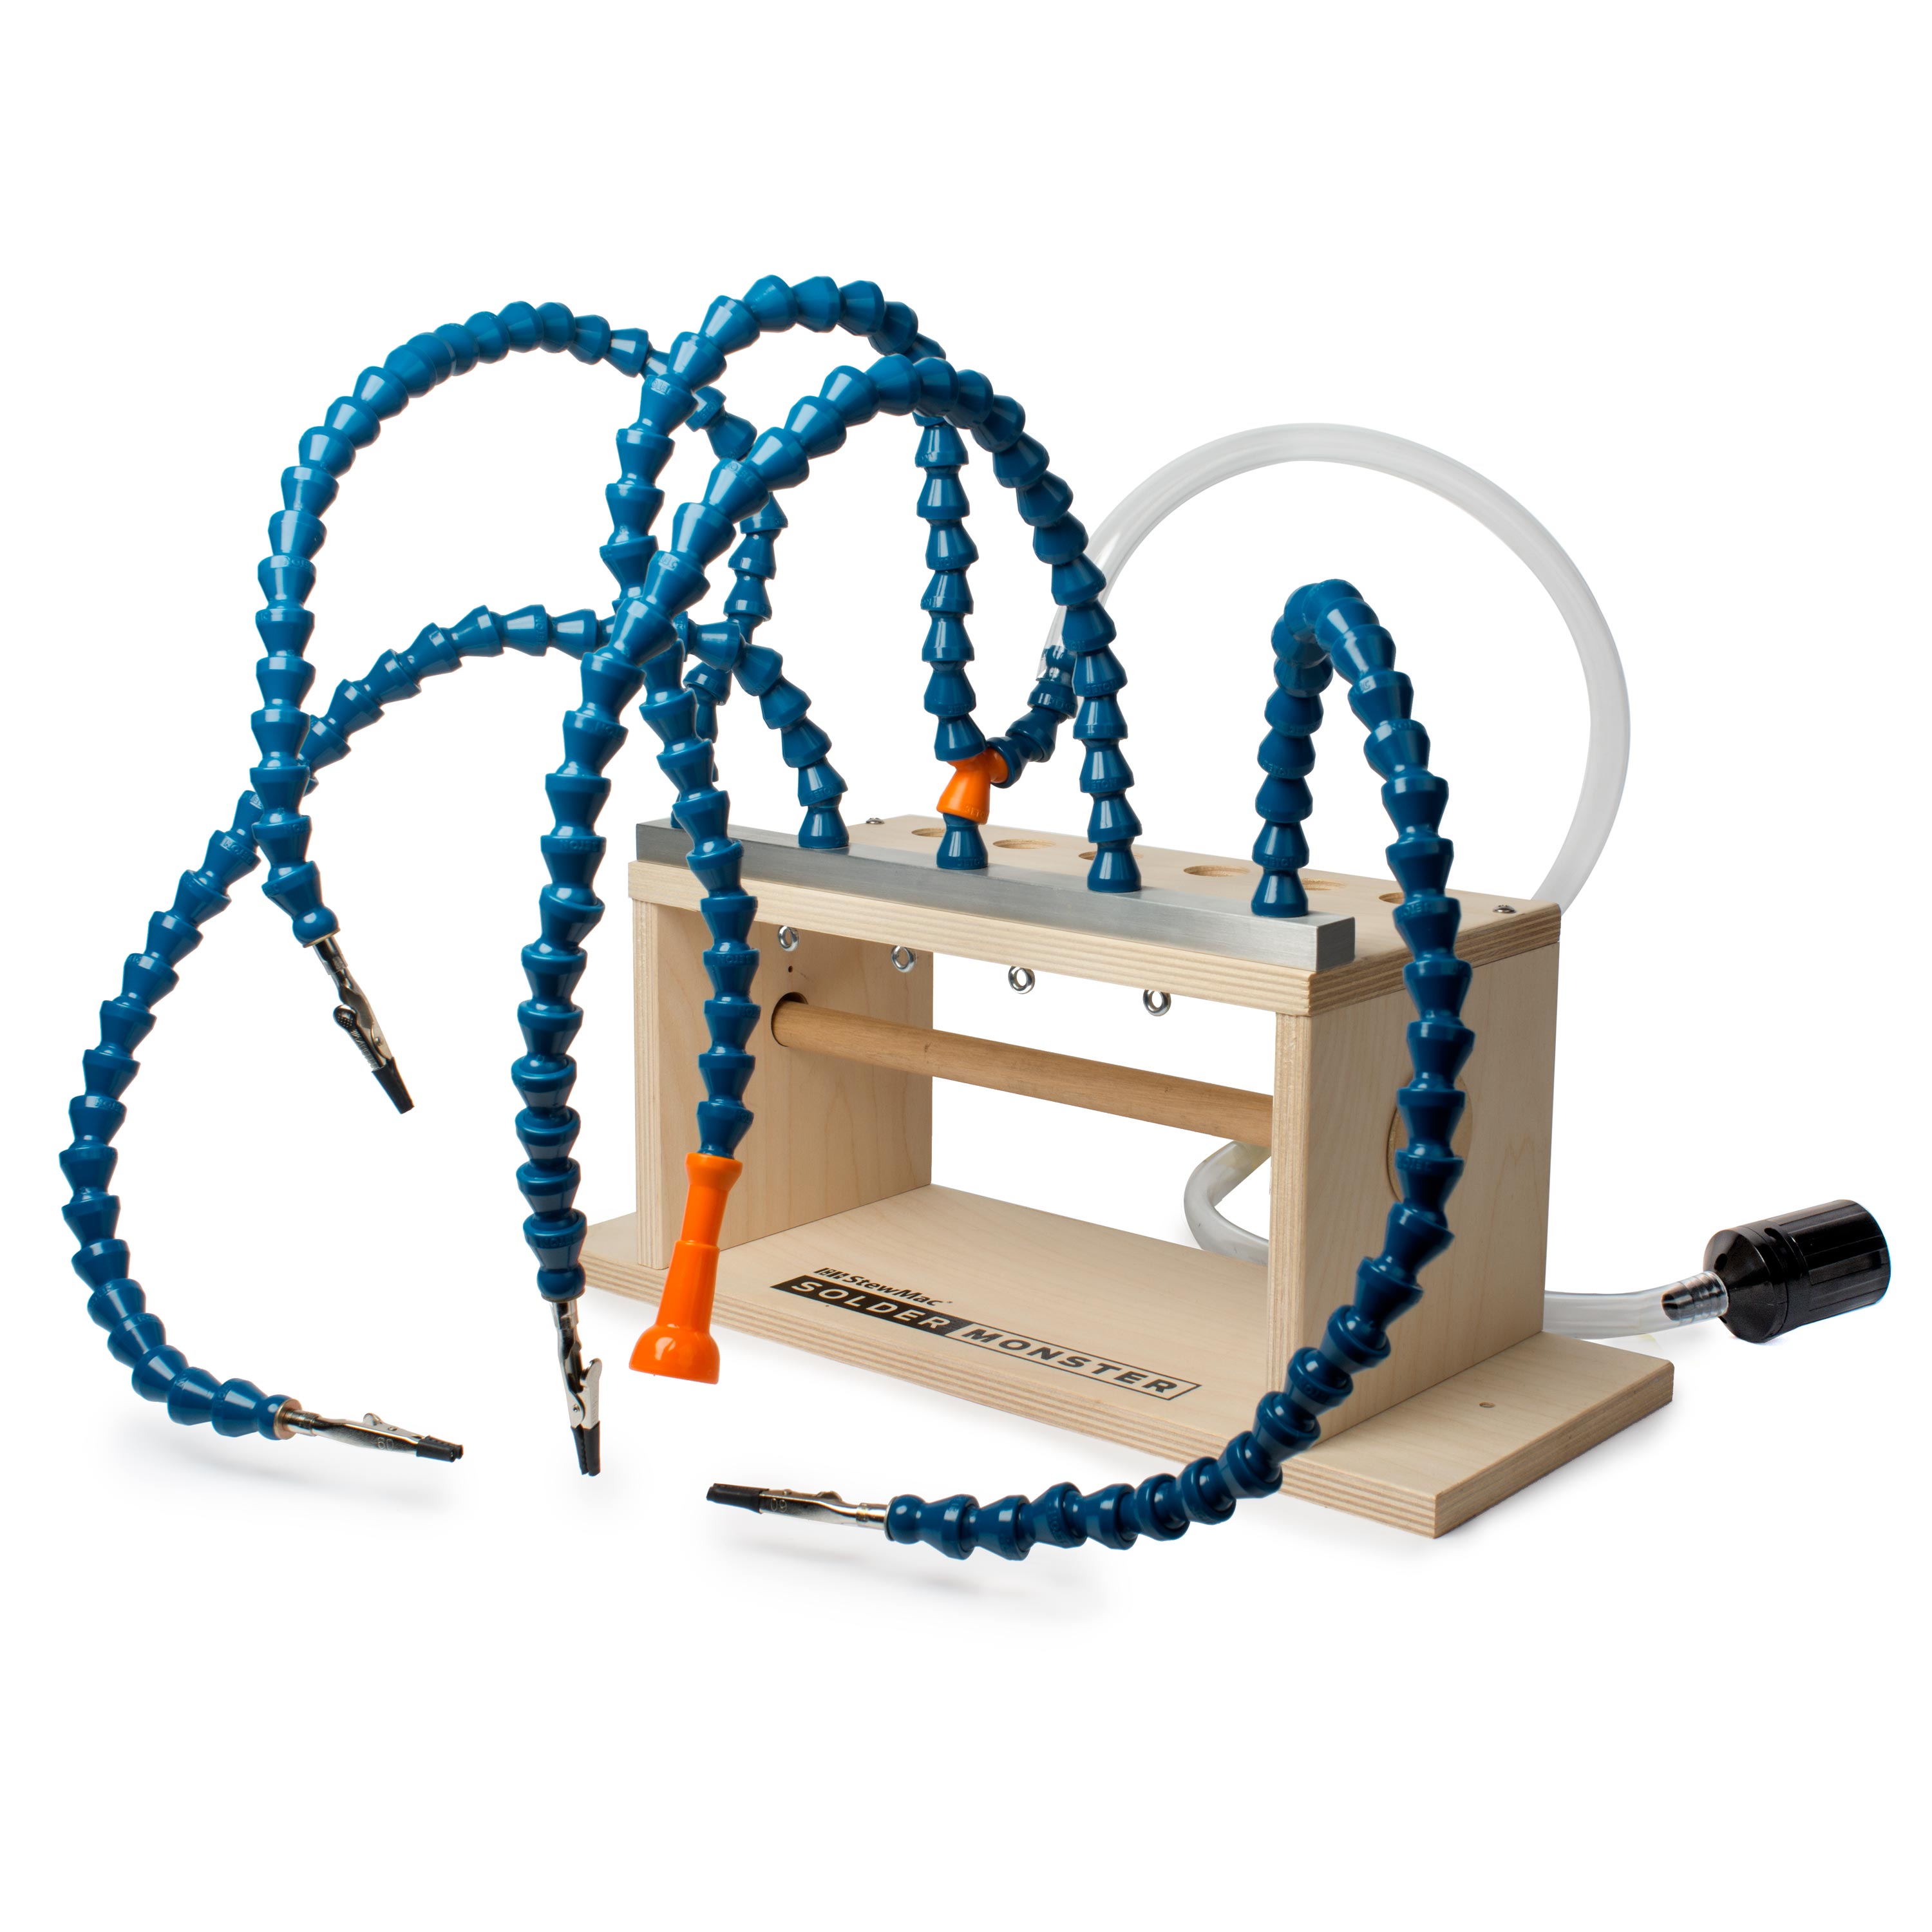
So first thing, I'm going to protect all the finish around this cavity. So I put down cloth, and then I even put some craft paper inside the cavity because I don't want to risk burning the sides or leaving any sort of evidence that I was in here soldering. I've got a StewMac Solder Monster here, and that's going to help me hold my wire in place and free up my hands. My goal here is to secure this joint, and make it look like it never came apart. So let's get the iron turned on, and we're going to use a little bit of solder here.
Okay, there we go. Okay, I'm really happy with the shape and overall size of this. It matches the other joints pretty well, but the one thing I'm being a little picky about is the new glob of solder here is just a little shinier than the other joints. Check out this other joint over here. See how dull-looking this one is? Let's try to better match that with a little bit of acid. In this little bottle here, I have one part ferric chloride, which is etching solution, and four parts of water, and I'm just going to dab a little bit on this joint and it's going to take away that shine. I'm going to follow up with a little bit of plain water, because I don't want to leave any residue behind or it'll continue to corrode. So it's very subtle, but I'm closer to the patina of these original solder joints. All right, well that joint is good to go for at least another 68 years.
Restoring original tuners
Dan: For the third fix, we've already talked about the fact that these aren't the original tuners. However, we have the original tuners, because they were in the case. These old knobs get rotten and fall off. They can't tune anymore, and you go to the music store and they put on a new set of tuners. They could have taken the knobs off these tuners and installed new knobs on them, and still use them on the guitar.
Gene: No problem at all, we can fix these. We can put new knobs on them, and we can do it in such a way that it's pretty hard to tell, and we can make this thing original again.
Dan: Okay, pal, put your money where your mouth is. Show us how to do it.
Gene: So first I'm going to use a pair of fret cutters to chop these knobs off. I'm going to be very careful not to cut into the shaft, I'm going to cut around it, but these crumble easily and come off. It's rarely a problem. Now I'll come in with a wire brush on a Dremel tool, and clean off the remainder of the knobs. You'll see I've made a wooden spacer here, and that helps keep the wire brush off the area between the knob and the tuner body. We want to preserve the patina below the knob, so that it doesn't look new. So here are the replacement knobs we're working with, and here's an actual set of old double-line Klusons. You're going to notice we have little nicks and dings and scratches on these tuners, and we're going to try our best to recreate this.
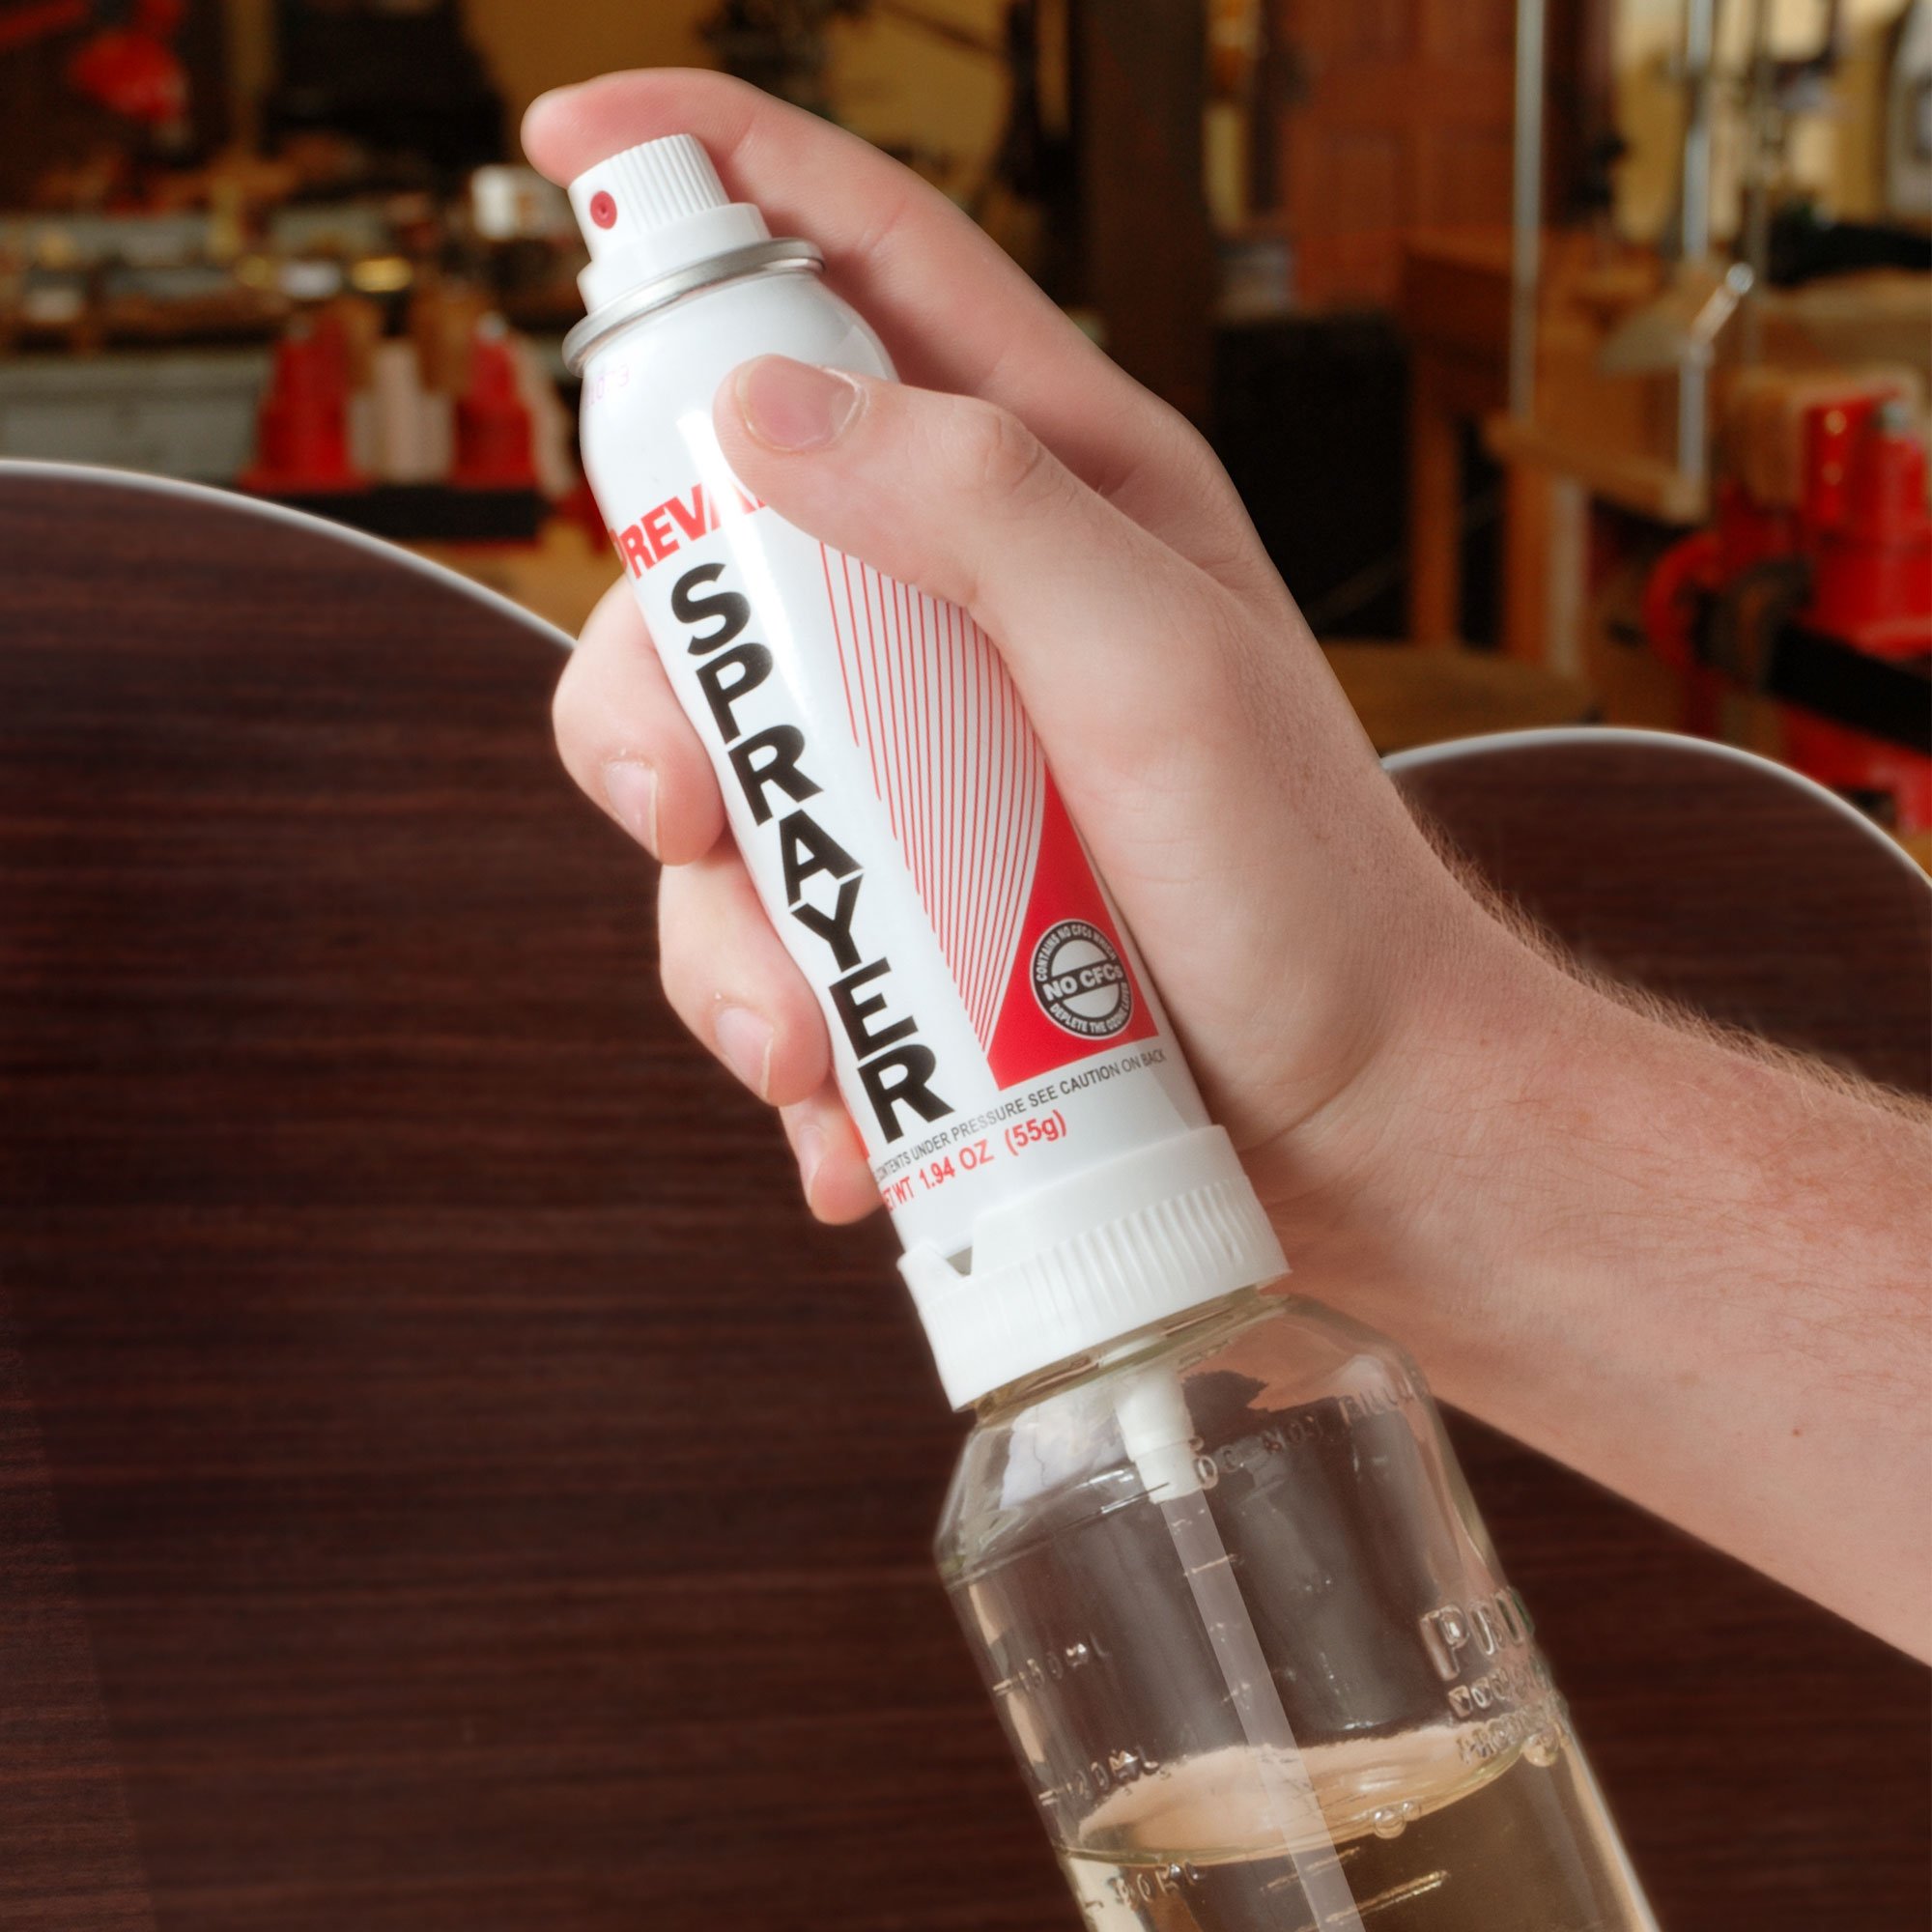
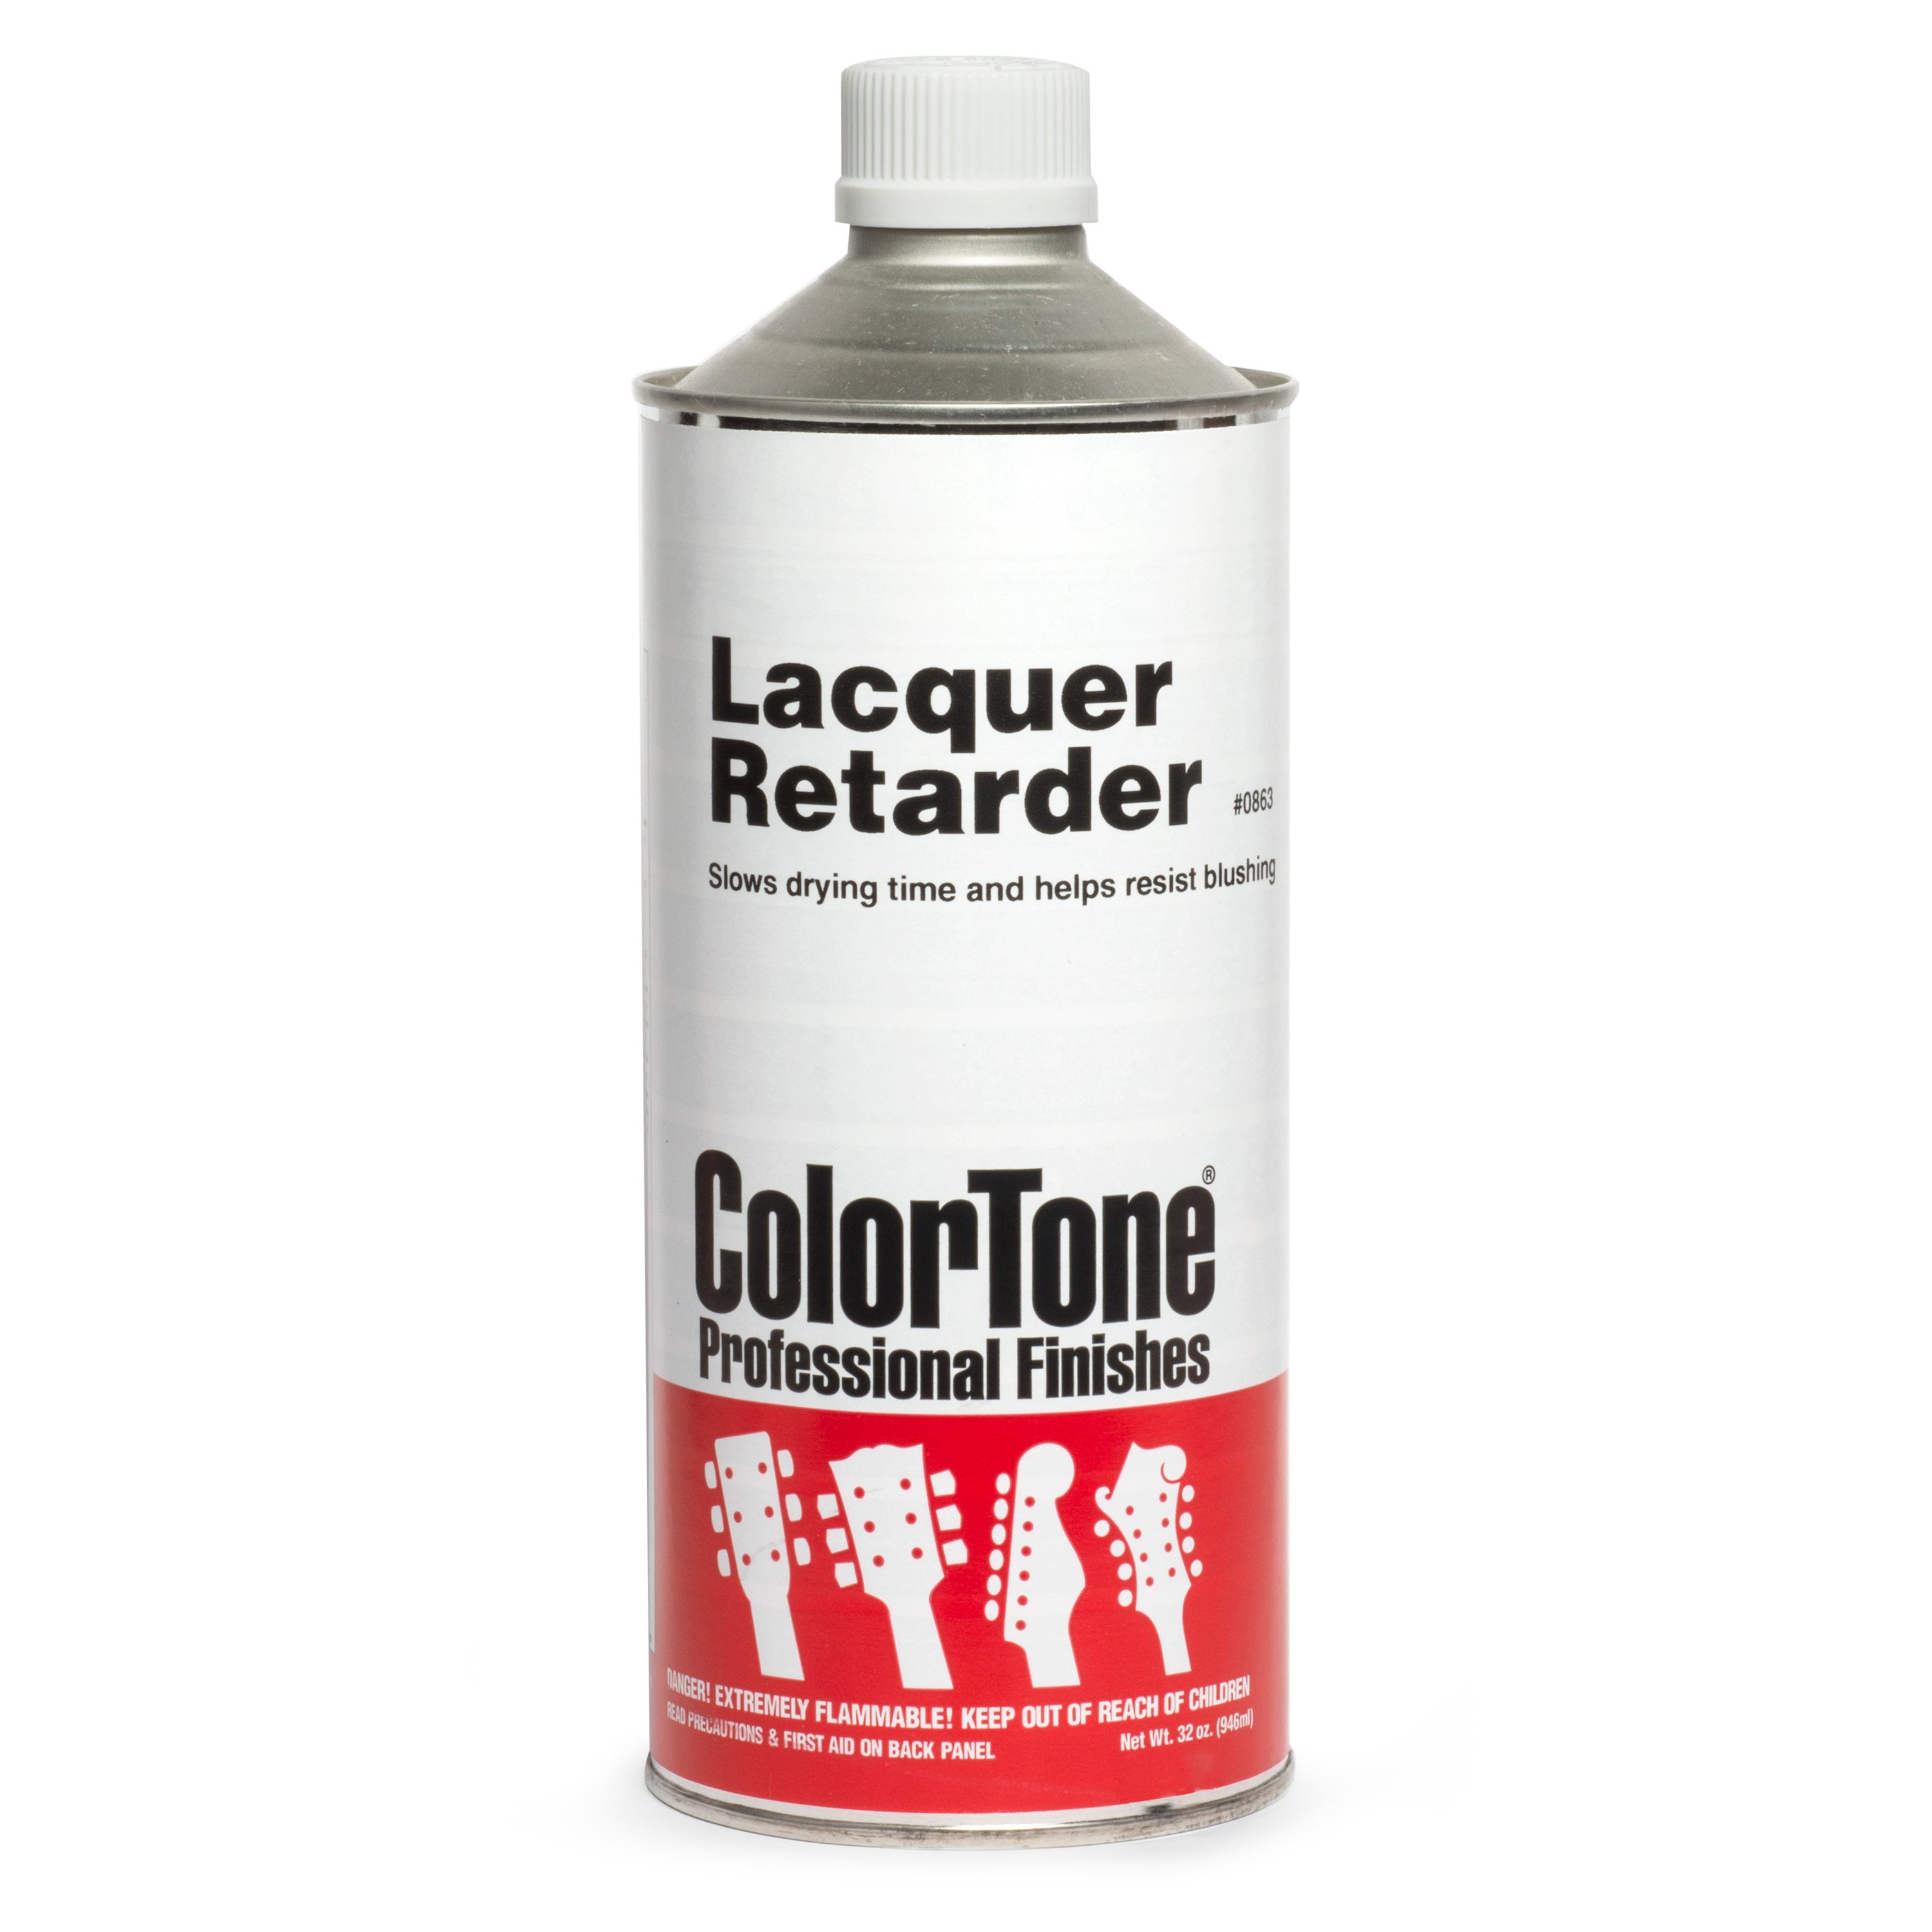
Here's my fancy jig for this. It's full of screws, some drill bits, razor blades, whatever I can find. These all go into this tube with the tuners [Gene shakes the plastic tube a few times], and that'll help me get all these little nicks and dings I'm looking for. Okay, now we've got to yellow these knobs. I've got this simple jig I've made here with some nails. These hold these tuners like little lollipops so I can paint them [Gene sets a knob on top of each of the nails]. Spraying these tuners has always given me a more accurate look than soaking or staining them, in my experience. So in this jar I've got some ColorTone stains mixed up. A few drops of lemon yellow, a few drops of vintage amber, a drop or two of medium brown. I've mixed my stains into a solvent of about 80% lacquer retarder and 20% clear gloss lacquer.
Lacquer retarder is basically a thinner that slows down the drying time of lacquer. It will soften the plastic and allow the color to penetrate deep into the knob. The small amount of lacquer I add acts as a binder, to ensure that this color doesn't rub off over time. We're going to spray this all through a Preval. Nitrocellulose lacquer is nasty stuff, so do this all outside and wear proper safety equipment. Don't skip this part. And then just go for it. I spray light coats, making sure not to overdo it [Gene lightly sprays the knobs]. The lacquer retarder makes this all very thin and it runs easily, so I'm always checking against my example tuners and re-spraying until I get the color I'm after.
These look great. So let's set them aside and let them dry. So whenever I do these, I do two to three times more than what I actually need. That gives me a good selection to pick from, and then the extra knobs can just go into the drawer for a future repair. I think the ones I just did here are about perfect for what I'm after, so it's time to install them.
[Gene set the tuners into a vice with the knob posts sticking up]
Okay, so the idea here is to heat this post up until a plastic knob melts down over it easily. For that, I'm going to use a propane torch. You can use a soldering iron, but in my experience, it doesn't get the post hot enough for the knob to slide down efficiently [Gene torches the top of the tuner knob post]. Okay, that's nice and hot. I've got my wooden spacer back here [Gene places the wooden spacer with a small middle section cut out to fit the tuner post] to help me set a uniform height on all of my knobs. I'll press them down with a wooden dowel inserted in my drill press that keeps everything nice and straight. We'll let that cool for a bit and move on [Gene heats up the other posts and sets the knobs using the small wood block to keep them the same height on the post]. Okay, last one. Man, these are looking great. Let's see what it looks like on the guitar. Okay, over a short period of time, all these little nicks and dings we put in here will blacken in a bit, and this will look even more convincing.
Dan: Man, those look killer.
Gene: Thanks, man.
Dan: You're really good at making stuff look bad. No, seriously, I'm glad we did that.
Gene: Yeah, they look good. They look at home on that peghead.
Demoing the outfit
Gene: And we aren't done yet. Remember when we started, I said if things all worked out that we had a special surprise? When this guy got this guitar back in 1955, he also bought the GA-30 amp with it, made by Gibson. That was an outfit.
Gene: So 14 watt amp, they called it their distortion model. This thing sounds great up till about five, nice and clean, and then past that, it just breaks up beautifully.
Dan: Paul Schmittauer, our local amp guru, brought this thing back to life. He replaced lots of caps, lots of resistors. Plus you couldn't pick this amp up by the handle because it was destroyed. And my shop mate TK made this handle while we worked on the guitar, and it looks just like the original. And before I left Paul's shop, he says, "Wait a minute, Dan, I got a tip for you." He's a guitar player too. Here's his tip.
Paul Schmittauer: This is Les Paul's old trick to keep from dropping your pick. Loosen 40-grit sandpaper on both sides of your guitar pick, stick to your fingers real good.
Gene: I'm going to crank this thing.
[Gene turns the volume way up on the amp]
Dan: Don't blow the speakers, man.
Gene: We're all right [Gene starts playing rock n' roll on the guitar over the amp. Someone off set hands Dan some hearing protection earmuffs and he puts them on]. I think this sounds amazing.
[Dan dances with his ear protection on]
Dan: You got it, man. I love it.
Gene: Yeah, it really-
Dan: Especially with these on. That's pretty loud.
Gene: Sorry, I had to blow it out, Dan, this is pure rock and roll and man, it just sounds great. Thank you so much for joining us. We love this guitar. We love this amp. We love all of you. We'll see you back at the bench next time.
Dan: Come again.

