Strengthening a square-tube Martin truss rod
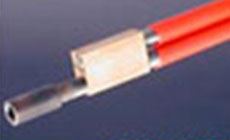
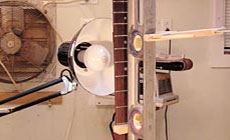
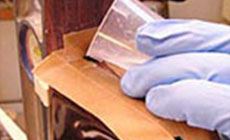
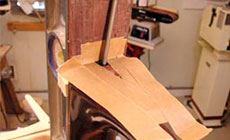
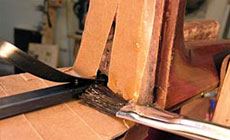
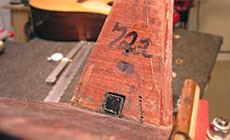
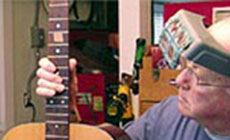
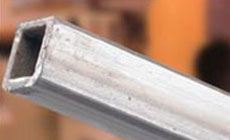
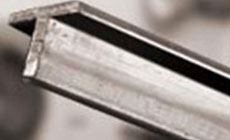
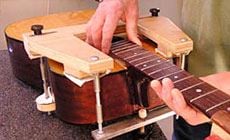
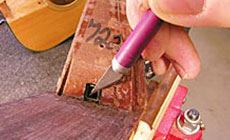
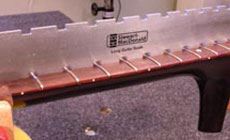
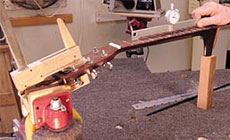
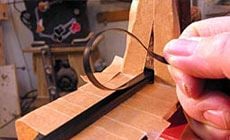
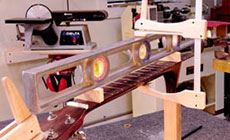
This is the square, hollow truss rod used in Martins between 1967-1985. If you ever reset the neck on a 70s-era Martin, here's a tip you'll like: straightening and stiffening Martin’s hollow tube truss rod with carbon fiber. Before 1967, Martin guitars used a much-loved iron T-bar for neck reinforcement. In ’67 they switched to a hollow steel tube, 3/8" square. These tubes weren’t as stiff as the T-bar, so many Martins of this era have a somewhat “spongy” neck that pulls into an up-bow and stays there. In 1985 they introduced the adjustable truss rod that they use today. When I’m resetting the neck on one of these hollow-tube Martins, I take advantage of having the neck off by gluing a carbon reinforcing rod inside the hollow tube. A lightweight superstiff material, carbon keeps the neck straight, and adds a significant improvement in tone Remove the neck. Nothing beats the neck that steams out clean and easy, letting the neck removal jig do its thing. This neck joint came apart without a problem. There’s the hollow tube, 3/8" square with a 1/4" hole in the middle. Clean away any glue that blocks the opening. With the strings off, this neck has relaxed into a dead-straight configuration (measured with a notched straightedge). The neck relief gauge tells me the same thing: the neck is straight. I’m clamping it up to make sure the truss rod stays straight for accepting the carbon rod: a cam clamp in the repair vise holds the peghead while a block of wood supports the heel. Our 1/4" x .200" carbon fiber rod slides easily into the tube. There’s a little gap beside this rectangular rod in the square tube. Here I’m doing a test-fitting a strip of .020" plastic binding, which creates a snug fit. (A thin strip of hardwood would also be a good choice of shim material.) Now that I know the pieces fit, I'll pull them out and set up for gluing. The neck needs to be straight for the inserts to slip in, so I’m clamping it to a stiff bar (a carpenter’s level) to hold it straight. A mini cam clamp is doing the job. The Stewart-MacDonald Dreadnought Kit is built to a plan drawn by Don MacRostie. (We include the plan for free with the kit.) Don specified the two-way adjustable Hot Rod Truss Rod for this kit, so the guitar you build will have a fully adjustable neck. Learn more about this kit: Dreadnought Kit Hold this setup vertically in the repair vise, and warm up the neck using desk lamps. The heat will help the glue run down into the hollow tube quickly and evenly. Watch out for the heat from those lamps! Don't get too close, and move the lamps every minute or so. Mix enough slow setting epoxy to fill about 1/3 of a mixing cup. Pour about half the glue into the tube. Protect the neck by taping it off as you see here. (Hot hide glue would also work well for this if you can work fast enough before it cools.) In the photo below, I'm using an old round truss rod as a ramrod to be sure the glue gets where it needs to. Slide the carbon fiber and binding in together — brushing glue between them as you push them into the hole. After removing the masking tape, I cleaned up the glue overspill with Behkol solvent. The carbon-stiffened neck needs to dry overnight. On with the job!Easy way to beef up the neck
Here’s how to do it:
Doing a dry run:
Which truss rod do we use in our Dreadnought Guitar Kit?