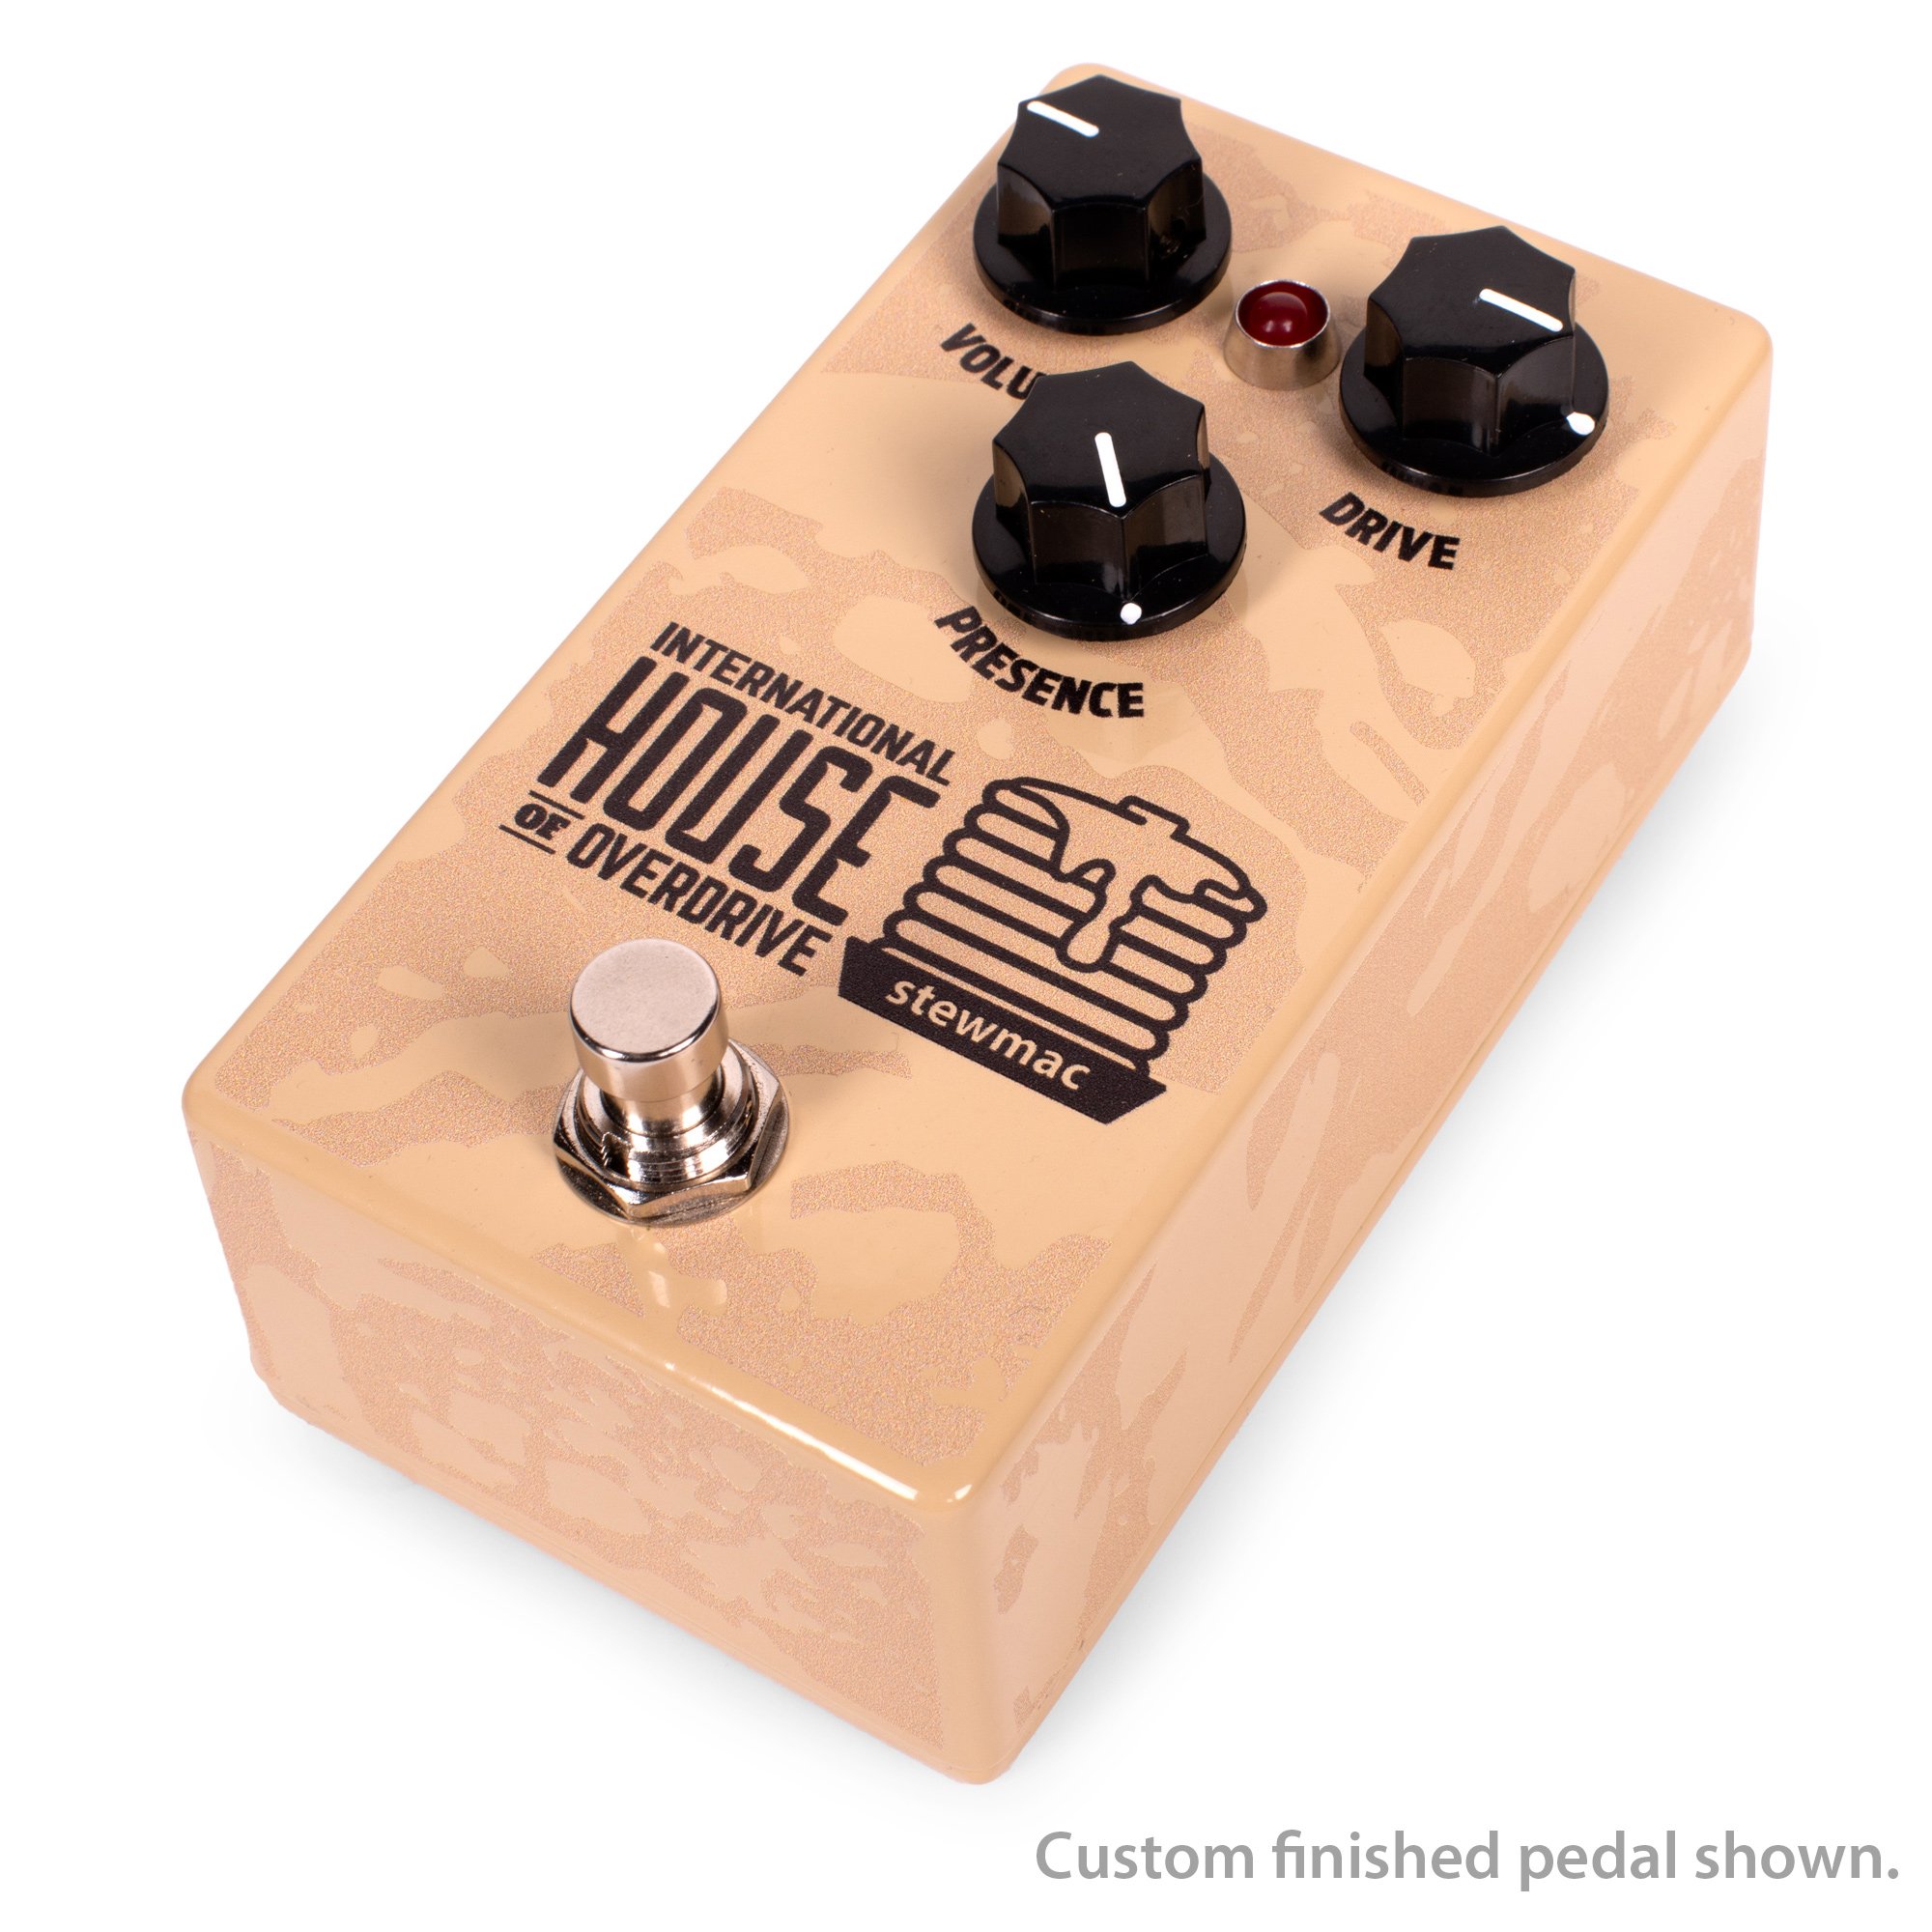
TheGuitarGeek builds and demos the StewMac IHOO Pedal Kit!
In this video, TheGuitarGeek unboxes and builds the StewMac International House of Overdrive pedal, a unique DIY kit based on the Crowther Hotcake!
Video Transcription
[on-screen text reads: This Is A Sponsored Video]
Andy Ferris: Just dropped into the studio is this, the International House of Overdrive Pedal Kit from StewMac. And in this video, I'm going to build it, I'm going to test it, and I'm going to review it. But first let's have a look at what's inside the box.
Unboxing the IHOO Pedal Kit
You get a little business card that says International House of Overdrive, and some information about the pedal it was based on [on-screen text reads: The IHOO is based on the Crowther Hot Cake]. And then in terms of the build, this is the reason I love StewMac kits. Their instruction guides are absolutely fantastic and I'm really looking forward to doing this one. Then we have a painted enclosure, which inside has some of the boards and some of the components. Then we have another bag of components and finally some stickers. Now when I review this, I'm not just going to review how it sounds. I'm going to review how easy it is to build.
Build preparation
And step one of any build process with any pedal kit is to line up the components to check that you've got everything and that you know where everything is. And that's why I love these instruction guides so much, which I am going to be following to the letter. And the first thing I've done is to go to the StewMac website, download the PDF of this instruction guide and print out the parts list pages. And then as always, I grab the bags of components and some masking tape and stick the components to the parts list page, which is one of my favorite things to do. And I'm not sure if I like this more than I do the playing of the pedal. Anyway, this gives me great joy to do this. And I like to start with resistors, which even though they're really clearly labeled here, so this one for example, is brown, black, black, yellow, brown from left to right, that would make it this one, I'm also going to test it with my multimeter as well to make sure that we have the correct one.
And I'll do this with everyone just in case. There we go. So that is the one meg resistor. Let's take that to the page and get going. By the way, I'll put a tools list at the end of this video. So if you see me using something and want to know where you can get it, there'll be a list there and links to it in the video description. When it comes to these two tiny capacitors, the codes that are written on here do not correspond with the microfarads and picofarads. So I've got a little website that I use which you can put in the codes that are on there, which in that case is 823 and 471 and that will calculate which one it is. The 471 in this case is the 470 and the 823 is the 0.082 microfarads.
These are much easier to calculate because the correct numbers are actually written on top [Andy tapes all of the resistors to the corresponding resistor part name on the parts list print out]. That is the first sheet done with. So carefully remove that and place it somewhere safe. I'll put it over here by Deadpool. Move on to the next sheet.
Now you don't want to bend these legs, so I put it sideways and then very loosely tape it like that [Andy tapes all of the components to the corresponding parts name on the parts list print out]. That is everything on that page. So I will give that very gingerly to Deadpool. Here you are. Then the final page is the easiest because it's the biggest stuff and that's finished [Andy tapes all of the remaining components to the corresponding parts name on the parts list print out]. And if you're following this as a how-to guide, very important step is going to make yourself a cup of tea next and have a little break. Maybe give yourself a pat on the back.
How to build your own Hot (Pan) Cake
So I've put the main PCB into the PCB holder and the first thing to go on is the IC socket. Being extra careful to make sure the legs go through the board and don't get bent inwards. As I'm following the instructions to the letter, they say to put the chip in at this point, although some people like to put the chip in once all soldering is done so it doesn't overheat, then comes the only diode in the circuit. And make sure you put this in the right way around. And then it's time to populate the board with resistors which are not polarized and you can put them any way you like, but I like to put them the same way as they are in the instructions. And because I already sorted my resistors, this part of the build is actually pretty simple. The capacitors, which are also polarized.
So again, make sure you put them in the correct way around. A bit more soldering, a bit more snipping, and then the remaining capacitors. And then the lead wires, which StewMac supply as one long wire that needs to be cut into pieces. And honestly, I think I cut mine just a little bit too short here. Those first four are for the daughterboard and these are to go to the sockets on the pedal. Next up, I've covered the enclosure in masking tape to protect it from scratches. And we're going to use it as a base for making sure that everything fits in properly. The first job there is to break the index tabs off the pots with some pliers and you can just dispose of those. You don't need them. Then put the washers and nuts onto the pots and add the switch in the same way. And at this point I realized that I'd soldered one of the lead wires in the wrong place and the board won't fit on the pots. So just quickly desolder that, get rid of that excess solder, there it goes, and put it in the right place.
And now the board should just pop onto the pots. There we go. It's time to solder those pots to the main board and then add the daughterboard and solder that to the switch. Then get those lead wires attached to that daughterboard. Then we create these two longer lead wires, which are going to go from the daughterboard up to the sockets at the top. Time to take the washers and nuts off. And here's our mostly finished circuit board. We just need to add the LED holder to the enclosure and then the LED, making sure it's correctly oriented. Time for the power socket. And I've forgotten to add one of the insulating pads to the bottom of one of the pots, but it's quite simple to move that pot a little bit just to get it in there with a sharp knife. Now as the real fun part, we're going to add everything to the enclosure, solder up that LED, solder the power socket.
I'd like to give the lead wires a little bit of a tug with some tweezers just to make sure they're on securely. And I do that as well with the input and output jacks because these are going to get wiggled around a little bit when cables are being plugged in and out. Finally, tighten up the nuts and get that socket in, screws on, masking tape off. And the bit that I find the hardest, aligning the pots on the knobs correctly. It is a shame that there isn't a flat side of the pot to screw onto, but once you have one on, you can use the first one as a guide for the other two.
It's not quite time to sit back and admire your work yet because it's time for stickers, the part that I'm worst at. But I do my best to get them straight. And a little tip, make sure you put the knobs on before you put the stickers on the faceplate. Otherwise, you can hide stickers with the knobs. And yes, I've done that in the past. And there we have our IHOO, our International House of Overdrive pedal. Let's go see if it works. I've got the pedal on the board and I haven't actually powered it up or tried it yet, so here we go.
How does the IHOO sound?
It works. A red LED is good in this case. Yes, might be an overreaction for some of you, but knowing that your pedal works the first time around is huge news. Just getting the LED working is a big thing right? Let's set everything to 12:00 and hear how it sounds. I'm going through the Fender Deluxe Reverb at the moment and clean, oh, without the pedal, sorry, sounds like this.
Here we go. Moment of truth [Andy starts playing an upbeat song on his electric guitar]. Yes, it works right? Okay, it works. Let's see if it is noisy or anything like any problems with the pots. Does it appear to be any popping? No popping. Well, wow. Okay. That's better than some pedals that I've bought. Now I'm not very familiar with the Crowther Hot Cake, that's the pedal that this is based on. This is based on an early version of the Hot Cake and StewMac also give you a second IC chip. And the second one is the TL071, which is found in the later versions of the Hot Cake. And the one that's in there now is the original chip, the LM471, which breaks up earlier and has less headroom. But I will compare the original to the newer one in a little bit. Let's just go through some sounds of the original first.
In fact, before we go any further, this is not a regular pedal review. I know it might seem obvious, but this is a review of the kit. And for me, as in with Lego, the majority of the fun and enjoyment that you pay for comes from building it and having that joyous moment like I just did when you turn it on for the first time and it works and then you get some sounds out of it. You're not buying a pedal for whatever, I think it's $89 on the release. Yeah, you're not buying a pedal, you're buying the whole experience of putting that together and then playing it.
The playing is for me, the bonus. Of course, it should sound good and I will review it with the sounds, but I just want to point out that before anyone comments, "Oh, you can get this pedal for that much and this pedal for that much. Well, the original is only this," this is a pedal kit. Step off my soapbox and we'll get some more sounds.
Let's start with the pedal off just to hear the amp and then let's get that drive all the way down and build the drive up as I play. So it's taking a lot of bass out to begin with [Andy keeps dialing up the Drive and plays different riffs as he progresses]. That is a lot more fuzzy than I expected. I have no reference with Crowther Hot Cake. I've never played one, but to me that's going from kind of tube screamer-ish to this big muffin in there.
[Andy plays a fast guitar riff]
Oh, there are harmonics, there is depth, there's synthy kind of muffled sounds. And it is to do with the drive. So with the drive down low, it's quite thin. That's an understatement. It's extremely thin. Sounds like I'm playing through a tiny little mobile phone speaker, which maybe I am if you're watching this on a mobile phone. But bring that up to about there and it starts to get full. I've noticed though, full on drive, which I really dig, it's quite muffled. So we've got a presence knob.
Let's play with that and see what happens at full drive and then at various points in the drive knob [Andy plays another riff]. Okay, that'll take your head off. Oh, sorry about that. That is ear-splitting. I bet that's going to cut through nicely. It is more than a drive. It goes into fuzz, but kind of almost bypasses distortion. It's in distortion for a bit and then it's full on muffy. I'm going to have to put some humbuckers through it [Andy plays an electric guitar with humbuckers]. I'm not sure about that. It sounds a bit like a cheap sort of silicon fuzz there. I think it needs more drive or less drive with a neck pickup. Let's try more drive with the bridge pickup [Andy plays a faster riff with the bridge pickup].
I really don't know how to think of it. I enjoy it, but it is, I know they say... they, the people that run the guitar world, they say that we don't need other overdrives, but I've never played a drive like this before. That's great. I'm trying full presence, full drive neck pickup [Andy starts playing again]. Right. We've got to go drop C tuning [Andy starts playing again]. Oh my goodness. That beat's a big muff. And wow, I was not expecting this from this pedal. I was happily going through the kit thinking overdrive. Yeah, let's play some sort of Fendery kind of like stratty riffs. Nope. All right, let's switch out that chip and see what difference it makes.
[Andy plays the guitar using the Original LM741 Chip, adjusting the Drive and Presence as he goes]
[Andy swaps out the original chip to the newer TL071 Chip and continues playing]
I took a listen to what you've just heard and for me, the newer chip, the TL071 sounds a lot more open and more hi-fi or more sort of top end. And it does break up a little later, but more to the point when it's fully on, it's got more clarity, whereas the LM741 is full and beefy and muffy at the top end of the drive. And I like both and I can't decide which I like more. I think if I wanted to use it as a drive pedal, I'd use the newer chip, the TL071. And if I wanted to use this purely as more fuzz or a lead pedal, I'd use the LM741 or I'd probably end up getting both and having one in each. That makes the most sense because I like both sounds a lot. But as I promised at the beginning of the video, there's more to this than just the sounds.
My review - should you buy it?
In terms of build difficulty, I would put this as one of the most simple builds I've ever done because there's not much to it yet there's enough to make it interesting.
Sorting out the parts is obviously a major part for me, and it was fun building it. There wasn't one moment where I thought, "Ooh, where does that go?" Yes, I made mistakes and in my defense I was trying to not get my fro in view of the camera, but even though I made mistakes, I still managed to rectify them easily, which means the components are built well. I didn't bring the soldering iron to the board and suddenly it started melting or anything. And I'm far from a soldering expert or even pedal builder. I'm just a hobbyist that enjoys these things. In terms of price, it's about $89, which I think is not cheap enough to just throw at and not worry about the money. But it is cheap enough to buy as a present or to buy as a present for oneself and throw a bit of cash.
You can get cheaper kits out there, but I haven't really seen cheaper kits for this. And in terms of buying it from StewMac, you've got the guarantee and things like that. And also there's help guides and there's videos like this one that StewMac support in order to help you build your own pedals. I would build this again and I would definitely put the other chip in it. So I'm probably going to buy another one to be honest and have two.
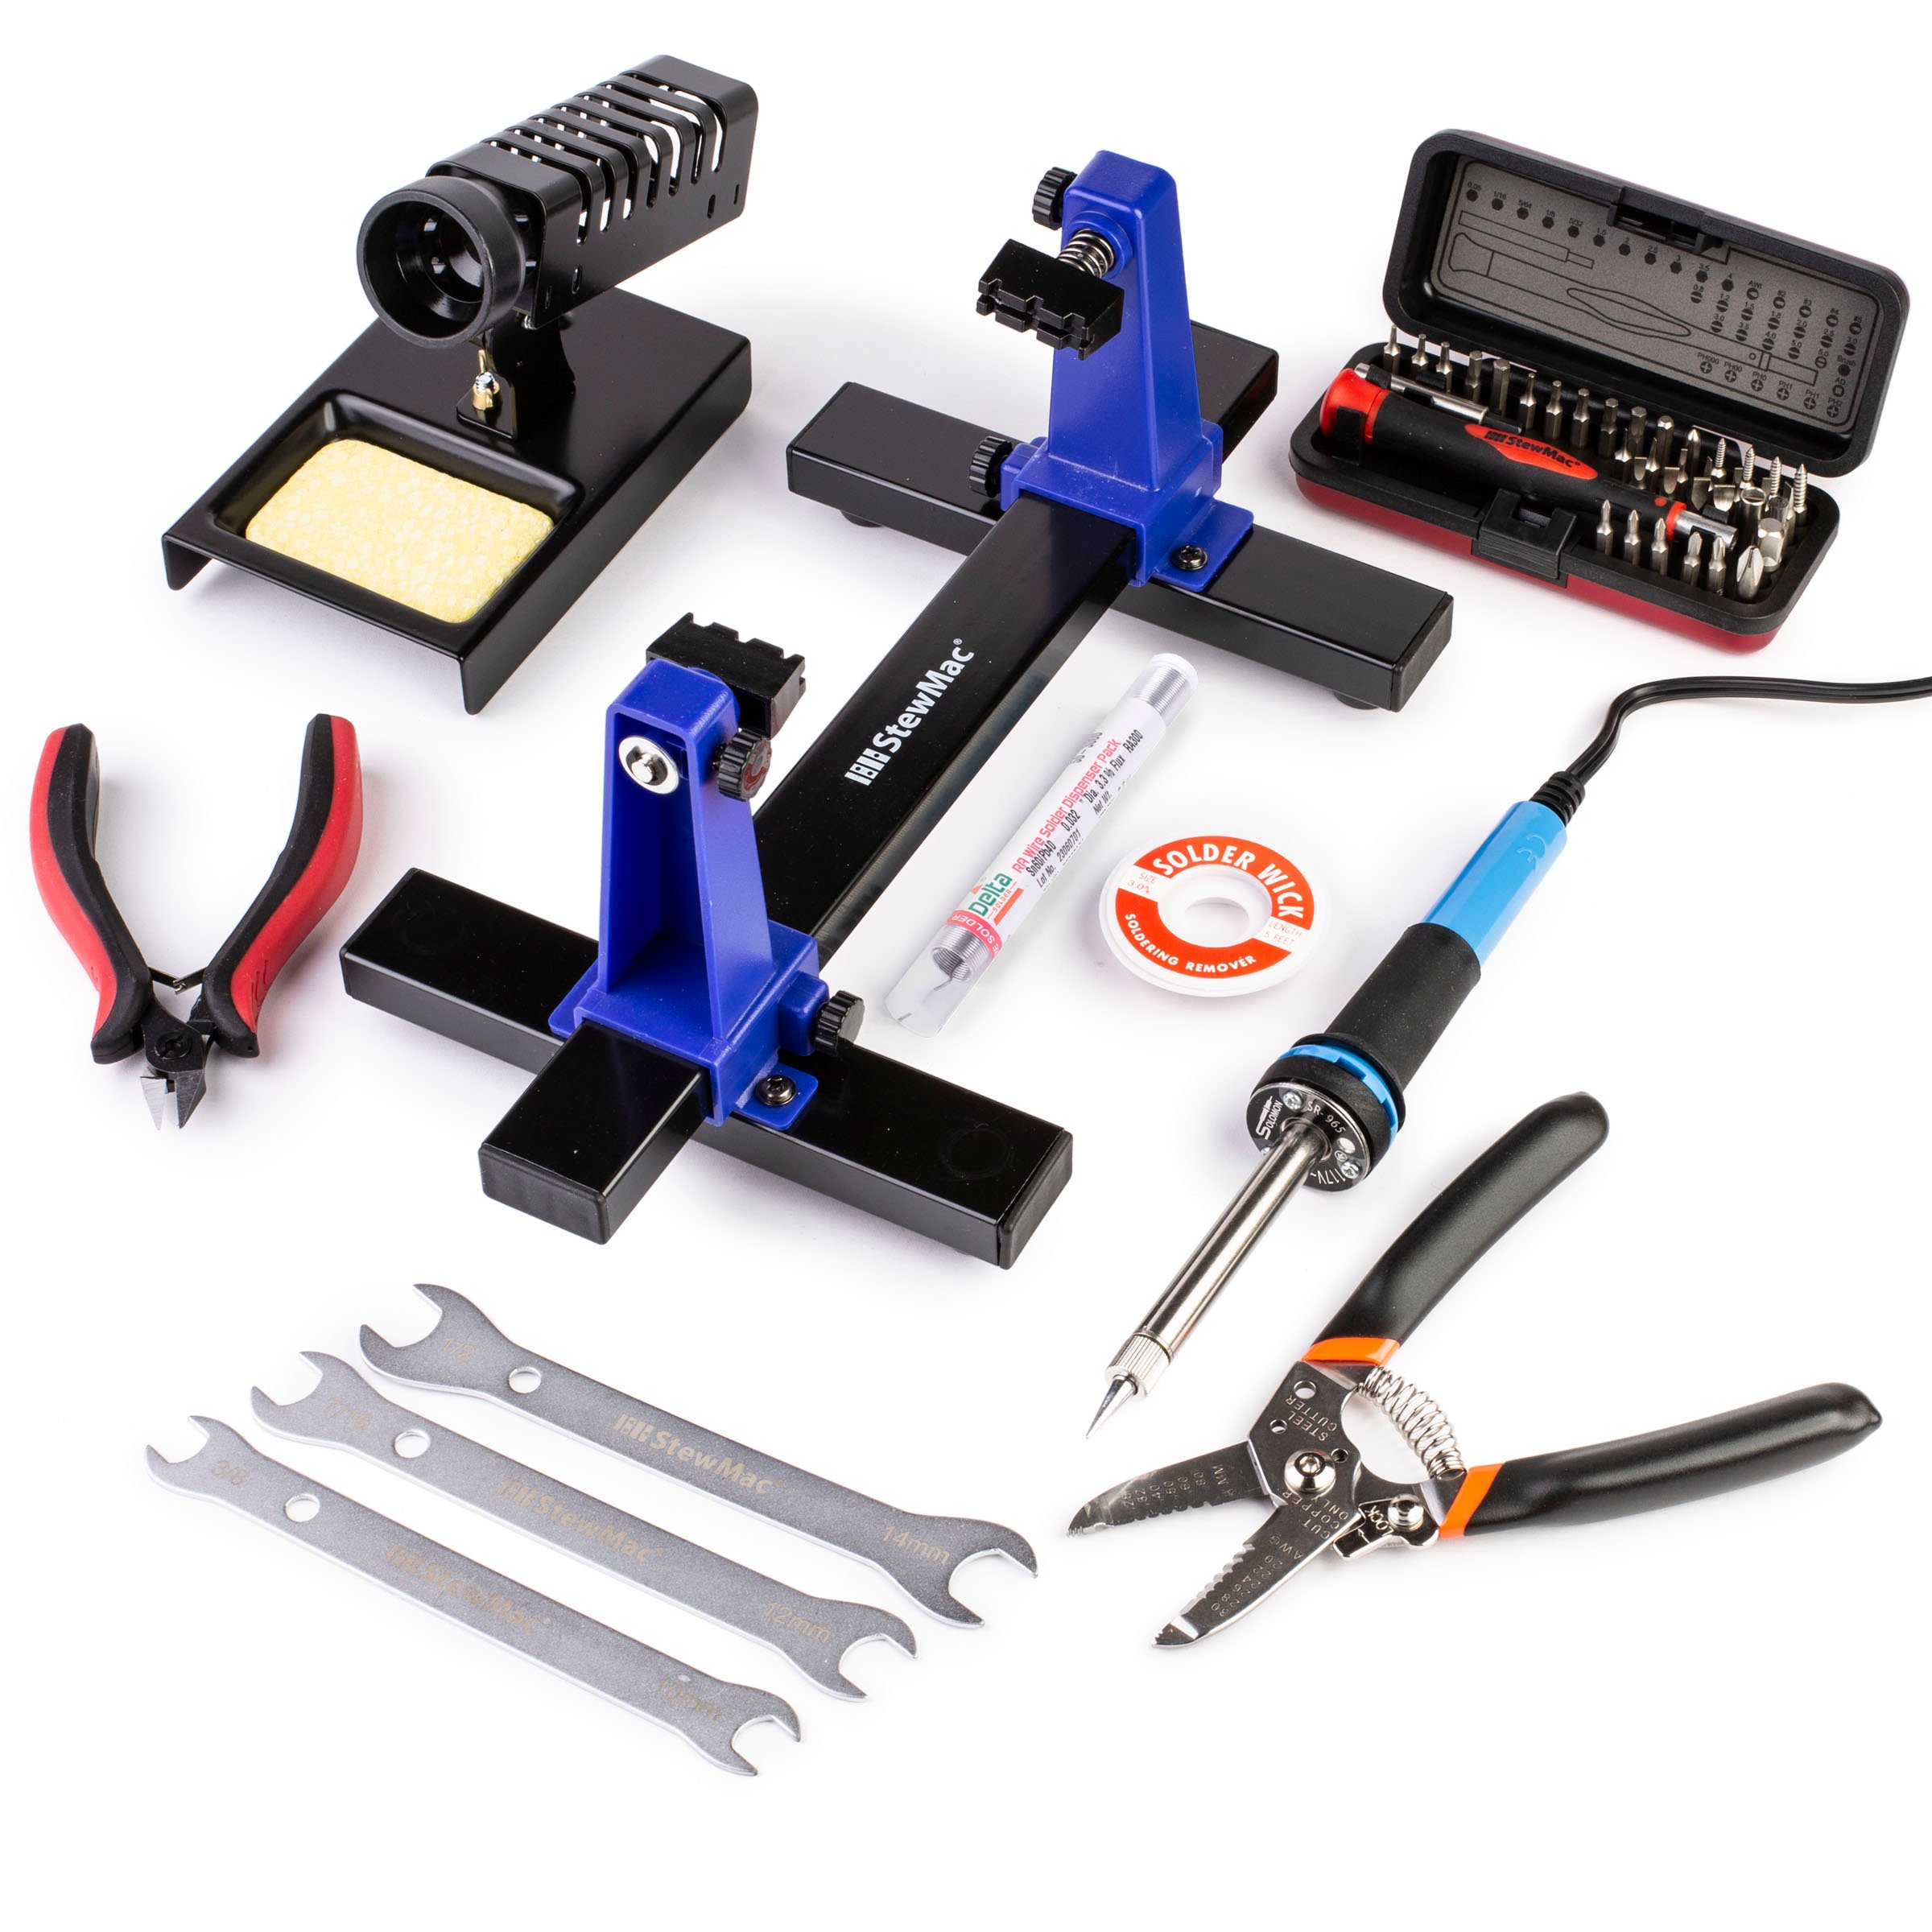
I do think... Because I haven't got the original Hot Cake, I can't compare it to that. So I'd love it if you were able to drop some comments letting me know what you think if you have the original Hot Cake, not if you've heard it online and you thought you'd compare what I've recorded to what someone else has recorded because that's not fair. But if you've got a Hot Cake and you get the essence of what I've done here, then let me know. I think it's a good buy. I think at this price and this level of complexity, anyone with a soldering iron should be able to build this, but that's not all you need. You need a few more tools. So I will quickly put a screen grab of the tools I used. So get ready to pause or there's a link in the video description if you want to go straight to all those tools and this pedal kit.
To sum it up, I had a lot of fun building this and I think more importantly, I have a sense of confidence in me that I didn't have before because I'm just a hobbyist with some tools and this gives me the confidence to move on to even more complicated builds. Builds that I've done in the past have been slightly complicated and I was always kind of nervous doing them. This I found super easy and I think it sounds great and that makes me really happy. So if that means anything to you, then take what you will. Thank you StewMac for sending this out. You're going to be seeing it a lot more on this channel because I have nothing else that sounds just like this and goes from that little bit of gritty drive all the way to that massive fuzz. There is a subscribe button, there if you want it. There's another video down there if you want it. Otherwise, I will see you in the next one. Bye-bye.

