Episode 1: SOLDERING+ADDING COMPONENTS
V-PEDALEP1
If you've ever wanted to build your own pedal kit but didn't know where to start, this replay of our live build-along series has all the tips you need.
In this 4-part series we show you step-by-step how to build our Interval Fuzz pedal. Even if you're a complete beginner don't worry! We go over everything from unboxing, to choosing the right soldering iron, to making every connection. We also give tips on painting your pedal.
Video Transcription
[on-screen text reads: Live Build-Along Interval Fuzz Pedal Kit Part 1: 8pm Eastern, Wed. August 19, 2020]
Pete: Hi folks. Thanks for joining us. Welcome. We're going to be starting here in just a moment. Tommy is just getting a little situated. Tommy, you're good to go here?
Tommy Stumpp: Yeah. I think I'm ready, Pete.
Pete: All right. Let's send it on over to Tommy.
Tommy Stumpp: All right. Like Pete said, I'm Tommy. I'm one of the techs here at StewMac. I answer all the pedal and wiring and amp questions among other things. Here today with me is our co-host, Pete Esaw.
Pete: Hey there.
Tommy Stumpp: We've got our videographer, Rachel here who's going to get some great close up shots of whatever I'm talking about. Like Pete said, this is a live pedal build that we're going to do. This intro is going to be mostly informative. We're not really going to dig in much today, but we're going to go over what comes in the kit? What kind of pedal it is? We're going to go over some of my tips and tricks for soldering, and we're going to talk about finishing the pedal, which is another really cool way to customize it and make it your own... Own your tone.
Pete: Which pedal are we building today?
StewMac Interval Fuzz Pedal Kit
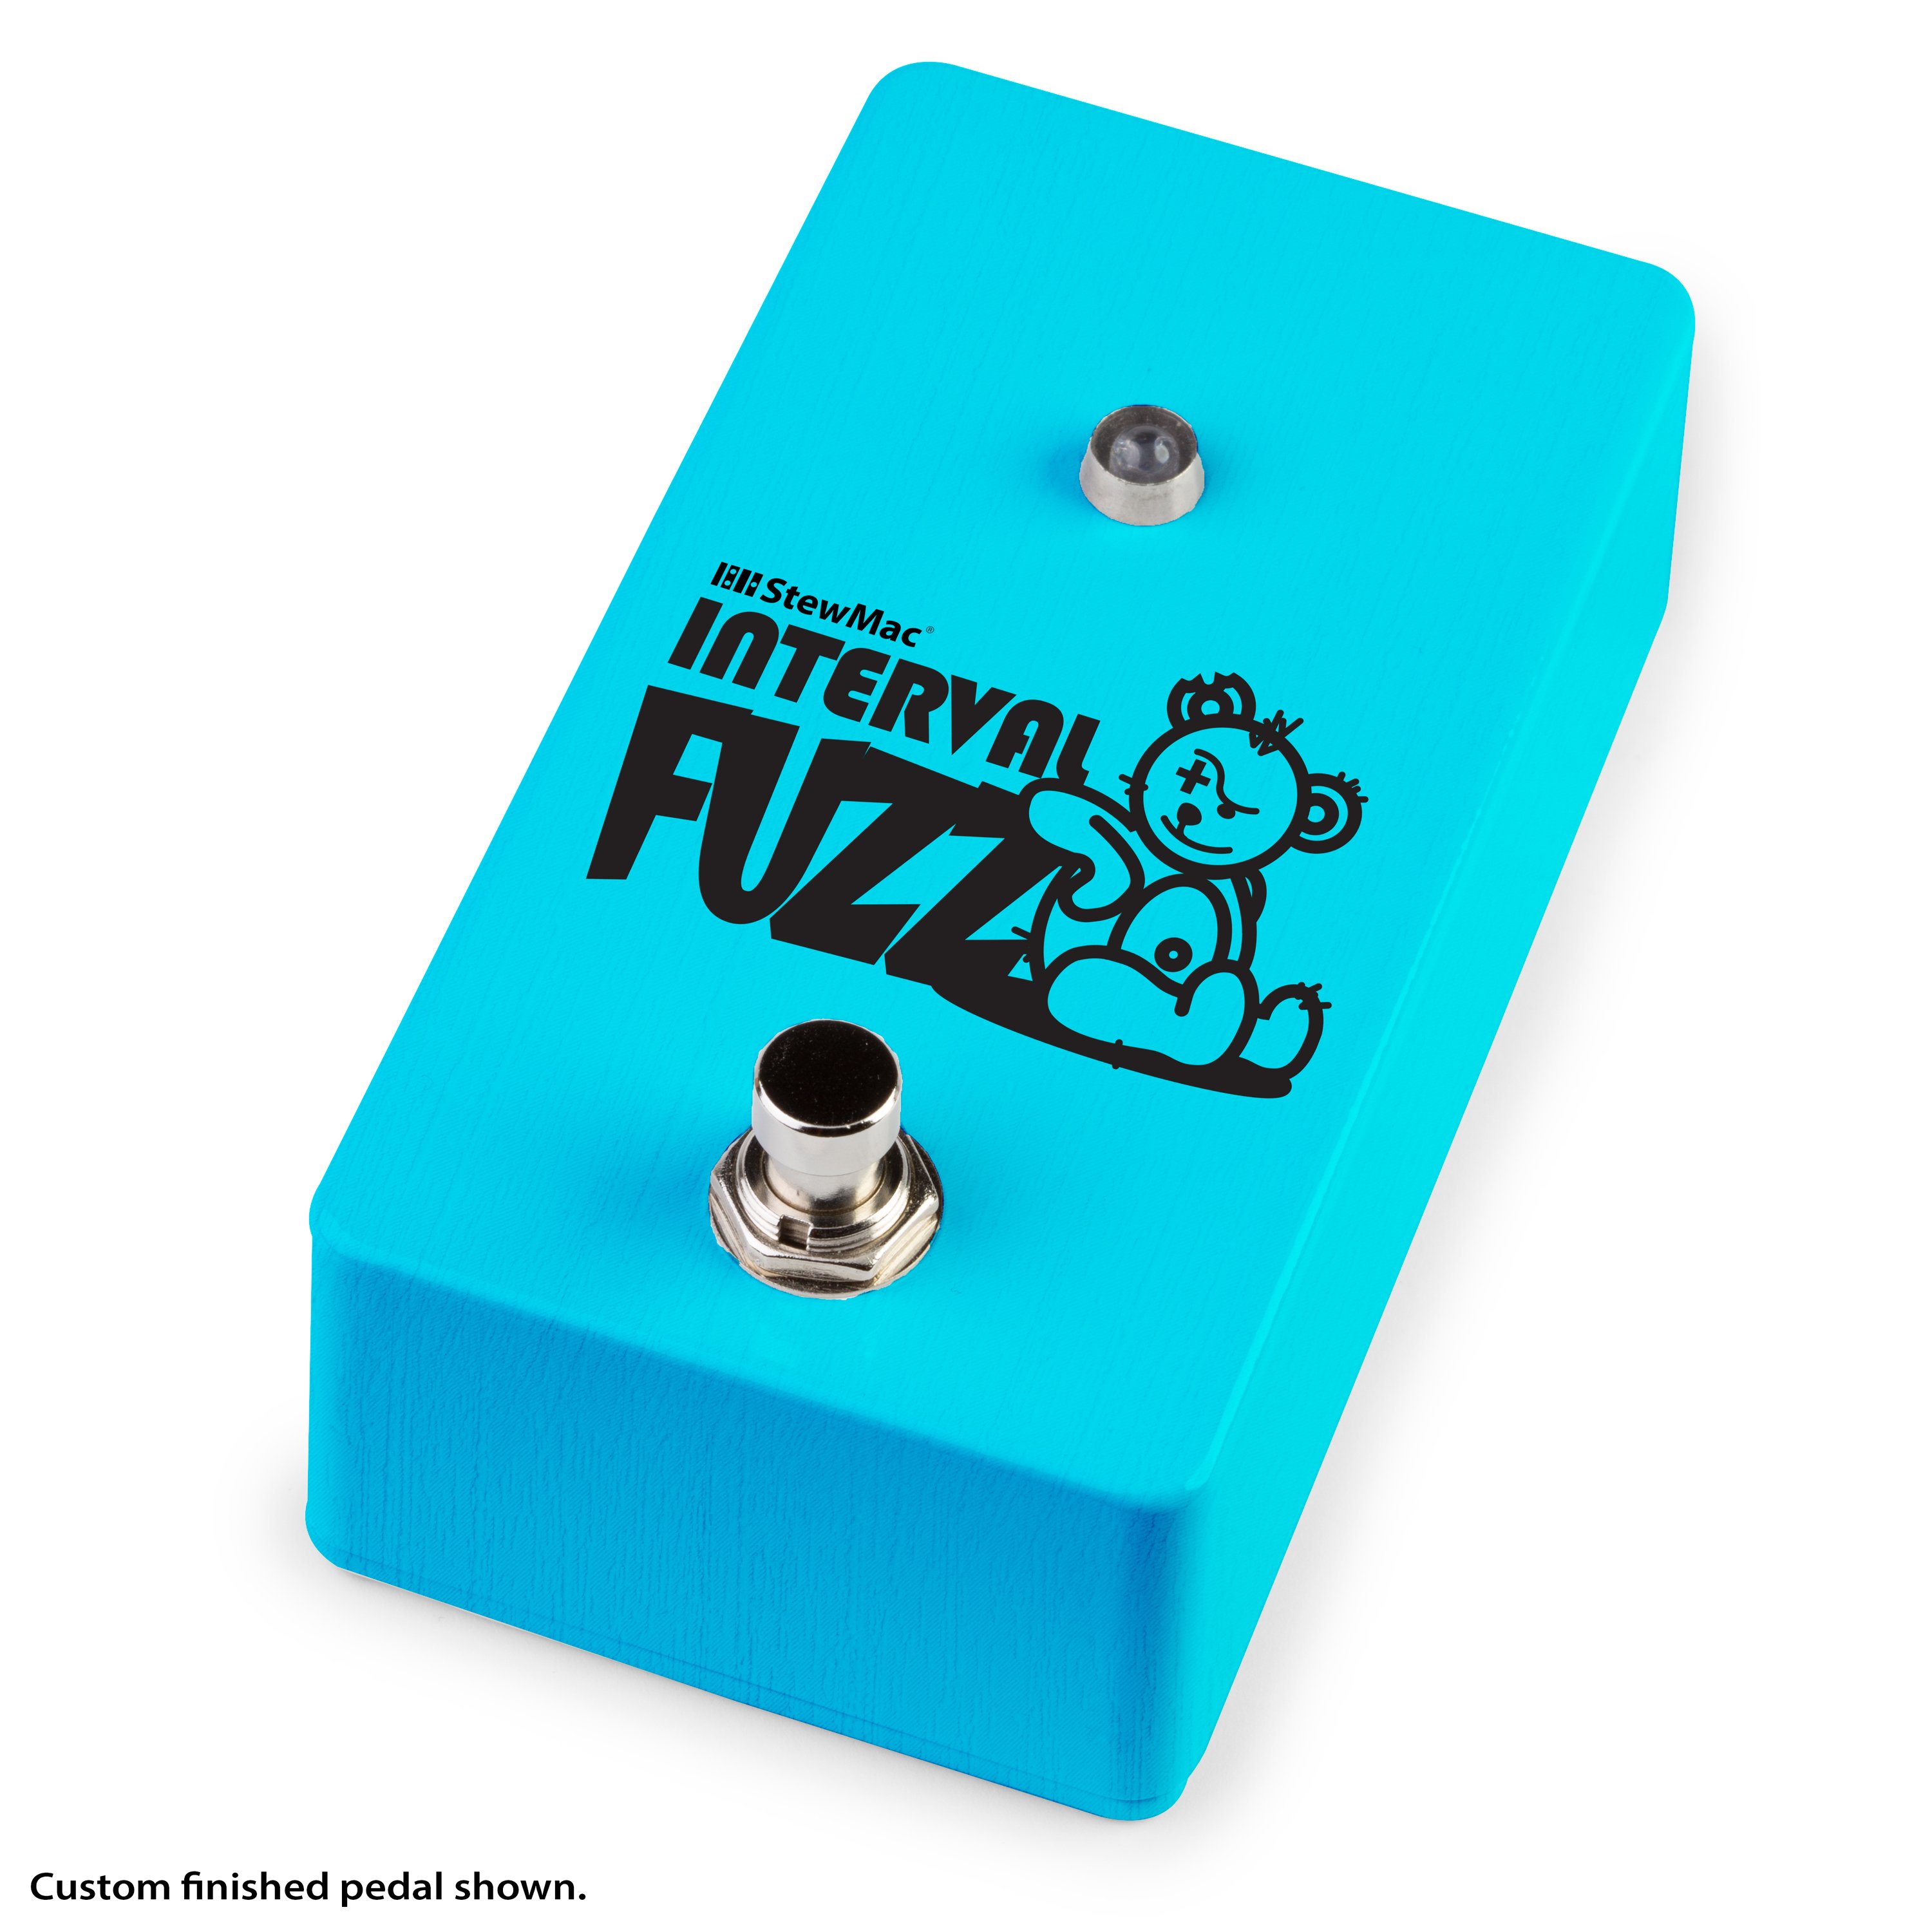
Tommy Stumpp: We're building the Interval Fuzz, comes with this fun graphic. It's got no knobs or controls of any kind. There's no trim pots or anything like that. It's just an on-off button. Essentially, what it is is an analog octave up pedal, interval meaning octave up. It's based loosely around the Dan Armstrong Green Ringer, which is a ring mod pedal. It's a really cool circuit. It's also very simple circuit, a great first project if you've never done electronics. What we're going to talk about today is really universal and it applies pretty broadly to every kind of electronics project you're going to be working on. If you're new to soldering, there's going to be some great stuff in here. If you're not, there might still be some neat stuff that you may not have seen before, so we're going to go through all that.
Pete: Before we get into that, can you show us what the pedal can do?
Sound demo
Tommy Stumpp: Sure. Yeah. We can do a quick demo. This pedal sounds different depending on the type of pickups you have, depending on your pick attack and depending on where the neck you're playing. I have a guitar here with our PAF style vintage round humbuckers, not crazy high output or anything like that. You can hear my clean tone. I'm playing through one of our StewMac Princeton Kits. Now, you can hear it with the pedal. You can hear that second note above your original note is what they mean by that analog active up.
You can see when I hit that button, it adds that second note and a bunch more texture. Another great thing about this pedal is it stacks really well with other pedals, distortion pedals, fuzz pedals. If you put it in front of those in your signal chain, the Interval Fuzz will still track properly as far as giving you the right octave. Then, it will push your next pedal, whether that be a fuzz or overdrive into different harmonic territory. That's what the Octavia pedal was, an all in one pedal. I have a medium drive setting on this Caroline distortion. That's with the Interval Fuzz. You can hear if I play more than one note at a time, it really starts to break up and gets into some pretty crazy territory. We can hear that. That's what we call that ring modulation effect. Essentially, it doesn't know which note to pick, so it goes between them and creates other clipping and distortion.
Pete: Tommy, what... You said it's great in conjunction with a distortion pedal here. How does it really sound across the board when you get those humbuckers.
Tommy Stumpp: Yeah. It really does sound different. With single coil pickups, it's a little smoother. If you play seventh fret and up single notes, it's going to track really well. It can sound downright pretty. If you play chords, it's going to sound kind of weird. Because again, it doesn't know which note to track. The further down the neck you get back towards the knot, it's going to sound weirder and weirder because it's out of the range where the harmonic content is going to sound good.
Also, if you play an octave on the guitar, it's going to sound weird. It really is a circuit designed to be played on single notes. It's great for kicking in, in a solo and it's really great to throw in if you've already got another distortion that's turned on. Now, this is the bridge pickup. It really tracks better with the neck pickup. If you guys want to see more demos, we can do more of that. Leave us a comment if you want to see it with different pickups. If you want to see it with different instruments, it sounds really cool on bass. It sounds really cool on keyboards too, because there's so much harmonic content that it really sends the pedal into other worldly territory.
Pete: Nice. All right. Let's take a look at the pedal. What comes with the kit?
Whats in the kit
Tommy Stumpp: Yeah. The kit comes with everything you need aside from tools. We've got it all laid out here in this neat little tray, but you get your choice of enclosure. We've got a gray enclosure and a white enclosure. The gray one's great if you're going to paint your own. The white one is great if you want to just hit the ground, running it and not have to worry too much about finishing. Again, we'll talk more in depth about finishing at the end of this video. The kit comes with the custom sticker, which looks really cool on the white or painted enclosure. It is clear, so you don't want to go too dark. Then, it's got all these components and wire.
Tools your going to need
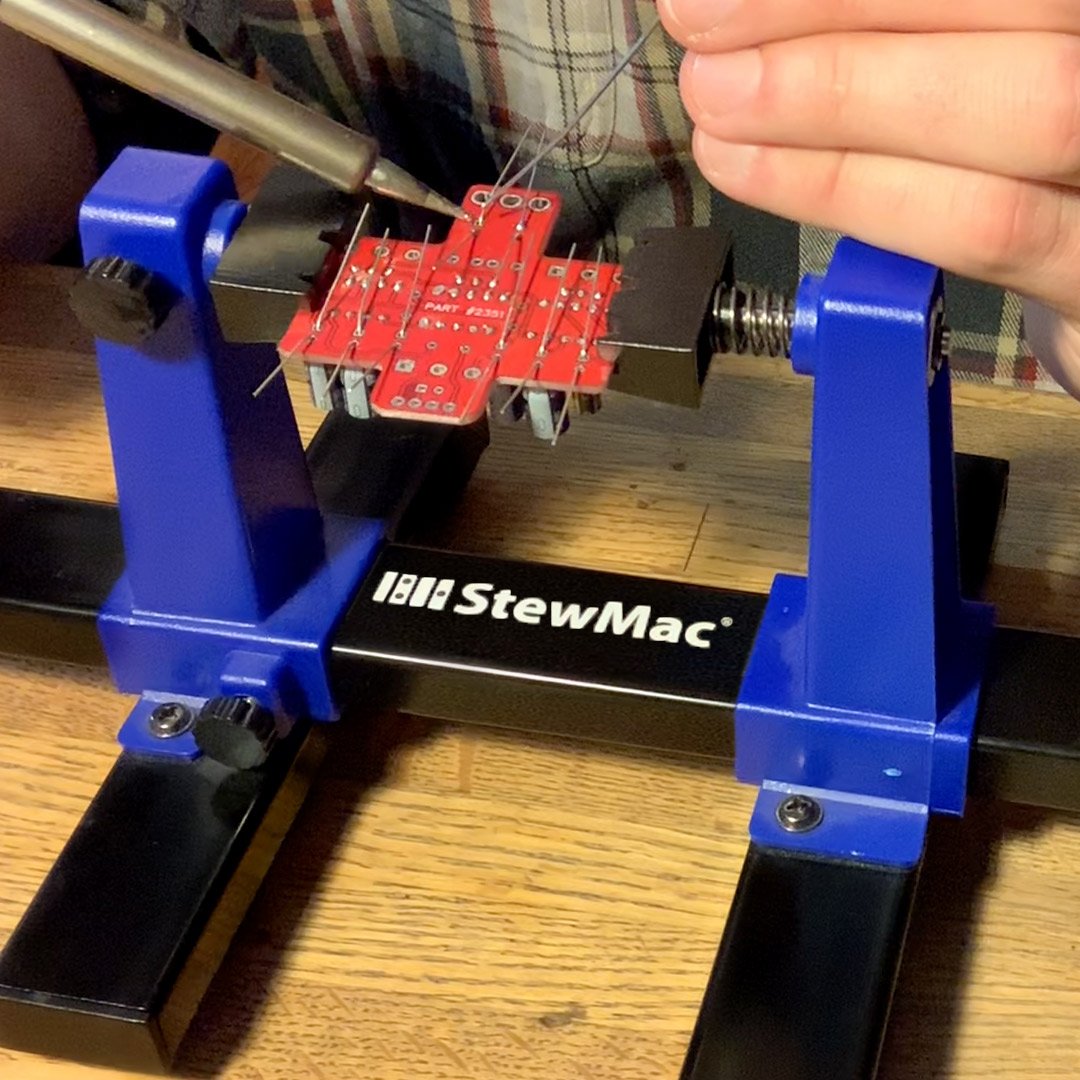
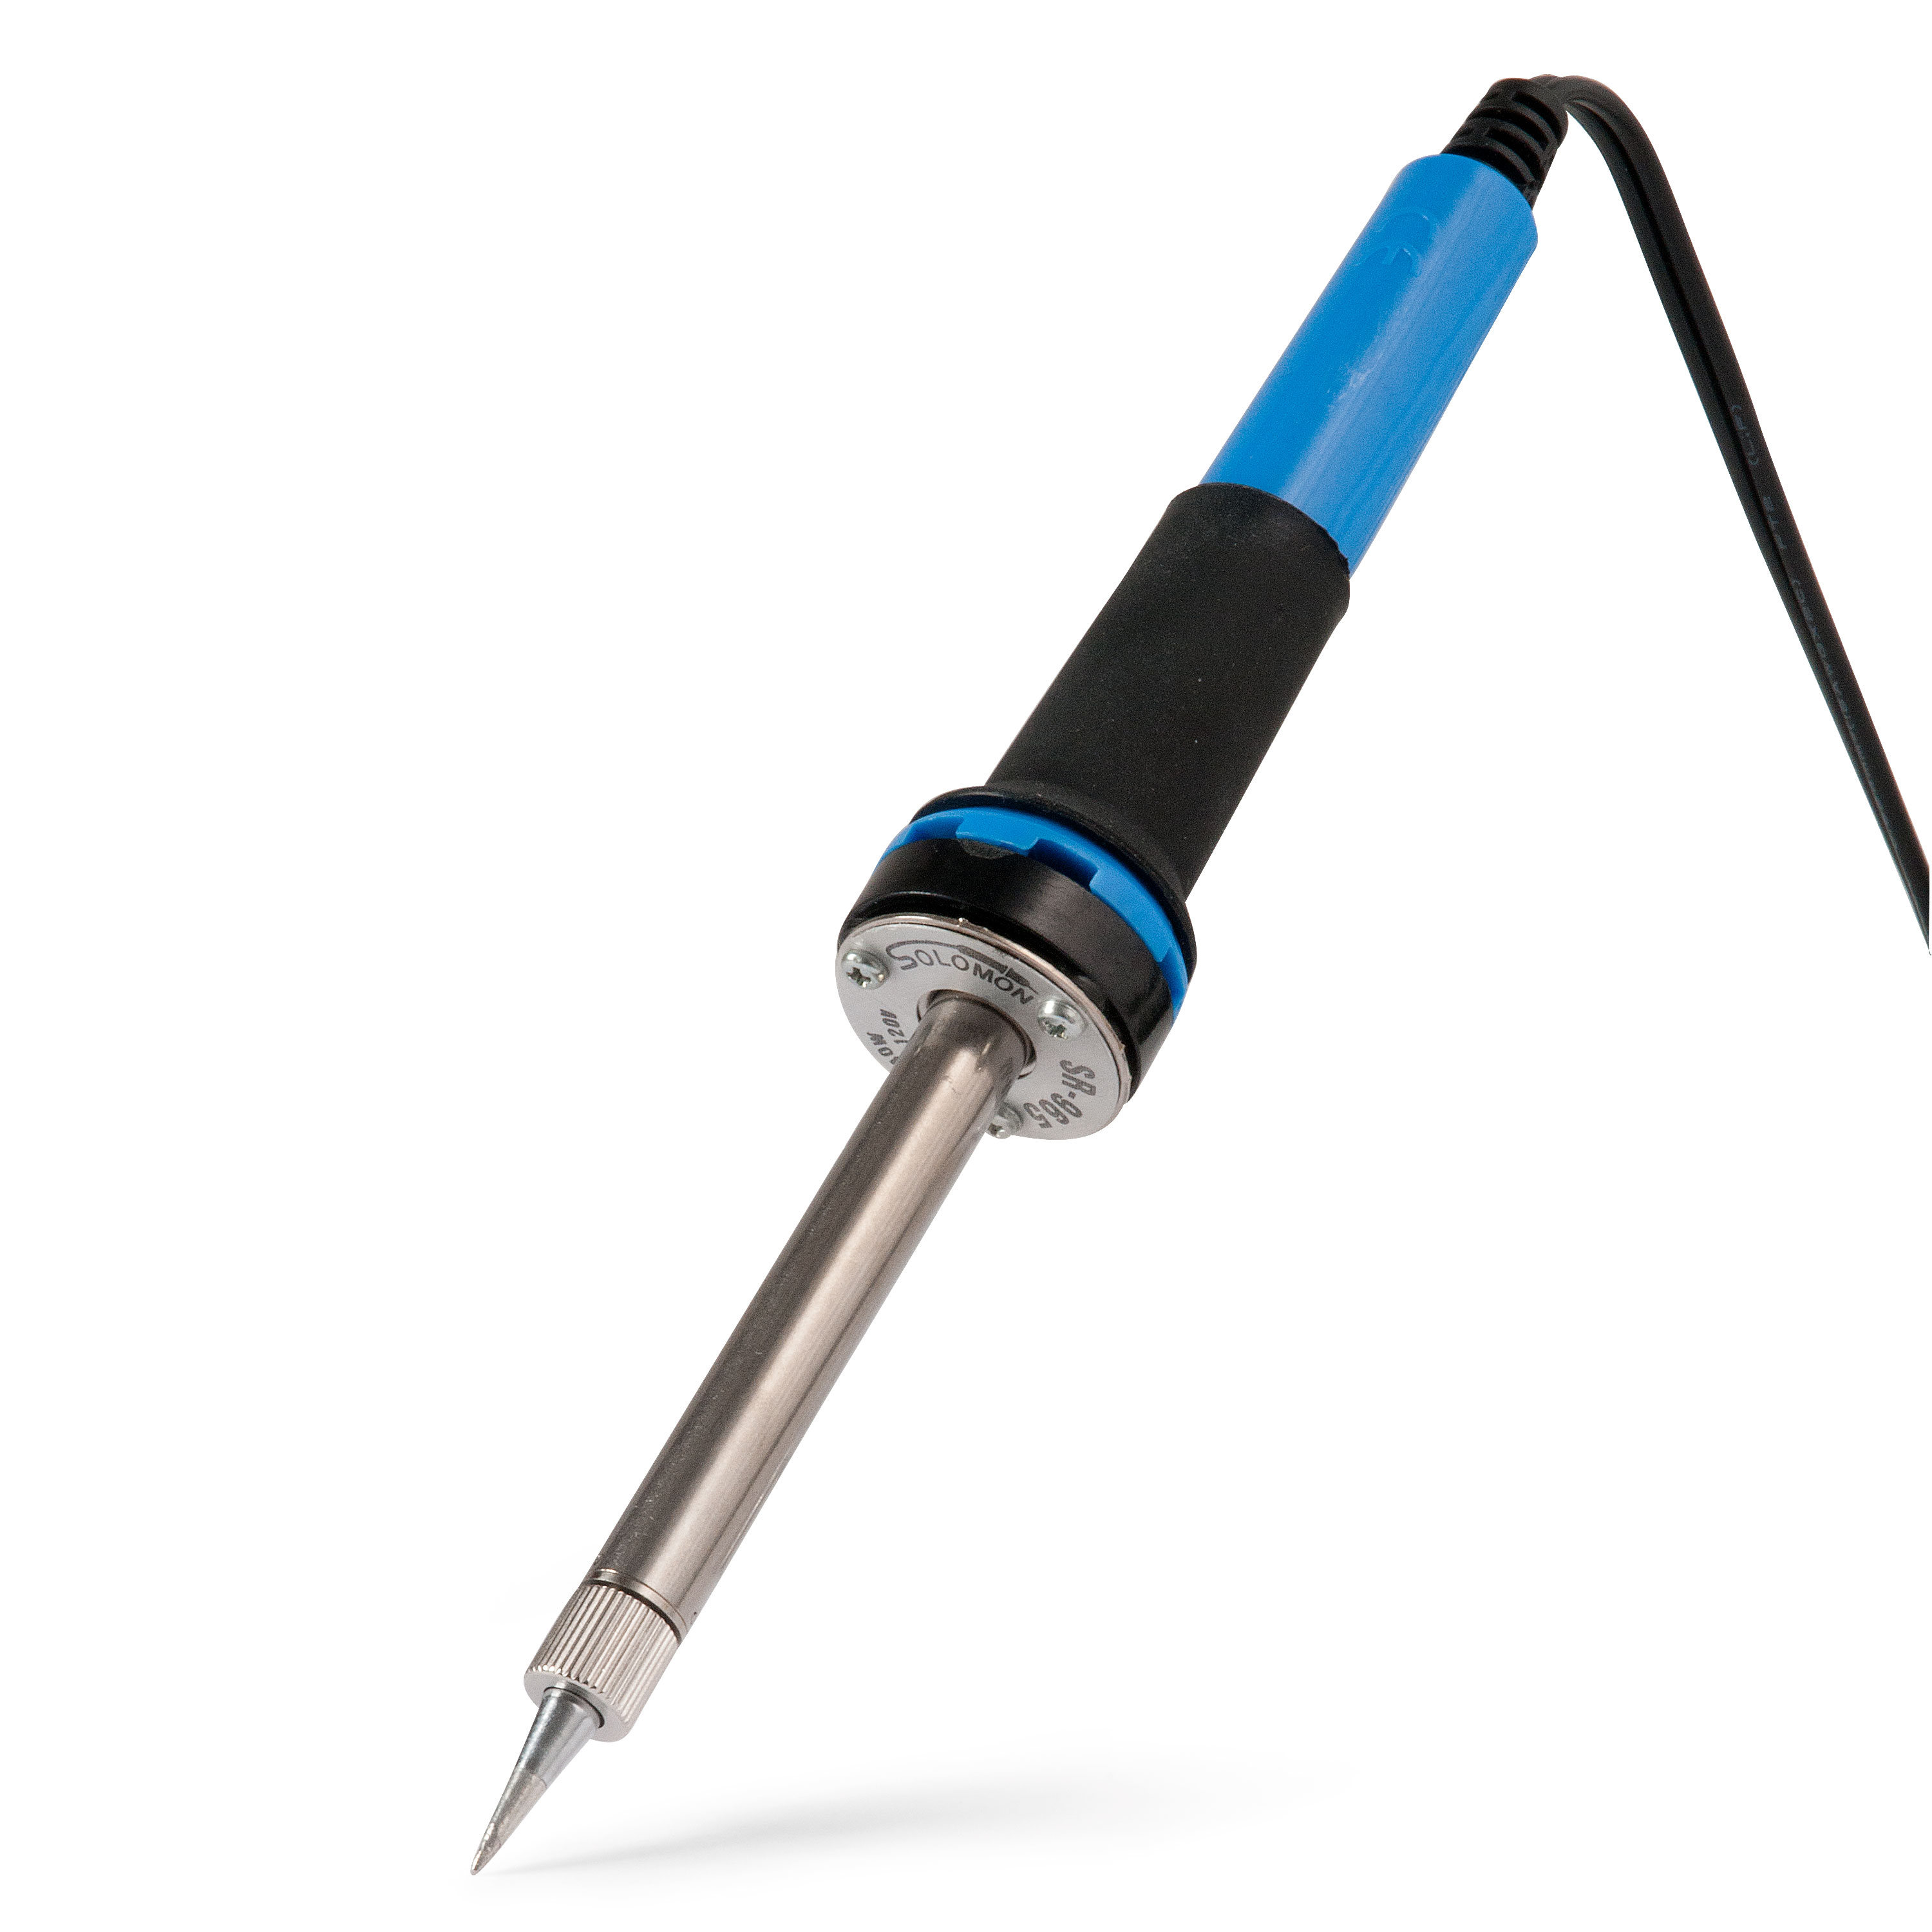
Basically, what you need aside from what comes in the kit is a good soldering iron. You could probably get away with a 40-watt iron, but we really recommend you have a good iron for this. You want to have control of your heat. You want to be able to get nice and hot. It really can make the difference between a really fun experience and a frustrating experience. You definitely need solder, obviously. I personally really like to have a good PC Board Holder. This is one that StewMac sells. They're available online. This is great because during this kit, you're going to be flipping your work back and forth. Once you load a component, you flip it over to solder it.
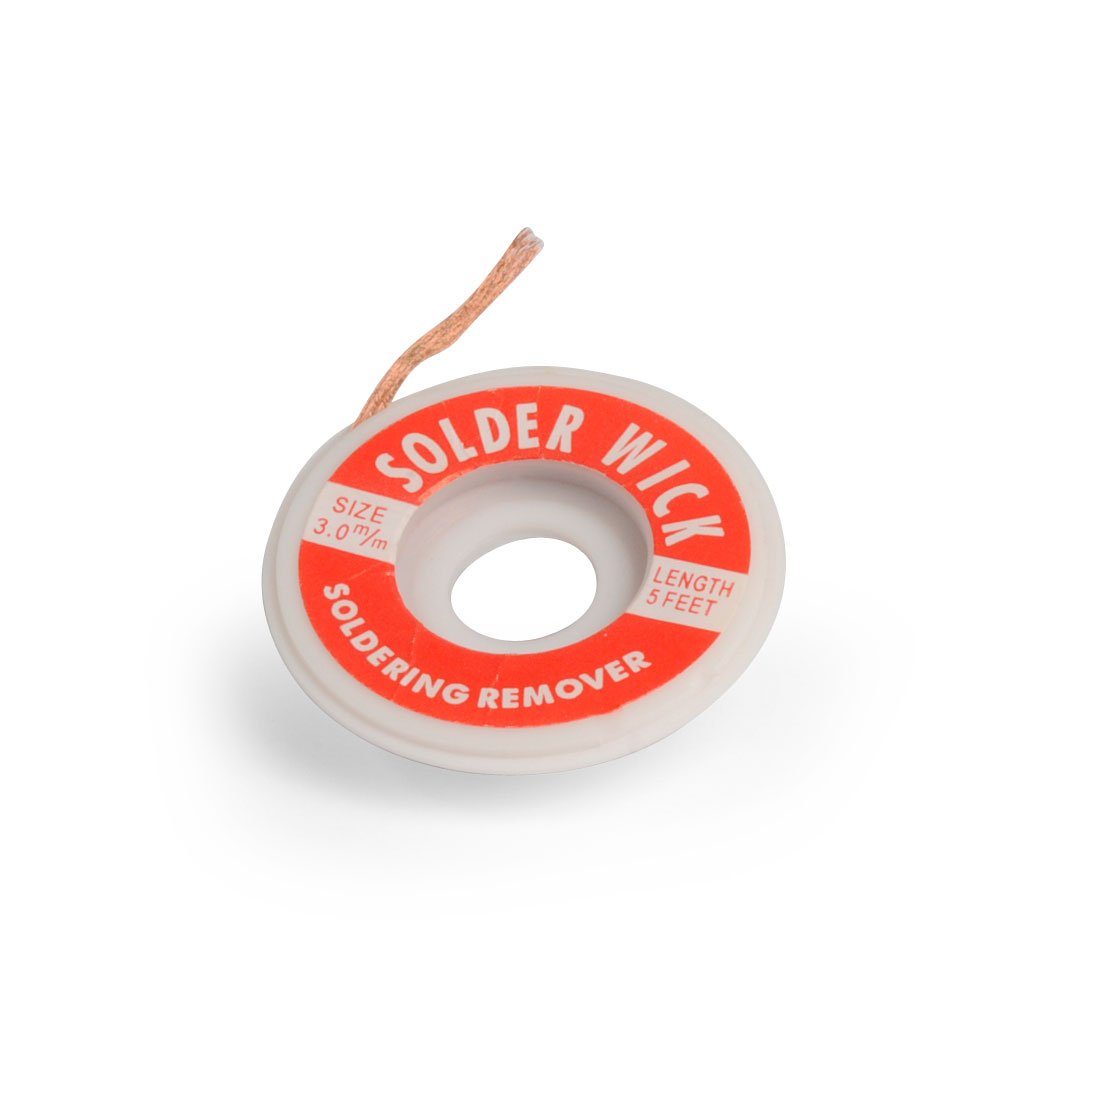
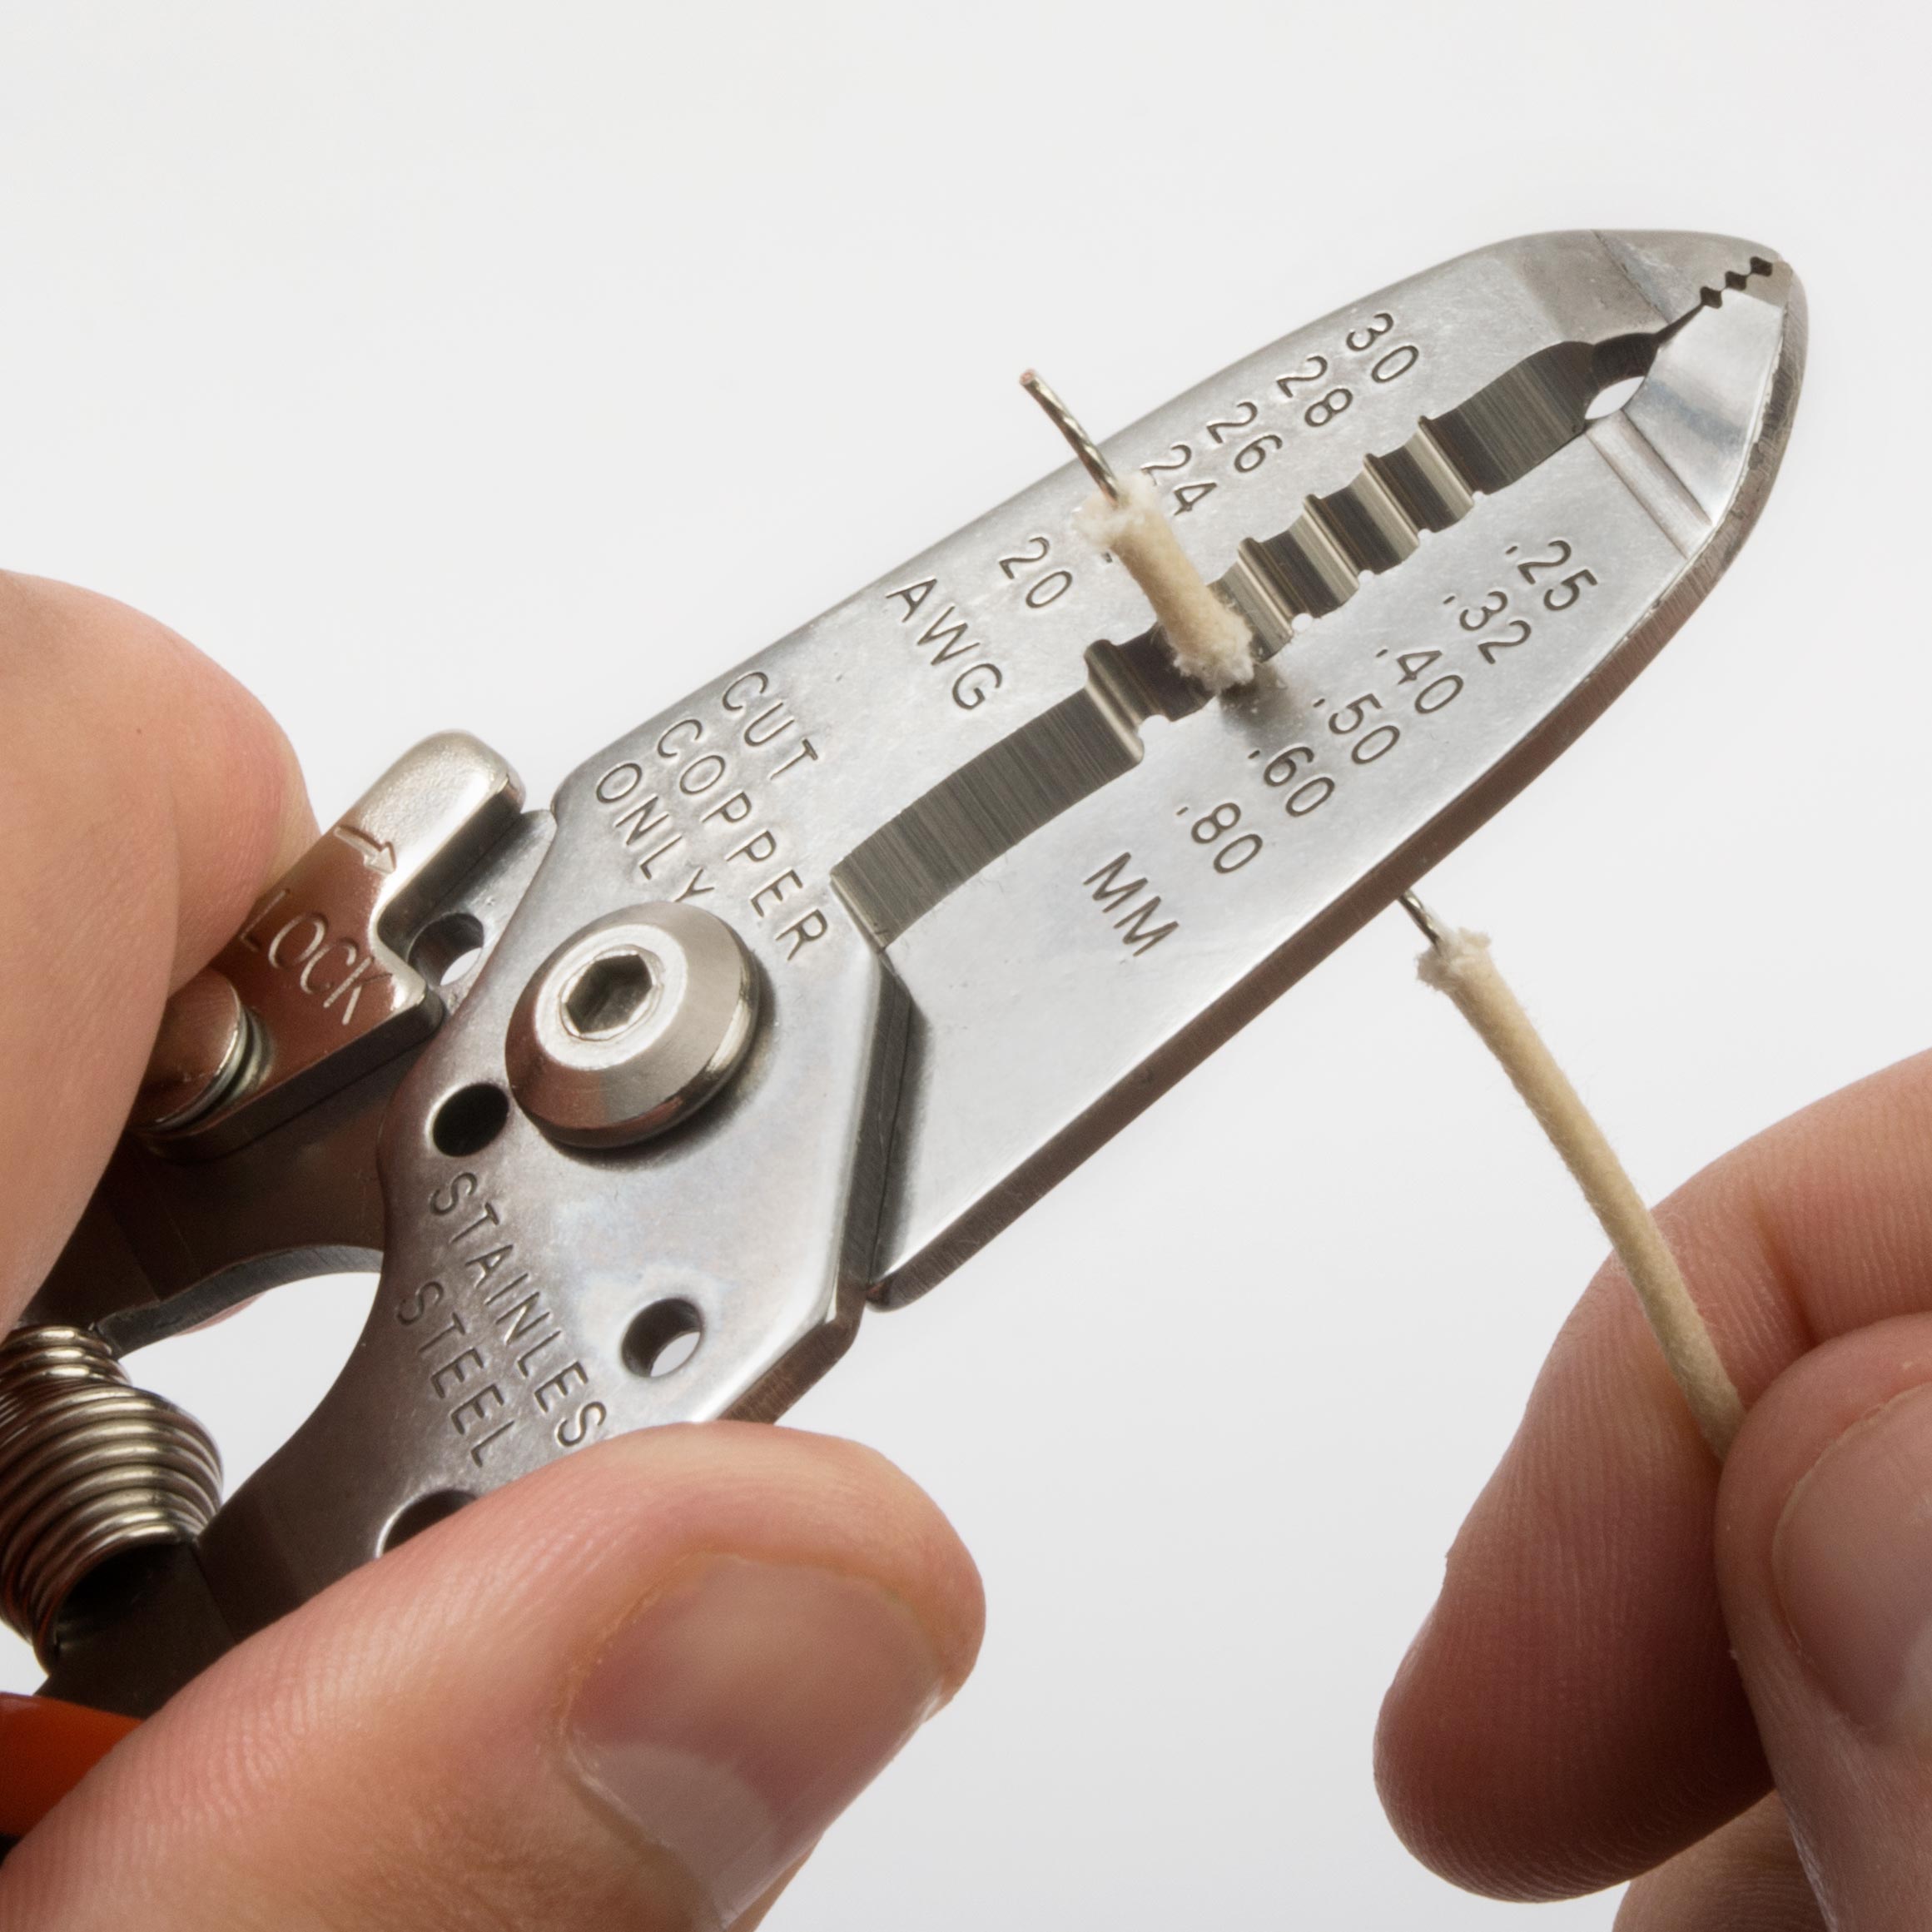
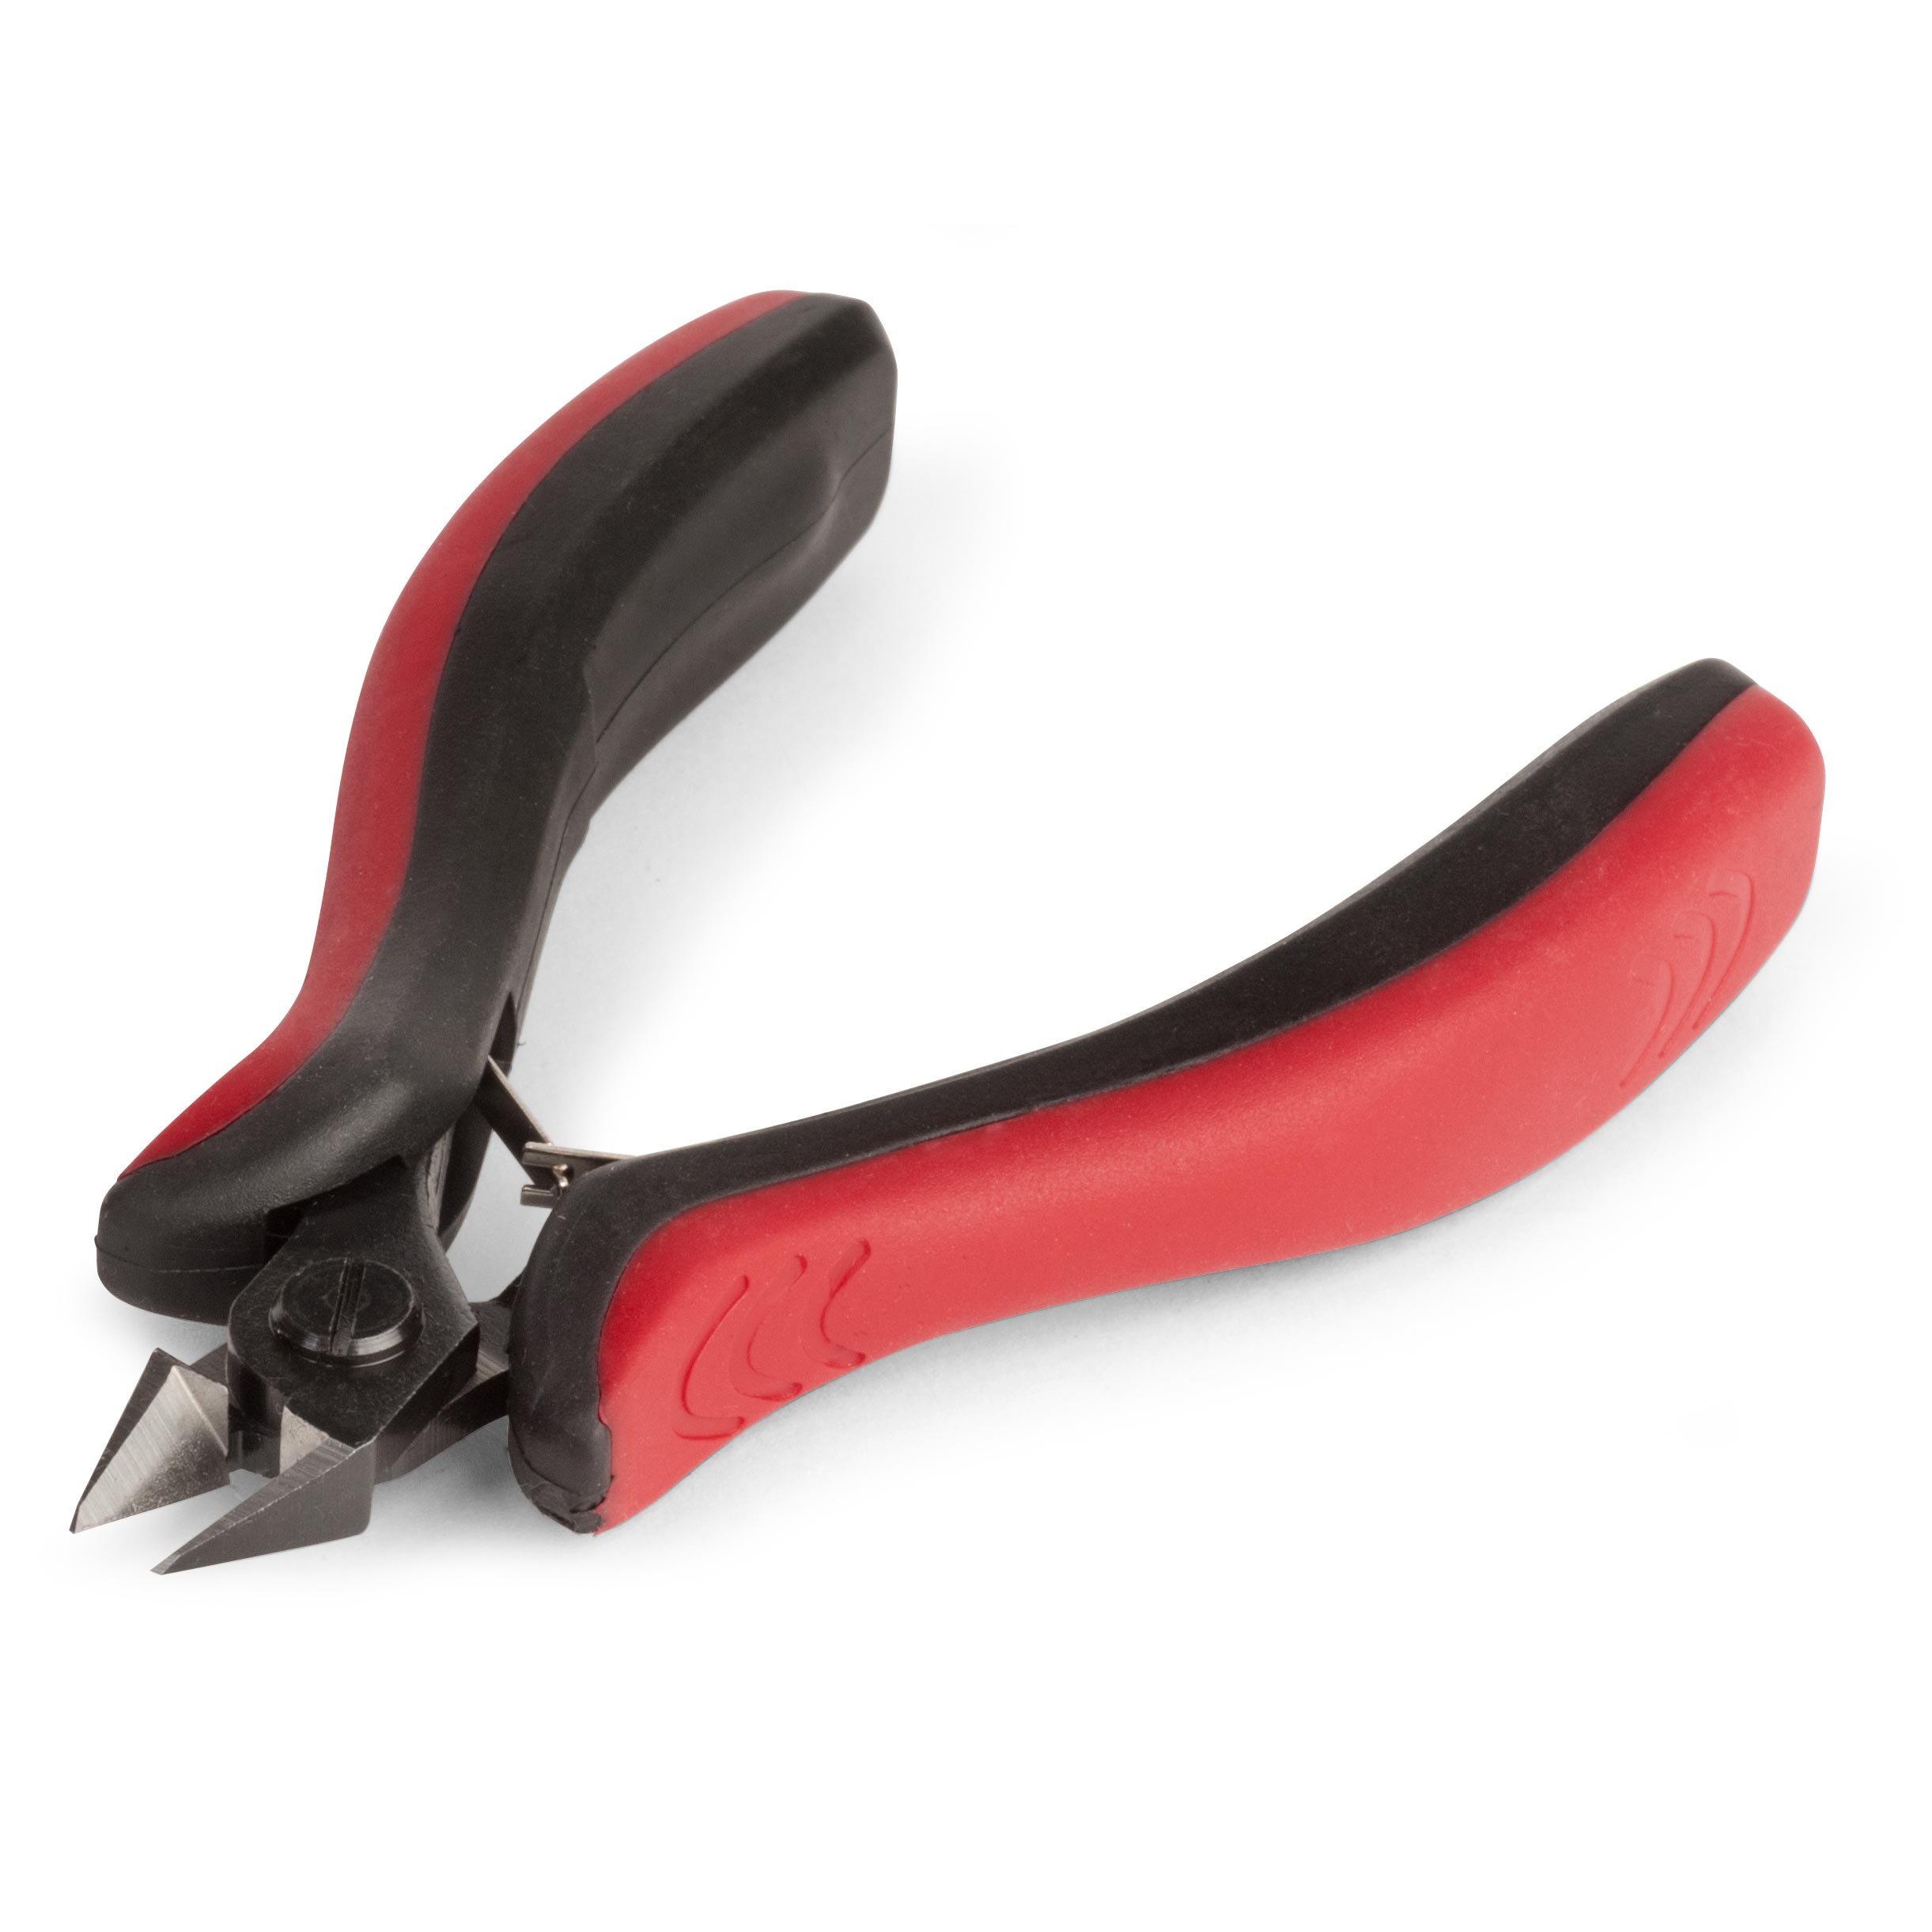
Something like this is great to hold it securely, so you have both your hands to work with. You can just position it in whatever way's best for you. We really recommend you have something to remove solder as well. Because inevitably, there will be something that you need to go back and fix. This is our Solder Sucker. I personally am a big fan of these. You can also get a Solder Wick, which is essentially just a copper braid that removes solder from a joint. It's good to have a good pair of Wire Strippers. The wire in this kit is 24 pre-bond, 24 gauge. You need a stripper that's going to go down at least to 24 gauge wire. Really good to have flush cutters for nipping those leads off once they go through the board. That's a really good one to have to make your work look nice and tidy.
Pete: What kind of support is available here in the kit?
Tommy Stumpp: At any point in this kit, you can get support by emailing service@stewmac.com. You can also contact us through the website. We have free tech support. If anything doesn't seem to be working right or if you lose a component or something breaks, we're happy to replace it. Just let us know.
Pete: Can we take a look at the instructions of the kit?
Tommy Stumpp: Yeah. That's another part of this kit that I really like. I've built other pedal kits, but this one really shines because of the instructions. They're full color on the website. You can download them for free. You can either have them on a big iPad or print them off. I like to have something physical in my hand, but you can see they're great full color. They go through all the tools you're going to need. Again, all the tools I list and talk about tonight, if you miss anything, this video's going to stay up on our YouTube channel. If you miss anything, you can come back or if you want to see something again. If it wasn't clear what I said, leave us a comment. We're happy to go over it next week.
Because again, we're going to do this a few weeks in a row until we're all done. You can see in these instructions, it's got great graphics, shows you what everything is, kind of idealized. It's really nice to have. It goes through some tips and tricks for good soldering. Again, it's just a step by step best layout kind of deal. Again, not every kit comes with great instructions, but these are about the best I've seen, for sure.
Pete: Sure. If people don't have their kit yet, we're really going to get down to the nitty gritty next week. Right?
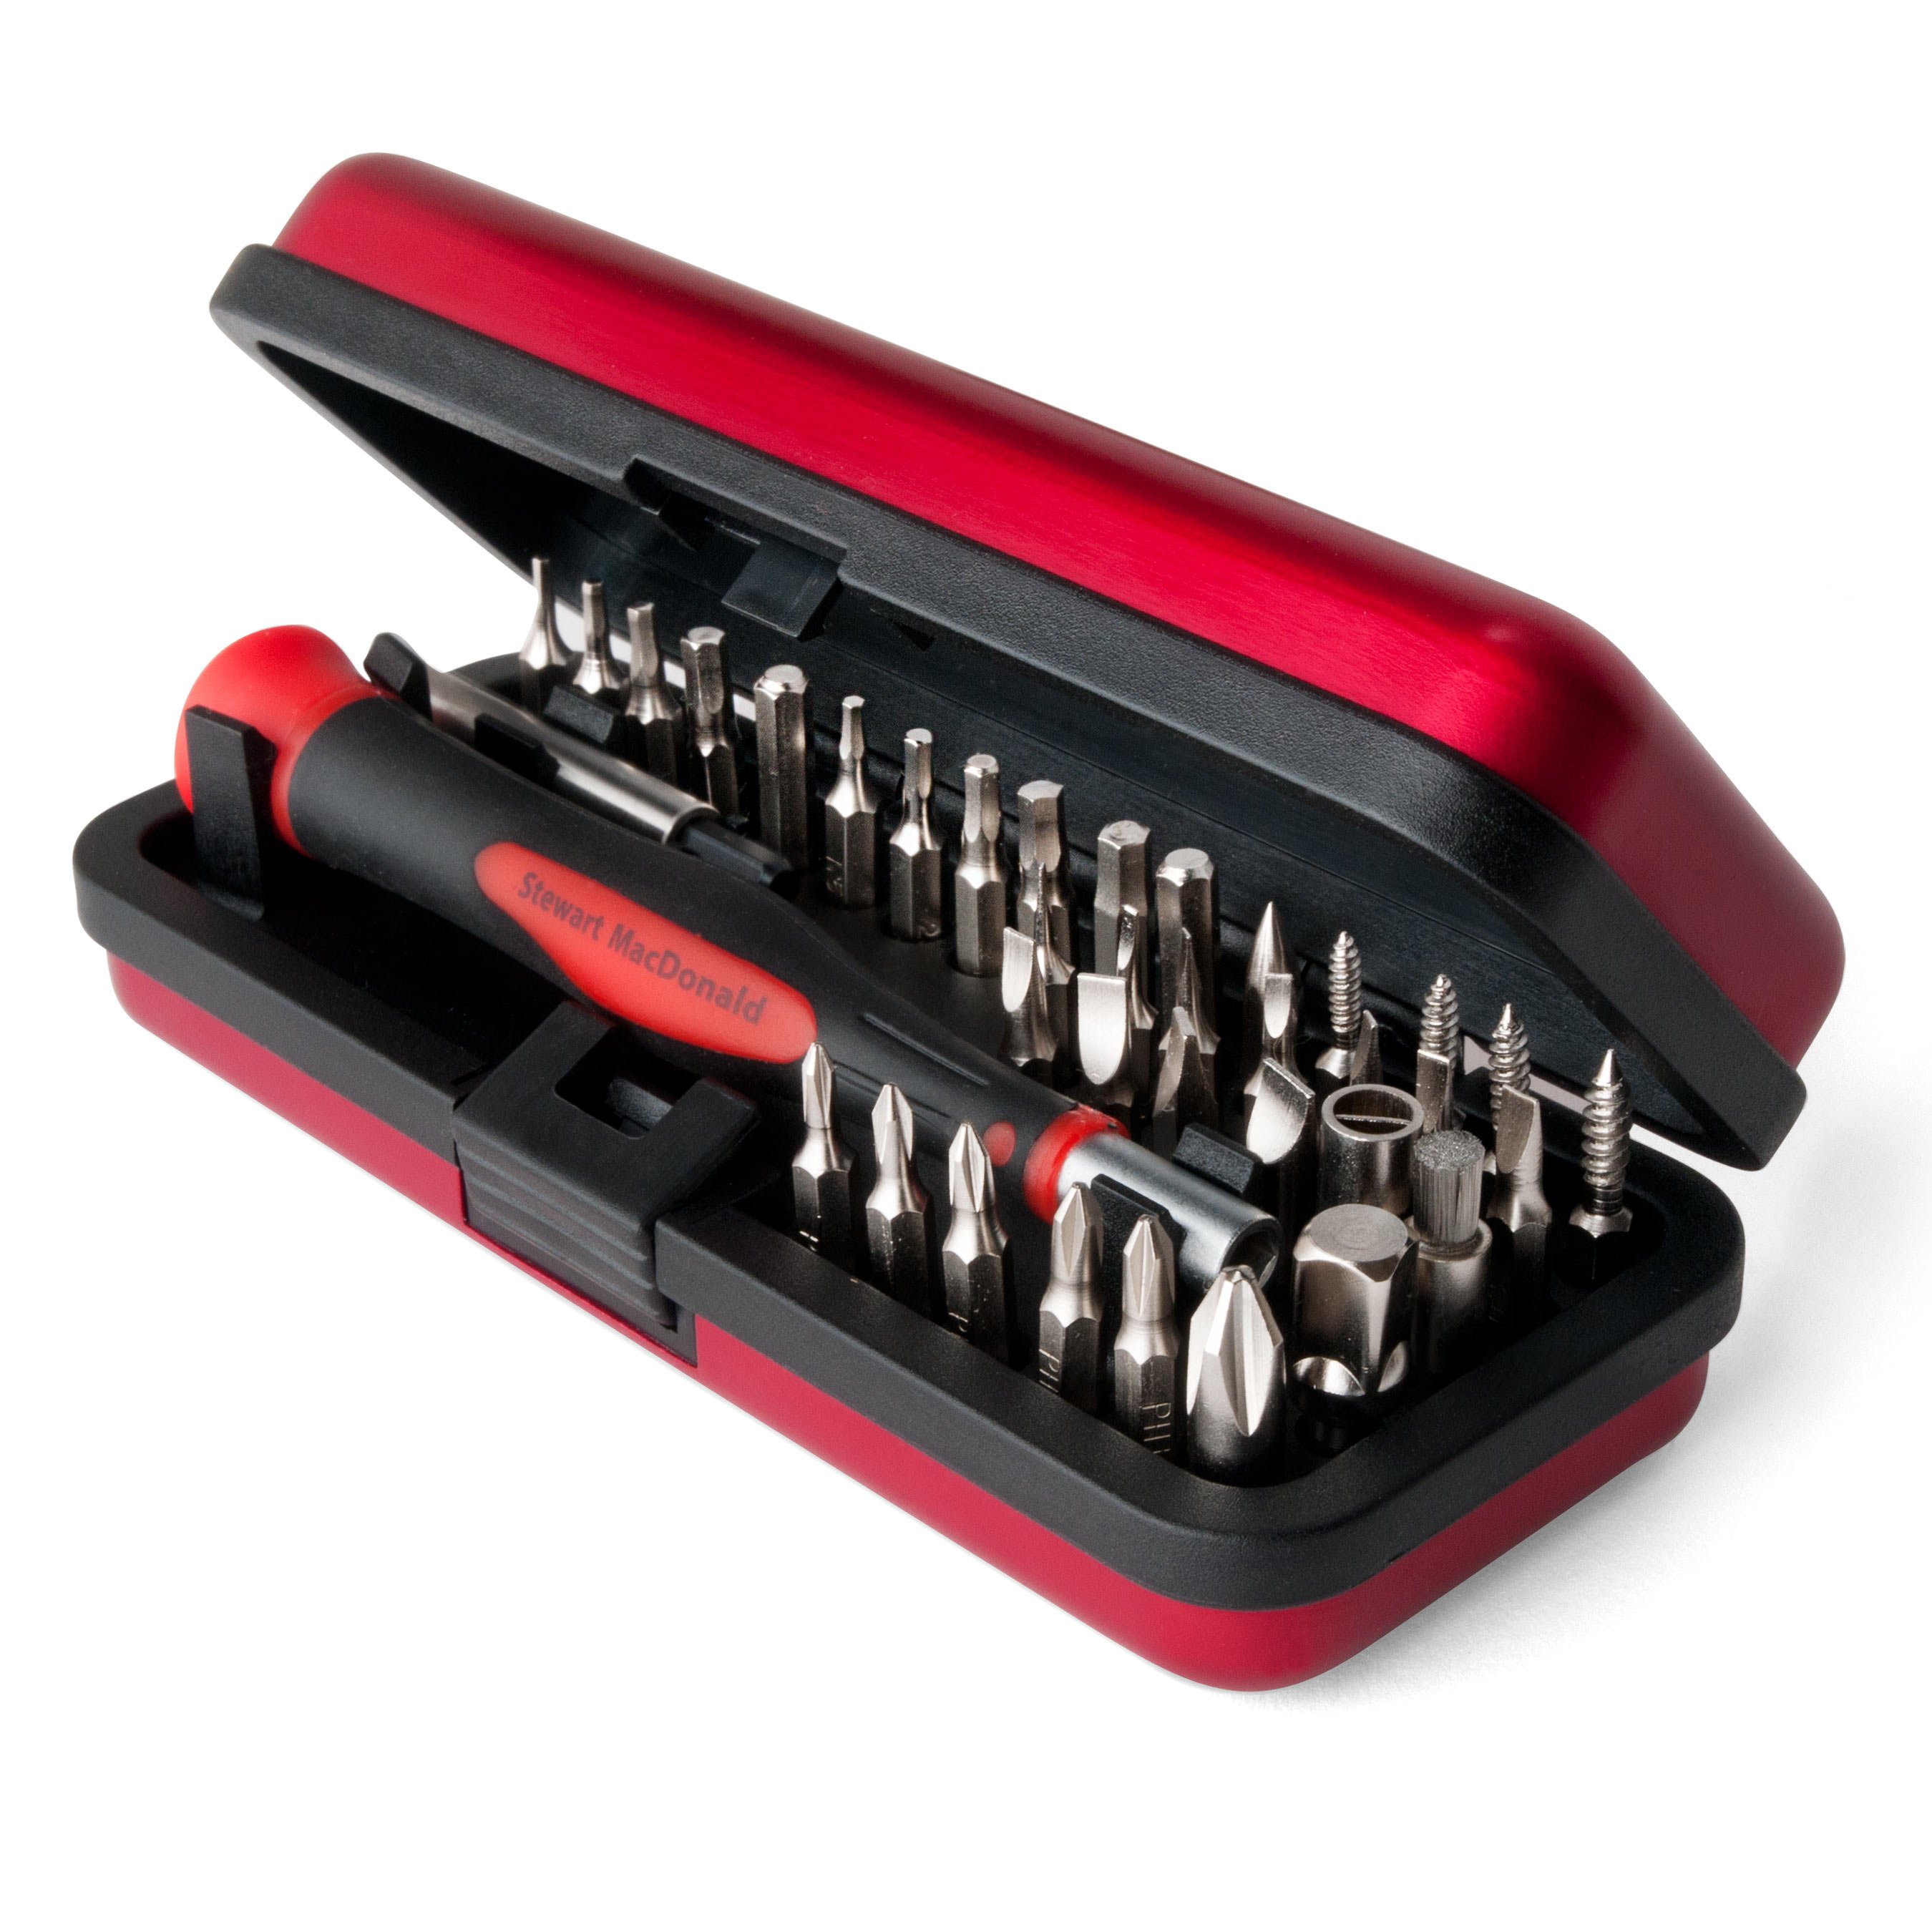
Tommy Stumpp: This week, we'll go through everything that comes in the kit. What we're going to be doing, we'll go over soldering and then we'll get into finishing. You still have time to pick one up [on-screen text reads: Live Build An Interval Fuzz Pedal]. Generally, we ship orders placed before, I believe 2:00, will go out the same day. We're still shipping. If you get your order placed within the next day or so, you probably have it in time to join in next week when we start really getting down to the nitty gritty. What else? Okay. Tools, we talked about all that. It's good to have a screwdriver. We have a screwdriver set. I don't know if you want to get a shot of that, Rachel.
Rachel: Oh, yeah.
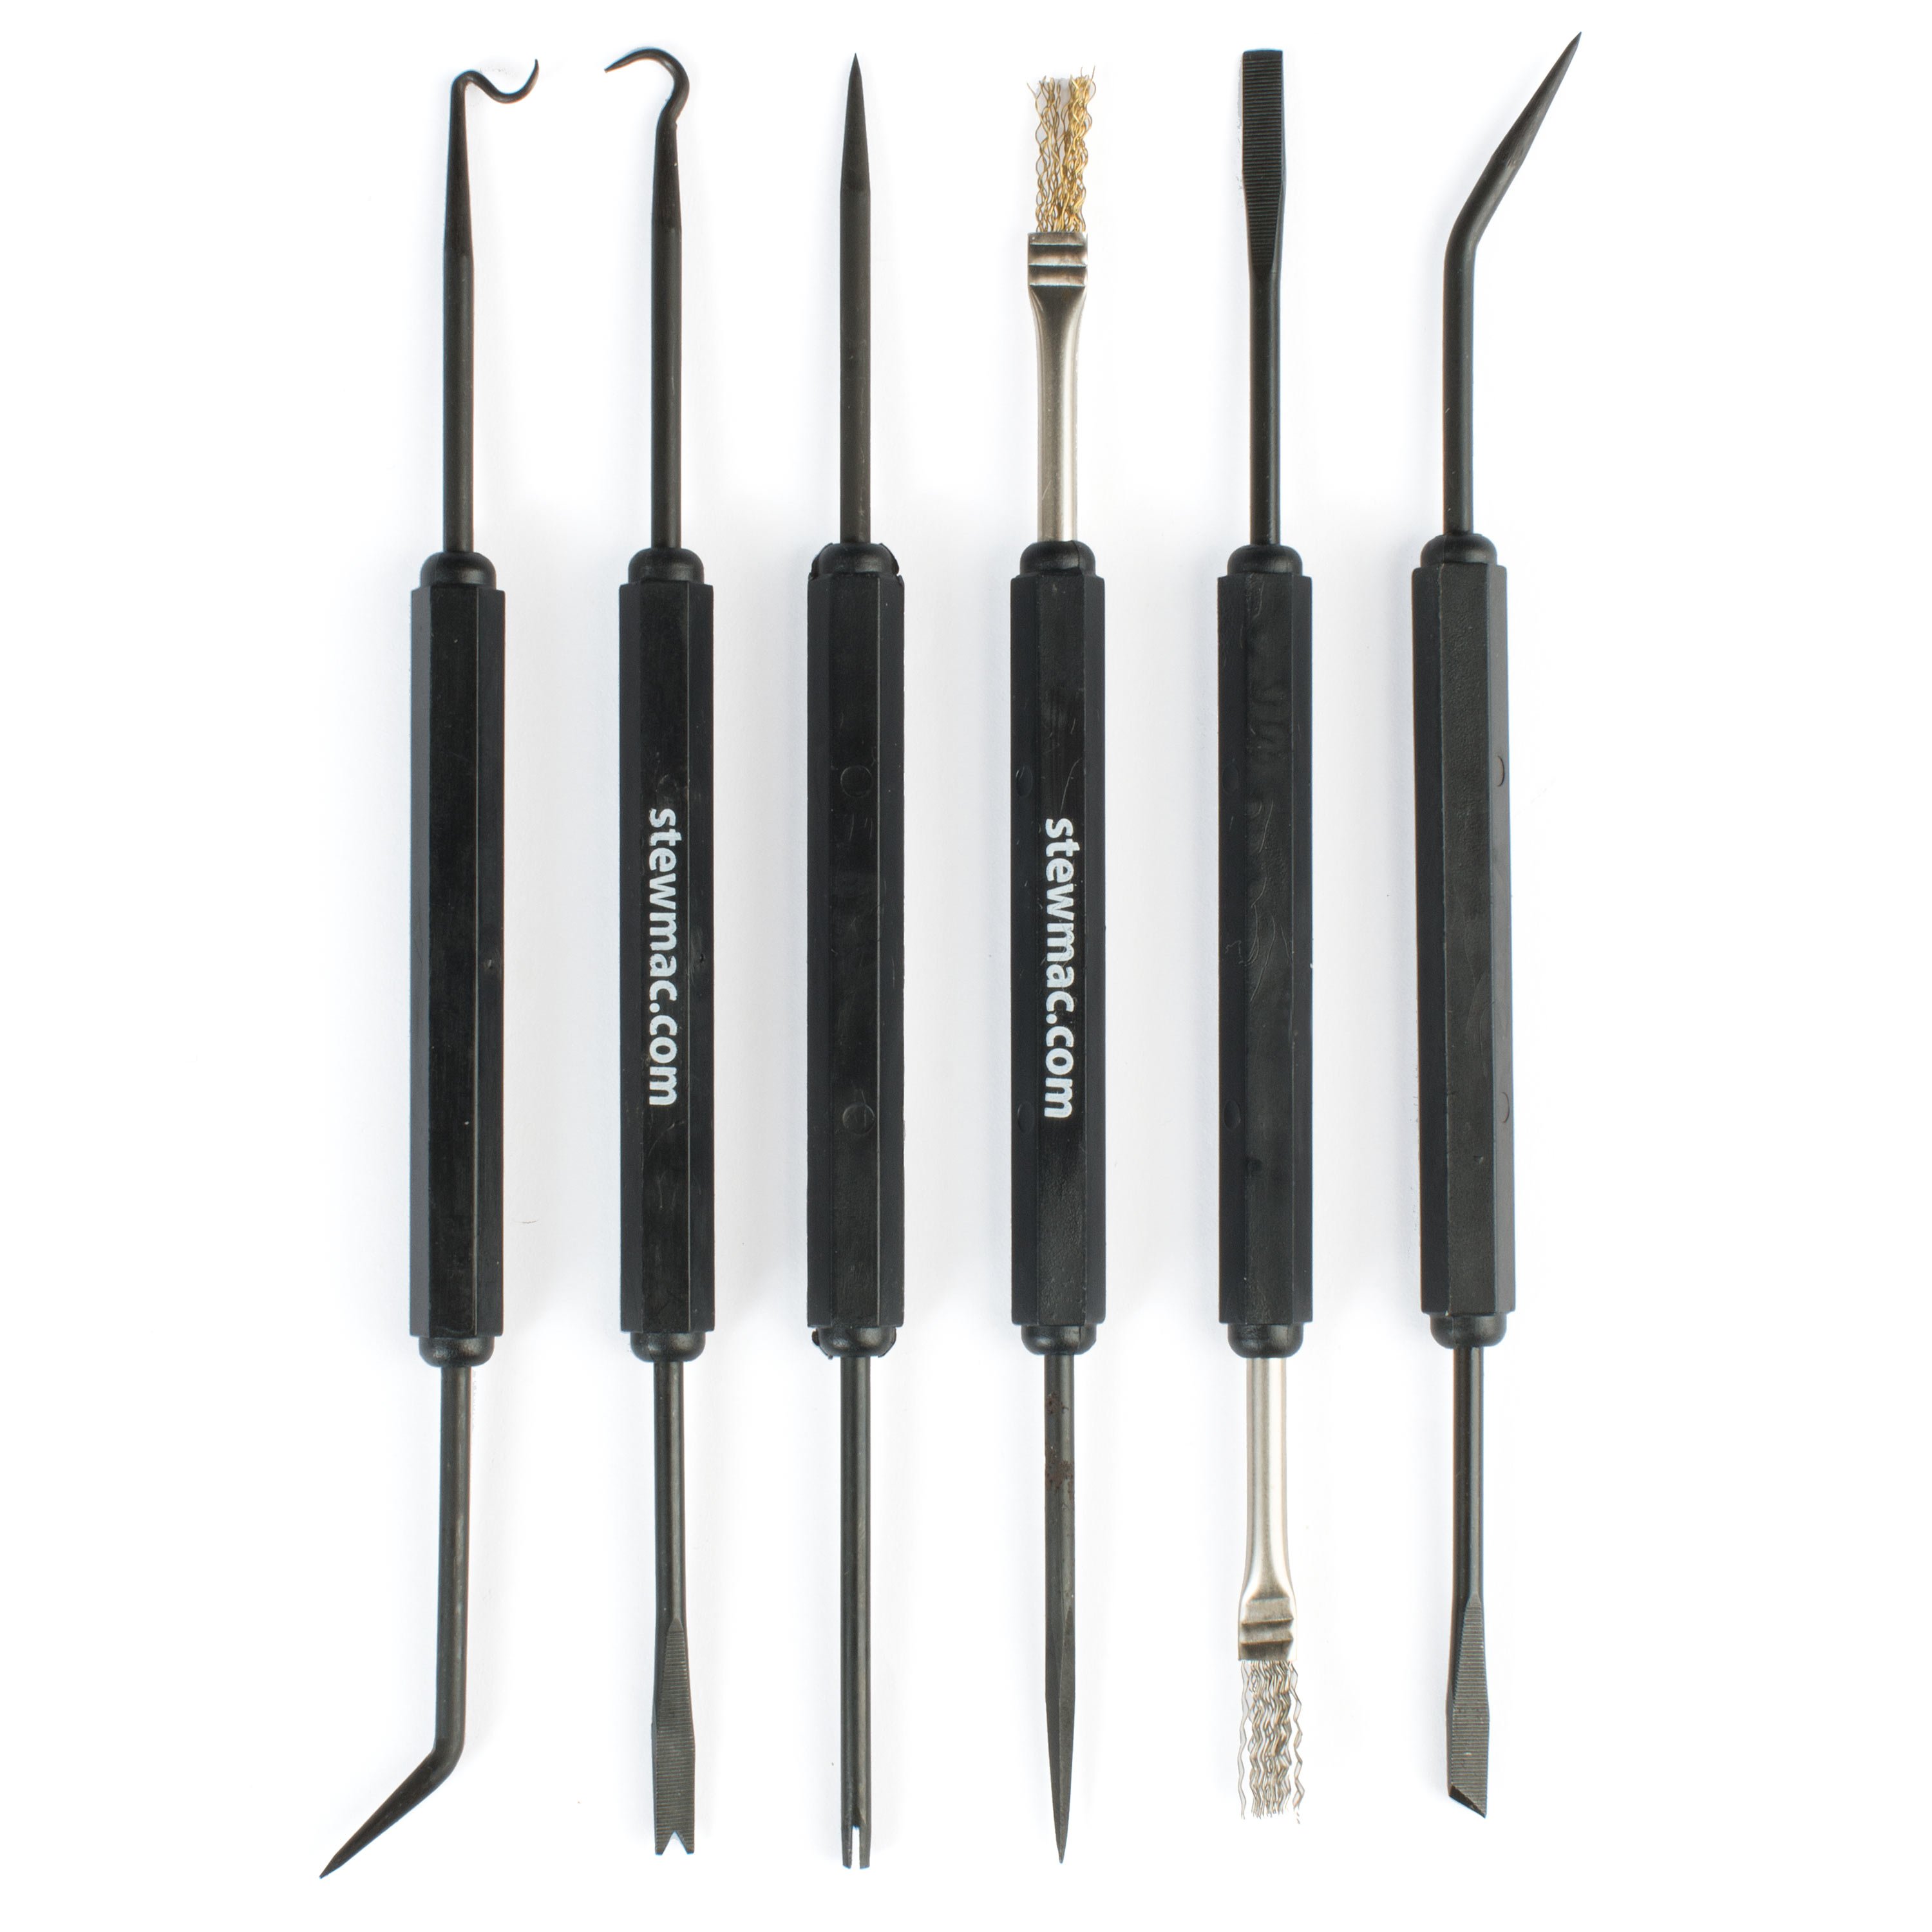
Tommy Stumpp: It's got everything you could possibly need and more. I like to have also our Soldering Aids. These things are just a lifesaver, especially if you do repairs, but these are really great if you need to push something into place or just adjust a lead or something and it's too small to work with, with your fingers. Because as you can see, a lot of these components are just minuscule components and it's tough to get in there with your fingers. It's really nice to have some soldering aids. Oh, a Multi-Meter. It's really great to have a good multi-meter. If you're troubleshooting, if you just want to make sure that a joint you just made is good, this thing is your best friend. I always have my multi-meter nearby whenever I'm doing any type of soldering.
Pete: For those of us who may need some glasses who don't have the best eyesight?
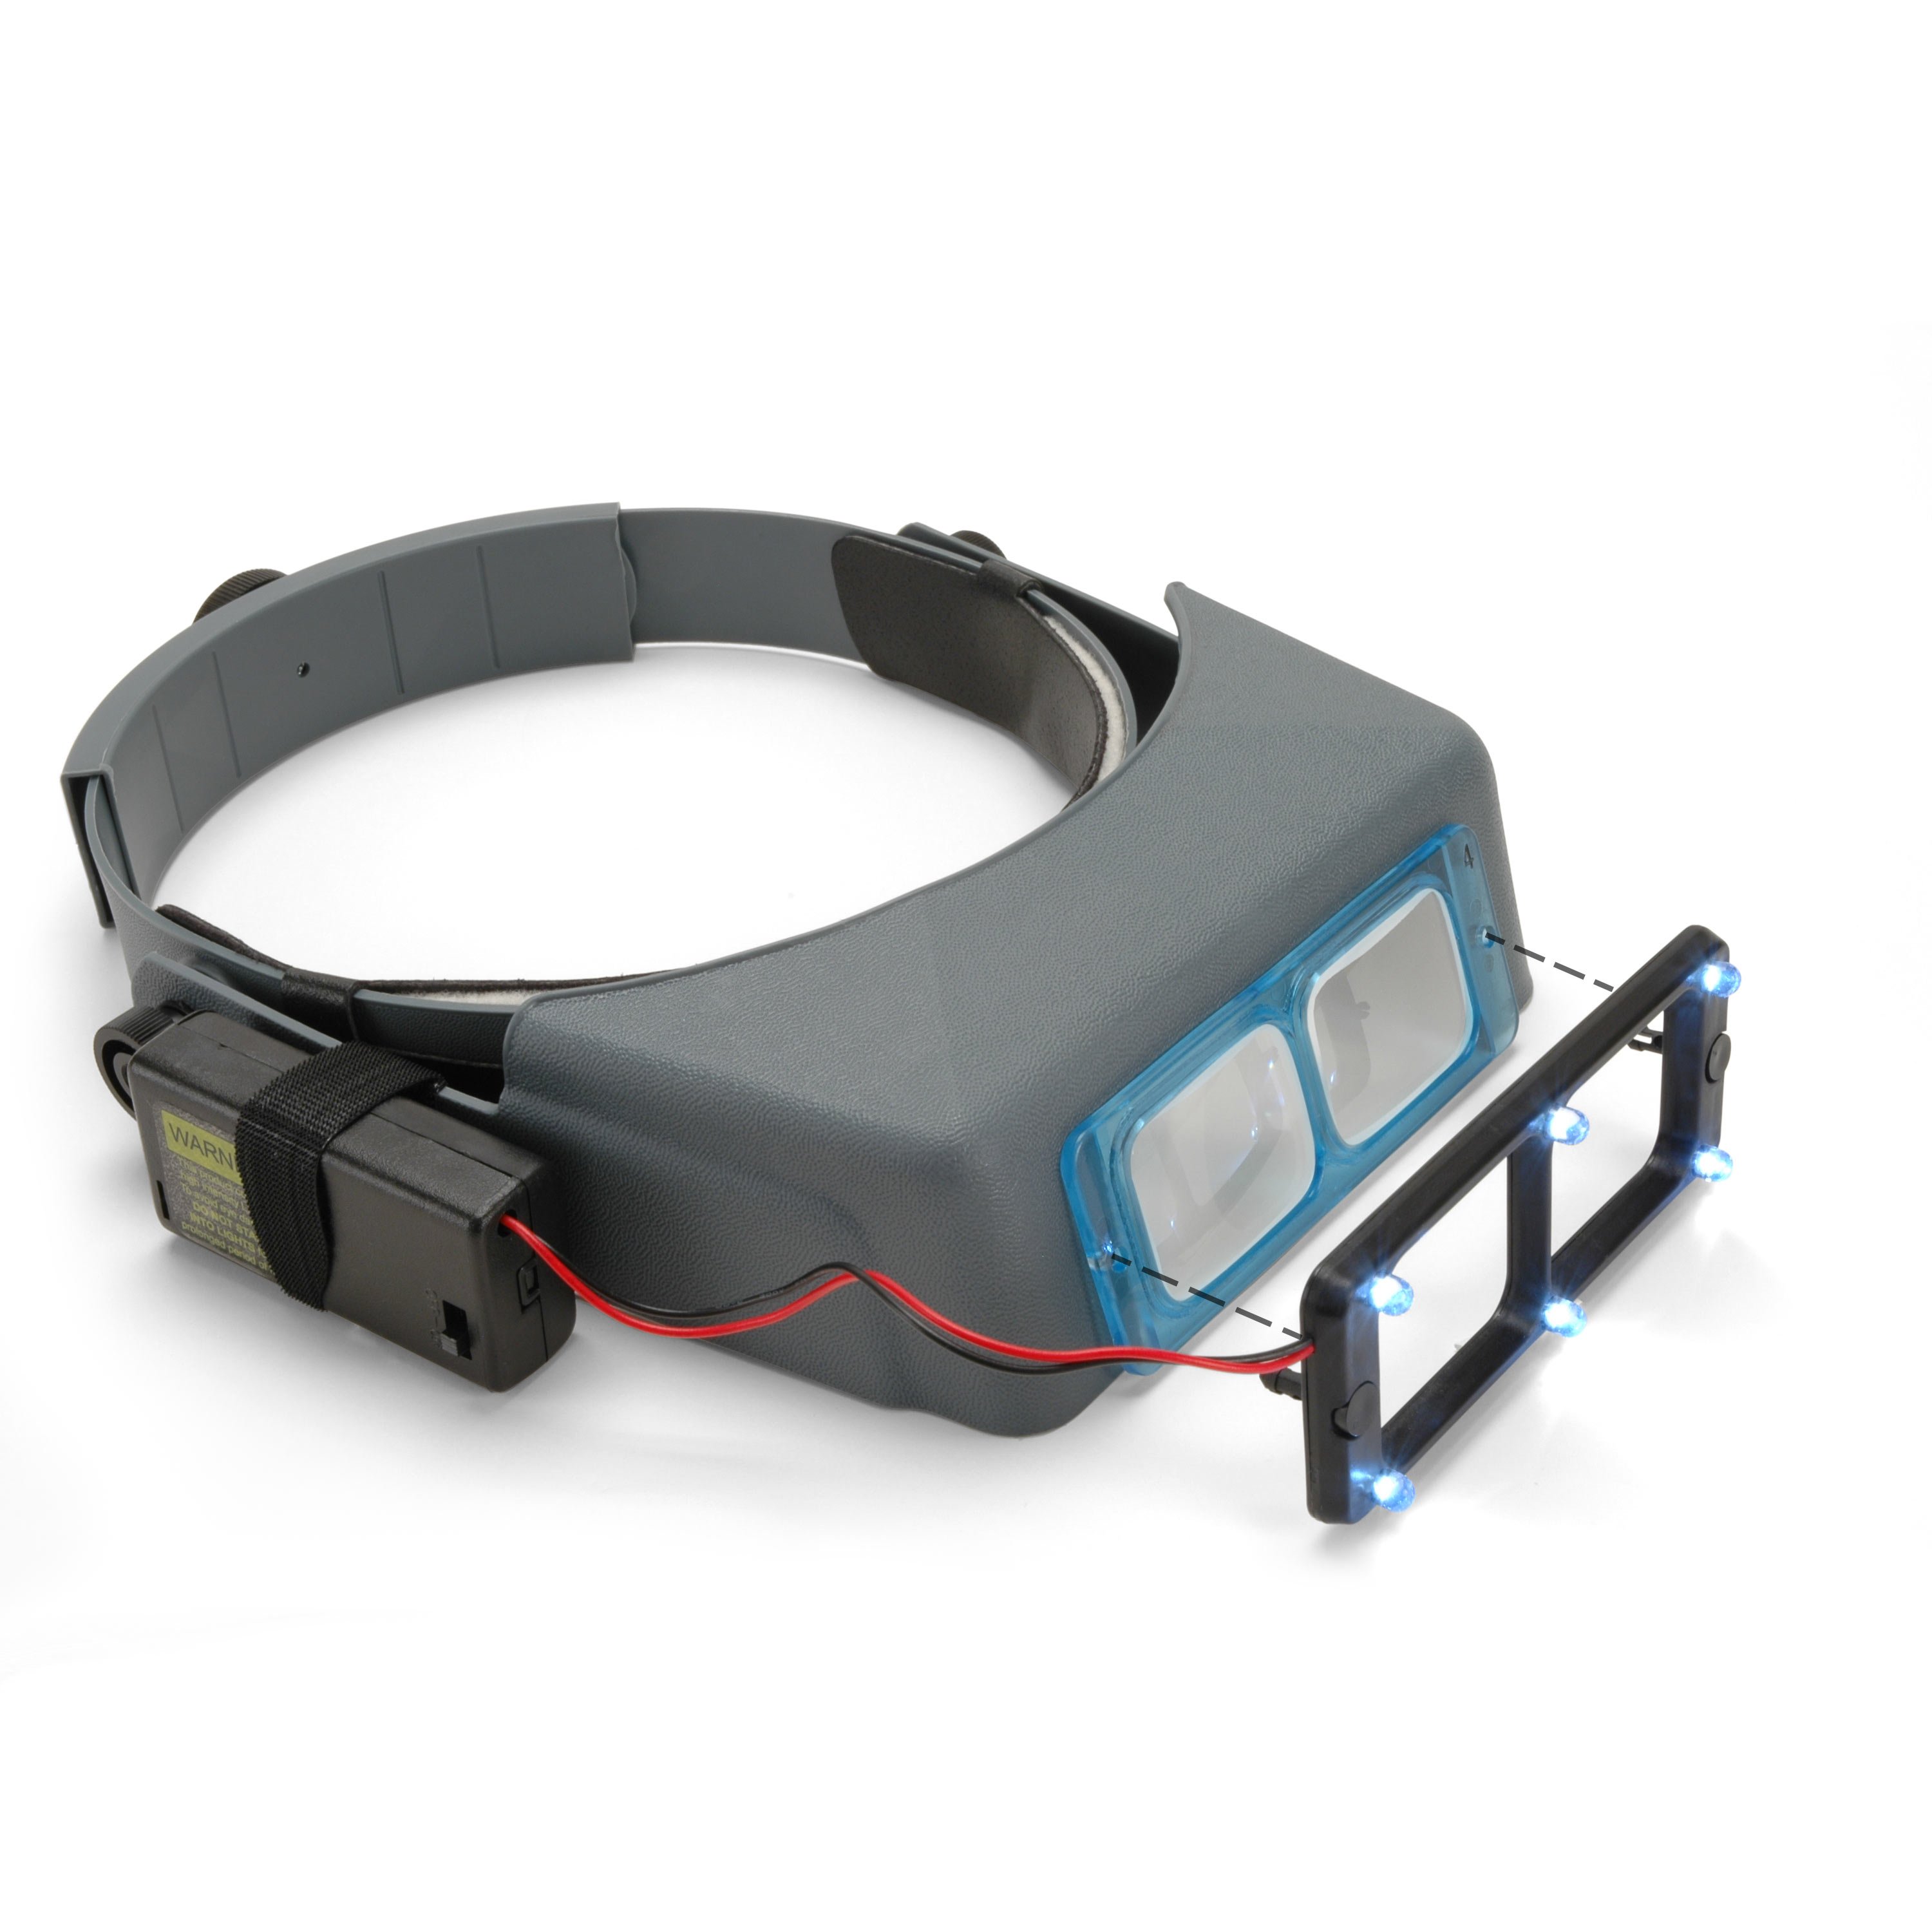
Tommy Stumpp: Yeah. Yeah. Good call. The OptiVISOR Headband Magnifier is my personal favorite. If you don't have great studio lighting like we have, we have one that comes with a light. You really need good lighting too because seeing what you're doing is very important, but some type of magnification is really going to help you ensure that you are inspecting your work as you go and getting good solder joints all the way. This is my personal favorite.
Pete: Yeah. You had mentioned solder, but can we take a look at the iron too?
Tommy Stumpp: Yeah. I'm using our Solomon station. It's a digital station with a fine point tip. I really recommend a fine point tip. You don't want a chisel tip or anything like that. These joints need to be small and precise, so you don't need to go crazy with a needle tip, but this tip is just about perfect for this kind of project. Can you catch that, Rachel?
Rachel: Yes.
Tommy Stumpp: Yeah.
Rachel: Cool.
Tommy Stumpp: You don't have an old tip. If your tip's old and getting oxidized, you want to get a replacement for that. Then, I think the last thing is something to clean. You need to clean your tip as you go. You need to make sure it's properly tinned and we have a couple options. We have this Stay Hot Tip Cleaner. It's basically brass coils that remove gunk and oxidization from your tips. You can see how that looks nice and shiny now, Rachel.
Rachel: Oh, yeah.
Tommy Stumpp: Yeah. Once it gets hot, those brass coils will pull any of that dirt and debris off of there, build standby, and my personal favorite is just a damp sponge. You want a damp, not wet sponge. Most soldering irons will come with a sponge or a place to put a sponge. Again, you don't want it to be sopping wet, just damp enough to steam some of that gunk off.
Soldering tips and tricks
Pete: All right. I think we should get to some soldering tips.
Tommy Stumpp: Yeah. Again, this is universal [on-screen text reads: Live Build an Interval Fuzz Pedal]. It applies to any type of electronics project to a point, but what we're going to talk about is really good information for anybody who's just new at soldering or if this is your first pedal kit, we're going to talk about my tips and tricks for getting good solder joints with these specific kinds of boards. But again, these is the fundamentals of soldering, if you will. Again, if there's anything anyone wants more specifics on, please do leave us a comment.
Pete: Yeah. We'll definitely take some questions.
Tommy Stumpp: And subscribe, because we are going to do a few of these and it'll be great if we could get some people subscribed. Basically, what we've got is metal components through a little metal eyelet. These are called... All these little metal rings here, can you see those, Rachel?
Rachel: Almost. Just a second.
Tommy Stumpp: All these little metal rings are called eyelets. Now, this is a different circuit board, but this is just for instruction and demonstration. All of our pedal kits come like this with a custom PCV that's fully labeled, and it also has all these little eyelets here. Essentially, you're feeding a component leg through the eyelet and connecting them with the solder. You're melting the solder to create a strong electrical connection between the component and the circuit. It's pretty basic stuff. Now, something I mentioned before is tinning your tip. Super important. You need to make sure your tip is conducting properly. I don't know if, Rachel, you want to get a close up of the tinning process. It also is outlined.
Rachel: Yeah. [inaudible 00:18:07].
Tommy Stumpp: Yeah. It also is outlined. Can you see that?
Rachel: Oh, yeah.
Tommy Stumpp: In the instructions, it goes through tinning and why it's important, but basically...
Pete: Yeah. Can you tell us why it's important?
Tommy Stumpp: Yeah. It helps your iron conduct the heat properly through the tip because this whole thing is smoking hot, but you really need the heat to be focused, so you get a little bit of flux on there, a little bit of solder on there and then just roll it off. You don't need too much. Again, you're not going to hurt anything if you put too much on. It's just wasteful. Then, when you wipe it off, then you end up with a nice shiny surface. That's going to conduct the heat, just how you need it to.
Pete: You mentioned flux. What exactly is flux?
Tommy Stumpp: Flux is just a part of the solder. It cooks off once you actually heat the solder.
Pete: Okay. All right.
Tommy Stumpp: Then, like I said, you really want a good hot iron. I have mine set for about 370 Celsius are 700 Fahrenheit. Some irons list it differently, but again, you really want to get a nice hot iron for a project like this. You want to apply high heat for a very short amount of time, so you don't damage the circuit board or damage the components.
Pete: How often do you find yourself tinning the tip?
Tommy Stumpp: I clean my tip every two or three joints. Again, you can use a wet sponge or the tip cleaner. Then, I tin my tip probably every one or two minutes. For a kit like this, the instructions go through and have you load your components in batches. I find that I can generally tin my tip at the beginning of a batch and then get that whole batch soldered without really needing to tin it again. Again, I have a lot of experience soldering, but I really do think a beginner can get this if they can just follow those basic fundamentals.
Pete: Yeah, absolutely. Is there anything you recommend keeping an eye out for something that might tip someone off that the actual tip needs tinned again?
Tommy Stumpp: Yeah. Anytime it starts to look dark, anytime you can see residue, whether that be from touching a stray wire or a different component, some of these have plastic housings that can melt and get on your iron. Anytime you see anything other than a nice, shiny, smooth surface, you should first clean your tip. Then, if it still doesn't look quite shiny, you should tin it. Again, there's no harm in tinning your tip. It's just it can be wasteful if you're overdoing it.
Pete: Cool.
Tommy Stumpp: What's up, Pete?
Pete: I was going to say, let's get to soldering these here.
Tommy Stumpp: Yeah. Again, all these components come in the kit and then what you're going to need to do to get them into place is bend these legs, so that they can go into the board.
Rachel: Let me get a great shot there.
Tommy Stumpp: Great. Then, I just bend them pretty much as close to the body of that component as I can. This one being a resistor. Again, this is just a demo board, so I'm just going to put it wherever I want. But when you go through the steps, all the graphics are going to show you exactly where everything goes, in what orientation, if that matters. Some components, it does. Some, it doesn't. Again, if you can see that, Rachel, I've got my legs bent and then I've just line them up with the eyelet that I'm going for. It should just go right through. I like to give it a little pull when it's lined up and you want just as good as you can to get flush against the board, so you can see that's got a nice low profile. There's not a whole lot of conductor. Sometimes I'll see photos from customers in there. The conductor itself is all looped around that can cause shorts. It can just cause all sorts of problems. Also, those legs act as little antenna. You might end up with an overly noisy circuit.
Pete: When you say a short, what exactly happens with a short?
Tommy Stumpp: A short circuit, meaning your signal is going somewhere you don't want it to go. It's pretty common that somebody has no signal going through their pedal and it's just two leads touching that shouldn't be touching. Then, I've got my component loaded into my board. I pull these legs out to hold it in place. Because again, when it's upside down, it wants to fall out. You pull those out. I've got my iron nice and hot. I tin my tips, so it's nice and shiny. You want to apply heat to the eyelet and component for about four seconds. This is a ballpark. Everyone has their own favorite tips and tricks, but I'm just going to show you here. Let me go in on this bottom one, two, three, four, and then see, feed the solder to the joint, not to the iron and leave your iron on there for about another second. It'll cook off what we were talking about before flux. Essentially, it'll just make sure everything's heated evenly and I'm going to get my OptiViSOR on, but I believe that's a pretty good looking joint there.
Pete: Yeah. I guess what's the overall goal here? What should you be looking for a successful joint?
Tommy Stumpp: Yeah. This is a good example here. I don't know if you've got a good closeup of that, Rachel.
Rachel: I do.
Tommy Stumpp: Far out. You want it to be nice and shiny all the way around. You don't want any gaps between the eyelet and the component and you don't want it to be overly bulbous. If you have too much solder on there, it's really easy to create an accidental cold joint. A cold joint is one that just hasn't flowed properly. If you end up with a cold joint, it's going to look cloudy. It may look cracked. It's not going to look smooth and shiny like this, and your best bet is to remove that solder and just do it again. Cold joints may even look fine, but they're not going to conduct energy properly or conduct electricity properly.
I'm going to do this other one just as another demo here. If you want to get it again, Rachel. Again, we go in one, two, three, four, and then get that solder in there. I just leave it on there for another second to make sure it melts all the way around. That's not super complicated. If you can follow those instructions, you can really build this pedal kit. If you have questions or if you want to see anything again, like we said, this video will stay on YouTube and you can also leave us a comment saying, "Hey, we want to see more about that or we don't want to see so much about that."
Pete: Yeah. If we get enough questions before the next video, maybe we can address some of them at the beginning.
Tommy Stumpp: Yeah, for sure. Then, as far as solder, I would really recommend you use 60/40 solder. You can buy all types of different solder, but 60 40 is pretty much what the pros use and it really is your best bet for a kit like this. It just melts properly, and I just have never had a problem with it.
Pete: When you say 60/40, what exactly does that mean?
Tommy Stumpp: Tin to lead, so 60% tin, 40% lead. They sell lead free solder, but I've never had good luck with it. I really would recommend if you're not going to get all these tools, at least pick up a decent iron and some good 60/40 solder, for sure.
Pete: All right. Let's see. Did you already clip those off there?
Tommy Stumpp: Yeah. But I can show you again. I can just solder another one up here real quick.
Pete: Yeah. Can we see just one more time how you like to bend that?
Tommy Stumpp: Yeah. Again, I just hold one side of the component, bend that as well as I can, and then do the other side. With this kit, you're not really going to worry too much about if it gets crowded, because it's a much simpler circuit than some of our other ones. I just get those legs fed through. I just push it down as far as I can get it. You shouldn't need to force it really. Then, I pull those leads back, so that's going to stay in place. I'm going to tin my tip again, just because it's been a minute.
Like I said, just a couple seconds. Four seconds usually does the trick. Again, that's a good solder joint. I have a lot of experience soldering and I still make mistakes. Don't feel bad if you're not making perfect joints right at the beginning. Practice makes perfect, just like anything else. Now, that I've got them created, I go through and generally, I'll do my whole batch and then clip all my leads at the same time, but I've got my little flush cutters here and I just get as close as I can. You don't need to go crazy. You don't want to damage the actual joint. You just want to get as much of that extra leg off of there as you can get. If you have all these leads left over at the end, they can cause, like we said before, shorts, cause all sorts of problems.
Pete: All right. Let's take a look at the actual kind of flow of building the kit. How do you keep everything straight with so many tiny, tiny parts?
Tommy Stumpp: For our purposes for this video, we're going to have it in this nice tray and I'm familiar enough with these components that I can identify them as far as what they are and what they do. The instructions go through everything. I really recommend that when you get your kit, you check that all the parts are there and that they're all correct. Then, also organize them. This can be something like this. It could be as simple as a piece of cardboard with all the different values written [on-screen text reads: Live Build an Interval Fuzz Pedal].
All those values are referenced in the instructions. But when I build one at home, I have generally a nice piece of paper or a piece of cardboard and I write all the different resistor values and the different capacitor values. Generally, if there are other components, they're pretty easy to tell apart, but the resistors really can be a bear to identify while you're going. It's a good idea to have those organized as well as you can ahead of time. Staying organized is really going to help you avoid frustration when you're building this kit, because really it should be fun.
Pete: Nice. Can we take a look at some of the different parts? You mentioned different resistors, capacitors.
Tommy Stumpp: Yeah. Yeah. I don't know, Rachel, if you've got a decent shot of all this.
Rachel: Yeah. You could throw some up on the little coaster.
Tommy Stumpp: Yeah. What we've got on the coaster here is a resistor. In these kits, they're pretty much all going to be blue or some shade of blue. You can see they vary a bit in size. That's their wattage rating. Not important to know that. It's just important to know this is what a resistor looks like. These tiny little color bands are what tell you the components value, how much resistance it has. That's incredibly important for a kit like this that you get those in the right spot. That's what we're going to really dig into next week is identifying those and getting them in the proper order.
Pete: Hey Tommy, we've got a pretty good question here from Sassy Cat.
Tommy Stumpp: Cool.
Pete: How do you know what part makes what sound?
Tommy Stumpp: That is a good question, Sassy Cat. No individual part is going to make a sound on its own outside of some really complicated digital circuits. These all have to work together to create that octave up. If you're into reading schematics, you can start to learn how they all interact, how they control the voltage that's coming in and create these super interesting effects that we all know and love. But to answer your question, none of them make their own sound on their own. Like I was saying, this one is a diode. It's got a band on one end. I don't know if you can see that, how it's orange all the way through and there's a black band. That allows signal to pass in one direction only. It really matters which way you install it, which direction. It's fully laid out in the instructions.
We'll get into that next week as well. That's another example of a diode. We've also got capacitors. We've got a couple different kinds of capacitors. They do different things, but generally they're used to store voltage and to stop DC voltage from passing and allow AC voltage to pass. Again, this is all electronic jargon that you don't really need to know to build this pedal, but some basic knowledge is good to know, especially if you're getting into electronics. There's tons of valuable resources out there if you want to learn about electronics and what different components are designed to do.
Pete: Tommy, we got another question here from Ronald Rump. Are there any components or country of origin to avoid?
Tommy Stumpp: Not really. There are a ton of different components manufacturers, but the components in this kit are all pretty good stuff. It's all standard. None of them are lousy, by any means. They're good switches. The things that are going to fail in a low quality kit generally are your switches and your pots. This comes with really good 3PDT triple pull, double throw switches, comes with switch craft jacks. This one doesn't have any pots, so you don't really need to worry about that. But essentially, this kit as is, is a solid kit value wise and component value wise.
Pete: All right. We mentioned the instructions slightly before or in passing before. Where can you find them...
Tommy Stumpp: Yeah. All of our pedal kit instructions are available for free at stewmac.com. For this one, you can search for Interval Fuzz on our website, or you can just punch in the item number 2354, and that'll take you to the product page. There's a link on that page right side about halfway down for the instructions. Again, they're available as a PDF. If you've got a nice tablet or something, that works great. Just propped up on your bench or you can print them off like we have. Again, I'm old fashioned. I like to have the paper copy, so I can lay a bunch of things out at once and not stare to screen more than I already do.
Soldering workspace setup
Pete: Yeah. I think let's go into that a little more. What kind of workflow or how do you like to set up your workspace? Any good tips for people out there?
Tommy Stumpp: Yeah. I like to make sure I'm comfortable because if you're hunched over or if you're too hot or whatever, if you can't see properly, you're going to make mistakes and you're not going to have fun. That's why I really like to have something like this. You can use just a device. There's all sorts of different solutions, but I really like this PC board holder. I've used this to build everything from an amplifier to a pedal to just a little circuit I made. Something like this is really good. I like to have that square in front of me, my soldering iron within reach, but not right in my way because you can accidentally burn yourself if you're not paying attention. I like to have all my tools within arms reach, but I really want to have my board right in front of me and all my components organized and laid out, so it's easy for me to find the one I'm looking for.
Pete: Nice. We touched on finishing the cases or the enclosure before, but let's go a little deeper into that.
Finishing the pedal case
Tommy Stumpp: Yeah. We've got some cool examples. This is one that we did a cool trade secrets for that's going to be coming out soon with hydrographic film. There's tons of different prints that you can find out there for this type of film. Super easy. You can do it in just an hour or so. We'll have a really neat video with that coming out soon. This is also that same film, Rachel, if you want to see that one. Again, there's tons of different graphics that you can find and it generally comes in a roll like this. As you can see, pretty thin, easy to cut. It's just really fun stuff to work with.
That's a great option if you're not feeling artistic or even if you are. Personally, I always paint my pedals, standard, any spray paint design for metal is going to do a good job. If you're going to paint it, I recommend you do the bear enclosure. This, you can just sand it with maybe some two 20 sandpaper, remove any kind of blemishes or bumps or humps and then get to spraying. Generally, I do two or three coats on my color and then I follow that with two or three coats of clear just to protect it and you spray the top and back separately.
Pete: At what stage in the build do you recommend going with the [inaudible 00:37:34]?
Tommy Stumpp: You can do it whenever you want. I recommend you do it before your circuit is complete. It's really a bummer to get all the way done and then realize that you still didn't paint your enclosure, but you're supposed to install the power jack. Then, you have to stop and go get paint and go spray your pedal. If you're not into spraying it, you can get the white enclosure. It looks great with the sticker on it. You can customize these. I've seen people paint with acrylic on these. It looks great just with the sticker. Do you want to see that?
Pete: Yeah. Let's see that.
Tommy Stumpp: Toss that sticker on there. Again, these are little vinyl stickers that come with the pedal. It's got a sticker for the logo and it's also got a sticker for the jacks, just so you don't end up plugging it in backwards, but these are super easy to apply.
Pete: Then, once the stickers are on, it's good to go?
Tommy Stumpp: Once the stickers are on, I still would shoot it with clear to protect it. These stickers are going to hold up pretty well, but inevitably they will get snagged on something in your gig bag or your dog will chew on it or whatever. A cool thing you can do with these is use Sharpie. Sharpie will adhere to these. It's just got to drive for a second. This being an Interval Fuzz, octave up, I'm going to just draw the roman numerals for eight on here just because I think I'm funny.
Rachel: [inaudible 00:39:17].
Tommy Stumpp: Eight octave. Octave means eight notes above.
Pete: I see.
Tommy Stumpp: Again, this is just a standard Sharpie you could get anywhere and it does end up looking pretty cool. I'm terrible at drawing. That's why I usually spray paint them. I'm going to spray one this weekend that we'll show you next week, and it really does... Even if you're not great at spray painting, you can end up with a pretty professional looking job. I see a ton of really neat stuff that our customers have done, either with film or paint or combinations. Really, the sky's the limit and your only real boundary is your creativity. If you're not feeling super creative, get the white one, smack some Sharpie on there. I feel like it looks pretty cool on its own just as a white with that cool custom graphic.
Pete: All right. Yeah. You said you're going to finish one this weekend?
Tommy Stumpp: Yeah. I'm going to take this one home and I'm going to spray it. I have a cool light blue that I found at just the local hardware store. I'm going to spray one and we'll slap the stickers on there next week. But again, if you haven't got one, you still have time to join in. Next week, we're really going to get down and dirty and start soldering our components. We're really going to start building this pedal kit. Please leave us questions, comments. Subscribe to our channel. This is the first ever time we've ever tried anything like this, so we really do want your feedback and we'd love to keep making these if you guys are into it. Again, this is the Interval Fuzz. The item number is 2354 at stewmac.com. Let's see. Did I miss anything, Pete?
Pete: I think you really covered most of what we're looking at.
Tommy Stumpp: Are there any more questions?
Pete: I think Sassy Cat has a little bit of clarification here on their question. They wanted to know how do you know what grouping of components you need to build a fuzz versus a chorus or so on?
Tommy Stumpp: Yeah. The cool thing about these pedals is they all use the same components. They just use them different ways to affect the circuit. A lot of chorus pedals, you'll see an integrated chip set or something like that that's not going to be included in this kit, but essentially these are the basic building blocks for literally every guitar effects pedal out there. Resistors, diodes caps, transistors. That's 90% of what you're going to see in a pedal kit, especially in a fuzz kit.
Pete: You said that the chorus would have an IC?
Tommy Stumpp: Integrated circuit chip is a bunch of different connections inside a little chip that is essentially a smaller version of what you're building, but it would be way too many connections and too small to fit in the same space. Again, those are the common chips you hear about that are in a Tube Screamer or are in Klon or in a RAT distortion pedal. Again, they're not in this pedal, but they are included in quite a few of our other pedals. Delay pedals often use IC chip as well, just because there's so much more going on than you can do with simple analog point to point wiring.
Pete: Great. Yeah. Looks like that's really all the questions we have for now. Again, please leave us your questions, comments, and we'd be happy to address them.
Tommy Stumpp: Yeah. Until next week, we'll be back next week, Wednesday at 8:00 PM Eastern live on YouTube. I'd like to thank Rachel, our videographer. Thank you, Rachel.
Rachel: You're welcome.
Tommy Stumpp: I'd really like to thank Pete, helping me steer the ship here. My name is Tommy. Please leave us a comment. You all have a great week.

