Tips for Hydro Dipping Guitar Pedals
V-HYDRODIP
Brock demonstrates how to use hydro dipping for a completely unique and easy way to paint your pedals.
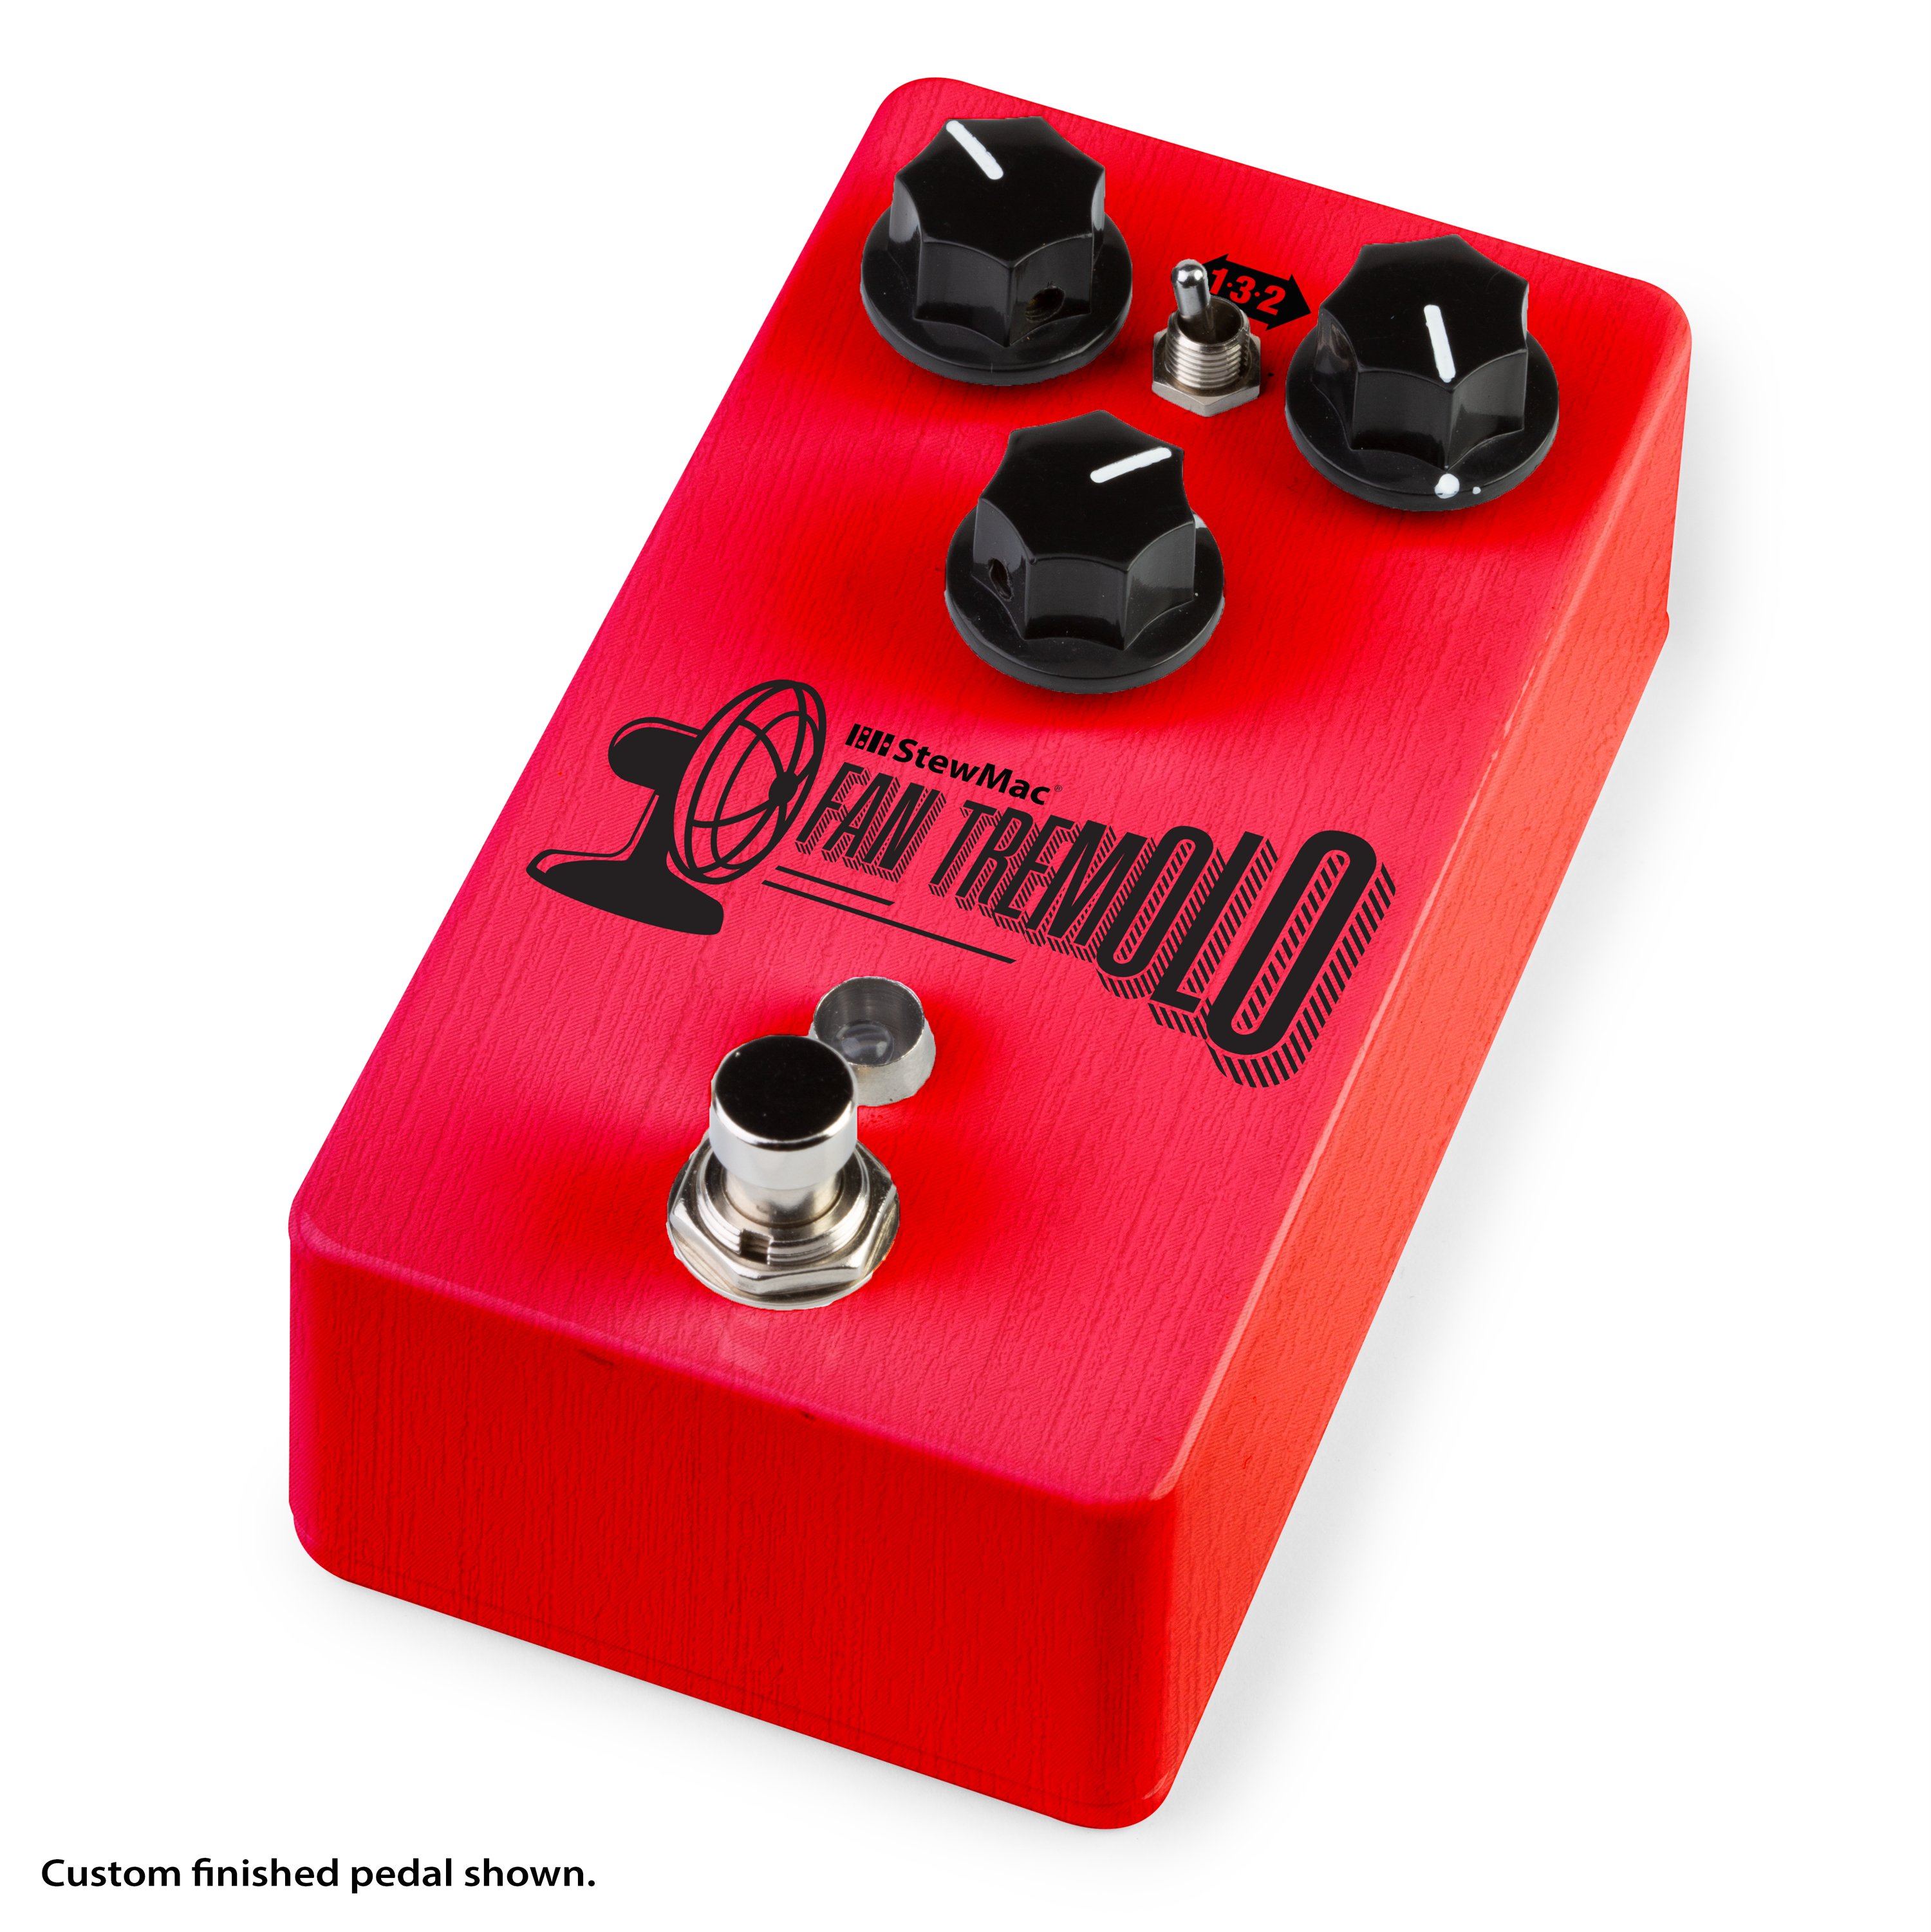
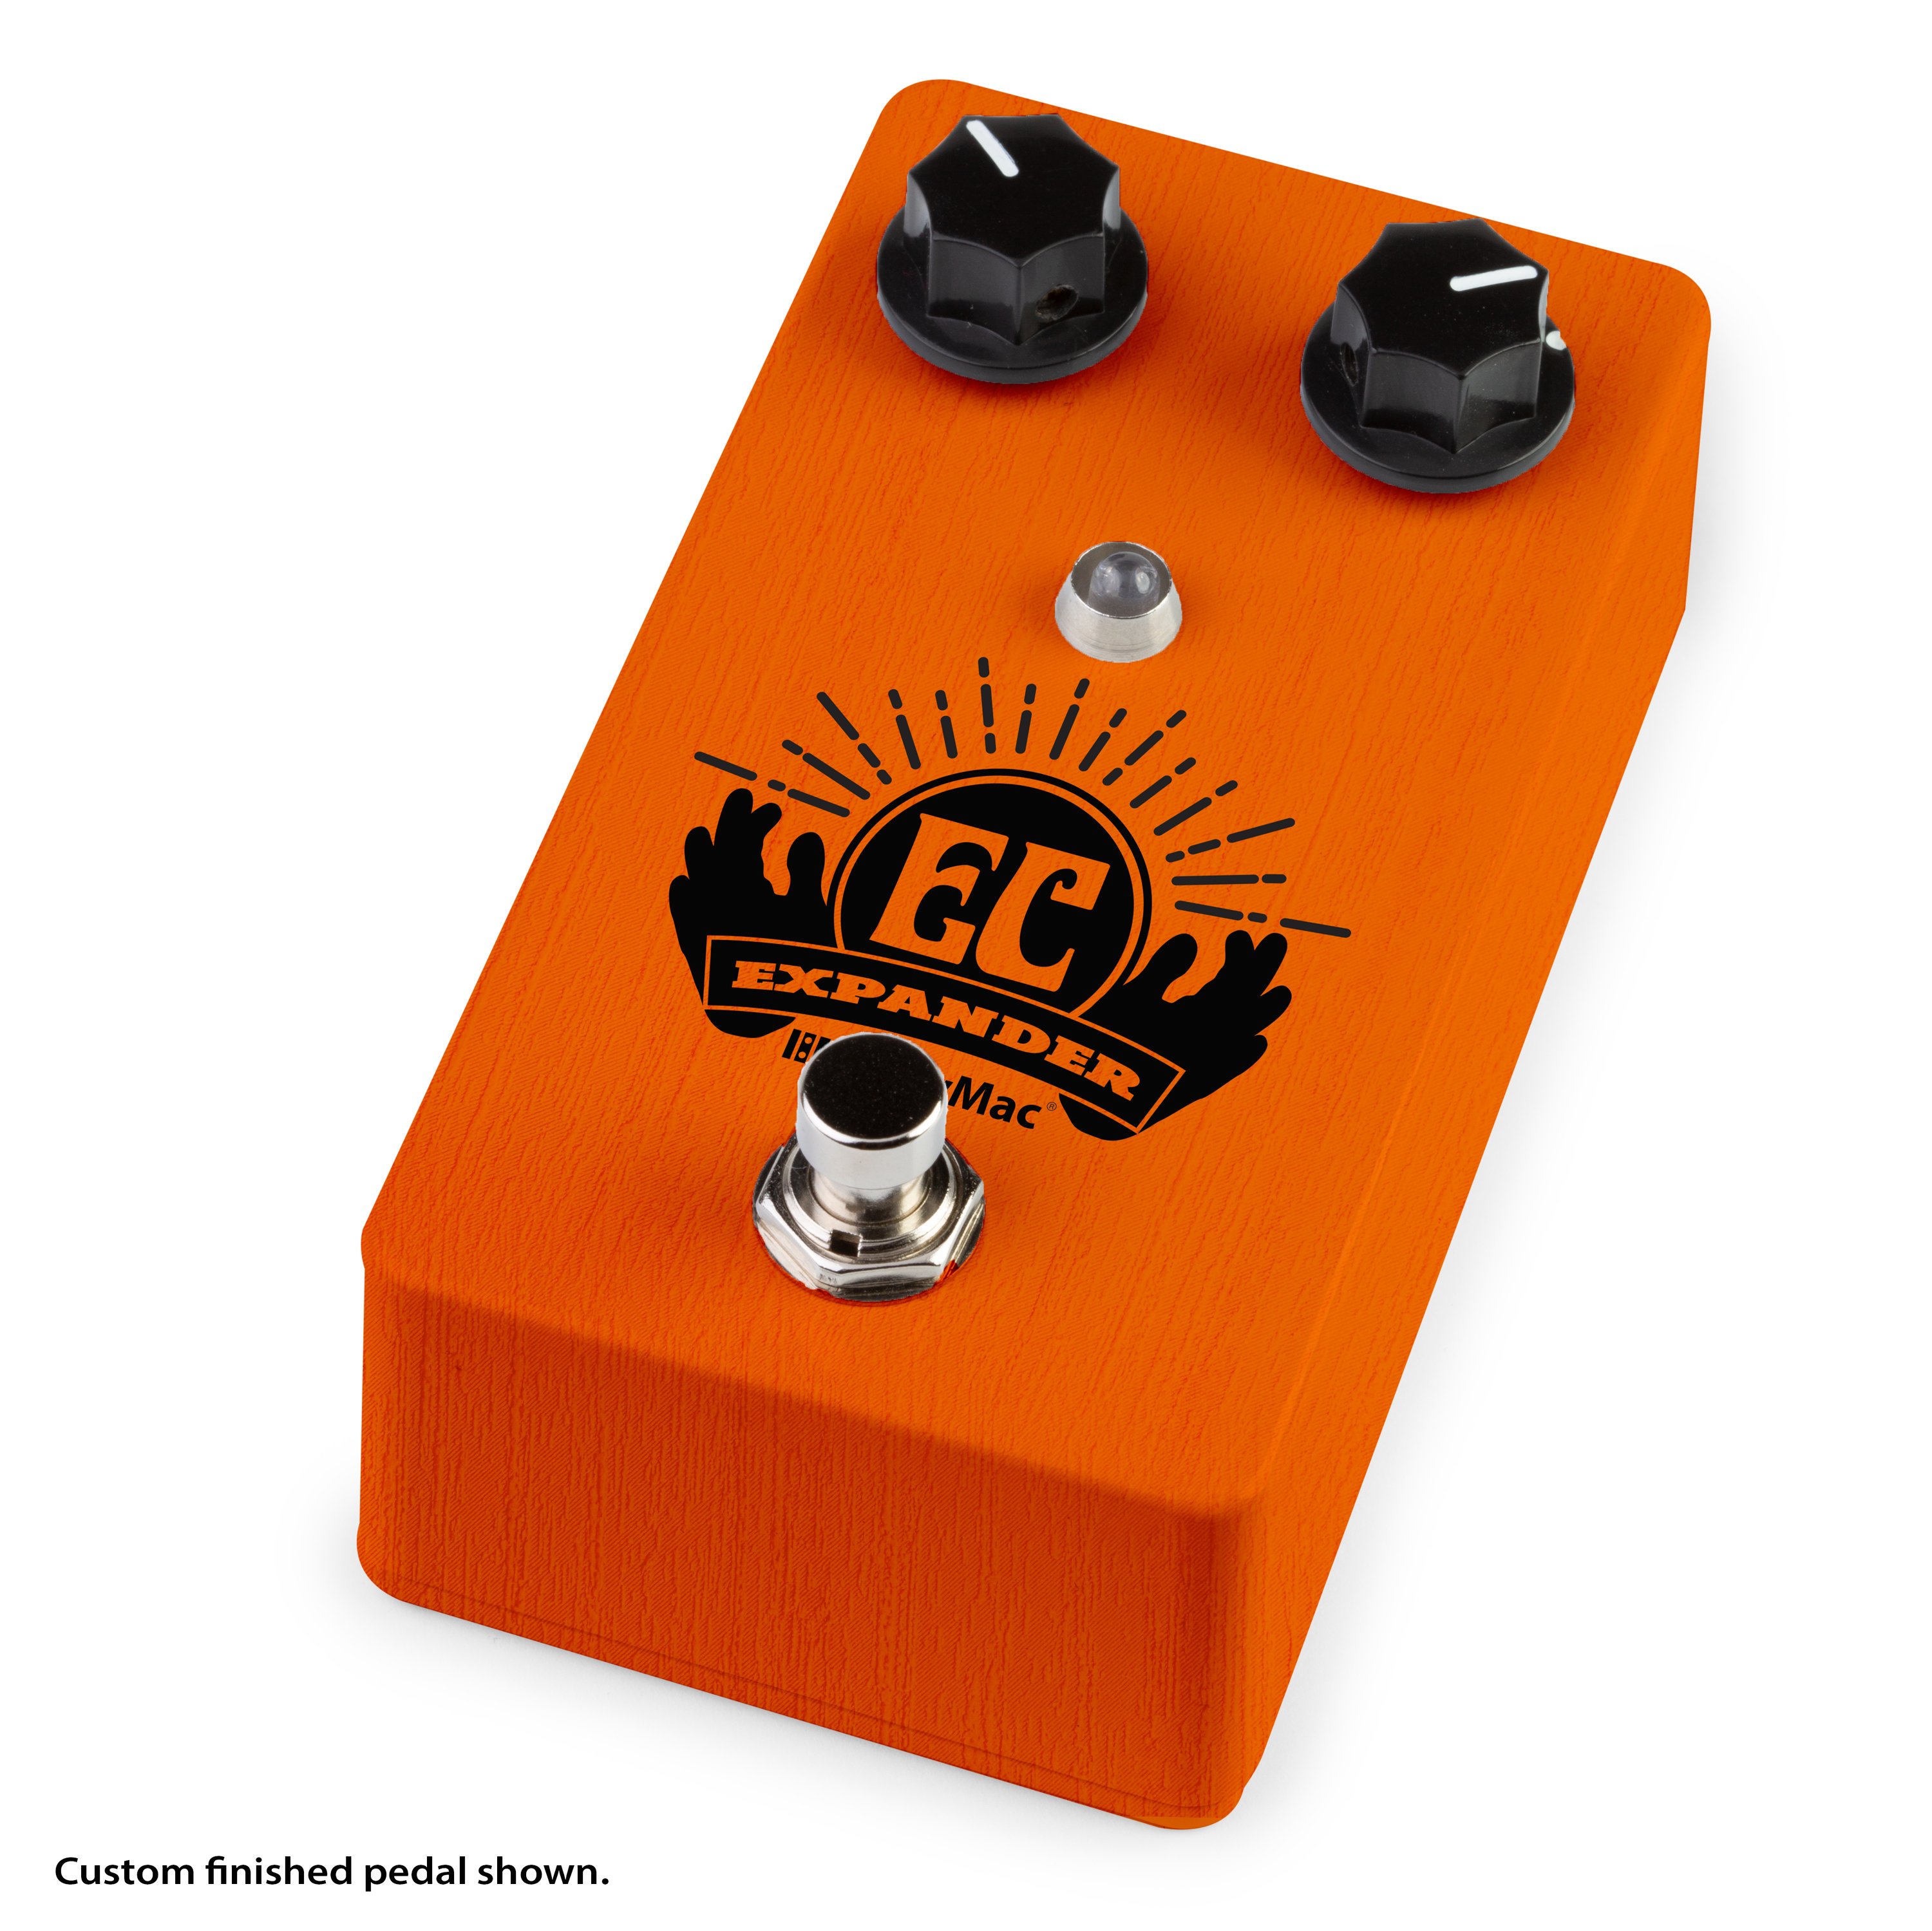
Want a completely unique and easy way to paint your pedal? Brock Poling shares a few tips for hydro dipping our guitar pedal kits. Hydro dipping offers a wide range of designs for virtually any look you're going for on your pedal kit. It's easy to have a completely custom design for your new pedal.
Video Transcription
[on-screen text reads: StewMac tools + ideas for guitarmaking]
Weekend project: Hydro-dipped pedal case
Brock Poling: I find that when building a pedal, half the fun is painting the case. It's the place where you get to be creative and expressive, you get to bring your own personality to it. Recently I've got into hydrographic film. Hydrographic film is an image that's printed onto thin, clear membrane that dissolves in water, and when the membrane dissolves, it transforms into ink that floats on the surface tension of the water. When you dip your case through that floating image, it transfers onto the surface of your pedal. This all sounds simple enough and truthfully it is, but I'm going to show you a couple trouble spots to avoid.
Prep the case
This is a case that I've prepared for our video today and it's been primed and painted and it's nice and flat, and it's ready to dip.
When you get your case, and I'd recommend starting with the metal cases, not the white cases. Take it and sand it with 220 Grit Sandpaper and then follow it up with Scotch Brite. And when you're done, hit the whole thing with compressed air, wipe it down really good so then once you prime and paint, you'll get a nice flat, white surface that will be ready for dipping. So the question you're probably asking yourself at this point is what paint should I use? When I got started doing this, I bought a kit, and in the kit I got the primer, I got the paint, I got the film, I got activator, I got clear coat, I got everything I needed to do this. But I've also used hardware store paints too, like Rust-Oleum and Krylon. I do find however, that if you use matte or satin paint, that you'll end up with a better product in the end than if you use gloss.
The other thing too is when you paint your pedal, and I know this is tempting to do, is to try to get full coverage in one coat. I wouldn't worry about that. Just take light, smooth coats. You don't want any runs in your pedal, because anything on the surface of this pedal is going to end up in your final product.
Hydrostatic film
This is the film. It sometimes looks a little dark, but when you actually dip it looks just like the picture that you see on the website. But when you buy the stuff online, look for a mention of what color that they've used under the film. If the sample's on white, you can match it by painting your pedal case white. Another one of the tips that I've learned along the way is, don't buy cheap film. There's really a big difference between good quality film and cheap film.
If you buy the cheap film, you're much more prone to have little problems and frustrations.
Water tray
One thing that really surprised me, and this took me a little while to learn. The size of the container that you dip in is very important. If you have a small piece of film and a really large container, ultimately what can happen is when you put the activator on it, it will just drift out into nothing and you lose your image. But if your film very closely matches the size of your container, it will only drift as far as the edges of your container. The other thing that I learned, when you size your piece of film, you basically want all surfaces plus about an inch on all sides. I found that if you have a bigger piece of film on the water, that gives you a lot of options and gives you a lot of flexibility.
So for instance, if you get an air bubble or if you get a wrinkle, you can tend to work around it. It probably wastes a little film, but it also cuts down on your frustration, it helps get a good dip on the first try. So on this one, the actual pedal turned out pretty good on most sides, but then you see over here where I ran out of film, like right there. That's another reason why it's good to work with a bigger piece of film.
Prep the film
In preparation of actually sizing the piece of film, I made this work board and it aligns very nicely. It gives me just enough room on every side of the container. It's easier than measuring it out every single time. You want to use masking tape to tape the edges. This makes the film easier to handle and it helps the image hold together when the chemical process begins. Take a razor blade and make a 45 degree slit in each of the corners, and diagonal slits on the sides just like this. And you want to make sure that you get into the film just a little bit. The container should be clean. Wipe it out to make sure there's no dust or debris in it, otherwise it'll get into your paint. And you want to fill it up with warm water. I like it to be just on the shy side of hot.
Troubleshooting
Okay, this is the tricky part where there's two possible troubles to watch out for. The first trouble is, you don't want any air bubbles under your film. Those bubbles are going to leave a big blank spot in your dip and that's bad. The other problem are wrinkles. These will distort your image and make your dip messy looking. Here's how to avoid that problem. Hold the film in a sling like this. When you lay it on the water, let the middle of the curve first touch, then smoothly lay the film out until all the edges are flat. This way you don't trap any air bubbles under the film. If you get any drops of water or accidentally submerge any portion of the film, it'll start to dissolve it and it won't work. Once the film is on the water, you want to wait for about a minute before you move on to the next step.
The activator
The activator dissolves the substrate that's been holding the image together and it'll leave just the ink on the surface of the water. You don't want to have haphazardly spray, you want even, smooth coverage across the entire film. After you've sprayed the activator, you need to wait for a few seconds. If you get down close, you can actually watch the film turn into ink. So be patient.
Let's dip!
Okay, moment of truth, ready to dip. You need to make sure every surface is going to get covered, so you have to dip it like this. I find that you can kind of chase the image around in the paint a touch. This can cause some distortion in graphic printed images, but for patterns and designs, it works great. There it is. The dip looks pretty good. We got even coverage, no dead spots, no thin areas where we don't have any coverage. I'm pretty happy with this. Now we need to rinse.
Rinse
This step is important. You want to rinse for about five minutes under gentle, warm water. I usually let it rinse for a minute or two and then very gently use my finger to wipe off any of that slimy feeling goo that sticks to the surface of the case. But be gentle. The image is very fragile at this point, and if you handle it too aggressively, you're going to mess up the pattern.
You'll know the rinse is finished when you run your finger over it and the sliminess is gone and it feels just a touch sticky. Take it out of the rinse and set it on a paper towel to dry. It can remain tacky for about 24 hours or so, so try not to touch it too much. You can leave fingerprints in it if you handle it while it's drying.
Done!
As I've looked at this, one of the things that I noticed is I actually have a dead spot right there. That's a little part that either washed off or pattern didn't take there. But because the pattern's so Helter Skelter, it kind of hides those little mistakes, and I think this looks totally fine. So after this dries, you can come back and clear coat it. What I do for clear coat... Again, the clear coat that I have that I'm going to use on this pedal came with the kit. I will spray light coats just like before when we painted it. They take about 30 minutes to dry. So I typically do three days with three coats. So I'll spray coat, wait 30 minutes, spray a coat, wait 30 minutes, et cetera. And when you're done, the pedal is pretty nicely finished.
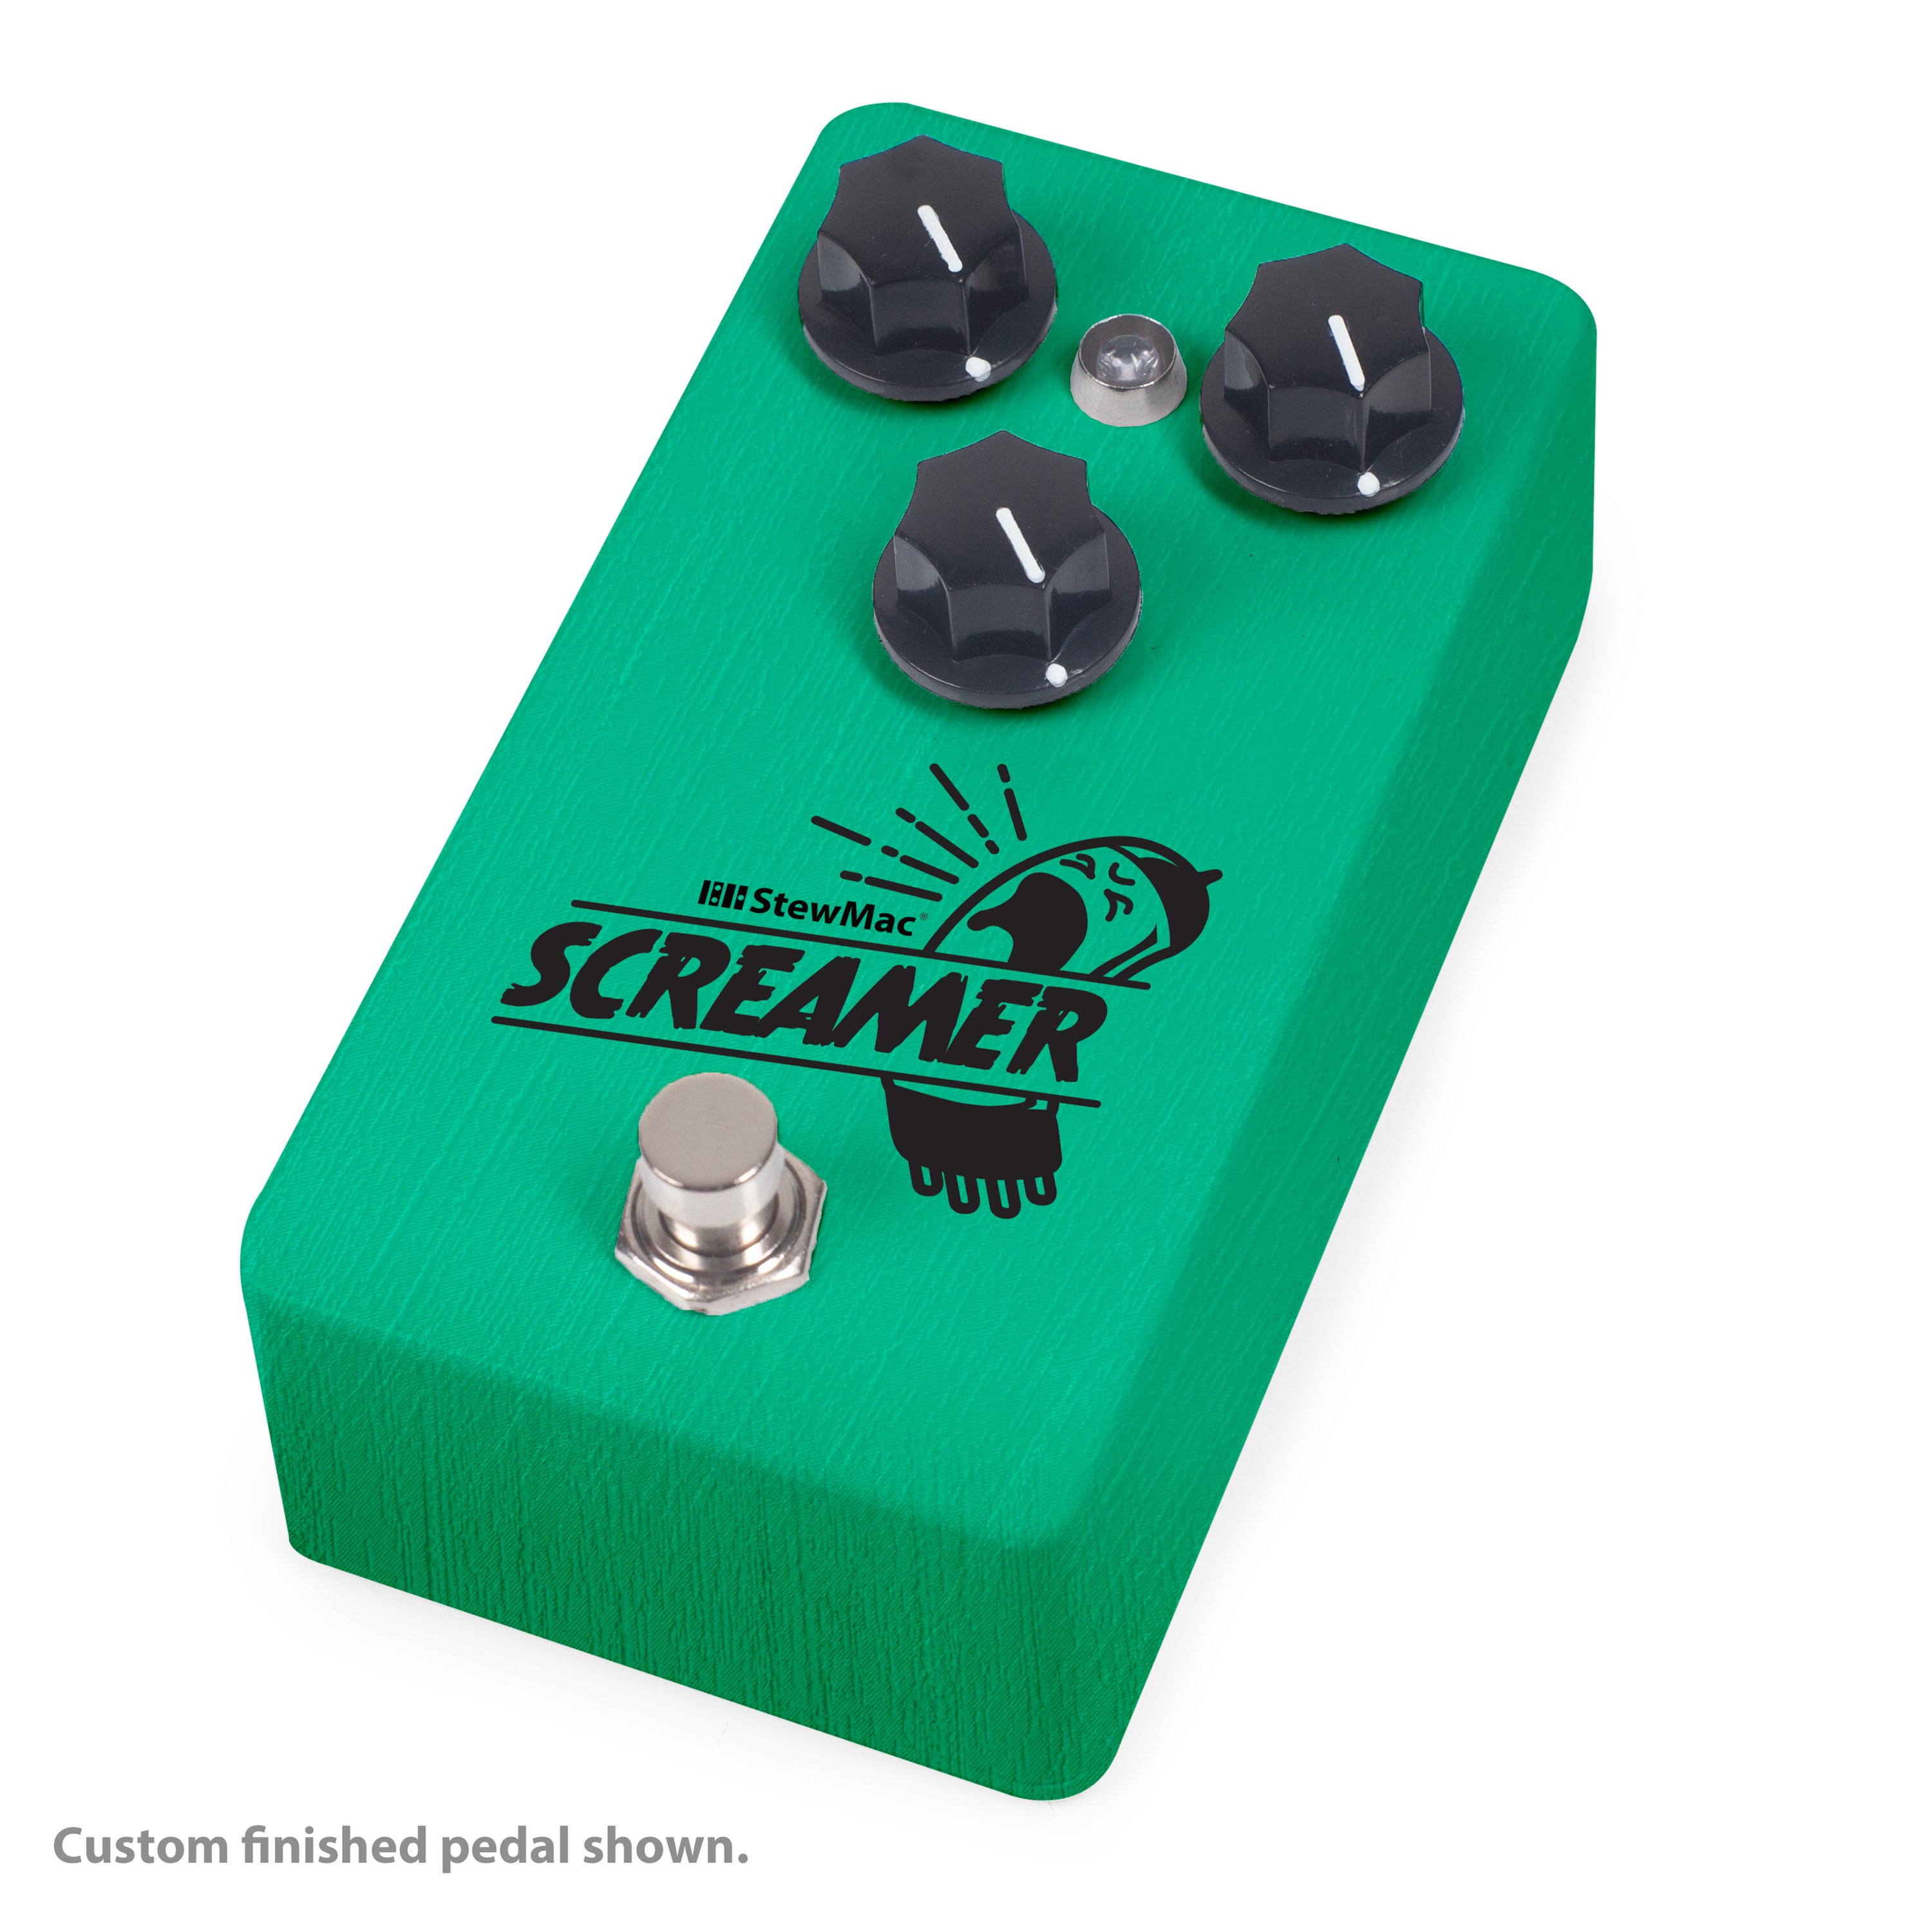
And then after that you're going to be looking for things to dip. There's all kinds of patterns out there. So for instance, these are obviously P90 pickup covers, and these are white, but I have painted them to look like burled wood. After I get all the clear coats on, what I'll do is I'll come back and hit this with 1000 Grit Sandpaper, and they'll look great and you'll be just finding things to dip because it's so much fun. So now we've got a customized StewMac Screamer. This is based on the 808 fuzz pedal. And if you like these videos, subscribe to our YouTube channel. It really makes a huge difference for us and it helps us keep making more great content that hopefully you enjoy.

