Episode 3: INSTALLING THE NECK+HARDWARE
V-MINIEP3
If you ever wanted to build your own guitar, but didn't know where to begin, this live build along series will show you every step. Episode 3 shows how to assemble the guitar and wire it up.
In this 4-part series we'll show you step-by-step how to build, wire, and set up one of our fantastic Mini Guitar Kits. Even if you are a complete beginner, don't worry, we've made this easy—no workshop is required. You can literally build this on your kitchen table with tools you probably already have. This third episode shows how to attach the neck, install hardware and pickups, and how to wire it all up.
Video Transcription
[on-screen text reads: Mini Guitar Kit Live Build-Along - Episode 3]
Nick: Welcome back everybody. Welcome to the StewMac Studios. We're live here. We are here for episode three. Today is the day we're going to be putting this thing together. So we should have our guitars already with the finish applied. Everything's looking good on the neck and on the body. Now we're ready to put it on all the hardware. We're going to be installing the bridge and the tuners, the pickups, all that good stuff. We're almost there. So without further ado, we got a lot to go over today, so I'm going to hand it over to Blake and we're going to get this thing started. So welcome back.
Blake: Hello everybody. Welcome back to day three. Like Nick said, we have a ton to get into. So we're going to get started. Very briefly going to admire the finish. If you want to take a peek right there, this is what we're looking at. I have two coats of stain and two coats of clear on here and we're looking good. If we had more time, I'd go back and put more clear and then sand it down and then buff it. But you're cruising with us so you know how fast we're moving and we are going to go ahead and get this hardware on this body. So let's get started.
Position the pickguard on the body
First things first, we are going to go ahead and put the pickguard on and we got to run the lead from the rhythm pickup into the bridge cavity. Just kind of thread it through there. Drop that right on. Take the lead. Go through the bridge cavity into the control cavity. Pull your wire through. I'm going to take a rubber band. I'm going to go ahead and put it on this body and that's going to hold our pickguard on while we bolt the neck on and bolt the bridge on.
Install the neck
So now it's time to put the neck one and a good thing to know that whenever you're putting a neck on a fender style body is that the pocket's usually tapered. So you want to just go ahead and put it in like that and you don't want to try to slide it in this direction. You want to just push it in at the lowest part of the taper and that way, you're good. So then I'm going to take my neck bolts and my control plate or my neck plate. It's important to say I went ahead and pre-waxed all of our screws that we're going to be using today. You want to just put a little bit of wax on there so they can go in easier for you. I like to just go ahead and thread them in by hand until we get to that neck.
Nick: And just a friendly reminder, we're always happy to take questions and comments. That's what I'm here for. So if you've got anything that you need to know or are curious about throughout the process, that's what I'm here for. I'm here to read comments and questions and relay them to Blake and whoever else. So hit us up.
Blake: All this hardware and all these screws that we have on here, we're going to be tightening by hand. You don't want to use a power drill or anything like that because it's really easy to strip the screw heads or if you drill too far for too long, you could strip out the hole and then you got to go plug it and do all that stuff. Just take your time and get everything snug by hand and you will have a much better time. I know it's a little bit slower. But it's important to say.
Nick: Yes, a good deal of the holes are pre-drilled, some of them are not and we'll be doing that on camera today actually. So that's a good question from Robert.
Blake: So the holes that are pre-drilled are the neck bolts. The holes for the bridge are pre-drilled. That holds the bridge to the body. The holes that hold the control plate onto the body, those are pre-drilled and the holes are pre-drilled in the headstock for the tuners. Everything else we have to do, pickguard holes. We have to do the tuner holes that hold the tuners to the headstock. You'll see. So next thing is to go ahead and get the bridge on.
Install the bridge
I got the bridge right here. Take the red lead. Run it into the control cavity. Go ahead and get the hot and the ground together. Let me see here. Stop being stubborn.
Nick: Luckily it has a short distance to go. That can be a real pain when you're dealing with a complicated cavity.
Blake: Give me a second here.
Nick: Let's see. Oh, and I actually did miss a comment from Nicholas out there. So I'm not sure exactly what you mean by that question. I'm thinking you're meaning how to build this miniature guitar. So this is the middle of the series right now. We're halfway through of a build along series about how to build these kits that we have and they are kits. So I'm not sure if you're asking if we were actually cutting the body and cutting the neck ourselves. We did not do that in this series. These kit guitars that we're building. So I hope that answers your question. If you need something else to clarified, please comment. We'll work it out for you.
Blake: Now you guys can kind of see, I might be blocking Rachel here with my left hand. But the reason I'm kind of blocking that so you can't see it is not so you can't see it. But I'm trying to make sure that while I'm putting downward pressure with my right hand, this screwdriver doesn't slip off and then stab the body or scratch up the hardware or anything like that. I'm just kind of holding it steady while I'm screwing it in.
Nick: Gotcha.
Blake: Right.
Nick: And that's a good question about shielding. Would you recommend doing any shielding at this stage? I mean I generally do that to my guitars, but-
Blake: Yeah, if you wanted to shield your guitar, it's a good thing to go ahead and do it before you start putting hardware on. That's for sure.
Nick: Right.
Blake: StewMac sells the Shielding Foil that you kind of tape into the cavities and that works. They also sell that Conductive Paint, which I actually just did to my personal Tele just to do it because I hadn't done it before and that stuff works great. But like putting a finish on a guitar, you have to do two or three coats inside the cavities and so that just takes some time. But that's all up to you. But yes, if you wanted to shield your guitar, right now would be the time to do it before you get the bridge and the pickguard on and all that stuff and your right arm's going to be tired. Mine already is.
Nick: Gotcha and just to reiterate, we do recommend using a screwdriver and go by hand rather than using a power drill because you run the risk of stripping out screws and that could get you into some deep trouble. So be aware of that.
Blake: Give my arm rest here for a second, my right wrist. Go ahead and get this other one started. This wax though that I put on these screws makes it a lot easier to get in there. So you definitely want to pre-wax all your screws.
Rachel: Do you have that wax?
Blake: I haven't found anything else that helps.
Nick: Some folks talk about using soap as well.
Blake: Yeah, soap, that's true.
Nick: A bar of soap also, not liquid soap.
Blake: Always just have a can of this paste wax laying around everywhere. Not that I can show you that it's Johnson's. It could be somebody else's and I'm going to grab a Q-tip real fast just so I can get that little wax that's squeezed out right there out of our way.
Nick: Yeah, I can see that in there.
Rachel: Can you tip that body towards me a little bit so you can see where the wax is at.
Blake: You see where the wax just kind of came through? I probably had too much on the screws. But I'm just going to go ahead and try to clean that up real quick while we're at it before I get strings on it and all that stuff. So.
Nick: Gotcha and just in case anyone's not watching the chat thread, one of our colleagues and administrators said, make sure that when you use whatever kind of wax you're using does not have silicone in it.
Blake: No silicone. Cool.
Nick: So out of curiosity, how many of you out there are actually doing this live with us? So we have some folks that are up to date with us and got some finished guitars that are going already. I'm going to watch the feed and see if we got anybody commenting.
Blake: Cool.
Nick: Richard says, "I wish." Hey, me too, man. That's Blake's guitar not mine.
Install the pickguard
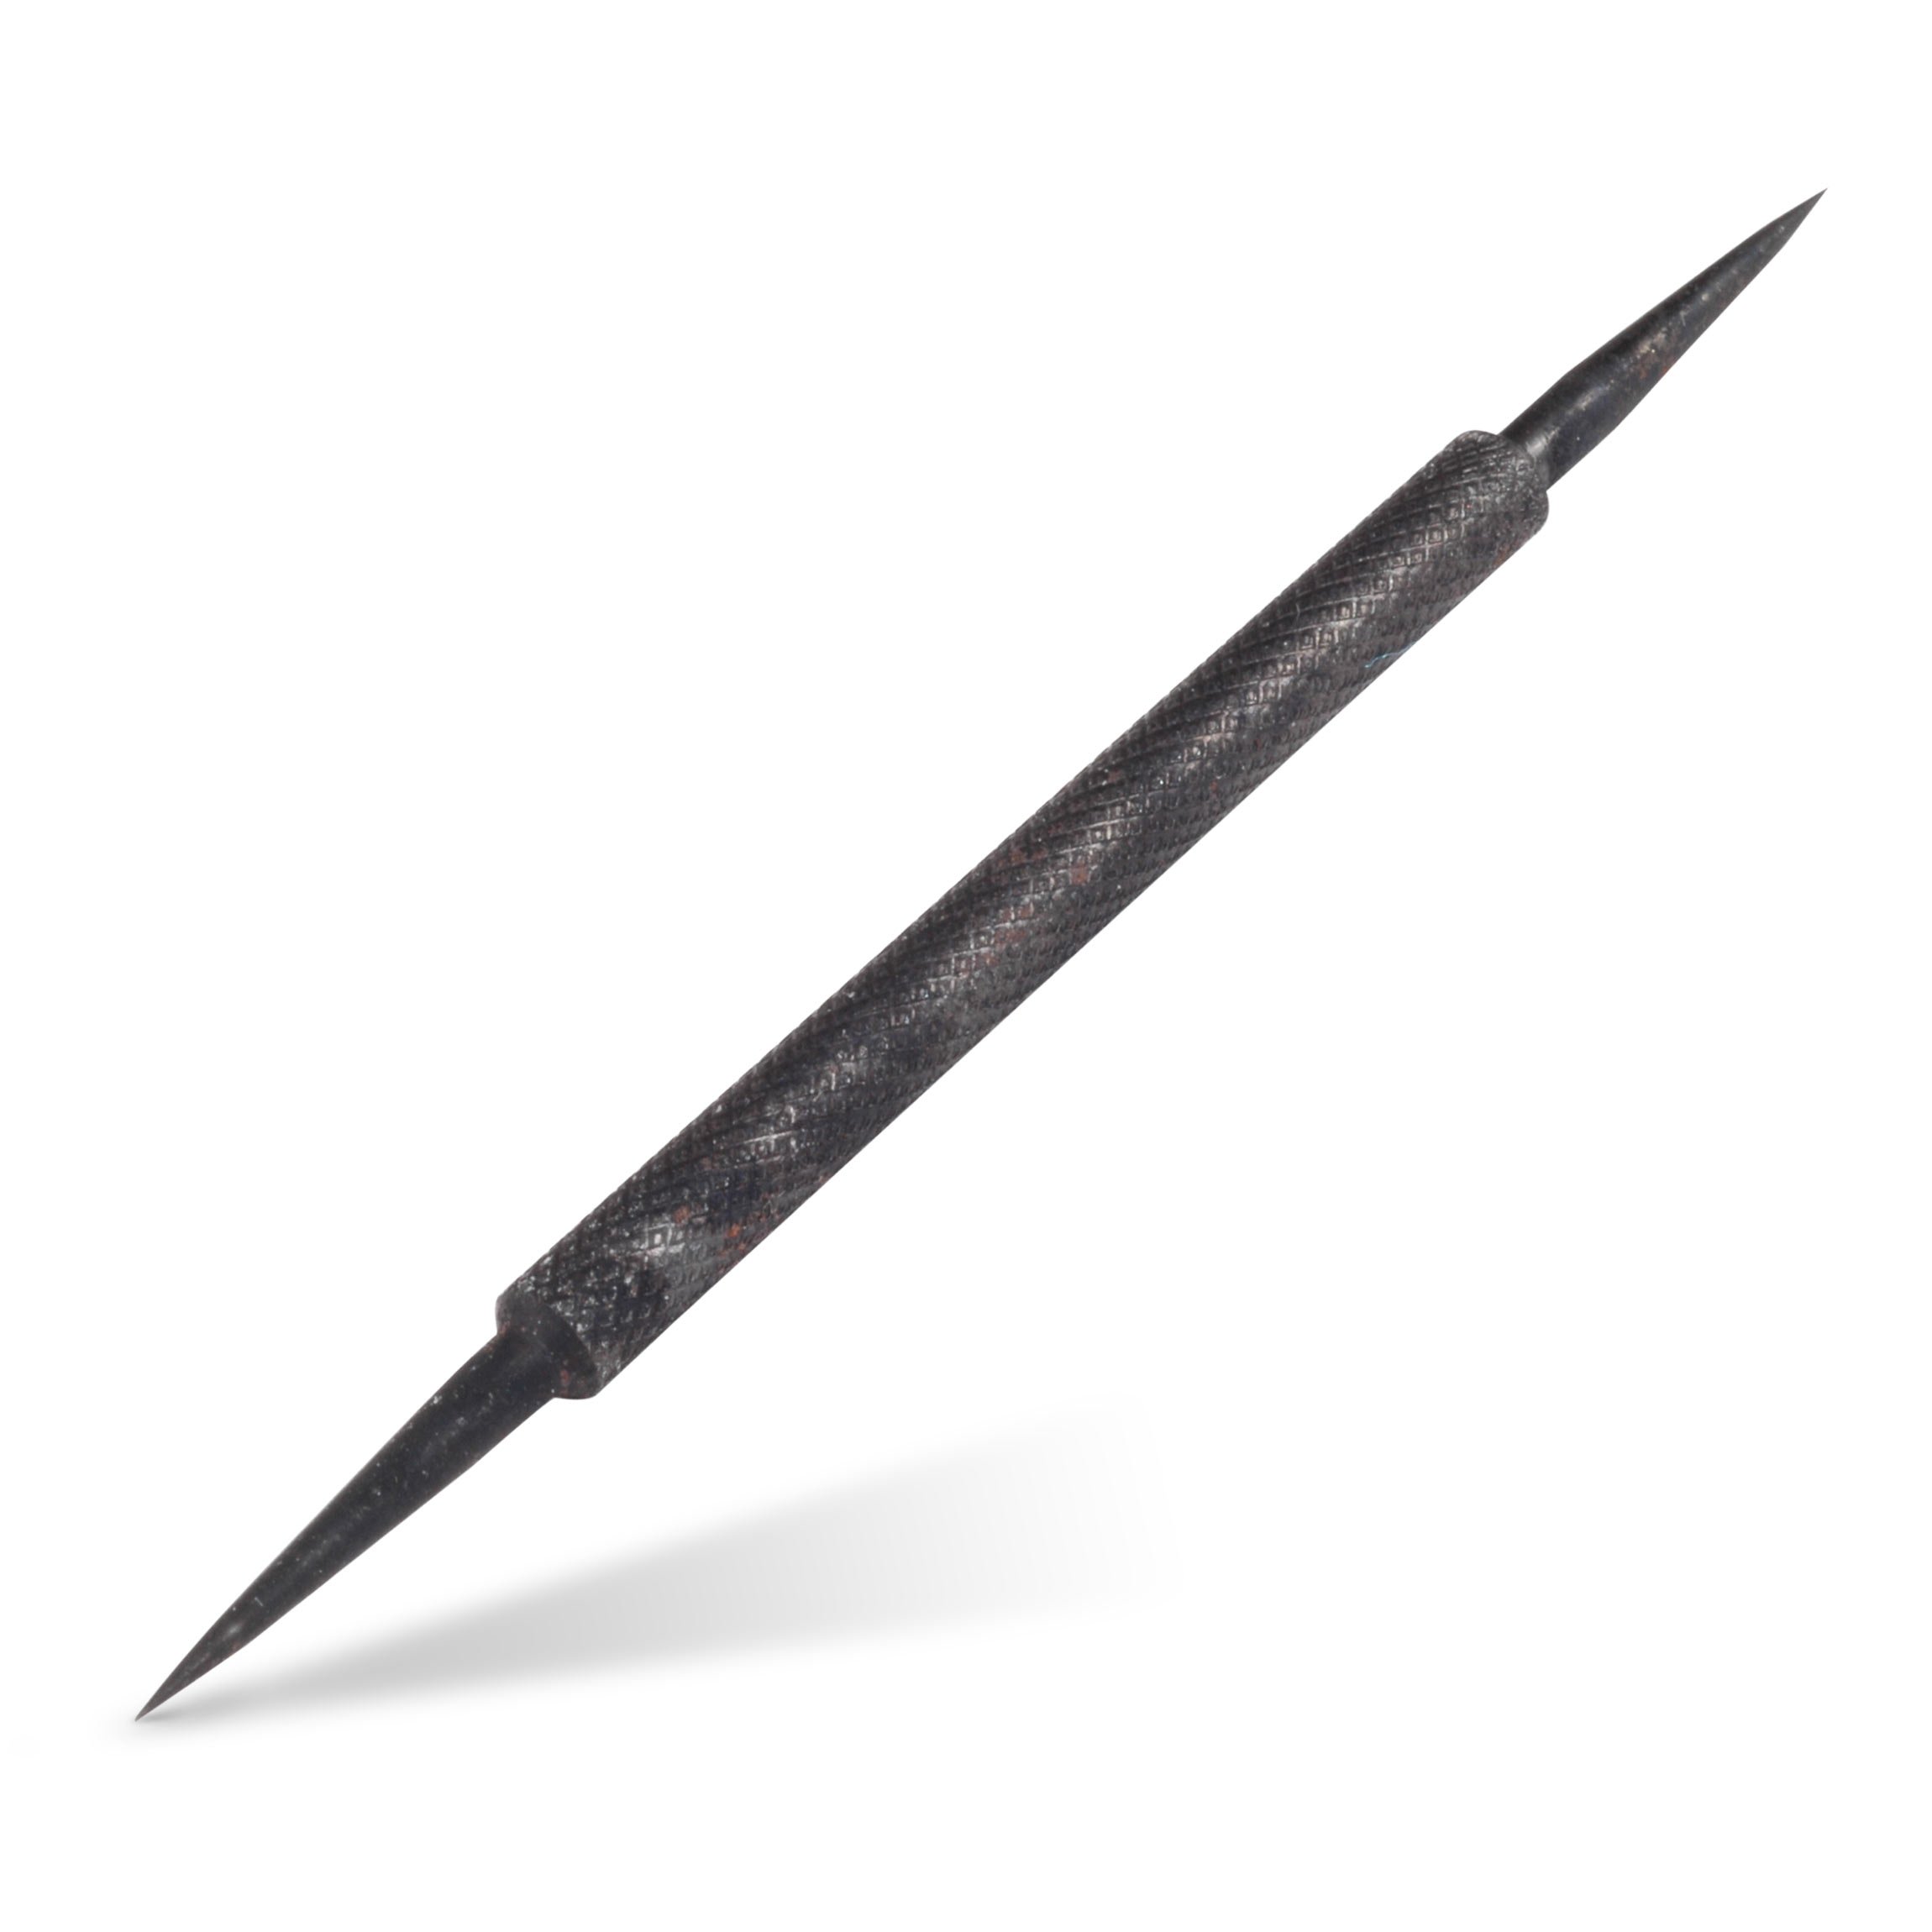
Blake: This guitar's StewMac's, not mine. All right. So that's good enough for me right now. Next thing is to go ahead and get the pickguard installed. So what I like to do is I like to just push it as far forward as I can so it's right up against that neck pocket and that'll move left to just a little bit and we'll get it fitted right there and this rubber band should hold me in place. But I'm going to make sure it doesn't move on me and I'm going to take our little center punch awl right here and I'm going to go ahead and center punch all of these pickguard screw holes and that way we'll know where to drill. So just start right here. Give me a little punch, a little punch. Make sure this thing doesn't move too much on me.
Nick: Nice. We got one of our producers, Robert says he's doing a full size Strat kit. So he's watching along...
Blake: Cool.
Nick: To get some tips and said it's been helpful so far.
Blake: Send us a picture of that thing when you're done with it, please. I'd love to see it.
Nick: Keith says this looks like more fun. Absolutely. This is where the real fun's happening today. We're getting this thing put together.
Blake: So I'm going to go ahead and take this rubber band off and I'm going to move this pickguard out of my way. Pull it back. I'm going to try to make sure I don't pull that lead out of the cavity because then I have to the bridge back off and get it snugged back in there.
Nick: Hey, thanks Mark. We love you too.
Blake: Here we go. So now I'm going to take, I believe it's a 1/16 drill bit which is right here and we need it to go 3/8 of an inch deep. So I'm going to take our little pickguard screws and that is just about perfect. Let me get that view better for you. Can you see that?
Rachel: Oh yeah.
Blake: So I just went ahead and pre-marked my depth stop there [Blake used tape on the drill bit to mark the depth stop]. Take our drill. Get the battery for it real fast.
Nick: Nice and we had had a question for one of our viewers. Unfortunately we do not have a bass kit currently. We do have some bass necks and we do sell a lot of pickups and tuners and things for basses. But we don't have a build your own bass kit currently, unfortunately.
Blake: So then I'm just going to slowly drill straight down into my little awl marks that I just made.
Nick: Got a lot of folks out there asking for bass kits today.
Blake: No bass kits for you. That's good though. The more interest there are, the better chance that we will eventually come up with one.
Nick: We've got somebody asking about-
Blake: Go ahead.
Nick: What kind of bad DIY repair have you ever seen on ... Have you seen some pretty bad attempts in your work with Dan or otherwise?
Blake: Most recently I had an 80s Gibson custom Les Paul that had been refinished and it was very, very bad. The electronics were just horrid and the finish was terrible. Those 80s customs had a three ply binding, so three rings that go all the way around the body and it was missing one of the rings all the way around and then like I said, the electronics were fried on it and yeah, it was just terrible. It was one of the worst refinishes I've ever seen. Also, I had a newer Gretsch come into my shop and there was like no solder on any of the joints and the guy was wondering why the neck pickup wasn't working and I told him I was surprised any of it worked at all. So I'm going to go ahead and just pull this plastic off the pickguard now so we don't have to take our screws back out when we try to pull the plastic off and now it's time to be careful. Don't want to scratch your pickguard too soon.
Nick: That's right.
Blake: I'm going to get our little StewMac handy handy Guitar Tech Screwdriver Kit. I'm going to get the biggest little head out right in here.
Nick: Gotcha. Actually I got some folks asking about some other kits and now once we get through a little bit of this stuff, I will show you guys. We have a few other kits next to me. I can show them to you. We got some people asking for mini 335s. We definitely have a full size 335. I can tell you that.
Blake: So this is kind of an eat, sleep and repeat process once you get all your hols drilled because drill nine holes and you got to put in nine screws and-
Nick: Cool. Well in that case while you're installing the screws here, I can show you guys the couple other kits that we have here. So here's the S-Syle Kit and I've been showing these in every episode. So if you've seen this already, I'm sorry for the repeat. I say this every time. I really like this little guy. It's super cool. Of course I always say I'm impartial to Teles. But I really, really like this guy. It looks great. You have all three pickups. So you're not missing any of that tone quality that you're looking for. Looks great, feels great, sounds great. These little guys are so much fun to play and so there's this one. We have obviously the Mini T-Style that we're working on here during these episodes and also the little Les Paul. I like this guy too in case you're into Humbuckers or what not. We unfortunately do not have a mini 335 kit currently. We had a few folks asking about that, nor do we have any bass kits or mini bass kits.
But yeah, we always love that feedback, love those product suggestions. That's not going unnoticed. So we appreciate that guys. Thanks a lot.
Rachel: My nephew just got one for his dorm room.
Nick: Oh nice, nice. Just one of the mini kits so he could practice? Cool. Absolutely. Yeah, they're great practice guitars, great travel guitars. They're awesome and pretty easy to build. We've basically done it in four days. Well we will have it done in four days.
Blake: It's always important to make sure you don't let that screwdriver slip because you could ding up your finish that you just put on here, which would be no bueno unless you're into relicing. Then I guess stab it with a screwdriver if you want. I promise it doesn't look like a relic if you stab it with a screwdriver. Ask me how I know that.
Nick: Let's see, we did the finish in the last episode. So that's episode two. The first one we did all our standing and grain filling and got it prepped for applying the finish. The second episode we finished the neck and the body, today is when it's all coming together. So that's why it looks like you missed everything.
Blake: So now we have our pickguard on. It's time to go ahead and do the tuners.
Install the tuners
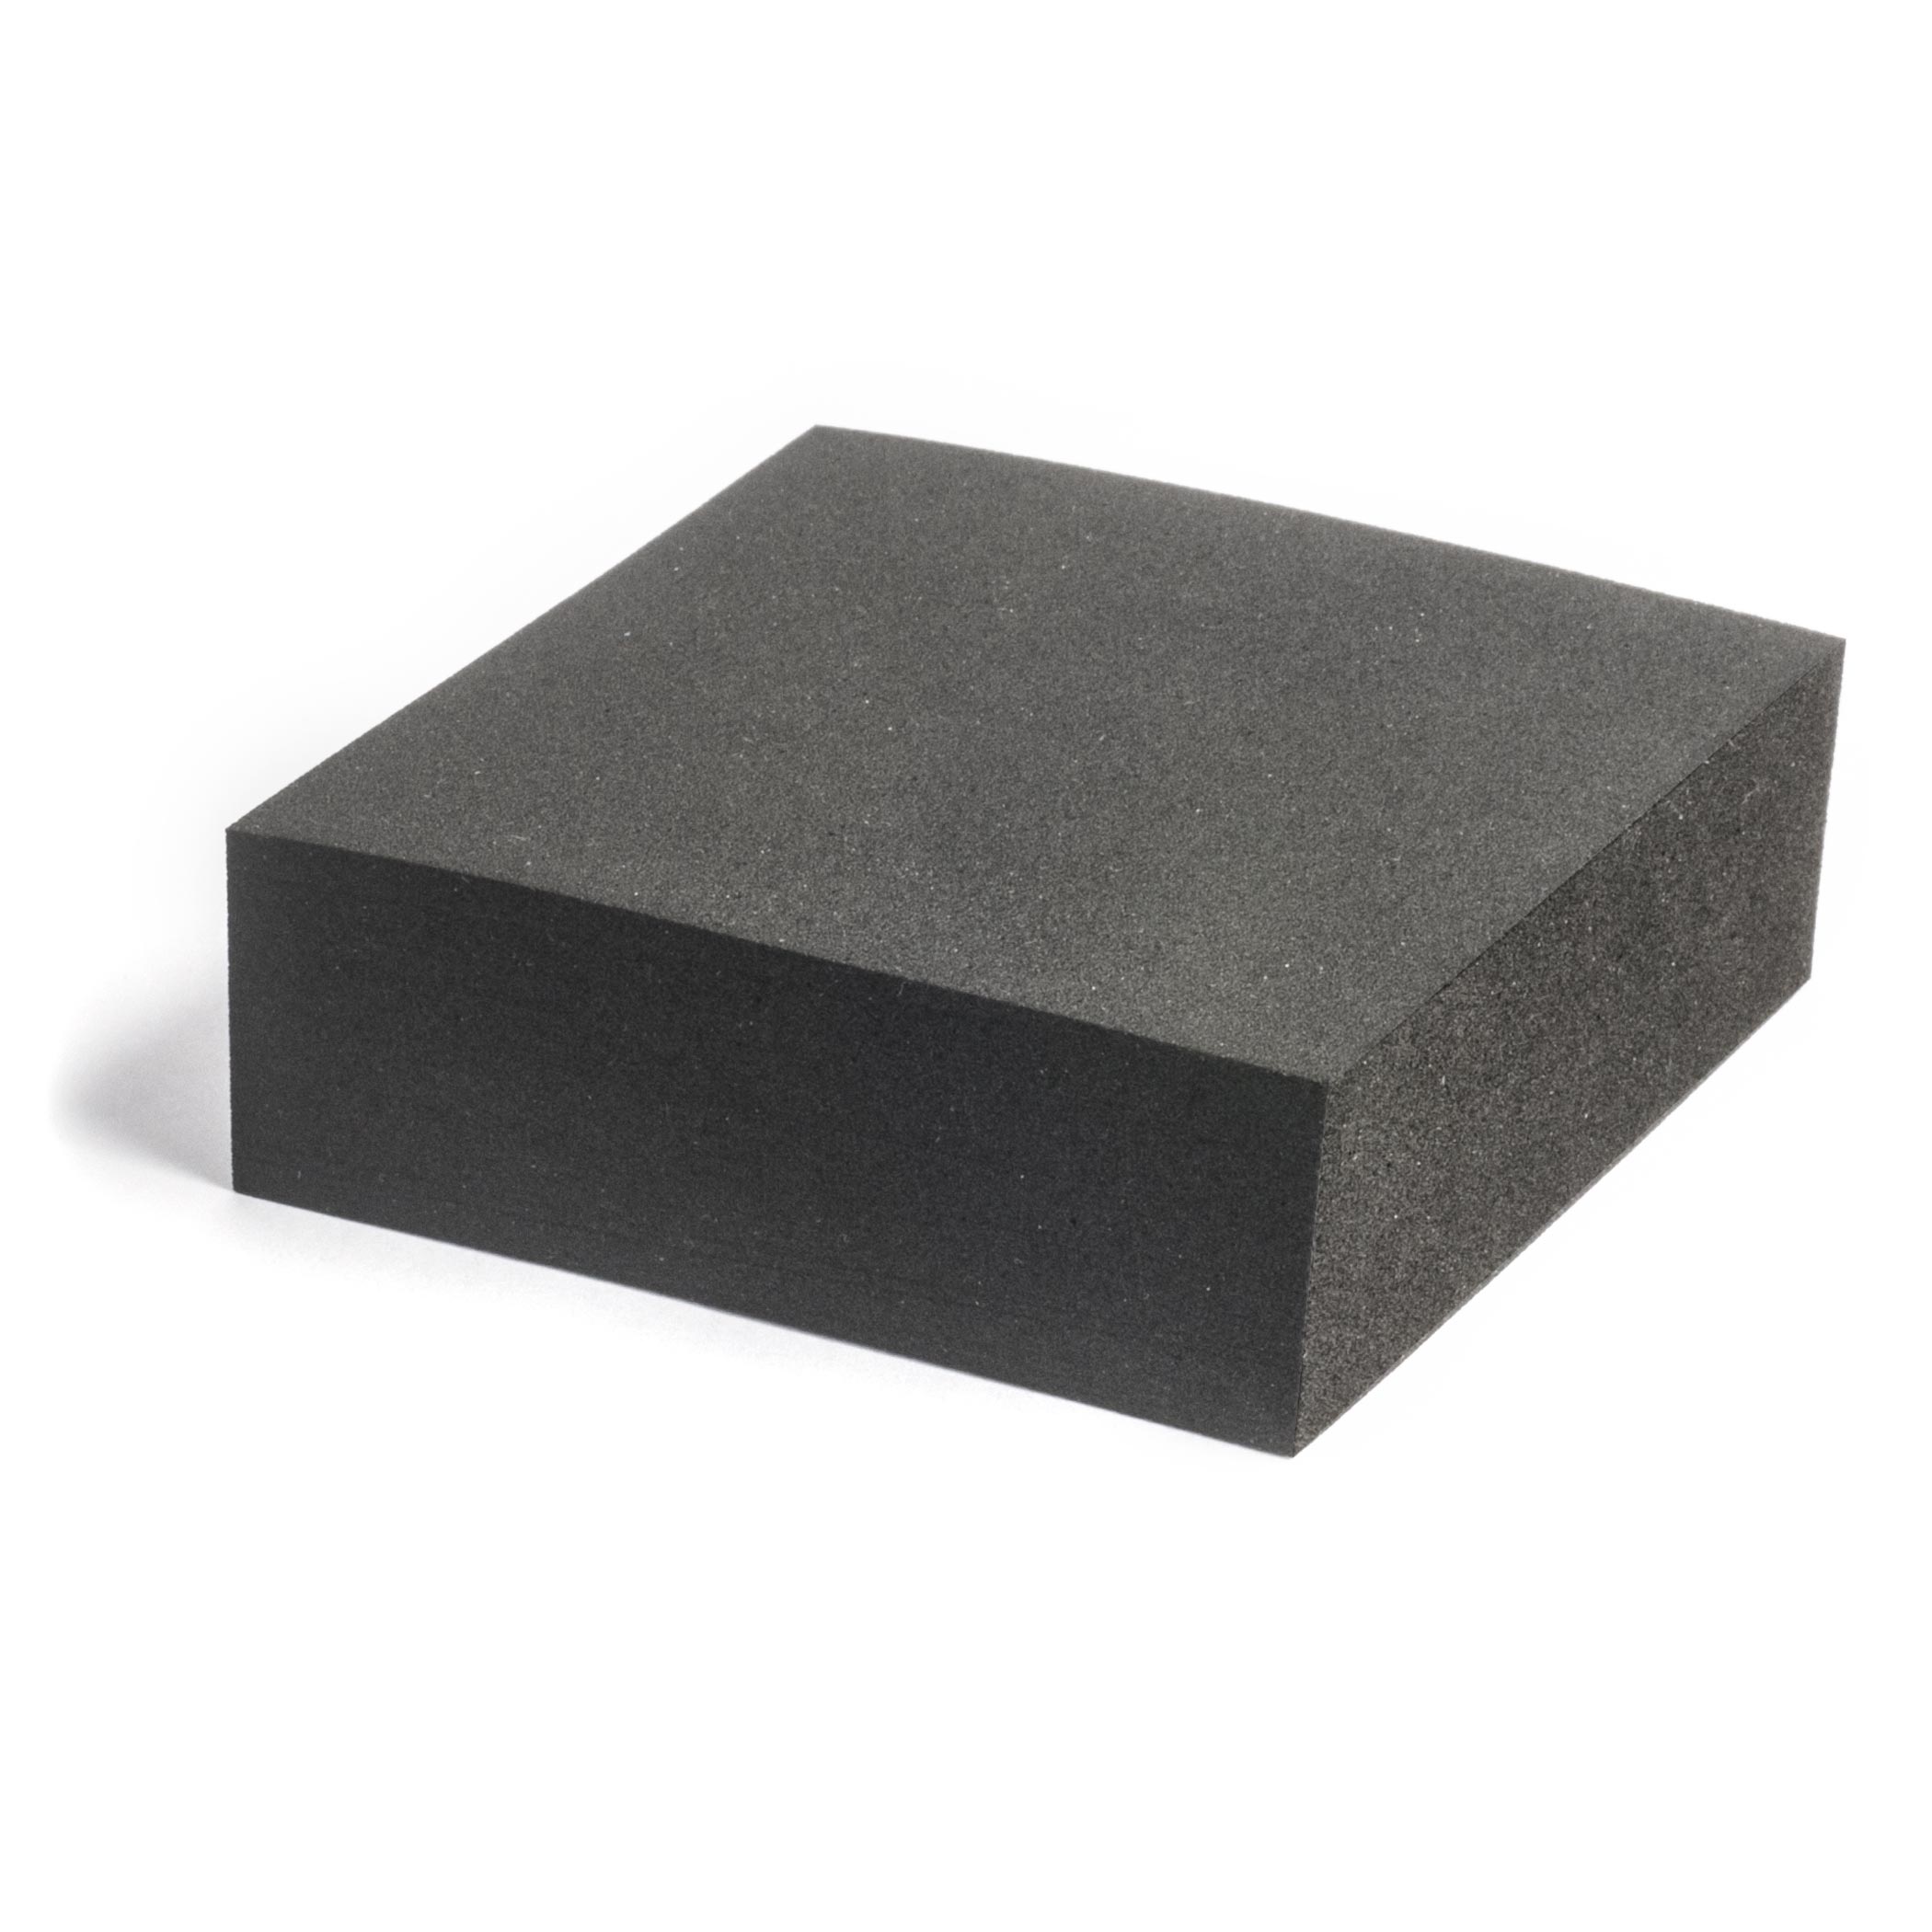
All right? So I'm going to be using this film block. I'm going to stand it up straight and put this Tele body on it. I'm going to have it angled down so this camera over here can see it. But normally I would probably just have it like this in the body level. We're just kind of angling it down so you can have a better view. Okay? I wouldn't normally do this.
Nick: Yeah, the vice is pretty strong but it is a bit treacherous.
Blake: Right? I'm going to make sure this is good. How's that look Rachel?
Rachel: Looking good.
Blake: All right, so here are our tuners, decent little tuners and then we have some bushings and a washer. This goes on the face. I like to just go ahead, get those put together, right? And I'm going to put these tuners on and I'm going to screw this bushing on and I'm just going to get it snug so that way when I go to make all these tuners square, I can move them just a little bit with some pressure. But they don't just flail around like this. So I don't have to constantly check, make sure I'm square. All right? So just hand tighten them. I'm just going to go ahead and do all six.
Nick: And if I may say so myself, I'd just like to bring up how rich that neck looks.
Blake: Yeah, I love that straw collar on there and the mahogany took the grain filler really well. So that's great.
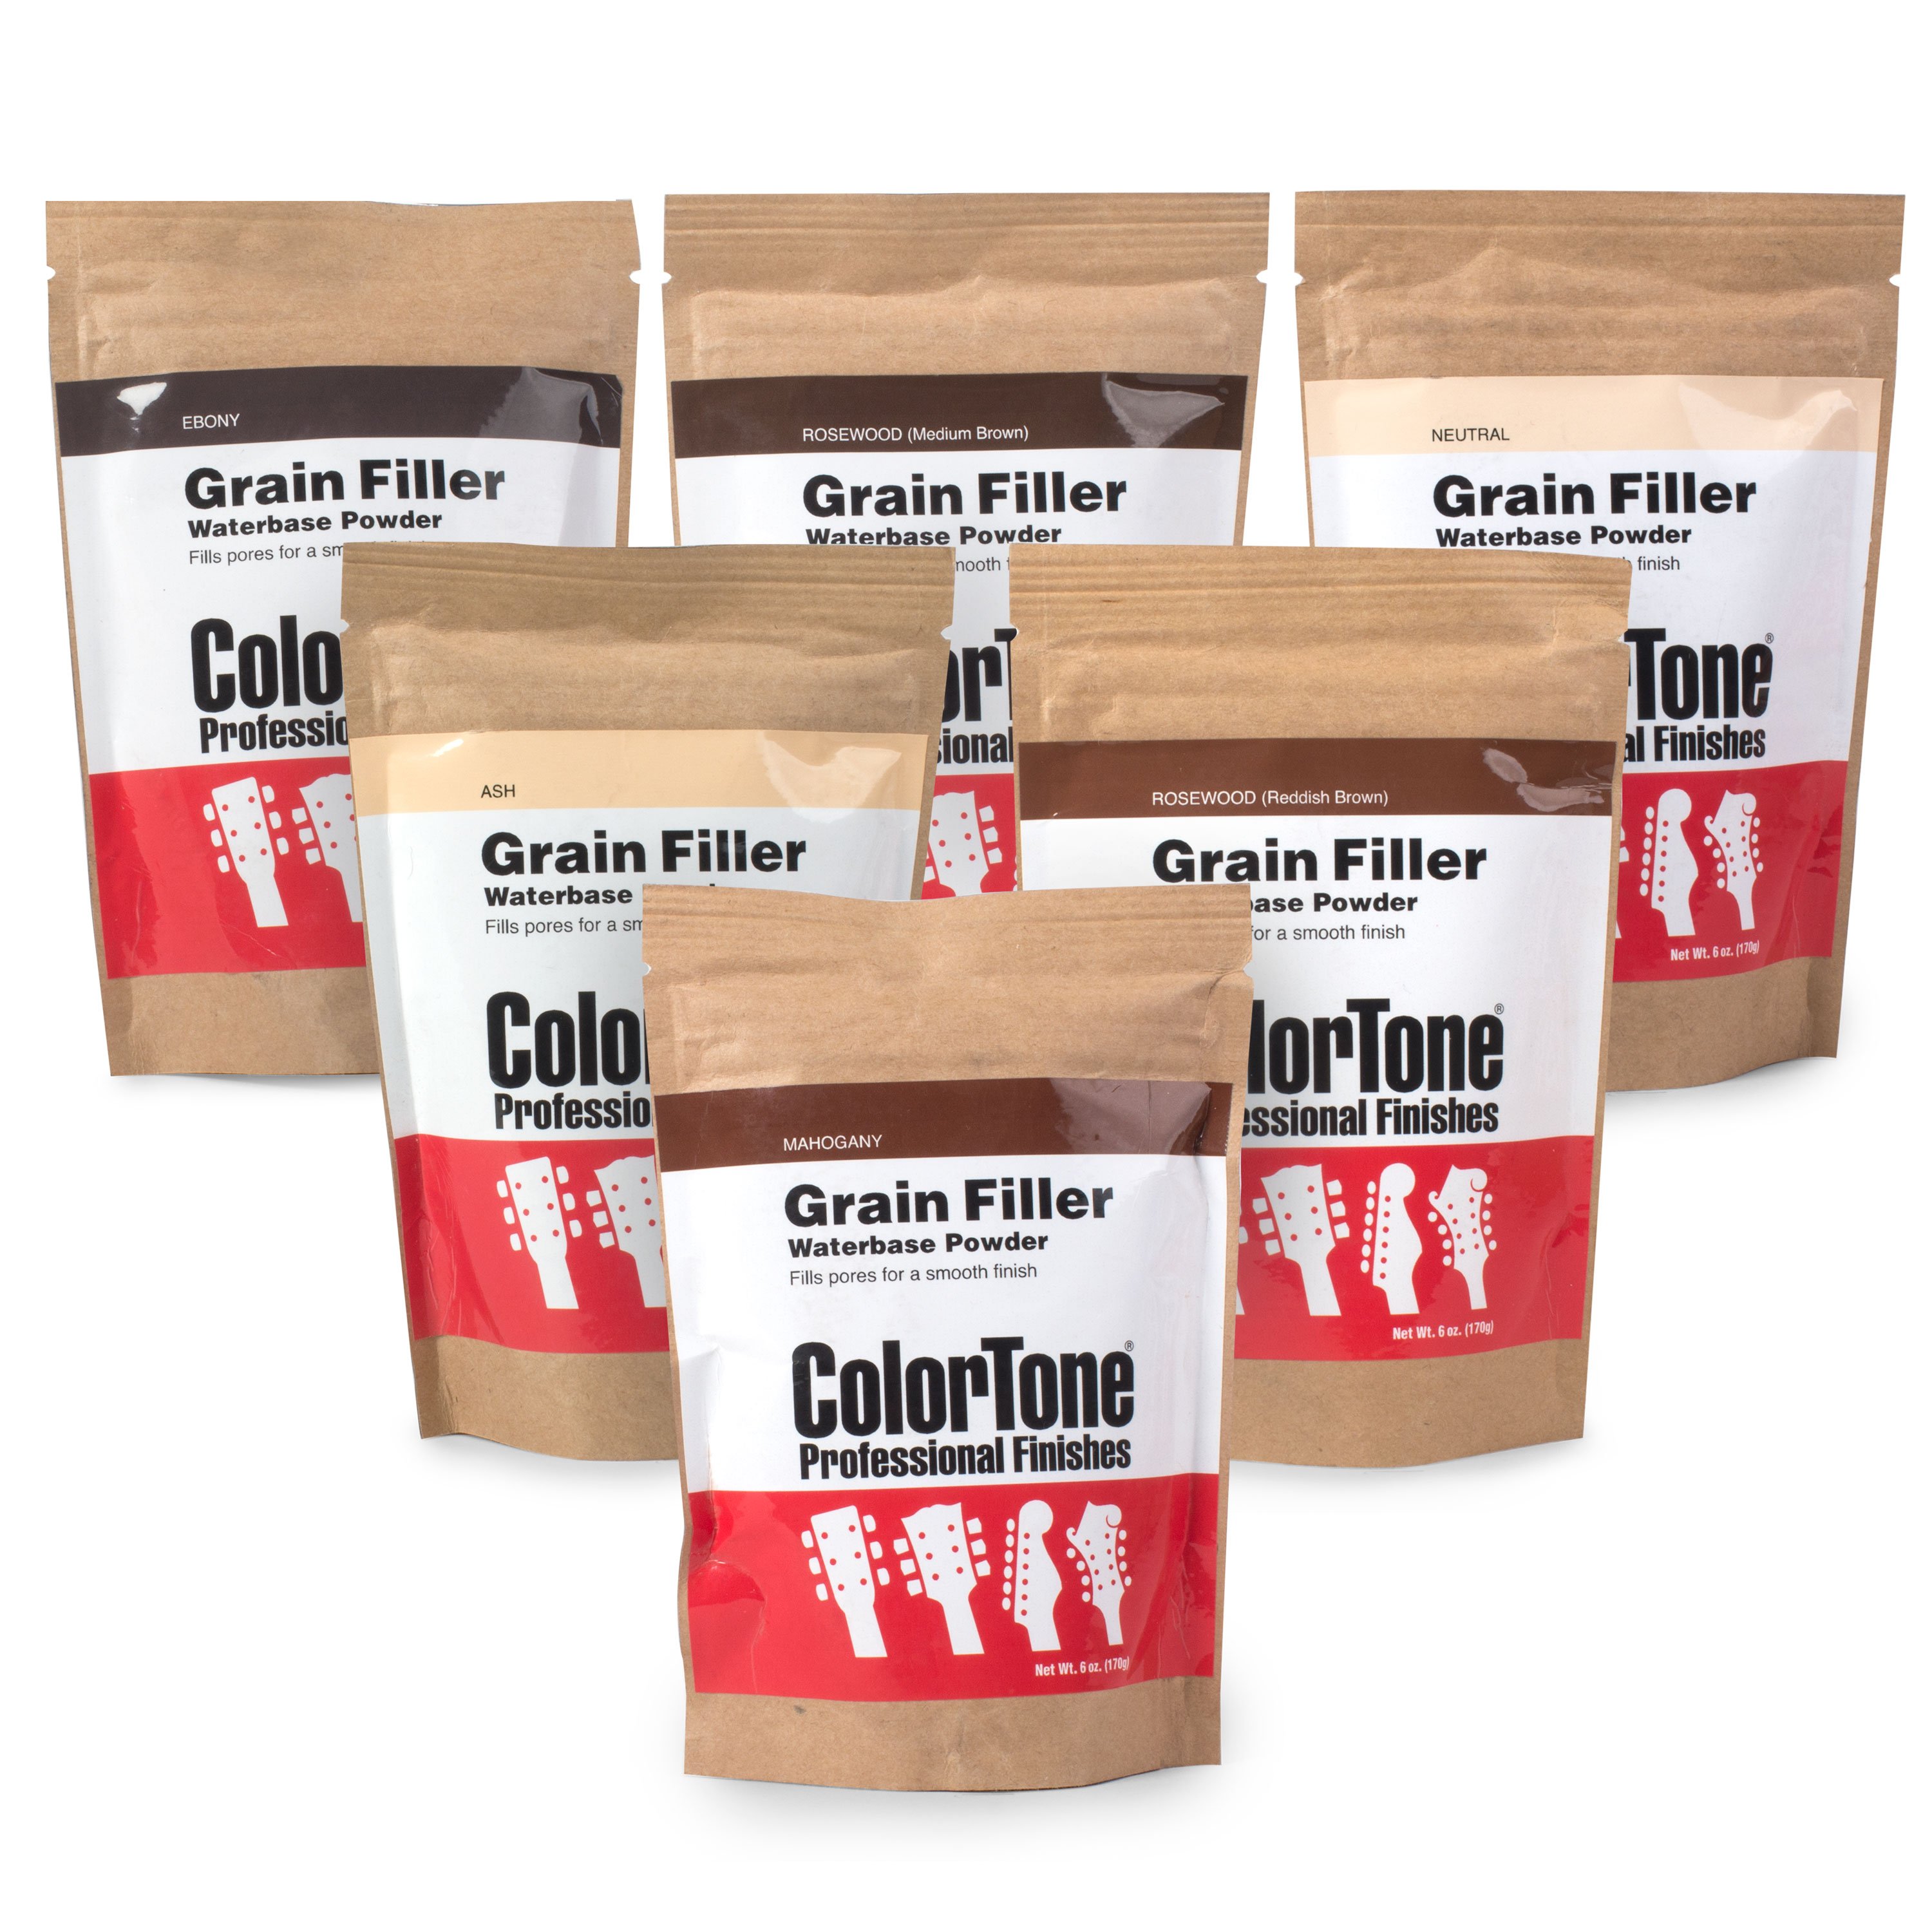
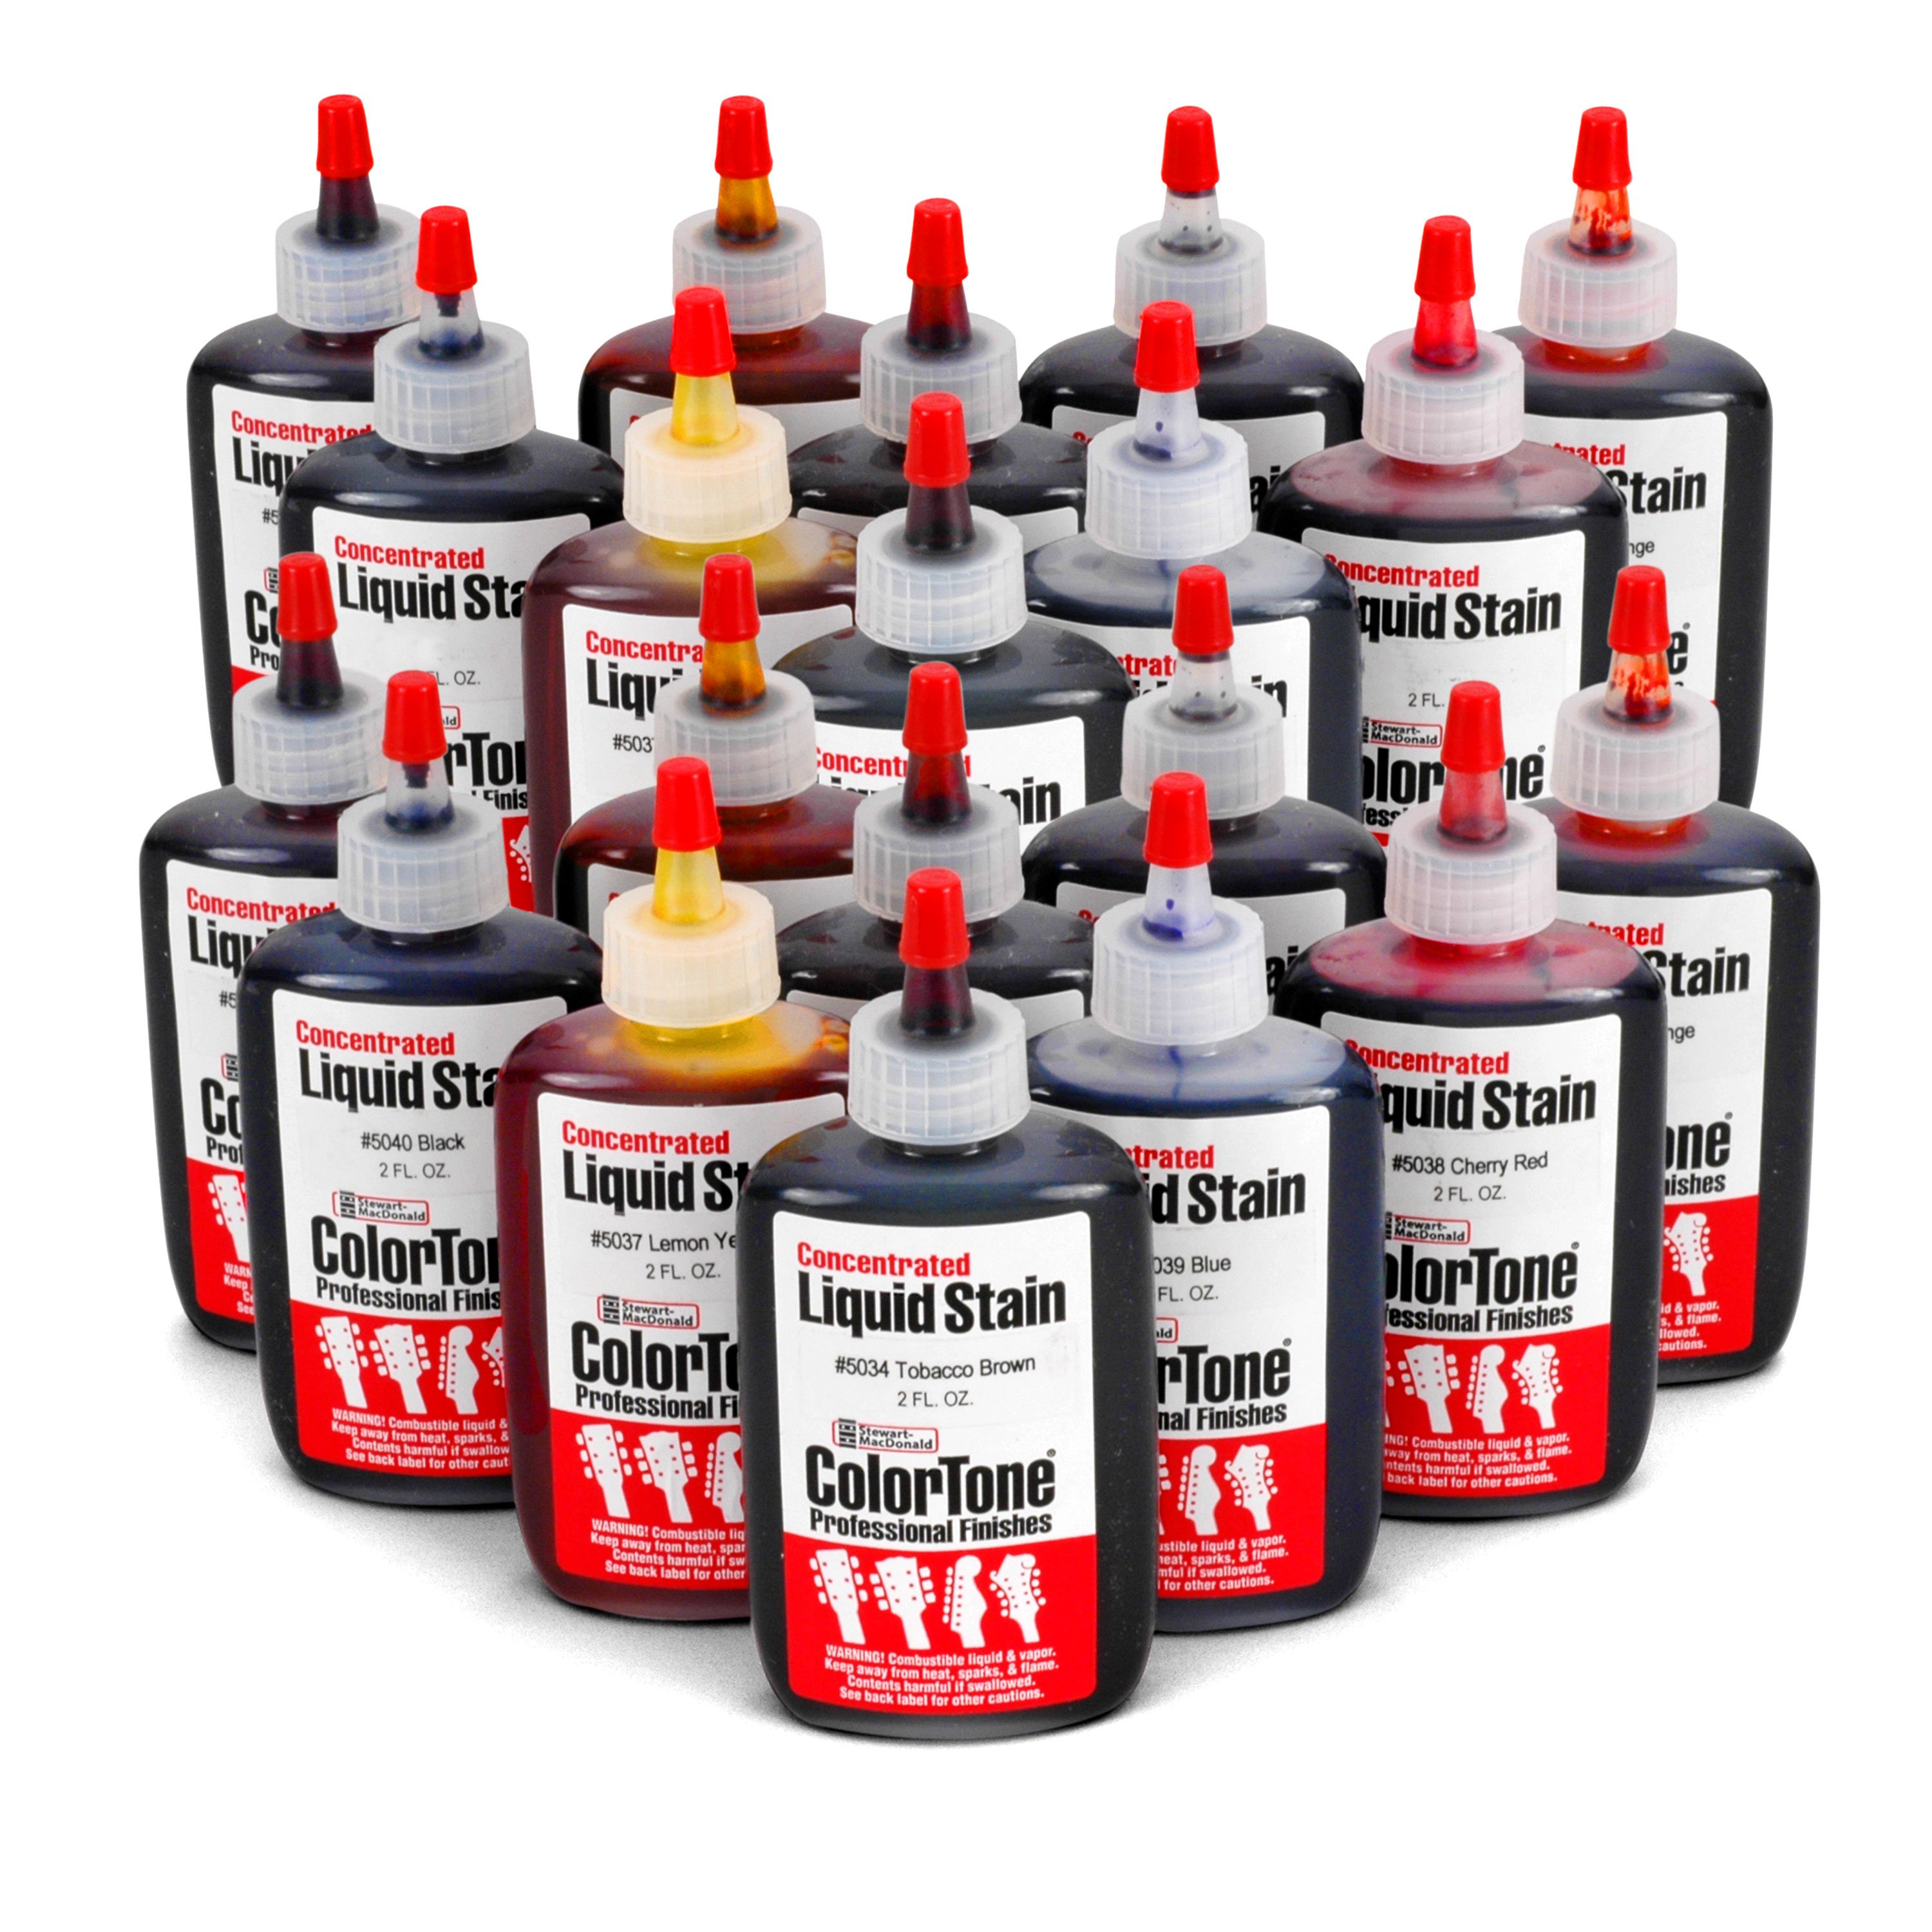
Nick: Yah, somebody's asking about what finish we use on the neck. So we used a ColorTone Stain and it's our ColorTone Stain. It's straw and we used it with a wipe on poly. If you want to go back and watch that whole process, you can check that out in episode two as well.
Blake: Yeah, if you guys are just tuning in, episode one was prepping the body to put color on it. We finish sanded the body. We raised the grain and sanded it again. Then we put some grain filler on it and then we ended the episode. Episode two was mixing the color, putting the color on the body and then putting some clear coats, and right now we are on episode three and we're getting this hardware on here and tomorrow we are going to be setting it up and making it play as good as we can and that will conclude this series.
Nick: And Robert, yes, we are going to be putting on string trees. That's actually going to be in the next episode. We're going to basically get everything but the string trees and the strings on today. But yes, we will eventually be using string trees. So that's a good question.
Blake: Just got two more here and I'm going to flip it over and use this nut driver to tighten these guys up just a hair. Then we're going to make them all square best we can. We're going to drill our holes and get these things screwed on and then we'll be on to the next thing.
Nick: Okay, yeah, I did miss a question. Yeah, Mark's asking what are some unconventional relic methods? Have you really done much relicing yourself?
Blake: Me personally, I haven't done too much relicing. I'd say I have just this beat up Tele. I don't know if you guys saw us throw it out of a two-story building here at StewMac. But I took that thing apart to put some shielding in it the other day and I said it's already got a phony relic on it just from whoever I bought it from off Reverb and I decided since, well it's a Tele and it's really tough. I just took it outside and threw it into the gravel outside of my shop and then I just drug it around the driveway and so it's real weird. I don't know how Fender does their custom shop relics because they look pretty awesome. I don't know if they have templates or if they got special tools or whatever. But I don't really know too many unconventional ways. Dan has a good relic episode where he glues a rock to a stick and then slams it into the guitar.
Nick: I would say that sounds a little unconventional.
Blake: That's pretty unconventional.
Nick: As well as dragging it through the gravel.
Blake: We'll have to see if we can figure out which episode of StewMac stuff that is.
Rachel: Oh, the commenters love that one.
Blake: Do they?
Rachel: Oh yeah.
Blake: Yeah, that was pretty funny.
Nick: And actually Robert, we are not going to be front leveling on this guitar. That is one of the steps that we are not taking with this particular kit.
Blake: So right here-
Nick: Once we get it set up, it plays well. It plays well. It's something that doesn't necessarily need to be done unless you really, really want to do that.
Blake: Right here I'm kind of indexing off the bottom of all of these little holes where the screw comes in the back of the tuner and I'm kind of looking at this top line right here and trying to make sure they're all straight. I want to get them as square as possible and this is just a look thing. It's pretty funny to see a guitar come in the shop and the tuners are just all whack and out of square. But that's looking good and because I snugged them up, they're going to stay in place so I can punch them with the awl. I might move this one back just to hair.
Nick: Nice and if anyone's curious about choosing a different set of tuners, if you want maybe black tuners or gold tuners or something like that, these are 10 millimeter peg holes. So that's worth it to keep in mind if you want to put some nice fancy, fancy tuners on there or just a different color. So I believe that's 13/32nds if I'm not mistaken. Yeah, that's correct.
Blake: I think it's important to say that all the hardware on this kit is full size so you can swap it out with any product you like. As long as the measurements match up, like he just said, this is 10 millimeters. So if you want to go buy some tuners, make sure they're 10 millimeters. But these are full size tuners. So there you go. The bridge and the pickups are full size. Control plate's full size. So now that I have those center punched, I'm going to go ahead and loosen these things up again and get them out of my way so I can drill this hole.
Nick: Nice. Robert says his favorites are hip shots, locking tuners. Anybody else got any favorite tuners they love? I have GOTOHs on mine. They're not super, super fancy. But they're just good affordable tuners that hold up. So I never really spring for the expensive stuff.
Rachel: Blake?
Blake: I'm not married to a certain kind of tuner. I think it depends on what kind of guitar it is and the aesthetic of it. But they also have to stay in tune. They can't be sloppy and have a lot of play in them. I like them to be really tight. So if I turn the peg that it definitely tightens or loosens the string. I got a friend that's really into Grovers. Every time that he gets a Les Paul, he brings it to me and has me put Grovers on it, which he gets Les Pauls pretty often. So that's kind of cool. I really like the Waverlys, and Waverly's made here. It's a couple floors below us.
Nick: Yep.
Blake: Actually, which is awesome.
Nick: Yep.
Blake: All right, so next I am going to go ahead and drill these holes and I'm switching my bits to the 5/64" bit. It's that one and these tuner screws go 3/8" of an inch deep. So here we go.
Nick: Nice. So this was one of the episodes that we actually did have just a couple of things done before the episode just so we could save a bit of time because we're getting through a lot of steps today and one of those was taping off our depth stop, on some of those drill bits.
Blake: [Blake drills the pilot holes in the peghead for the screws] There's that one. Next one's right there. I'm just letting the drill bit do the work. I'm not ...
Nick: Let's see here. No, Andy, actually, yeah, the truss rod is already in the neck. So that was something we didn't have to install. The fingerboard already comes pre-installed on the neck with the truss rod there. So we'll be doing those adjustments tomorrow when we do the set up. So that's something to be ready for tomorrow. Let's see here.
Blake: All right. So there's your screws, screw holes I should say and then we'll go ahead and get these tuners back on there. Try to do this as fast as I can.
Nick: Gotcha. Yeah. Richard was asking if you don't have a bandsaw, what are some good alternatives to use for customizing the peghead?
Blake: So some good ways you could do that is we did it once on StewMac with a router and a template. We made a template and then used the router and some sanders and stuff like that. You could also use a jigsaw, which actually I have one right here. You could use a jigsaw. It's going to be easier on the mahogany than it would be on a maple kit. But it's possible. You can use a coping saw by hand, kind of like a jeweler saw or something like that. There's lots of different ways. But definitely you don't have to have a band saw to do it. It definitely helps though. It's a good excuse to get one. So now I am just going to go ahead and tighten up these. I'm not going to make them super tight, just snug so I can move these tuners around and then once we get them square again, then we'll crank everything down. Basically just sticking these screws in the back will let me flip it over and get the bushings on there without the tuners falling off.
Nick: Okay. Absolutely and I guess it's worth it to bring up again, just so that you guys know whoever's joining us today and hasn't seen any previous episodes, that if you've got any questions after this episode or if something's too technical that we won't be able to answer today, you can always email us here at service@stewmac.com. That's service@stewmac.com and our customer service reps will be able to help you out and get you in touch with a technician. They can answer just about any question that you've got. So if that arises after this episode, please contact us that way.
Blake: Are our friends with us out there? Is Gary hanging out?
Nick: Let's see. I see Eddie's been a regular for all of these. I don't know if I see Gary today. Where's our buddy Gary? Our resident comedian. Yeah, this is one of the more tedious steps here. So this is just-
Blake: It just takes some time to bounce back and forth.
Nick: Absolutely.
Blake: The reason I don't like to try to drill through the holes and the tuners, I mean, the drill bit's small enough to make it through there. But it just makes me uncomfortable putting a drill bit through the pilot hole and the screws.
Nick: Totally.
Blake: I don't want to hit it and then have the metal shear and then this screws only relying on the bushing on the front and-
Nick: I feel like you might run the risk of breaking a bit as well.
Blake: Right. Just take your time. We're kind of in a rush to get this within an hour. But you're not. You got all the time in the world.
Nick: Exactly.
Blake: So use it up, enjoy life.
Nick: And remember this will be here after. So this live stream is not one and done. You'll be able to come back and check this out if you need to reference it for anything. All the episodes will be that way.
Blake: Yup. So anybody who's asking about previous episodes, they're on our webpage or they're on our YouTube.
Nick: Absolutely.
Blake: Go look for them. Okay, so now those are on there. Once again, I'm taking my 10 millimeter T handle wrench here. I'm just going to snug them up. They're not going to be tight because I want them to still move just a little bit. That's another thing that's important to say is that when you're tightening these bushings up, your final tighten, tightness, you don't want to crank too much. You just want them to be snug because if you tighten them too much, you can end up shearing them off and then you've ruined the tuner and then Fender is not likely to send you one and then you'll have to come be our customers. Not that that's a bad thing.
Nick: It's worth it to note if you don't have, like I said, drivers, this handy dandy little tool that I love is our Multi Spanner and that's something that you can use on multiple sizes of these hex nuts and others. You can use it for your pots and on the tuners and all that good stuff. So that's the tool I always use because I'm not doing tons of jobs like Blake is.
Blake: I'm liking that. I'm just going to go ahead and screw these guys down tight.
Nick: Yeah, it looks good from here.
Blake: Okay, there's that. I'm going to flip it over again. I'm going to go one more time with the nut driver to our final desired tightness right here. Just a little bit. Just a little. Until it starts giving me a little resistance then I'll stop and that's good. I'm calling it right there. So now we're going to check out our instruction booklet and see what it's telling us to do. The next thing in the instructions it says to install the nut.
Install the nut
Our kits now come with a nut pre-installed. So you don't have to worry about that anymore. One less thing for you to worry about. All right? But if you do go to install a nut on any of your guitars, you just want to use a really small amount of wood glue or a very small drop of super glue so that way whenever somebody, you or a repair guy goes to take it out to replace it or work on it, you don't have to cut it out of the slot and ruin it.
It's really kind of stressful to have to sit there and bang on a nut to try to get it loose or cut it out of a head stock because it's just covered in glue. So little tiny drop will do it. Okay? So the next part is install the strap buttons.
Install the strap buttons
I went ahead and marked out where the strap button's going to go. Right here. We're going to put one on the tail block.
Rachel: Hold on for just a second. All right now I can see it.
Blake: Put one right here. Then we're going to put one right here.
Rachel: There it is.
Blake: Okay? So I'm just going to take this little block. I'm going to clamp this into the device, not super tight, just enough to hold it. I got my little spot right there and we're going to be using a 332nds bit and we're going to be going a half inch deep.
Nick: Cool. Exactly, again, we've got that taped off with a little-
Blake: Right?
Nick: A little binding tape.
Blake: I'm just trying to keep it square with the body, same angle as the body. Then I'm just taking my time. You're going to pull it back out. Clear your chips. There you go and then we're going to take our screw and our bell and a little rubber washer.
Nick: Gotcha.
Blake: Here's all the pieces.
Nick: For Eddie on this particular hole for the strap button that's going to be a half an inch deep that we're taping off for that, this particular one. This is a 3/32nds bit taped off at a half an inch.
Blake: This rubber washer right here protects the bell from marring up the finish or denting the wood, right? So don't forget that. Sometimes it's a piece of felt. It can be lots of things.
Nick: Absolutely and that could be a fun little upgrade too. If you want to change that. You can put black of gold on there too. As Blake was saying earlier, any and all of this hardware is full size. So you don't need to go around looking for mini strap buttons or something like that. Your strap would be falling off anyway. All right.
Blake: That's not going anywhere and then I'm going to come over this direction and do this one. All right. Normally I'd be better squared up. But I'm trying not to block our camera right here [Blake drills another hole in the body for the strap button screw]. Clear those chips out. Go back to work.
Nick: Sweet. It's probably worth it to mention that the placement of that other strap button is really up to you. It's totally preferential.
Blake: Right.
Nick: I mean again, we've put it here at the shoulder there, which is actually kind of where I like it. But some folks like it on the back of the guitar or in other places. Just use your own judgment, whatever's going to be most comfortable for you.
Blake: Exactly. I mean it's pretty typical and in my opinion most comfortable to have one right here on the shoulder. I have strap locks on my guitars and I hate having to put my strap ... You have to do it backwards if you have one on the back and then one on the side.
Nick: Oh and no Andy, unfortunately not. We're not going to be doing any kind of decals or inlays or anything too fancy. We just wanted to try to make a series that was as simple as possible just as user friendly as possible. You're always welcome to do any kind of customizations yourself of course and we encourage you to share those with us. If you do anything fancy or cool, please send us some pictures or drop us a review on the page for the kit and you can upload a picture there so we can have a look.
Drill the holes for the jack plate
Blake: All right, so now that we have our strap buttons installed, let's look back to our instructions and see what's up. It's looking like we're going to go ahead and drill the holes for the jack plate. This is pretty easy. It's kind of the same thing that we've been doing. We're just going to put our jack plate in the hole where it belongs and then we're going to use the awl to make our holes and then we're going to come back in with our 1/16 drill bit and take care of that drill and drill some pilot holes. So you just get it right there. Get it where you want it. I'm going to spin it around, see what it looks like.
Nick: Actually Eddie, there's a couple ways you can share it with us. You can send it to us at our services StewMac email if you want to share pictures of your work and as I said, you can also upload a picture onto the website. If you leave a review, you can upload a picture there. So at that point everyone will would be able to see it, anyone reading the reviews.
Blake: So there's your center punch. I'm going to go ahead and get our 1/16 drill bit back out. Get our jack out of the way. Come back in and try to drill them as good as I can. Yeah.
Nick: John's wondering if we're going to play this thing on a Marshall when we're done.
Blake: What'd you say?
Nick: I said John's wondering if we're going to rock this thing on a Marshall when we're done. What do you say?
Blake: Plug it in. I'm down.
Nick: We know a guy who knows a guy.
Blake: We have a couple laying around.
Nick: I think we might be able to dig up a Marshal somewhere.
Blake: Okay, there's that. Now I'm not going to go ahead and screw this in because we have to do some wiring, okay? But now we have the holes for our jack drilled. We're going to lay it down, get back in the instruction booklet. See what we're doing. All right, now we're off to the wiring.
Wire in the pickups
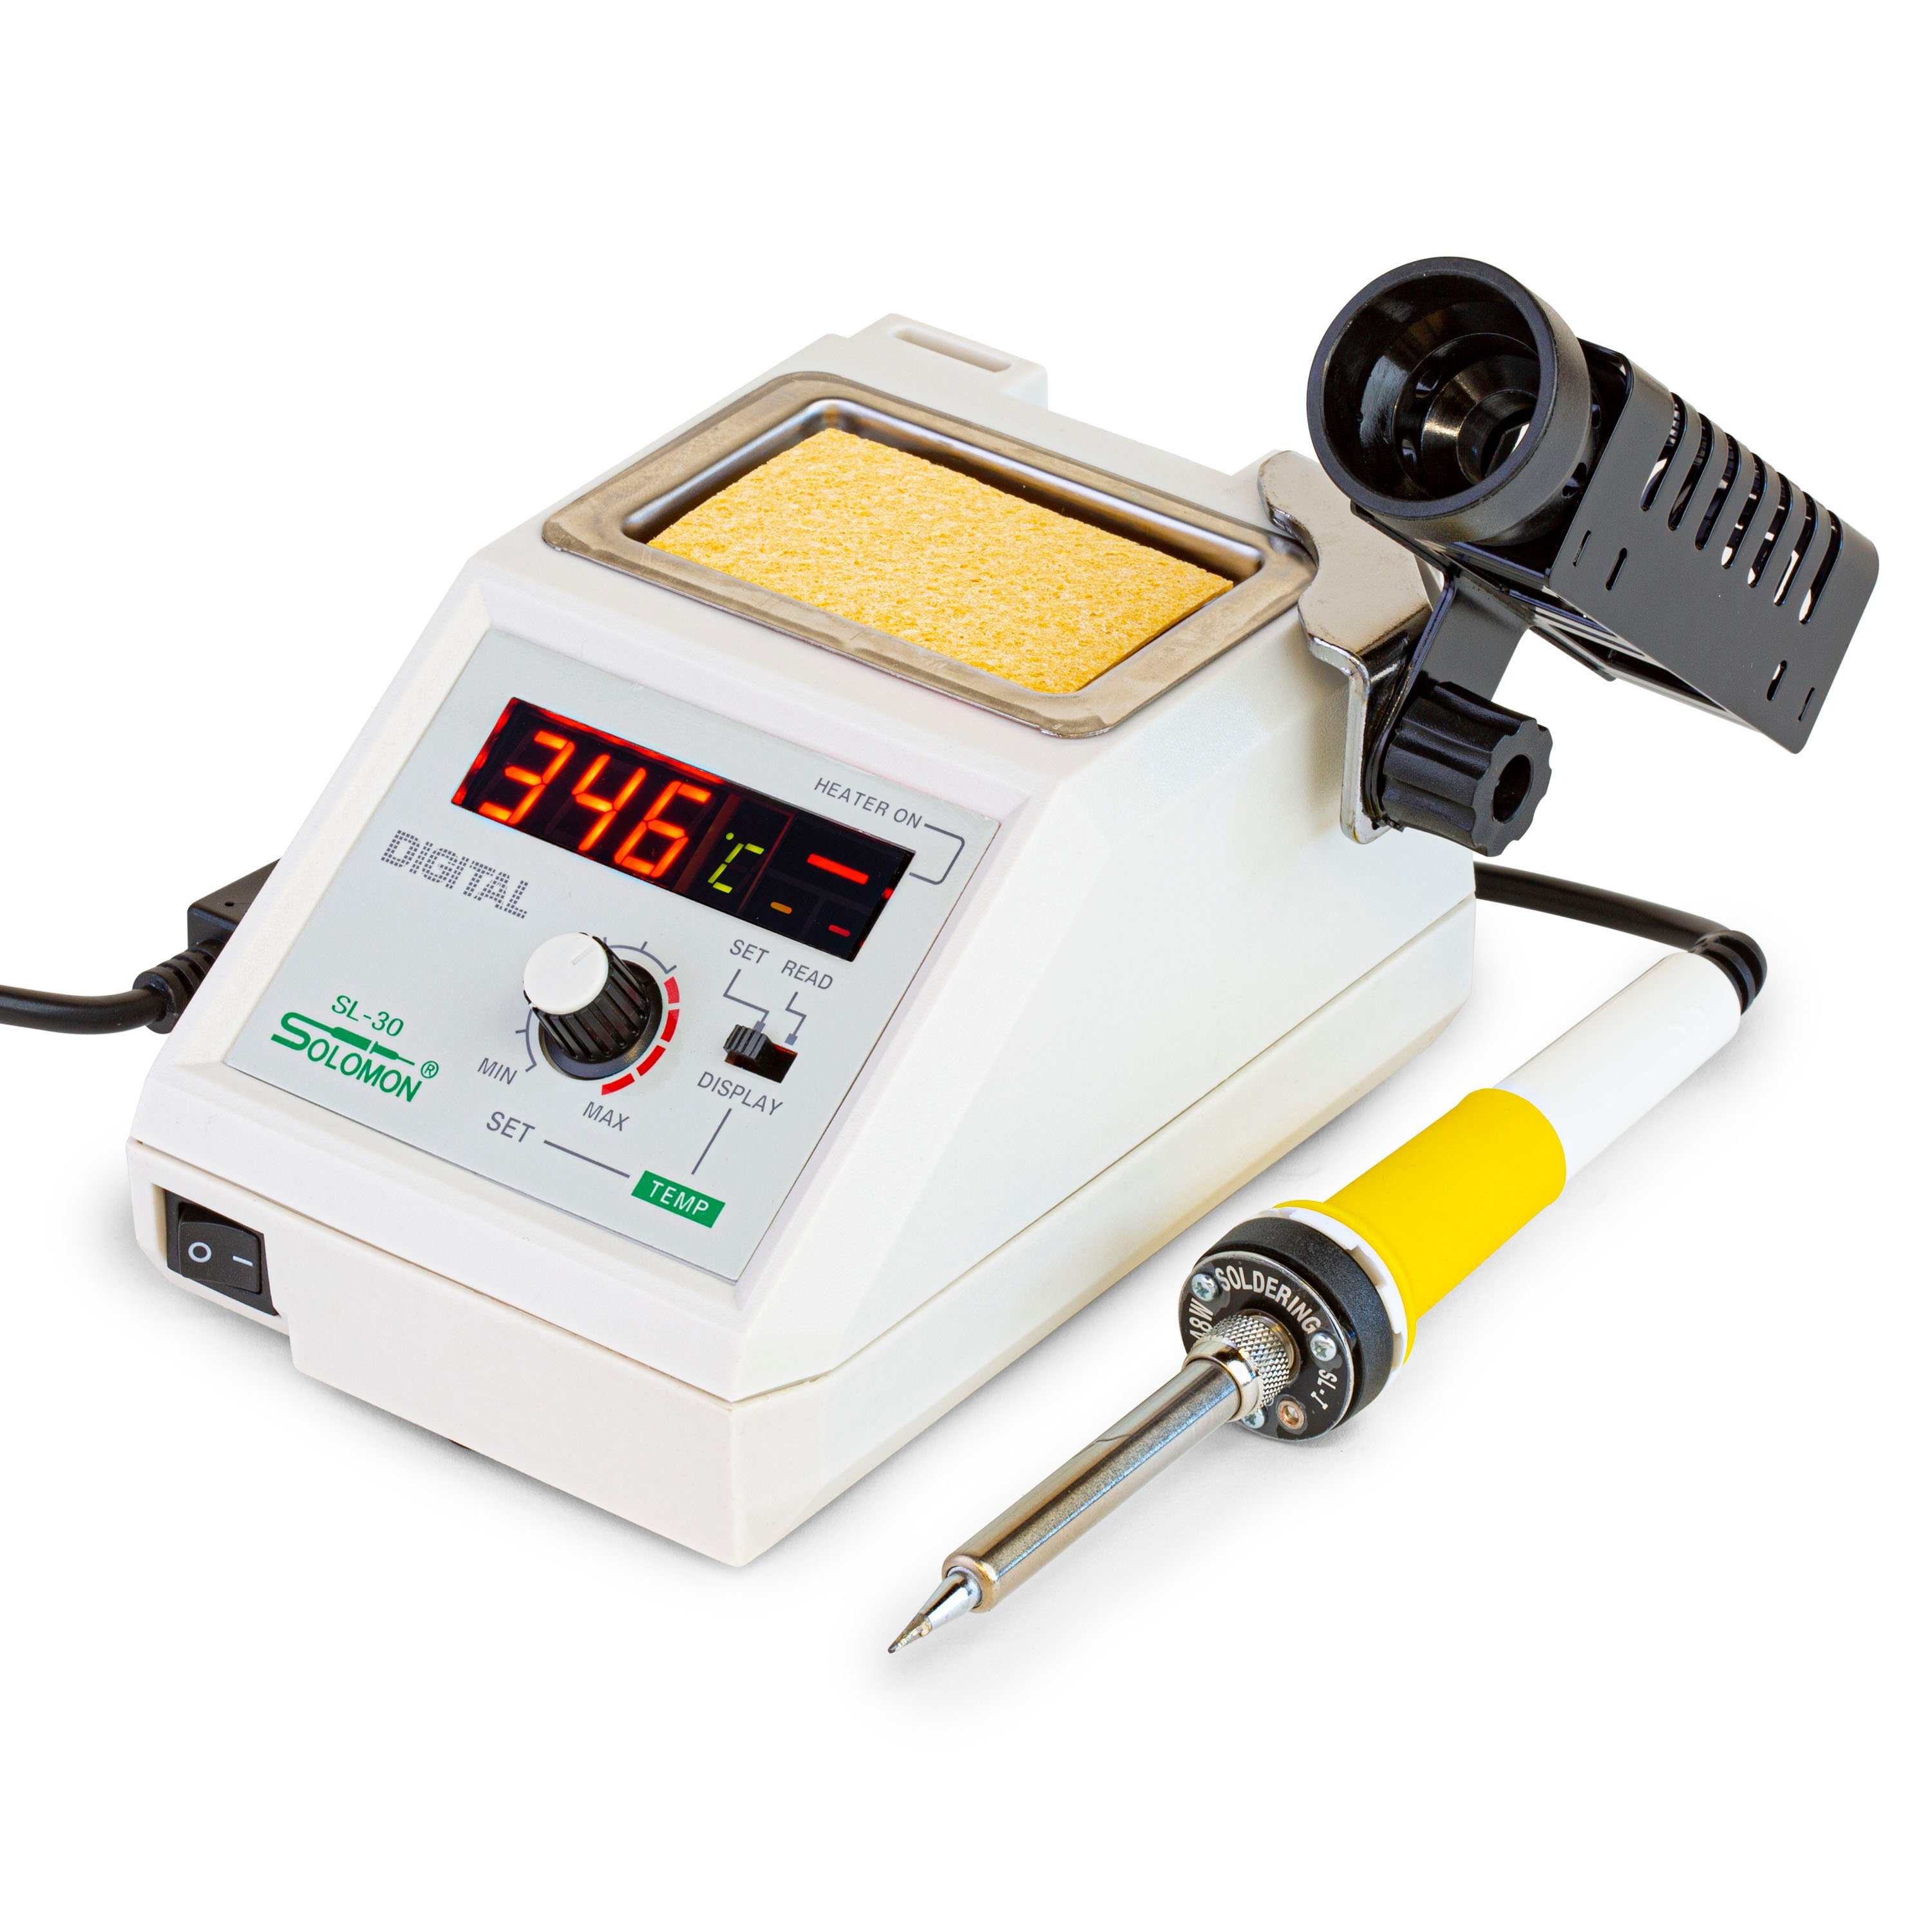
So I'm going to go ahead and turn our soldering iron on. I like to get mine right up here where the red and gray line is and that's floating right around, what is it, it's about 400 degrees Celsius, maybe a little less, maybe a little more. Just depends on how the soldering iron's feeling that day.
Nick: Yep.
Blake: Throw that trash away. Susan, do you know where the little tin thing is?
Susan: Probably right behind you somewhere.
Blake: Oh, I see it back here.
Susan: Cool.
Nick: Yeah, I would definitely throw in if we're dealing with with soldering, hotter the better. I definitely learned that the hard way when I first started working on soldering in pickups.
Blake: Going to go ahead and just kind clear up some things.
Nick: [inaudible 00:44:03] a couple switches.
Blake: Clear up the bench a little bit. Get this stuff out of the way. So first things first is when you're going to solder the pickups, on our control plate here, we have two ground wires, two blacks. The kit comes with an extra one so you can clip one off. I usually like to just kind of see which one's the longest, which one's the shortest and I'll clip the shortest one out of the way.
Rachel: Let's see those, how they're different lengths real quick.
Blake: It's very, very small.
Rachel: Hold it over a little bit more towards me. Take a little bit more over here. yeah.
Blake: Right here?
Rachel: Yeah, there we go.
Blake: One's just like the smallest amount longer anyways. So I'm just going to clip the one on the left here, clip this one.
Nick: Oh cool. Eddie wanted to know what the wax was for. So we were actually ... Never mind. Our colleague upstairs has gotcha. Waxing our screws helps thread them into our pilot holes.
Blake: Okay, so now it's time to go ahead and solder our pickups. The lead from the bridge pickup goes to the outside and the lead to the rhythm pickup goes to these two. So can you see that Rachel?
Rachel: I sure can.
Blake: Cool. I'm going to do my best here to keep my hands out the way so you guys can see. But the red is to our bridge pickup. The white is our hot and this silver wire right here is our ground. It's already been pre-tinned with some solder. Both of these have. So I'm just going to stick it through the hole there and then I'm going to just use this nice little handy dandy StewMac tool here. I'm going to give it a little bend so I can get it back through the other one and I'm just trying to keep my hands out of the way so you guys can see. There we go. Pull it so that wire's in both. All right, so there is the hot. It's going to go through these two outside terminals on the right. So right now our soldering iron's about 380. I need to grab a little solder too.
Rachel: Should be in your tray.
Blake: In my tray. It sure is.
Nick: Cool and if any of you folks out there are nervous about soldering, never really done it before, there's a few helpful trade secrets online to help you get a little more acquainted with soldering. The one I like the best is how to get a good clean solder joint. Eric Coleman does that particular one. It's number 186 if you're curious about looking that up.
Blake: So I'm going to go ahead and move these wires out of our way. I'm just going to get something down to protect that guitar finish in case I was to drop the soldering iron. I'm going to go ahead and pre-tin just a little bit. Now I'm going to touch it. Give it a little solder. Looks good.
Nick: I'm really sorry if I'm mispronouncing this. But maybe it's Yanard maybe possibly, says they're watching at 2:00 AM. So where are you hailing from? Says they say as a teenager watching this at 2:00 AM. I think I'm going to sleep later.
Blake: Cool.
Nick: Glad to have you with us.
Blake: So there's our lead for our bridge. I'm going to clip this off because it frays out a little bit right there. This is our ground and it's going to go to this little lug right here. Okay? I'm just going to stick it down through there.
Nick: Nice. There's Aldi coming in from Indonesia. Any folks from around the world out there watching us? We had people from multiple continents yesterday. It was exciting. We had-
Blake: Cool.
Nick: South America, Europe, Asia in the house. It was awesome.
Blake: There's our ground. I'm just going to go ahead and clip the little extra length off the bottom and on the outside and then we need to do the same thing with our yellow, which is our rhythm. So white and the silver just like we did. This is going to go through these two outside terminals right here. Okay? I'm trying to once again keep my hand out of the way. Actually that's looking a little short so I'm going to take some more length off of that.
Nick: So we got Indonesia and UK in the house for sure.
Blake: So I just gave myself a little extra length, just before. Running it through. I'm going to use our handy dandy little twister tool here. Twist it around. There we go. Just like that.
Nick: And actually as a matter of fact, in case you guys want to see a diagram or a graphic, we actually have that available for you. So I'm going to see if Susan may put that up for you and check it out. There we go [diagram shows the red wire coming from the the neck pickup to the #1 terminal and the yellow wire coming from the bridge pickup to the #7 terminal].
Susan: Wait a minute. Wait a second, Blake.
Blake: Okay.
Nick: So that's just so that you guys can check out that wire diagram. Makes it a little bit easier to see it laid out that way. It's not always as clear when you're watching someone do it on video. So that's just so you can reference that later. Timestamp is right at 50 minutes.
Blake: Welcome back. We're going to go ahead and get a little bit of solder right in there. Soldering iron's real hot so I'm just touching it to get that solder wet and get it flowing. Cover that terminal and cover that wire. Make sure that wire is soldered to that terminal and then I'm trying to get that soldering iron out of the way as quick as possible. There you go. Well, clean it off. Some solder build up on there. There we go. I'm happy with that. Then we're going to take our ground. Bring it down to this one.
Nick: It's also worth it to mention that we're using our Soldering Station. But you don't necessarily need to use that. You can use a soldering iron that just plugs into the wall. So you don't have to spring $200 bucks to get this thing done.
Align the control plate
Blake: I got a little bit of extra hanging out down there. Just going to go clip that off. Looking good. We're going to take our black and our yellow lead that go to the jack. Get him out to the jack hole there. Lay this thing down. I'm going to go ahead and screw it on so we can flip our guitar over and it won't be falling off.
Nick: It's also worth it to mention I'm trying to cover all of the parts as possible. Like we said, everything is full size. Just if you guys are curious, the knobs have a six millimeter shaft and those work with Alpha pots. So if you're trying to upgrade anything, if you're just trying to upgrade the pots, want to keep the knobs, you can do that and I believe, like I said, our Alpha pots and then if you just want to throw some fancy knobs on there, just make sure they're six millimeter shaft, split, knurled.
Blake: All right, so there is our control plate and our pickups are soldered together. Last thing we got to do is the jack and then I think that is the end of our video. So I'm going to flip this thing up in the vice, just like we were drilling our holes for the jack.
Wire the jack
Rachel: Can you flip the block vertical again so I can get a good view?
Blake: Can I tip it this way?
Rachel: Yeah.
Blake: That work for you?
Rachel: That works. Perfect.
Blake: Okay, so what we're looking at here is our little quarter inch jack, right? The centerpiece right here, let me get something I can point with.
Nick: Gotcha and Eddie, I actually don't think you would even need to widen the holes, I don't believe, to fit a standard size pot in the-
Blake: I don't think so.
Nick: I'm checking with Blake here. Yeah, I don't believe-
Blake: What's the question again?
Nick: If you would need to widen the hole in the control plate. [inaudible 00:54:10].
Blake: In the control plate? I don't think so. But I'm not paused off the top of my head. That's a good question and we should figure that out and get back to you.
Nick: Cool. Absolutely. Okay, we'll get you a definitive answer on that for sure before we're done here.
Blake: So right here, this lug is connected to this little ground shield right here and this is going to be our ground and it just goes off right here. It connects so when you plug your quarter inch in, the outside of the quarter inch is your ground. Right? So that's where our black wire's going to go and this lug right here is our hot and it runs down under this little plastic piece runs across to the tip of the quarter inch jack and that is going to be our hot, which connects to the hot tip of the quarter inch. Right? So I'm looking at our wires right here, our black and our yellow and the leads are looking just a little hair short. So I'm going to go ahead and give myself a little bit more to work with. I'm taking these and I've been using the 22, which is the 60 thousandths
Rachel: Wait, let me see that again real quick. Yeah.
Blake: Which is the second biggest, 22.6. So I'm just taking just a little bit more and that should be enough. There you go. That's all I need. Right?
Nick: Cool.
Blake: And then I'm going to do something here. Find my cloth. Try to protect us from any accidents because accidents happen and I'm going to pre-tin these lugs and what that means, okay, so earlier I said those wires were pre-tinned. Now you can pre-tin the lugs too and what that does is when you melt the solder on the lug and you push the wire through, the solder on the wire melts into the solder on the lug and then you don't have to sit here and push solder onto the lugs.
Rachel: That's a great view I'm getting there, Blake.
Nick: Yeah.
Blake: Cool.
Nick: Looks good.
Blake: I'm doing my best because this thing kind of moves around. It won't always be this difficult for you guys. I'm doing it kind of awkwardly just so you guys can get a better view.
Nick: Let's see and actually, I checked one of our little kits in the back here and Eddie, unfortunately it does look like you would need to widen those holes to fit a standard size pot in there. So you would need to get a drill bit and I'm trying to think of exactly what size that would be. Let me see here. I'll bet I can get an answer for you on that too. I'll get to looking right now.
Blake: That's going to be hot. So give me just a second. Okay. All right. So there's our pre-tinned lugs. I got a little bit more on the ground than I do on the lead. That's okay. We're good. Don't blow on your solder joints. There's no reason to. They cool off really fast by themselves and then I'm going to go ahead and try to do this to the best of my ability. Let's pre-tin our wires a little bit. These wires aren't pre-tinned because I just stripped them. So I pre-tinned the soldering iron. I clean it off every time. It's great just to always have a soldering iron that's transferring good heat and I just touch the wire and give it a little solder on the other side. That's good. That's good. So now I'm going to do our hot first. Let me think about this. Actually, you know what? I'm going to lay this down in my direction. Okay? I'll try to get Rachel a good view here so she can see.
Rachel: Oh yeah, I can see [inaudible 00:58:48].
Blake: Can you?
Rachel: Mm-hmm.
Blake: Cool. Call in an audible, you guys. Maybe I'll lay it down even flatter. You know what? I'm going to take this Control Plate off. What I'm going to do is I'm just going to grab a little Nut and Saddle Vice. I like to use vices whenever I'm doing some soldering just to hold parts and pieces and stuff like that.
Nick: Gotcha. One of my buddies that also works for StewMac, actually who works in the customer service department just made some little soldering aids with just an alligator clips and some ... Oh geez, I don't even know what they're called now that I can think about it. Just those malleable, snake-like things that you can manipulate and they'll stay.
Blake: Yeah, like our Solder Monster Stuff?
Nick: Exactly. It's those arms. I just can't think of what they're called. But he just made them on his own.
Blake: All right. Nice. I'm not going to blow on it. Just going to let it set itself. There you go. That is set. Take the ground. Do the same thing. [Blake solders the ground wire to teh square (sleve) lug, and solders the yellow hot wire to the round (tip)]
Nick: Benefits of having a super hot iron. It goes through like butter.
Blake: Right. I'll clip off that extra. Clip off that extra. I should mention this is not very tight at all. It's just enough to hold that jack. We'll flip it back up on its side right here.
Nick: Oh hey Rachel got a shout out. They said you have the best job.
Rachel: I do. It's super fun.
Blake: Okay, get your wires back down in there. That's looking good right there. I'm going to get our little screws. I'm going to turn off my soldering iron. No need for it to be on. Put my screws out of the little parch tray and I'm going to just very quickly screw this in [Blake screws the jack to the guitar body]. Cool. Not a good time to slip and ding the guitar. That's slipping a little bit.
Nick: Gotcha here. Let's see. We had a question. Where did it go? There it is. Yeah, Robert, I believe that's in specific reference to our books and plans. That's exactly right. Exactly right. Admin upstairs beat me to it. So the StewMac Membership comes with free shipping and it also has other perks. You get 15% off strings, 50% off books, plans, things like that. So it's got a lot of perks. It's got a lot of perks. Just click on the little StewMac's icon and it'll take you to the page where you can see what all the perks are.
Blake: What are the airport perks where you get to chill in the private room and drink fancy water? What's that called?
Nick: Oh, I don't don't know what you call that. Business class? First class? I don't know. Whatever.
Rachel: Never done it.
Blake: Neither have I.
Nick: That's right. Yeah.
Blake: I just envy the people that do. That's all. All right, so that should be the soldering and now we're going to test it by flipping on this little amp I got back here. This is one of the StewMac Kit Amps that we got built.
Nick: Executive lounge. We got an-
Blake: Executive lounge.
Nick: -assist from Robert, thanks.
Blake: There it is. Trust me. You want to be in the executive lounge at StewMac. It's a happening place.
Nick: So yeah, our warehouse and all of StewMac is in one building actually we're all in the warehouse here. Our studio and shop and everything is all in the same building. We're in Athens, Ohio.
Blake: All right.
Nick: So Southeastern Ohio.
Blake: So I can already hear it. Sounds good. So we're going to test our neck. Here we go. I'm just using a little screwdriver because the poles are magnetic so you can hear it real good. Test our volume. Test our tone. Tone knob works. Volume pot works. Test our middle. All right. Test our bridge. No neck. It works. I told you you could do it. All right. Well anyways, I think that concludes today's video. Tomorrow is the final setup. We'll get some strings on this. We'll have our string trees on there and then we'll be setting it up, doing a little intonation, all that kind of stuff and that'll be it. Then we'll be playing another mini guitar and we're definitely going to plug it into a Marshall now. So thanks for that. All right. Nick, you want to take it away?
Nick: Absolutely. So thanks again. We really appreciate all you folks being with us here. We had a good time. This was the day. This is when we actually have a guitar now. This is super exciting. So please don't forget to tune in tomorrow for our next episode. This is going to be the most important step, get this thing playing awesome. We're going to have Blake showing you how to get it all set up and we're super excited. So please, please do join us tomorrow. We'll be here live again, same time, 2:00 PM and we'll catch you then.

