Spider-bridge Resonator Guitar Setup
A step-by-step for setting up a spider bridge resonator.
IN THIS ARTICLE
| • Fitting the cone • Truing the spider • The nut | • The saddles • Assembly and setup • Rattles and buzzes |
Here's how to set up your resonator guitar for best tone and greatest volume. These instructions come from Dan Brooks, a great reso-player and the builder of B & B Resophonic Guitars, who works in our production shop.
Remove the cone and check the ledge it sits on for bumps, lacquer drips, or glue residue. These uneven spots will keep the cone from seating properly. Remove them with a scraper, chisel, or a single-edge razor blade, leaving a smooth, flat surface so the cone can make good contact with the ledge around its whole circumference. If the lip of the cone is deformed, it can be bent or smoothed out for better contact.
Tip: Thread the tension screw into the cone—it makes a good handle!
Place the cone on its ledge, and lightly tap your finger around the outer lip while applying light pressure in its center. You'll hear a difference in the sound of the tap where the cone is firmly seated compared to where there are gaps. Rotate the cone until you find the position where it makes the best contact overall. Make a small mark on the edge of the cone at the tailpiece for reference.
Important! Never glue or in any way attach the cone to the cone ledge. The cone must be free to float on the ledge, or you'll severely degrade the sound of the guitar. All the legs of the spider bridge must contact the cone with equal pressure. Place the spider on a flat surface, like a table saw or drill press table, and tap the tips of the legs. You want the spider to contact the surface only at the tips of its legs. If the tips don't touch, or if the spider rocks back and forth, you will need to gently bend the legs.
Bend a high leg down to make contact by placing a thin wooden shim (1/16" to 3/32") under the leg at the point where it joins the ring or "web." While holding the center of the spider down, push down firmly but carefully with the heel of your hand. Check your progress frequently. Be careful! The spider bridge is made of cast aluminum, and will break under too much force.
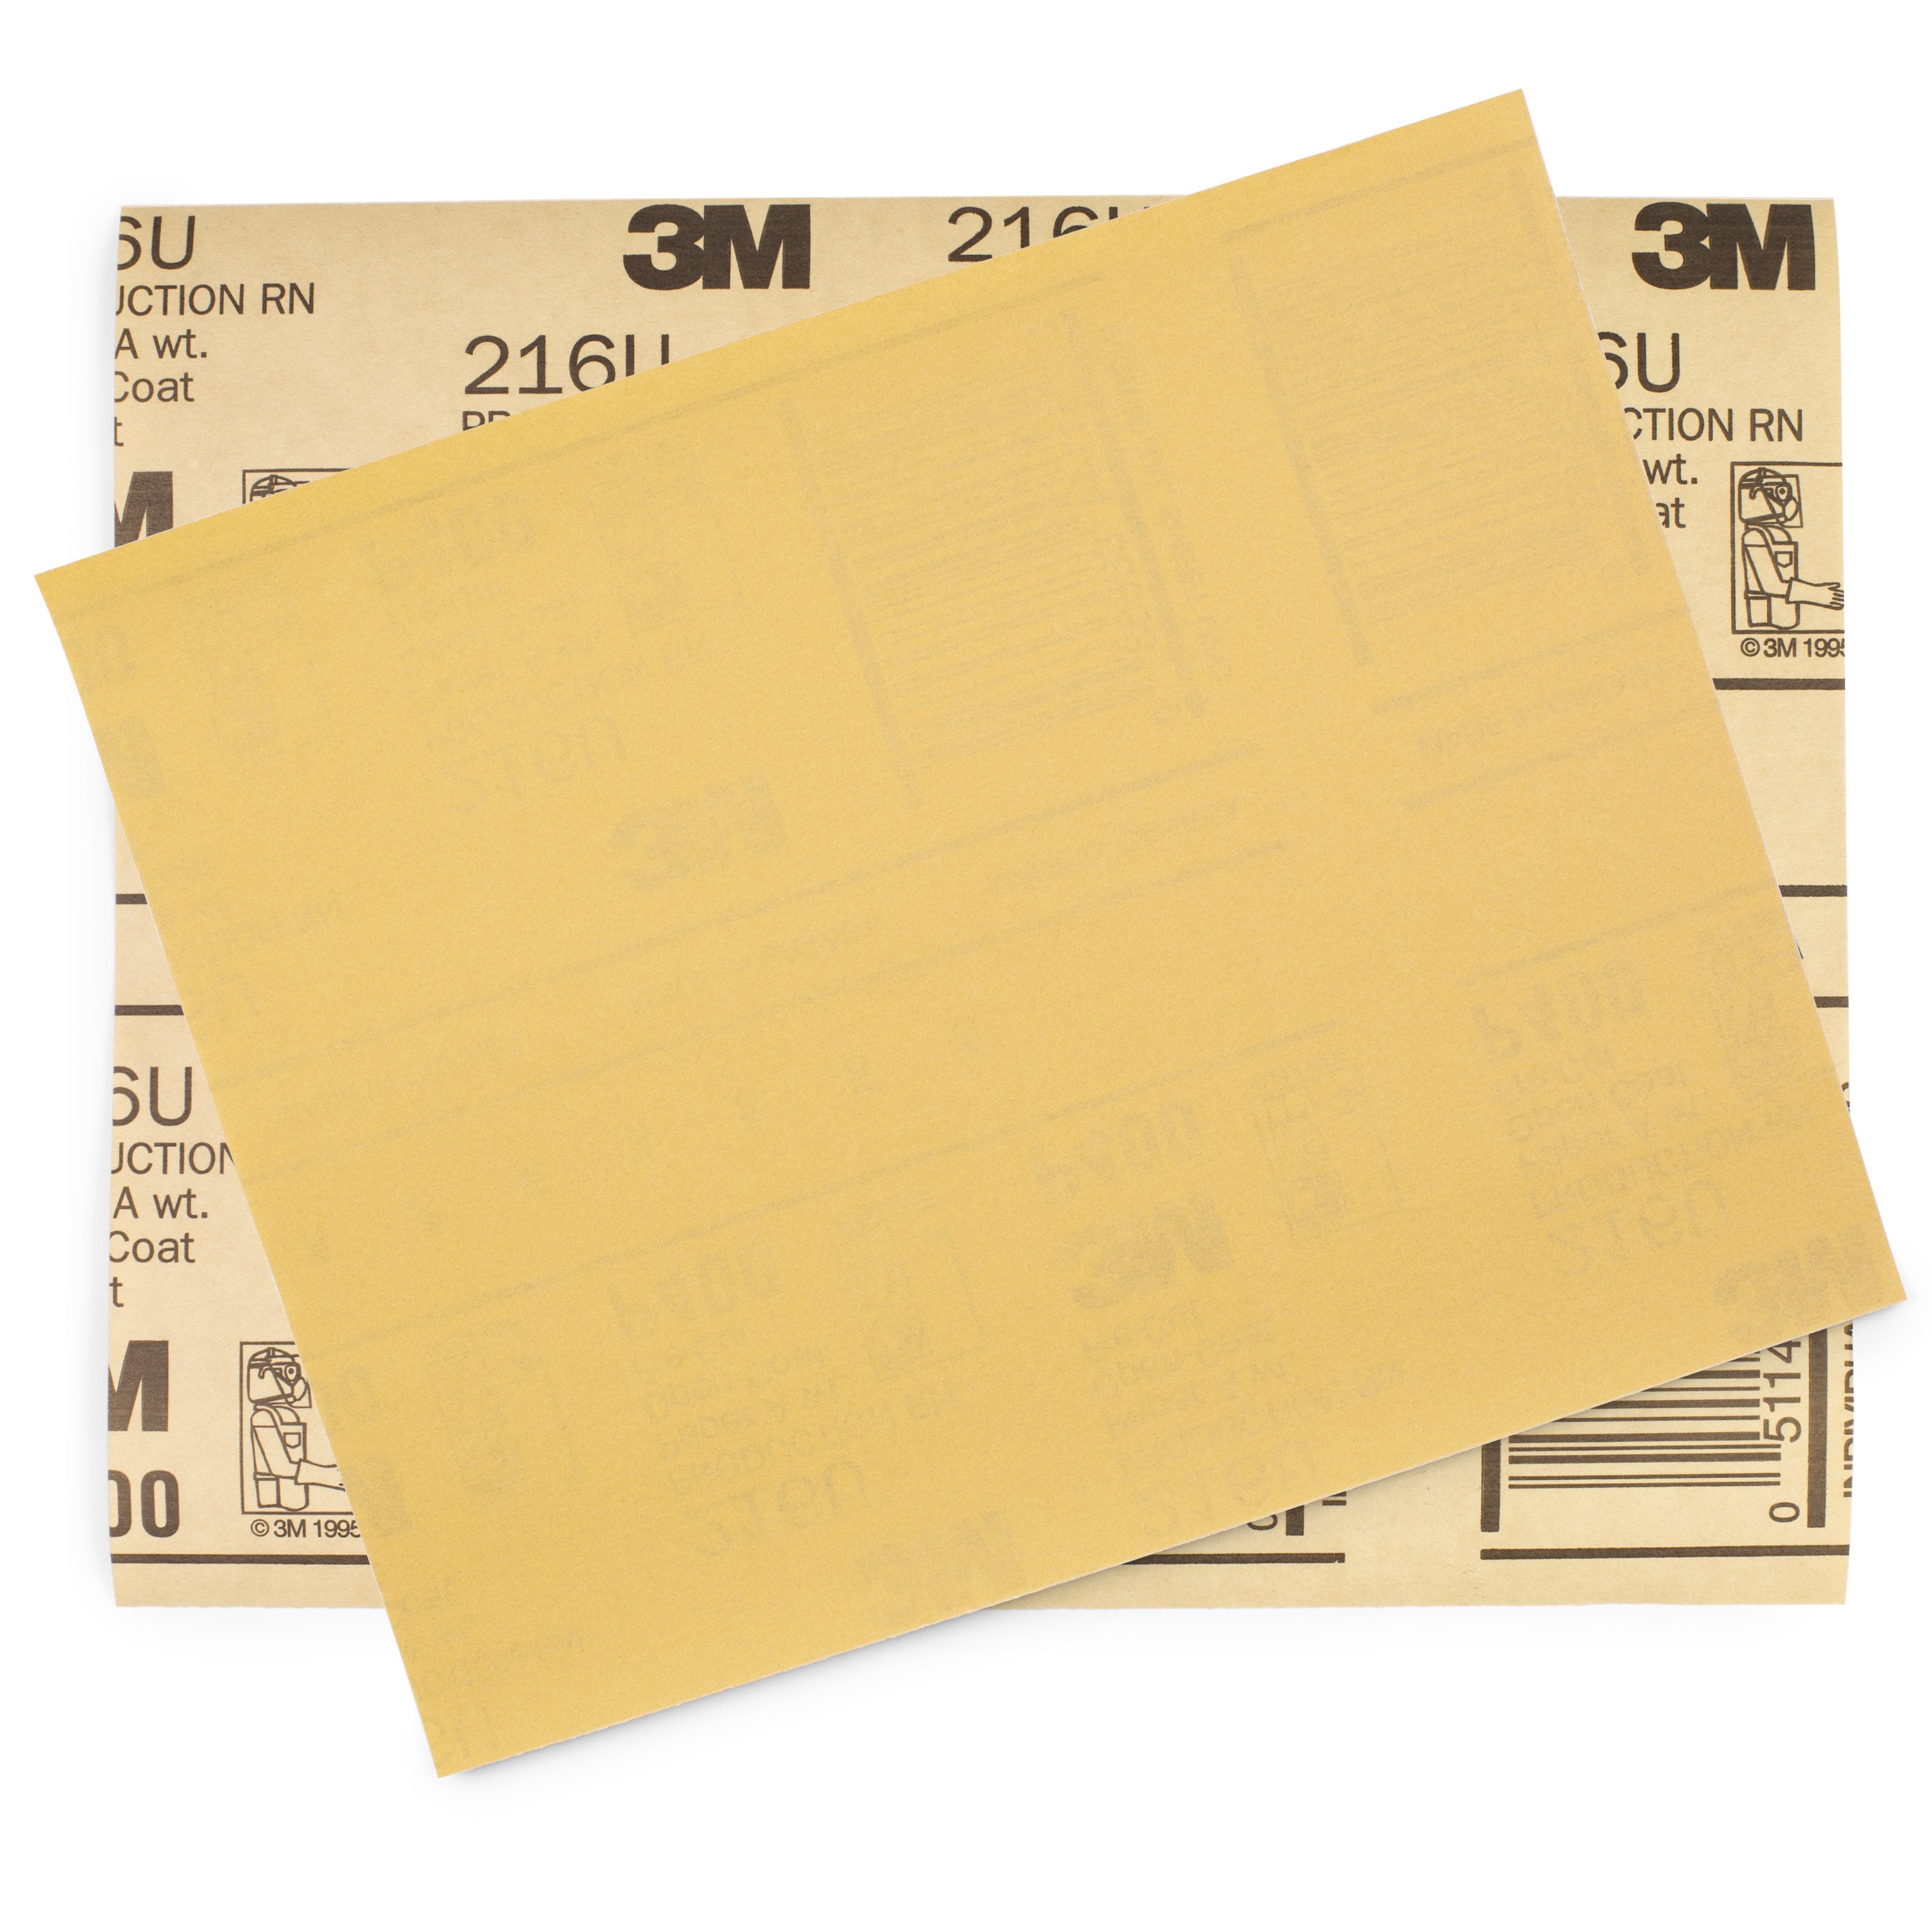
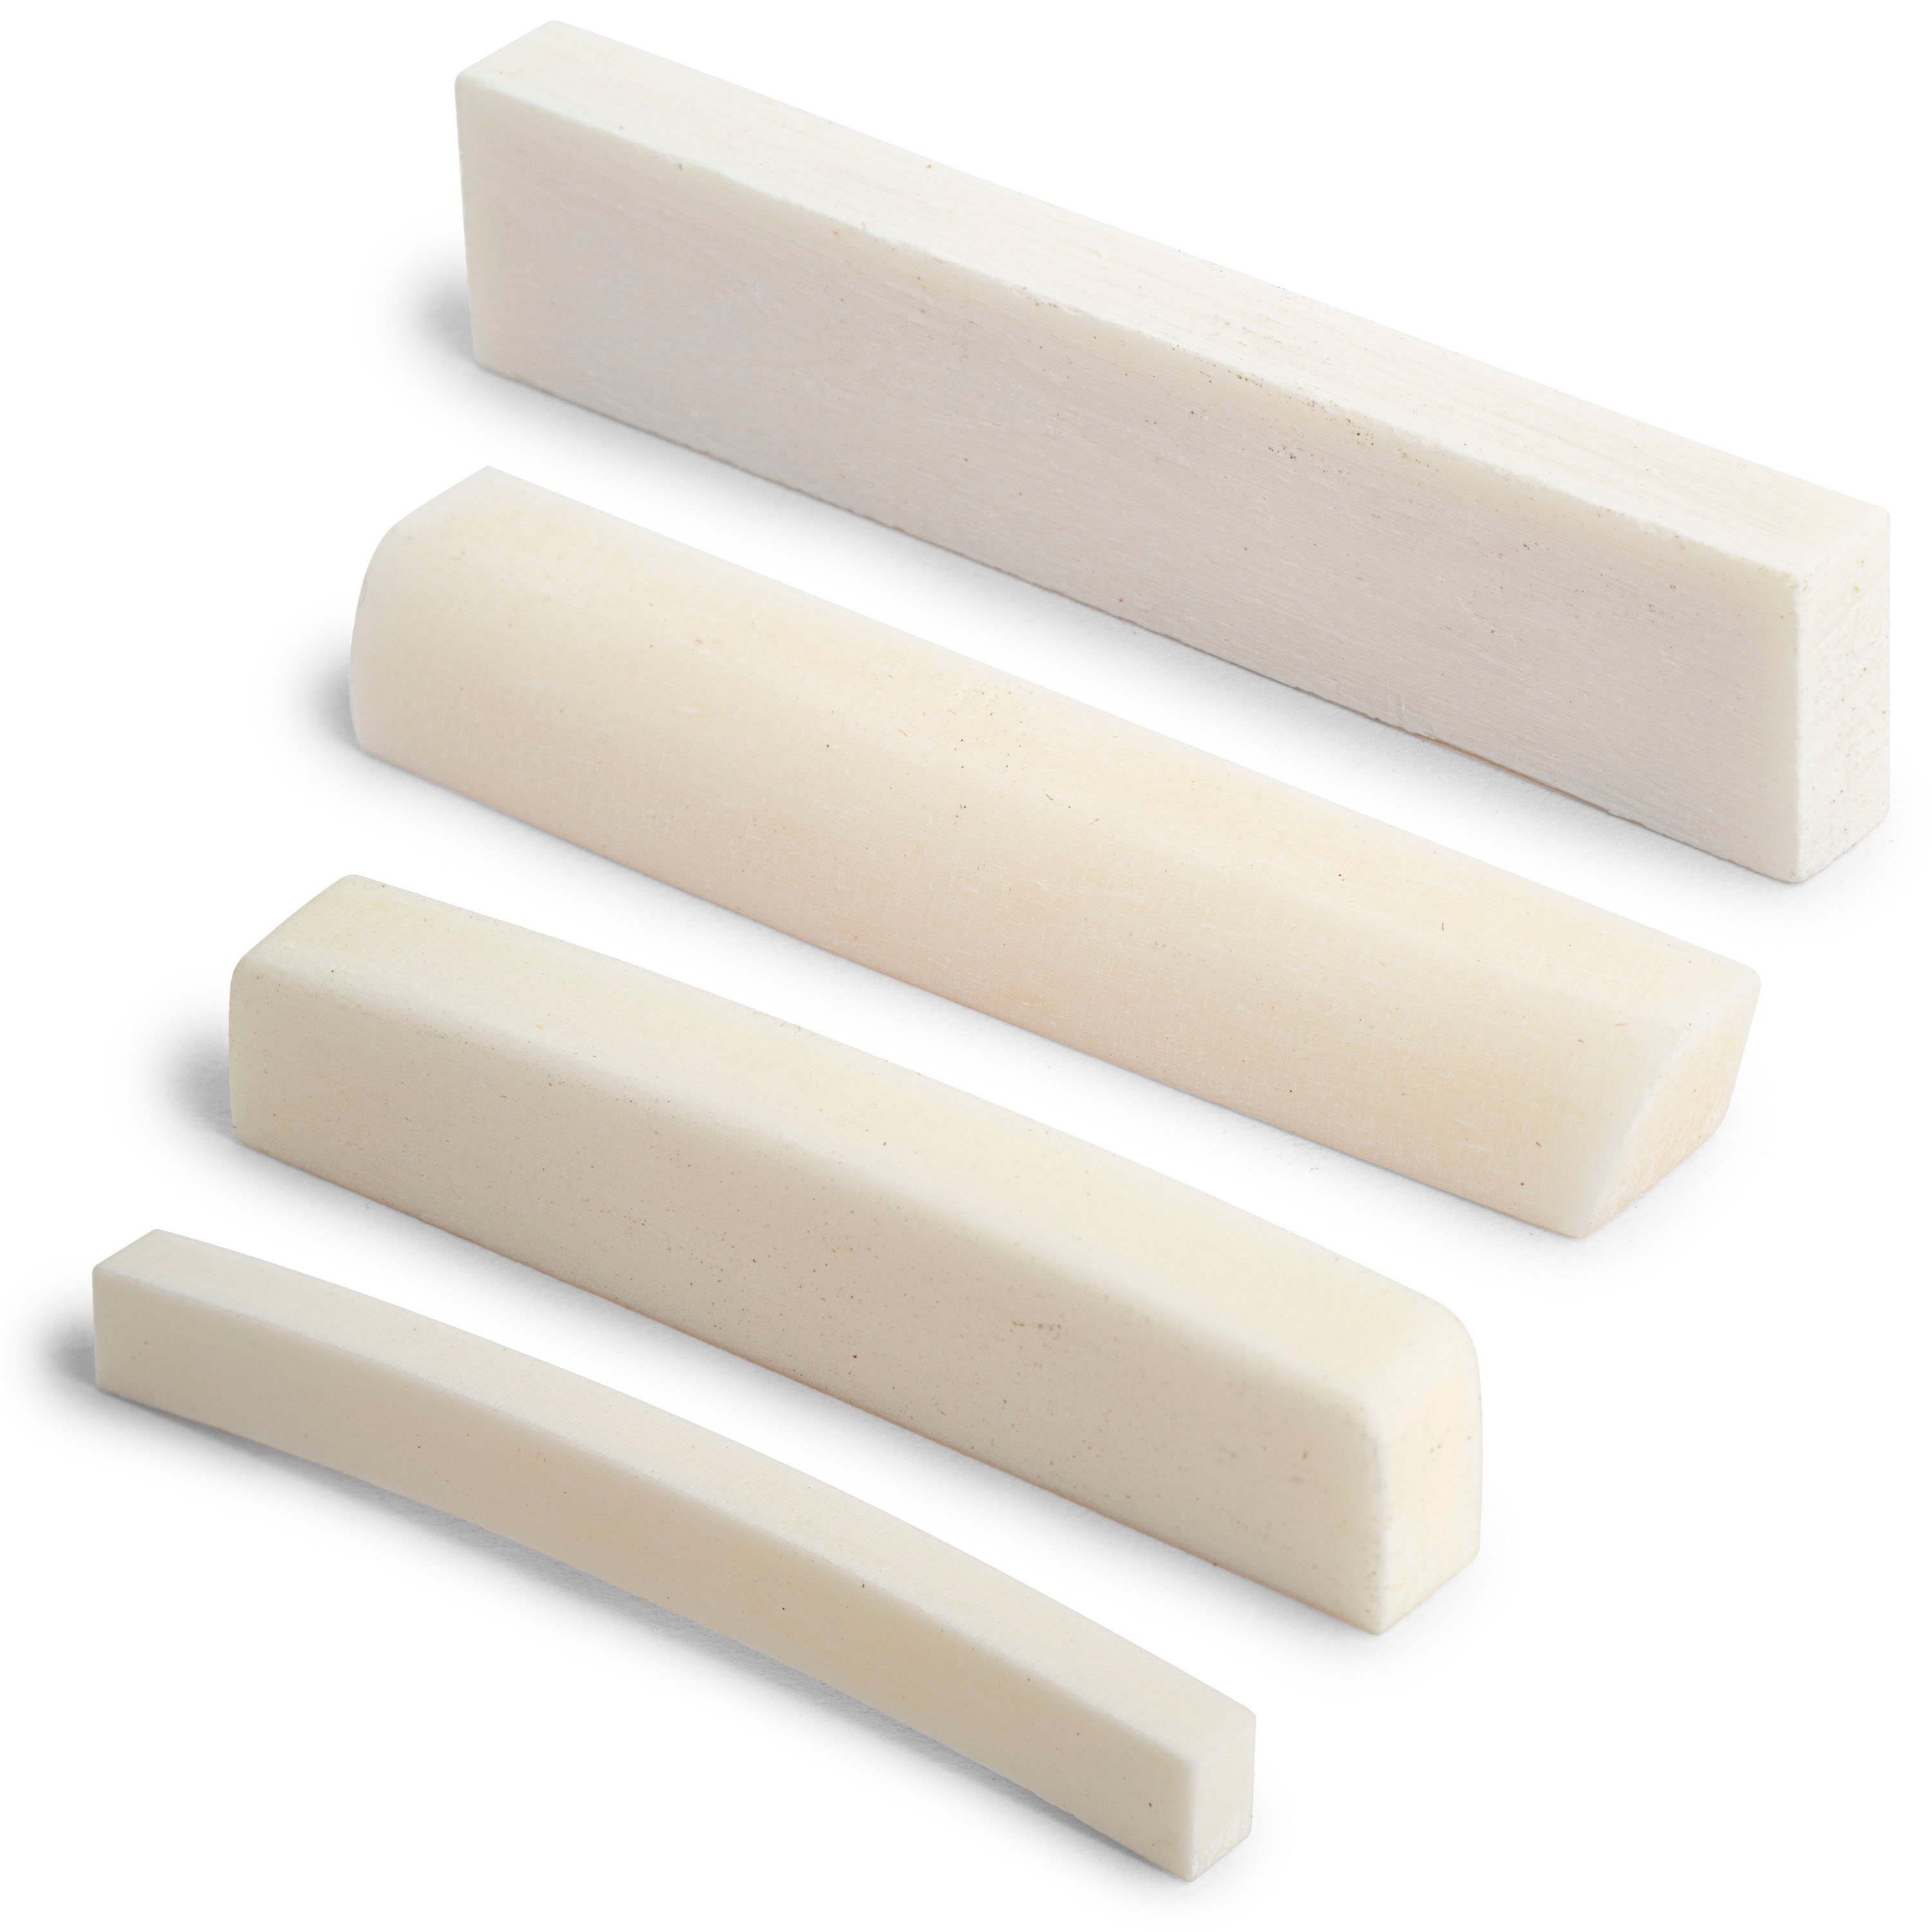
When the legs of the spider are uniform, level the tips by moving the spider back and forth over a sheet of 320-grit sandpaper on a flat surface. Make pencil marks under each tip, and check your progress frequently by seeing where the sandpaper is removing the pencil marks. For lap-style slide guitars, the string height at the nut is typically no less than 3/8" from the fretboard. If the height's too low, the slide will hit the fingerboard during hammer-ons. The spacing between strings will depend on the width of the neck and the player's preference. If the guitar is to be played fretted, the nut will be shaped and slotted the same as other acoustic guitars. See Making a Nut, Step-by-Step.
Don't make the string slots too deep. Typically, half of a wound string's diameter sits above the slot, while the plain strings' slots are the same depth as each string's diameter. On slide guitars, the tops of the strings must all be the same height, so the bar makes equal contact with all strings. Uneven string height will cause strings to rattle or buzz against the slide.
Spider bridge saddles are typically made of maple, or maple with an ebony cap (like a banjo bridge). Birch, walnut, boxwood or ebony are also used. The saddles should be a snug press fit in the spider bridge, but not so tight that wood is shaved from a saddle as it's pressed into the spider. A drop of wood glue or super glue in the slot under the saddle will hold it in place if needed.
Saddle height varies by instrument, but in general a high saddle creates the steepest string angle, providing maximum volume. Here's how to determine saddle height:
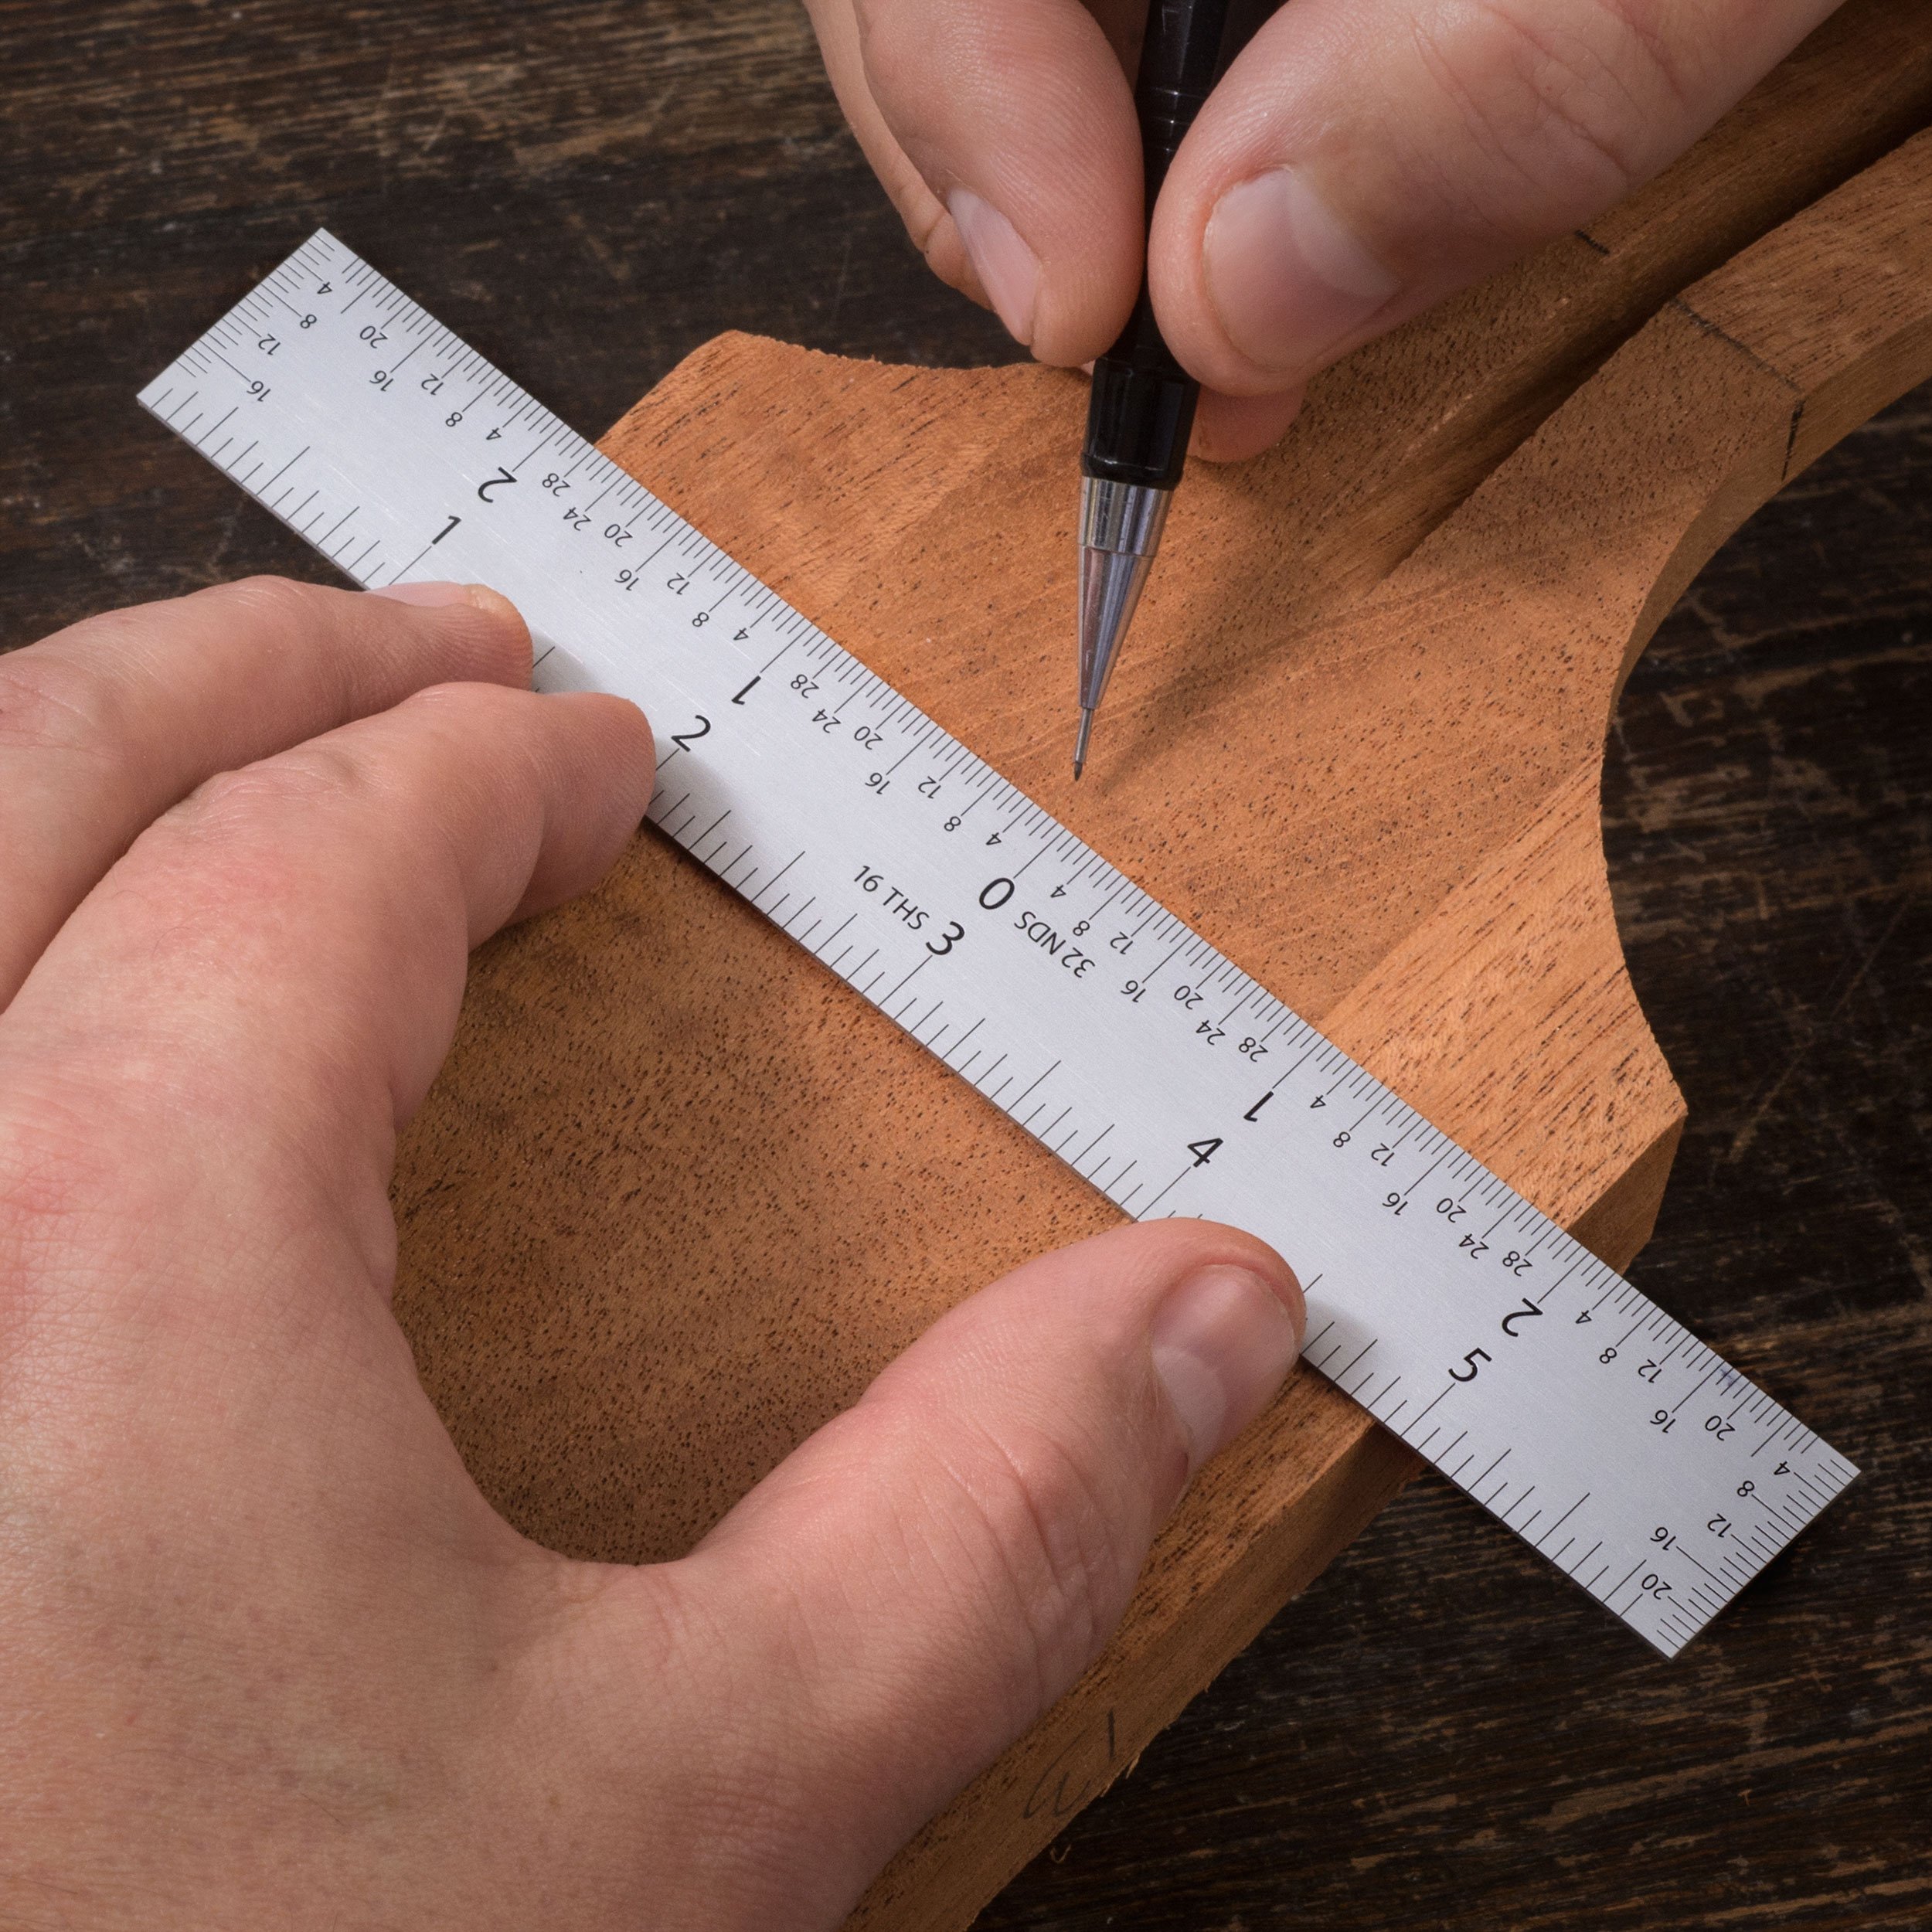
Install the cone, spider assembly, and coverplate. With a 6-inch ruler, measure the gap between the coverplate's palmrest and the top of the spider. Now remove the coverplate and measure the depth of the slot in the spider. Add these two measurements together, then subtract 1/32". The result is the optimum height for your saddles. Without strings, the saddles will almost touch the bottom of the palmrest. Once the guitar is strung and tuned to pitch, string pressure will compress the cone so the saddles will pull down to the proper height.
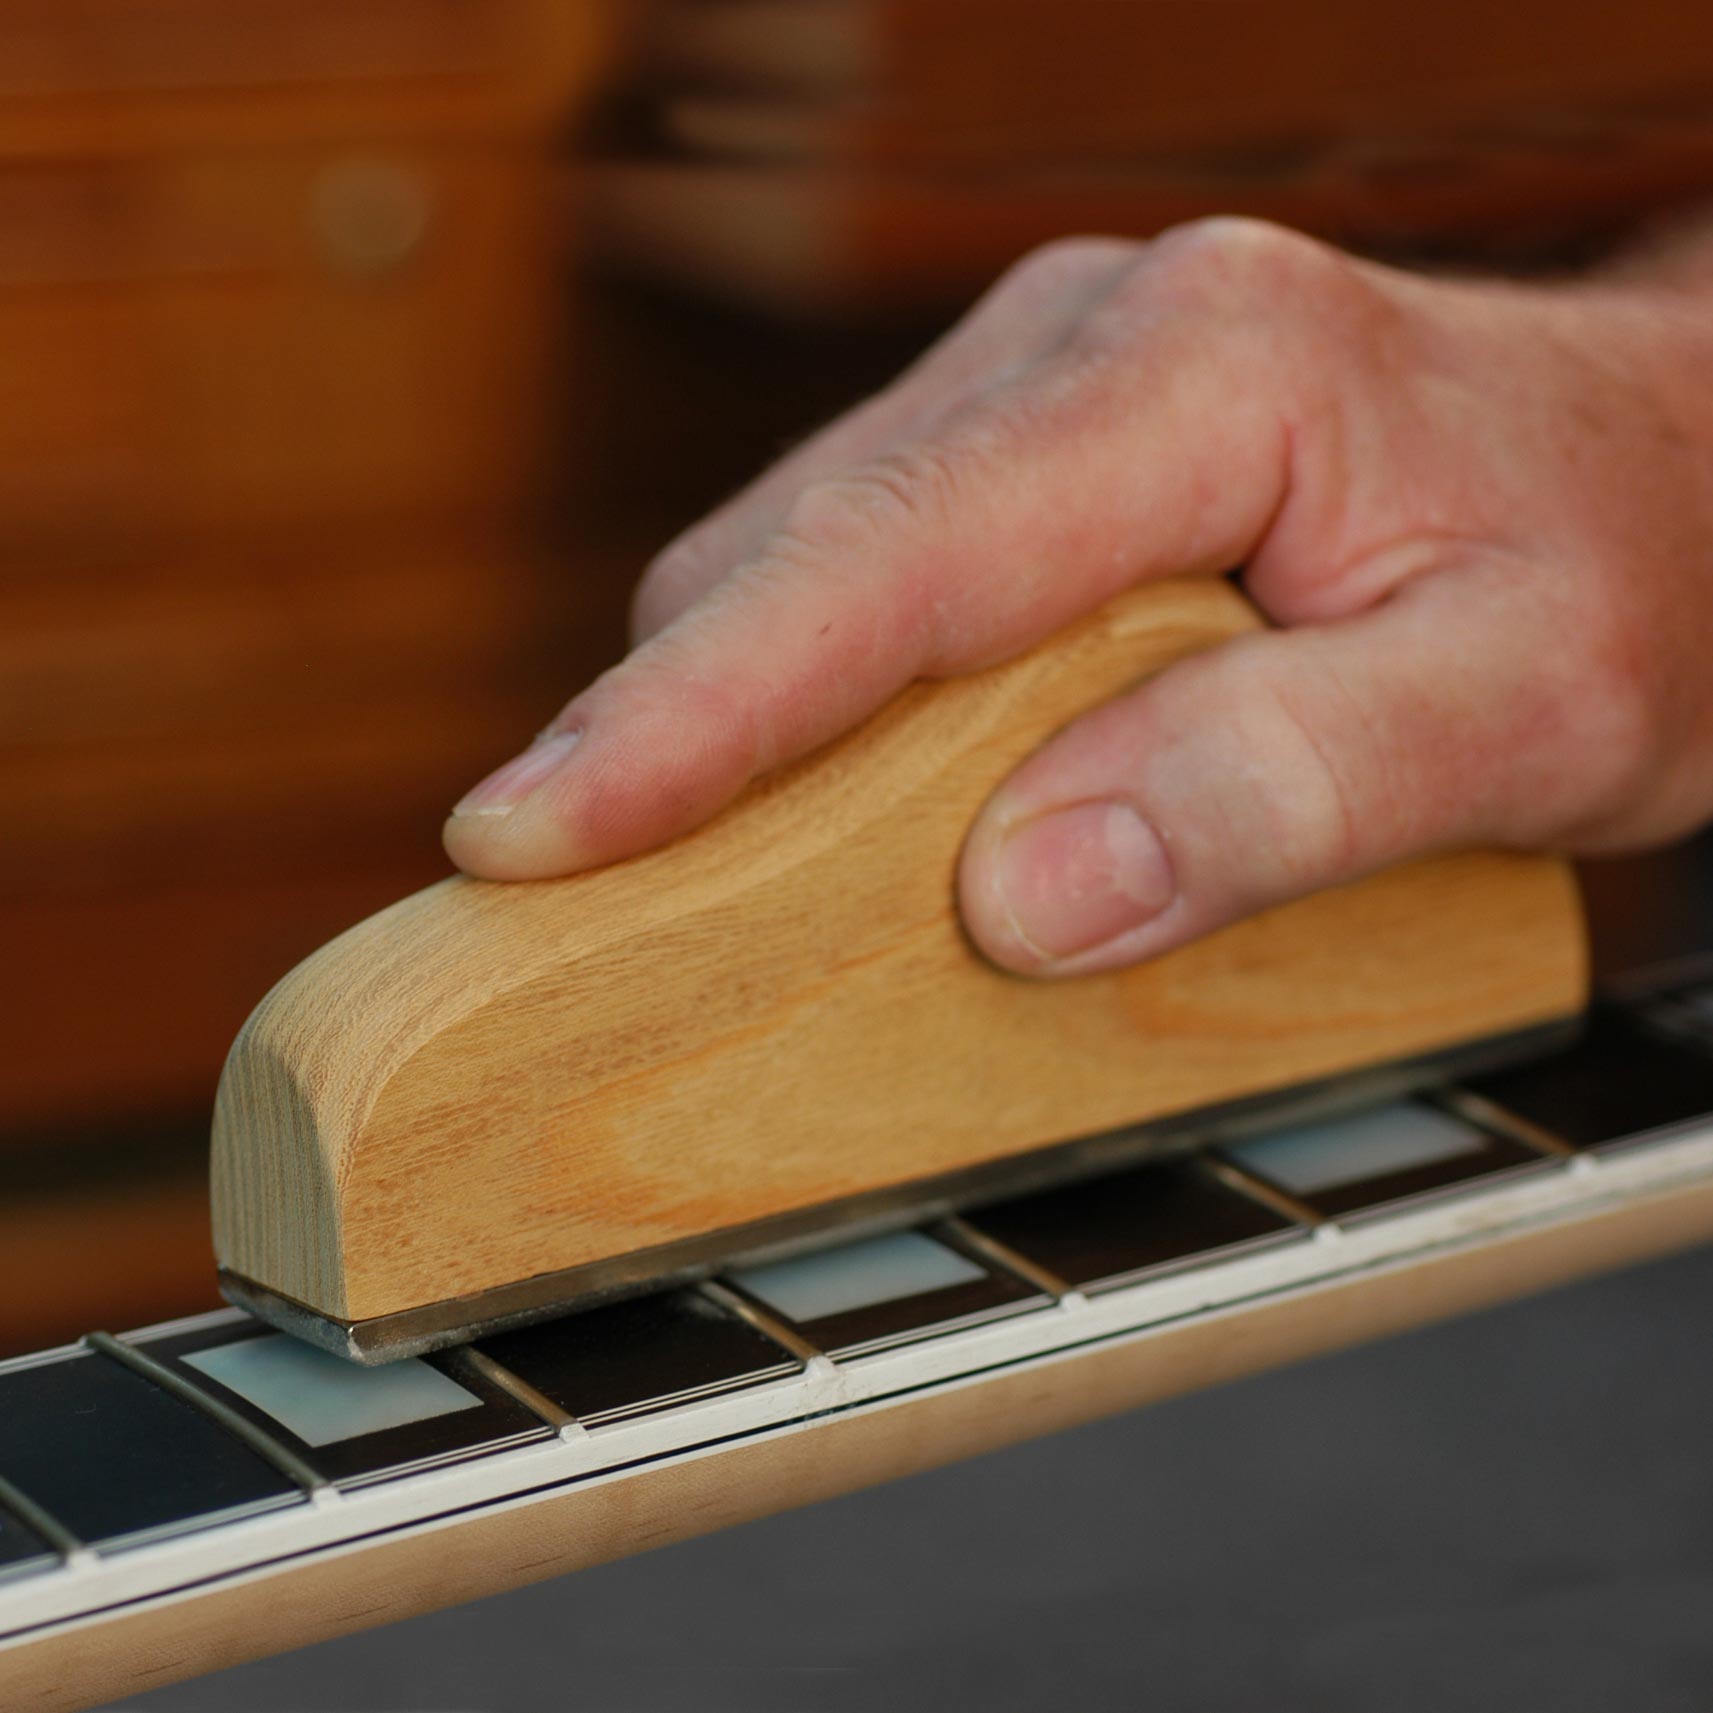
When both saddles are inserted into the spider bridge, they should be leveled with one another. Do this by sanding across the tops of both saddles with a sanding block or a file. Pencil marks on the tops of the saddles will show you when enough material is being removed from both saddles, indicating a level surface. After leveling the saddles, file or sand their tops to a peak.
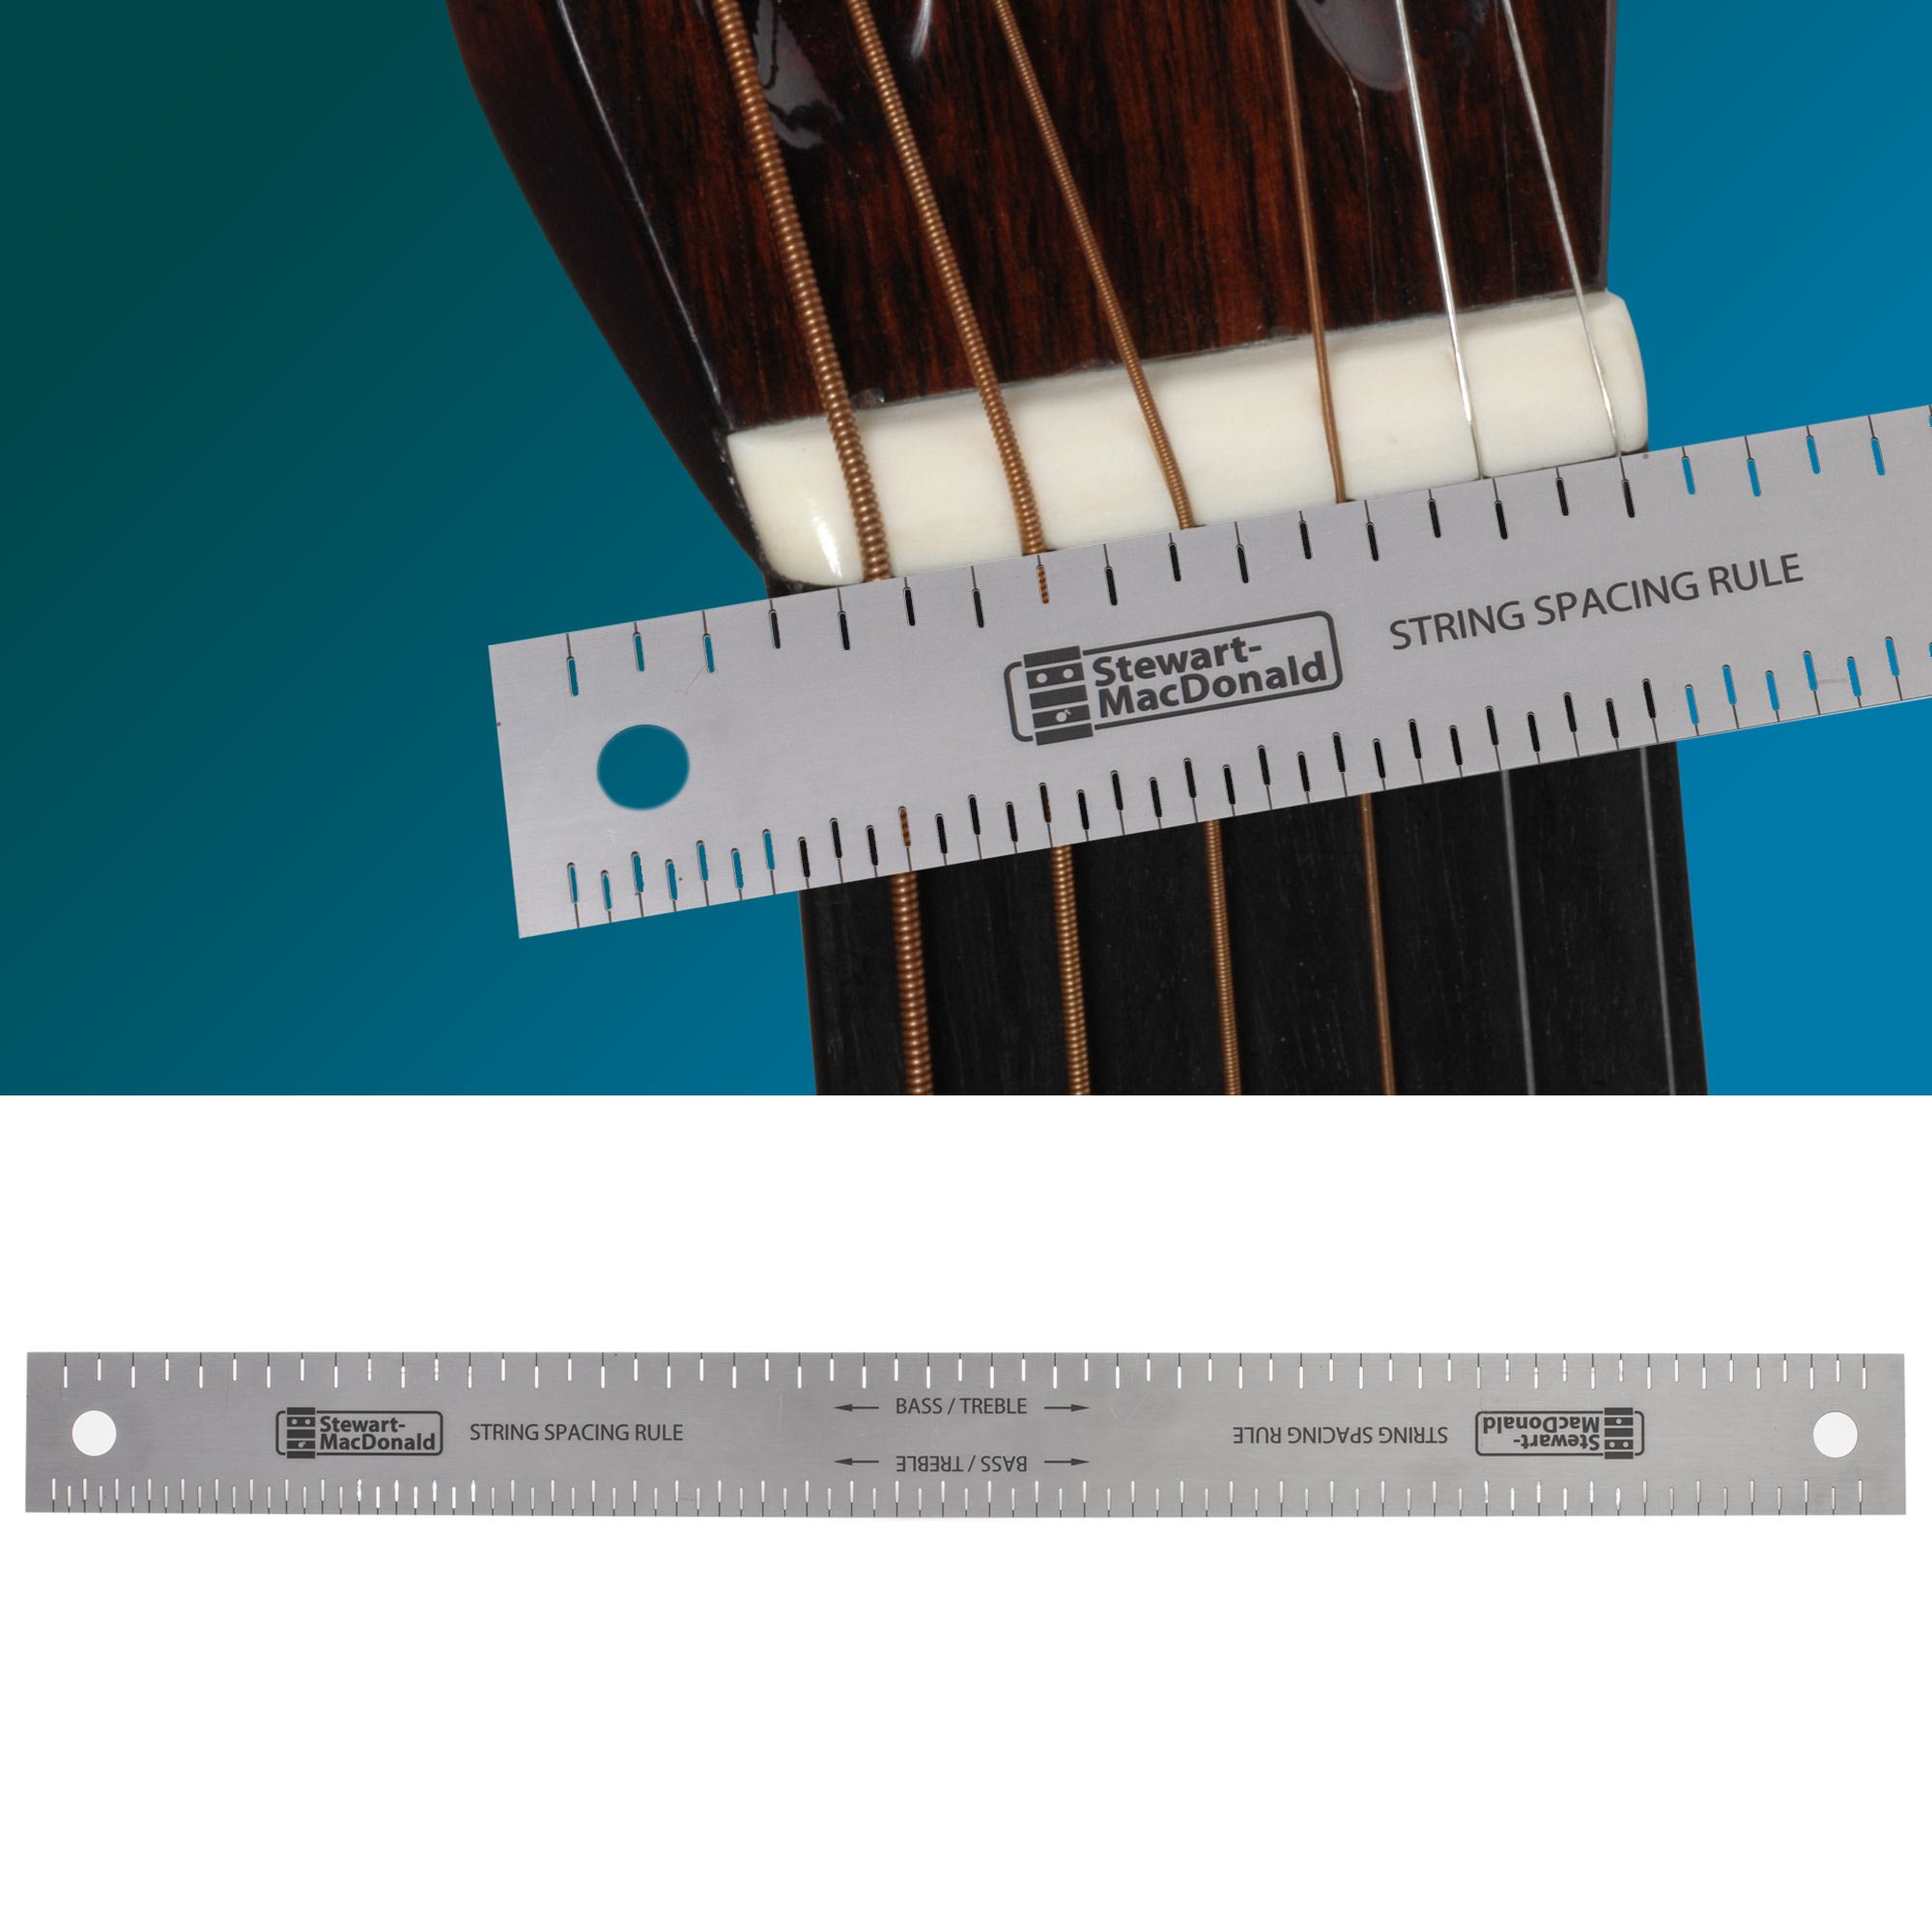
String spacing at the bridge is based on player preference, but a common overall spacing is 2-1/4". Dividing that spacing by 5 gives a string-to-string spacing of .450". Measure .225" from the center of the tension screw to get the spacing for the two middle strings. Space the remaining strings .450" from these. Mark these string slot locations on the saddles.
Each string slot should be just deep enough so that half the diameter of the string rests in the slot. If the slots are too large, the strings will sustain poorly and may buzz or rattle in their slots. If they're too small, they can pinch the string and cause buzzes and tuning difficulties.
After you cut the string slots, finish shaping the saddles by rounding their ends. This makes string changing easier, and helps keep the saddles from touching the coverplate.
Attach the spider bridge to the cone and tighten the tension screw a half-turn after it makes contact. Place the cone/spider assembly into the guitar, attach the tailpiece, and install the strings. Don't install the coverplate yet. Put a small amount of tension on the strings, and check your intonation by measuring from the nut to the saddles at the first and sixth strings. For lap-style guitars (Dobro type) these measurements should be the same. For example, on a guitar with a 25" scale, the nut-to-saddle distance should be 25" for both outer strings. If these two string lengths aren't equal, rotate the cone/spider assembly until they are. After setting the intonation, sight down the guitar from the nut to the tailpiece to be sure all the strings are parallel as they pass through the saddle slots. Any angle caused by misalignment can damage the cone, and detracts from tone and volume. Shift the cone/spider assembly slightly to one side or the other to align the strings. In extreme cases, alignment may not be possible through side-to-side movement of the cone/spider assembly. In that case it may be necessary to move the tailpiece to align the strings. This will require drilling a new hole for the tailpiece screw. Lightly clamp the tailpiece in place, then remove the tailpiece screw. With the strings under minimal tension, loosen the clamp and move the tailpiece until the strings are properly aligned. Mark the new location for the tailpiece screw. The old screw hole can be plugged with a small dowel, using wood glue. After the glue dries, carefully cut the dowel flush with the surface of the instrument. Drill the new hole in the new location.
Once again place the cone/spider assembly into the guitar, attach the tailpiece and install the strings without putting on the coverplate.
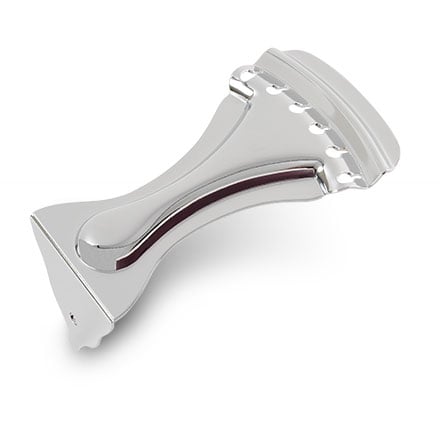
It's now time to adjust the spider tension screw. Tune the guitar to pitch and play an open string. The note should have a distorted "fuzz tone" sound. If not, loosen the tension screw until you hear this effect. If you loosen the tension screw and cannot get this distorted sound, the break angle from the saddles down to the tailpiece may be too sharp (this can damage the cone and hamper tone and volume). In this case, the tailpiece may have to be bent upwards slightly to achieve the proper break angle. Bend the tailpiece up in small increments and play a string until you hear the "fuzz tone" effect. (Loosen the strings temporarily while bending the tailpiece up.)
Now that you've got the "fuzz tone," tighten the tension screw 1/4-turn and play the string again. Repeat this process until the fuzz sound is gone, then go 1/2-turn more. This should give you good tone and volume, while avoiding damage to the cone.
When all these steps are completed, remove the strings and install the coverplate. Be careful not to misalign the cone/spider assembly when you remove the strings. Put the strings back on, and tune the guitar to pitch. When setup is complete, make sure all the coverplate, tailpiece, and tuner screws are snug. (Don't overtighten them, or you may strip the wood out.) Don't use an electric screwdriver or drill.
Tips:
- Start the screws backwards with a small screwdriver so you can feel the screw drop into the threads, just like finding the threads for a machine screw or bolt. This insures that the screw is using its original threads, and avoids cross-threading.
- If you find a stripped screw hole, glue the tip of a toothpick into the hole as a plug. After the glue dries, carefully cut the toothpick flush with the top of the instrument, and redrill the hole.
- A thin piece of rubber, leather or cork under the lip of the tailpiece will keep it from rattling against the coverplate.
- If the ball ends of the strings contact the coverplate under the tailpiece, eliminate rattles with a piece of felt or the loop side of self-stick Velcro. Check out StewMac's selection of pickups for resonator guitars.
FITTING THE CONE


TRUING THE SPIDER


THE NUT
THE SADDLES


ASSEMBLY AND SETUP


RATTLES AND BUZZES
