How to String an Electric Guitar
V-STRINGELECTRIC
Looking for a fast, accurate method for stringing an electric guitar? Look no further.
Video Transcription
Aaron Smiley: There are lots of different types of electric guitars out there, and they have variations between the tuning machines and the bridges. You might have a fixed bridge like this Telecaster or this Les Paul, or you might have a floating tremolo bridge like the one on this Stratocaster. But no matter what, changing your strings is very doable. So let's get into it.
Step 1: Loosen and cut old strings
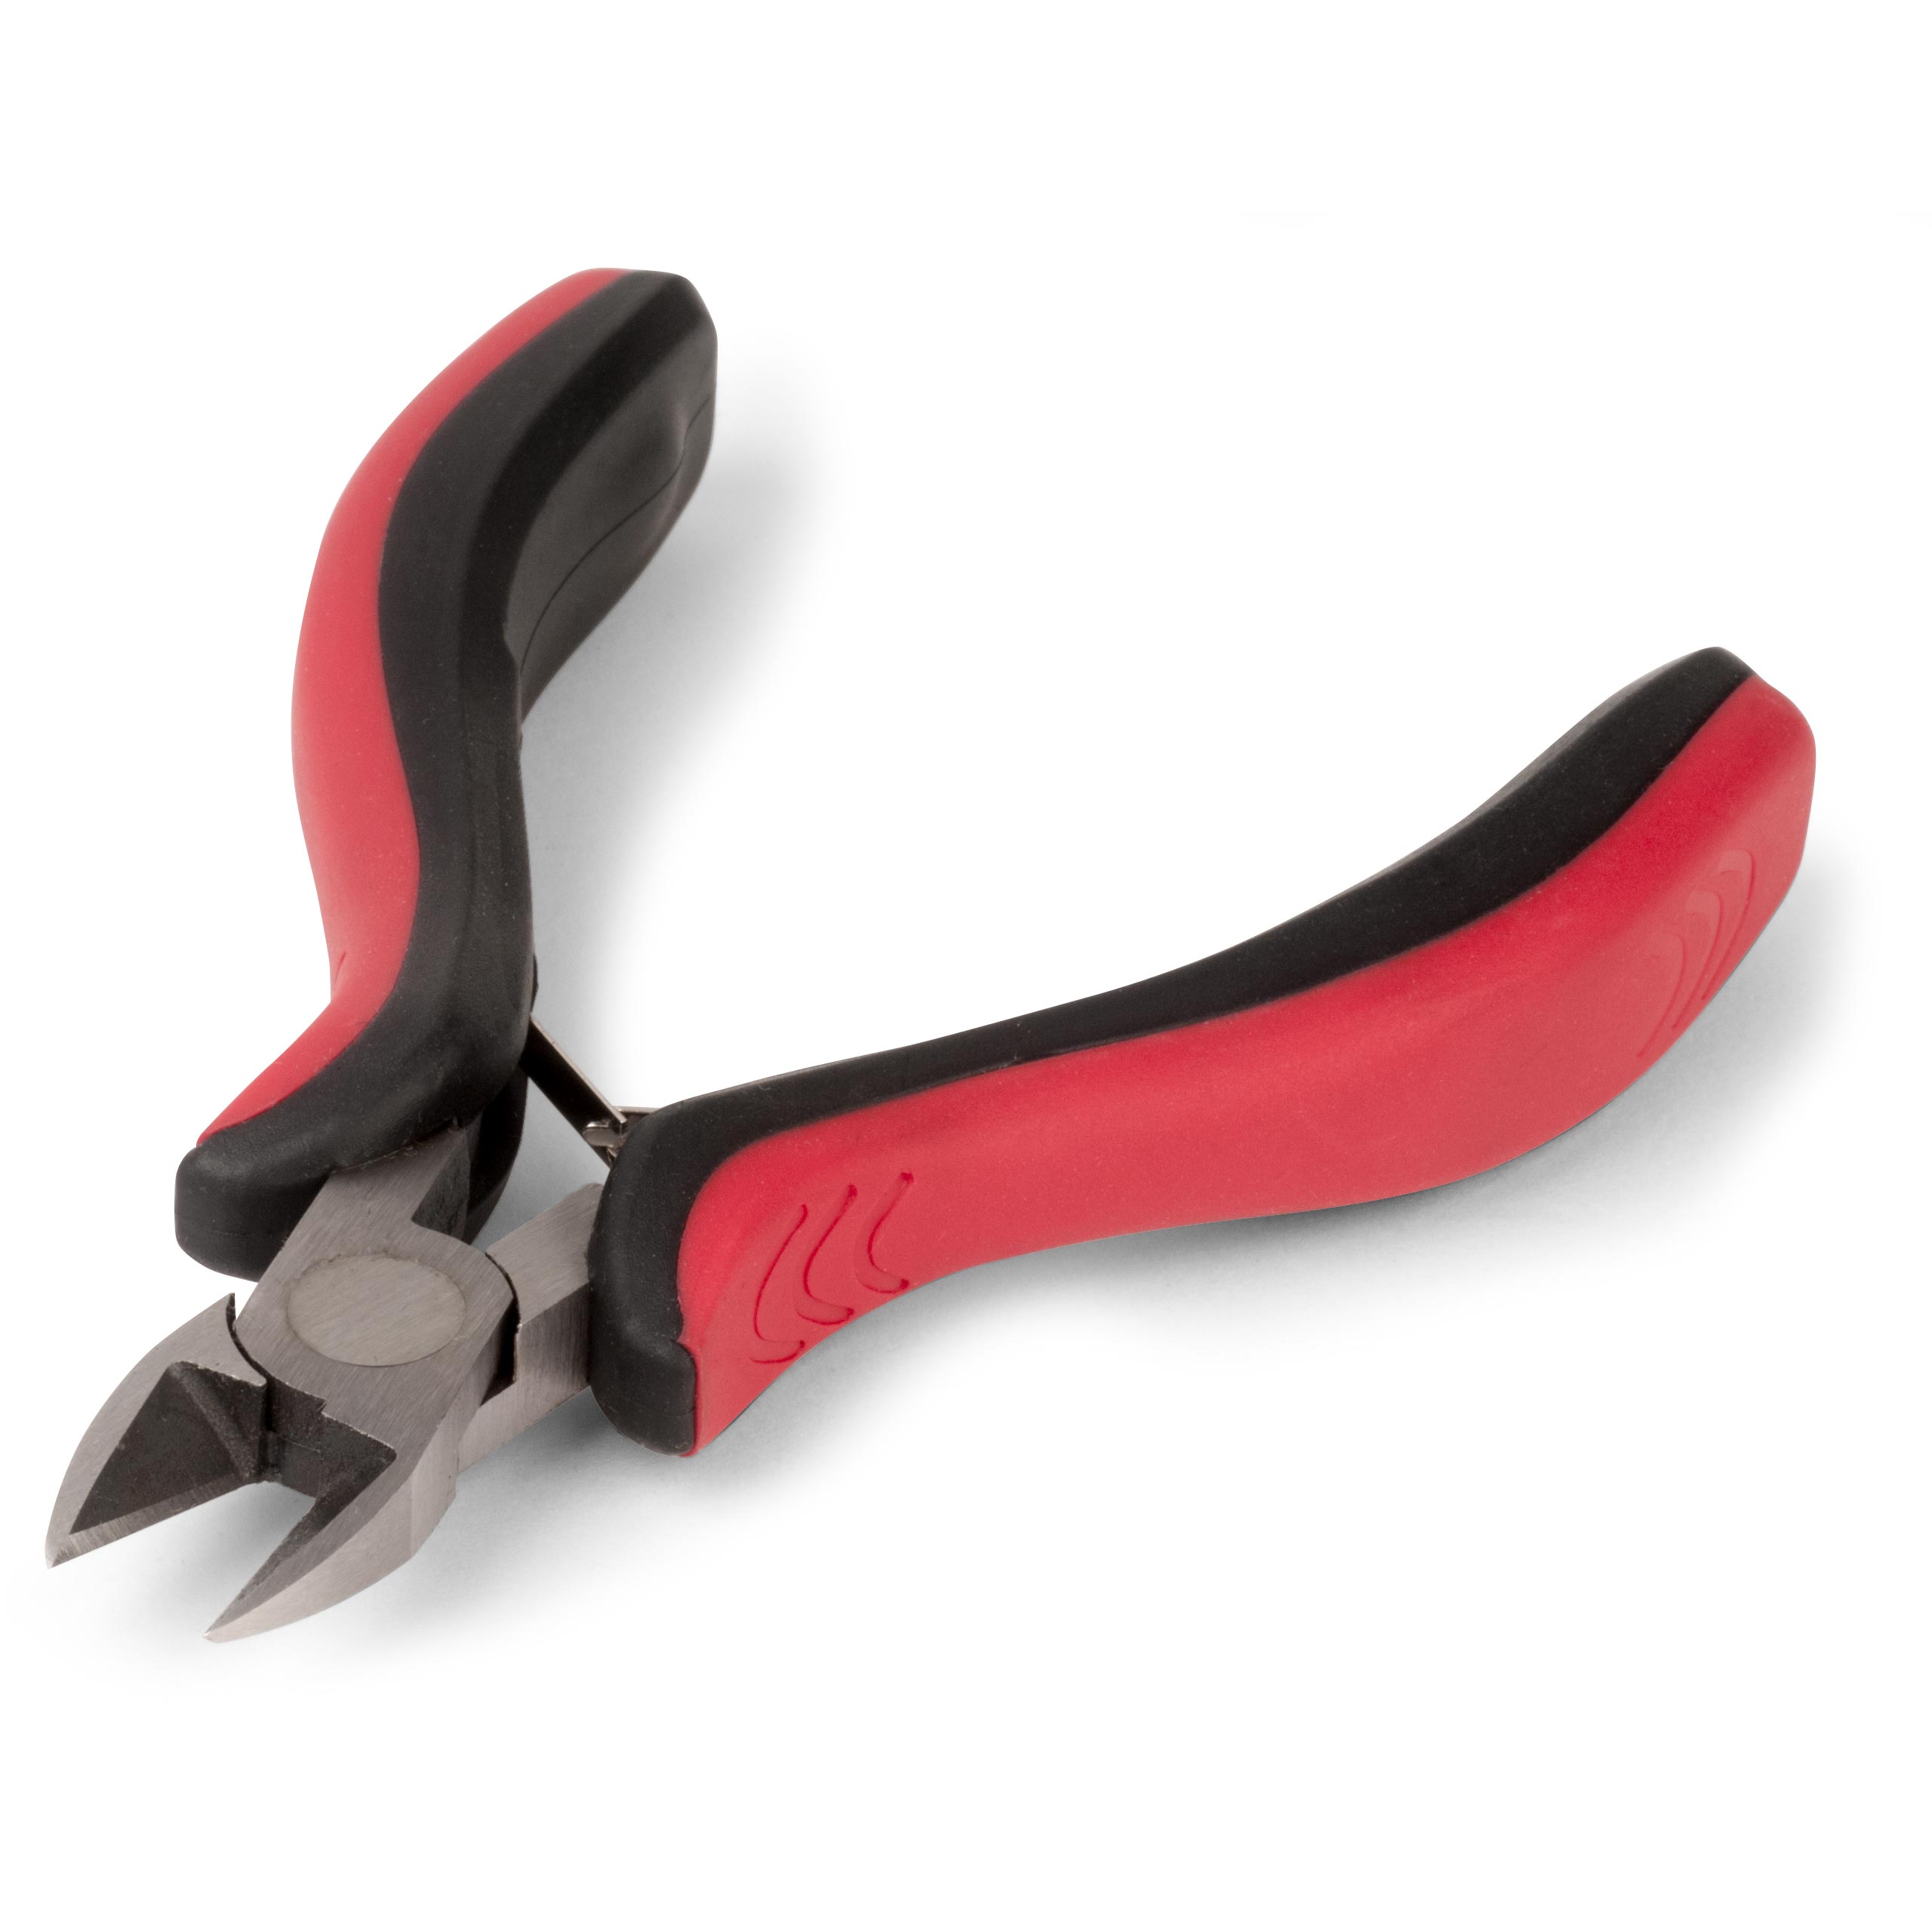
The first thing we have to do is loosen the current strings on the guitar, so we can cut them. Loosening the strings before you cut them is important because you don't want to cut them at full tension. All that tension can snap back and poke you in the eye, and that could be dangerous. You don't have to cut the strings before you remove them, but I like to do it for a couple of reasons. It takes up less space in the garbage can, and it's easier to pull the strings to the bridge that way.
Step 2: Remove strings
As you remove the strings, take note of how they're installed in the guitar. So when you put the new strings on, you can reinstall them the same way. Some guitars, like the Stratocaster, have the strings going through the body. So you have to pull them out from the back. Other guitars, like this Telecaster or this Les Paul, are top loading and the strings are held in place on the top of the guitar.
Step 3: Clean guitar
Now that the strings are off, it's a perfect opportunity to get in there with a cloth and clean up any dust or grime buildup by the pick guard or on the fretboard or by the headstock, basically anywhere you couldn't get to easily when the strings were on. Now, it's time to put the strings on.
Step 4: Thread and wrap new strings
If you have a string through post like this one, grab the string and pull it tight through the first post.
It's important to get your slack correct. And the way that I like to do this is to grab the string at the tuning machine, with my other fingers, grab the string one tuning machine forward of that one, pull it back, then you have your slack. Next, take the slacked part of the string and wrap it around the tuning post over the part of the string that's already through the post, making sure to wrap towards the inside of the headstock. Then take the excess part of the string and bend it up, so it's out of your way when you're winding.
Now, if you have tuning machines like this vintage slotted style, you have to cut the slack a little bit differently. The way that I like to do it is pull the string tight and cut it two tuning machines forward of the tuning machine that you're on. Then send that part of the string down into the hole of the post and bend that string around the post towards the inside of the headstock.
There are also tuners out there called locking tuners. My personal favorite are super easy to use. You send the string through, engage the clamp, and then clip the excess part of the string, and you're all done. It's awesome.
Step 5: Wind strings to tension
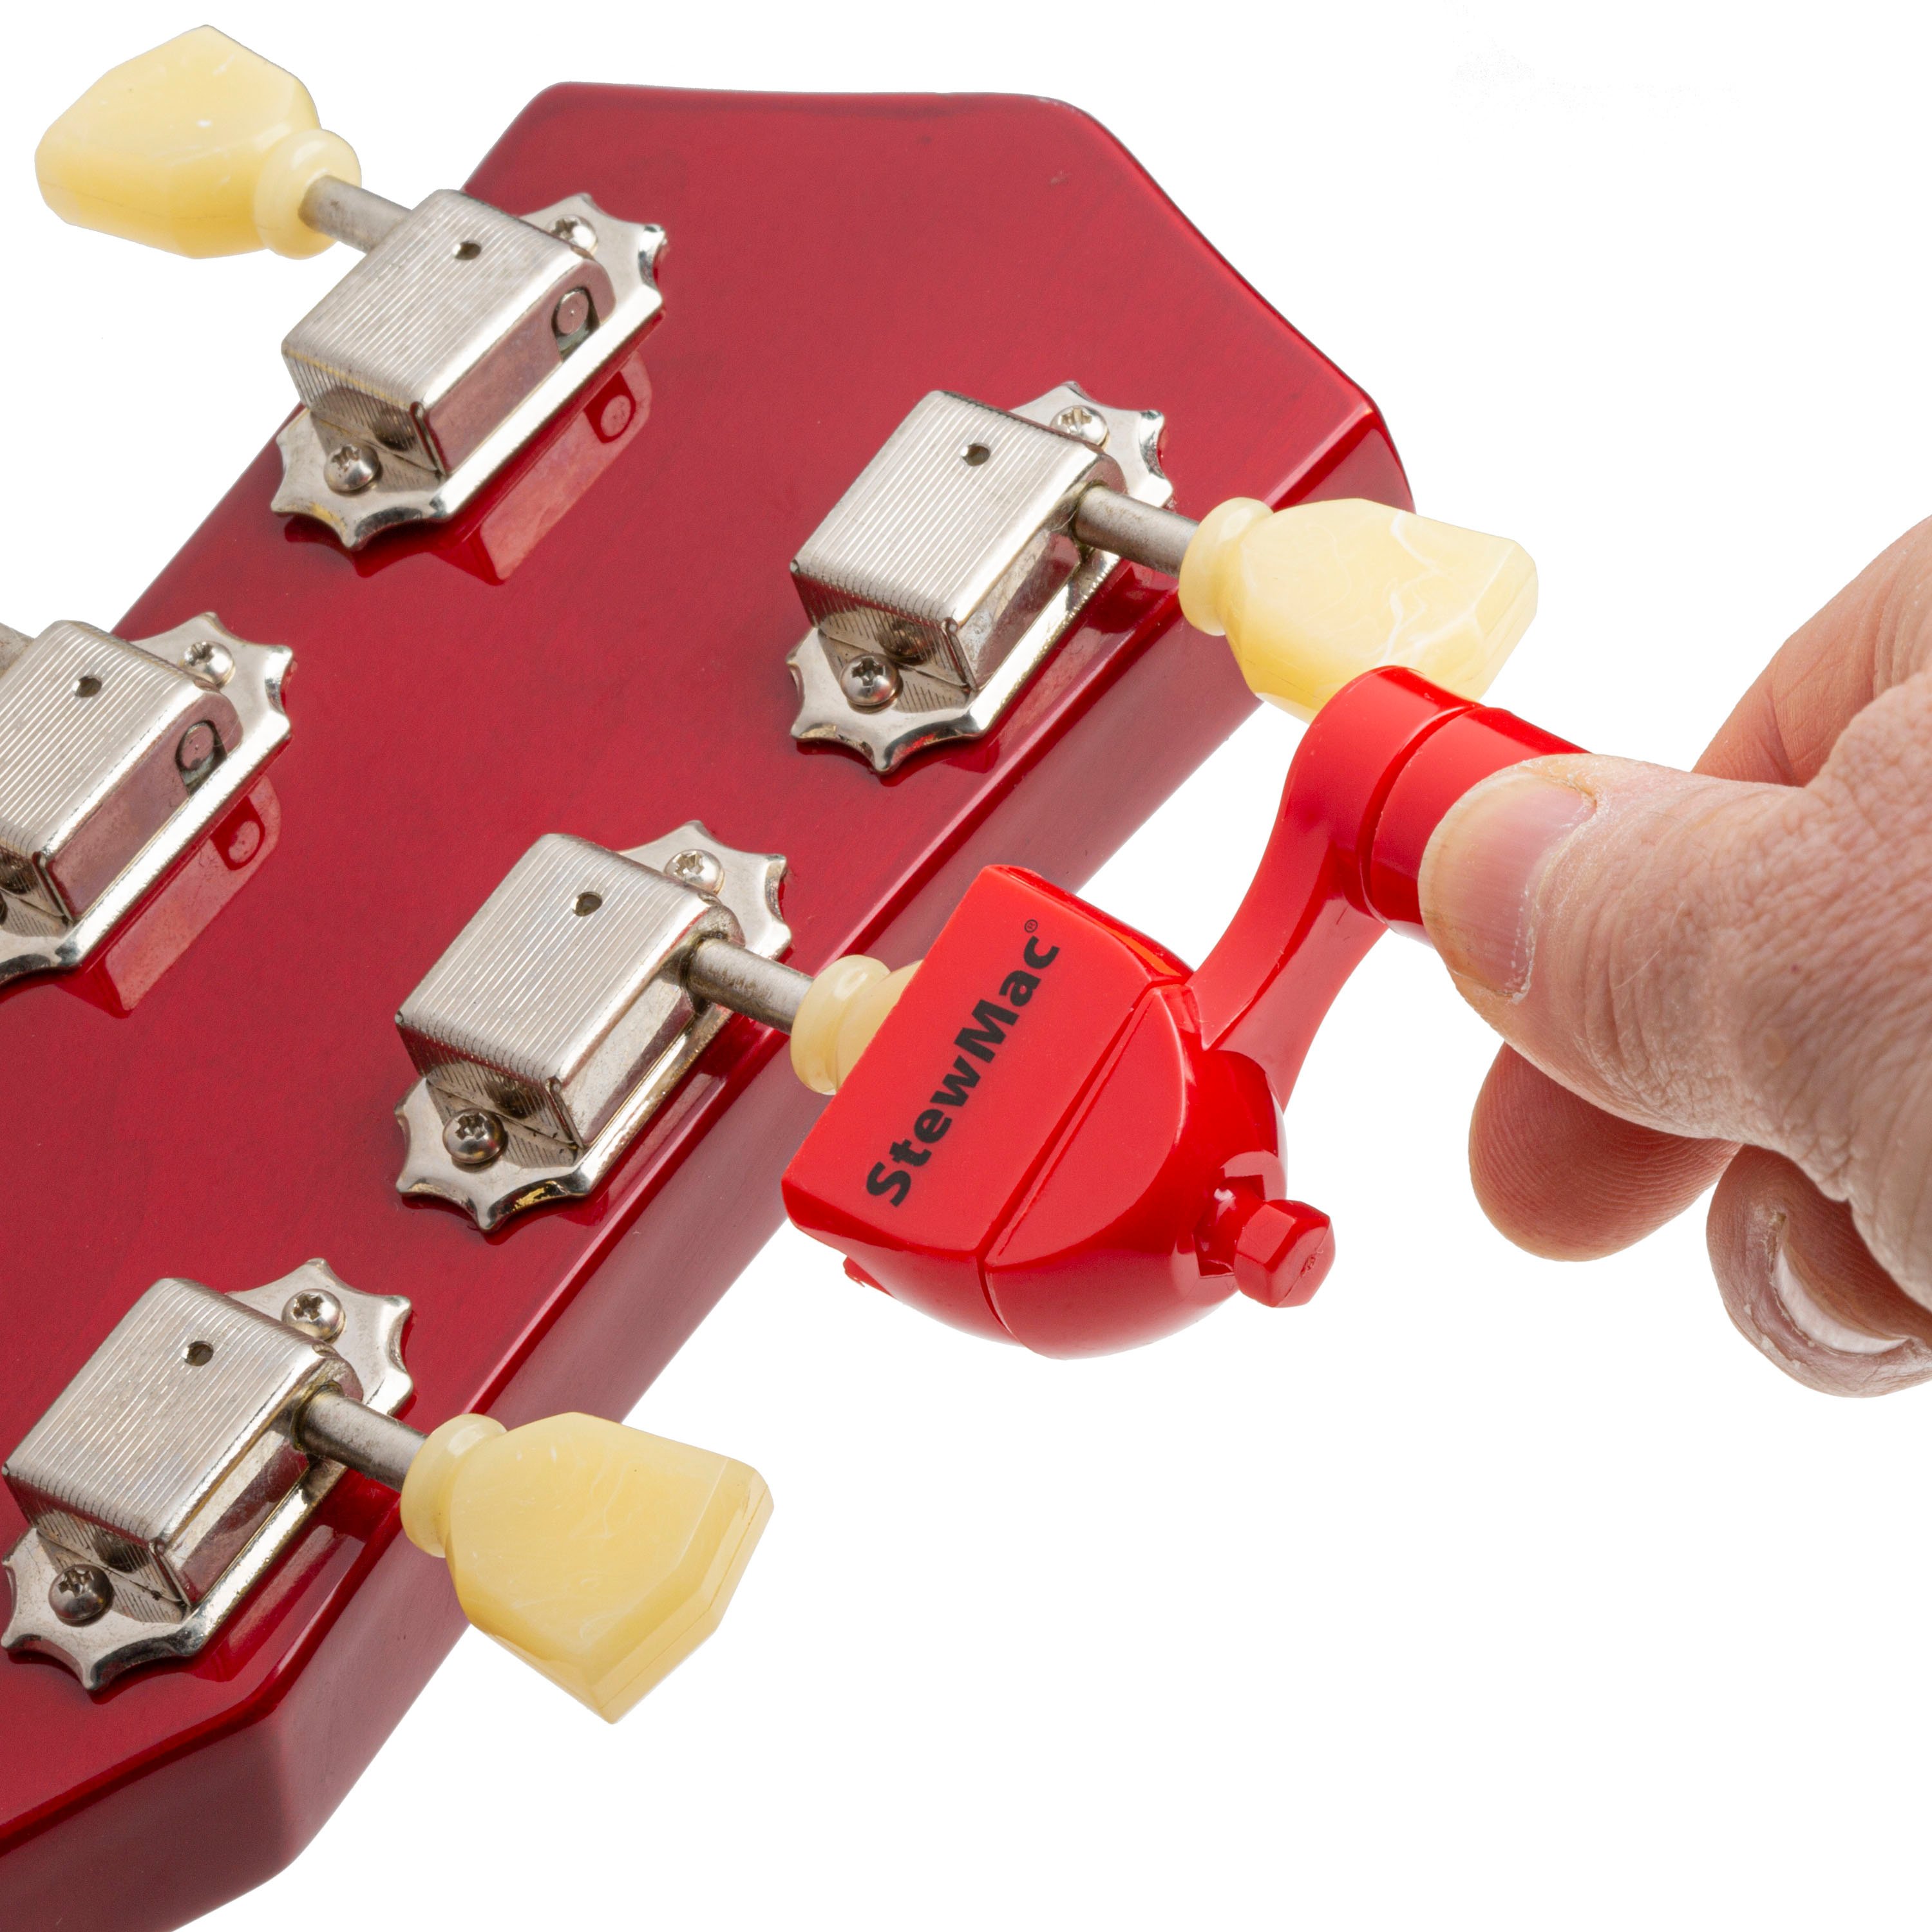
Now, it's time to start winding the string. It's important to keep the new wraps underneath the part of the string that's already in the post. On the string through style tuner, this makes a clamp that holds the string in place. And on all the other styles of tuners, it keeps the tension the same and makes for a smoother tuning motion. If you have string trees like this, make sure that the string is in place underneath them. It's important for your playability.
We're not too worried about getting the strings perfectly in tune right now. We just want them to make a note and hold them in place. Repeat from there with the rest of the strings, making sure to always wrap towards the inside of the headstock. If you have a guitar with tuning machines on either side of the headstock, the treble strings will be in the opposite direction as the bass side strings. This is important because it keeps the strings out of the way of each other and makes all the tuning keys turn in the same direction, making getting in tune a lot easier. Once the string is making a note and it's held in place, you can cut the excess as close to the tuning machine as you like, and it's not going anywhere.
Step 6: Stretch and final tune
Now, it's time to tune up the guitar. But once you do that, the strings aren't going to want to stay in tune quite yet. New strings aren't used to being at this tension and they'll want to stretch themselves out, which will bring you out of tune as you're playing. So I like to stretch the strings, usually once or twice for steel strings is enough, and it'll stop me from falling out of tune as I'm playing.
There are so many ways to tune your guitar these days. You can get a headstock tuner from your local music store or from StewMac. There are lots of tuning apps that you can get on your smartphone, and most of them are pretty good. You might also have a pedal tuner that fits right in your board and you can plug right into it. And that's it. Your strings are on, in tune, stretched out, and you're ready to play.


