How to String an Acoustic Guitar
Restringing your acoustic guitar might seem intimidating if you’ve never done it before—or if the last time you tried, a bridge pin flew across the room. But with the right steps and a little patience, changing your strings becomes a fast, satisfying way to bring your guitar back to life.
Whether your guitar strings are dull, dirty, dented by frets, or just simply not holding tune anymore, this guide will walk you through the entire process in a clean, beginner-friendly way—without unnecessary fluff.
What You’ll Need
Before you start, gather a few basic tools to make the job easier:
- New set of acoustic guitar strings
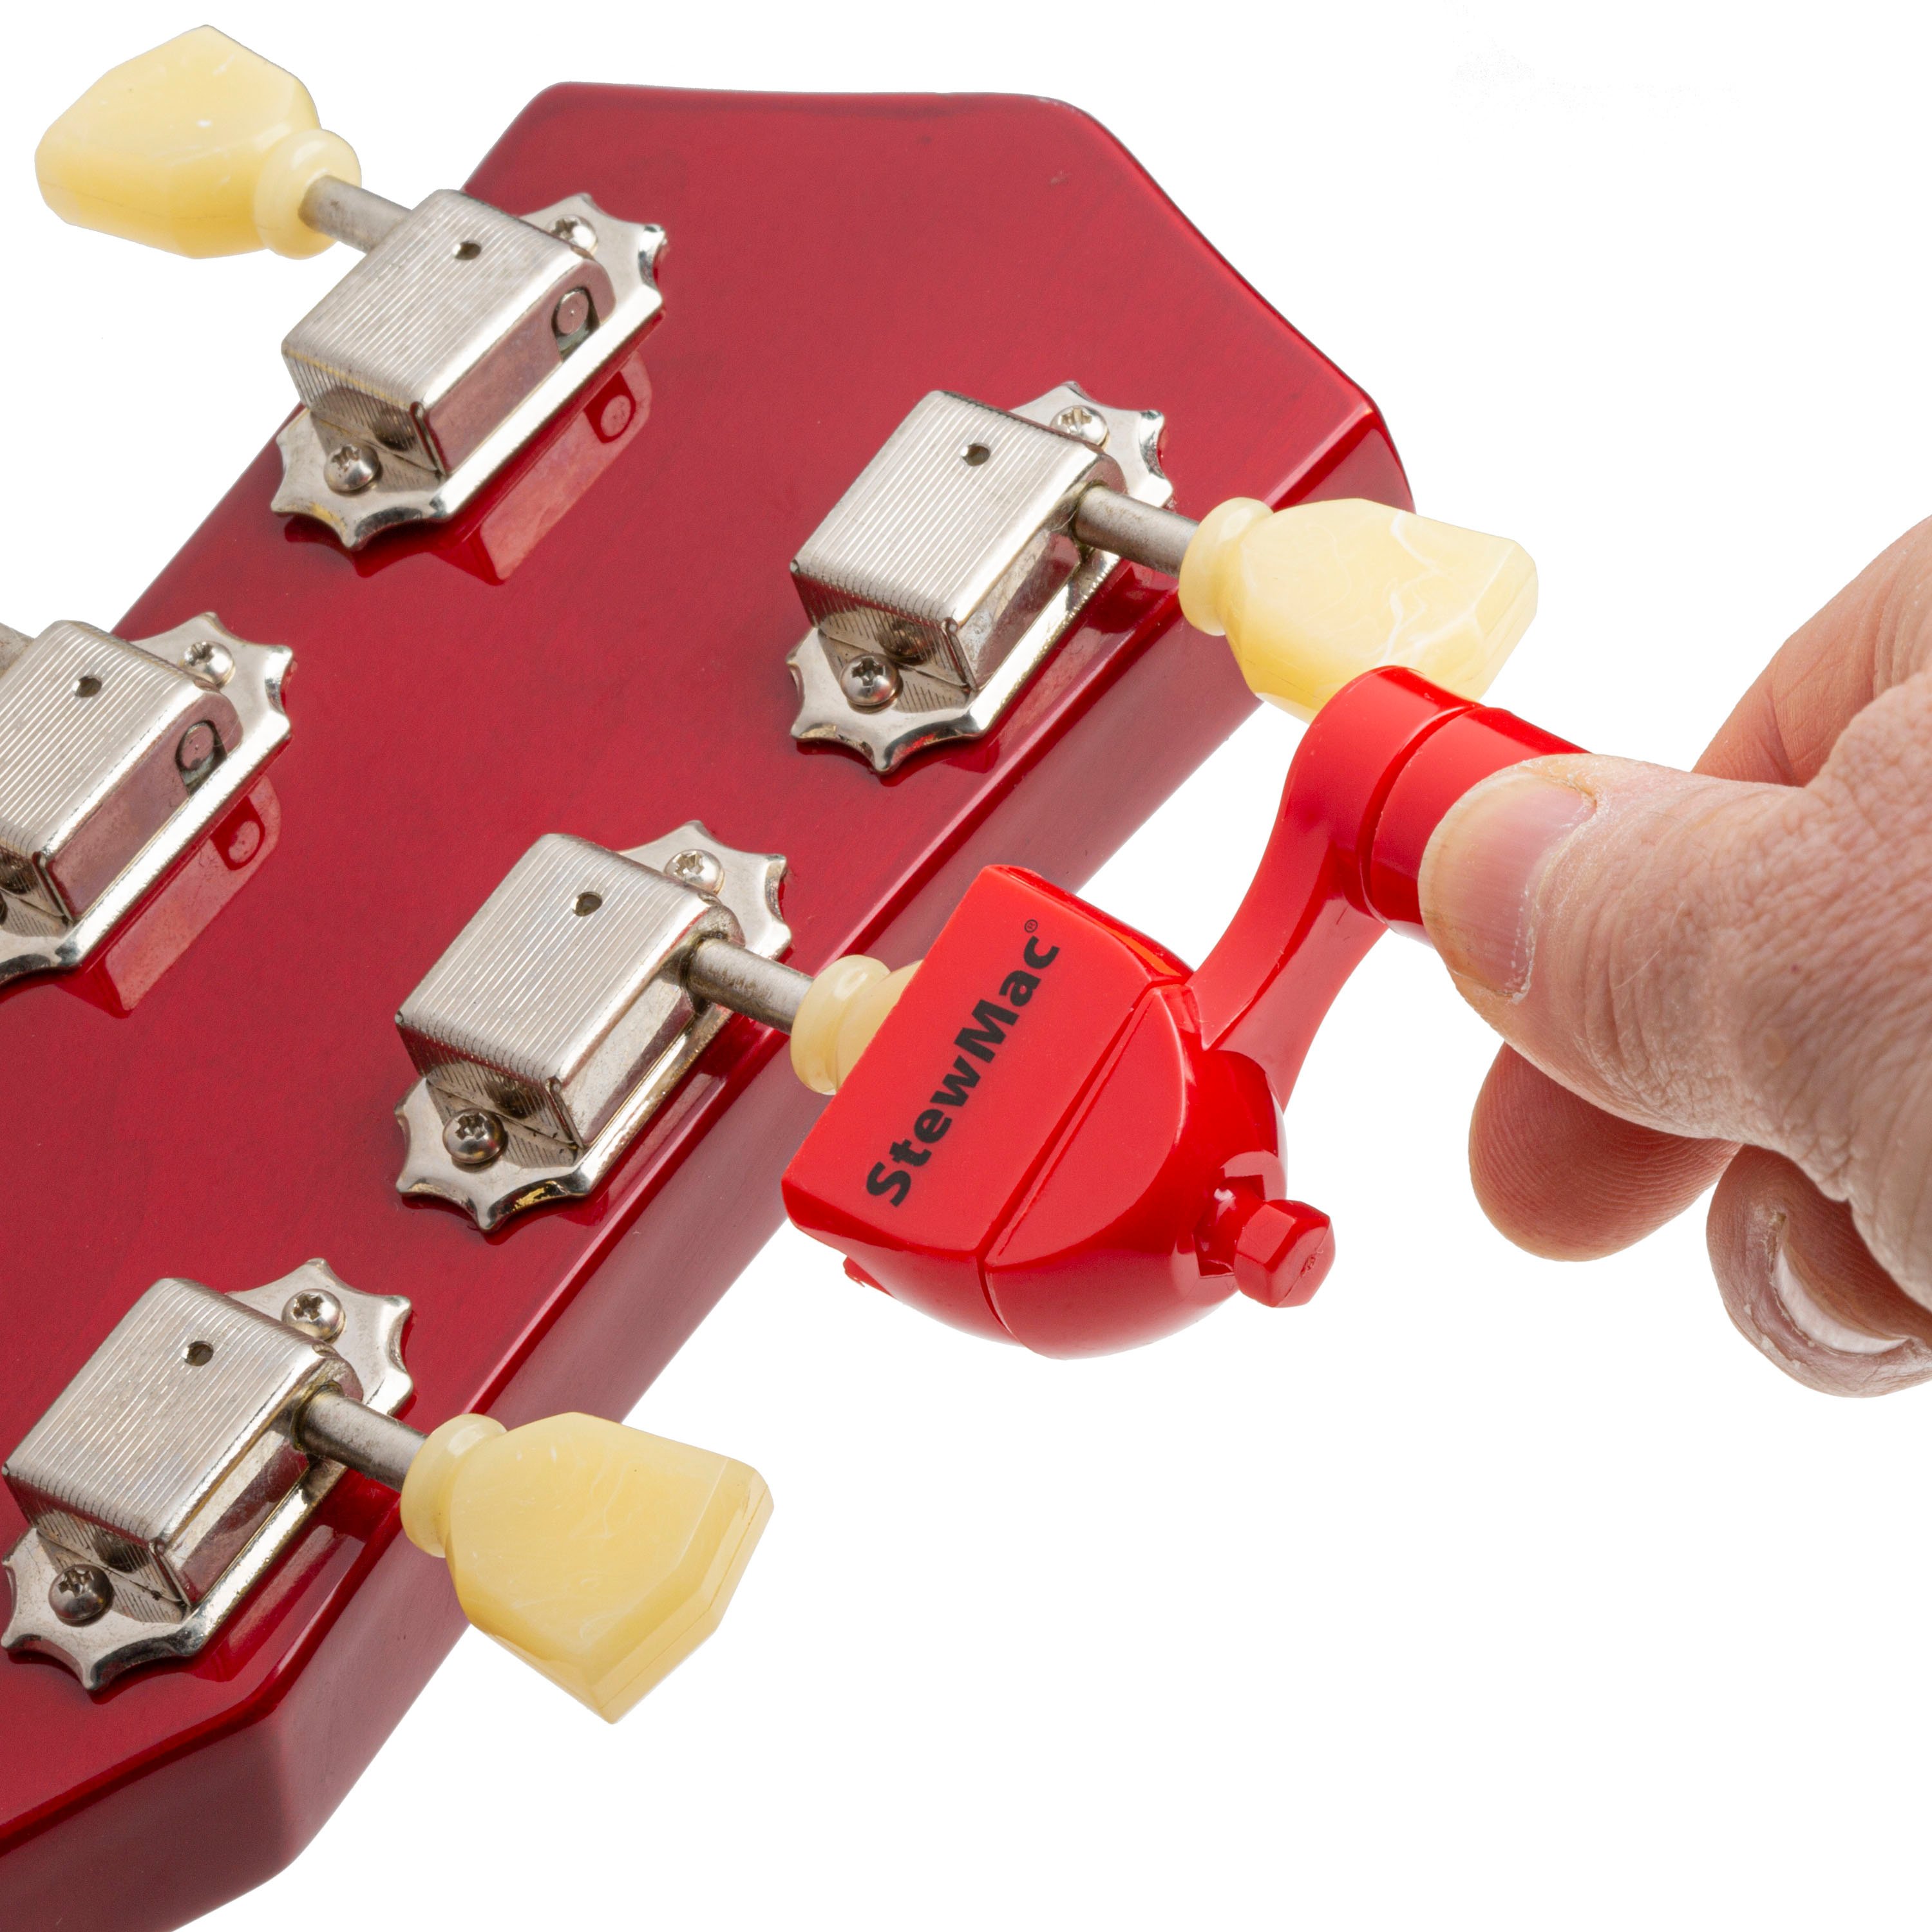
- String winder
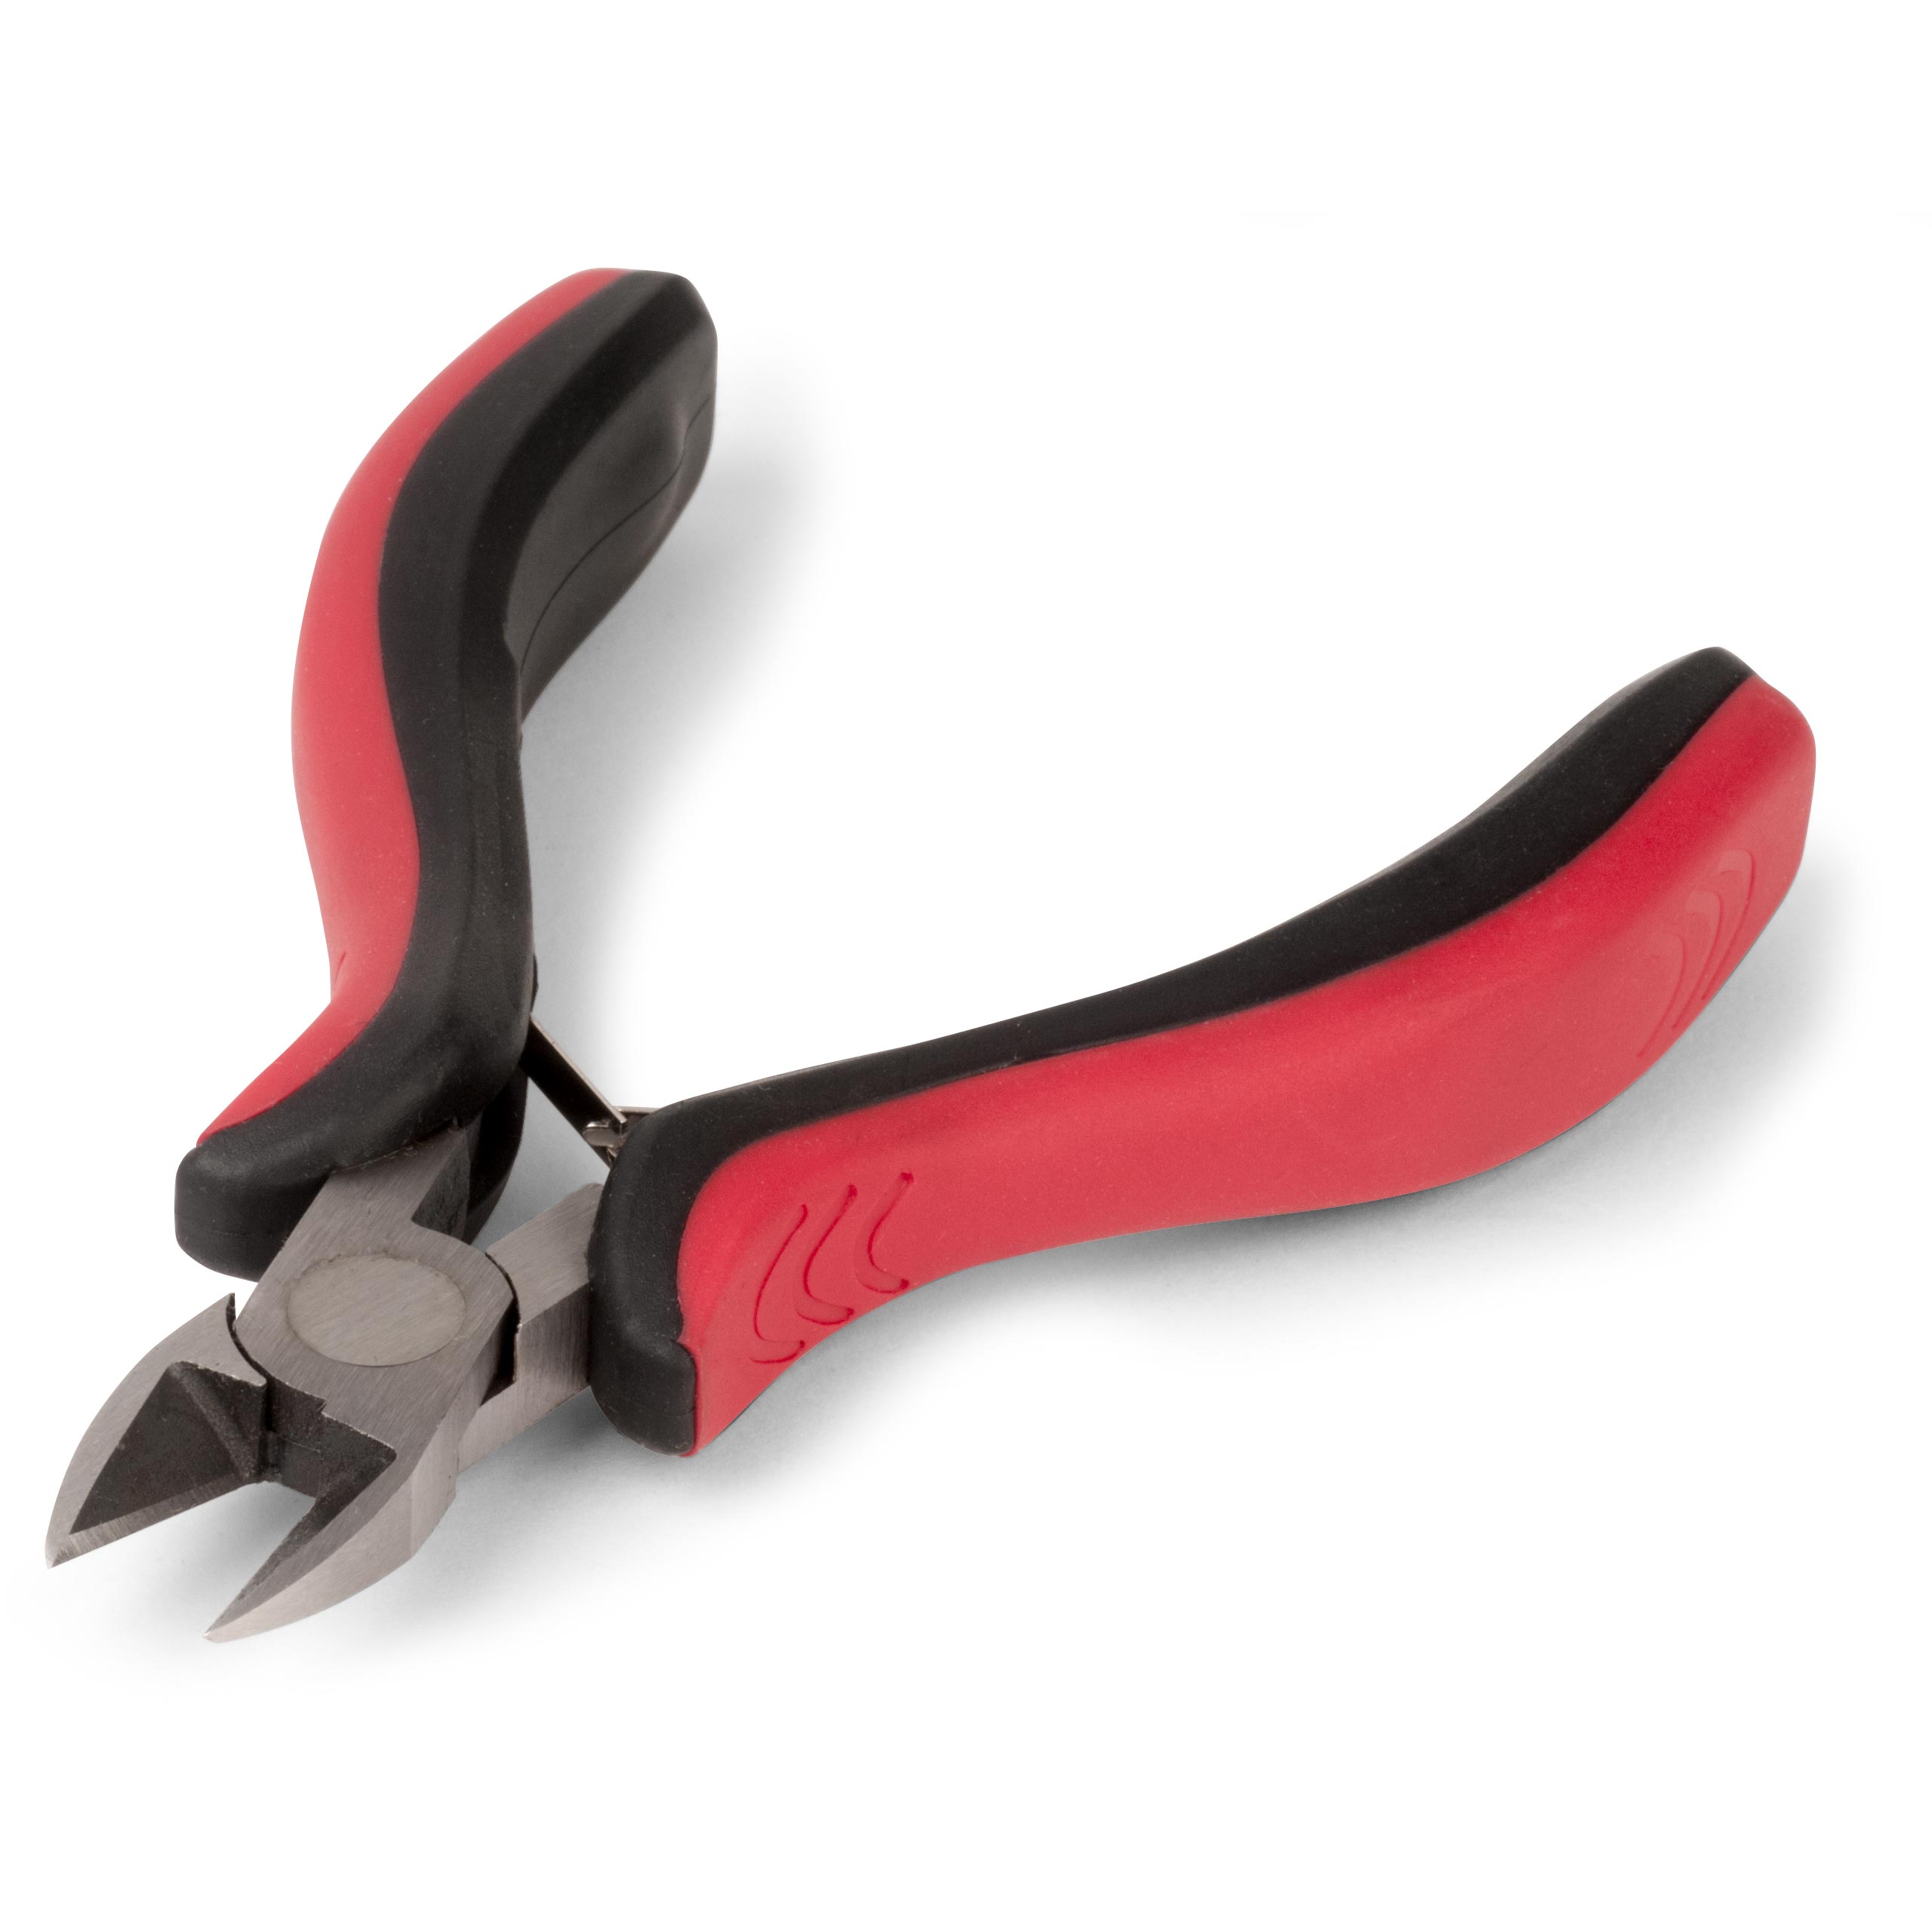
- Wire cutters or string snips
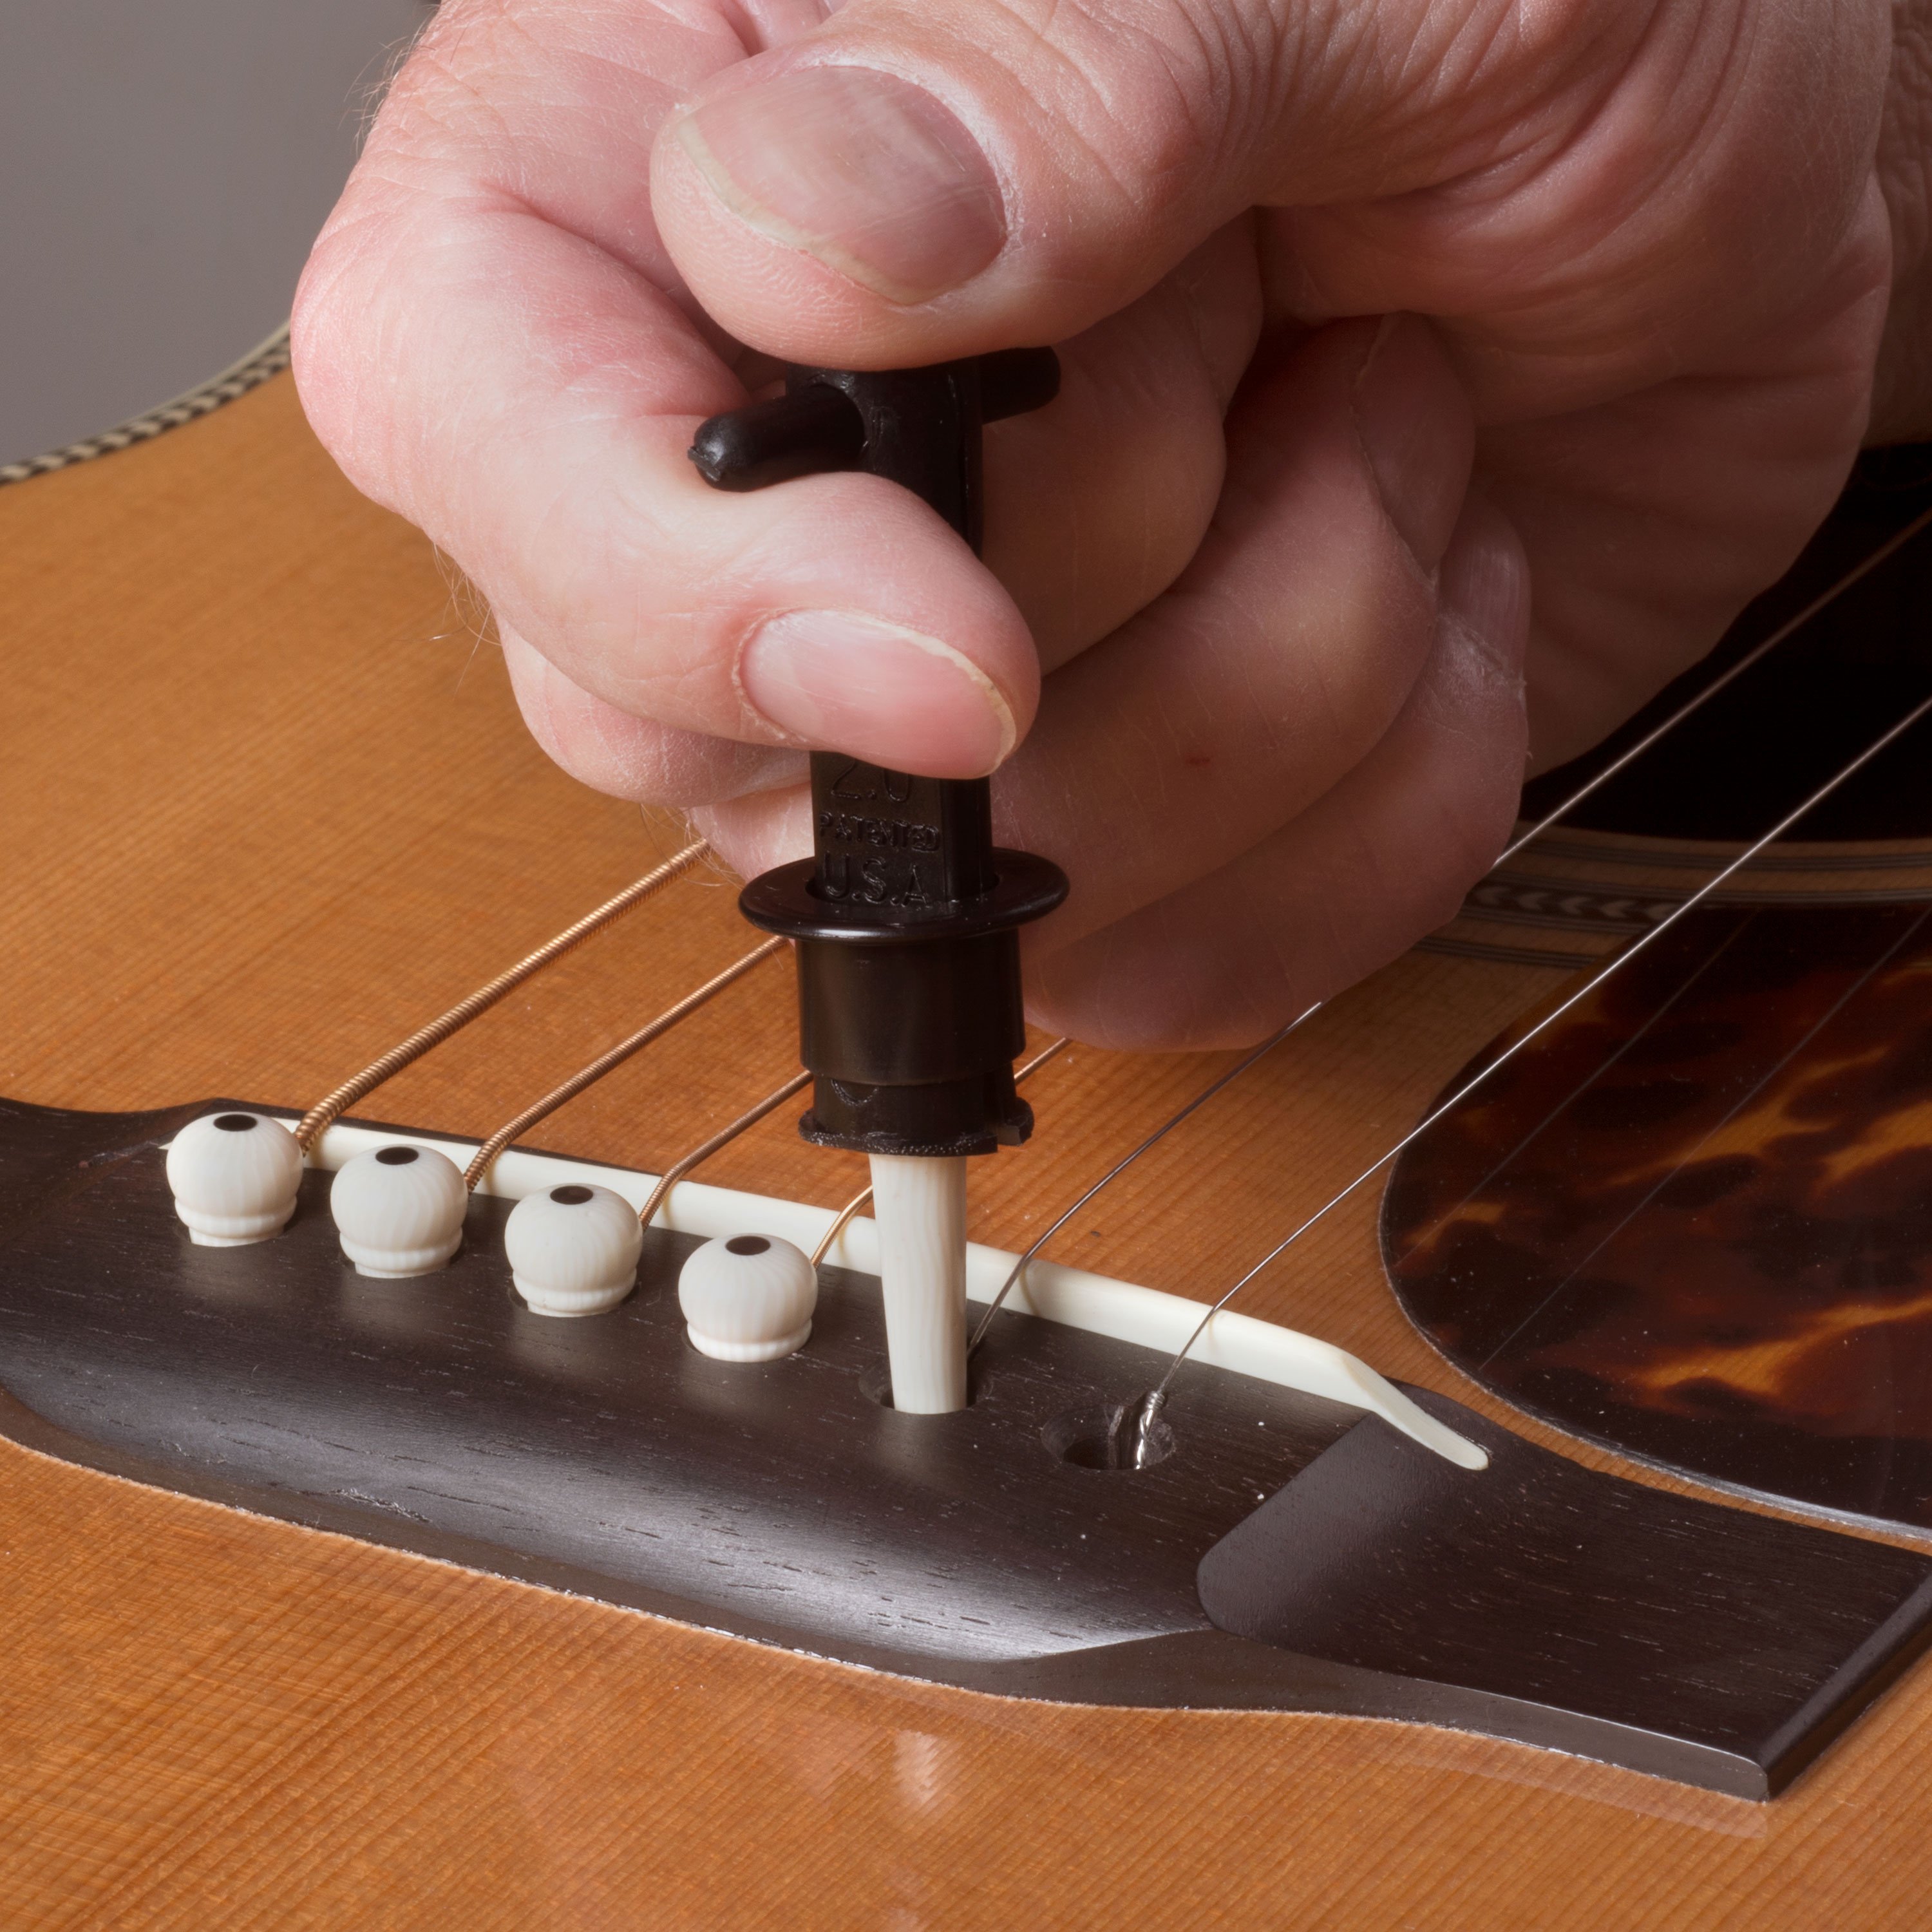
- Bridge pin puller
- Electronic tuner
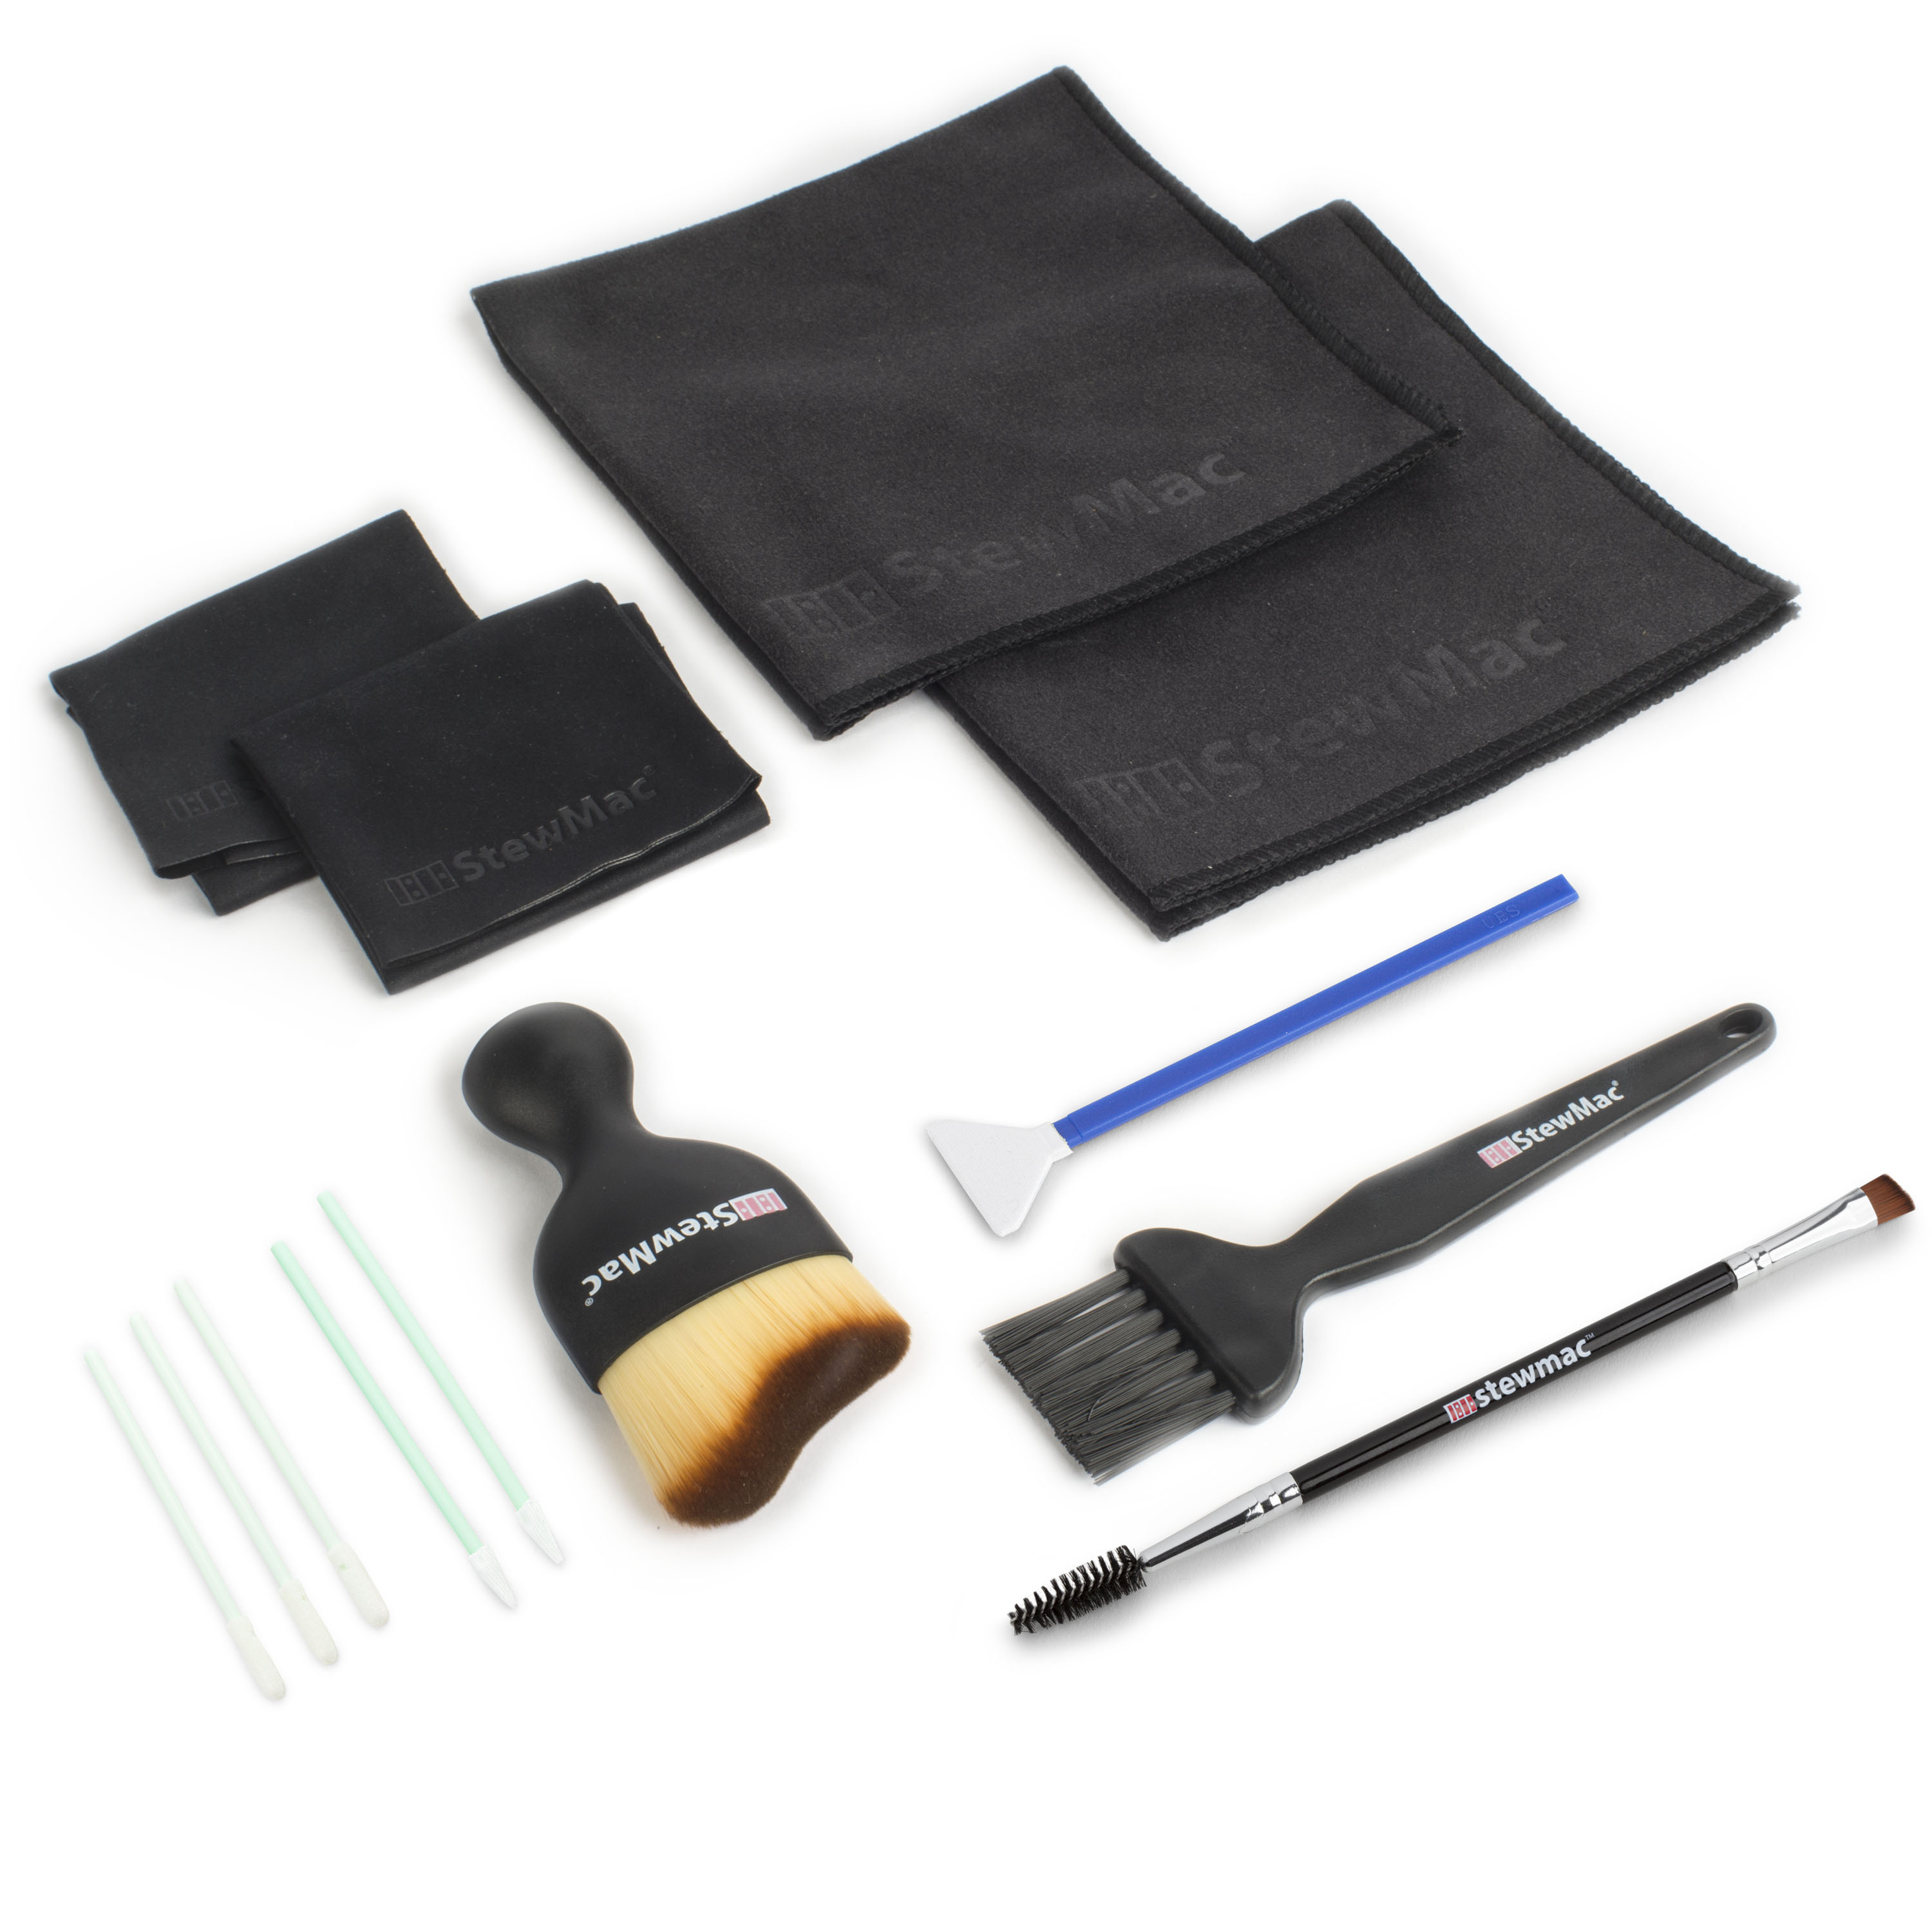
- Soft cloth (for cleaning)
- Optional but smart: nut lubricant for slots, small ruler (to check action after), and a pin fit reamer if a bridge pin does not sit flush on the bridge.
If you don’t have a winder or a pin puller (we highly recommend them), don’t worry—you can still get the job done with just your hands and a little care.
Step 1: Remove the Old Strings
Detune each string until slack, then unwind or snip at the 12th fret (only after detensioning) to make removal safe and tidy. Remove the bridge pins. If you do not have a bridge pin puller, reach inside the soundhole and push up on the pin from the underside. Once the pins are removed, remove the strings from the bridge.
Keep your pins together and if they are fit correctly (snug fitting and flush to the top of the bridge), denote which string hole they are associated with.
Removing Strings at the Tuners (Martin Wrap Method)
- Loosen the String Fully
- Turn the tuner until the string has no tension.
- Keep unwinding until the wraps are slack and loose on the post.
- Free the Locking Wrap
- Because the string’s tag end is tucked under a winding, it won’t just slide out.
- Use your fingers (or a small flat tool if needed) to lift the top coil so the tag end can come free.
- Once the tucked end is loose, the string will unwind normally.
Tip: Don’t yank the string straight out — that can kink the tuner hole or even snap the string inside it.
Step 2: Clean While You Can
Wipe the top and hardware with a soft, lint-free cloth. On unfinished rosewood or ebony fretboards, clean and condition with a tiny amount of one of these options (wipe all excess immediately):
- Light clean/refresh: ColorTone Lemon Oil — lifts grime and restores a natural luster without leaving a heavy residue.
- Precise, no-mess touch-ups: ColorTone Fretboard Saver — felt-tip applicator lets you target dry spots around frets and markers with controlled flow.
- Deep conditioning (very dry boards): ColorTone Fretboard Finishing Oil — a polymerizing oil that penetrates and hardens in the wood; use sparingly, let it dwell briefly, then buff completely dry.
Do not oil finished maple boards. Keep any oil away from the nut and saddle. If you’re experiencing nut binding, address it later with a dry lubricant (like our Guitar Grease), not oil.
Step 3: Install the New Strings at the Bridge
Feed the ball end into the hole and bend the string ~45° just above the ball—this helps the ball seat against the bridge plate, not the pin. Insert the pin lightly and pull up on the string while pressing the pin until it stops; you’ll feel the ball catch under the plate.
- Slotted pins: orient the groove toward the string (neck side) so the string passes beside the pin.
- Unslotted pins (common with slotted bridges): orientation doesn’t matter—just ensure the ball is under the plate.
Troubleshooting — Pin popping up?
Do not hammer or force pins. If a pin rises as you tune, the ball is likely caught on the pin tip, not the bridge plate. De-tune, pull up on the string while pressing the pin down, reseat the ball under the plate, then retension. Don’t force the pin.
Step 4: Cut to Length, Thread and Wind the Strings
First determine how much extra string (string past the tuner) you will need to have a good amount of wraps on the tuner post when the string is tuned to pitch.
You can do this by pulling the string through the tuner hole and measuring between the exiting hole and the end of the remaining string.
At the headstock, guide each string through its tuning post. Wind so the coils travel downward on the post, and always wind toward the center of the headstock. For a non-locking setup, start the first wrap over the string’s tag end to “pin” it, then send all remaining wraps under the tag for a clean lock.
How Much String Past the Tuner? (Wraps by Length)
- Rule of thumb: Every 1" of extra string ≈ 1.25 wraps on a standard post.
- Mark your slack: Pull the string taut, then mark extra length past the tuner before winding. Many players use the next tuner in line as a quick visual gauge.
- Wrap targets:
- Wound strings (E/A/D): fewer wraps hold better.
- Plain strings (G/B/e): a few more wraps improve stability.
- Examples:
- Low E (6th): ~2.5" extra → ~3 wraps
- High E (1st): ~4" extra → ~5 wraps
- Locking tuners: you can run fewer wraps because the post supplies the grip.
Each guitar, post diameter, and string set behaves a little differently—use the targets above as a starting point and adjust for your instrument.
Tuner Care While You’re Here
If the action feels gritty, sloppy, or too loose, do a quick check before you reach for lubricant.
Button Screws (Both Types):
- If your tuner buttons are attached with a screw, they can loosen over time and feel sloppy.
- Use a screwdriver to snug the screw until the turning resistance feels smooth and consistent.
- Warning: Do not overtighten—this can make tuning stiff and prematurely wear the bushing that provides the friction.
Open-Gear Tuners (Maintenance)
- Dust the gears/plates first.
- Apply a tiny drop of light oil to the worm gear only (not the post).
- Wipe all excess. Too much oil attracts grime.
Sealed/Closed Tuners (Maintenance)
- Do not oil sealed tuners; they’re lubricated at the factory.
- If the operation feels rough, check for debris at the bushing/face washer and clean—don’t add lubricant.
If tuning still drifts: the usual culprit is nut friction, not wrap count. Dress the nut slots as needed and/or use a dry lubricant in the slots rather than adding more wraps.
Step 5: Tune Up and Stretch
Tune each string up to pitch (always approach from flat). Repeat the seat → retune cycle 2–3 times—this removes post slack and stabilizes tuning quicker.
1. First Using an Electronic Tuner Bring the Guitar Roughly Up to Pitch
- Make sure the string windings are starting in the correct direction. Almost all acoustic guitars have the string to the inside of the peghead. (Turning the tuner button counter clockwise will make the note sharper, while turning clockwise will make it flatter.)
- Start by attaching a clip-on tuner to the headstock (or use a pedal/app tuner).
- Pluck each string cleanly and bring it roughly up to pitch.
- Always tune up to the note. If you overshoot, tune below pitch and bring it back up so there’s no slack caught at the tuner post or nut.
- Once all six strings are installed and brought near their correct notes, check each string again to make sure it’s close.
- Don’t worry about being perfect yet — the goal is just to get the string into its approximate tension zone before stretching.
2. Stretching the Strings by Hand
- Take the string in both hands and press both thumbs into the string levering against the string grasped in the hands.
- Perform this technique up and down each string from as close as you can, given the tension, to the bridge and the nut.
- Do not push hard enough to kink the string. Just enough to stretch it along the length that you have grabbed.
- After stretching, roughly retune the guitar to make sure the strings are roughly at pitch and repeat the process two or three times.
3. Tune To Pitch
It’s important to know that when you first pluck a string, the initial attack can register slightly sharp. This happens because your pick or finger pulls the string sideways, adding a brief increase in tension before it settles into its steady vibration. After a fraction of a second, the pitch evens out and the tuner will show a stable reading. (This effect is real, though how noticeable it is depends on how hard you pluck and on the string’s gauge.)
- Pluck the string cleanly, but not aggressively.
- Watch the tuner reading and let it settle for 1 second
- If flat, turn the tuner to sharpen the note.
- If sharp, detune and tune back up to pitch
4. Why Strings Go Out of Tune at First
Fresh strings are under about 160–180 lbs of total tension on an acoustic guitar. As they adjust, the metal stretches, the bridge pins and ball ends settle, the wraps on the tuner posts tighten, and even the neck and top of the guitar flex slightly.Because of this, new strings will slip out of tune constantly at first — but frequent stretching and retuning will help them stabilize much faster.
Stay vigilant, it’s not uncommon to experience an adventure in tuning for an entire day after a string change. As with everything, practice is the only way to improve and a fresh set of strings will provide you with many delightful hours of tuning practice.
Bonus Tip: Know When It’s Time to Change Strings
As a rule of thumb, change your strings every 2-3 months if you’re a casual player—or more often (2-4 weeks) if you play daily, perform, or have acidic sweat that corrodes metal quickly.
If strings look tarnished, feel rough, have dents in the string where they contact the fret, or won’t intonate, change them—fresh sets improve tone, stability, and feel immediately.
Ready to Play
That’s it—you’ve officially restrung your acoustic guitar. It might feel and sound a little different than you've become accustomed to at first, but give it a day or two of playing and the strings will settle beautifully. Expect minor retunes over the first hour; after a couple seats → retune cycles you’ll be stable. With a little practice, this process will become second nature, and your guitar will always sound its best.
Do you have luthier tools or new acoustic strings you still need? Check out our collections online or visit your local music shop to stock up. Happy playing!
Video Transcription
[on-screen text reads: StewMac - How To Change Acoustic Guitar Strings]
Aaron: Today, we're going to be talking about how to change acoustic guitar strings. Now, just to clarify, there are different types of acoustic guitars that you'll come across. Some have steel strings, but they have a slotted head, and some are classical, and they have nylon strings. Today, we're going to be covering the most common type that you'll come across, a solid peghead acoustic guitar with steel strings and bridge bins.
Step 1: Loosen and cut old strings
The first thing we need to do is loosen the old strings, so we can take them off. I like to cut them because they're easier to take off the peghead that way, and they take up less space in the garbage can, but you don't necessarily have to cut them. Loosening them first is important, however, because if you do cut them at full tension, it could snap, and hit you in the eye, and you don't want that. At StewMac, we sell a cutter designed specifically for strings, but if you have a set of wire cutters that you got from the hardware store, those would work perfectly fine.
Step 2: Remove bridge pins
Now, we have to remove the bridge pins. You can do that with a Bridge Pin Puller like the ones we sell at StewMac. You might have a bridge pin puller on the end of your String Winder if you have that. But personally, I like to get inside the sound hole and push the bridge pins from the bottom to come out. And I have an old leather wallet that I use for this. It works perfectly fine, and it pushes all of them out pretty easily. When you pull the pins out, make sure to keep them in order. Sometimes, the pin holes can be a little bit different sizes, so this ensures that when you put them back in, they have the same fit that you did originally.
Step 3: Clean guitar
Now that the strings are off, and the bridge pins are out, it's a good time to clean off any dust or grime that's on the fretboard, or under the strings by the sound hole, or on the headstock. Basically, any place that you couldn't get to easily when the strings were on.
Step 4: Seat ball ends and re-install bridge pins
Once you're ready to put the new strings on, put each one of them in their respective slot, and install the bridge pins. Now, it's important that the ball end of the string is seated properly, which just means that it's making contact with the underside of the top. There's a couple of reasons for this, mainly for tone and for the structural integrity of the top. So, if you're not sure if you've seated properly, just reach inside the sound hole and feel for that ball end. As long as it's making contact on the bridge plate, on the underside of the top, you're good to go.
Step 5: Wrap strings and wind to tension
Now, take the first string and pull it through its own string post. It's important to leave enough slack for this particular winding method to make sure you get the right amount of wraps around the string post. The way that I like to do that is pull the string tight, hold it at the tuning machine, and then, place my other finger one tuning machine forward of that one, pull it back, and then, I have my slack. Once you have the right amount of slack, wrap that part of the string towards the inside of the headstock over the end of the string that's already going through the tuning machine. Then, I like to bend that excess string up because it stops it from scratching the headstock while I'm tuning, and it just keeps it out of my way. Now, it's time to start winding, and it's important to keep the new winds underneath the parts of the string that are already on the tuning post.
Now, this creates a clamp between the top wrap and these bottom wraps, which holds the bent part of the string in place, so it doesn't want to slip out later on. So, right now, you don't have to get the string perfectly in tune. You just want to wind it so that you're getting some tension on the string, and it's making a note. And once you have that done, you can clip the bent end of the string as close to the tuning post as you can, and it should hold in place perfectly fine. From there, we're going to move on to the rest of the strings. And remember, you always want to wrap towards the inside of the headstock. So, once you get to the treble side strings, it's going to be in the opposite direction as the bass side. Now, this is important because you don't want those strings to be in the way of each other, and when you're tuning the guitar up, having the keys all turn in the same direction makes it a lot easier to do.
Step 6: Stretch and final tune
Now that the strings are at tension, it's time to final tune them. But once you first get them tuned, they're not going to stay in tune quite yet. The strings aren't used to being at this tension, so they'll want to stretch themselves out while you're playing. So, I like to give them a little stretch ahead of time, and then, retune them. Usually, once or twice for steel strings will do it, so that way, when I'm playing, I don't fall out of tune. These days, it's easier than ever to get your guitar in tune. You could get a headstock tuner that you can find at your local guitar shop or StewMac's website. There's a lot of apps that you can get on a smartphone, and some of them are even free, and they're pretty good. Or you can find a video on YouTube so you can tune it by ear. And that's it. You're all done. Your strings are in tune, and you're ready to play.


