Making a custom fire stripe pickguard to fit a baby guitar!
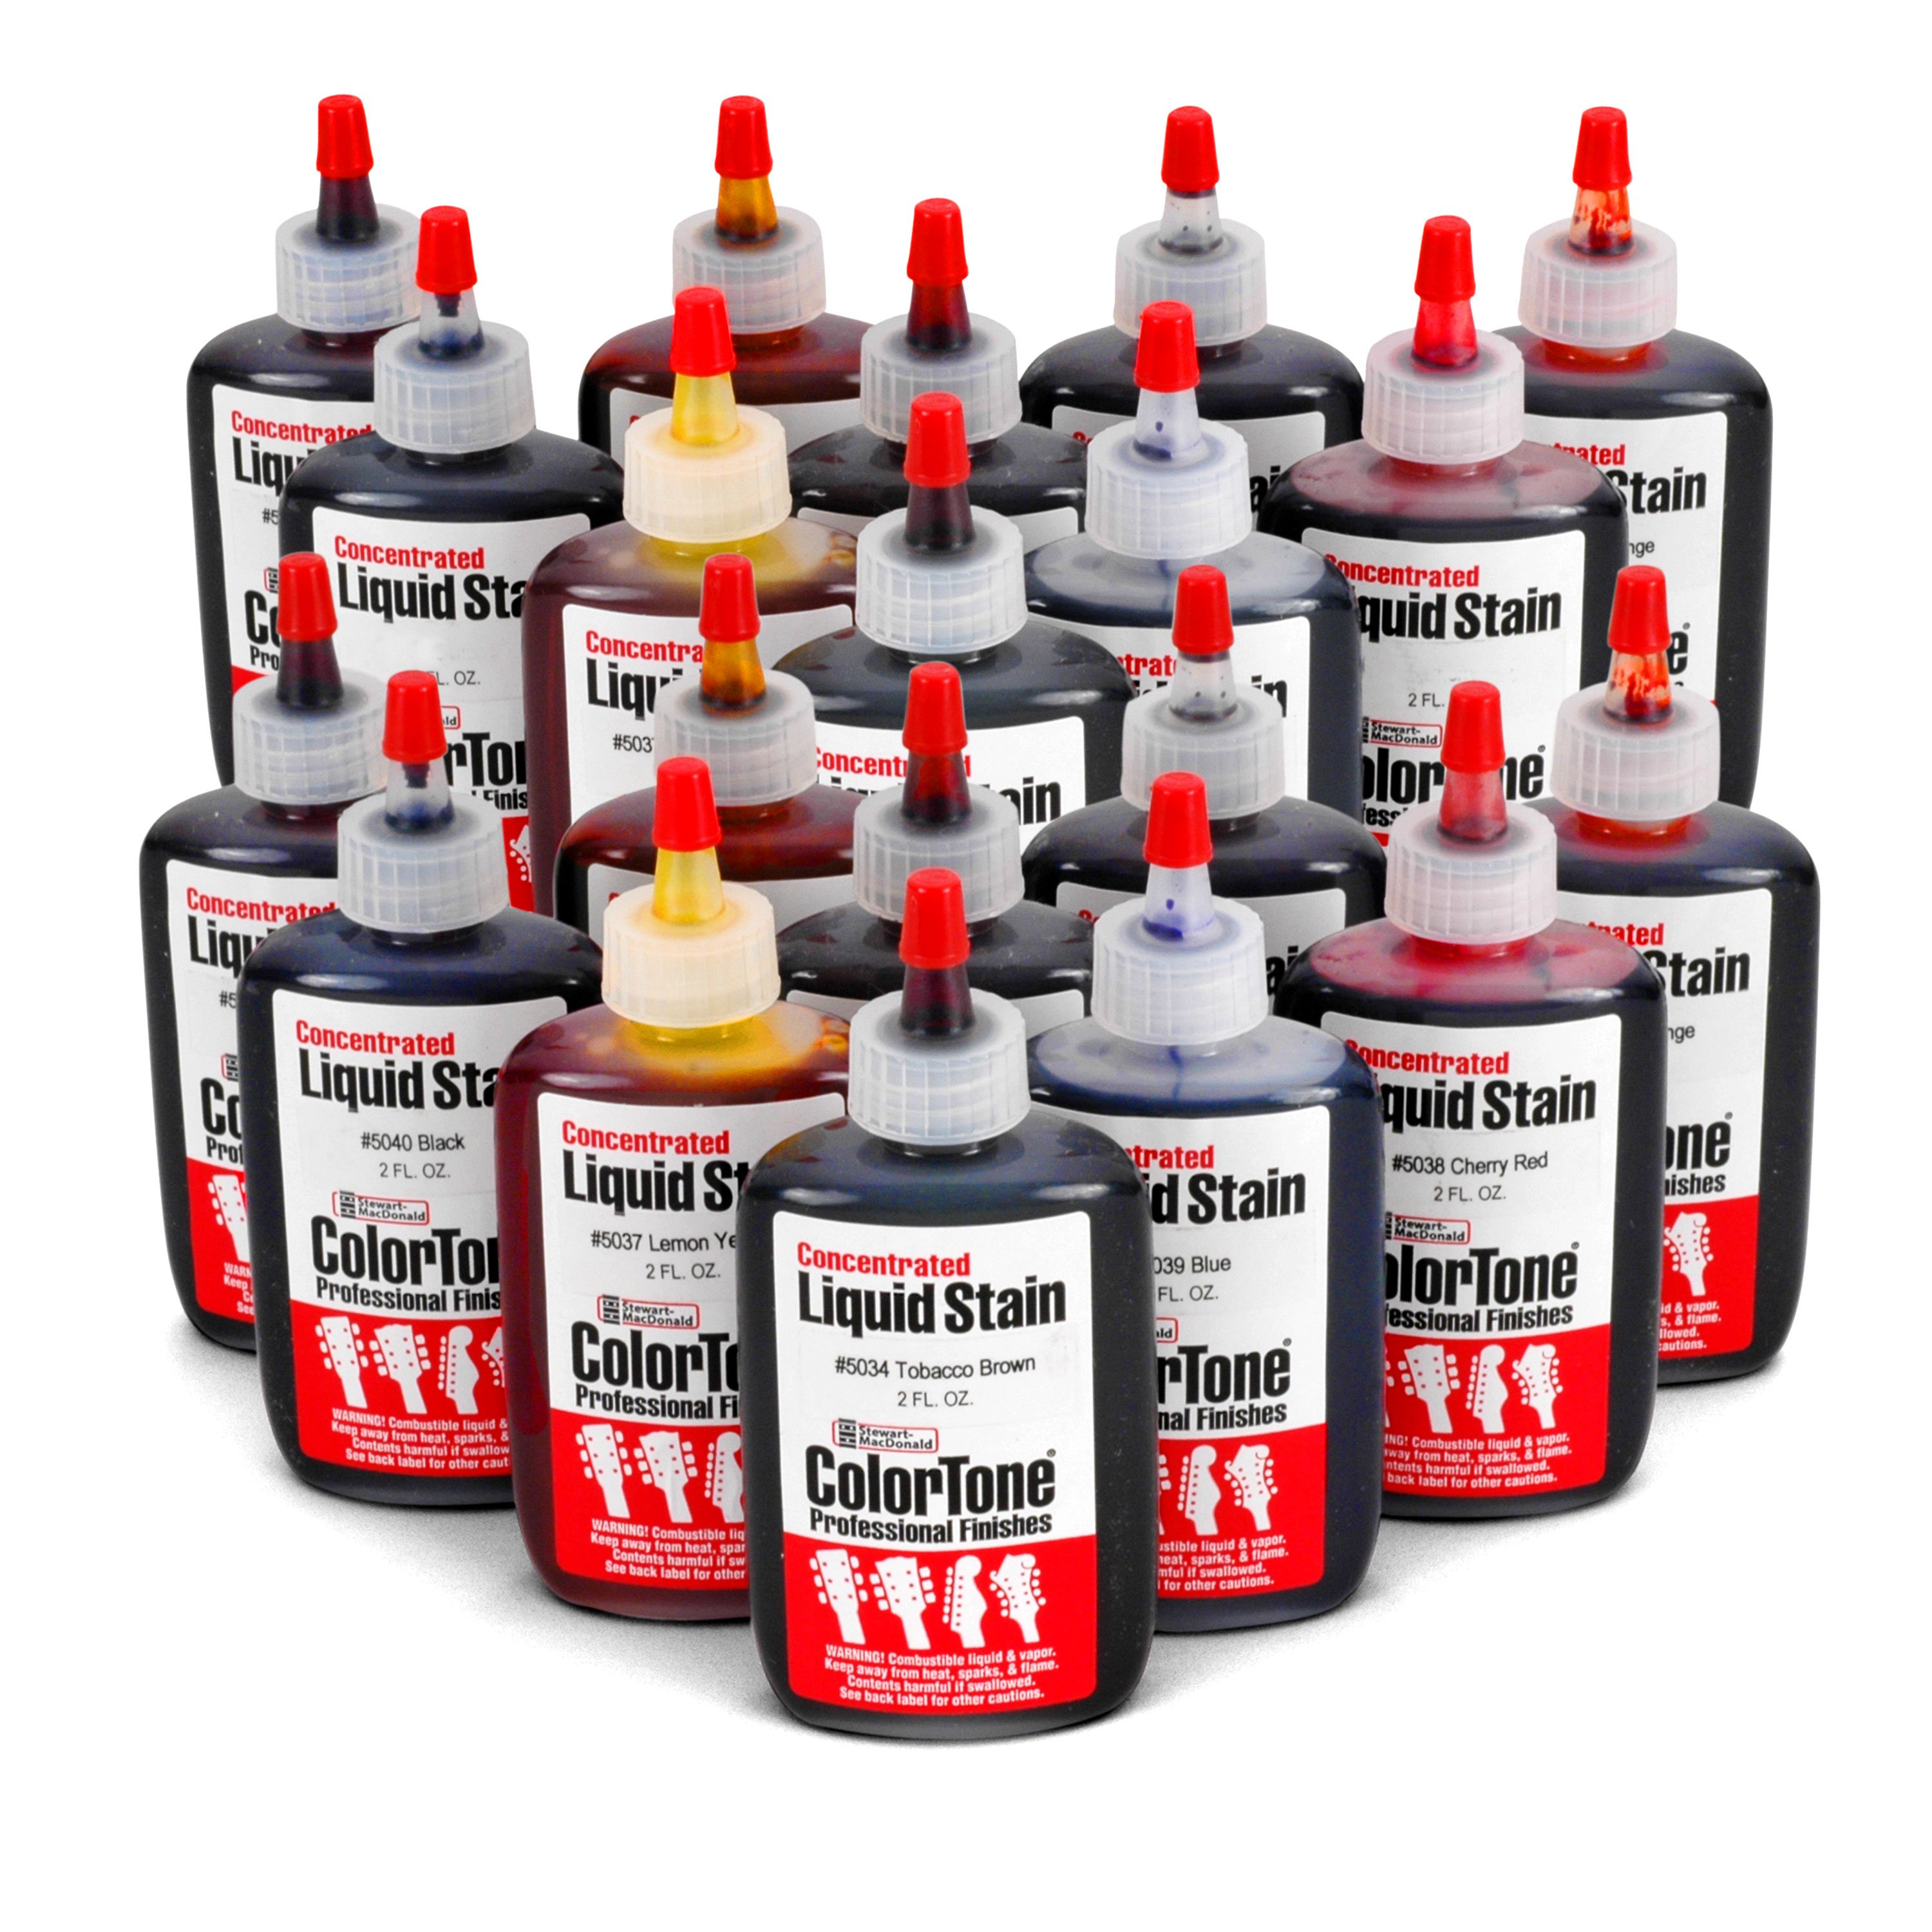
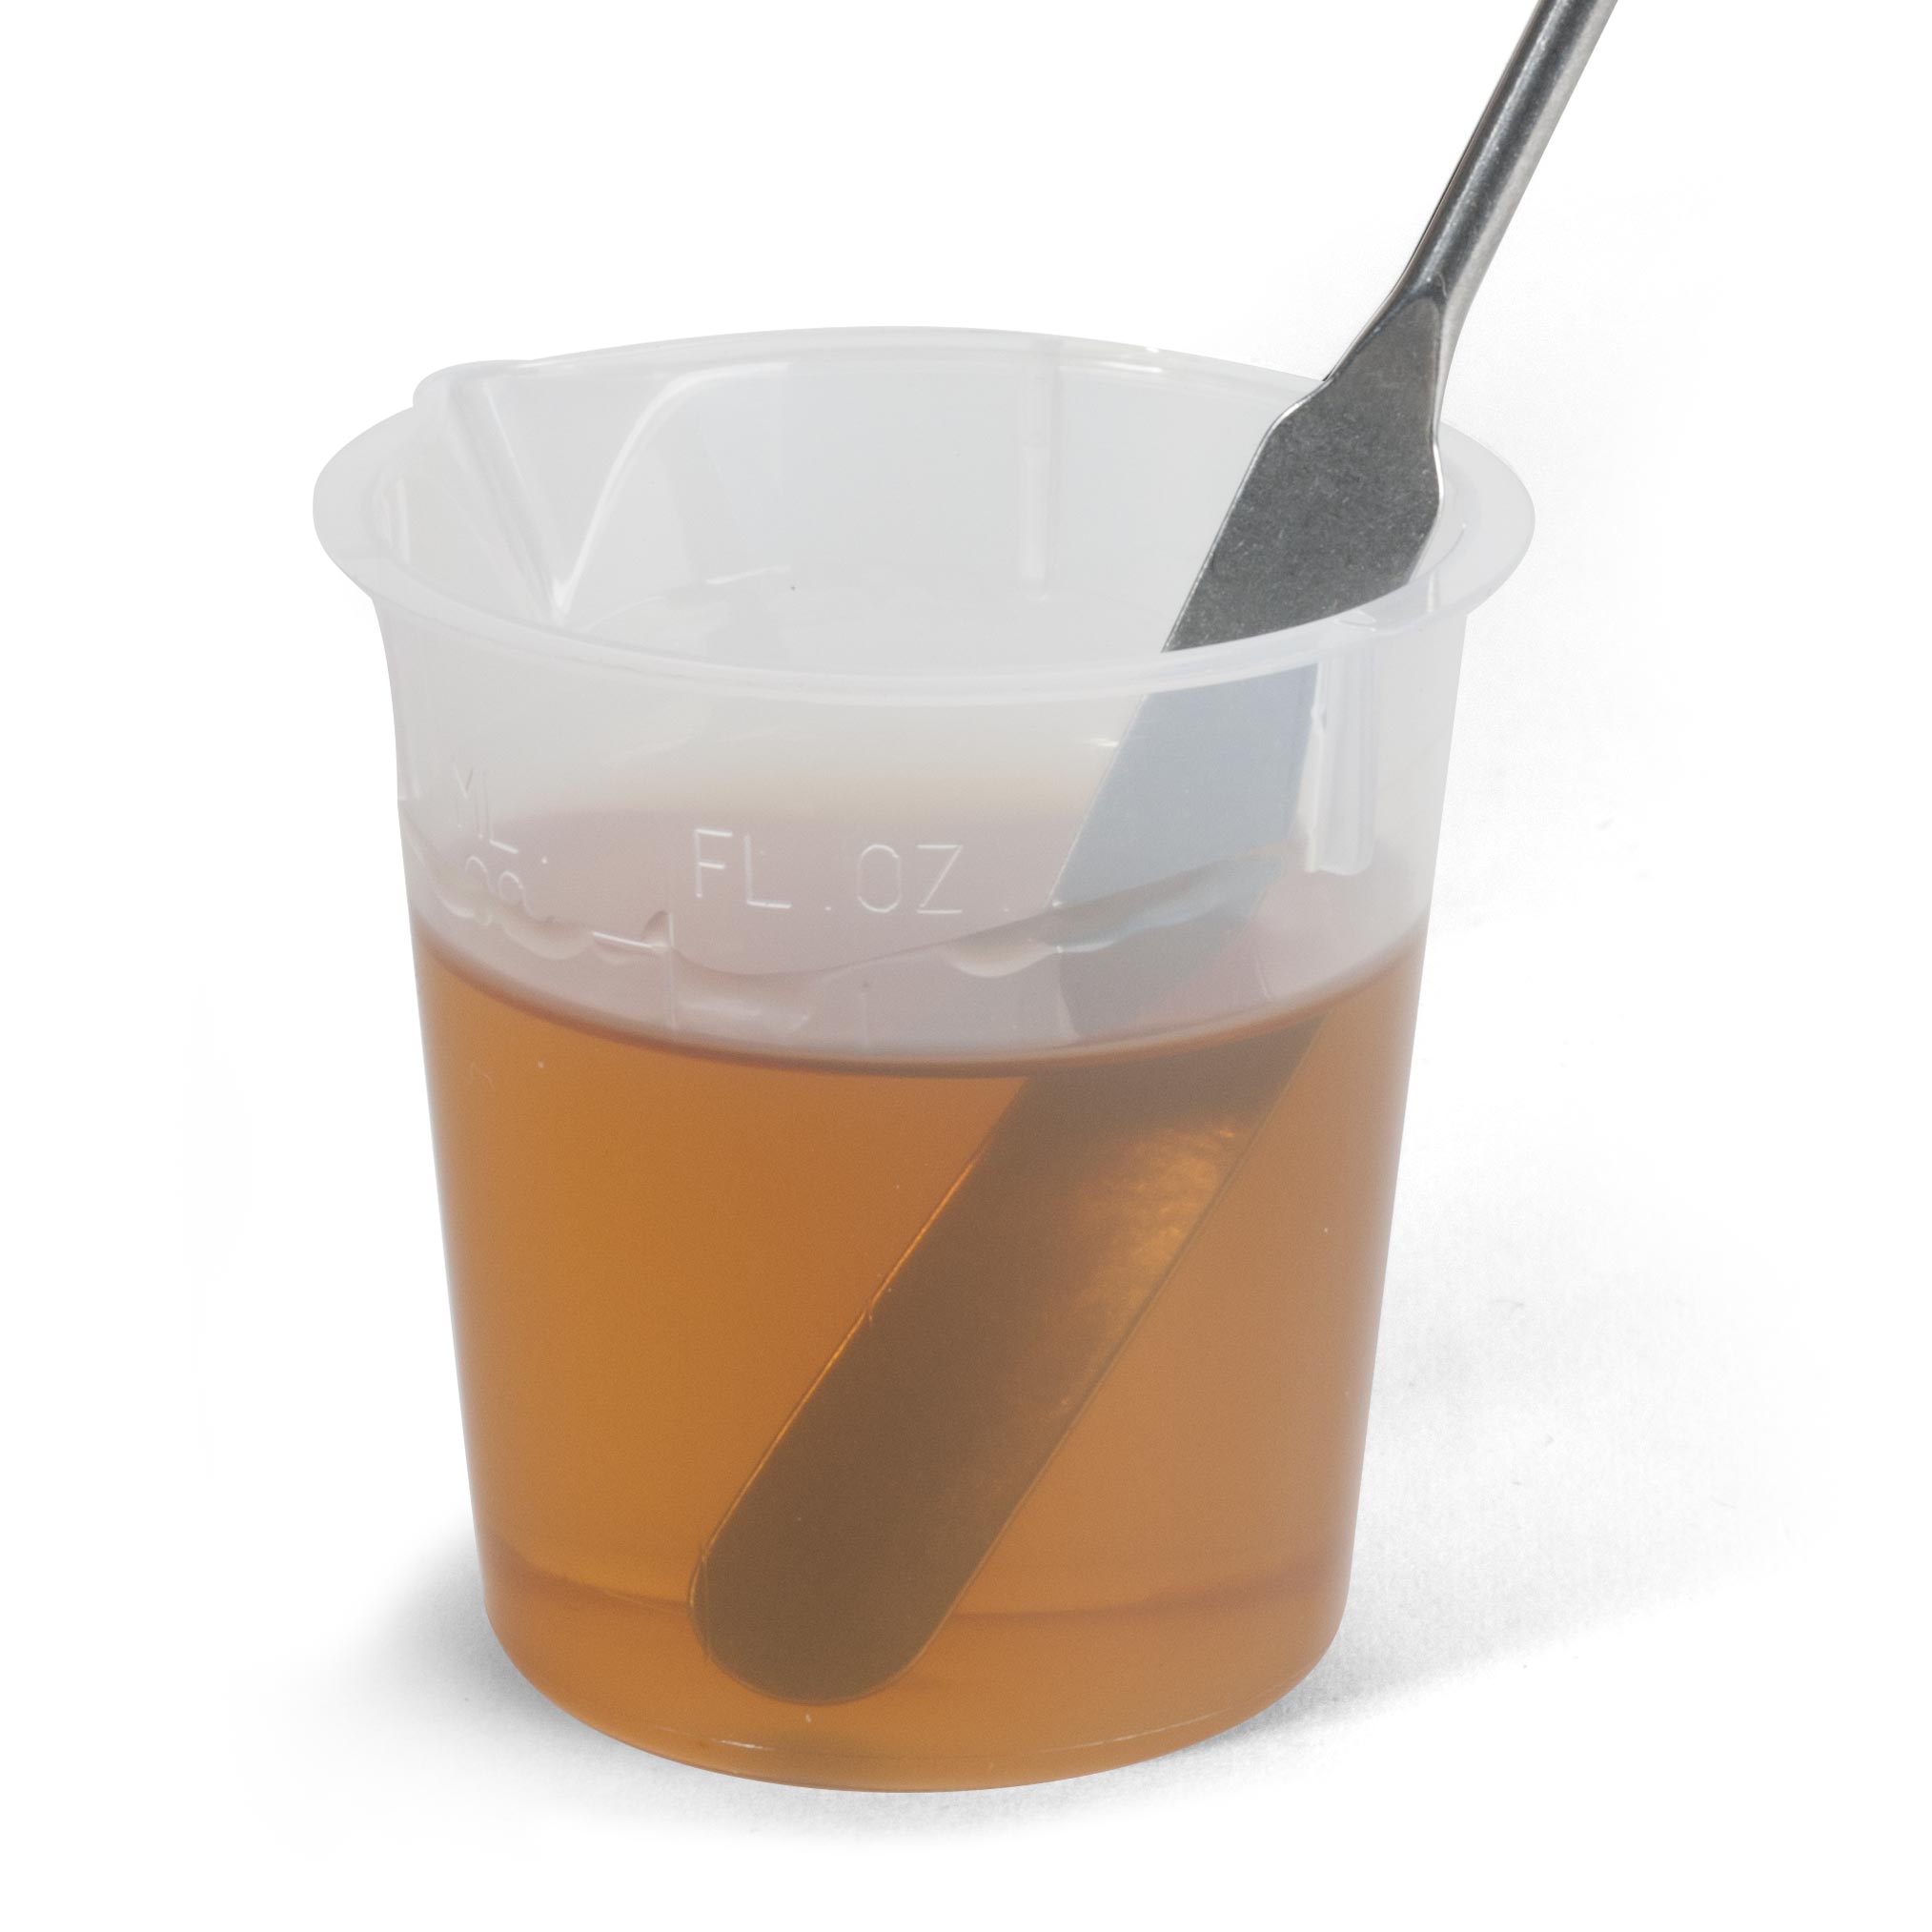
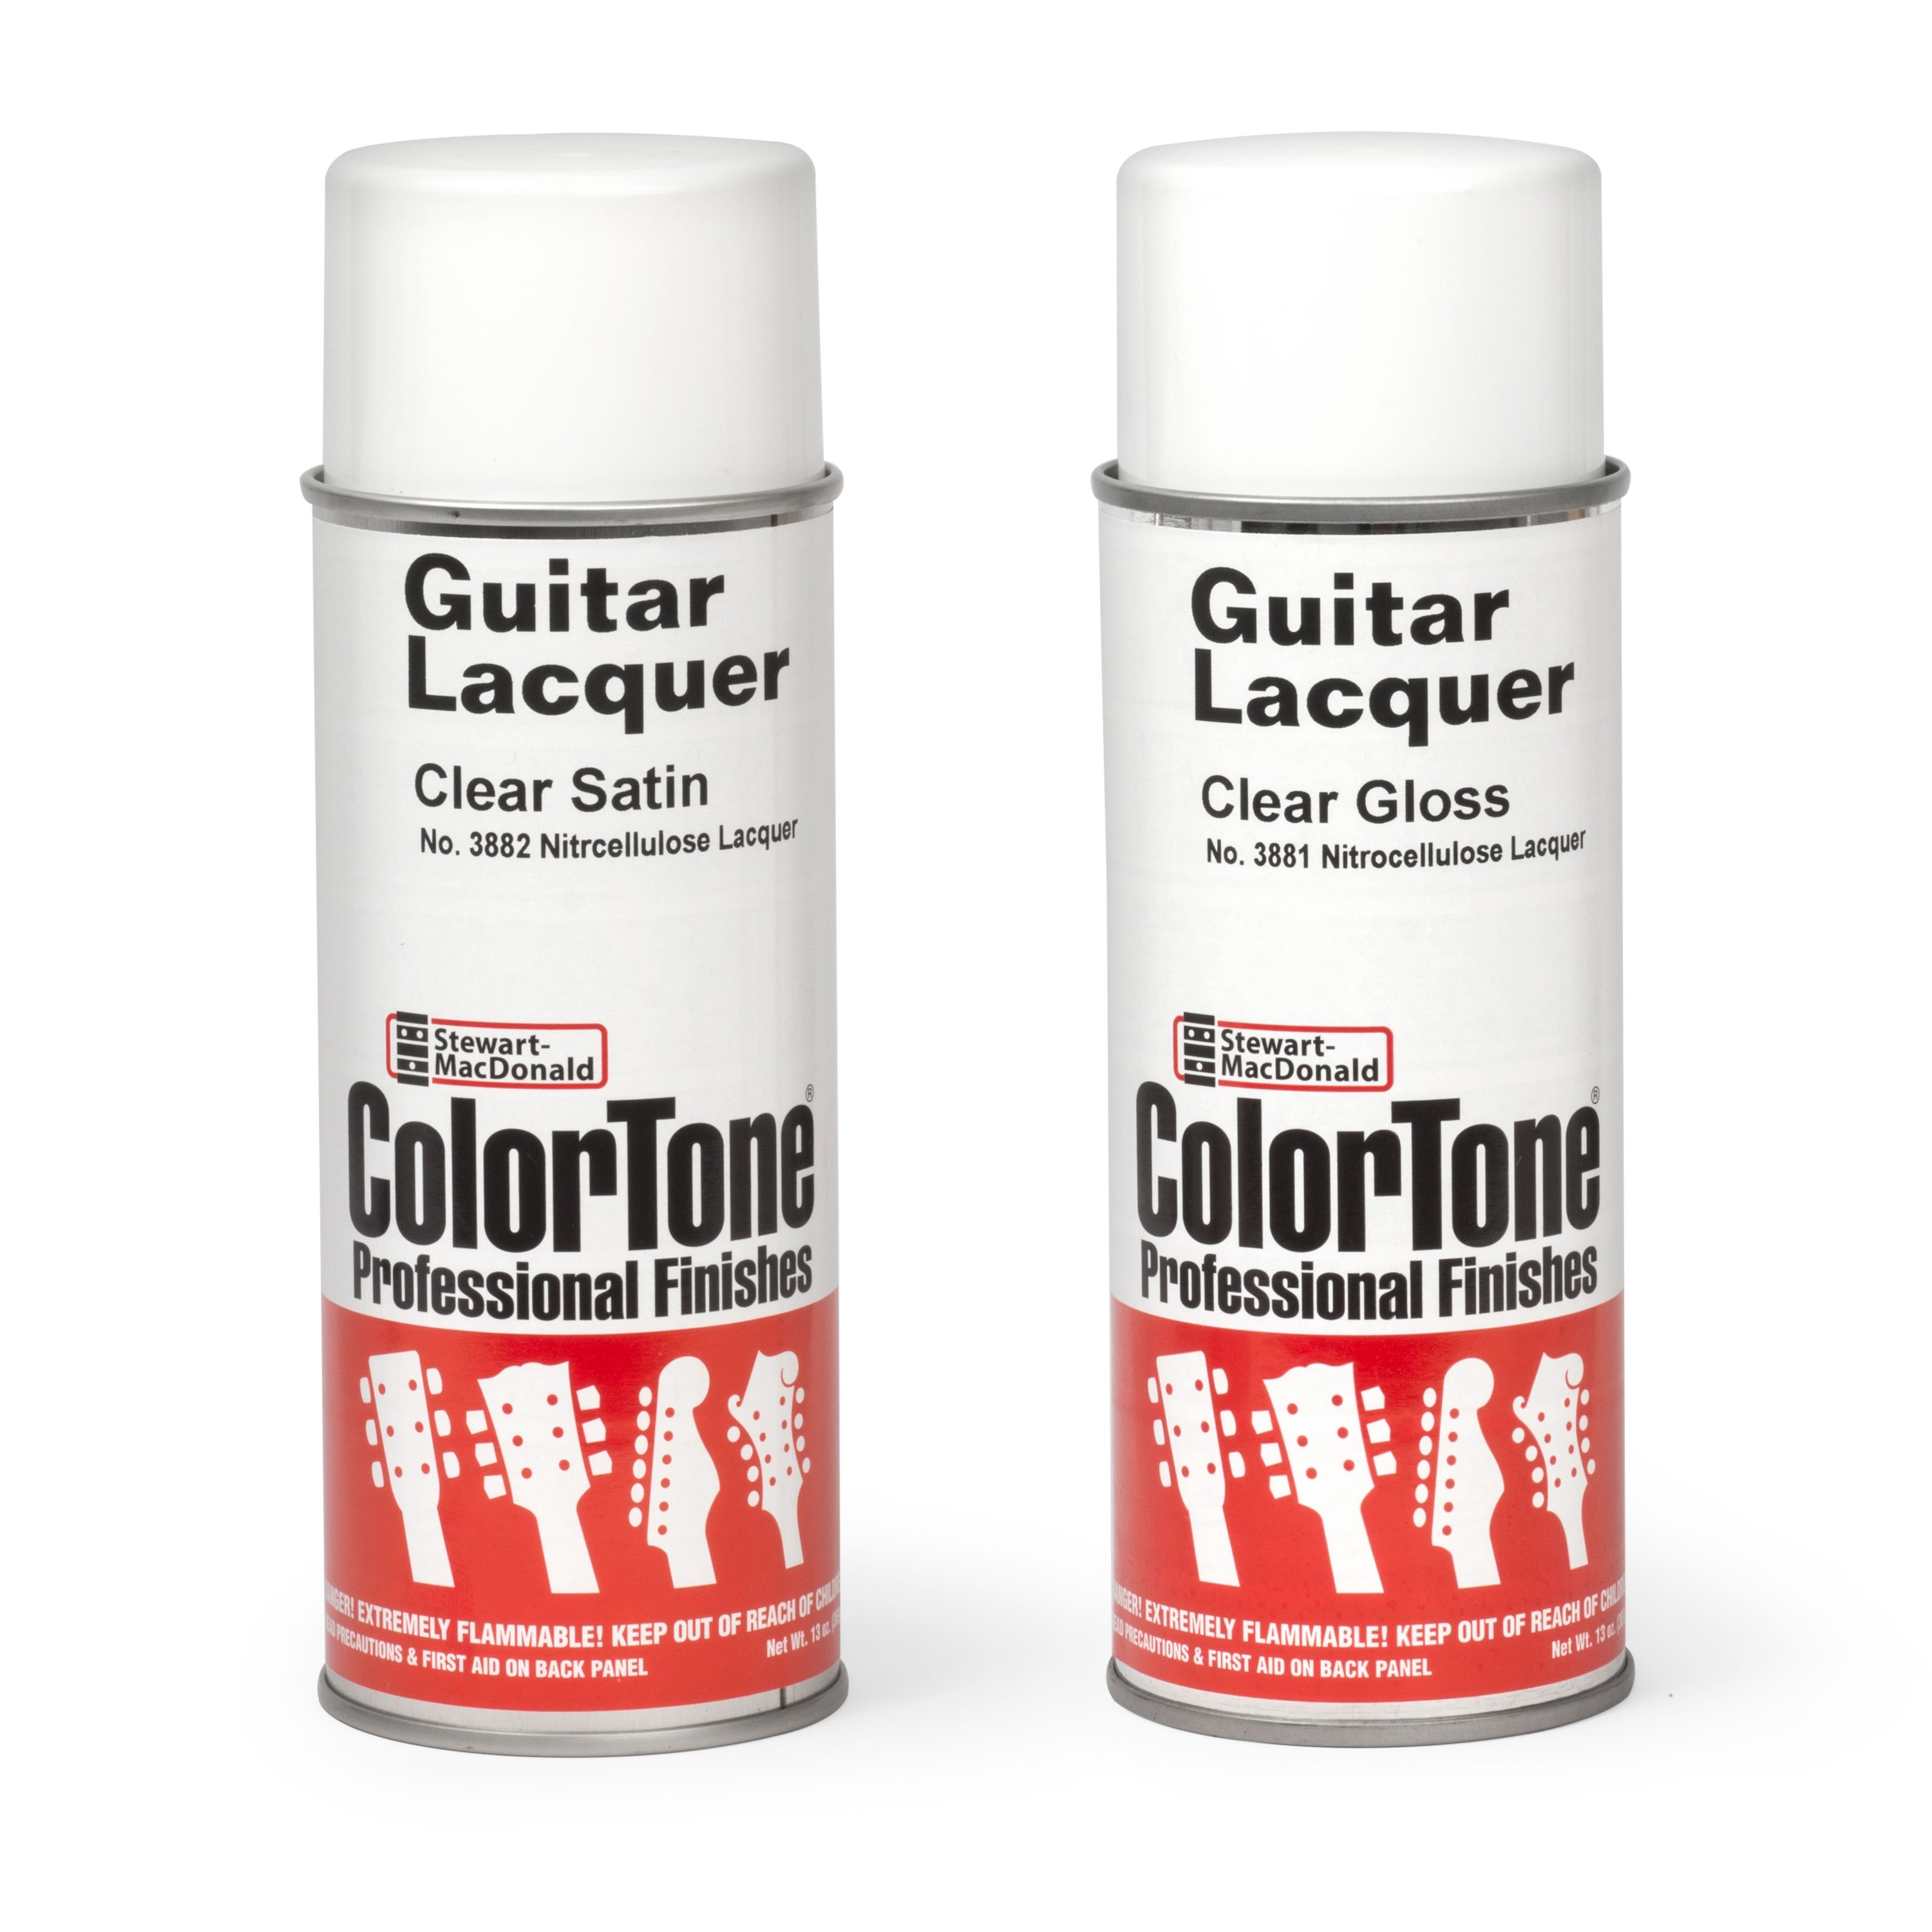
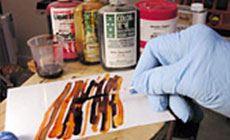
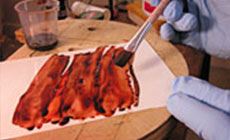
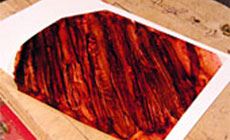
Check out this “scale model” of my J-45 for my granddaughter, Kate. It needed a pickguard, and I wanted the tortoiseshell to be scaled-down too! Here’s how you can make a custom pickguard in any colors you like. A half-sized copy of my 1939 Gibson J-35. My goal has been to make it as nice as I can without spending too much time on it. (I have no delusions of becoming the next great guitar builder on the planet!) I’m doing better than I’d have guessed — at least when I make mistakes, I’ve been able to cover my tracks! And I’ve stumbled onto a Mylar pickguard technique that’s new to me: I needed a piece of Gibson-style “fire stripe” pickguard material from the 1930s. Where you gonna get that? Then I remembered John Arnold, a renowned guitar maker and repairman from Newport Tennessee, once telling me that he made fire stripe pickguards by coloring clear acetate with alcohol stains. (John once built a replica of the Weymann Jimmie Rodgers guitar for Doc Watson). I’m game! Let’s do this! I traced my J-35’s pickguard on a yellow legal pad and scanned it into my Macintosh. I then reduced it to half-size (not the first time I’ve used Photoshop as a lutherie tool). You could accomplish the same thing with the scaling button on a photocopier, too. Next I cut a piece of clear Mylar pickguard material larger than the final pickguard and wiped a coat of fresh-mixed shellac on the top (non-sticky) side. I figured the shellac would give me a base to work on and perhaps keep my alcohol stains from pooling. I mixed Behkol (denatured alcohol) with ColorTone stain: vintage amber, cherry red and tobacco brown, each in their own plastic mixing cup. With a Q-tip, I swiped the mixes in stripes across the Mylar, working quickly since the Behkol dries fast. I roughly alternated the colors, but kept them random enough that it didn’t seem like a pattern. When the colors did run together into a puddle, I brushed them to create a natural streaked effect. What I got was a pretty darn good piece of what I was after! Since the Mylar has a self-adhesive back, I applied my colors to the top surface. I’ll seal that with several coats of clear lacquer to keep those baby fingernails from scratching off my fire stripes. A pickguard fashioned from non-adhesive Mylar could be glued down with Weld-On Cement, or with our double-stick tape. Tortoloid is a new pickguard material made exclusively for us by luthier Mario Proulx. Like natural shell, no two Tortoloid pickguards are exactly the same. I removed the white paper covering the adhesive, and replaced it with plastic wrap from the kitchen — so I can see the transparent effect of my fire stripes on the wood top. I further enhanced the color by spraying over my fire-striping with aerosol lacquer in vintage amber and cherry red. This added a nice orange tinge. Finally I sealed the colors with three coats of clear gloss lacquer, waiting 30 minutes between coats so that my fire stripes wouldn’t blur from too much wet lacquer. When the finish had dried all day, I traced the pickguard shape onto the Mylar and cut it out with scissors. A tiny version of my J-45’s fire stripe pickguard. I’ll stick it in place before I put the finish on the guitar, spray right over it like Gibson used to do. The extra coats of lacquer will also add that much more protection to my stained surface. Next time I try this, I'll remove the Mylar’s adhesive with naphtha and put my fire stripes on the underside, using glue or double-stick tape to fasten the guard. Then the color would never scratch off the face. Of course, Baby Kate will probably destroy this little guitar long before she wears away my fire-striping, anyhow!Making a custom “fire stripe” pickguard
I’ve been making a tiny guitar to give my granddaughter Kate:

Use the computer to resize the pickguard
Prepare the Mylar and stains
Start the “fire”
Check It Out!
Beautiful Imitation Tortoiseshell
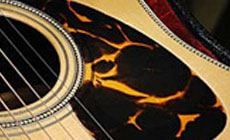
Now I’m ready to cut it to shape
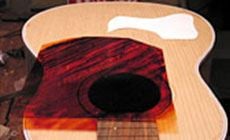
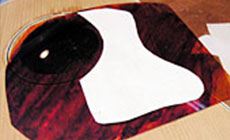
There it is:
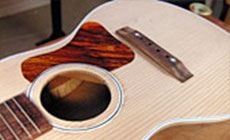
And I just had an idea...

