A shrinking pickguard cracks the guitar top!
Issue 177 November 08, 2012
In Dan Erlewine's shop: This Martin D-35 has a cracked top due to the pull of a shrinking plastic pickguard. Dan fixes the problem and shows how to keep this happening from happening again.
- Curling, shrinking plastic pulls apart the spruce grain.
- Making a splint to fill the crack.
- Using a suction cup to pump glue.
- Sealing the wood with super glue.
- Installing a replacement pickguard.
Video Transcription
Dan Erlewine: Here's a Martin D-35 with a pickguard problem. The pickguard was glued to the top right on the bare wood when it was made with a solvent cement that melts the plastic on the bottom and really bonds it to the wood. Now, 30 or 40 years later, the plastic shrinks and takes the wood with it. That warps the top and puts a little crack here and there between the sound hole and the bridge, the Martin Crack. They all seem to do it. The pickguard shrinks up, that black pickguard curls like a potato chip, and it sinks the wood in. It warps the top and it makes splits along the pickguard and along the grain of the wood. I'm going to go ahead and remove it all the way, and a little heat from a lamp will help that happen. It seems this one's going to come off very nice. There's a dime size piece of glue holding it on. That's it. That's great.
Removing the pickguard
Couldn't be better. I'm happy that I did that. I wanted to relieve it. I could tell it needed to come off. And I think the top wood is like, "Ah, I'm thrilled to have that piece of plastic unglued and get off of me. Get a chance to breathe."
I can tell this crack has been fixed before, so I'll heat up this blade and pull some of that glue from the crack, then re-glue it and probably fill it with a sliver of spruce. This is just like getting your teeth cleaned. Before I can fill the crack, I'll seal the bare wood in this case with Super Glue, could have been a lacquer. I had the bare wood there. I put some super glue on it. It's a quick, easy way to seal it so when I do put a pickguard back on it, it's not on the bare wood again. And if somebody else goes to peel it off, it'll come off fairly easily.
Making a splint to fill the crack
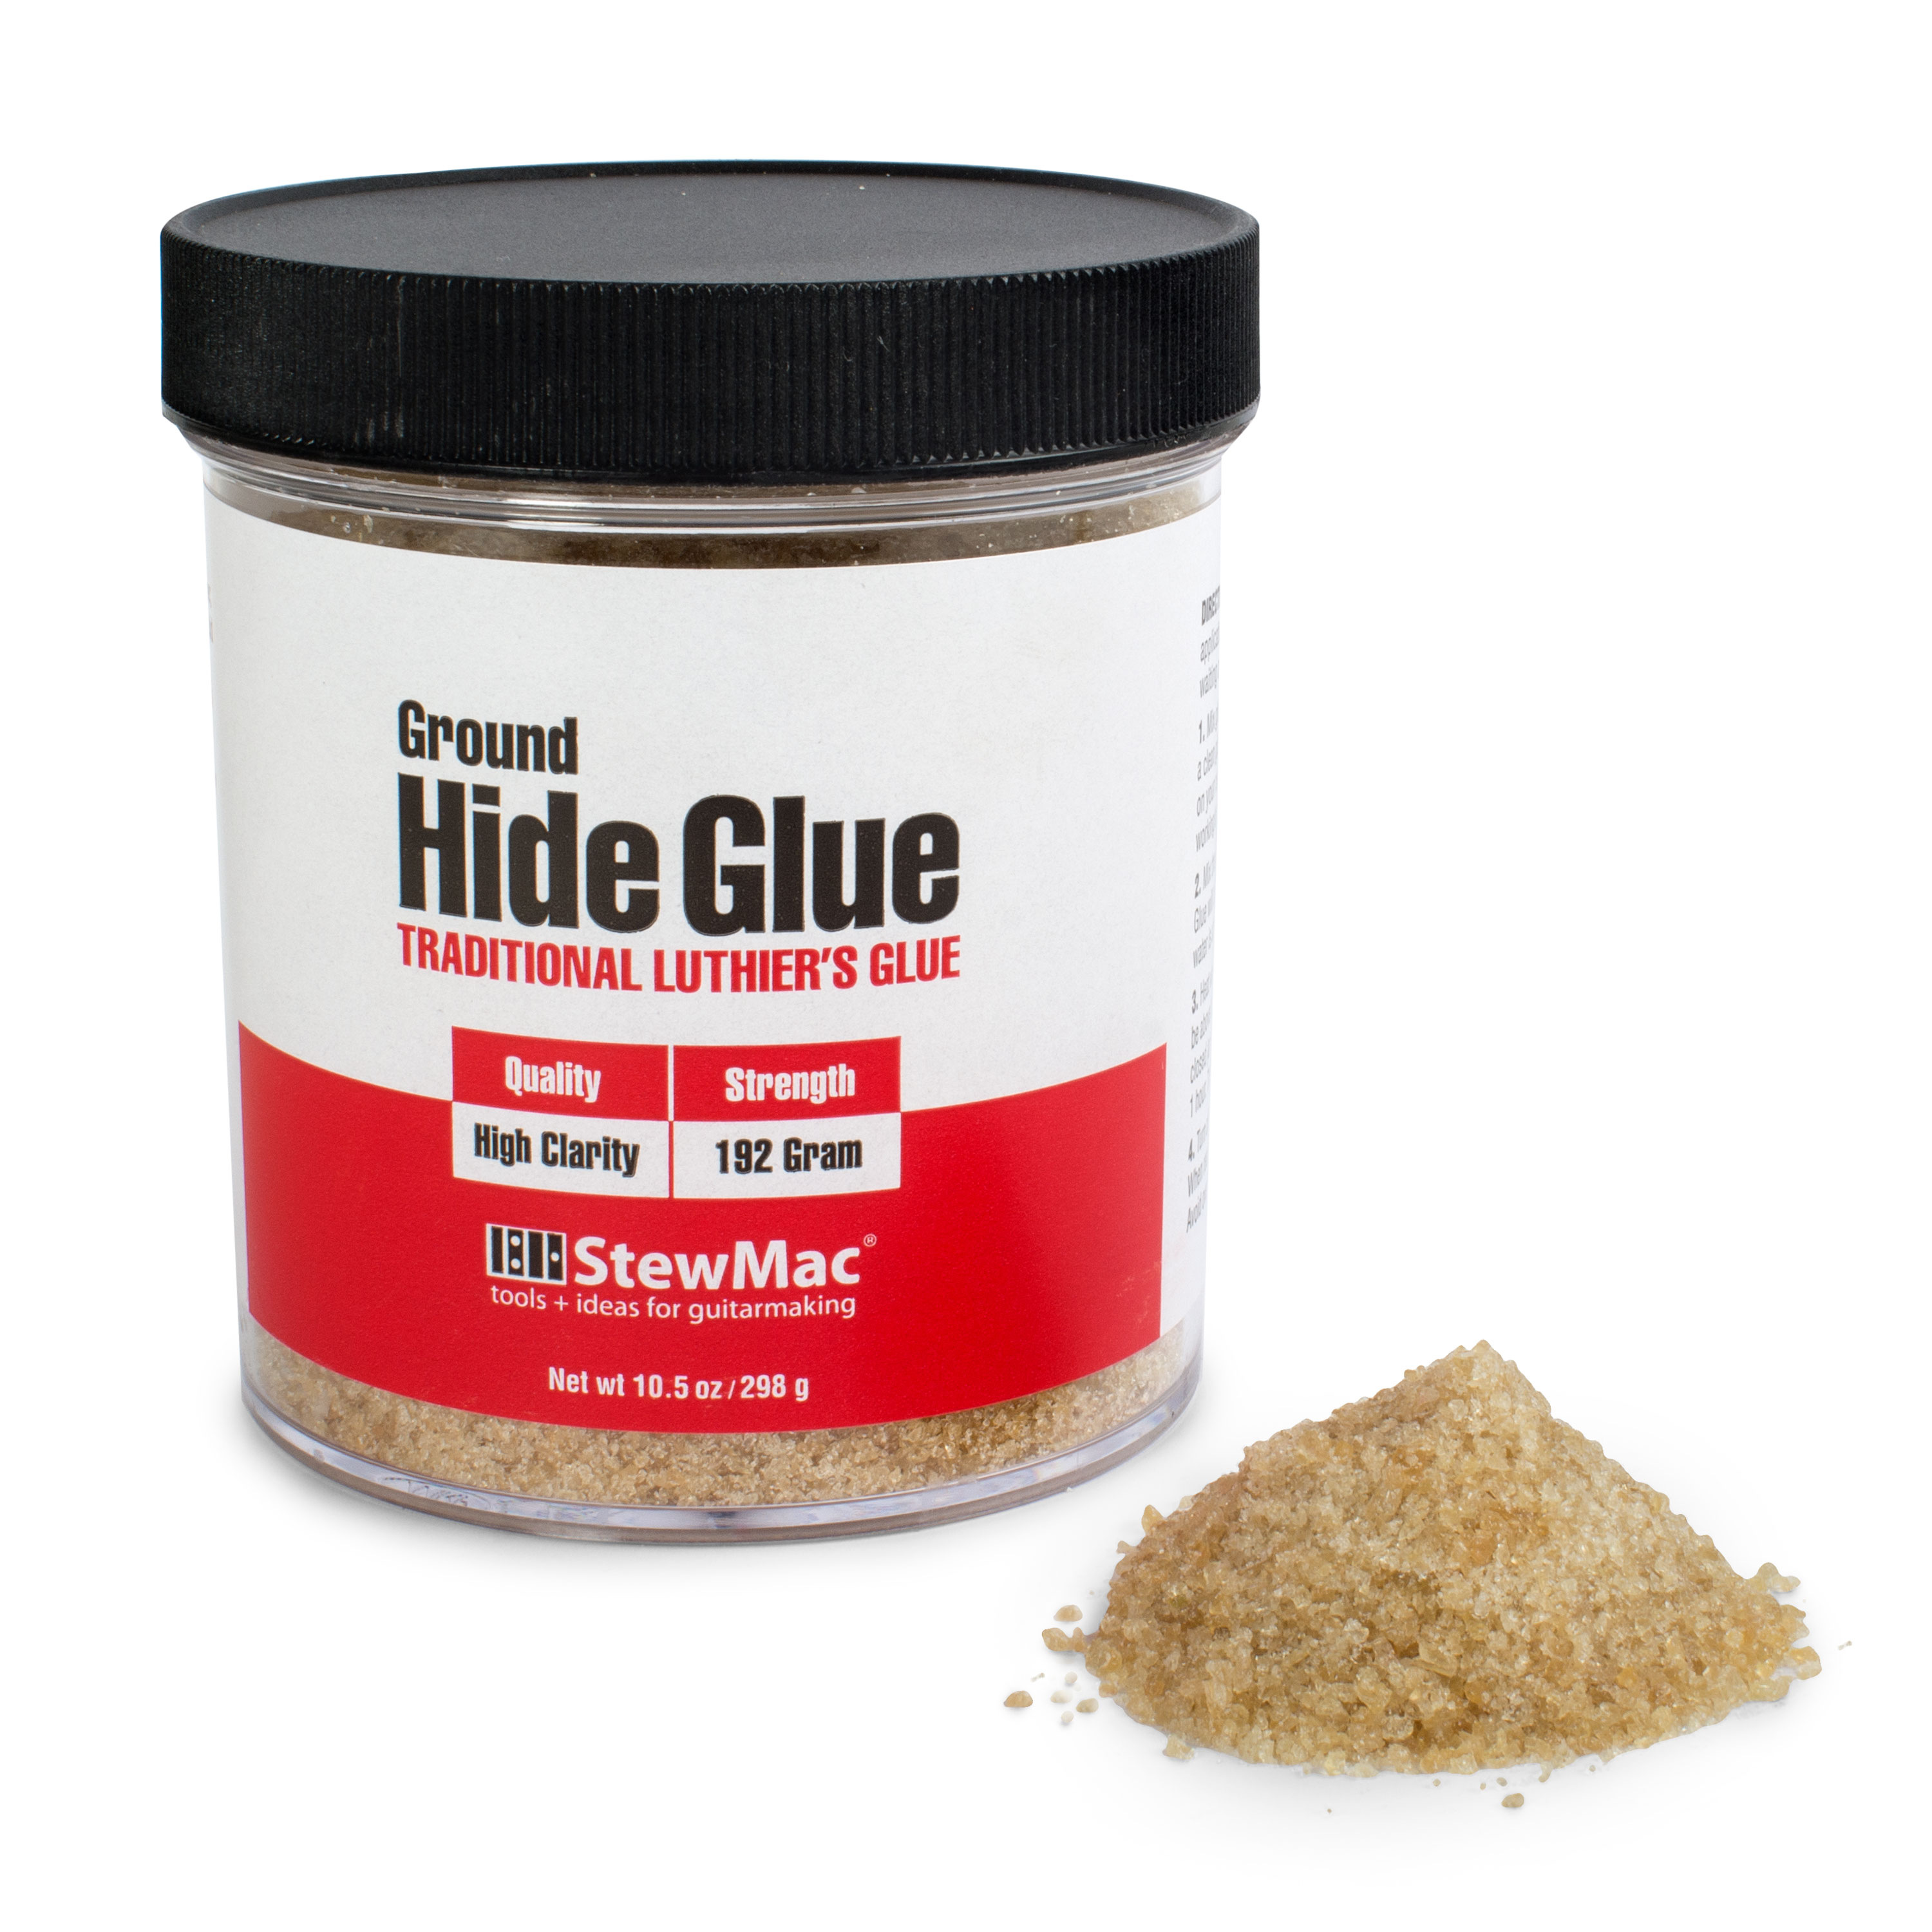
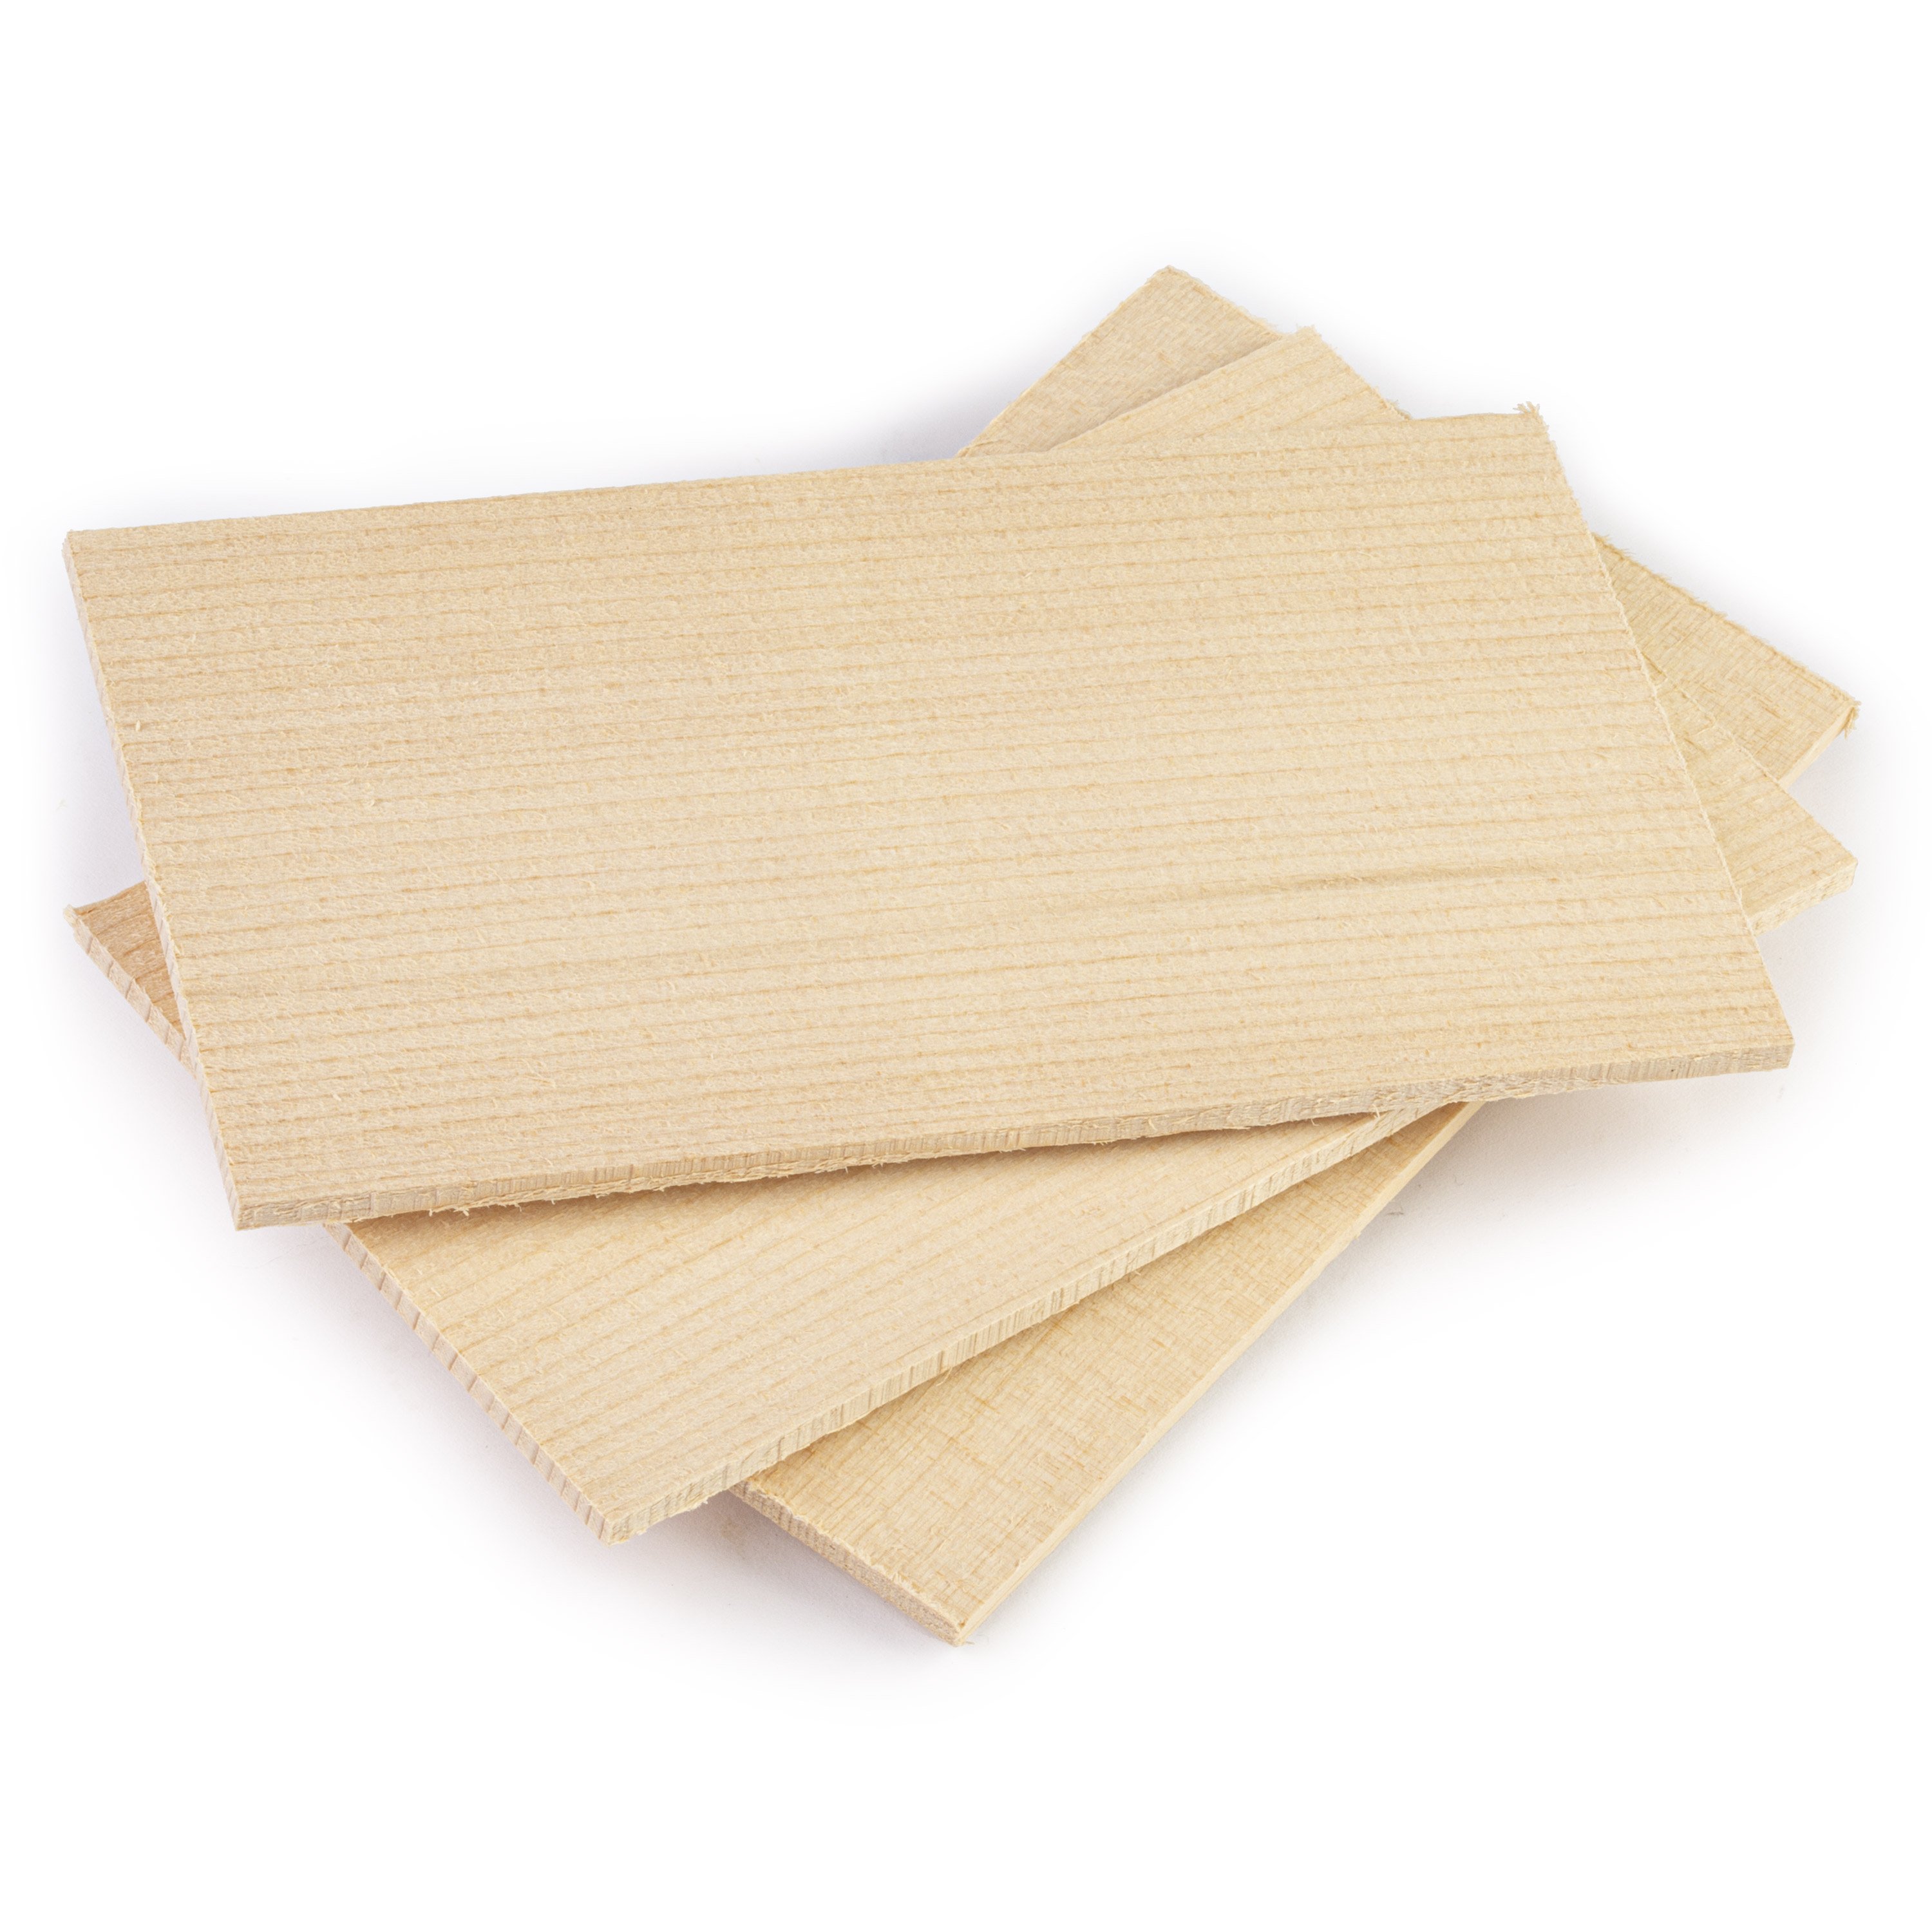
What I use for braces and for spruce repair are old piano soundboards. I used to get the maple back braces off of them. I made my first Les Pauls out of that, and all of the spruce just tons of it. Killer red spruce from the 1800s. One little piece of wood. You won't see it later anyway, because the pickguard will cover it. This goes on the inside underneath this crack, so when I pump glue in there, it doesn't fall through and get on the back. Here's my saxophone Inspection Light. That's my favorite inside light. [on-screen text reads: Hot Hide Glue] That's all the glue I need.
Using a suction cup to pump glue
I learned the suction cup trick from a violin repairman and maker [Dan is pushing a suction cup into the glued areas]. And he said, "When we do it on a violin, we use the suction cup from one of those hanging thermometers in the kitchen window and we pump the glue into the top and it'll go deep right through to the inside."
Installing the splint
I'm going to slide that piece of wood in there real quick here. Clean up, clean up, clean up. I'm going to press that piece down a little bit and break it off. Come in with my caul, and I can look down through it now and see squeeze out. I can see what I want and it looks real good. I'm going to pop it off, clean it, and put a piece of wax paper in there. And that's the last chance I'm going to get to see this thing until it's dry. It's going to take longer to dry than usual because it's closed off from the world with this caul on there. I'm moving right along with this thing because it's hide glue. We're just going to let that sit for at least six hours.
Making a replacement pickguard
Okay. I waited overnight for the glue to dry and I'm going to check out the work. It looks good and it came out nice and flat, so I'm going to move on to making a pickguard. This morning, when I got that caul and wax paper off there, I was real happy because the top stayed flat and the crack had closed up quite nicely. I did put that piece of wood in it, but just a sliver, and I sealed it with a little Colored Shellac. I'll definitely be making a pickguard because this one continued to shrink since yesterday and I see a lot more wood exposed around the edges. If you want to bring that camera in, you'll see it. I'm really happy I took it off because when I took it off, it shrank overnight even more. Today, it's come down another 16th of an inch.
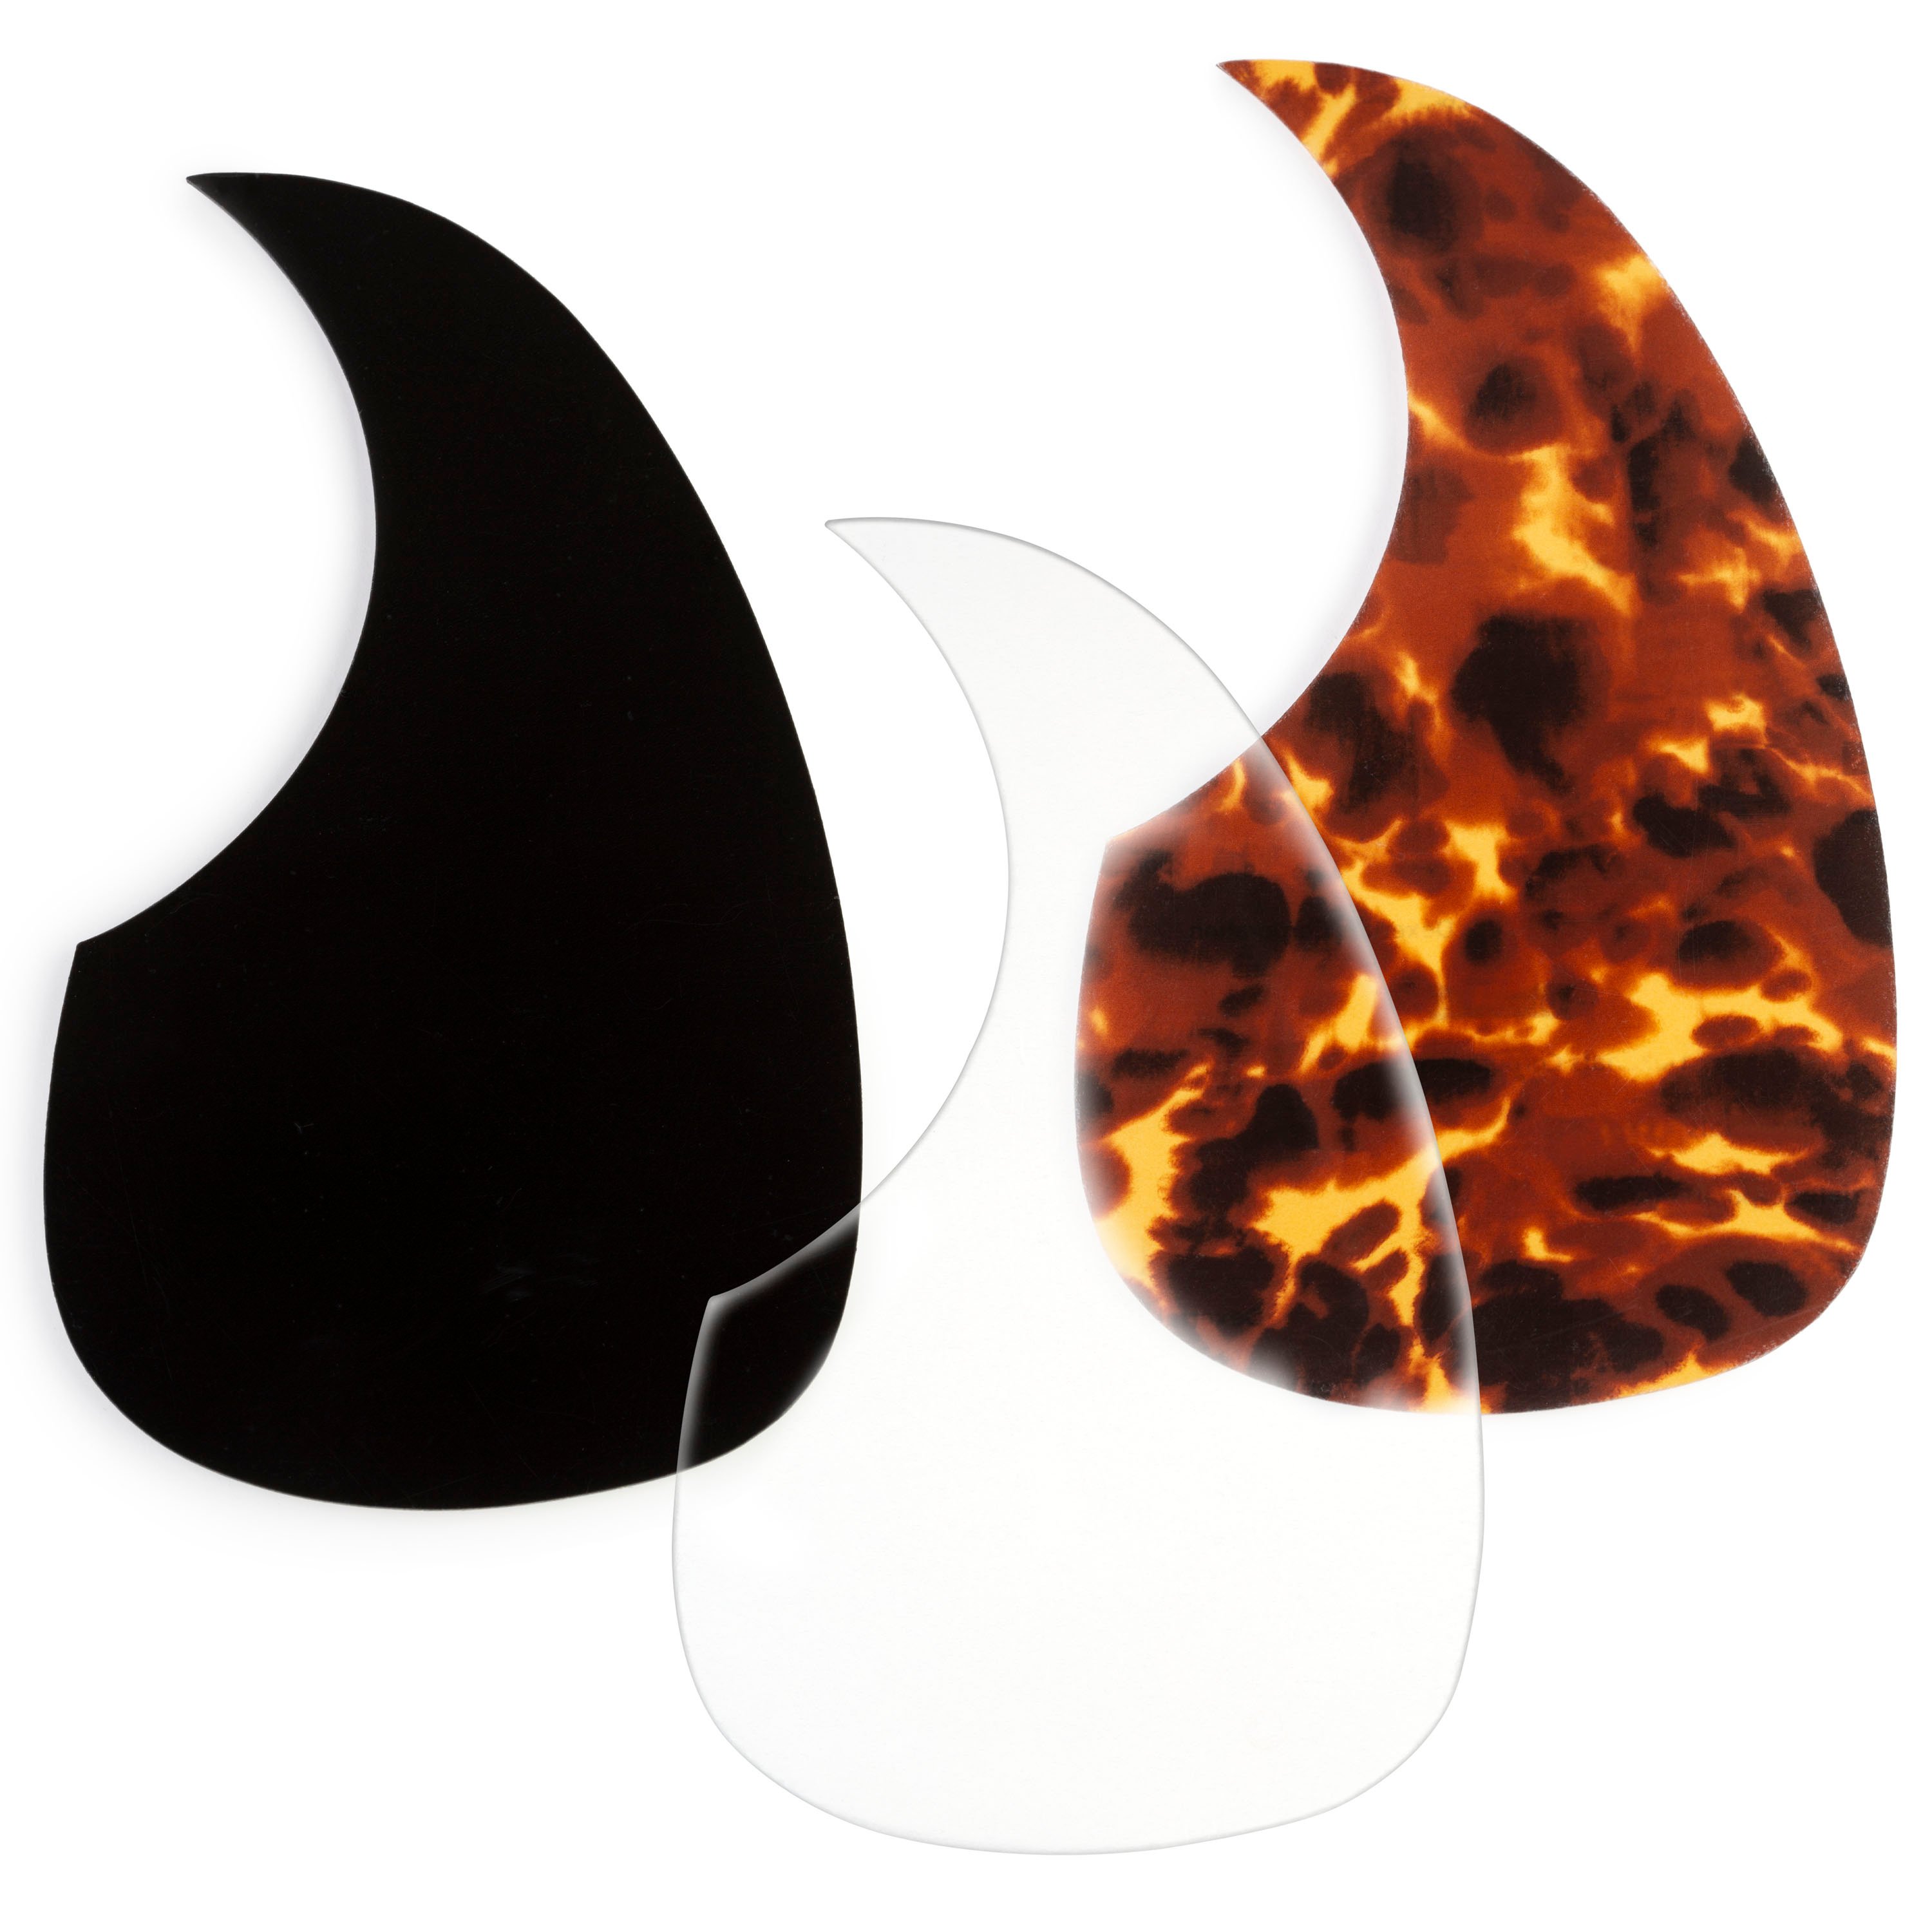
So here's my template, the original. I'm tracing around it with a pencil on the new material. You may not be able to see the line, but I can, and I'm cutting to it with a pair of scissors. Just roughing it in as close as I can, then I'll get on it with a file. And I took Double Stick Tape, turned the new material upside down and put a half inch caul on it shaped like a pickguard. This is going to be my riser and I'm sticking the original pickguard to it from the top, just as a visual aid to help me see as I file. And then I can use my Fingerboard Leveling Files to smoothen the coarse cut. Laying flat on its side at 90 degrees to the work piece and I file to the shape. Today I found an old bowl that my wife doesn't want and it's perfect. It's exactly the size that I want, and I put some 80 Grit Double Stick Tape on it, and that's what I used to sand that ring. Okay, now I got to be careful.
What I have here is using Repair Magnets to hold the pickguard down for a second while I very carefully tape around it with one eighth inch wide Latex Stripers Tape. That shows me the outside shape of my new pickguard and when I take the pickguard off, I can see where I'm close to the lacquer line or not. See that? I'll take a little bit more off and check it again. I may tape off two or three times while I do this getting closer and closer to the final line.
I'm just not going to really get any closer than that and I don't even want to try. I could tape it off one more time. I'm so close that by the time I scrape the burrs off and take some fine sandpaper and smooth and polish that edge, I'm ready to stick it down.
Installing the replacement pickguard
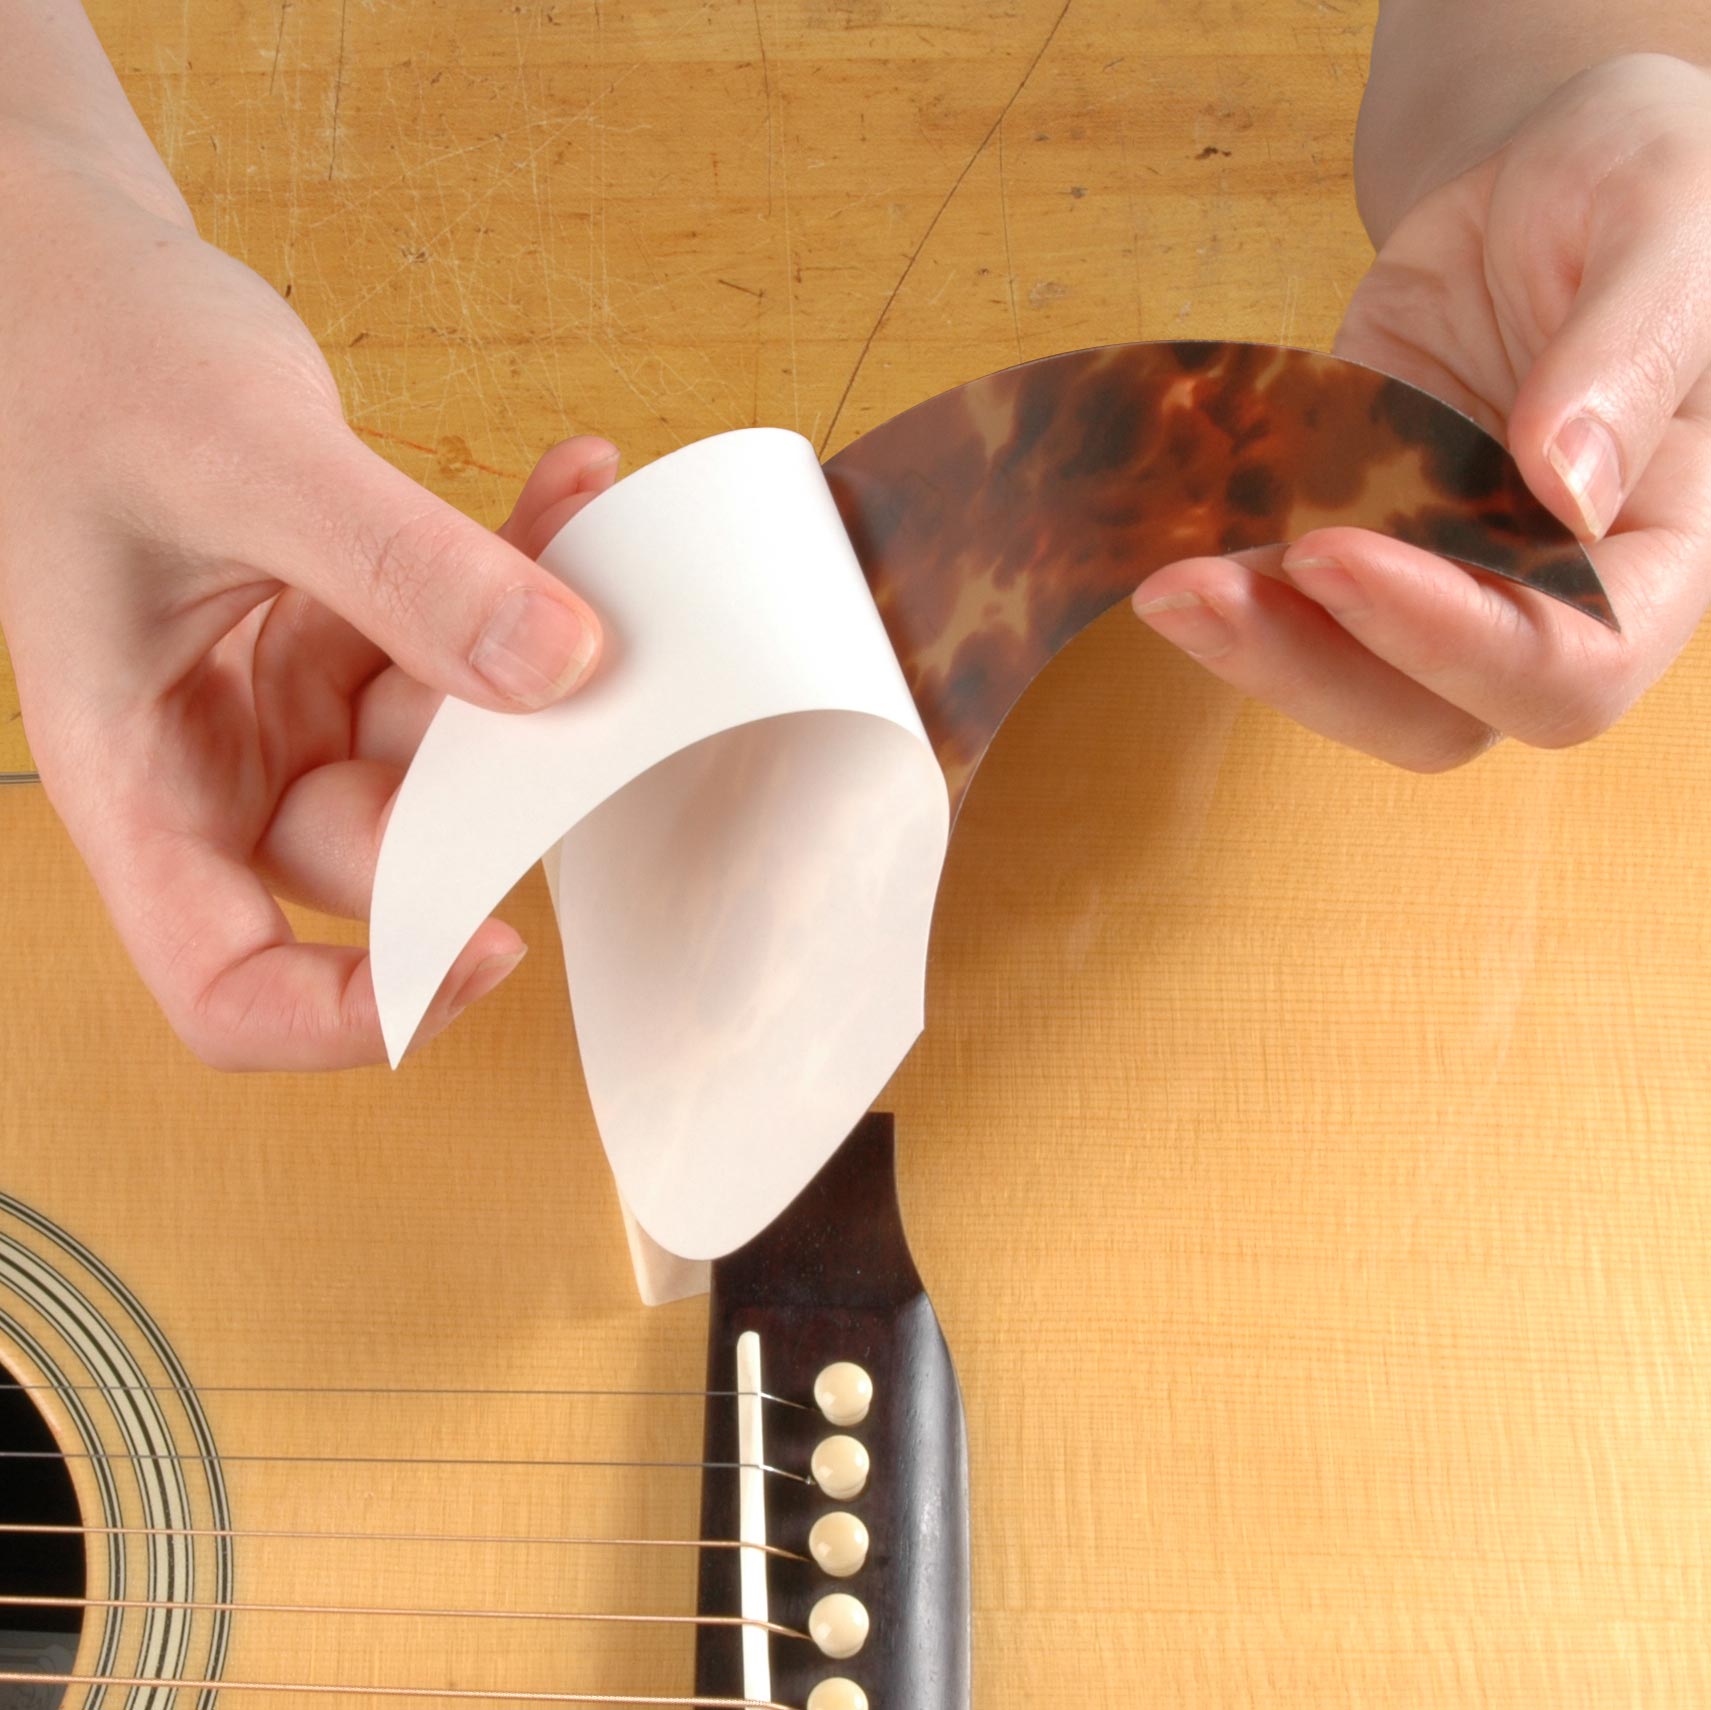
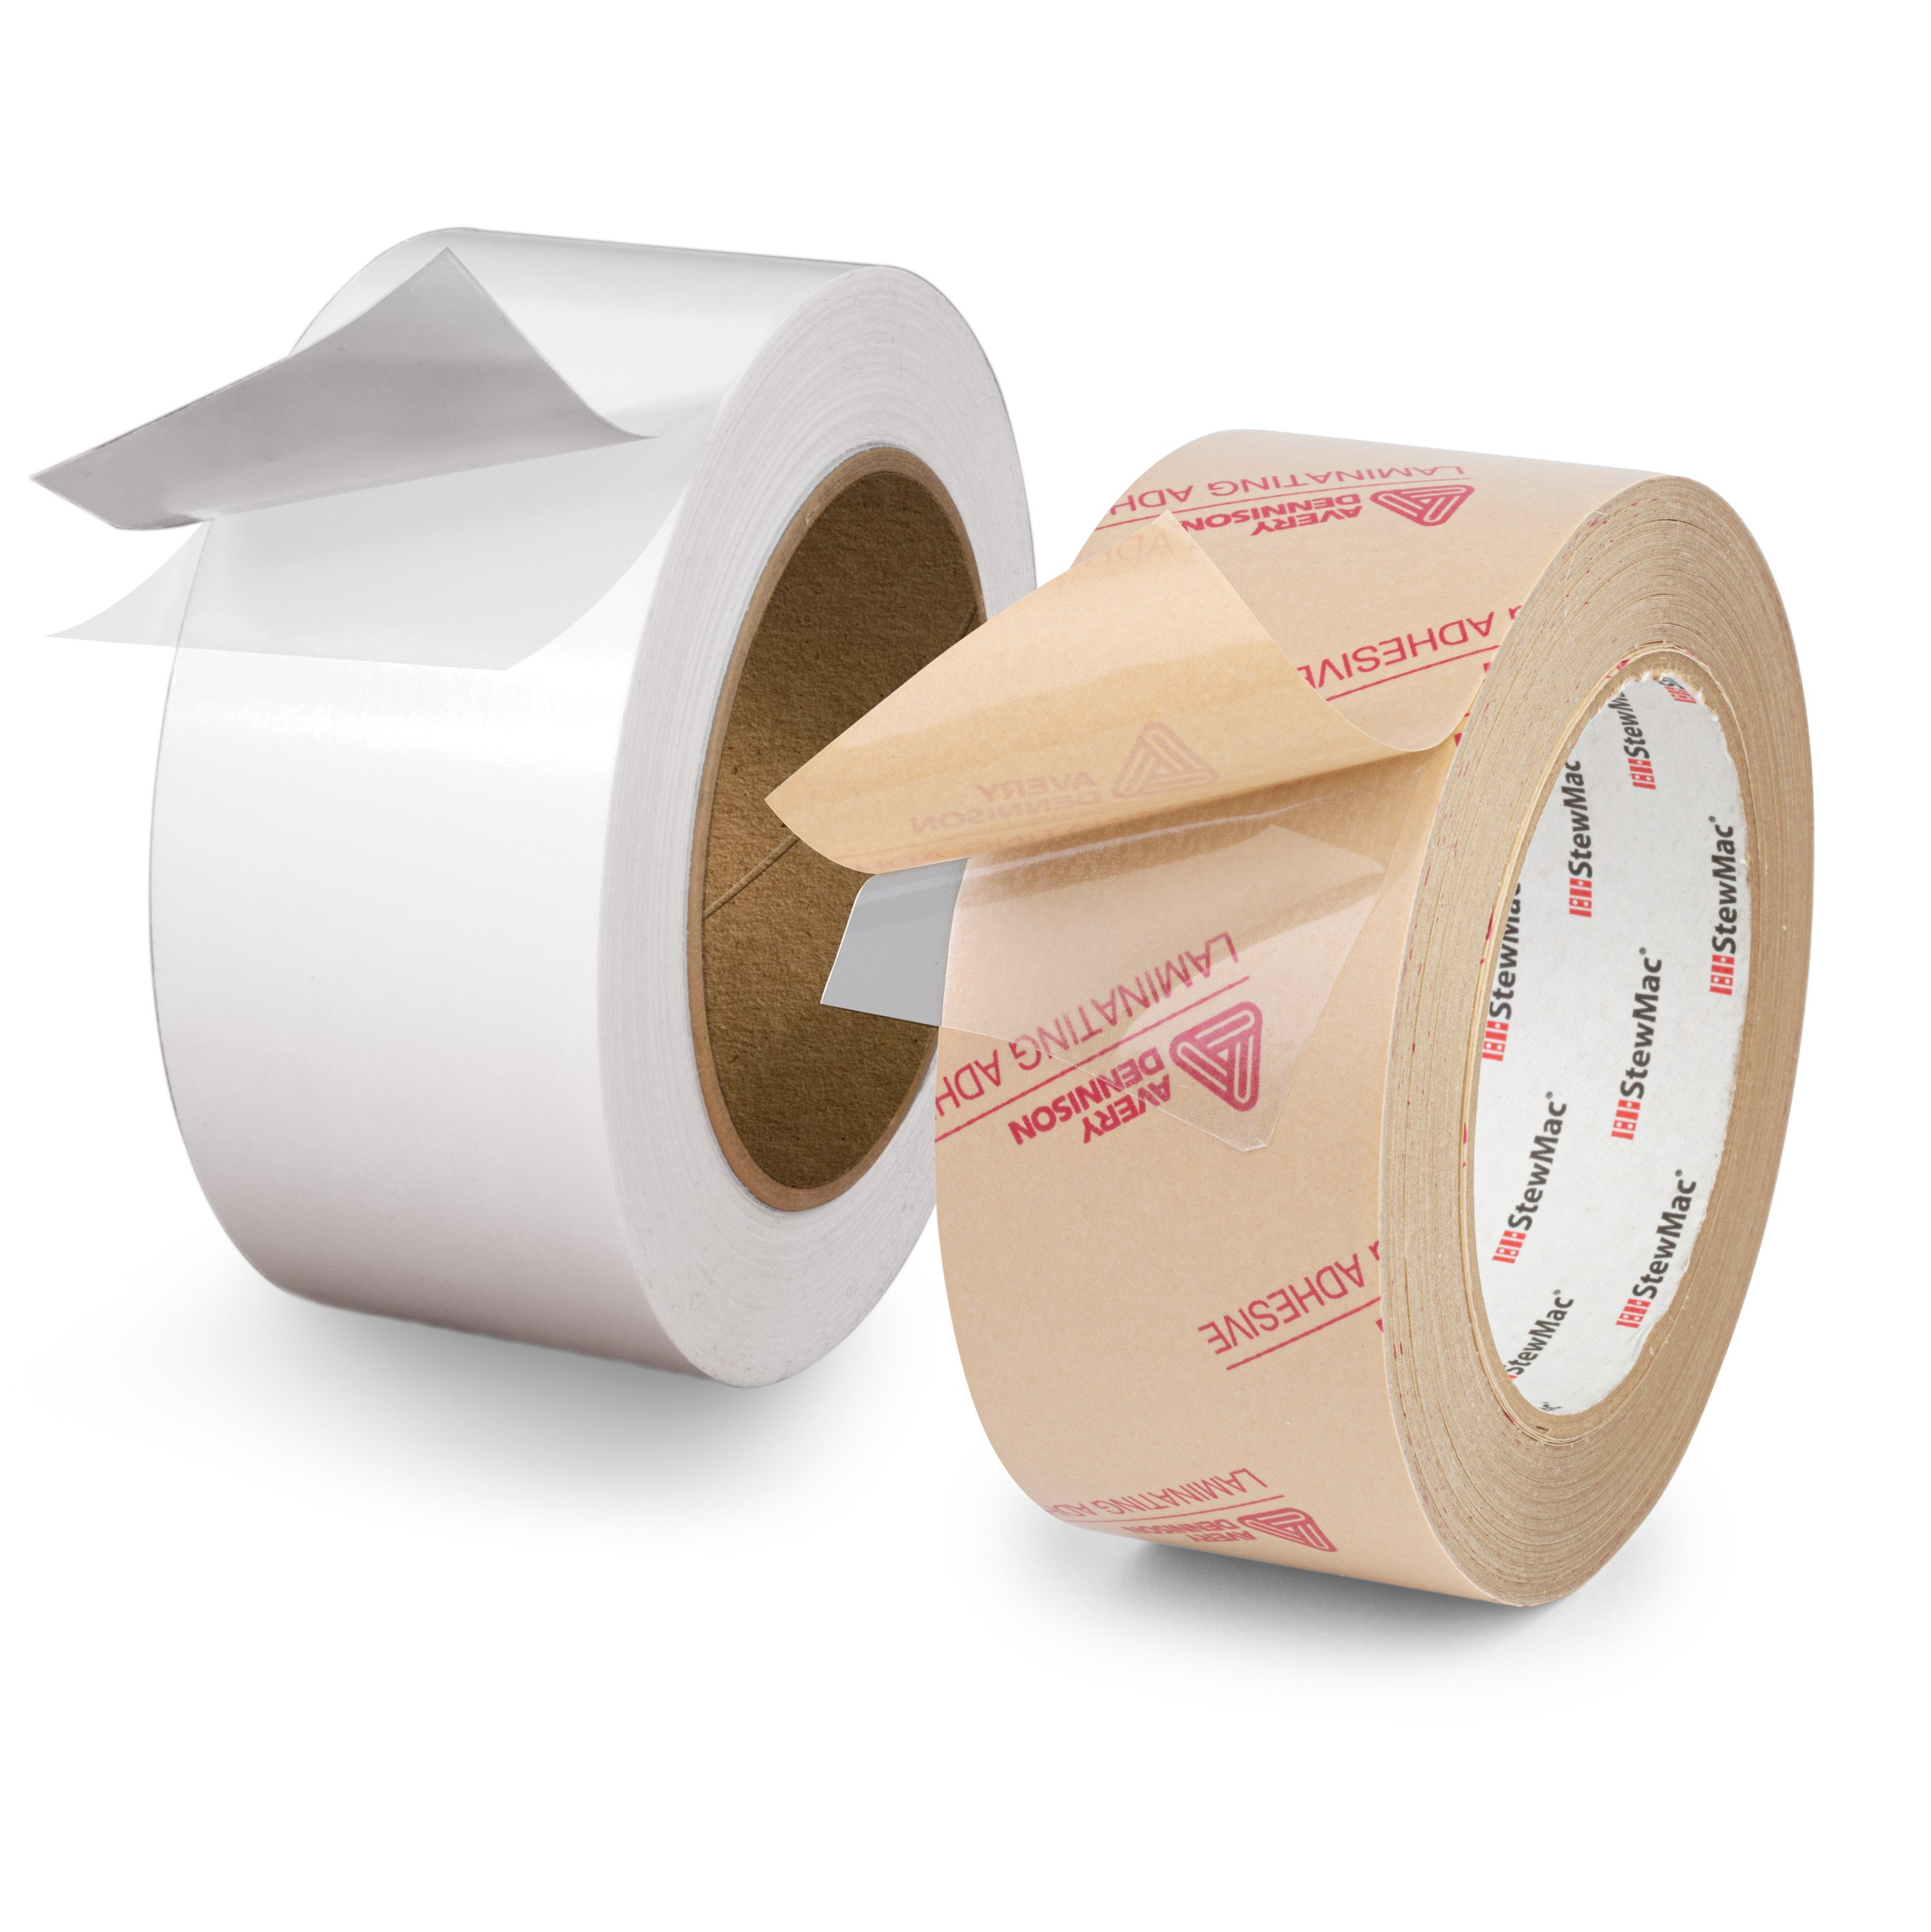
I'm about ready to put the pickguard on. I took the 12,000 grit Micro-mesh Paper and sanded scratches into the surface to get rid of that gloss and give it an older patina. Worked out great. I'm going to put some adhesive backing on it, cut it to shape, leave the adhesive on while I bring it up into place and put a strip of masking tape here as a hinge. That way I'll pull off the paper and fold it down right in place. That's it. That's a tough job. I'm real happy with the way it came out. The top flattened out. We fixed the crack, made a great pickguard, even made it look a little bit old. And we're back in business.


