How to match color on vintage binding repairs
If you sand yellowed binding, you’ll create a patch of glaring white. Here’s how to age your work to make it blend in.
Guitars don’t all age alike. What was once white becomes who-knows-what color.
Two Les Pauls of roughly the same age.
The black guitar’s seen a lot of sunlight and a lot of smoky bars. The other, a rare Harvest Gold sunburst, has been tucked away in its case. Both had white binding once, but only one does now!
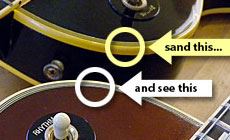

The black one had been refretted, and whoever did the job sanded down the fingerboard, binding and all. The nice yellow of age was sanded off the edges, turning them to glaring bone white. Who knows why this was done, but it wouldn’t have been hard to hide the evidence. I agreed to do the needed touchups, coloring the exposed binding to match the old.
I’ve been getting good results with ColorTone tinted aerosols. Last February, I wrote a Trade Secret about an inlay repair that was "aged" with ColorTone Vintage Amber. I decided to use that color in this case, too, but here I wanted to apply it with an airbrush. It’s easy to mix colors in an airbrush, and the small spray pattern is just right for spraying such tiny areas.
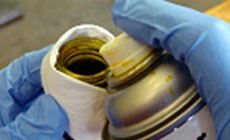
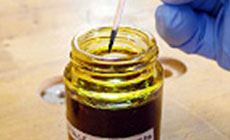
I filled the airbrush jar by spraying the vintage amber into it.
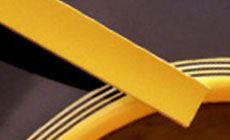
Here’s the airbrush, and a piece of white binding I sprayed.
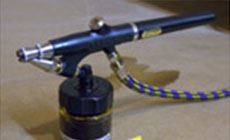
The color is close, but it’s too yellow.
I darkened it slightly by adding a tiny bit of tobacco brown stain.
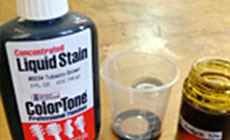
I really do mean "tiny bit," too! I simply dipped a toothpick into the tobacco brown, then dipped it onto the amber. That’s all it took.
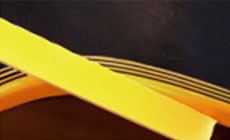
Now that's a better match. This is the mix I’ll spray.
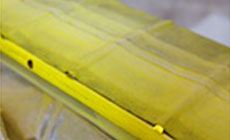
I masked off everything but the binding that needed color.
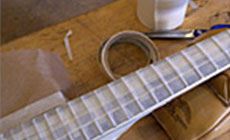
With a few passes of the airbrush, I had the desired tint.
When the tape came off, the color looked a little strong. But it mellowed out in the next steps, as I worked it over with mildly abrasive polishing papers.

After the finish cured, I scraped off any overspray that got onto the fretboard or parts of the binding that didn’t need the color.
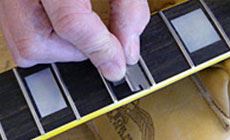
3M polishing papers on a small rubber pad tamed down the intensity of the tint.
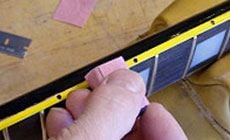
I paid attention to the way the original lacquer looked on the body binding, and did my best to add similar wear by polishing more in some places than others. In some spots, the original binding had been worn so the yellowing was scraped away, so I buffed right through the color in a few places, too.
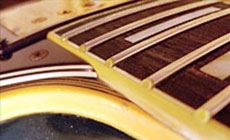
This black Lester’s done and looking good. It’s ready to go home to its owner with a new fret job—and you can’t even see it’s been colorized!