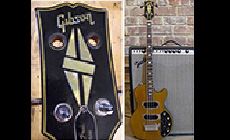
Simple inlay repair on a Les Paul Triumph bass
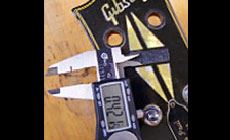
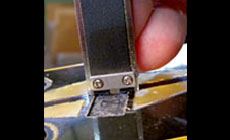
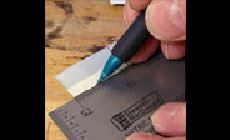
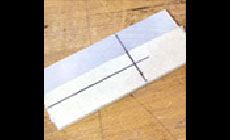
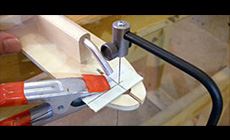
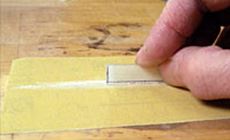
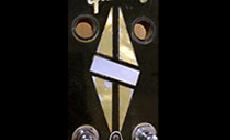
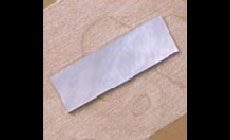
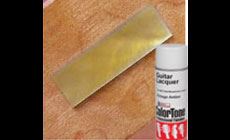
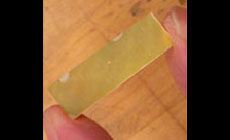
This early-’70s Gibson Les Paul Triumph bass belongs to my friend Jon. It's been in his family for decades. These oddball basses feature low-impedence pickups and a control panel similar to the LP Recording Models of the period. Very cool! It’s in fine shape and plays great, but the middle part of its split diamond peghead inlay is missing. That tiny detail stands out and really draws your attention when looking at the instrument — kind of like a missing tooth. Replacing a rectangular piece of pearl is quick and easy, and I'm going to do it as a favor to Jon. Here we go: After removing two of the tuners to give myself some room to work, I used a micro chisel to clear the old glue and bits of debris out of the inlay cavity. I measured the length, width and depth of the area with my digital caliper. I marked out the dimensions on the pearl blank. A piece of masking tape on the blank gives me a good surface to draw on. I'm ready to start cutting pearl. Green abalone, figured pearl, gold pearl and black pearl in blanks for custom work, or already cut into ready-to-inlay shapes. It only took a minute to rough cut this blank using a fine-tooth blade. Pearl dust is nasty stuff so wear eye protection and a dust mask when cutting and sanding inlays! I fine-tuned the size by sanding the piece to the proper dimensions using 320-grit Stikit paper on my workbench. 320-grit is a good choice. Coarser paper makes deeper scratches, and finer paper can leave the piece so smooth that glue won’t hold it well. After a few tries, I was able to tweak the new inlay to get a perfect fit — but it's too bright looking! The old lacquer topcoats over the peghead face have taken on a nice vintage color over the years, so my missing tooth problem is now a color mismatch instead. Of course I want to leave the original peghead finish as-is, so I'll spray matching lacquer onto the inlay before installing it. Before going crazy mixing custom lacquer colors, I recalled Dan Erlewine used vintage amber aerosol lacquer on a '52 Les Paul peghead, with great results. I tested a single light coat on a pearl scrap and got a near-perfect match, so I did the same on the actual inlay. I used a micro chisel to scrape a few bare spots on the dried lacquer to match the worn look of the rest of the inlay. I also scratched a few cross-hatch lines on the back to give the glue something to bite onto. I used only a few small dabs of #20 super glue to hold the inlay in place. I didn't want any glue squeeze-out to require touch-ups on the peghead face. I then clamped the inlay in place using a wax paper covered caul and a camless clamp for a few minutes while the super glue cured. This great piece of Les Paul history is going back to its owner with a complete smile, but not before getting the obligatory brick wall shot!I don’t see one of these every day!


Check it out!


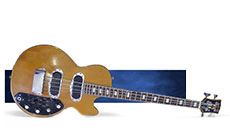
The final product looks pretty darned good!