Bending Sides With a Bending Iron
An introduction to bending wood using a Bending Iron.
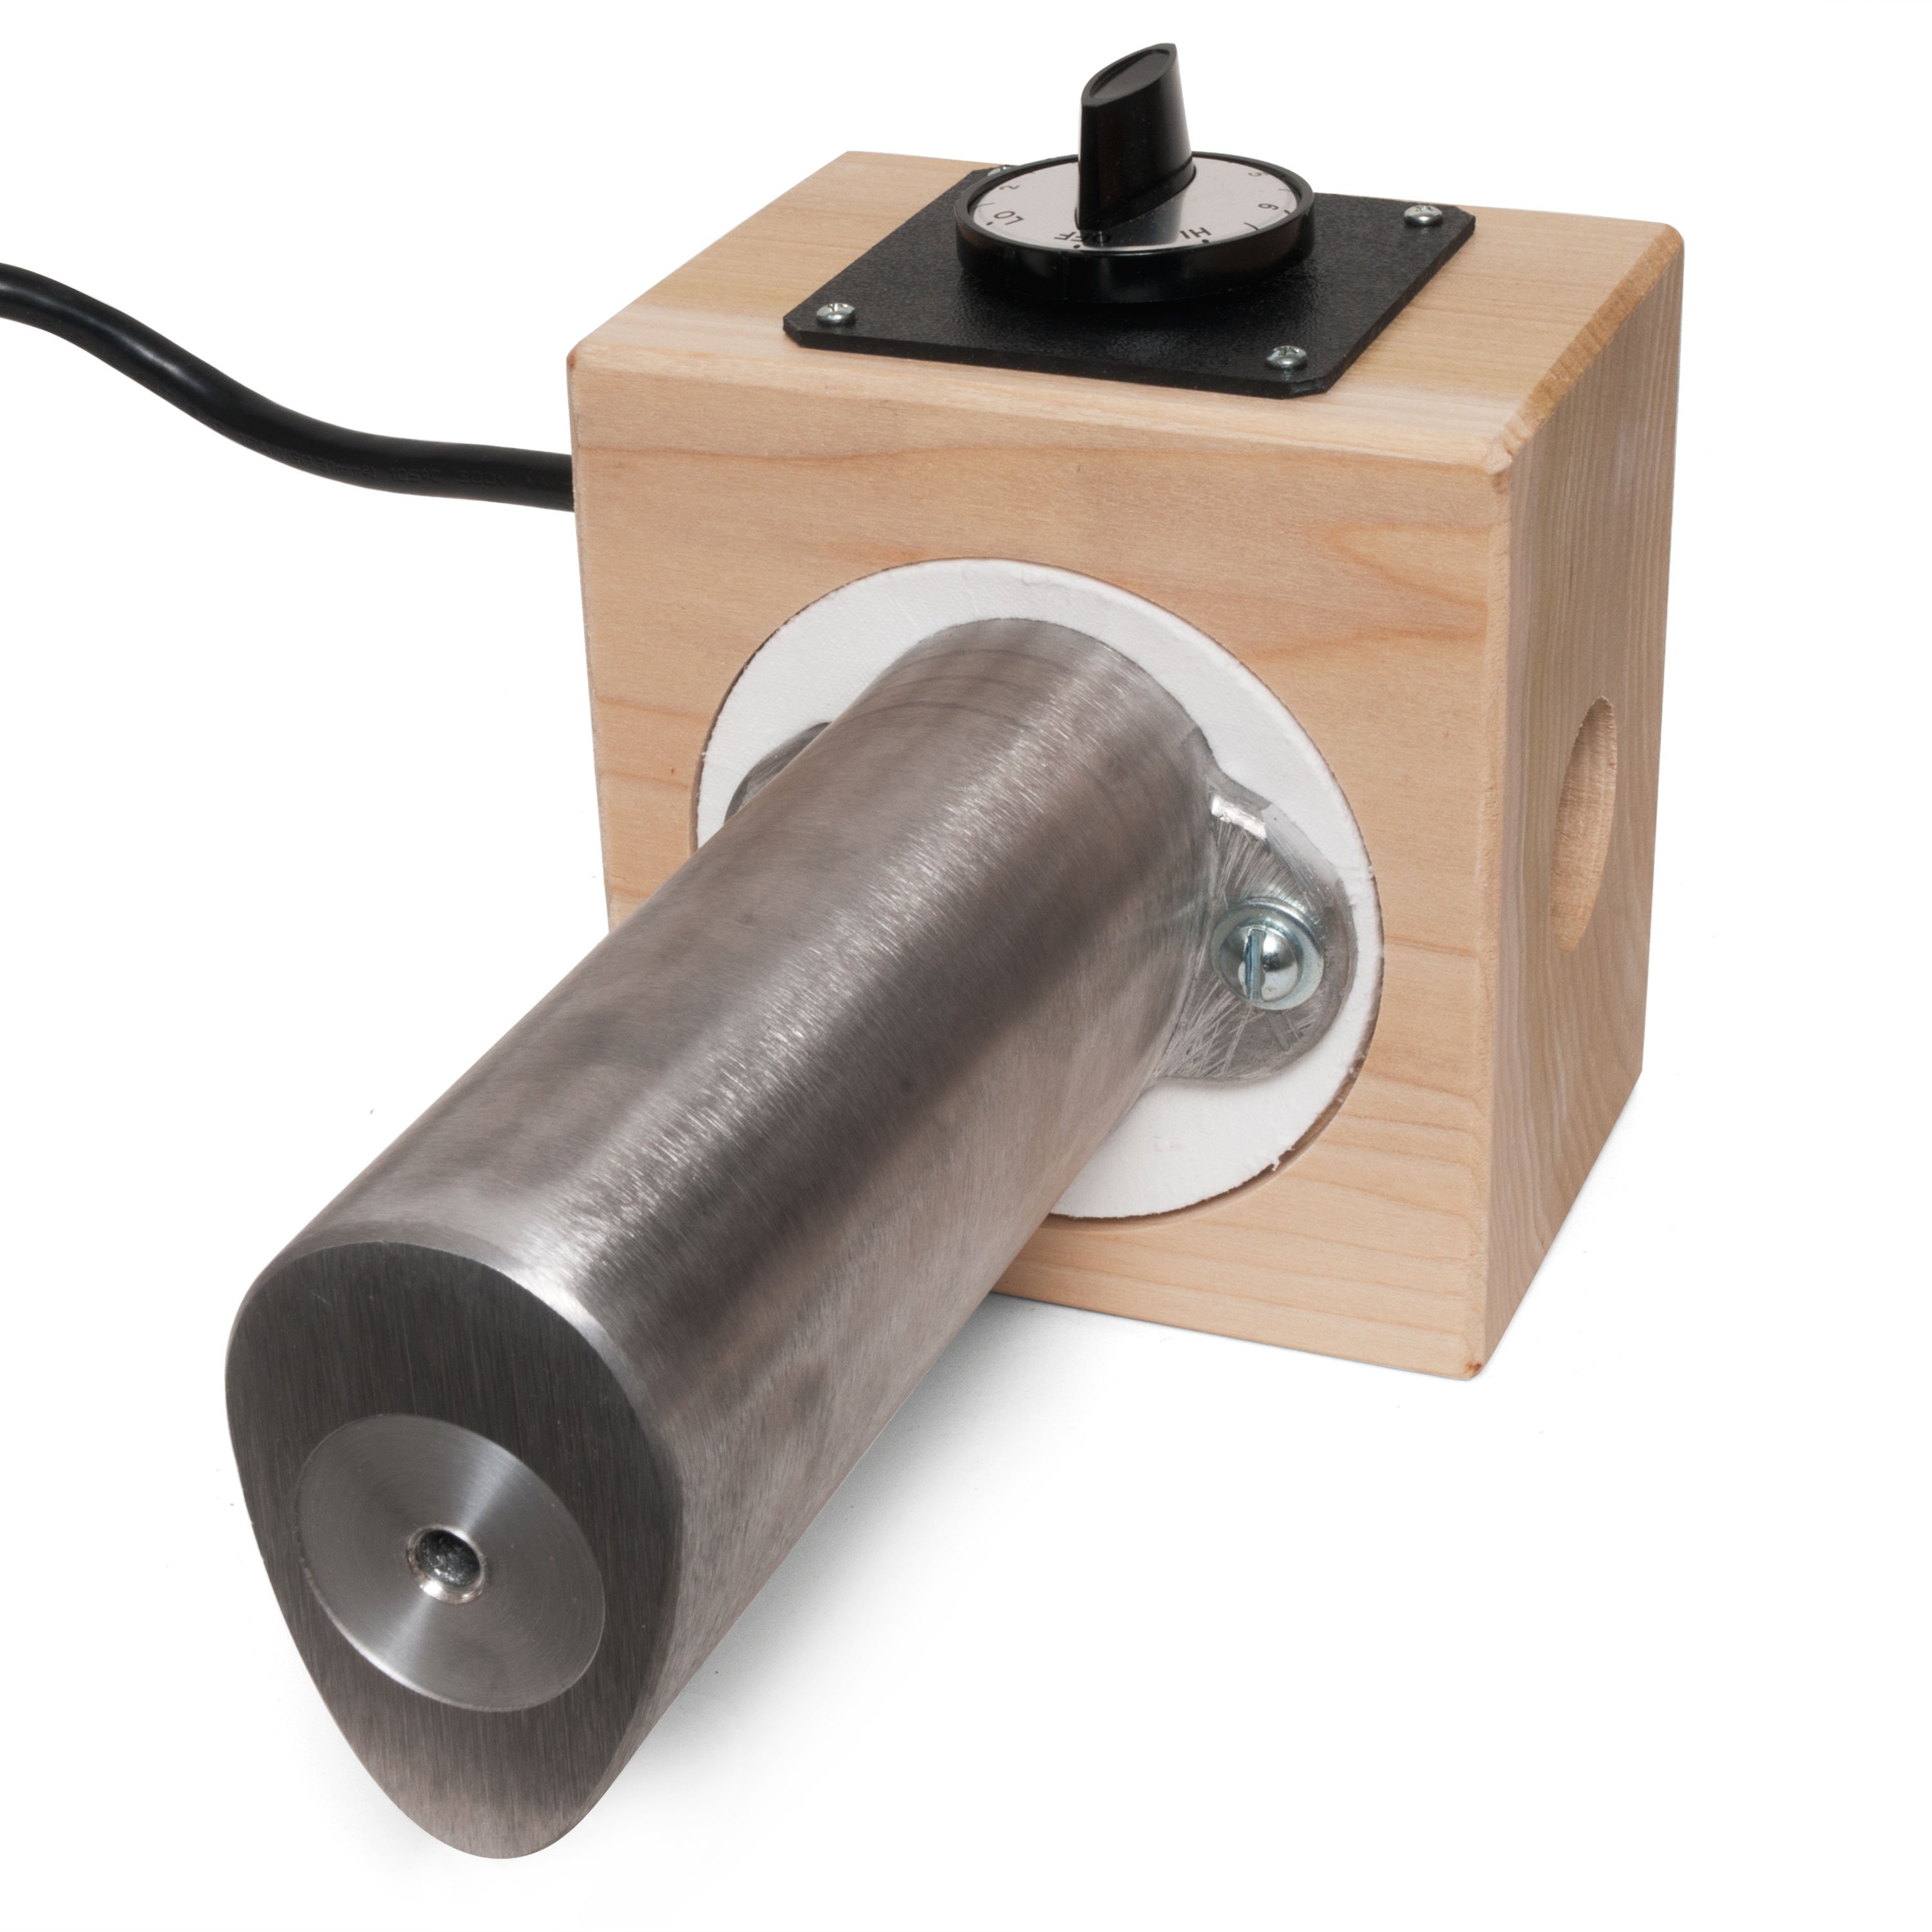
The Bending Iron maintains an even, thermostat-controlled heat for bending wood. Use it to shape sides, wooden binding, and repair patches for guitars, mandolins, violins, and dulcimers. Its aluminum bending form provides support under the wood being bent, and is shaped for use on both large and small curves.
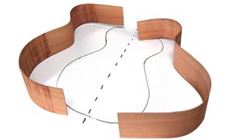
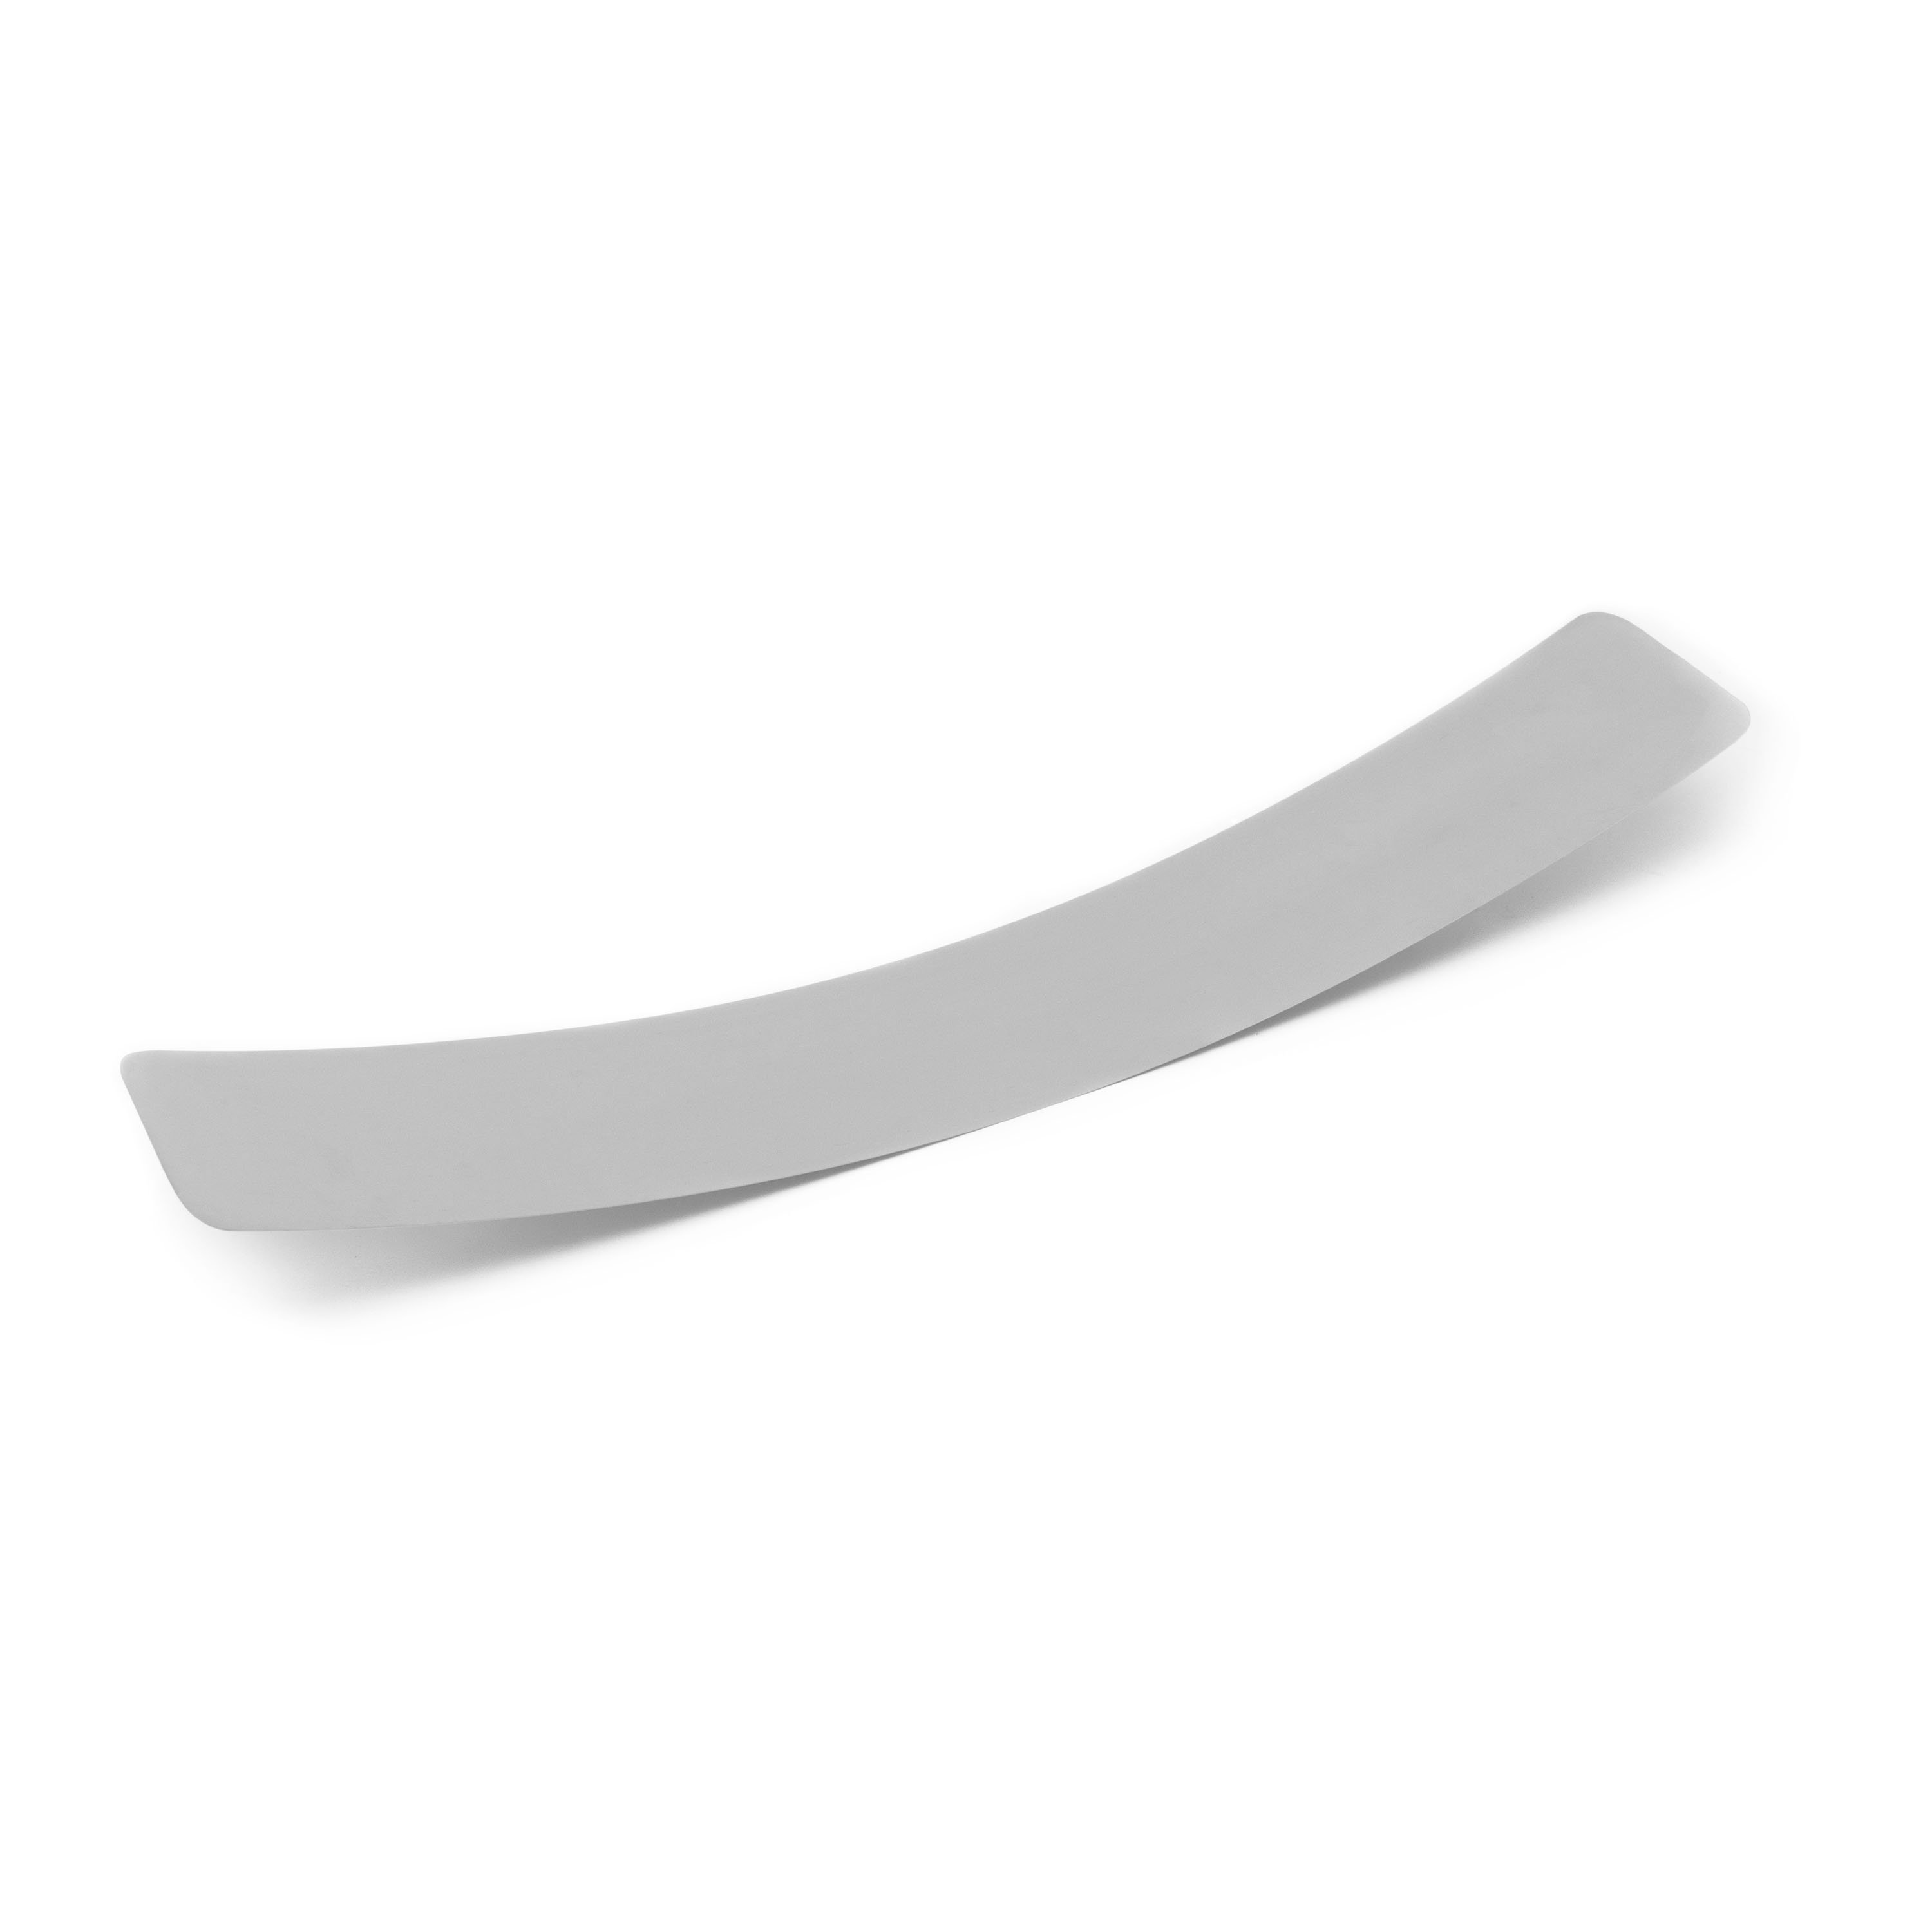
We recommend that you use our Spring Steel Straps for Side Bending to support the top of the wood being bent. An optional extension can be attached for bending particularly tight curves (useful for F-style mandolins, for example).
Bending wood sides takes practice
It's a good idea to try the technique on scrap wood until you get the feel of the process. Even professionals sometimes break a difficult piece of wood. Each type of wood used for instrument building bends differently. They have unique responses to water, heat and the severity of the curve being bent.
Easiest woods to bend
Plain Indian rosewood and plain maple are the easiest to bend. Rosewood has resins that make it pliable, and maple is tough, so it holds together well.
Medium difficulty woods
Plain mahogany and walnut are next in difficulty. These woods are somewhat brittle and resist bending if the conditions aren't just right.
Hardest woods to bend
Figured woods are the most difficult to bend. Figured curly koa is particularly tricky to bend. Curly maple and figured rosewood (particularly Brazilian rosewood) bend just a little bit easier than curly koa.
Wood thickness
Our side wood is thicknessed to approximately .095", sealed from moisture, and stored flat. Some builders will thickness-sand it down to approximately .085" before bending it because it bends more easily, with less chance of breaking. Keep in mind that about .002" to .005" will be sanded away during the building process.
Other helpful tools for bending
Gloves: To protect your hands from heat and steam.
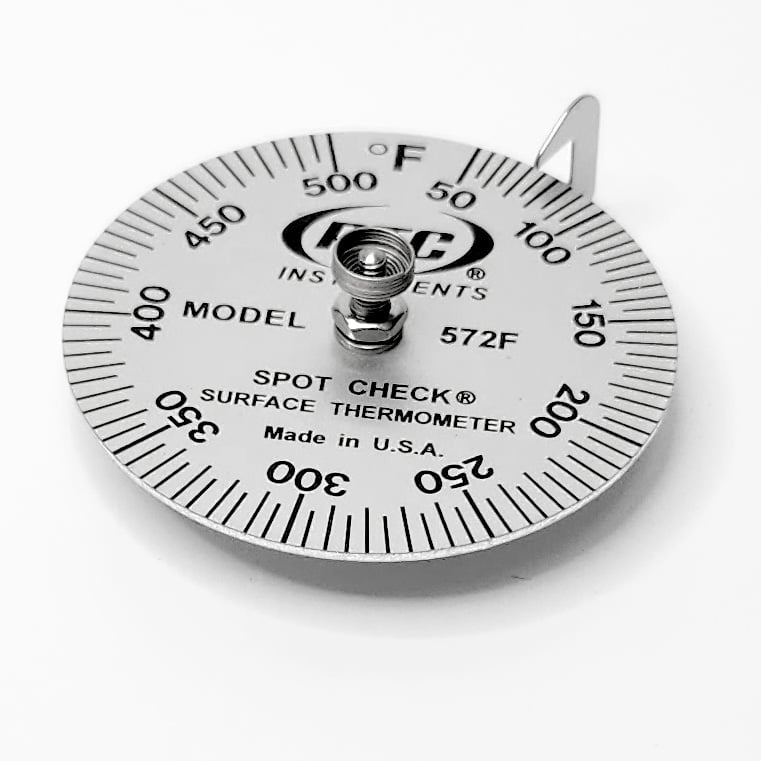
Surface thermometer: To monitor the bending iron.
Side bending strap: This thin stainless steel strap gives uniform support to the wood, and minimizes kinking, warping, and breaking.
Cooling form: Some sort of form to hold the bent side in shape as it dries. We recommend a simple rack made of plywood and dowels. A drying form could also be guitar-shaped, and cut from corrugated cardboard.
Side-bending pattern: On a large flat surface, trace the curves of both the bass and treble sides. When bending, check your progress by placing the sides, top-edge down, onto this pattern. Use a permanent marker, and choose a surface that can withstand repeated contact with the wet wood.
Spray bottle: An empty spray cleaner bottle makes a good "spritzer" for wetting wood.
Mark the unbent sides before starting
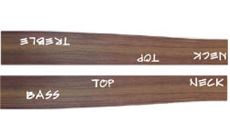
Most guitar sides have book-matched grain, and are cut in a tapered shape: The edge which glues to the top is straight, and the back edge is contoured. The bass and treble sides are mirror images, and must be bent opposite to each other. Mark them "Top, Treble and Bass, and Neck" to keep track of which is which. As you compare to your side-bending pattern, be sure you're checking the straight top edge, not the contoured back edge.
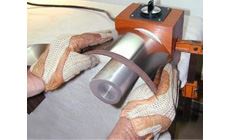
You also need to know where to make your bends. Use a string or a cloth ruler to follow your blueprint from the neck block through the curves, locating the centers of the upper and lower body bouts and the waist. Transfer these points to your wood. Start bending on these centers, and your sides will be true to the blueprint or pattern. Generally, the side wood will be a little longer than necessary: most blueprints allow for about 1-1/2" of excess wood at each end to be cut off before the sides are glued to the neck block and tail block.
Mounting the bender
Clamp the bender to your bench with the appropriate curve facing up (for guitar sides, we prefer the broad, flatter curve up). To comfortably watch your progress, consider mounting the bender at chest height. Clamping the bender to a height-adjustable drill press table is convenient.
Why heat, water, and steam are needed
When wet wood touches the heated iron, steam is created inside the wood. This makes the fibers flexible so they'll stretch and compress evenly as the thin wood conforms to the curve. Fibers on the outside of the curve stretch, while the fibers on the inside compress. The fibers become rigid again after cooling and drying, and the curve sets permanently. Use a drying rack to hold the sides in shape as they dry for a couple of days.
Setting the temperature
The bender's highest temperature is approximately 500°F. However, in most cases you won't need the iron to be this hot. Between 350° and 400° is ideal for bending most woods. To reach this temperature, set the dial to 6 and allow 45-60 minutes for the iron to heat up. A hotter iron steams the wood faster, but also dries it out faster, so it needs to be wetted again.
It's important to use a quality surface thermometer placed directly on the aluminum to monitor the iron's temperature. Laser temperature guns don't work well because of how their infrared energy reflects off of the aluminum iron, and we've also found that food thermometers don't usually give an accurate reading.
Wetting the wood
The easier-bending woods are soaked in water before applying heat; the hard-to-bend figured woods are instead spritzed with a spray bottle or brushed lightly with water.
To soak wood, use a long, narrow trough. A plastic window flower-box with the drainage holes taped over makes a good wood-soaking trough, and so does a bathtub.
Plain Indian rosewood or plain maple
Soak, submerged, for 30 to 45 minutes. It's hard to over-soak plain, straight-grained woods.
Mahogany or walnut
Soak, submerged, for 12 to 20 minutes. Some builders don't soak these woods, but spray them instead (see below).
Curly maple, koa, and other highly-figured woods
The grain on figured wood doesn't run the length of the piece, but runs alternately up and down through it. Over-wetting this wood can cause the grain fibers to separate from each other, which results in fractures.
Wet the wood lightly by "spritzing" it with a spray bottle or use a brush dipped in water. Wet only that portion of the wood you will bend immediately, and start bending quickly after wetting.
Important tips
Wear gloves!
This work is hot and hard on the hands.
Keep your work squared up!
Keep the straight (top) edge of the sides aligned with the tip of the bending iron or with the bender's mounting block. Don't let your bending work become cocked at an angle.
Hold the work securely
Grip the Spring Steel Strap and the wet wood together between the heel and fingers of each hand to help keep the wood flat against the bender.
Bending straight-grained wood
Bend the larger, lower body curve first; it's a little easier because it's a broader curve. We recommend using our flexible steel side bending strap on top of the wet wood. Hold the wood against the bending iron, with the strap on the outside. Without bending, work the area to be bent from end to end over the iron, heating the wood gradually, and developing steam.
Add bending pressure gradually while continuing to move back and forth along the bend. Don't try to bend the final shape in one spot before moving on. Bend slightly at first and gradually increase the bend until you get the curve you're after. Compare the bend to the pattern often, and go back to the bending iron if it needs correcting. It is better to slightly over-bend than to not bend enough; bent wood springs back somewhat.
If the wood dries out or starts to scorch, wet it using a spritzer or a foam brush.
When the bend is reached (3 or 4 minutes is all it should take), remove the bending strap so moisture can escape. Keep the section moving on the iron to dry it, and maintain the curve as you work. If you allow a side to cool and rest with too much moisture left in it, it will spring back and lose some of the curve. Even worse, with too-wet wood you may get "cupping" (curling or warping across the width).
Next, form the reverse bend of the waist. The experience gained from the flatter lower bout will help you with this tighter bend. Finally, move on to the forward bout to complete the shape of one side. Check with your pattern often, and dry the wood as much as possible.
Bending figured woods: this is the hard part!
Bending figured wood allows less time to work. You can't soak the wood as thoroughly as with straight-grained pieces, and everything happens a lot faster.
Bring the heater up to temperature and have the bending strap at hand before you wet the wood, because once you wet it, you must start bending immediately. "Spritz-bending" happens quickly, and you need to monitor wetness, heat, pressure, and the amount of bend all at once. If the curvature of the iron closely matches the curvature of the side, just wrap it around until it is bent enough, hold it in position fifteen seconds, and move on.
Firm pressure, along with sparse wetting, is the key to bending figured wood without breaking it. Some builders use a second Side Bending Strap on the underside of the wood: this prevents scorching, traps steam, and distributes the pressure evenly.
Tip: When bending light colored woods like mahogany or maple, some builders put wet cheesecloth over the bender to prevent staining or scorching, which can be difficult to sand out.
Drying
Place the bent side into a drying rack with the straight (top) side against the rack wall. Let the sides dry for two days while being held in shape. Professional guitarmakers typically build guitars using body forms in the shape of the finished guitar, and use these same forms to hold the sides in shape while they dry.
