Binding a mandolin pickguard
Don MacRostie of Red Diamond mandolins explains the steps of binding a mandolin pickguard.
IN THIS ARTICLE
| • Cut the pickguard shape • Bending and binding the pickguard • Mitering and buffing |
Don MacRostie is StewMac's resident expert on mandolin building. Here's how Don creates a pickguard for his custom built "Red Diamond" mandolins.
Cut the pickguard shape
Don rough-cuts the pickguard with heavy shears.
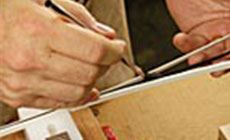
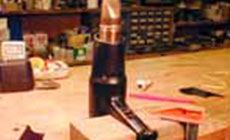
A layer of double-stick tape on this phenolic router jig will hold the tortoise down as Don routs the roughed-in edge to shape. The tortoise blank also bears against the recessed-ledge machined into the rear edge of the template as support against the force of the router bit.
The tortoise plastic overhangs the actual shape of the template (note how it butts against the ledge.) A flush-cutting ball-bearing router bit follows the template...
...and the dust collector sucks up the chips.
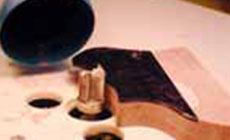
Don uses the pop-together flexible "Loc-Line" plastic hosing for dust-collection, it can be bent out of the way when not in use.
Bending and binding the pickguard
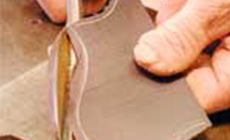
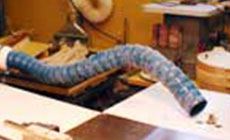
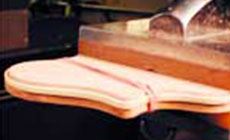
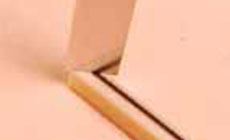
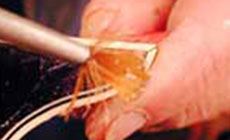
This plywood jig is for bending the binding before gluing it on. The jig has a "binding ledge" that matches the pickguard shape exactly (the pickguard is just resting there for demonstration). Don heats the binding with a heat gun to soften it and holds the start against the ledge with a rubber band.
Using a heat gun, Don softens and bends the binding all the way around (or a hair dryer can work too).
He holds the plastic momentarily as it cools before going on to the next bend...
...leaving the heat gun running and resting in its stand.
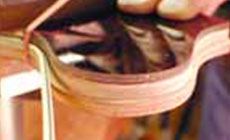
A rubber clamping band holds the binding in place to cool on the form.
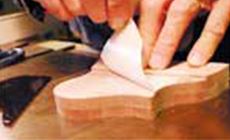
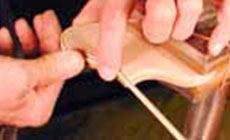
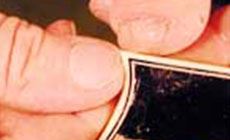
With the pickguard clamped in a padded vise, the pre-shaped binding is easy to glue on with Bind-ALL glue for plastic binding.
Don moves the binding slightly against the tortoise to create suction, holds it in place for a few seconds, and he's able to let go. The binding stays in place without rubber bands once it "bites" in and sets.
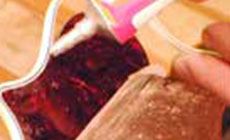
The glued joint remains malleable for a minute or two, and Don can push the binding level with the tortoise. The glue sets so quickly that taping the binding in place is unnecessary.
Mitering and buffering
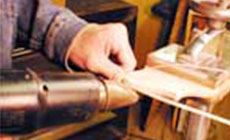
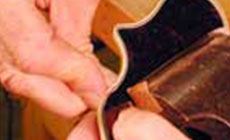
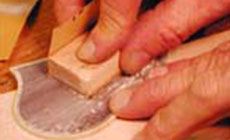
Once the curves are glued, Don cuts the two mitered ends of the straight piece using the shiny face of the chisel to tell him when the angle of the cut is correct.
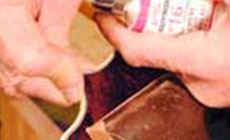
After running a bead of Bind-ALL glue; press the strip in place.
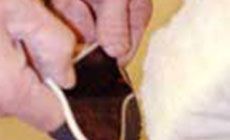
Don brushes acetone onto the mitered corners...
...and squeezes the joint tightly together.
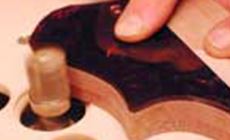
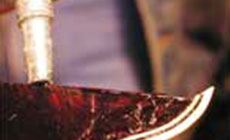
The new acrylic-faced tortoise pickguard material is ready to sand and buff in three days. Don block-sands the entire pickguard to flush the binding and remove glue marks using our 3M Gold Sandpaper. He starts with 150-grit and goes through all the grits up to 800-grit. Then he's ready to buff.
He buffs the pickguard to a gloss using our ColorTone Polishing Compounds. First with medium compound, then with fine compound on the Buffing Arbor.
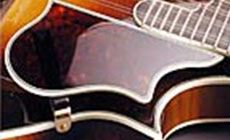
The final glossy pickguard.
Next: Make your own binding
It's easy to make your own white/black/white laminated bindings, with our Binding Laminator. It presses multiple pieces of binding material together, so that acetone can bond them. Click here to read how you can do it!