Waverly upgrade: replacing the factory tuners on your Martin
Here’s a question I've been seeing in the online forums:
Question:
How tough is it to replace the stock tuners on my Martin with Waverly machines?”
Answer:
It’s easy, and doesn't take many tools. Here’s how to do it...
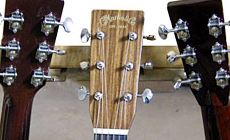
Lots of new Martins ship with these sealed tuners, and many owners want to upgrade to vintage style Waverly machines with open gearing.
After using a nutdriver or screwdriver to remove your old tuners, it's a good time to clean the peghead.
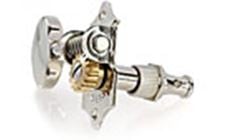
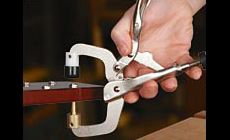
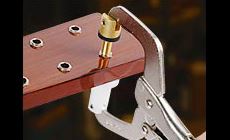
On the peghead face: slightly ream the holes and press in the Waverly bushings
Waverly bushings fit into the existing pegholes nicely with just a little reaming.
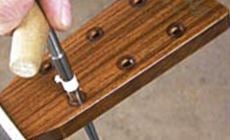
I’m using the new tuner bushing press (see description below).
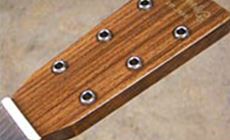
Looking better already!
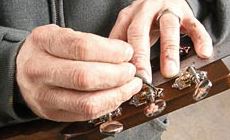
On the peghead back: plug the old mounting holes
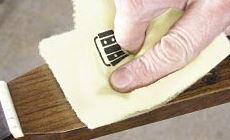
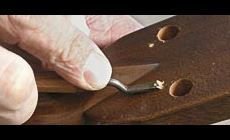
It’s a good idea to plug the old screwholes before installing new machines, even when the Waverly machines cover the footprint of the old tuners. With a scrap of mahogany, you can whittle and sand small plugs that are practically invisible
Drill out the mounting holes to clean them up, and use a drop-fill pick to put a bit of Titebond glue in the holes.
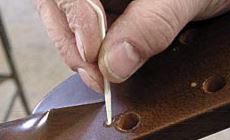
Install the plugs, ideally with their grain oriented to match the grain of the peghead. After the glue dries, clean up the ends with a micro chisel.
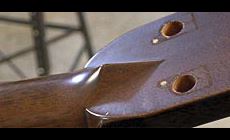
You’ll end up with nice clean patches, and a touch of ColorTone stain will easily make them disappear.
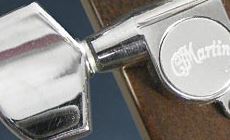
Check it out!
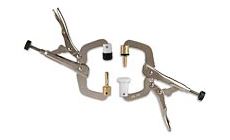
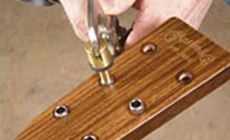
This is a brand new tool idea we’ve been developing in our shop. We’ve just recently made it available to our customers. It's a tuner bushing remover/installer. It carefully presses out the old tuner bushing (some folks call it a grommet), without any prying or chipping away at the peghead face. Then the same tool eases the new bushing in.
Out comes the old bushing.
In goes the new.
With the old holes plugged, we can proceed with the installation. Use a ruler to ensure proper alignment, and mark your screw holes using a scribe. I marked my drill bit using a small piece of copper tape as a depth stop (right). It would be a real bummer to drill through the peghead!
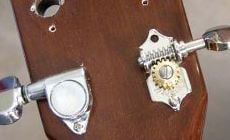
A different situation:
A lot of 70’s and later Martins came with Rotomatic style machines. These are the easiest to retrofit because the mounting holes line up perfectly with the bottom mounting hole of the Waverly. This makes alignment easy, but many of these guitars have 10mm holes drilled all the way through the peghead — so they may need our hex shaped conversion bushings to accommodate the oversize hole.
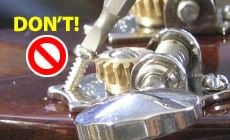
A third example:
Some Martins have vintage style open back tuners that look similar to Waverlys, but they have slightly different specs so direct replacement is impossible. The top mounting hole is in the correct location, but the bottom is slightly off. In these cases, don’t try driving the screw in at an angle. You’re likely to strip the hole, and I've even seen cases where this caused the peghead to split! Plugging and redrilling this bottom hole is necessary.
There you go, Waverly machines installed on Martin guitars that had three different types of factory tuners.