Vintage retainer wire: searching Nashville for one little guitar part!
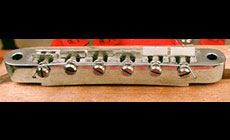
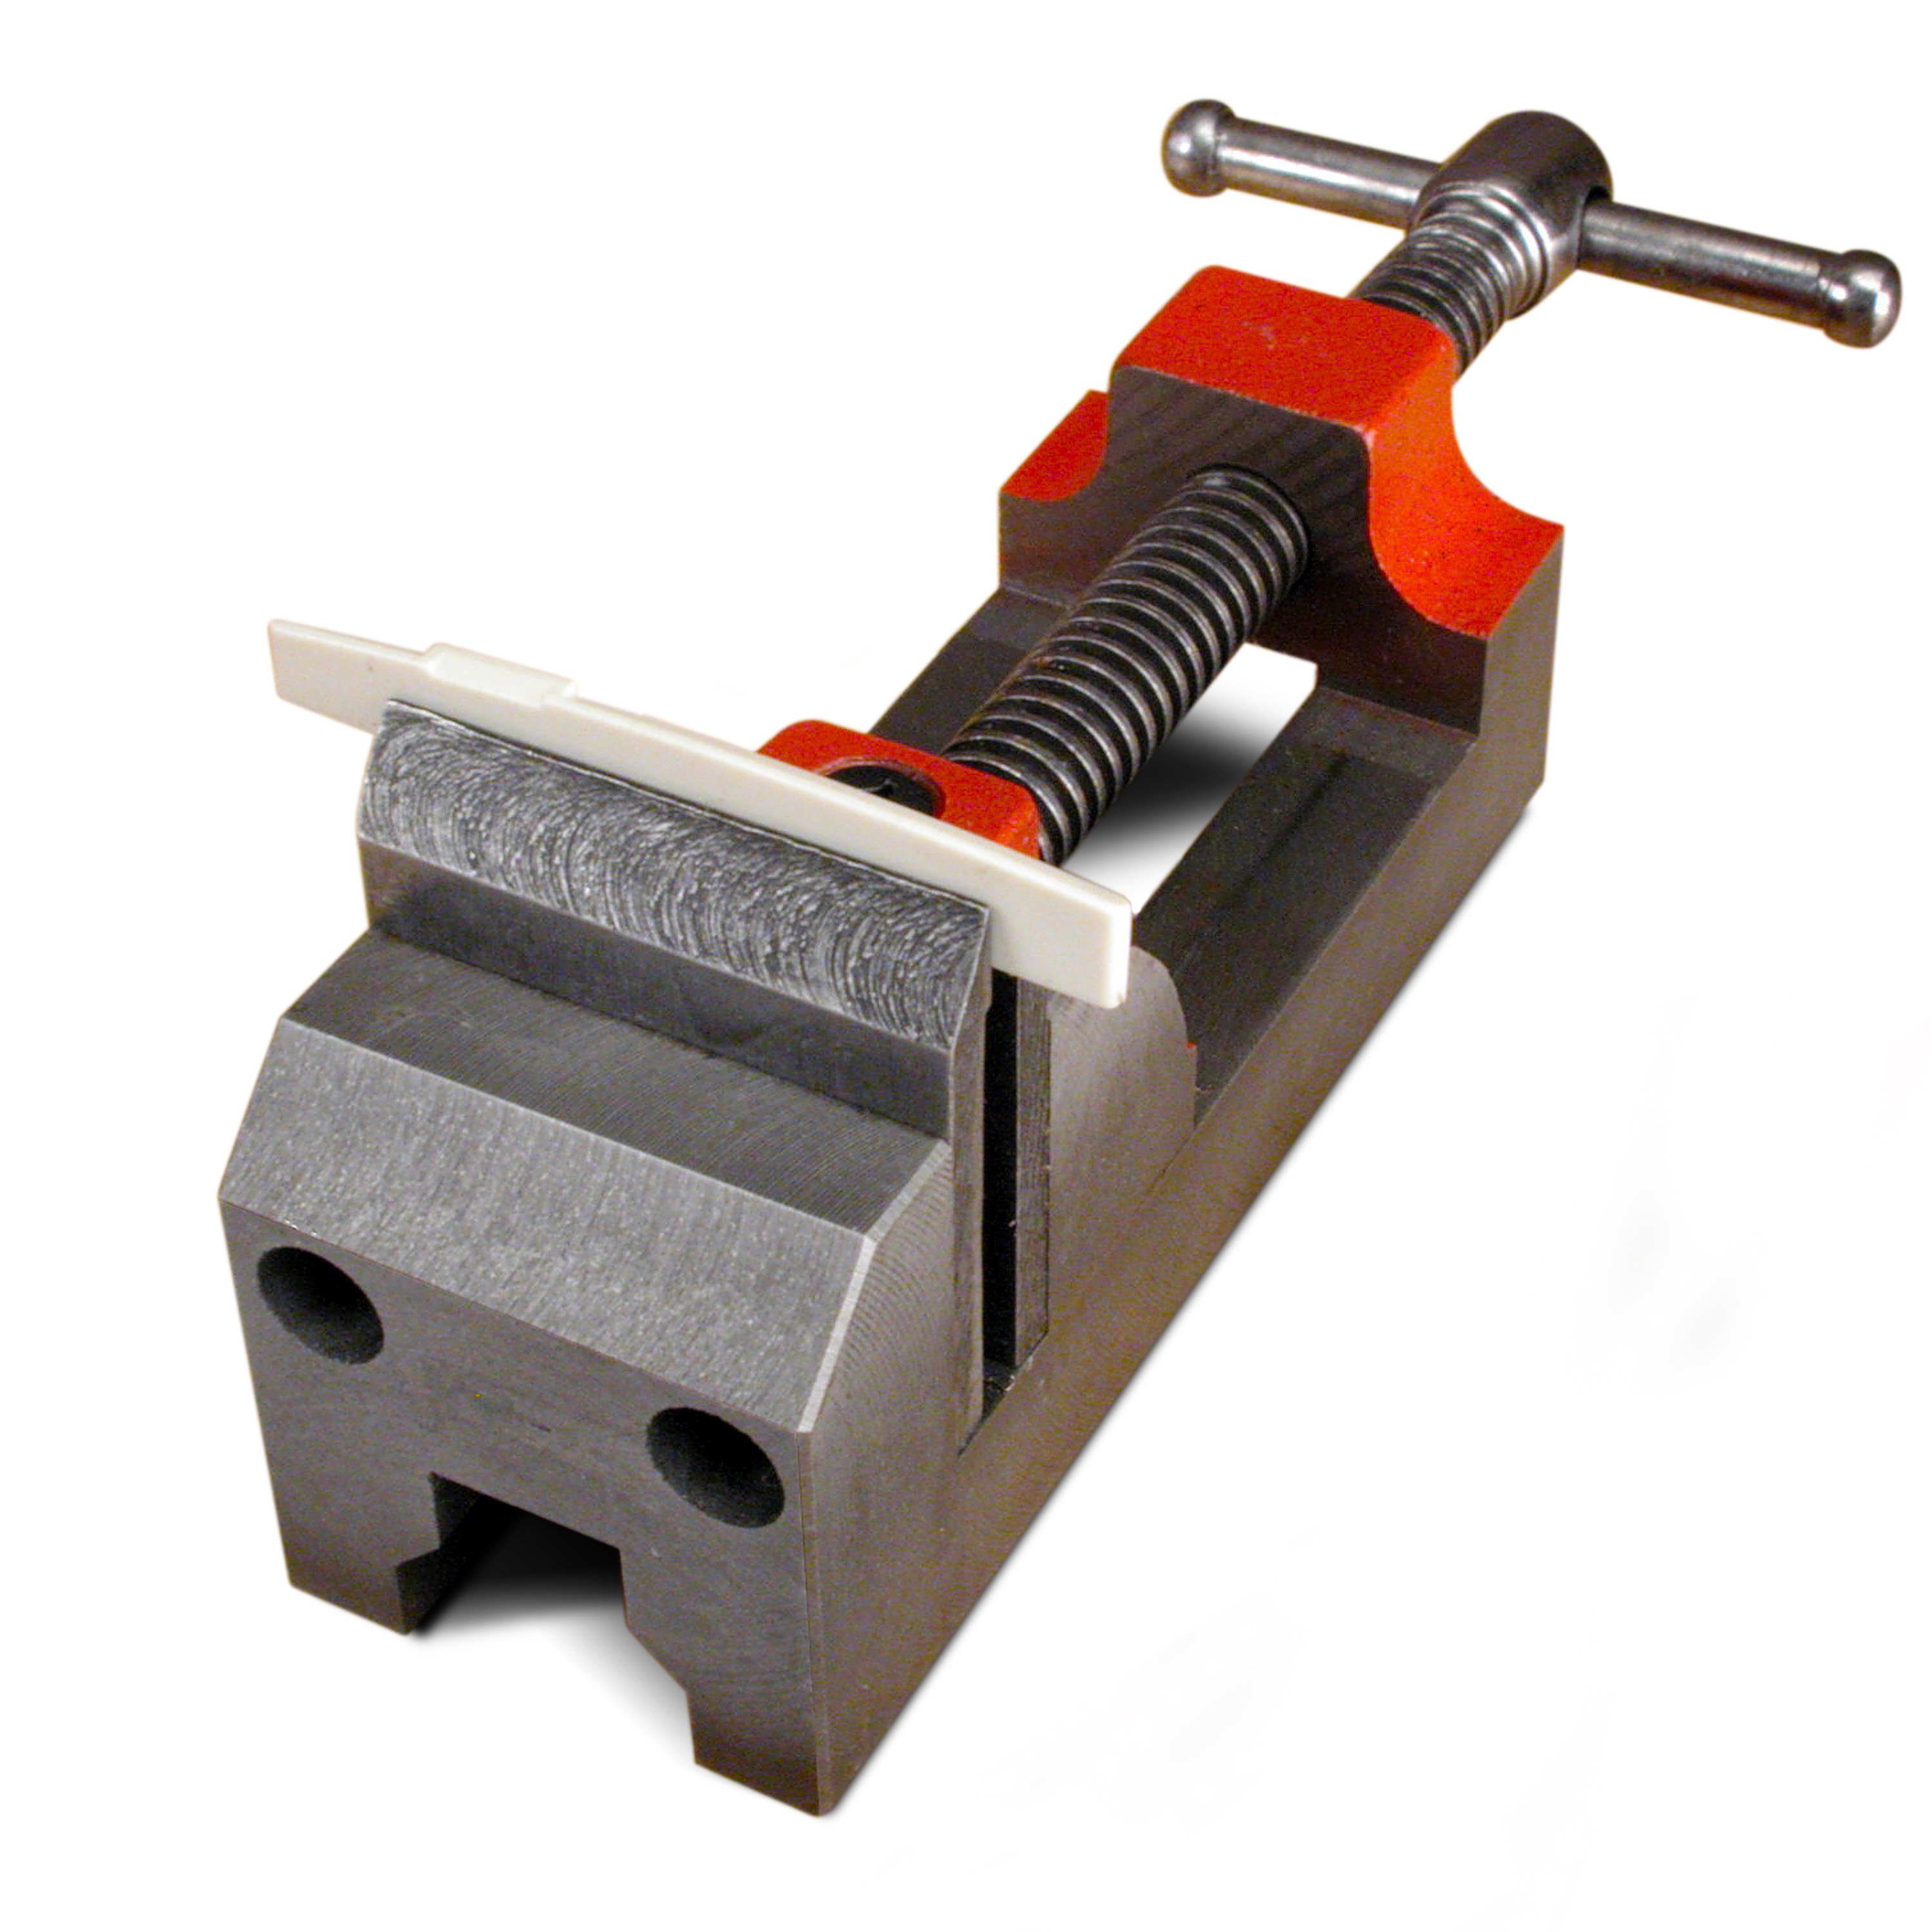
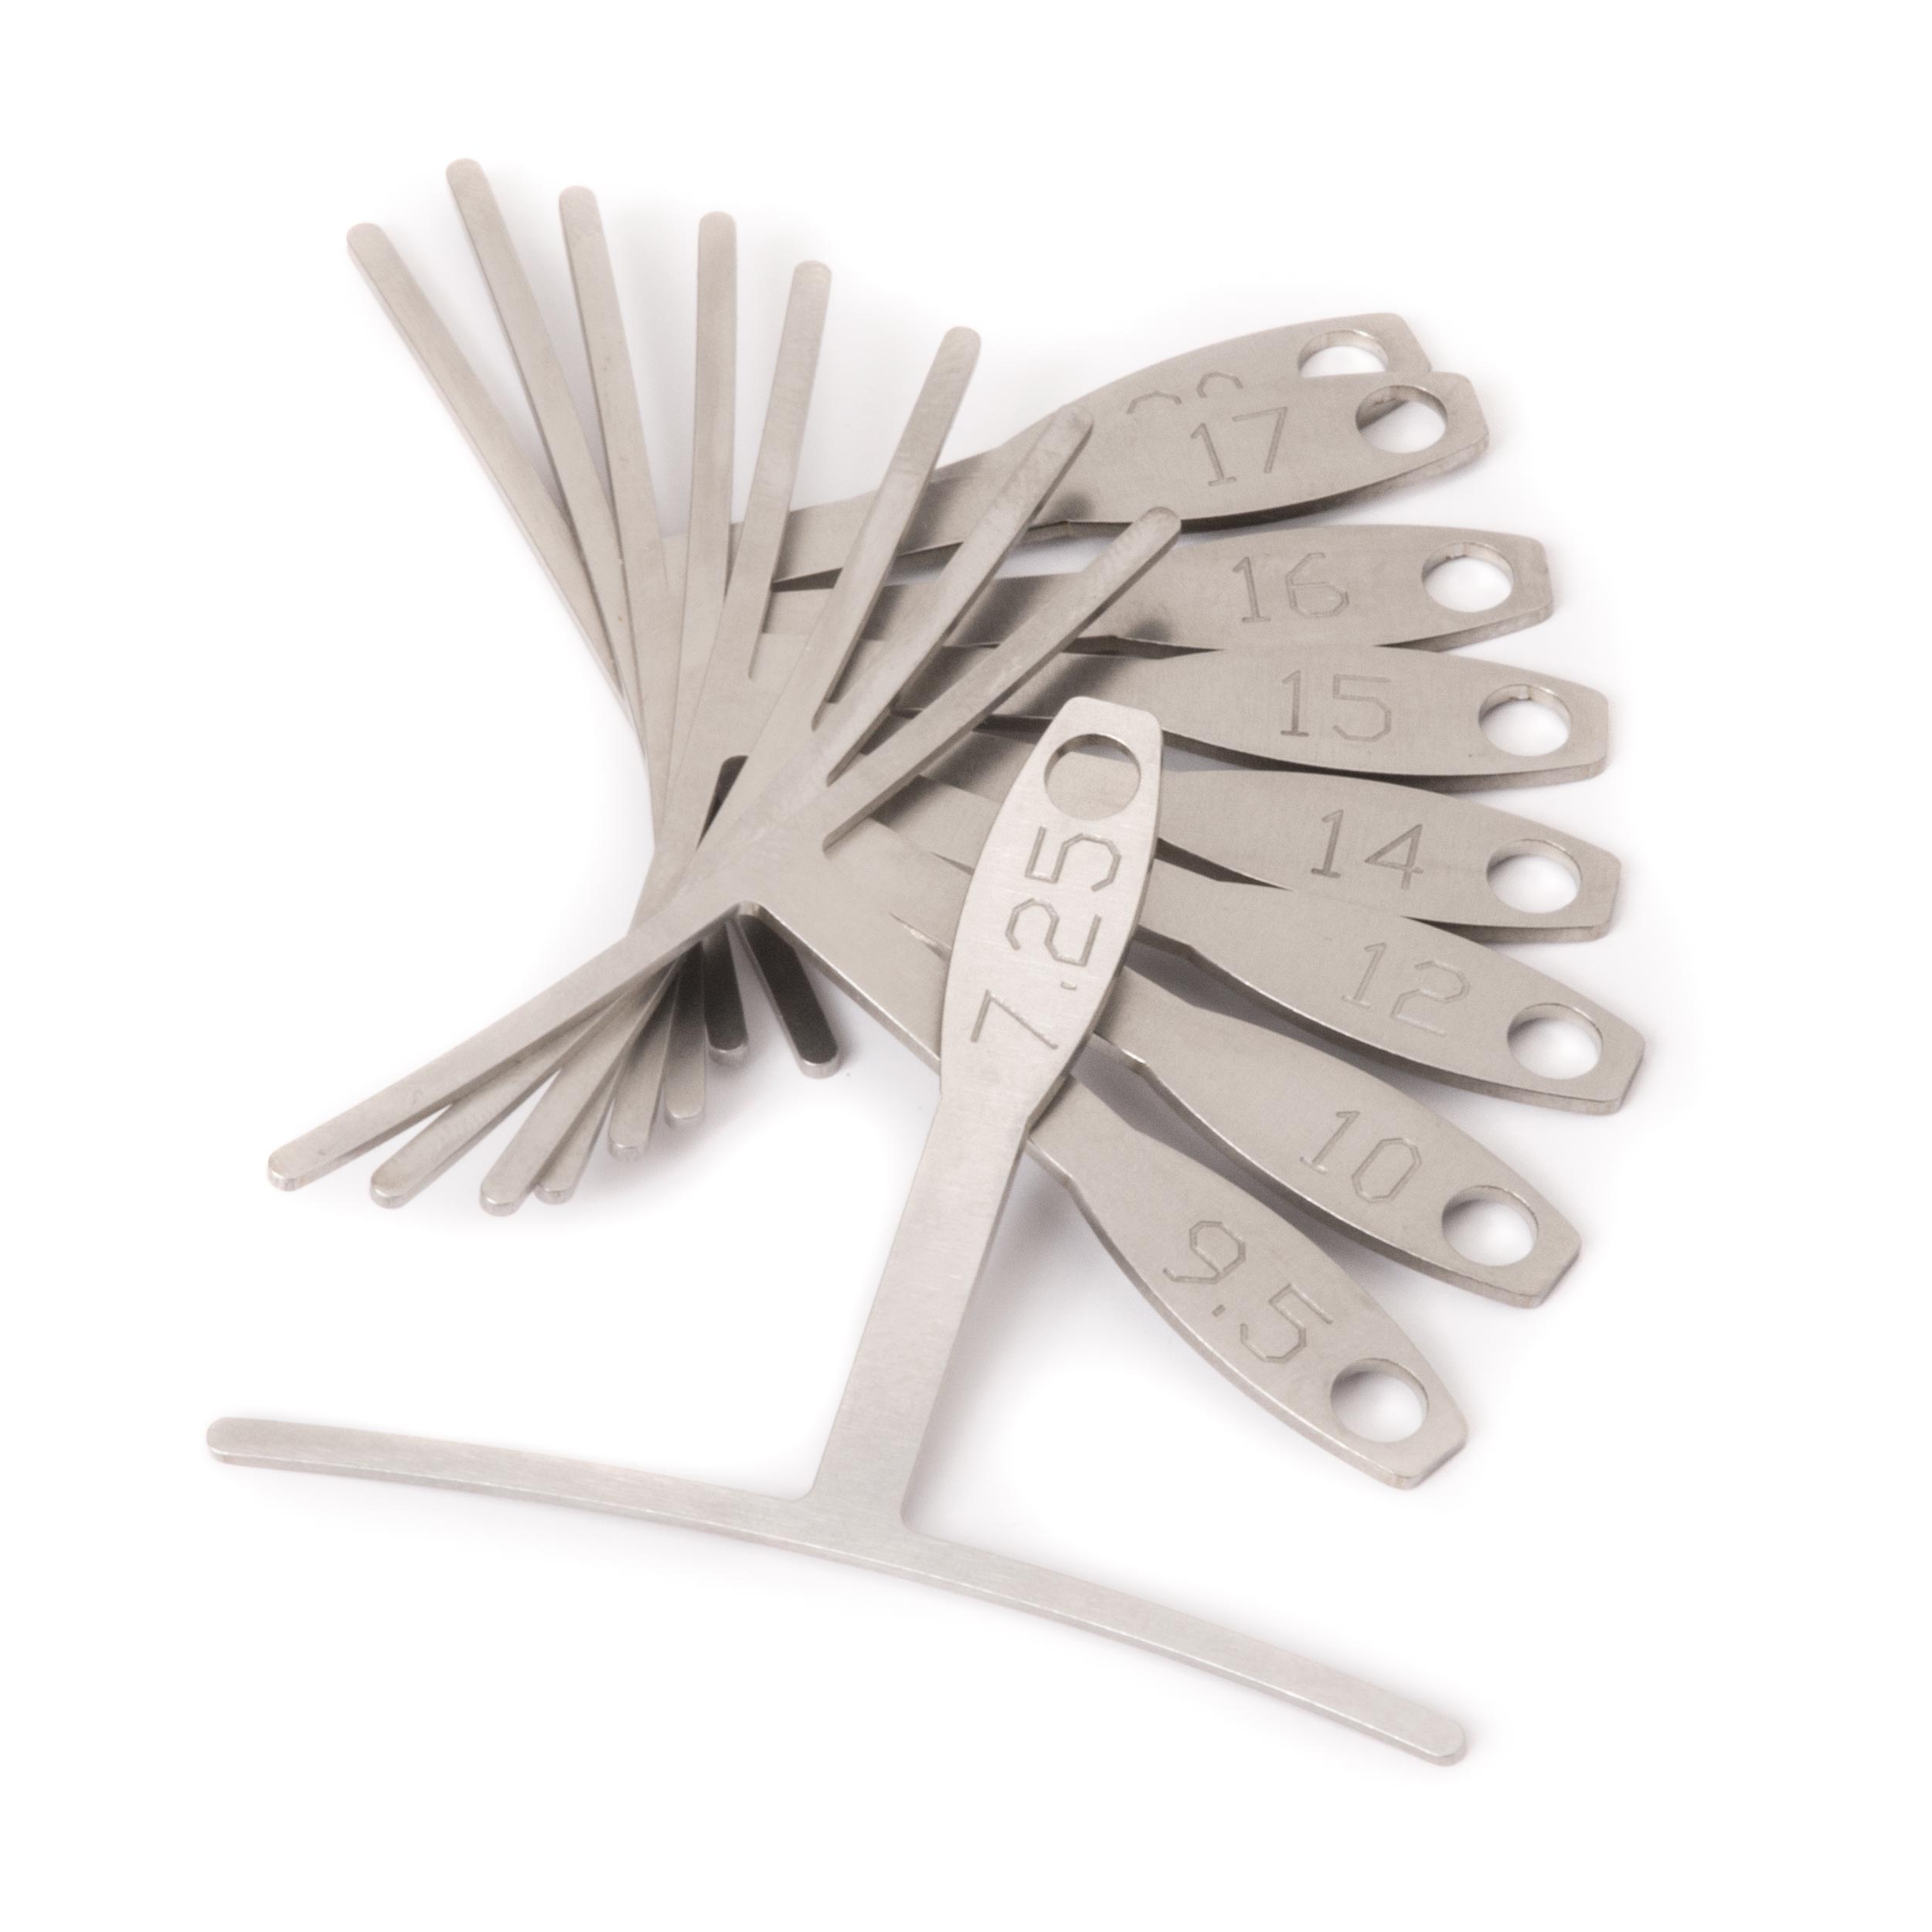
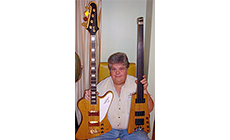
Runnin’ ’round Nashville with Leon Rhodes: on a mission to find this little piece of bent wire! On a recent visit to Nashville, I stopped at some repair shops with my good friend and guitar-playing hero, Leon Rhodes. Leon was the guitarist in Ernest Tubb's Texas Troubadors from 1959-’63, and he’s the house guitarist for the Grand Ole Opry. If you check out Leon on youtube.com, you’ll see him playing the heck out of the red Epiphone in the center of the picture below. The day I visited, Leon had a mission: he needed retainer wires for that guitar’s bridge and some other original ABR-1 Tune-O-Matic bridges. (The retainer wire holds adjustable saddles in place when the strings are off or when a string breaks). An original T-O-M bridge requires an original retaining wire: it won’t accept a wire that fits a modern replacement bridge. If you’ve got a vintage bridge, here’s how to make yourself a replacement wire that’s a custom fit. Leon and I learned how to make these by visiting two Nashville lutherie experts: Joe Glaser and Phil Jones. (That’s Joe on the left in the photo above — he and I look like we’re the OptiVISOR Brothers.) At Joe Glaser’s shop we picked out as many .018" plain guitar strings as we wanted from the throwaway cans (Joe’s filled two of these cans in less than a year). Joe Glaser’s a steel player, and Leon’s his hero too. Joe made Leon several retainer wires in the blink of an eye. Next, we visited Phil Jones — the first Gibson Custom Shop builder, and long time benchman at George Gruhn’s shop in Nashville. That’s “Philly Joe” below with the only Korina Thunderbird VI bass in the world; and the only Korina pre-Steinberger bass, too — both built by Phil while he was at Gibson. Phil contributed a few retainers for Leon too. Joe and Phil had slightly different techinques, and I combined them when I got home. Here we go: That’s more than you’ll need, but it gives you room to grab and bend. Guitar strings come coiled, so they have a natural curve. We’ll make that curve work for us: keep the ends curving upward as you hold the wire in a nut/saddle vise. When you’re done, that curve will be pressing down onto the saddle screws. Our 10-piece Essential Nut Making Tool Kit includes clear instructions to teach you nut making. And you can review those complete instructions on our site before deciding to buy!
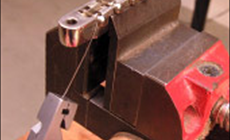
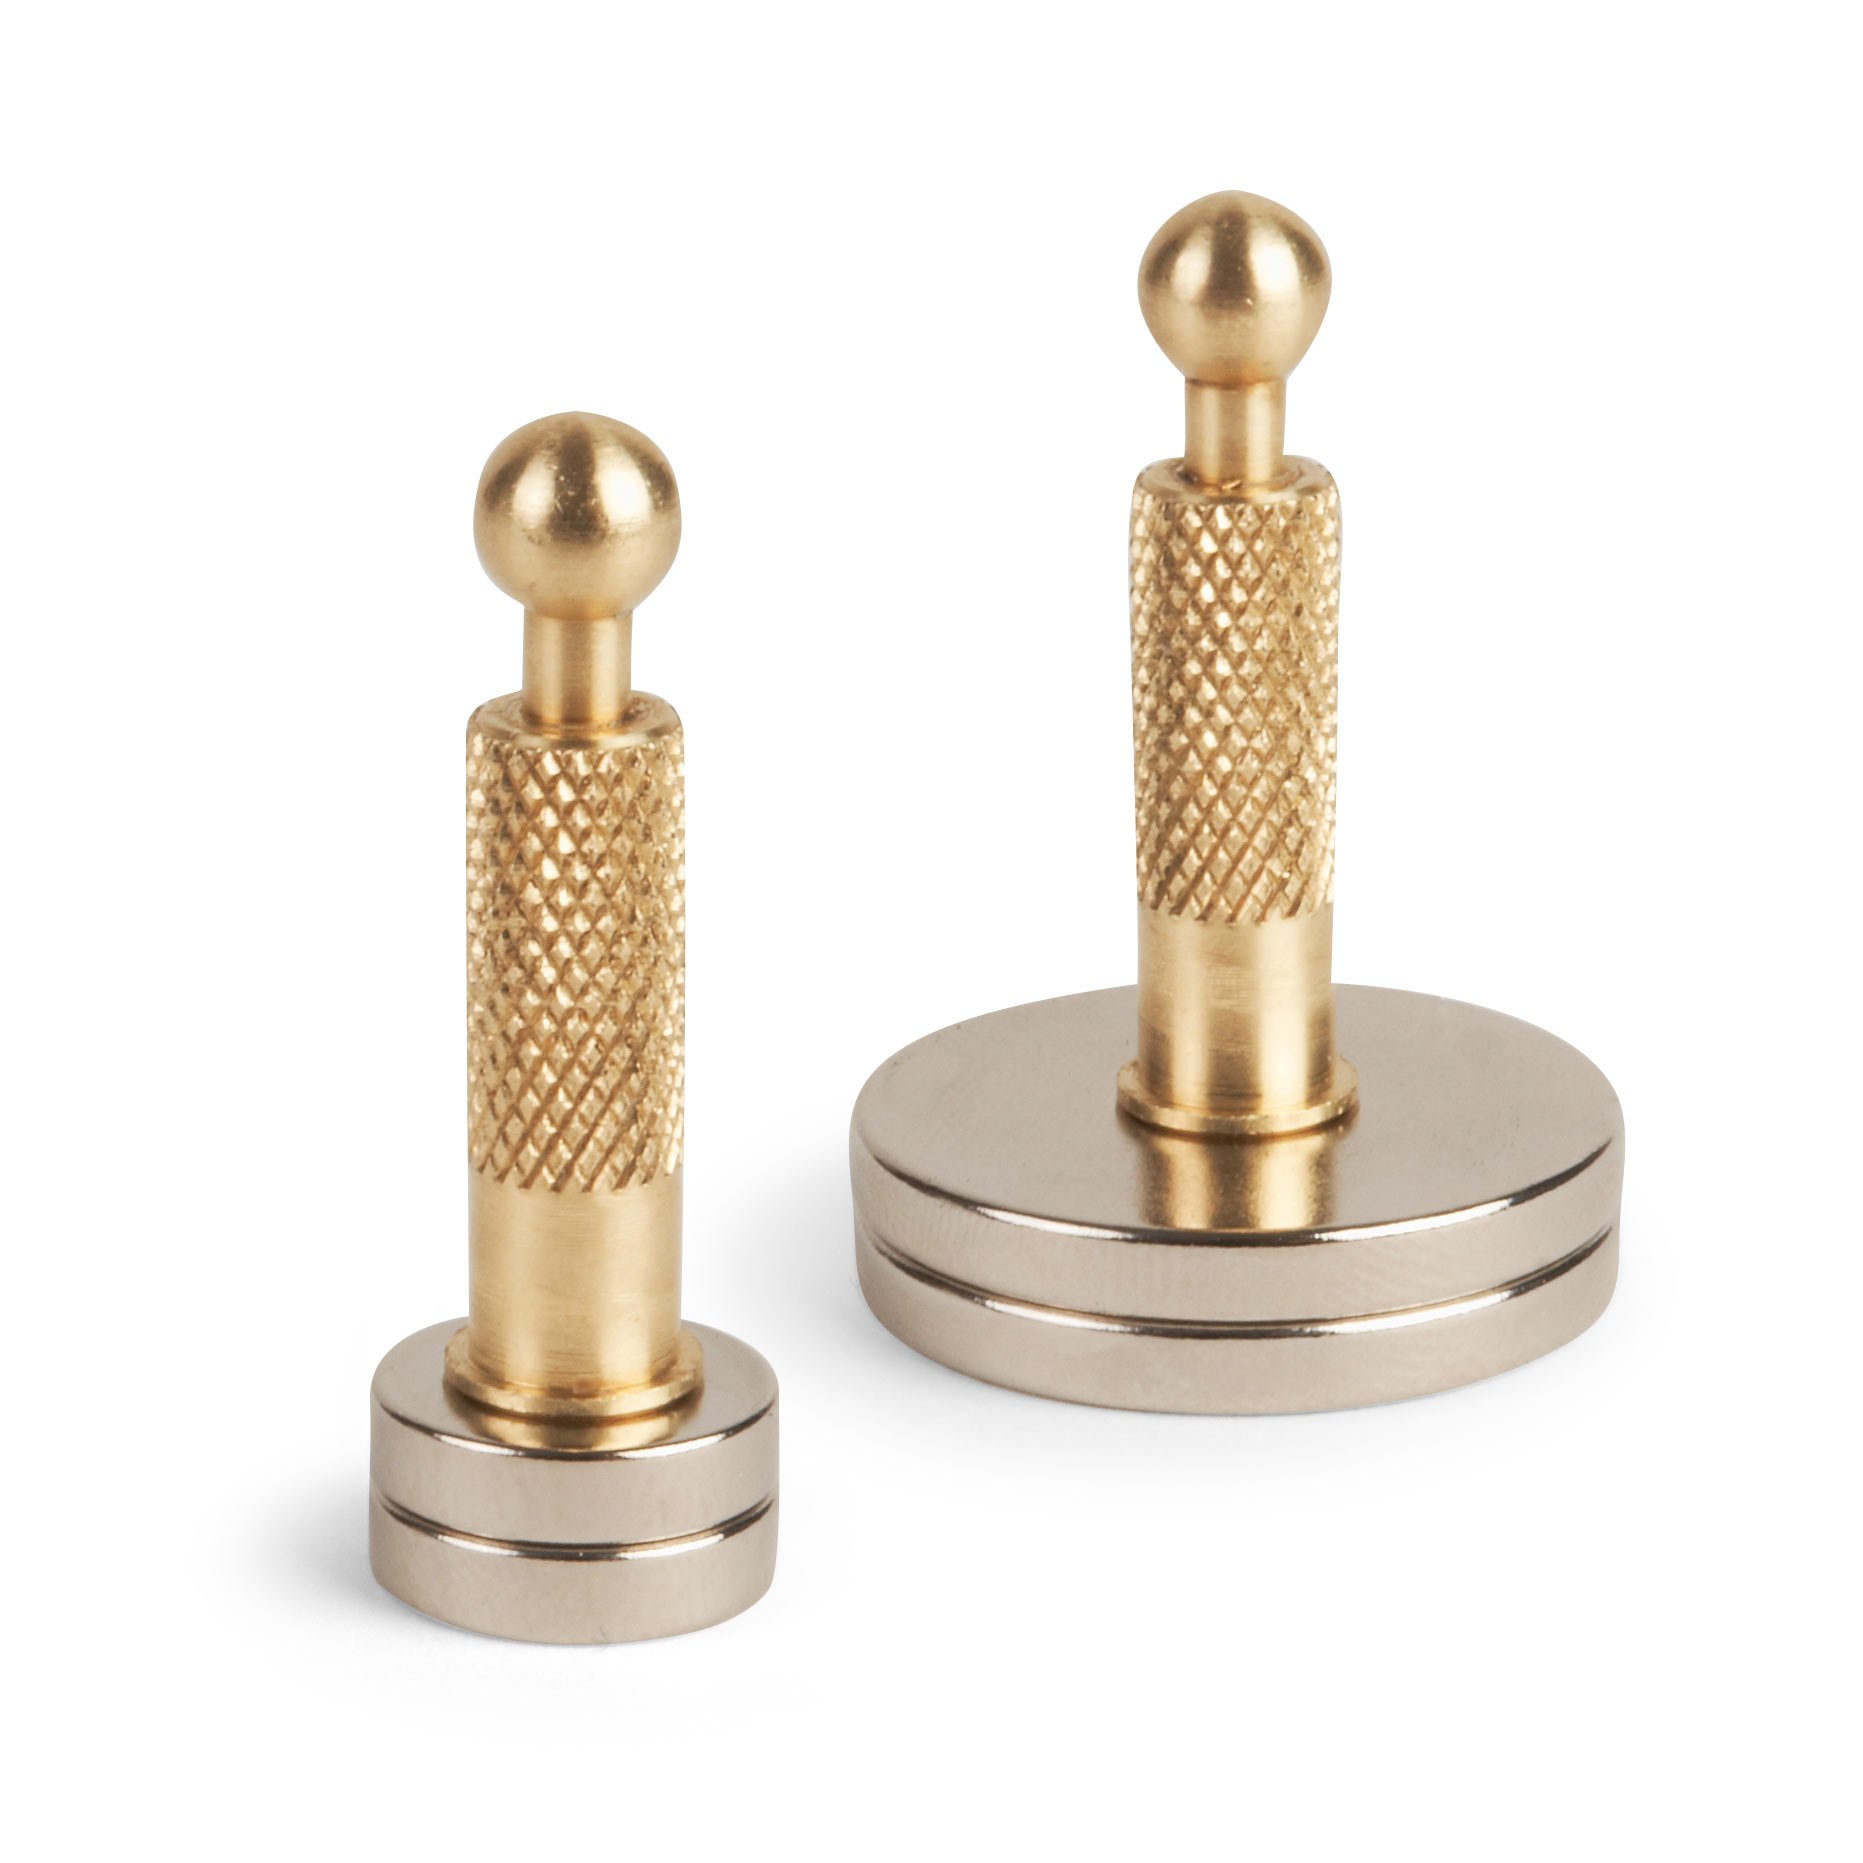
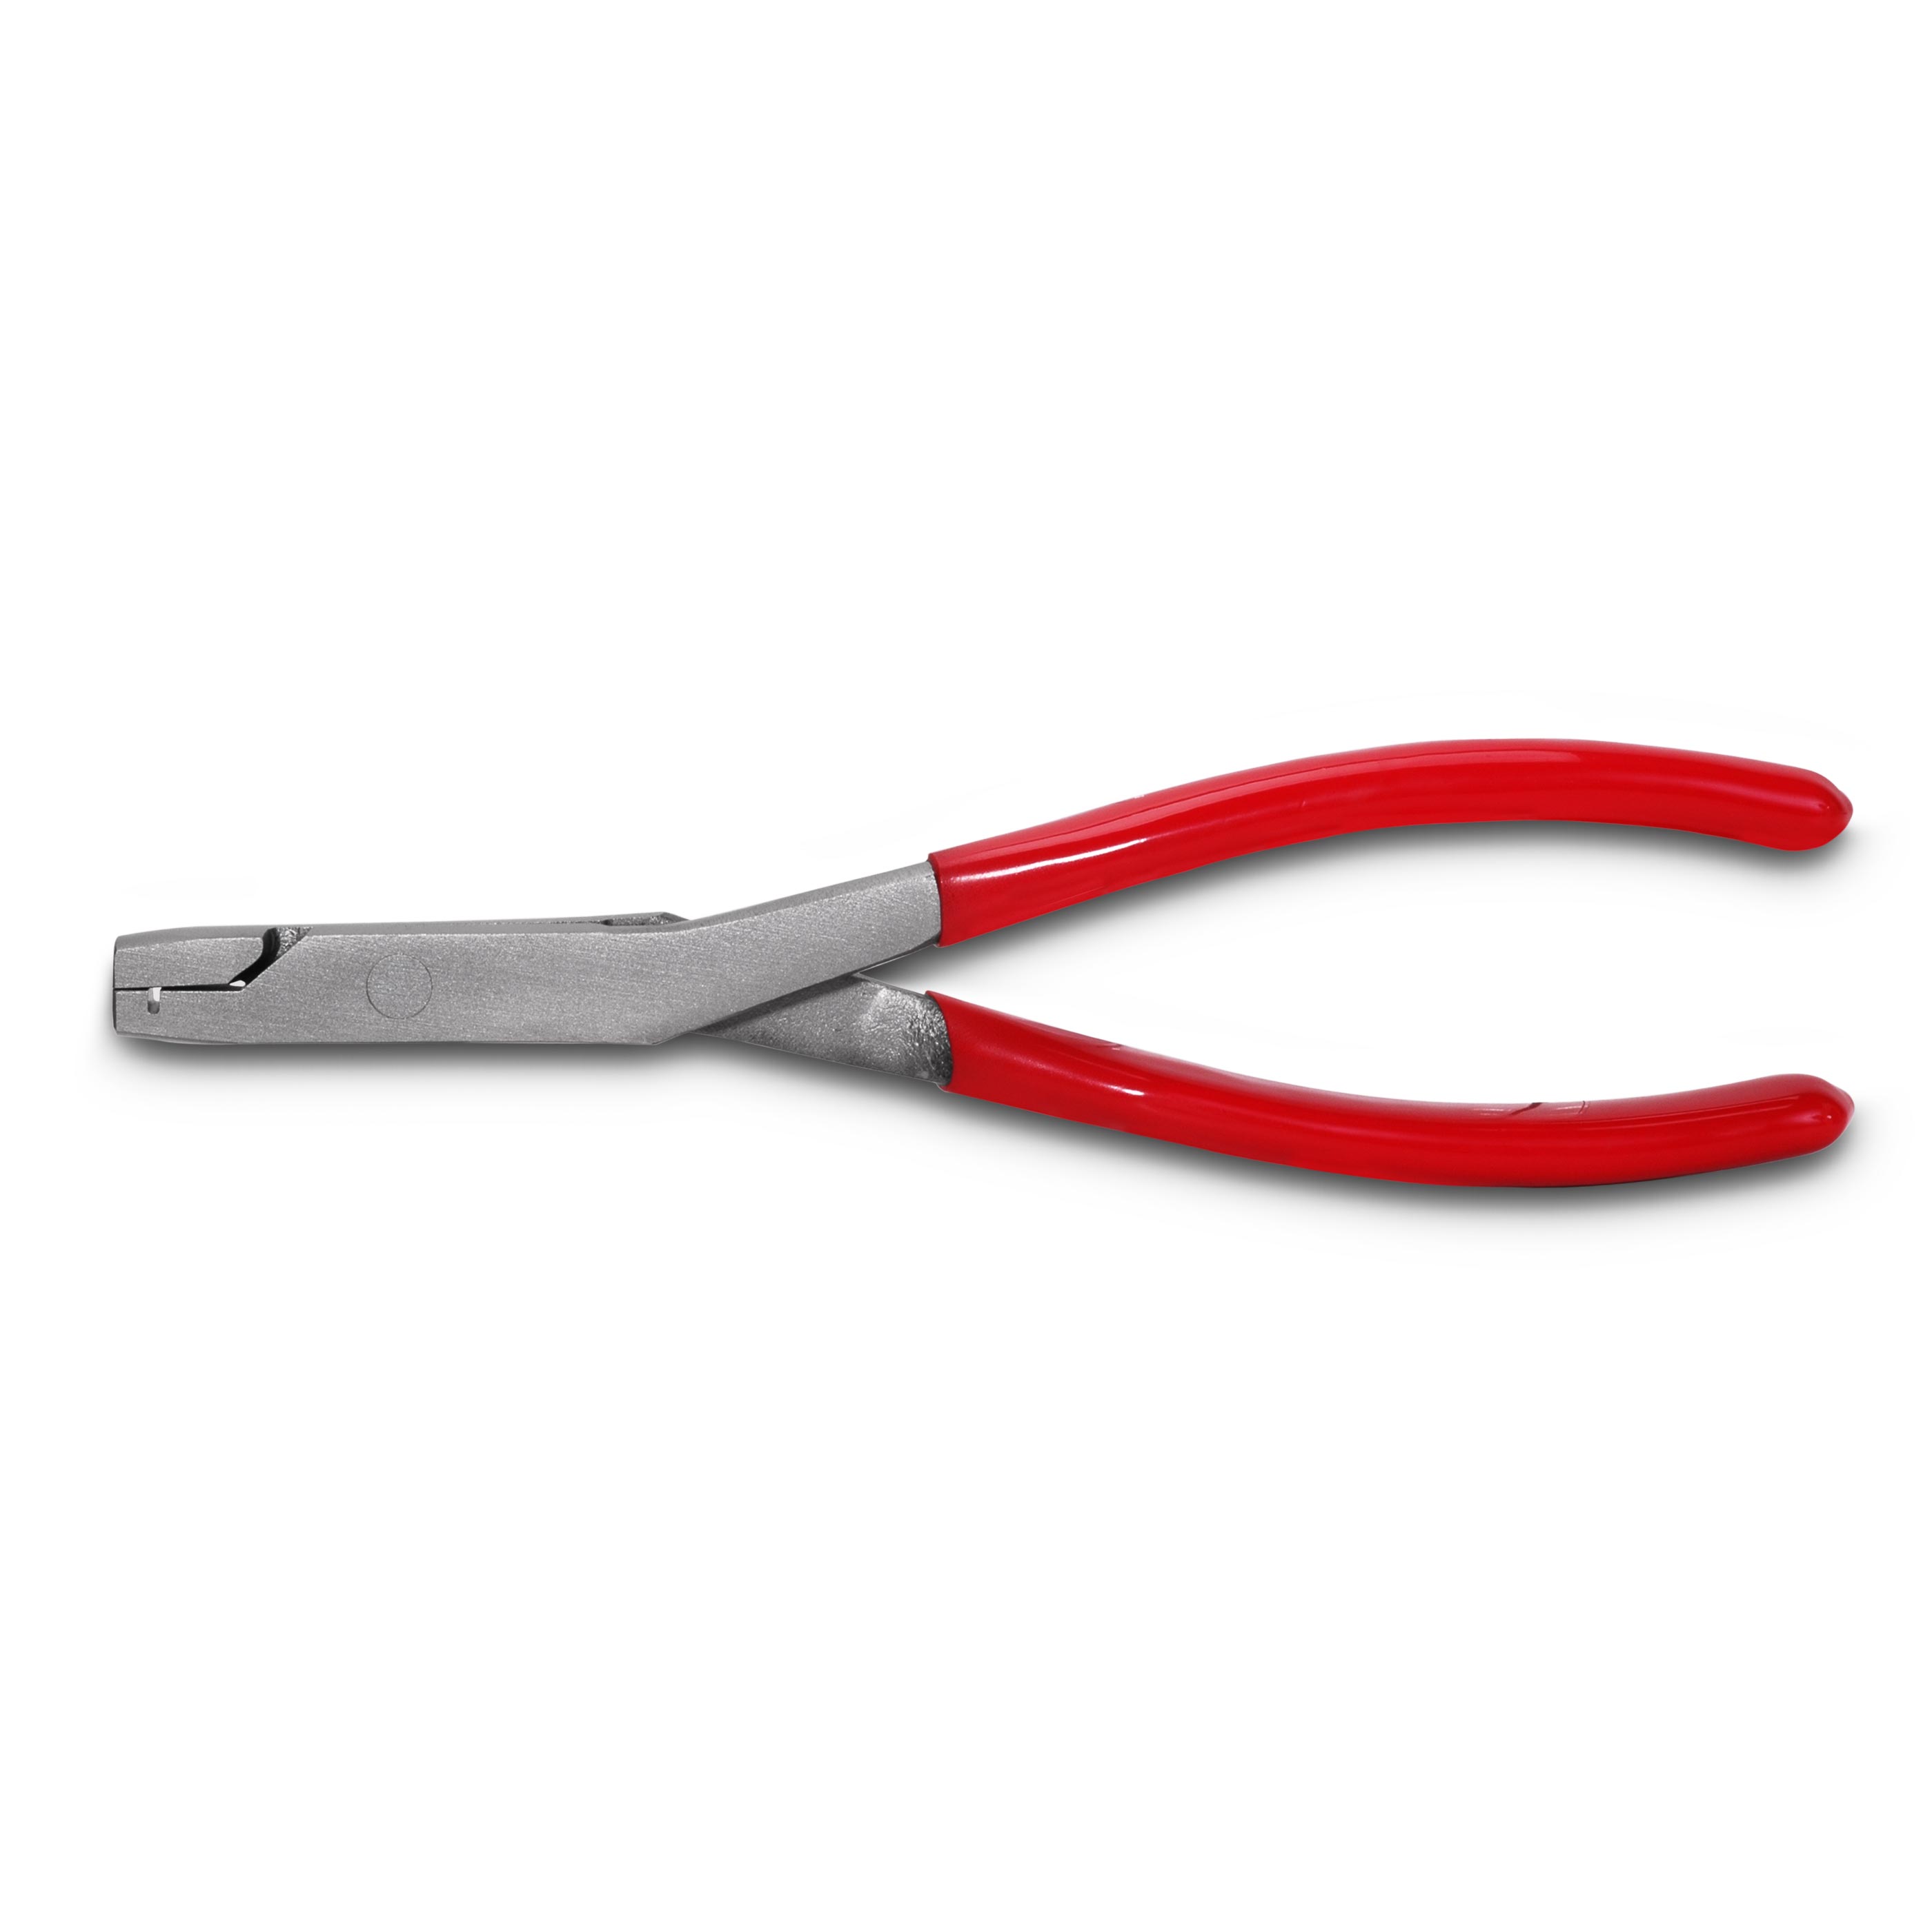
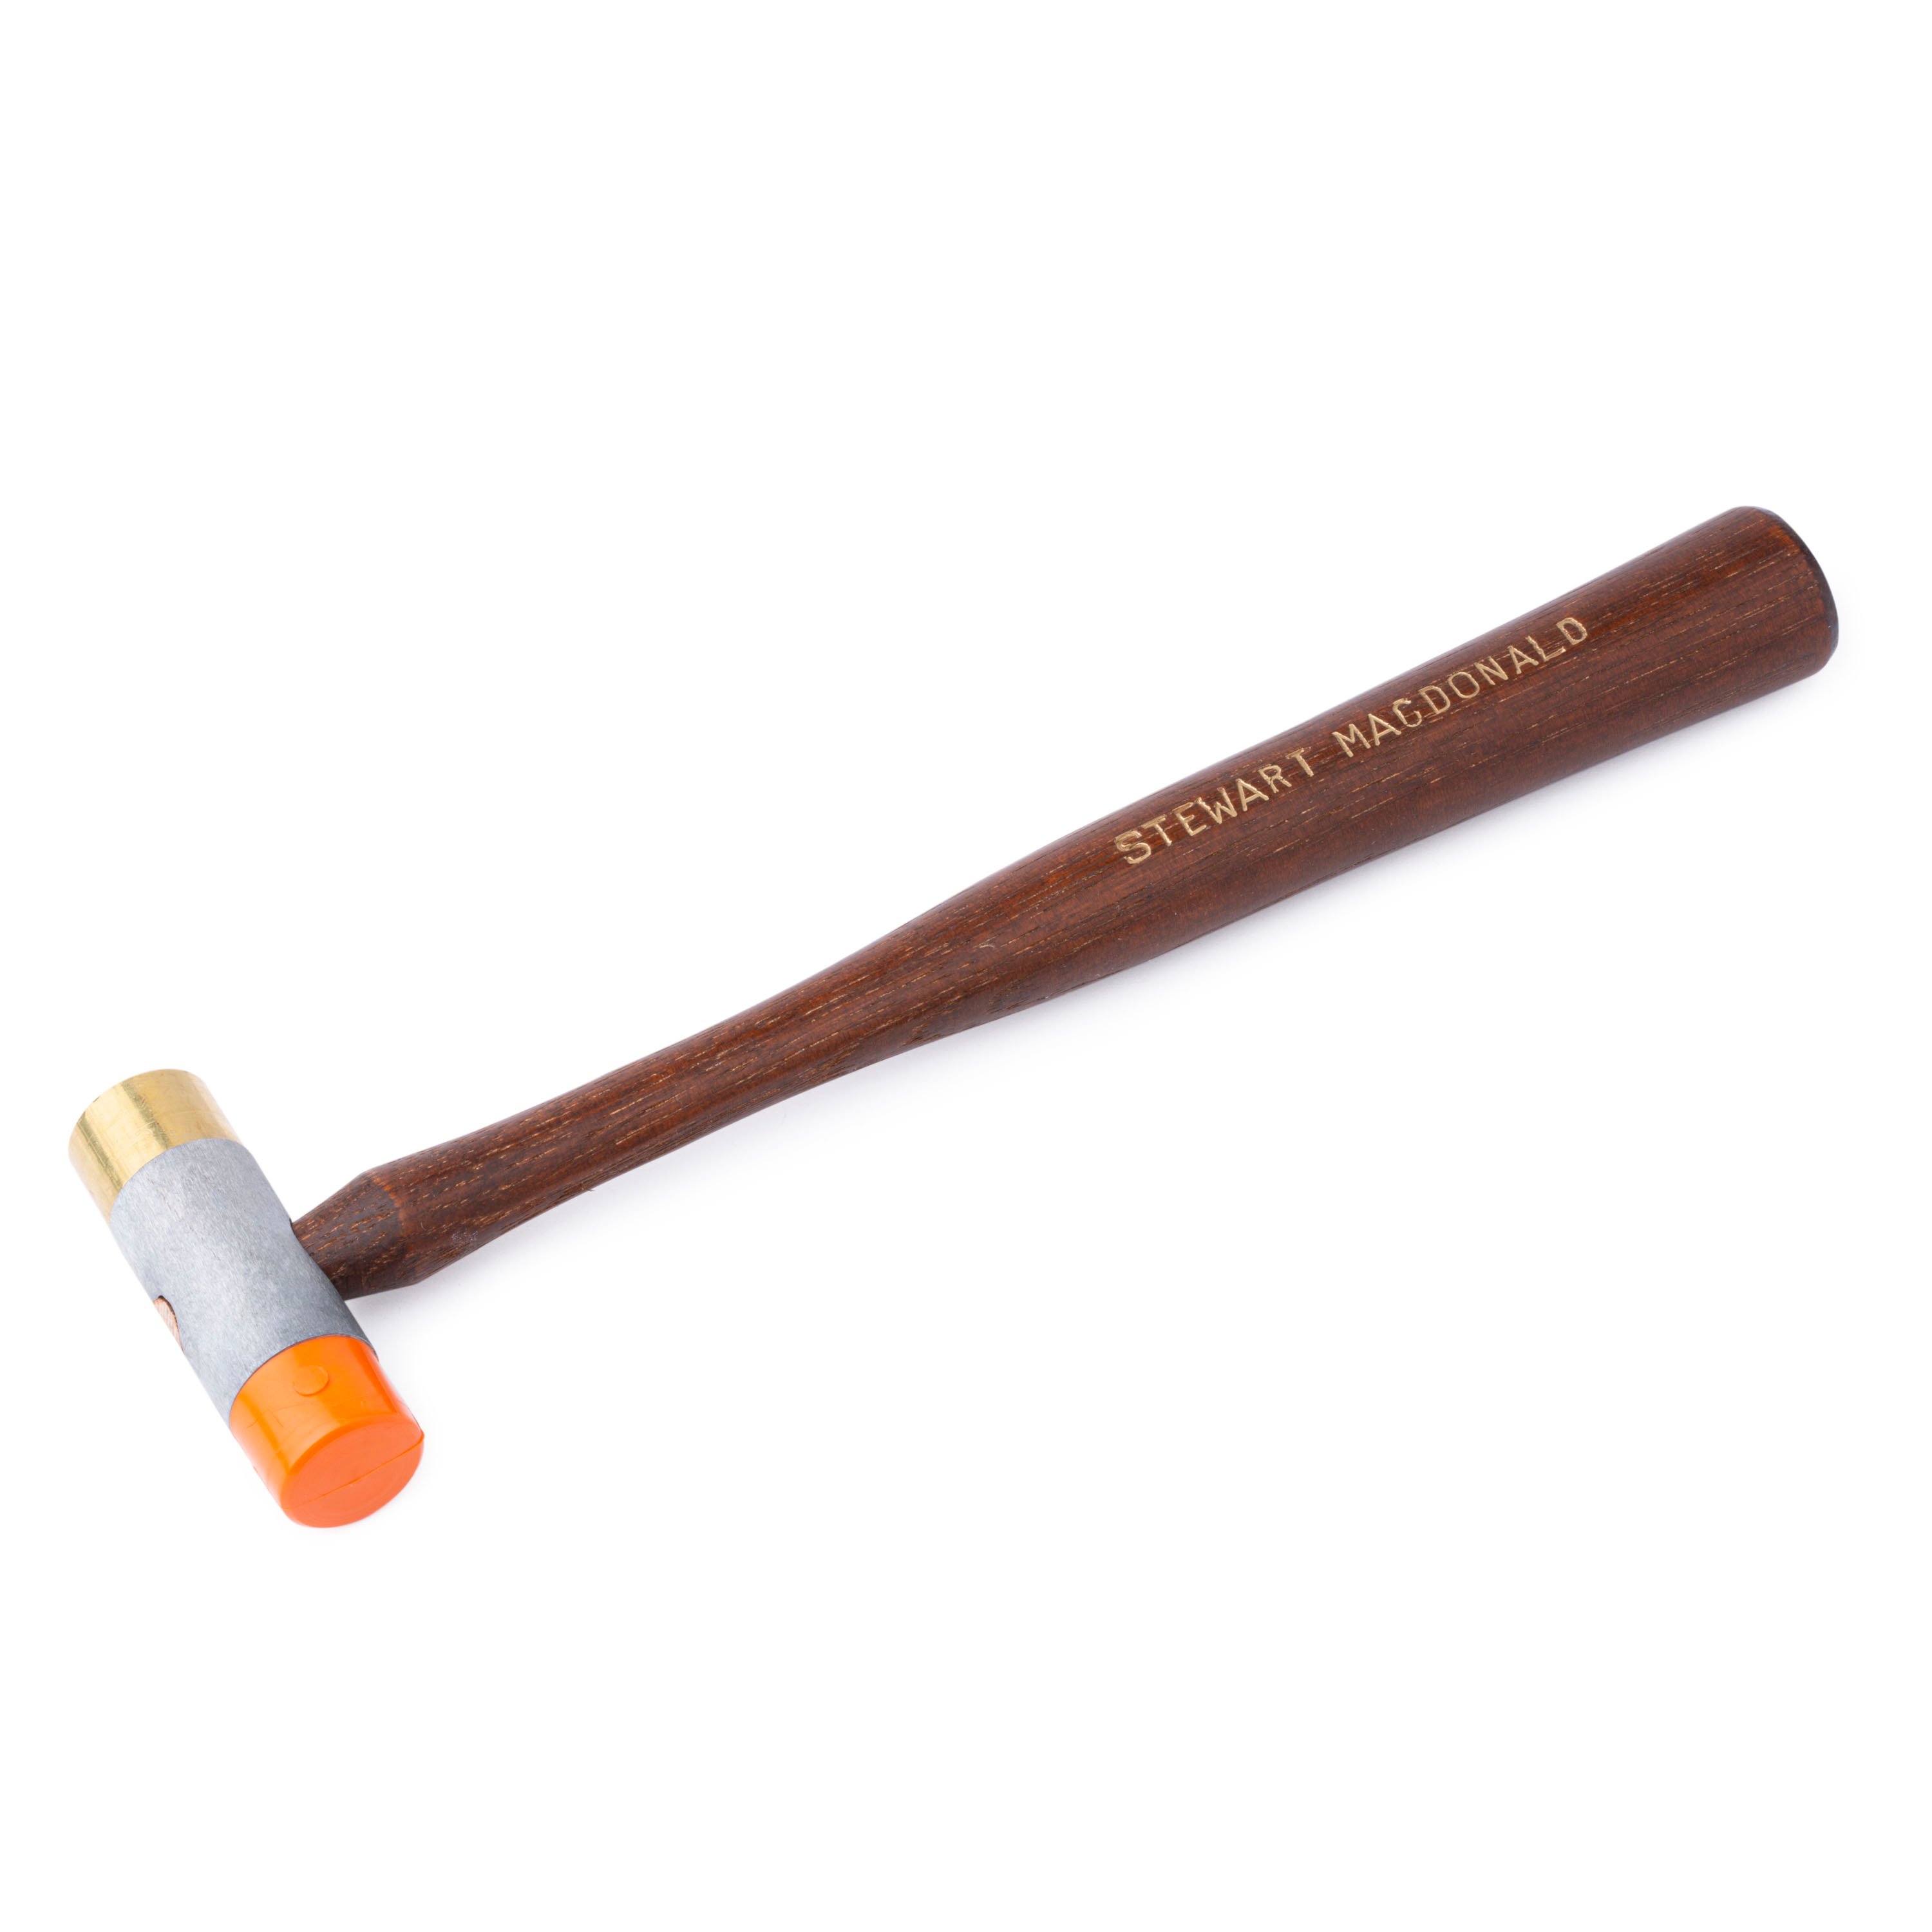
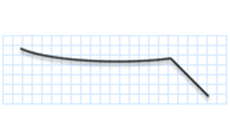
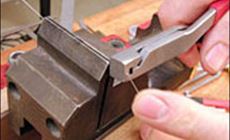
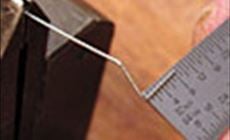
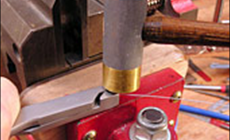
The bends that will tuck around the screws at each end are 45°. Bend those downward now. I found that FretFitter pliers worked well for this: the tiny groove in the jaws is the perfect size to hold the wire. Once that first bend is made, I use a 1" repair magnet to hold the wire — that keeps it flat, on the same plane as the first bend. Measure a point 7/32" from the bend — that’s where you want the next bend. A small piece of tape marks the spot here. (I use magnets to hold things to my vise, too: that’s what’s holding that under-string radius gauge and nut-slotting file sticking out in the background.) This one’s a 90° angle. Using the fretfitter jaws as an anvil, I’m squaring up the 90° bends with a fretting hammer. Trim the end so it’s just a little over 1/4" long. and pull the wire snug across the saddle screws. Now make the downward bend for a custom, tight fit. Make the 90° bend on this end the same way as the other. Trim it to length and push it into the bridge body. Done! You just made an ABR-1 retainer wire.Trade Secrets on the Road
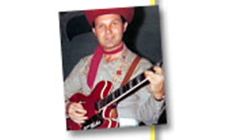
Leon’s also a guitar fixer and a setup man.

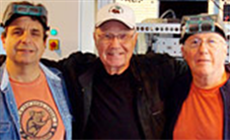
That wire’s just a tiny part, but when you need it, you need it bad.
First, you’ll need an unwound guitar string
Start with a 4" length of 018" string.
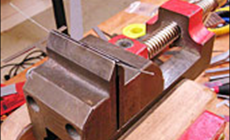

Check it out:

Make the first 45° bend:
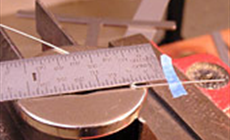
Make the second bend:
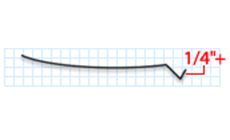
Insert that bent end in the bridge,
