Where to cut the saddle slot on this guitar bridge?
Issue 270 September 08, 2016
Time to install a saddle in this bridge. Where exactly to put it? Salvaging this original Gibson bridge required filling the saddle slot. You can’t assume the original factory placement was correct. Dan Erlewine shows how he located this saddle.
About the guitar in this video: This 1942 Gibson LG-2 is all mahogany. It's often called a "banner" model because of the peghead decal: a banner reading "Only A Gibson Is Good Enough."
Music: Thanks to our friend, Dakota Dave Hull for the music!
- This old, original bridge was actually split in two
- An unusually low, thin example of a Gibson bridge
- Using the Intonator to locate the saddle position
- Added complication from low-profile thinness of this bridge
Video Transcription
[on-screen text reads: Stewart-MacDonald - Trade Secrets!]
Intonating an acoustic guitar
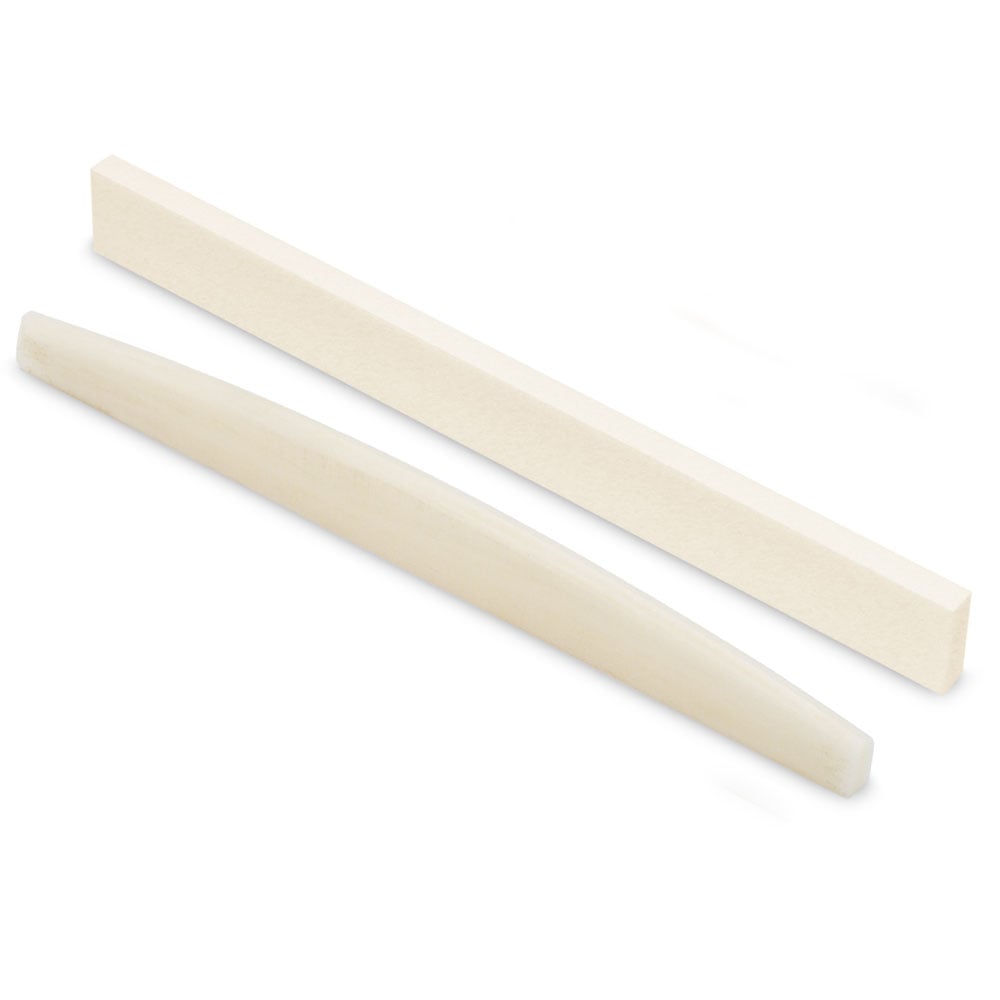
Dan Erlewine: I'm just about done with a lot of work on this 1942 Gibson LG tube banner model. It's all mahogany and they're really sweet. The bridge was falling off among a lot of other things. And now, I'm about to cut the saddle slot. That's the saddle and I'm going to cut it into a bridge [on-screen text reads: Bleached White Bone Saddle - stewmac.com]. So, if strings are too far forward on a bridge, they're going to play sharp. You move backwards. If they're too flat, you come forward. And then, the treble strings and the bass strings need a different amount of compensation. It goes on an angle like that. The heavy strings need more, the thin strings need less. I can find that on this guitar. And believe me, I'm a real worry wart about intonation. When I put this much work into a guitar, I want to know that it's going to play in tune. And that's been a little problem I've had all my life.
Using The Intonator tool
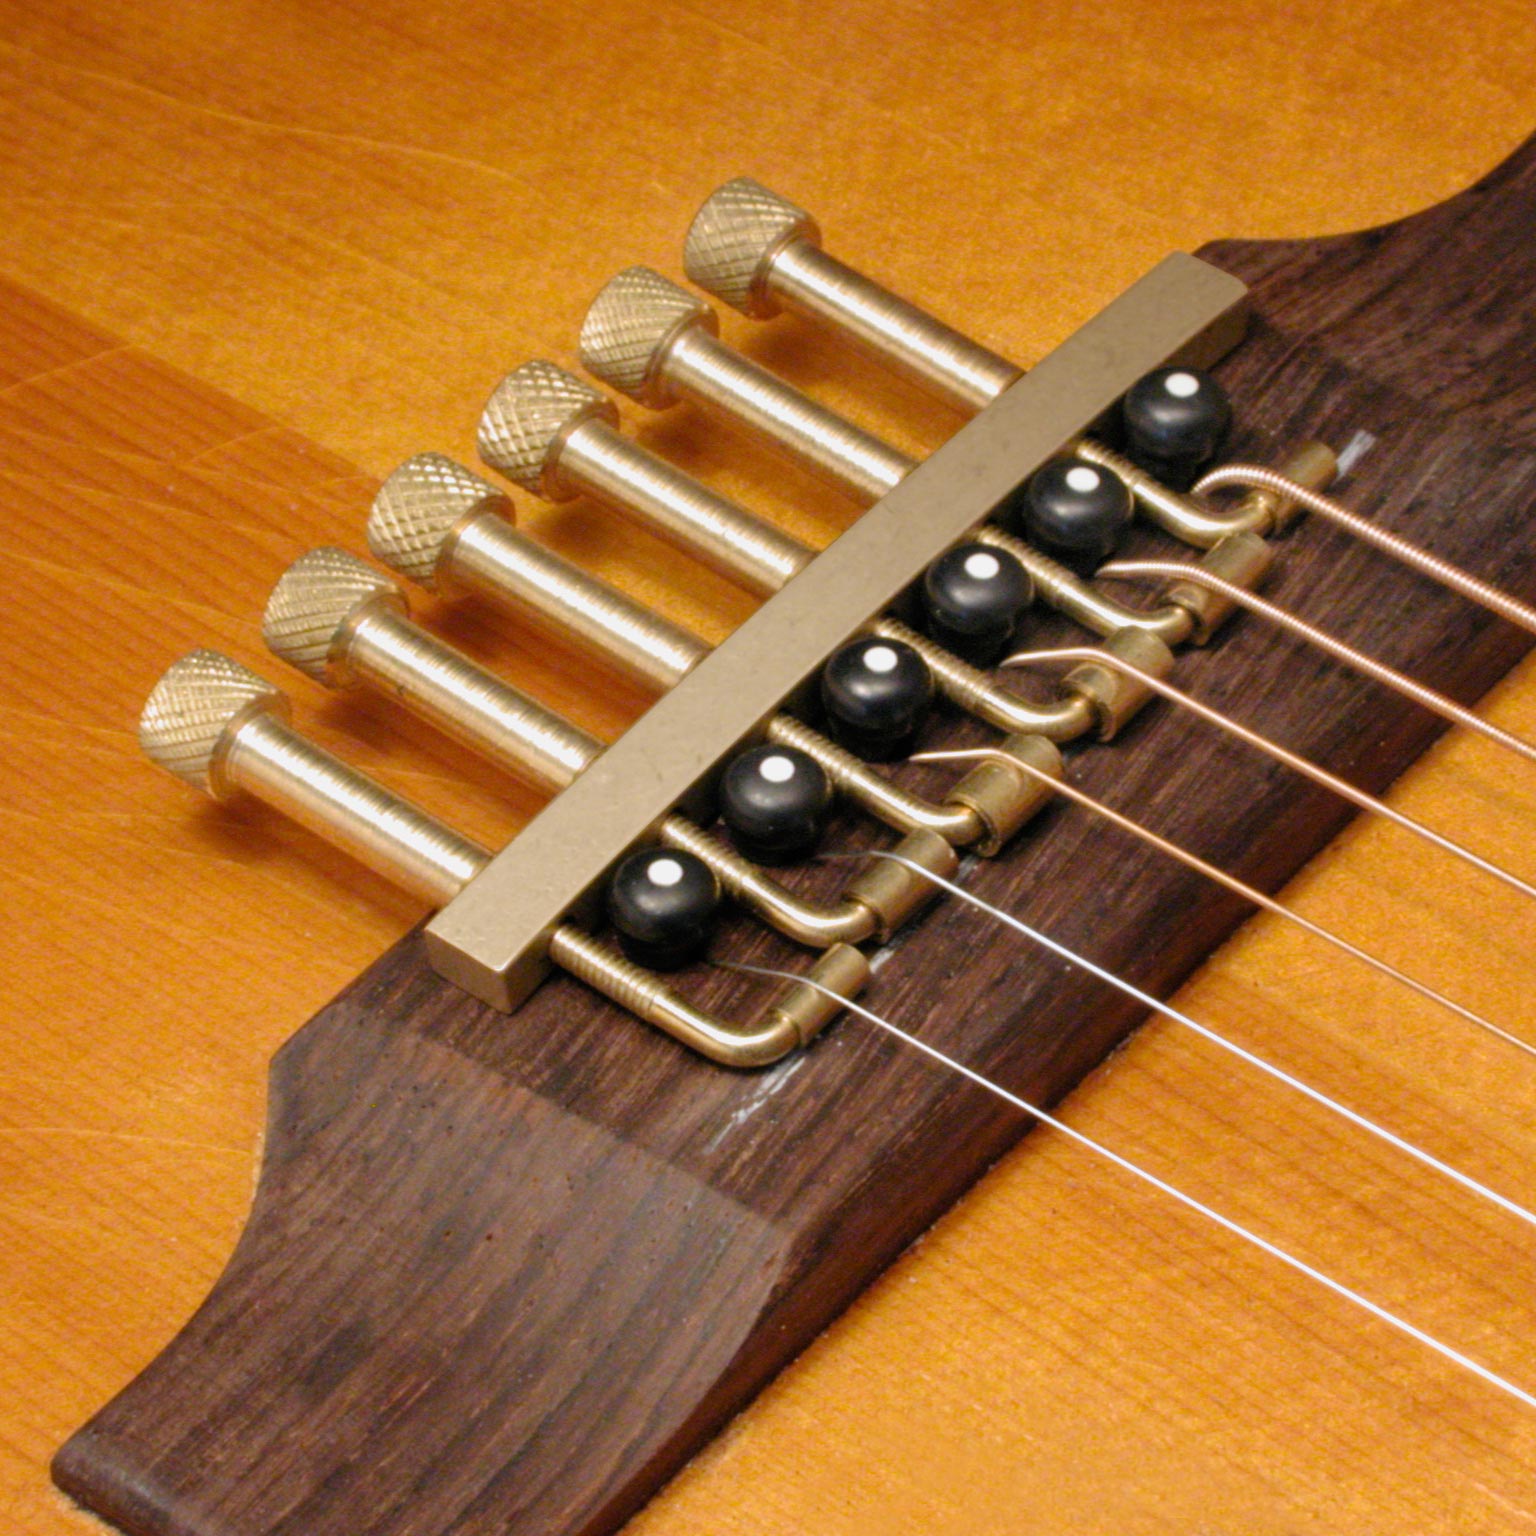
I can do that with this intonator tool, dial it right in where I want it. Then, I find what I think is the perfect angle. Then, I can mark it out and cut it. Here's how The Intonator works. You have a bar of brass that sits behind the bridge pins. And the L-shaped brackets go through those holes. It's curved, so it can sit on a Martin style bridge, or it can rest on a flat bridge like this one. The L-shaped saddles that go back and forth are threaded. And that's for a thumb nut that threads on the back. And by tightening that right or left, you'll go forward or backwards. You also have a set of nesting sleeves. I'm going to use some on this guitar. So, you slide the first little one on, the next one... What I'm doing is increasing the diameter of the awls.
There's a nice high one. So, I can create an artificial action and I can also radius a bridge that is flat like this, so I can create that radius. I started out with a bare awl, one tube, two tubes or sleeves, two sleeves, one sleeve, and back down to nothing again. And that gives me just the right radius for this action. And I'm ready to dial it in. Because this guitar needs a neck reset and it's not in the budget, that means I want that neck to go back to bring the strings down. I need a really low saddle at the bridge, even lower than the L shaped saddles on the intonator without the sleeves. I came up with the trade secret for that. That's pretty cool.
Thinning the saddles
[on-screen text reads: Dan thinned the saddles because of how unusually low this bridge is]
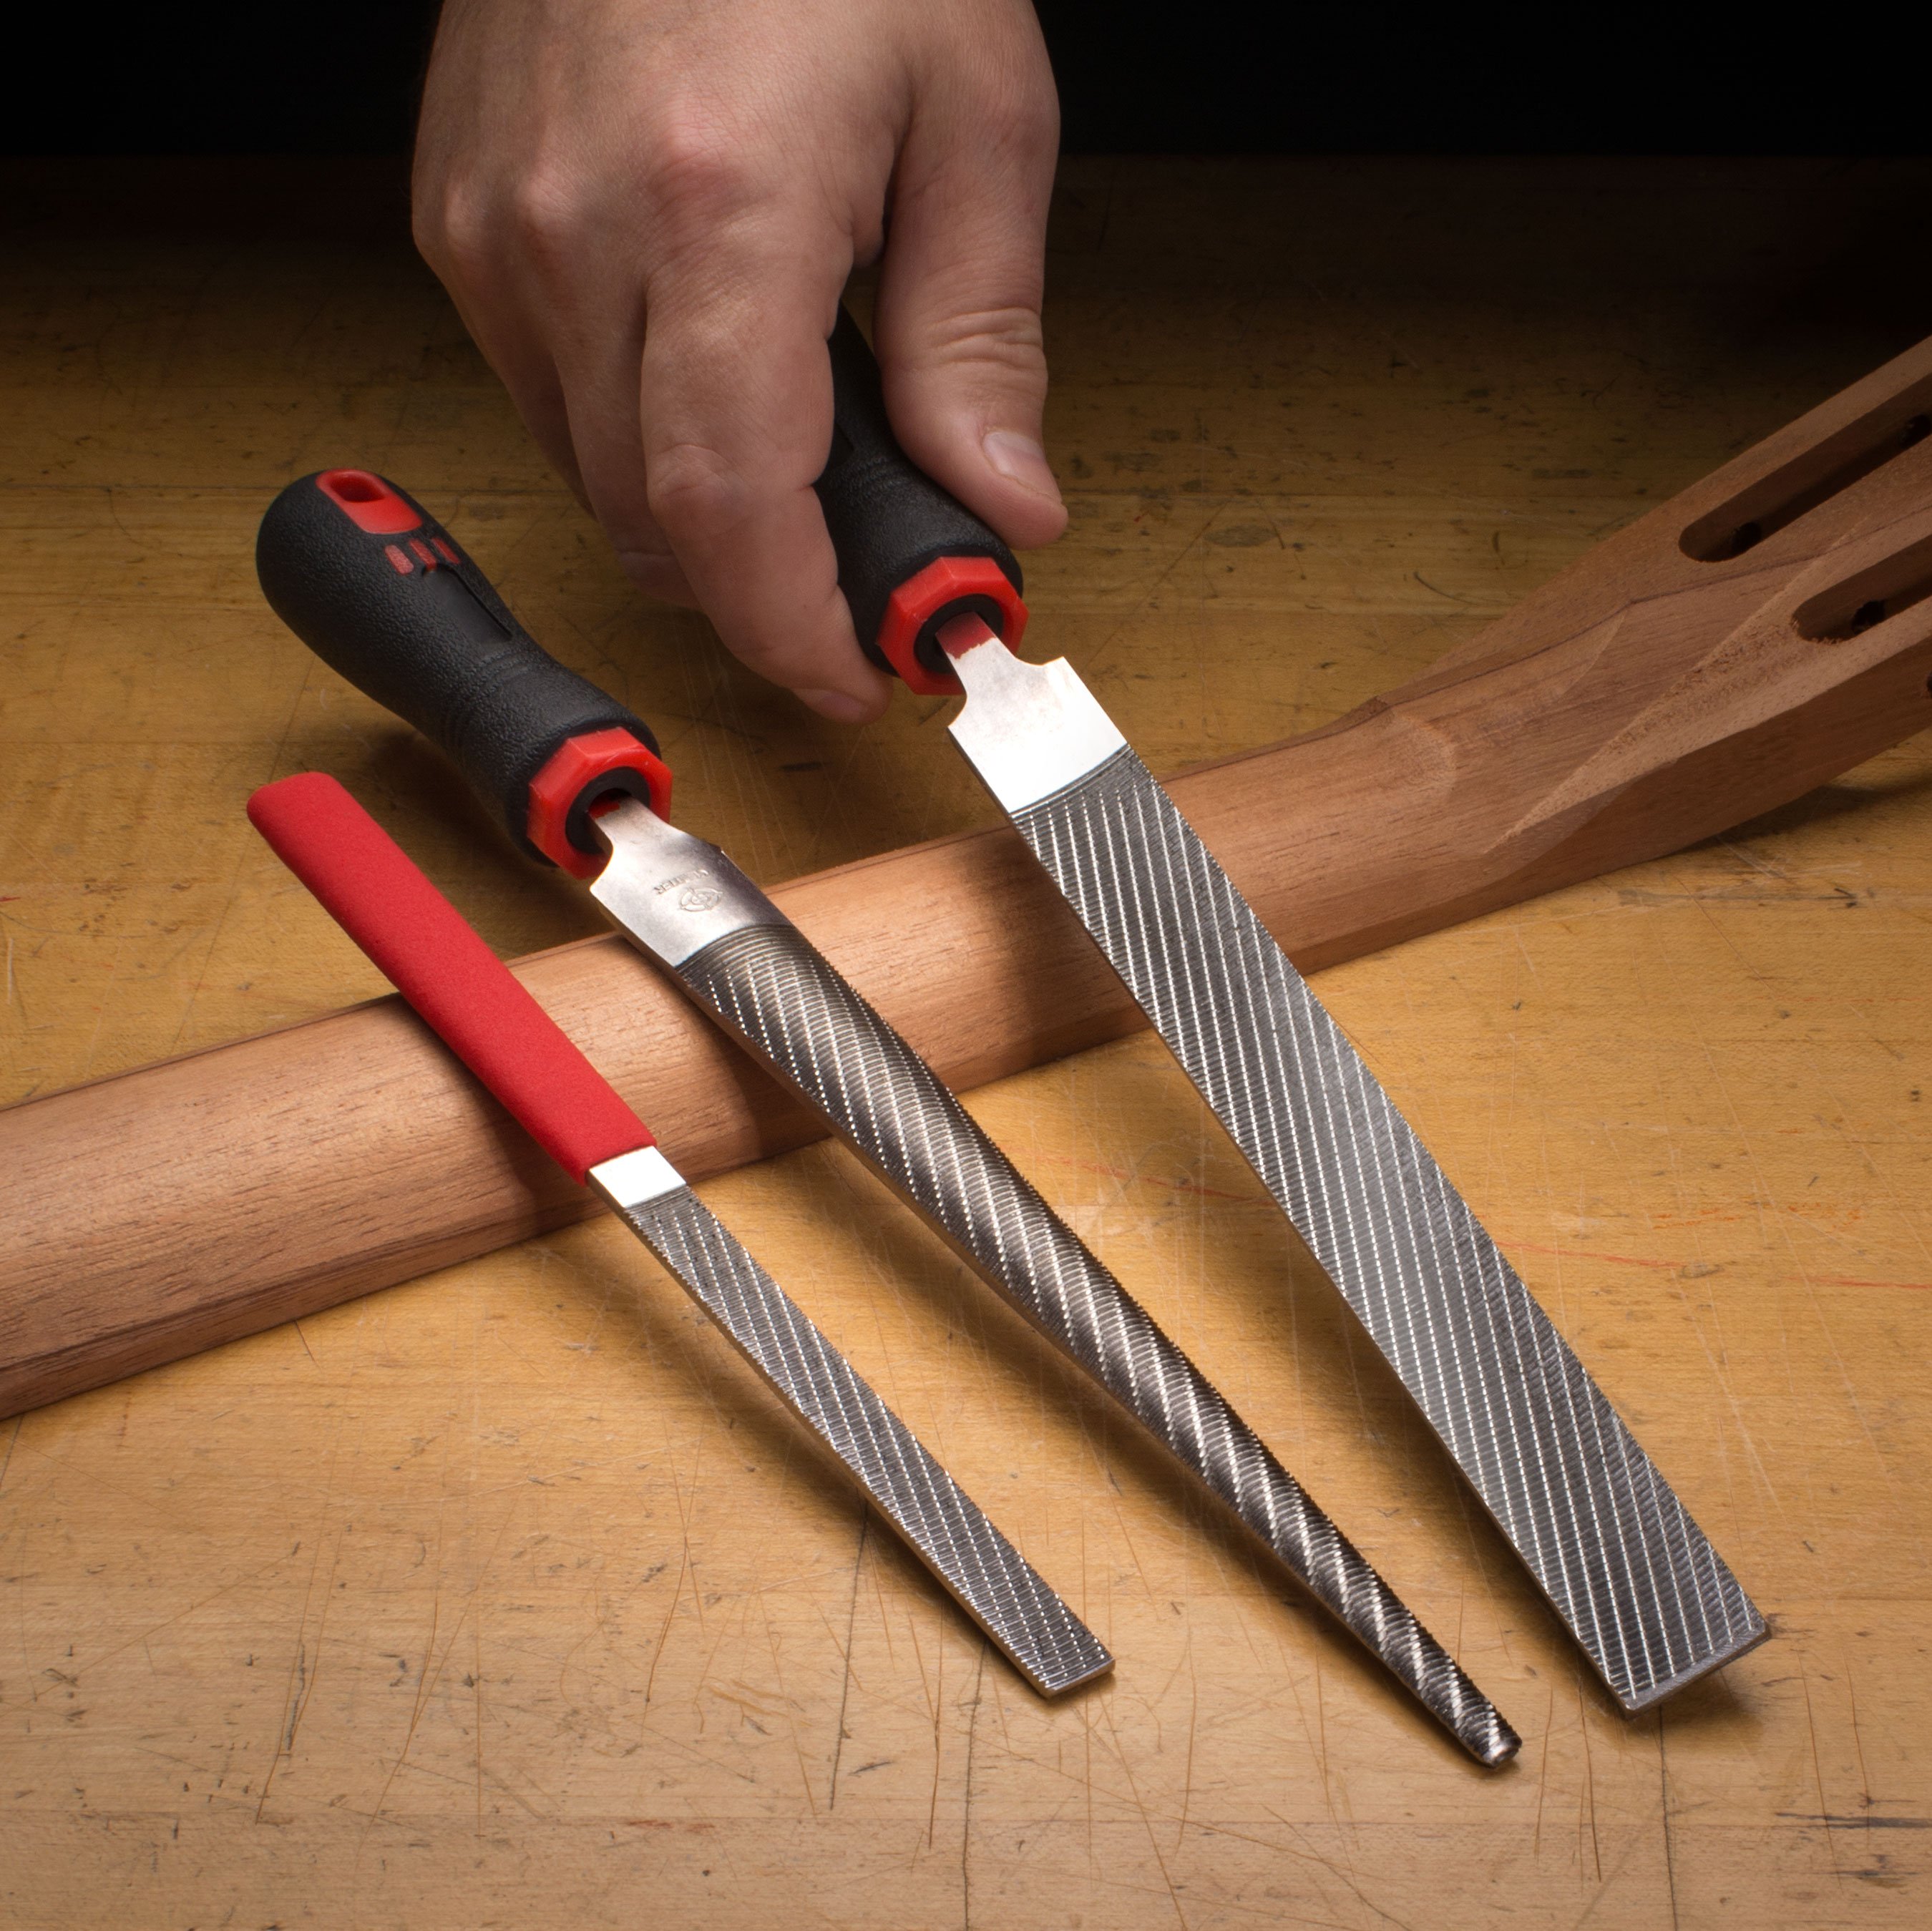
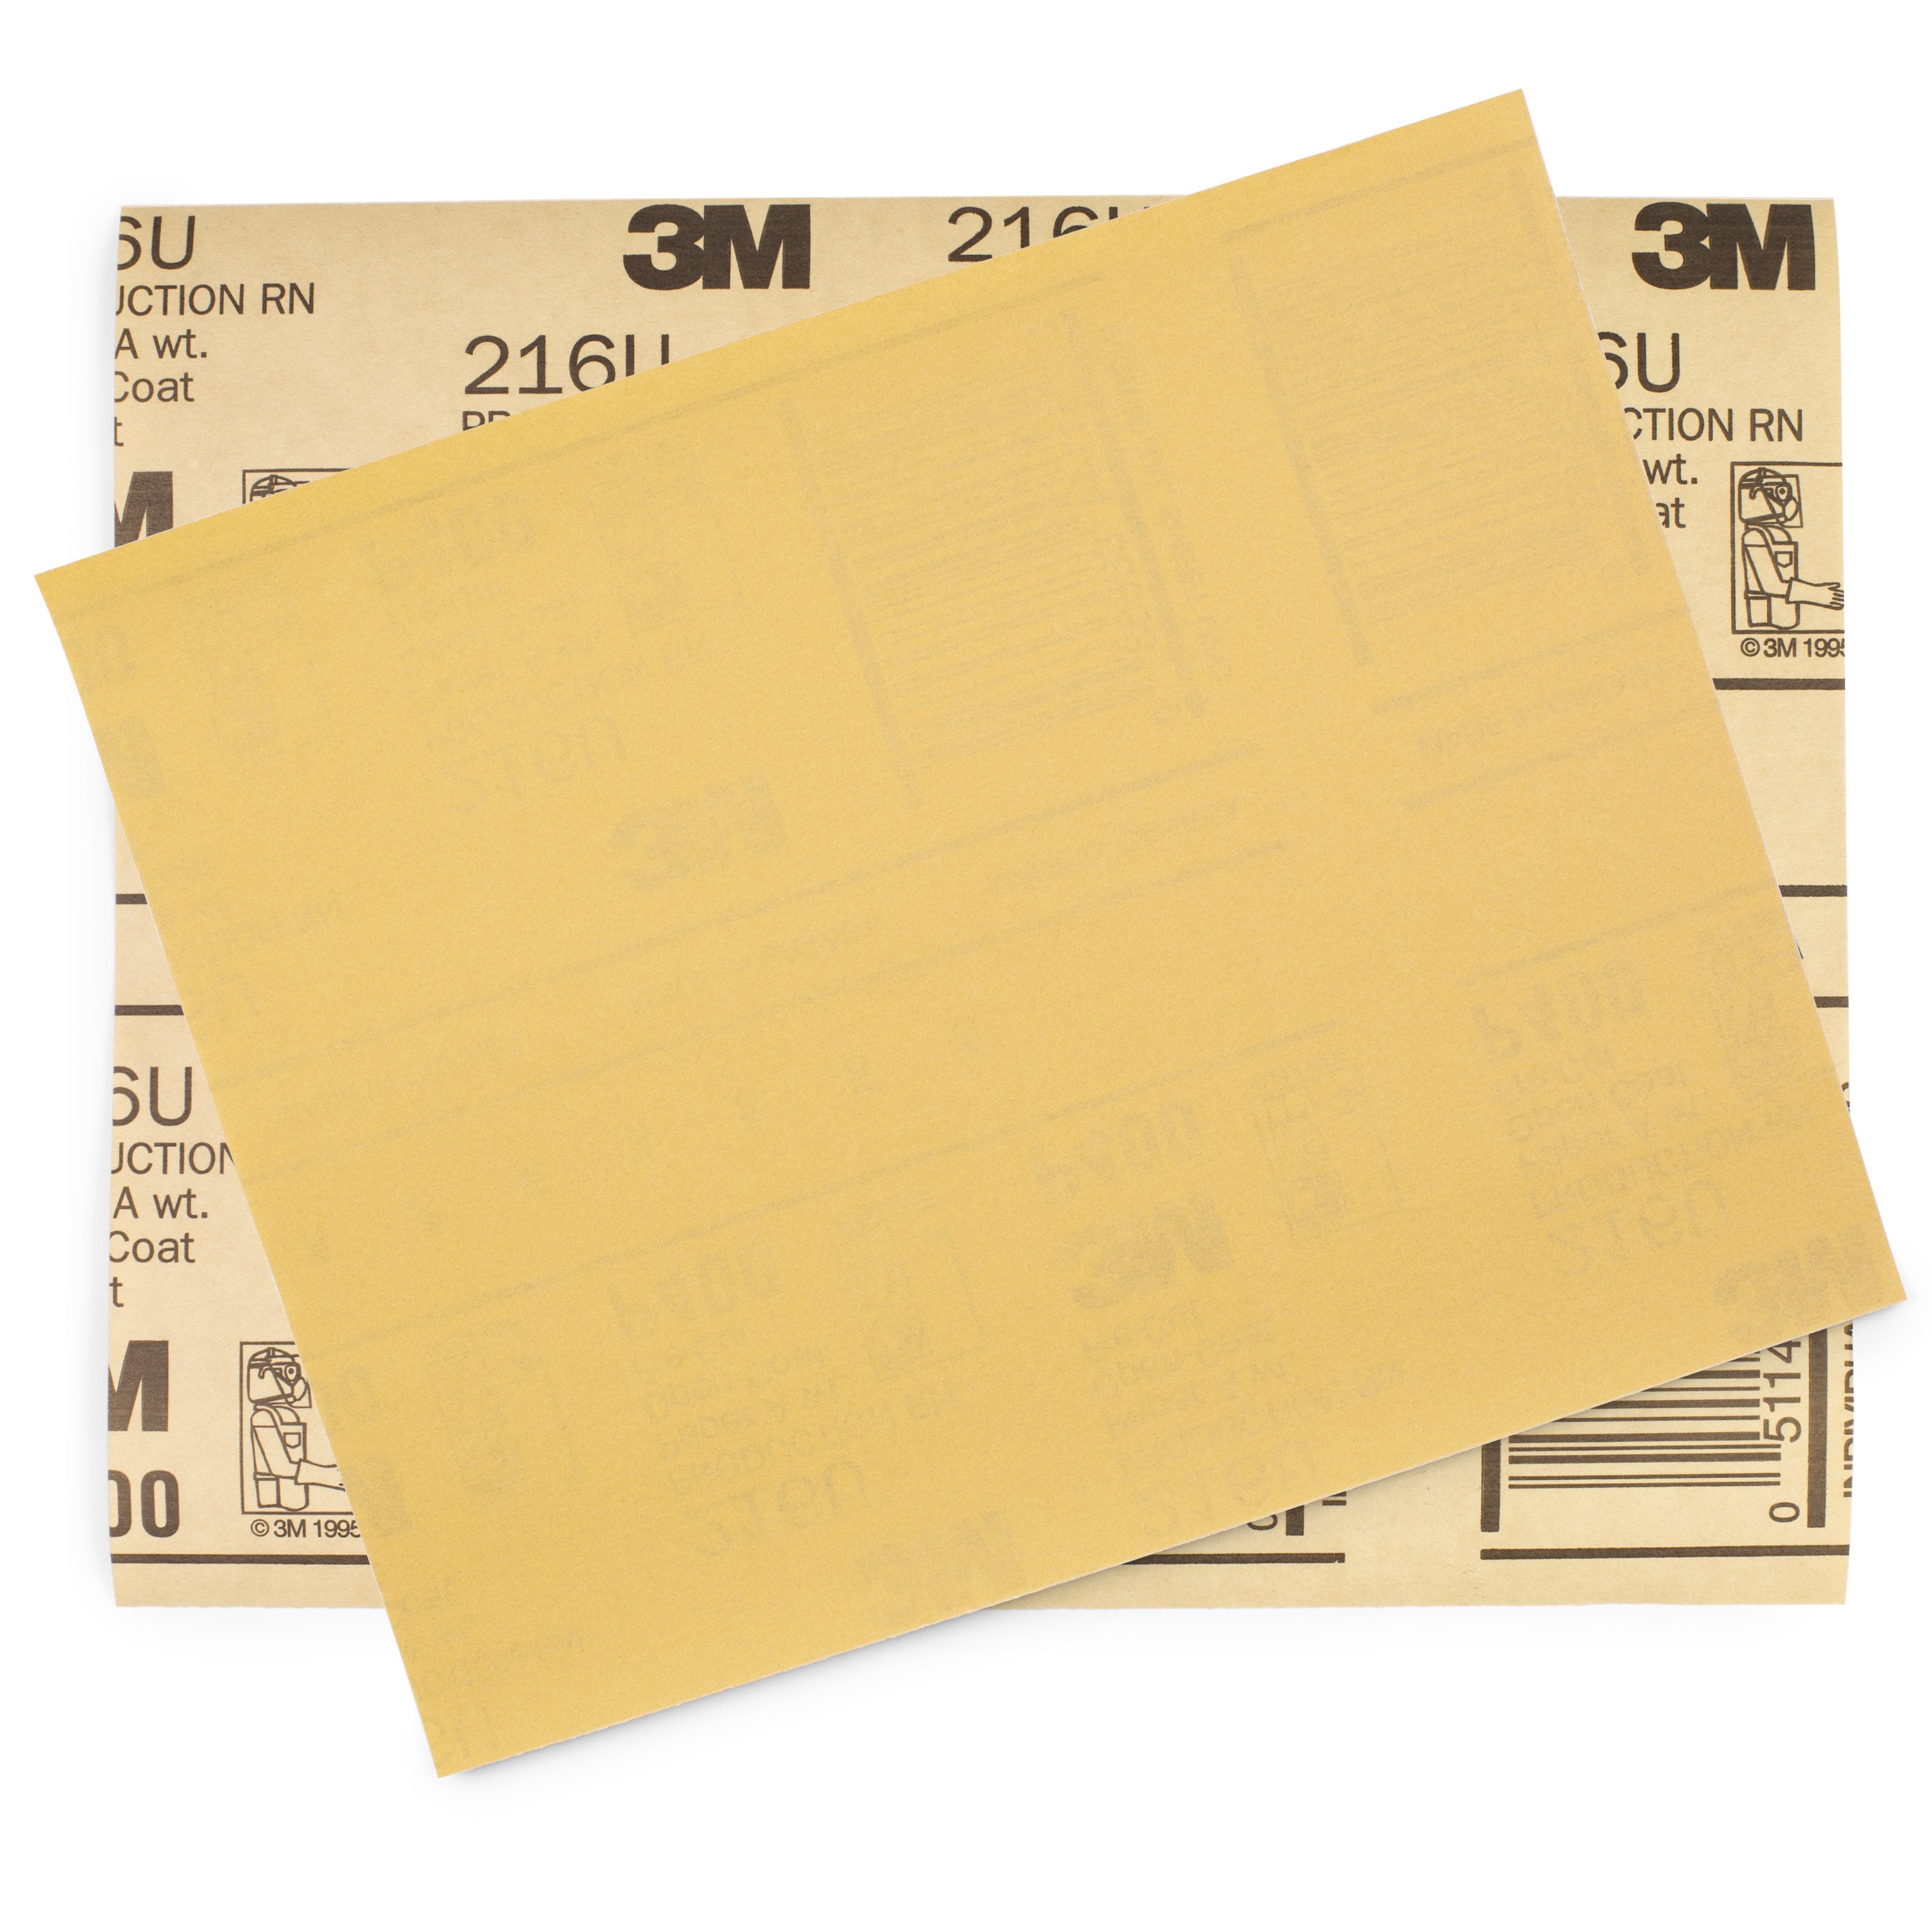
I thinned, from the underside, the outside two, the next two in, and I left the middle two the same. They're about 91 thousandths. I clamped this in at an angle so that, when I file it, it matches the angle of the intonator. I did the filing with a razor file [on-screen text reads: StewMac Razor File - stewmac.com]. I like the cut of that on brass. And once I got into it and got to the right thickness, I sanded it just to knock off any burrs [on-screen text reads: 3M Gold Fre-Cut Sandpaper - stewmac.com].
I filed the outside ones half the diameter of the actual L shape saddle. And the next two, I went in between that measurement. And it gave me a step up and down. I measured often because it wouldn't be too hard to go too thin, too fast. And it gave me just the radius, and the lower action, I needed to use the tool. Put something around the bridge to protect it while you're loading it up. If you tape on the top, use low tack tape [on-screen text reads: Low Tack Protective Tape - stewmac.com]. That's what this is. It won't pull off the finish and that's really important.
Setting the intonation
And you kind of dangle them down. And you get to find out how good you are at threading these little guys under their strings and bringing them up and over the bridge pins like that. So, when I set intonation, I do it in the playing position, sitting down, so that it's right about where I would play it anyhow. You don't want the neck too far out because gravity changes things a bit. Using a neck jig for many years, where I can tilt it over in the playing position, has taught me that I don't need this. That's for loading. You don't need it when you're doing this, but you want to leave your guard there. If the note's flat, I go forward. If it's sharp, you bring them back.
So, we begin. We turn on the strobe tuner [on-screen text reads: Peterson StroboPlus HD - stewmac.com]. This was a new one on me. I really like this one here. I've had a lot of them. So, let's take the D string. First, you got to get it in tune. And the strobe turner will tell me that. You see those blocks that are moving, either this way to the left or that way to the right? And they're going to hover like that until you get in tune and then they're just going to sit there. That's what you want. It's a little hard to get.
That's pretty good right there. Take your hand off the tuner when you do this because, if you think you're in tune and you're still holding that tuner, it'll change the pitch, especially if you have a really finicky ear like I do. That's hovering pretty well. Let's play it at the 12th fret. It's moving left. It's moving flat. To get that sound right, I want to bring the saddle forward. I've moved it a decent amount there, enough to flatten the string open. That's pretty good. It's closer. I think, one more time of going forward, I'm going to have it. There you have it. That's about as close as you can get it.
I'm going to do the same thing up and down the line, going forward and back, until they're in tune. And then, I'll remove the strings in the intonator and lay out my saddle slot. Try beating that.
Removing the strings, intonator and laying out the saddle slot
Okay. The next step is to take my white pencil and mark on each side of every L. So then, I'll see where that L is and I'll know where the center was. [Dan removes the guitar strings using a stringwinder tool]
[on-screen text reads: StewMac Stringwinder - stewmac.com]
Got a pretty good idea where the saddles are from that little white pen. Once I found those little marks with my scribe [on-screen text reads: Inlay Tracing Scribe - stewmac.com], I'm making them deeper so I can really see them. And I erased all those pencil marks, because it's kind of a greasy rosewood and it starts to smear around.
Then, I'll take a piece of light color tape and hold it up to the farthest back marks, undo the same at the front two, and I come up what starts to look like an old Gibson saddle at about an eighth of an inch. Okay. I'm taped up and ready to route. This gap is where the saddle will be, and that's what I'm going to follow with my router as I cut the slot. I'm going to do that in the next trade secrets. We're going to use the saddle slotting jig and Dremel tool to route this slot. It's all thanks to The Intonator, which makes this possible to get this sort of accuracy. See you then.


