Waterslide decal to repair a guitar finish!
Issue 272 October 06, 2016
Chelsea Clark shows Dan Erlewine a clever trick: turning our aerosol guitar finish into a waterslide decal. This makes a great spot repair on this 25-year-old StewMac Dreadnought.
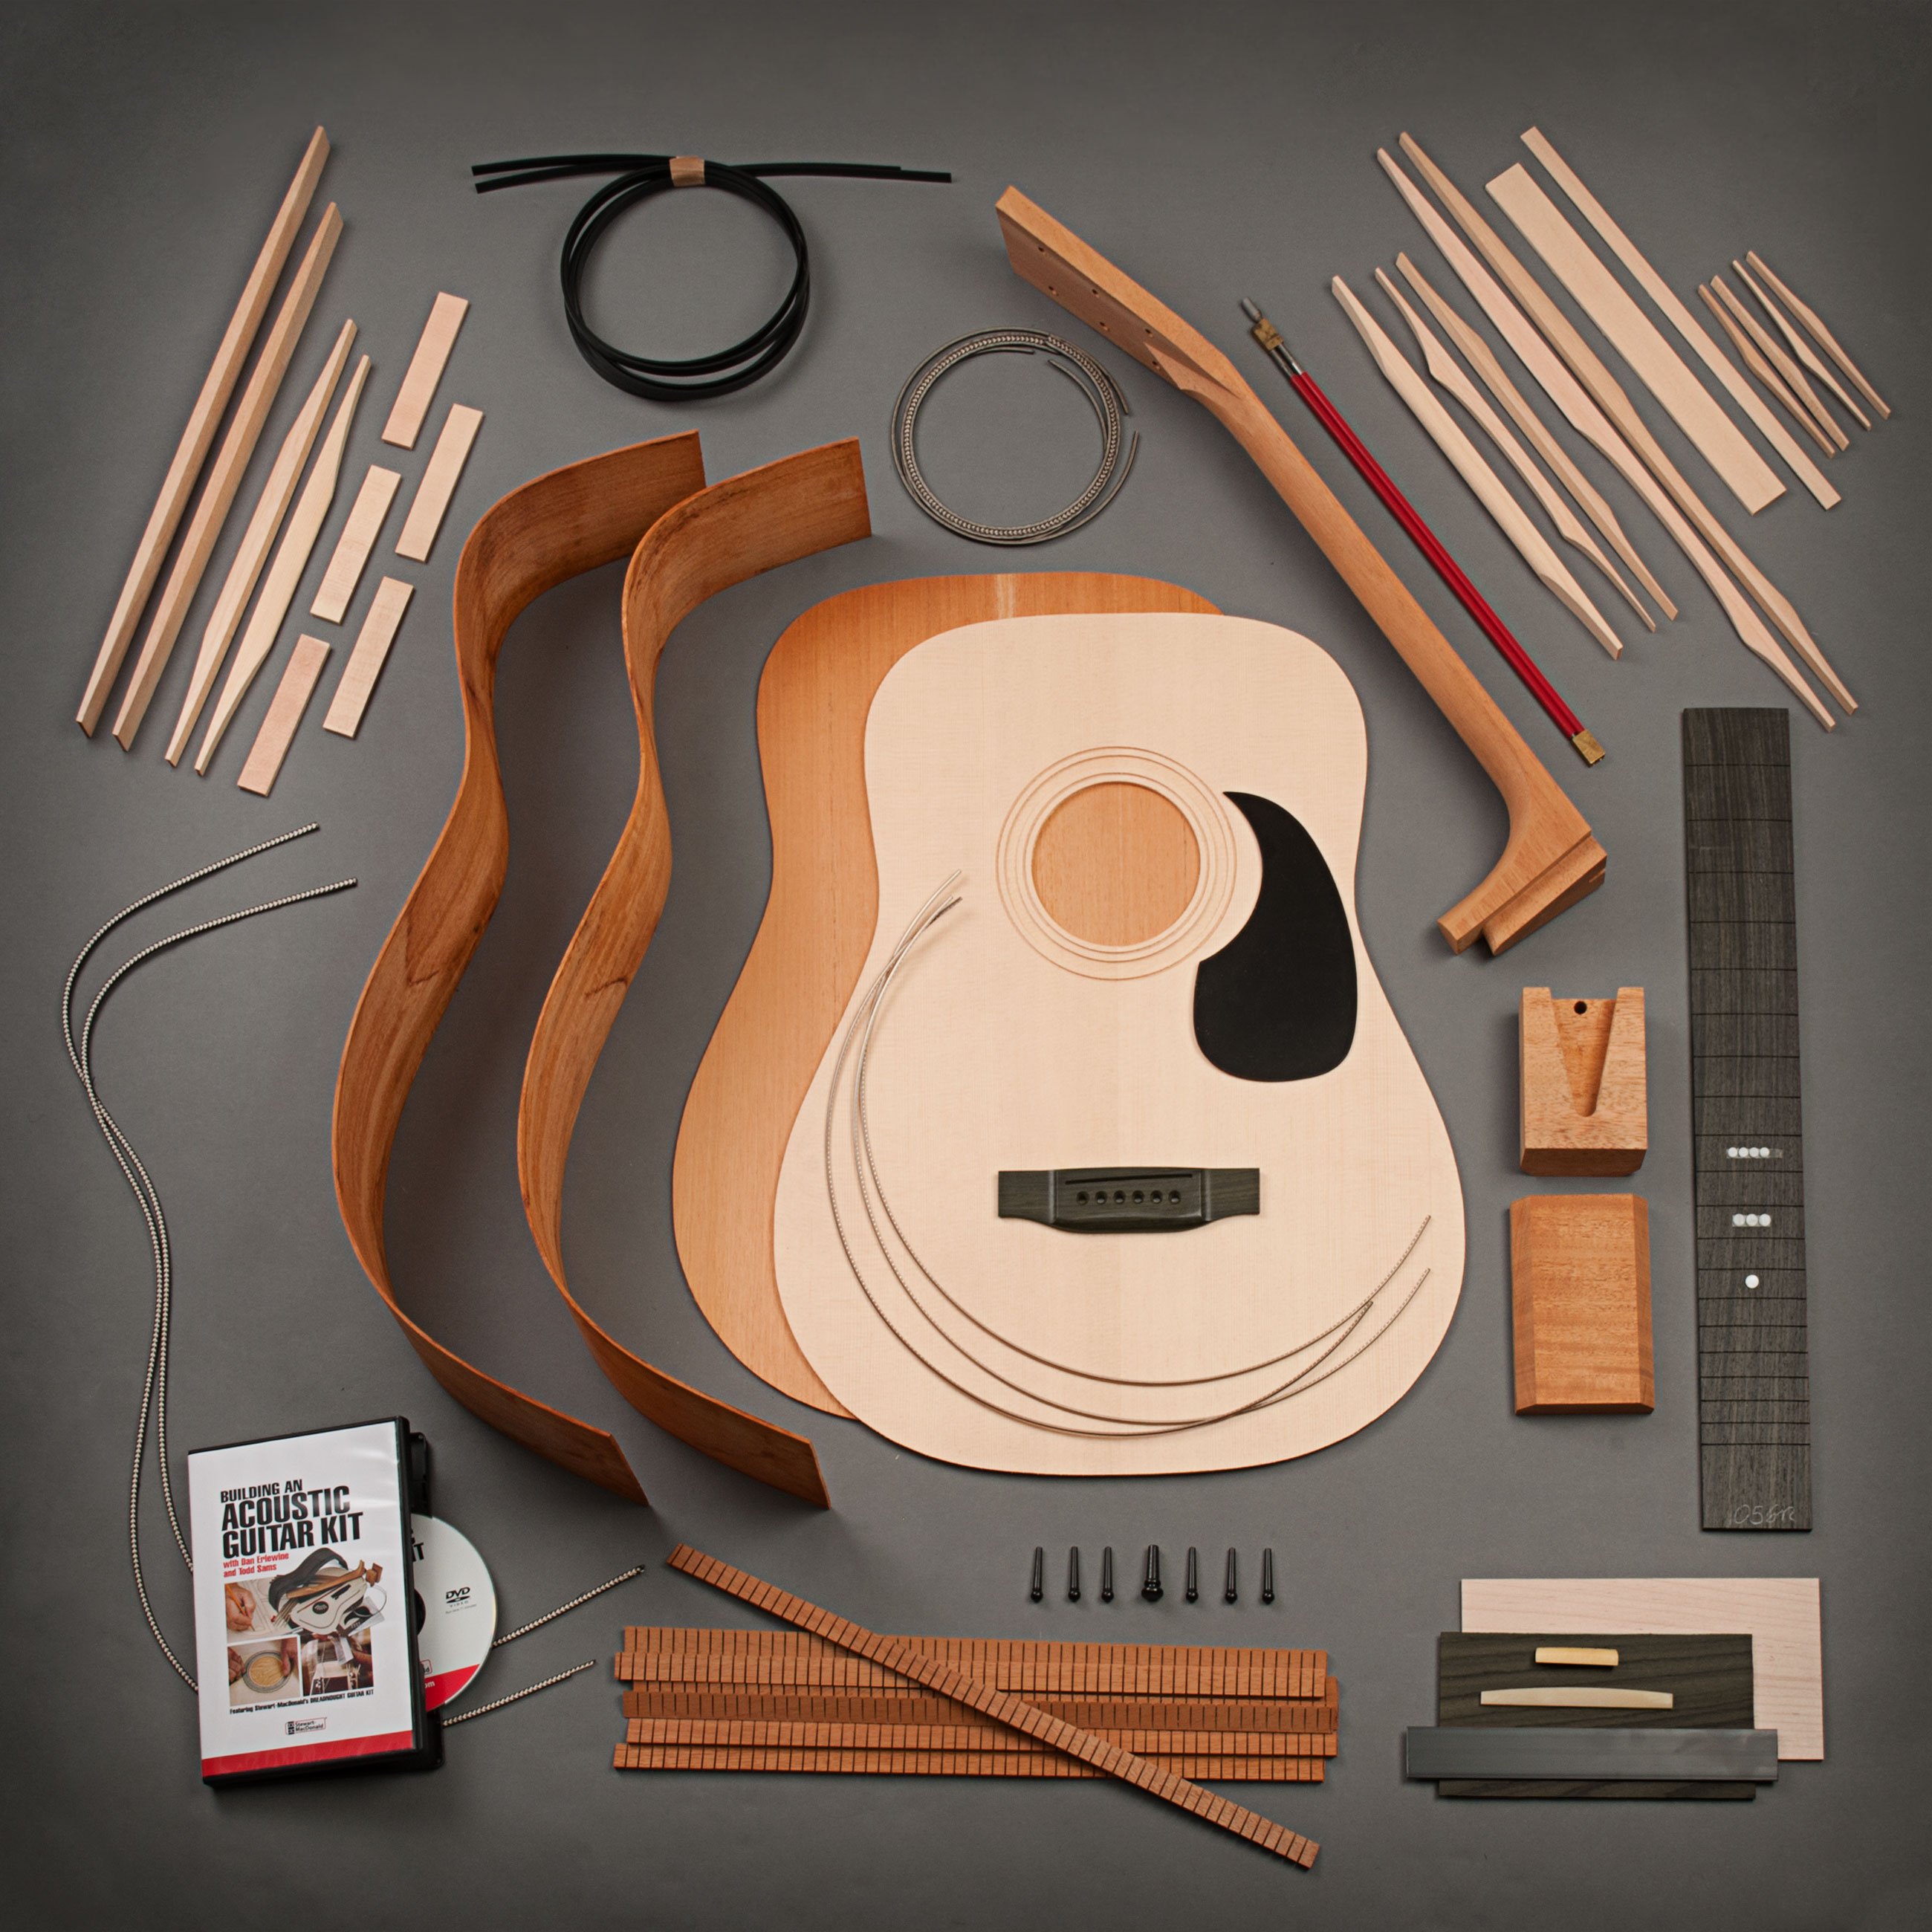
About the guitar in this video: This guitar was built from our StewMac Dreadnought Kit 25 years ago.
- Drilling and plugging a hole in an ivoroid heel cap
- Yellowing a patch of new binding to match the old binding around it
- A neat trick: spraying a custom-color decal to match any color
- Blending two aerosol cans to get an in-between color
Video Transcription
[on-screen text reads: Stewart-MacDonald Trade Secrets!]
Dan Erlewine: Here's Chelsea Clark. She's a very good friend of mine and she has her own guitar shop in Los Angeles called Guitars and Caffeine [on-screen text reads: Neat Trick: A Finish Repair Decal]. But she got her start in my shop a long time ago. [on-screen text reads: Dan Erlewine, Guitar Repairman, Author]
Chelsea Clark: And every time I'm in town to visit my parents [on-screen text reads: Chelsea Clark, Guitars and Caffeine, LA], I make sure to stop by your shop because you always have some really cool stuff going on.
Drill and plug a hole in an ivoroid heal cap
Dan Erlewine: Most of the time I try. Today we have this 25 year old guitar kit from StewMac was a Herringbone Dreadnought that a buddy of mine made and he had put the strap button in the heel and ended up not liking that. So he brought it in last week and asked me to put a new heel cap on and move it. Instead, I just filled a hole in the heel cap, cut a plug of some ivoroid with this plug cutter that comes in the Guitar Screw Rescue Kit. Glued it in with solvent glue, chiseled it flush and filed it with the Razor File. And did all that in about a half an hour. Now we're ready to put a finish on it.
Chelsea Clark: Boy, you really did a good job, but it doesn't match the binding.
Dan Erlewine: No, it's because the binding, it yellows over 25 years and this is fresh plastic again. Little chips like this, you can drop fill with a brush or a toothpick and lay color or lacquer into it and it'll melt out.
Chelsea Clark: But not this.
Dan Erlewine: But this is a flat white area.
Chelsea Clark: Right.
Dan Erlewine: That would get very streaky...
Chelsea Clark: Streaky, yeah.
Dan Erlewine: ... And yellow.
Chelsea Clark: Yeah, for sure. For sure. Well, at my shop we actually use a trick.
Dan Erlewine: Okay, I know you do. You're dying to show it.
Chelsea Clark: Yeah, I am. What I've done is started using a lacquer based water slide logo paper. This allows me to spray the colored lacquer on top of this and slide it off. What you get is a really thin sheet of lacquer.
Dan Erlewine: This is lacquer on the sheet when you get it, right?
Chelsea Clark: Yeah. It's a film of lacquer.
Dan Erlewine: And you're spraying color on it that makes it a little thicker?
Chelsea Clark: Yeah, just a tiny bit thicker, but at the end it always measures to about one and a half thousands of an inch. So you're not adding a lot of bulk.
Dan Erlewine: And this to me is like what I had as a kid. Decals that would slide off and go on the model.
Chelsea Clark: Exactly. Check this out.
Dan Erlewine: You go girl. It's good.
Chelsea Clark: It is, it's pretty close. But I think we can dial the color in with mixing some vintage amber and a little bit more lemon yellow. You want to go mix some colors?
Spray a custom color decal to match
Dan Erlewine: Shake it up baby.
[Dan and Chelsea shake the paint cans really well while laughing]
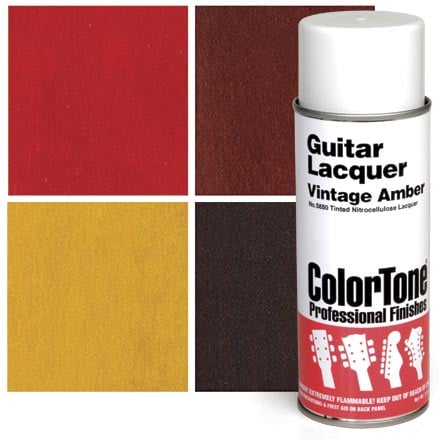
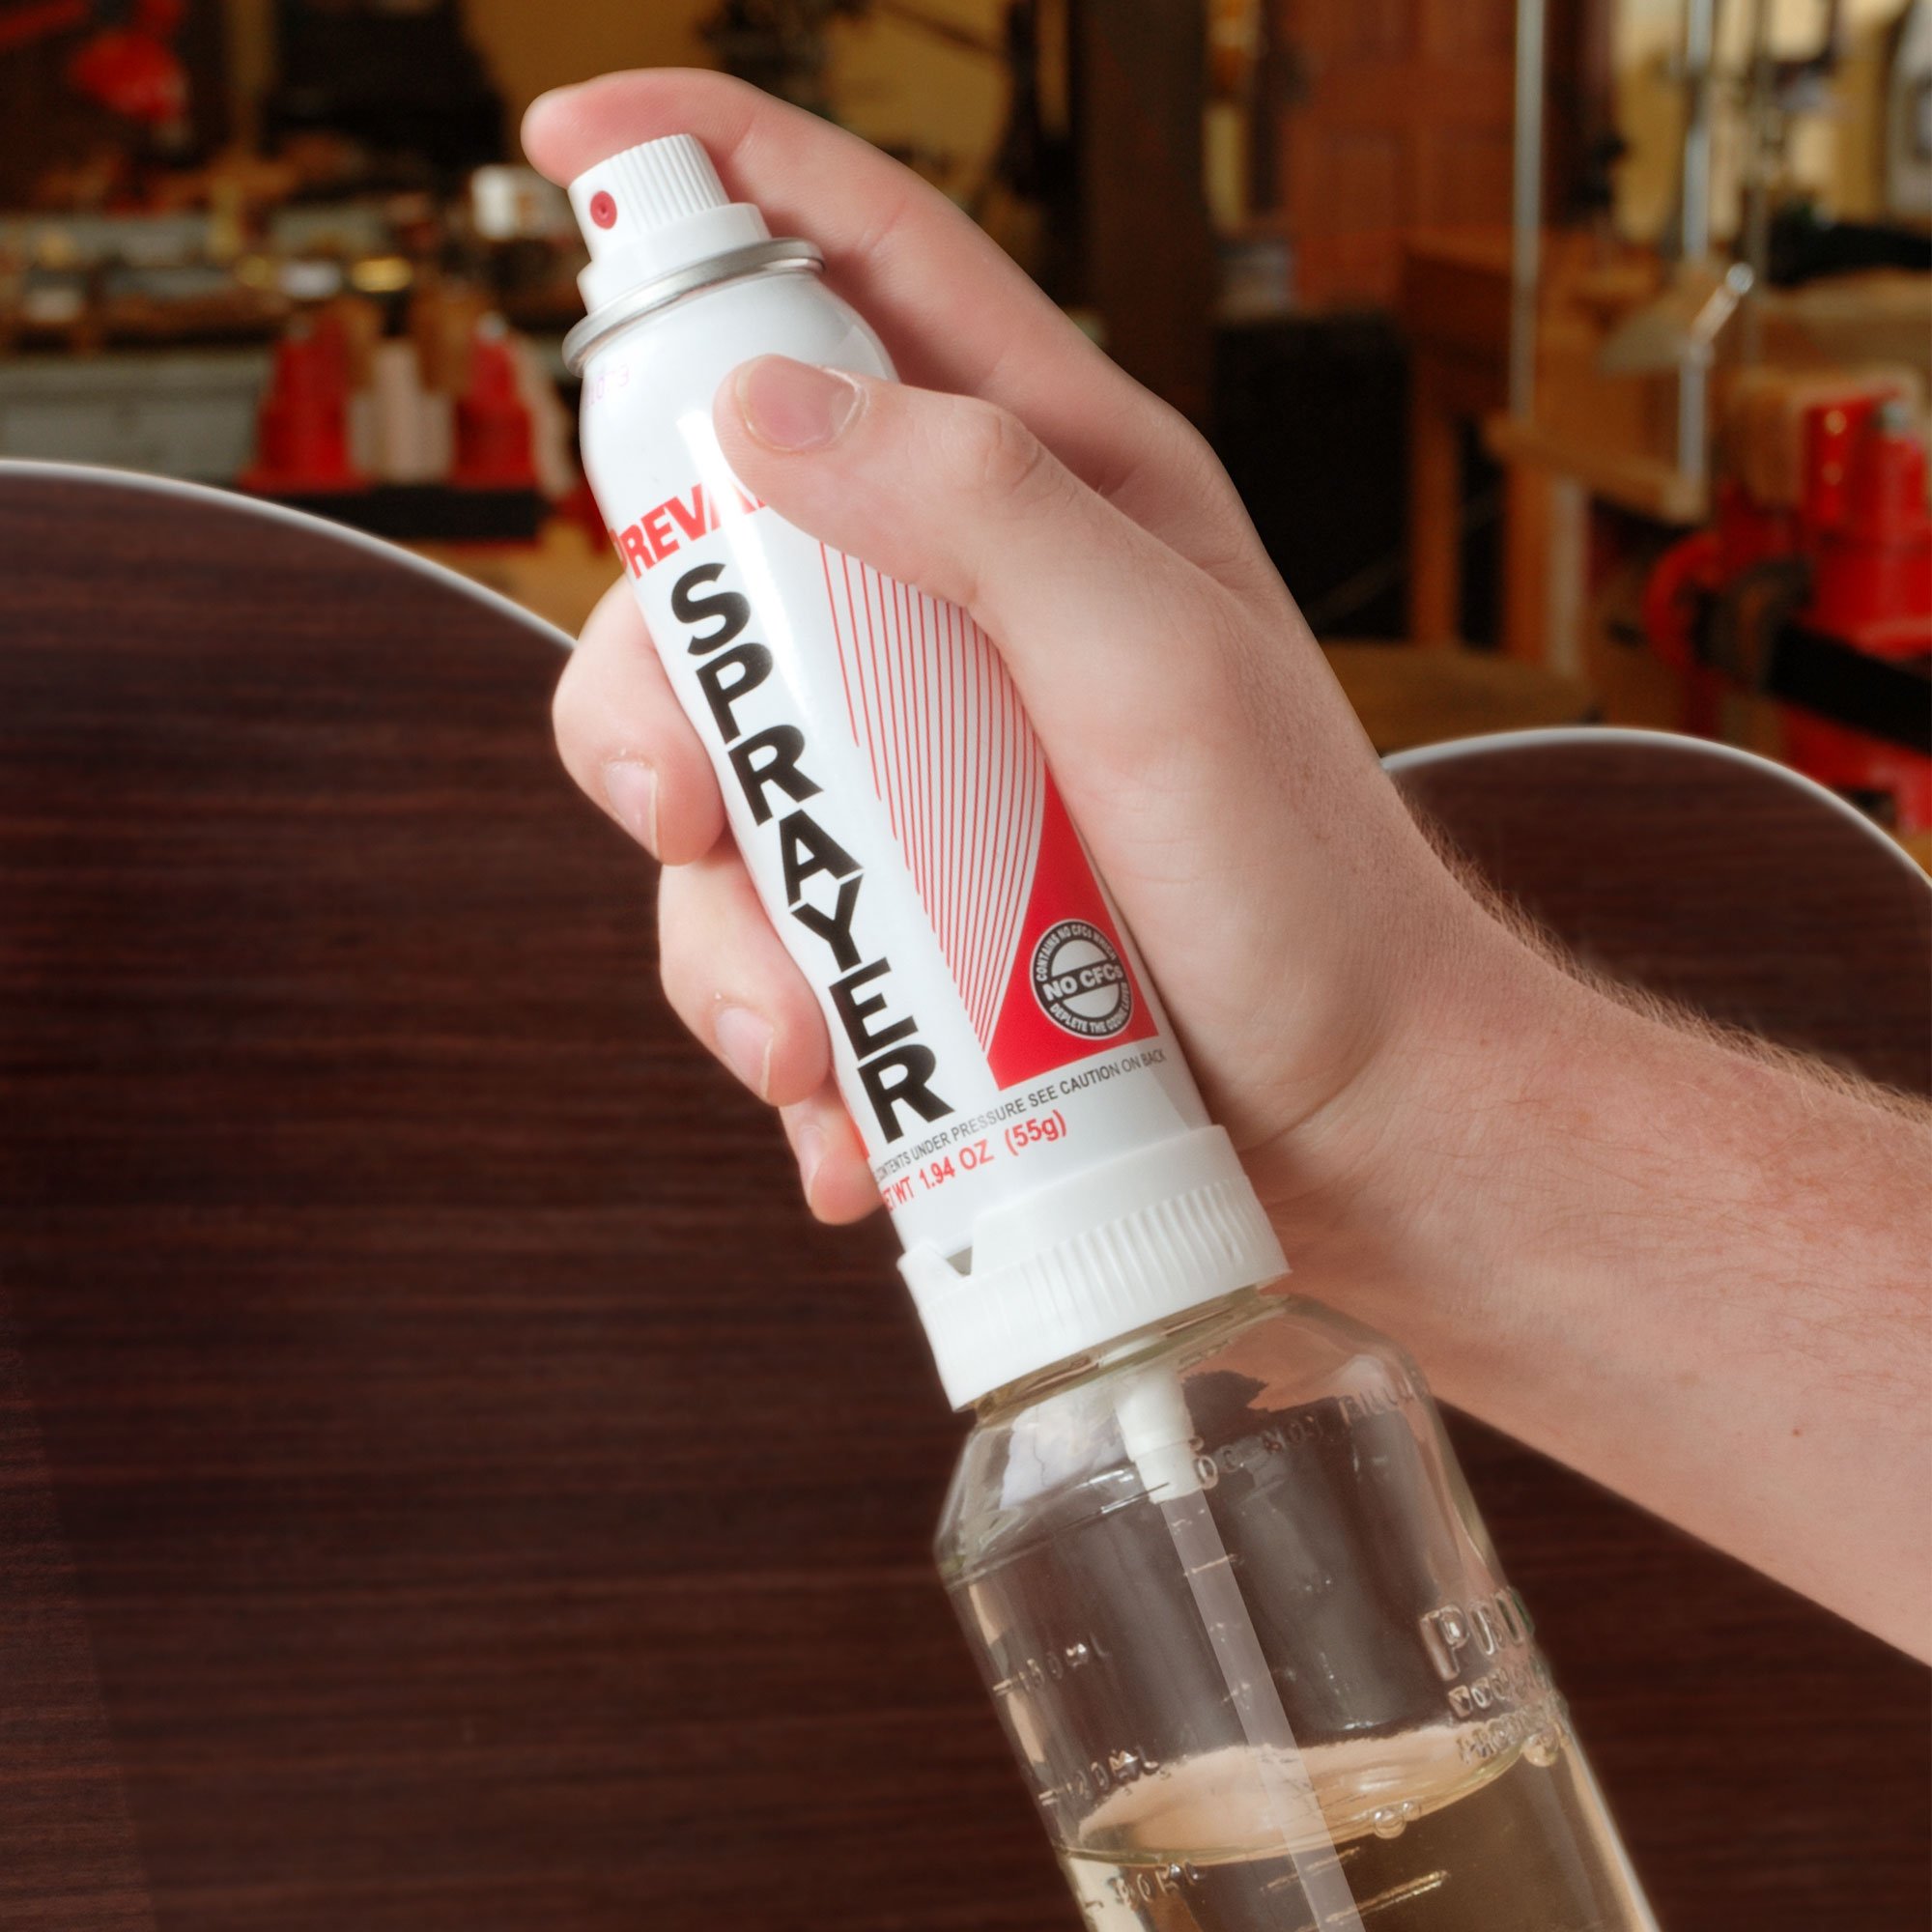
Chelsea Clark: Using this vintage amber [on-screen text reads: ColorTone Guitar Lacquer], I'm going to start at the corner and I'm going to burst out so it's lighter in the middle. That'll allow for an overlap of colors giving me more options of hues. I've also put this nozzle on [on-screen text reads: Aerosol Spray Nozzle - stewmac.com] that allows me to change the shooting pattern to vertical or horizontal, which is really cool when you're trying to do a burst.
Here we go.
[Chelsea carefully sprays the waterslide paper with the aerosol guitar lacquer]
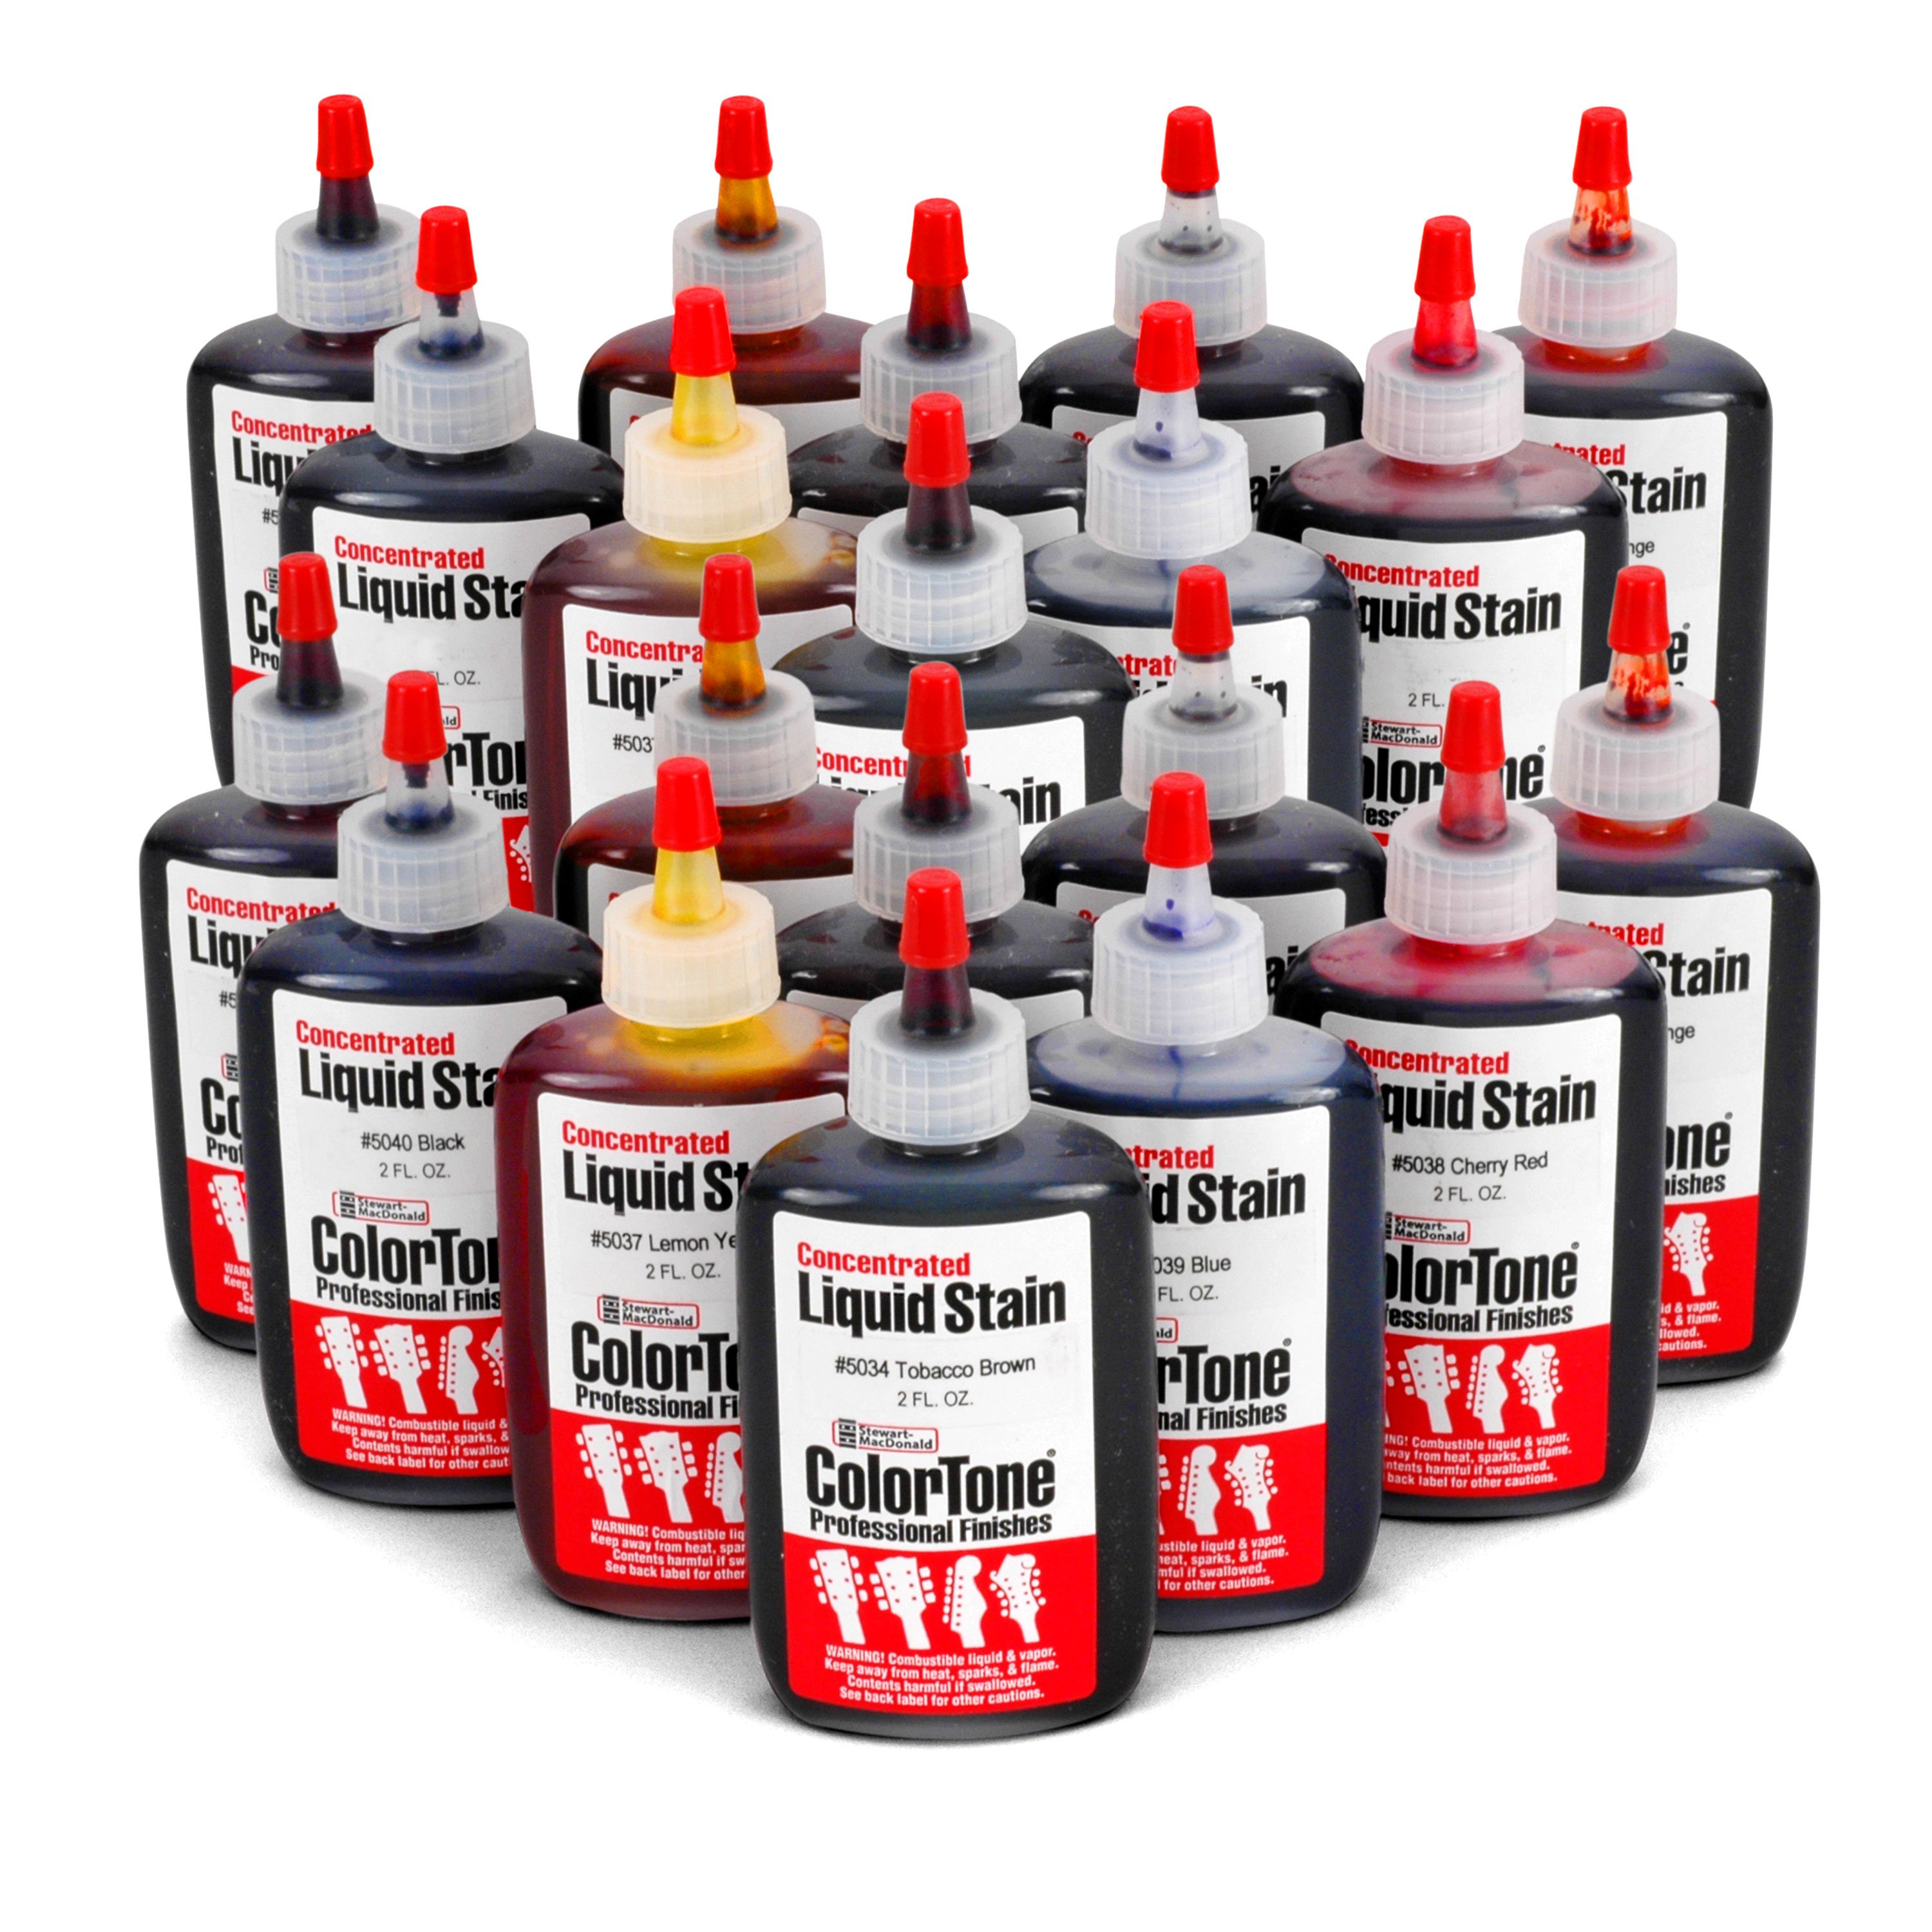
This is perfect. This is exactly what I want because we're going to flip it over and add a different color. After that vintage amber, I'm going to need some lemon yellow [on-screen text reads: ColorTone Liquid Stains - stewmac.com] and it doesn't come in aerosol form, so I'm going to have to make my own. And I'm going to use the Preval Sprayer to do this. I've mixed a few drops of the lemon yellow into some Lacquer, but it's a little too thick. So I've put in some Lacquer Reducer.
Dan Erlewine: My cousin David sprayed his whole car with the Preval.
Chelsea Clark: Really?
Dan Erlewine: Back in the 60's. I'm serious. He had a little Volvo and he sprayed the entire car.
Chelsea Clark: No. How many of these Preval's did it take?
Dan Erlewine: I don't remember. It took a week or more.
Chelsea Clark: Now we're going to use the lemon yellow. Same idea, but we're going to start at the opposite corner and fade it out. You'll want an overlap of one to two inches just so you have a really nice rainbow of yellow to choose from.
Now that it's dry, we can color match the binding. I'm liking that right there. What do you think?
Dan Erlewine: You're the boss. I like, that's good.
Cut out and install the custom waterslide decal
Chelsea Clark: You get a knife? Okay, we're just going to float this, a little square that we've cut out and color matched into this hot water. You'll want to wet the tips of your fingers a little bit. What's going to happen is you'll see the edge of the lacquer peeling up, maybe a few air bubbles. You're going to take the needle nose pliers [on-screen text reads: Long-nose Pliers - stewmac.com] because this is hot water. And gently pull the sheet back up. Because what you're going to do now is just slide the lacquer off.
Now, if you notice that there's a wrinkle or something in your lacquer, that's all right. Just wet your fingers and pull it taut and I'm going to gently lay this down. I like to let these little pieces air dry anyways, so we'll come back in about, I don't know, five minutes and it'll be dry.
Dan Erlewine: Cool.
Chelsea Clark: All right. Here's the exciting part. I'm going to add a little bit of Retarder Thinner. A tiny bit. You're not going to need a lot. Here's a cap.
Dan Erlewine: Retarder thinner is a hotter thinner than lacquer thinner. It takes longer to dry. So it's going to soften this film of lacquer more than thinner would, right?
Chelsea Clark: Yep, absolutely. It's going to be a really thin coat and it's going to be fast. You don't want a lot. You want the clear side down and the part that you sprayed up, line it up and it melts in and we're going to walk away.
Now this might take 30 minutes to an hour to dry, but you want to make sure it's dry. Depends on the humidity and the climate and where you're at. So keep that in mind. Check this out.
Dan Erlewine: It's good.
Chelsea Clark: Turned out really good, didn't it? Now, did you leave the original lacquer on the edges?
Dan Erlewine: I only took the color off the top.
Chelsea Clark: Okay. So what I would usually do, is just cut around and leave a tiny bit of room.
Dan Erlewine: If it was a new heel cap.
Chelsea Clark: Yeah, if it was a new heel cap, just so it would wrap around the edges. But with this, I'm actually just going to trim straight to the heel cap itself and you might be able to just pull some of this off. Since I'm not wrapping the lacquer, I got to melt this little edge in so it's smooth. I'm just going to put a really thin coat of lacquer on here to shine everything up and seal everything in. It's almost like paint and nails.
Dan Erlewine: Look from here to there. Look at that.
Chelsea Clark: Yeah, it really turned out well. Right? It thrilled.
Dan Erlewine: So we thank you Miss Chelsea Clark from Los Angeles, California for that great trade secret.
Chelsea Clark: Well, thank you, Dan.
Dan Erlewine: You're Welcome.

