The Ceramic Guitar
Issue 266 July 14, 2016
A really unusual guitar just came in to Dan Erlewine’s shop. Something Dan’s never seen before: a kiln-fired, ceramic guitar. Erick Coleman helps Dan do some sleuthing on this oddball, and they uncover the surprising story. Check out this extra video where Dan visits Ohio University’s ceramics department to learn how the guitar was made.
- Jake Kindlesparker had a unique idea, and the skills to make it happen.
- Using hardware and electronics in dating a guitar.
Video Transcription
[on-screen text reads: Stewart MacDonald - Trade Secrets!]
A guitar made of clay?
Dan Erlewine: [on-screen text reads: Dan Erlewine, Guitar Repairman, Author] You know what's different about this guitar? And I thought I'd seen everything. It's pottery. Ceramic, it's a kiln fired ceramic guitar from head to toe and it actually plays. Well, pretty close to playing it. First string keeps popping out of the saddle and the bridge is too low. I'm going to make my own version of this bridge so it can be raised high enough to play. And I'm going to run it through an amp so you can hear it. It's got a killer sound. A man from Cleveland brought this down two weeks ago hoping that I could help him identify the maker and tell him a bit about it. And Eric Coleman's going to come over and we're going to date all the parts on this that'll tell us something. And I'm curious who made it, why did they make it, and when was it made? And we're about to find out.
Using hardware and electronics to date the guitar
Eric Coleman: Hey, pops.
Dan Erlewine: Look what I got.
Eric Coleman: Man, that thing is weird.
Dan Erlewine: I want you to help me figure out what this stuff is, what year maybe it was made and all that. Check this out. This kind of looks like a spaceship or Buck Rogers. You ever see the old Flash Gordon?
Eric Coleman: Flying saucer. Yeah. Guy definitely had a vision. Check out the bevels. The shape kind of resembles a Spector NS or something, but way before then.
Dan Erlewine: I love the peghead, it's like a melted chocolate bar or a Supero meets Gumby.
Eric Coleman: Yeah.
Dan Erlewine: I'm curious what you think these parts are, date them.
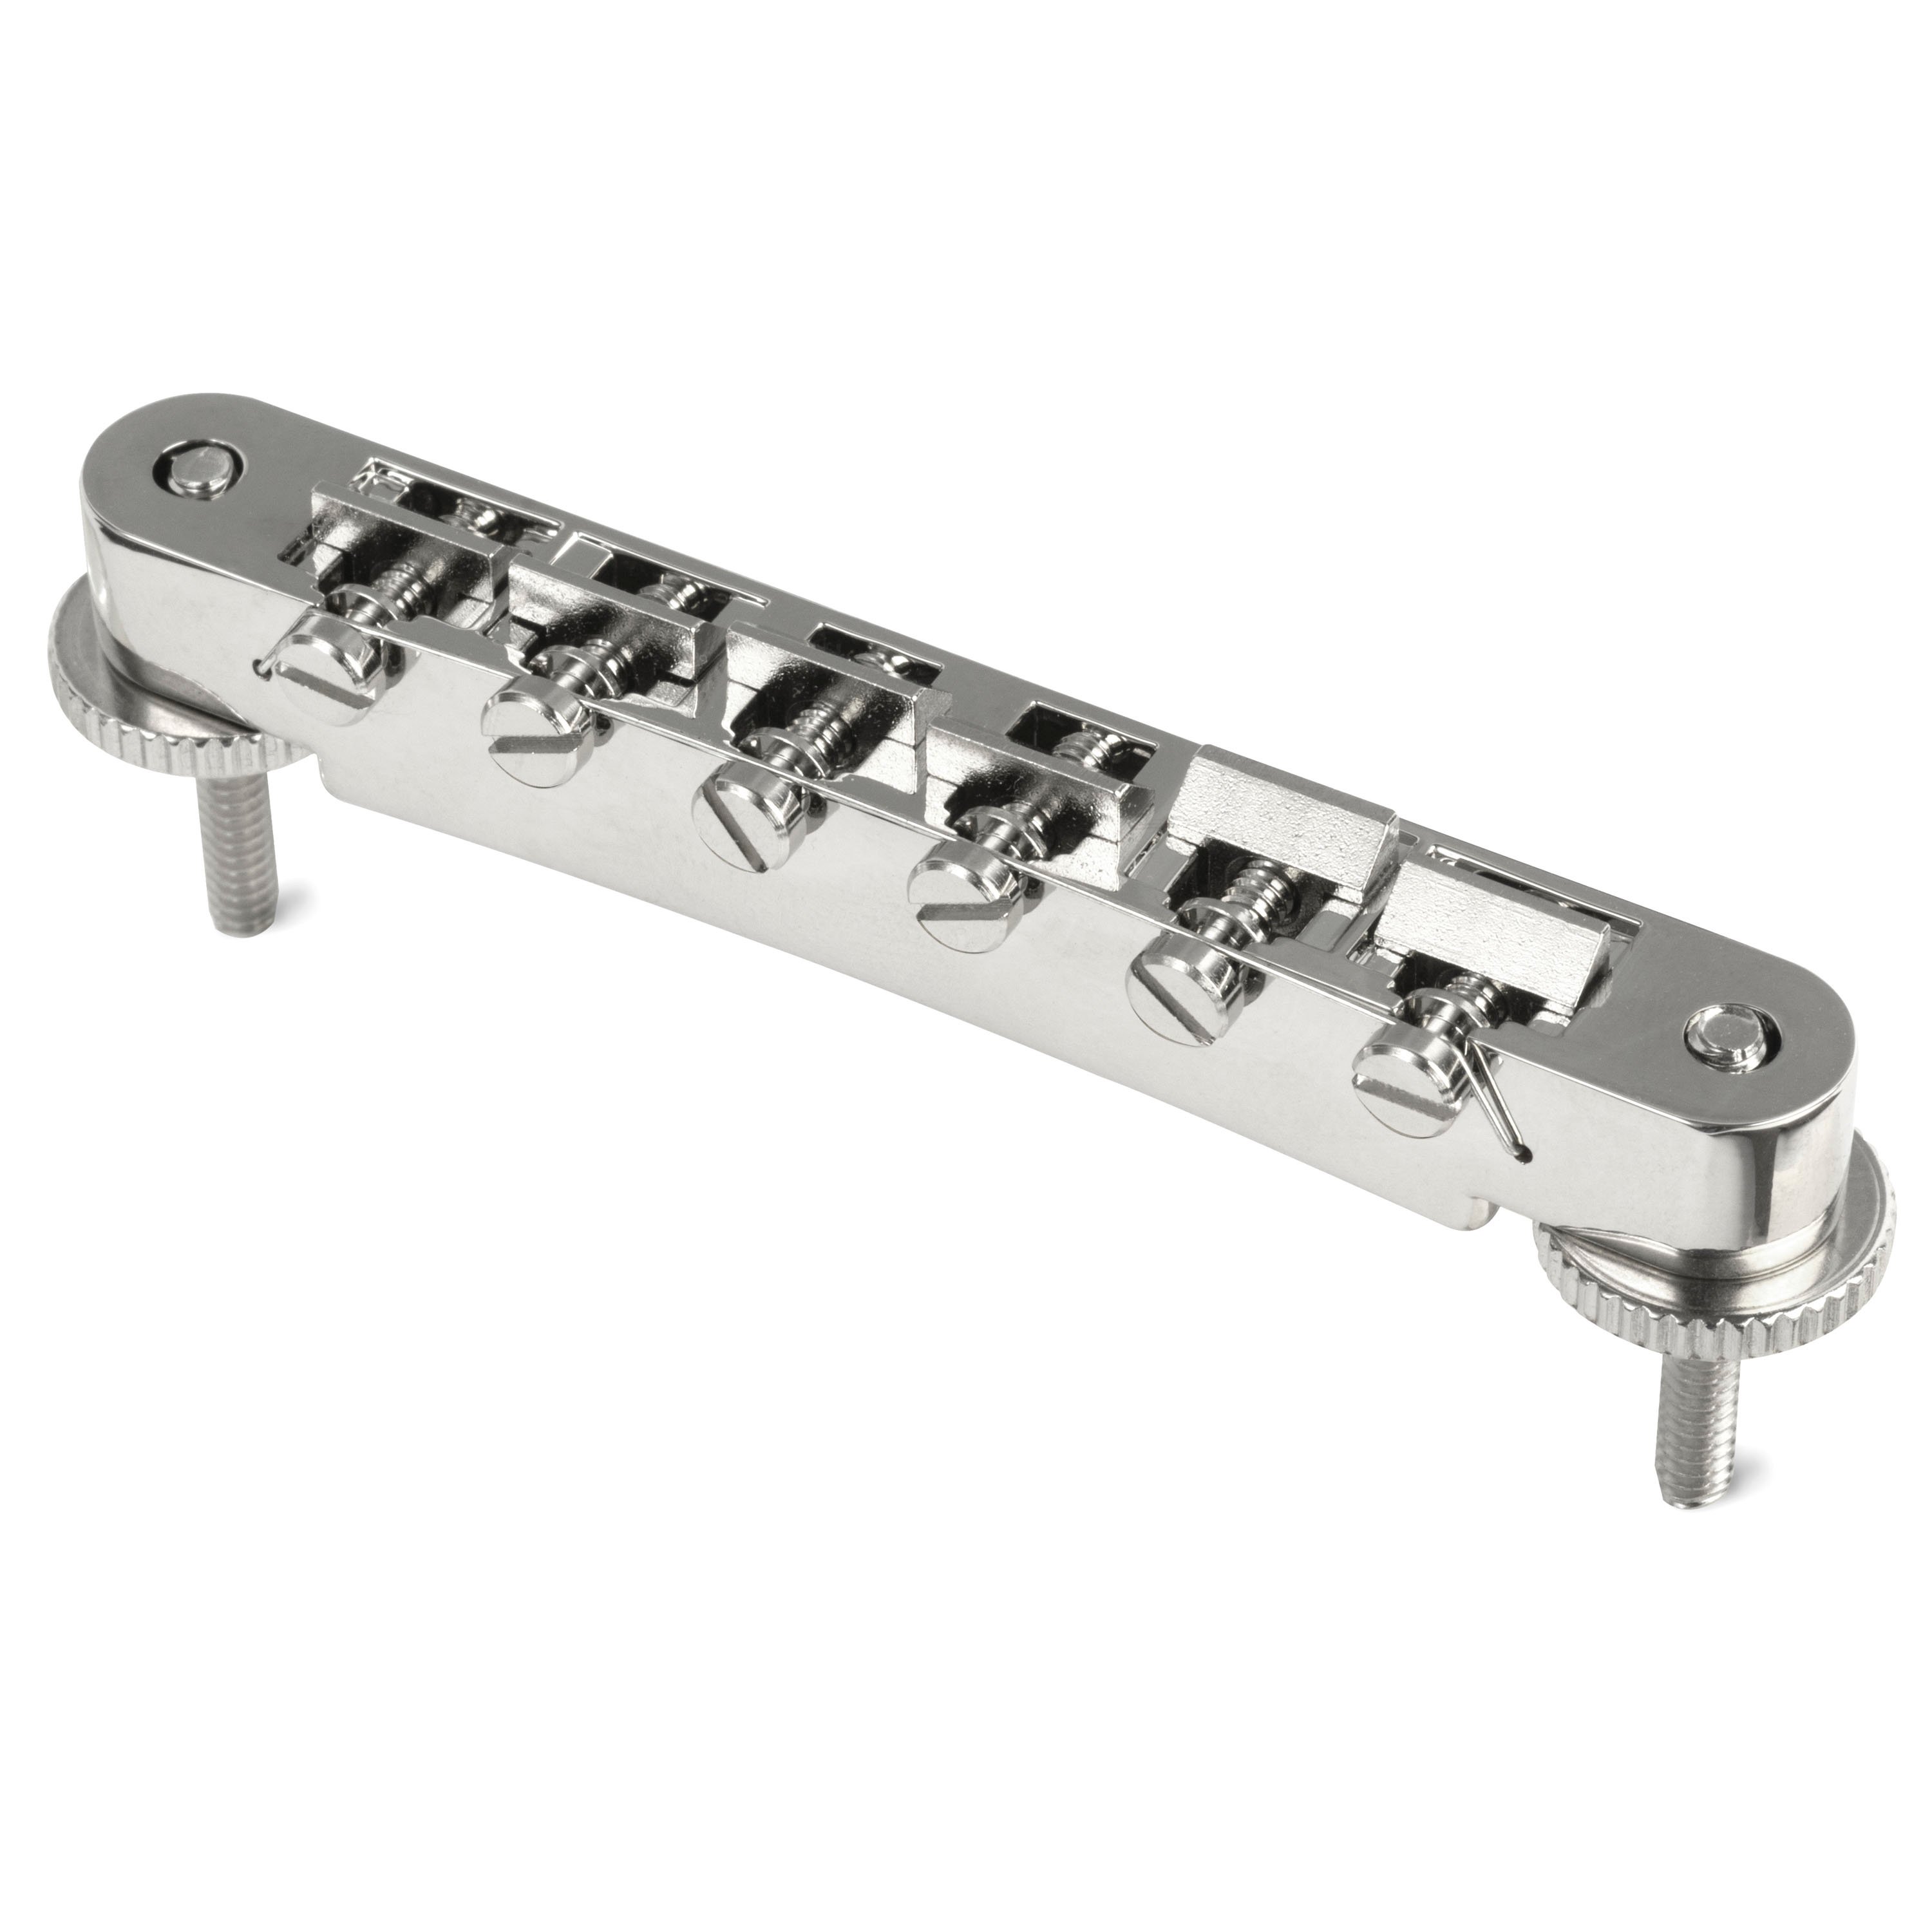
Eric Coleman: Well, let's look at the tuners real quick because that's going to at least tell us something. And it does. Note that they are double line Klusons, Kluson Deluxe. So you have two lines as opposed to the single line that came right down the center that had the word Kluson Deluxe on it. After '65 or so, they changed that to a double line that had both words on it. Well, let's take a look at the pickup and see what it tells us. Without taking out, I'm saying that that's a Gibson P-90, probably from the same era as the tuners. Very little has changed about the P-90 over the years, so it's really tough to date them. The tune-o-matic seems to be from mid to late sixties. It's got the saddles that correspond with that timeframe for sure. And what's wild is he's sealed up the ends of it with epoxy or something.
Dan Erlewine: So it's solid.
Eric Coleman: Right. And so instead of having the thumb wheels adjust the body of the bridge on the posts, the thumb wheels seem to adjust the bridge up.
Dan Erlewine: They drop it down in.
Eric Coleman: Right. They adjust the bridge up out of the body. Well, that's interesting.
Dan Erlewine: I'm a little afraid to turn them too much under string tension.
Eric Coleman: Right.
Dan Erlewine: But right now, would you look at that?
Eric Coleman: Yeah.
Dan Erlewine: So you try to play it and bam. And this one's got a couple different slots. We're going to work on that. I tried to raise the bridge, but the posts are cut too short. It falls over.
Eric Coleman: Yeah. And then looking at the knobs, they are the bell style reflector tops. And they're the long shaft version. If you look really closely, you can see the neural part where the shaft fits into the hole there protruding up past the gold. Gibson used those into the seventies, so at least '62. So that also-
Dan Erlewine: Fits in with...
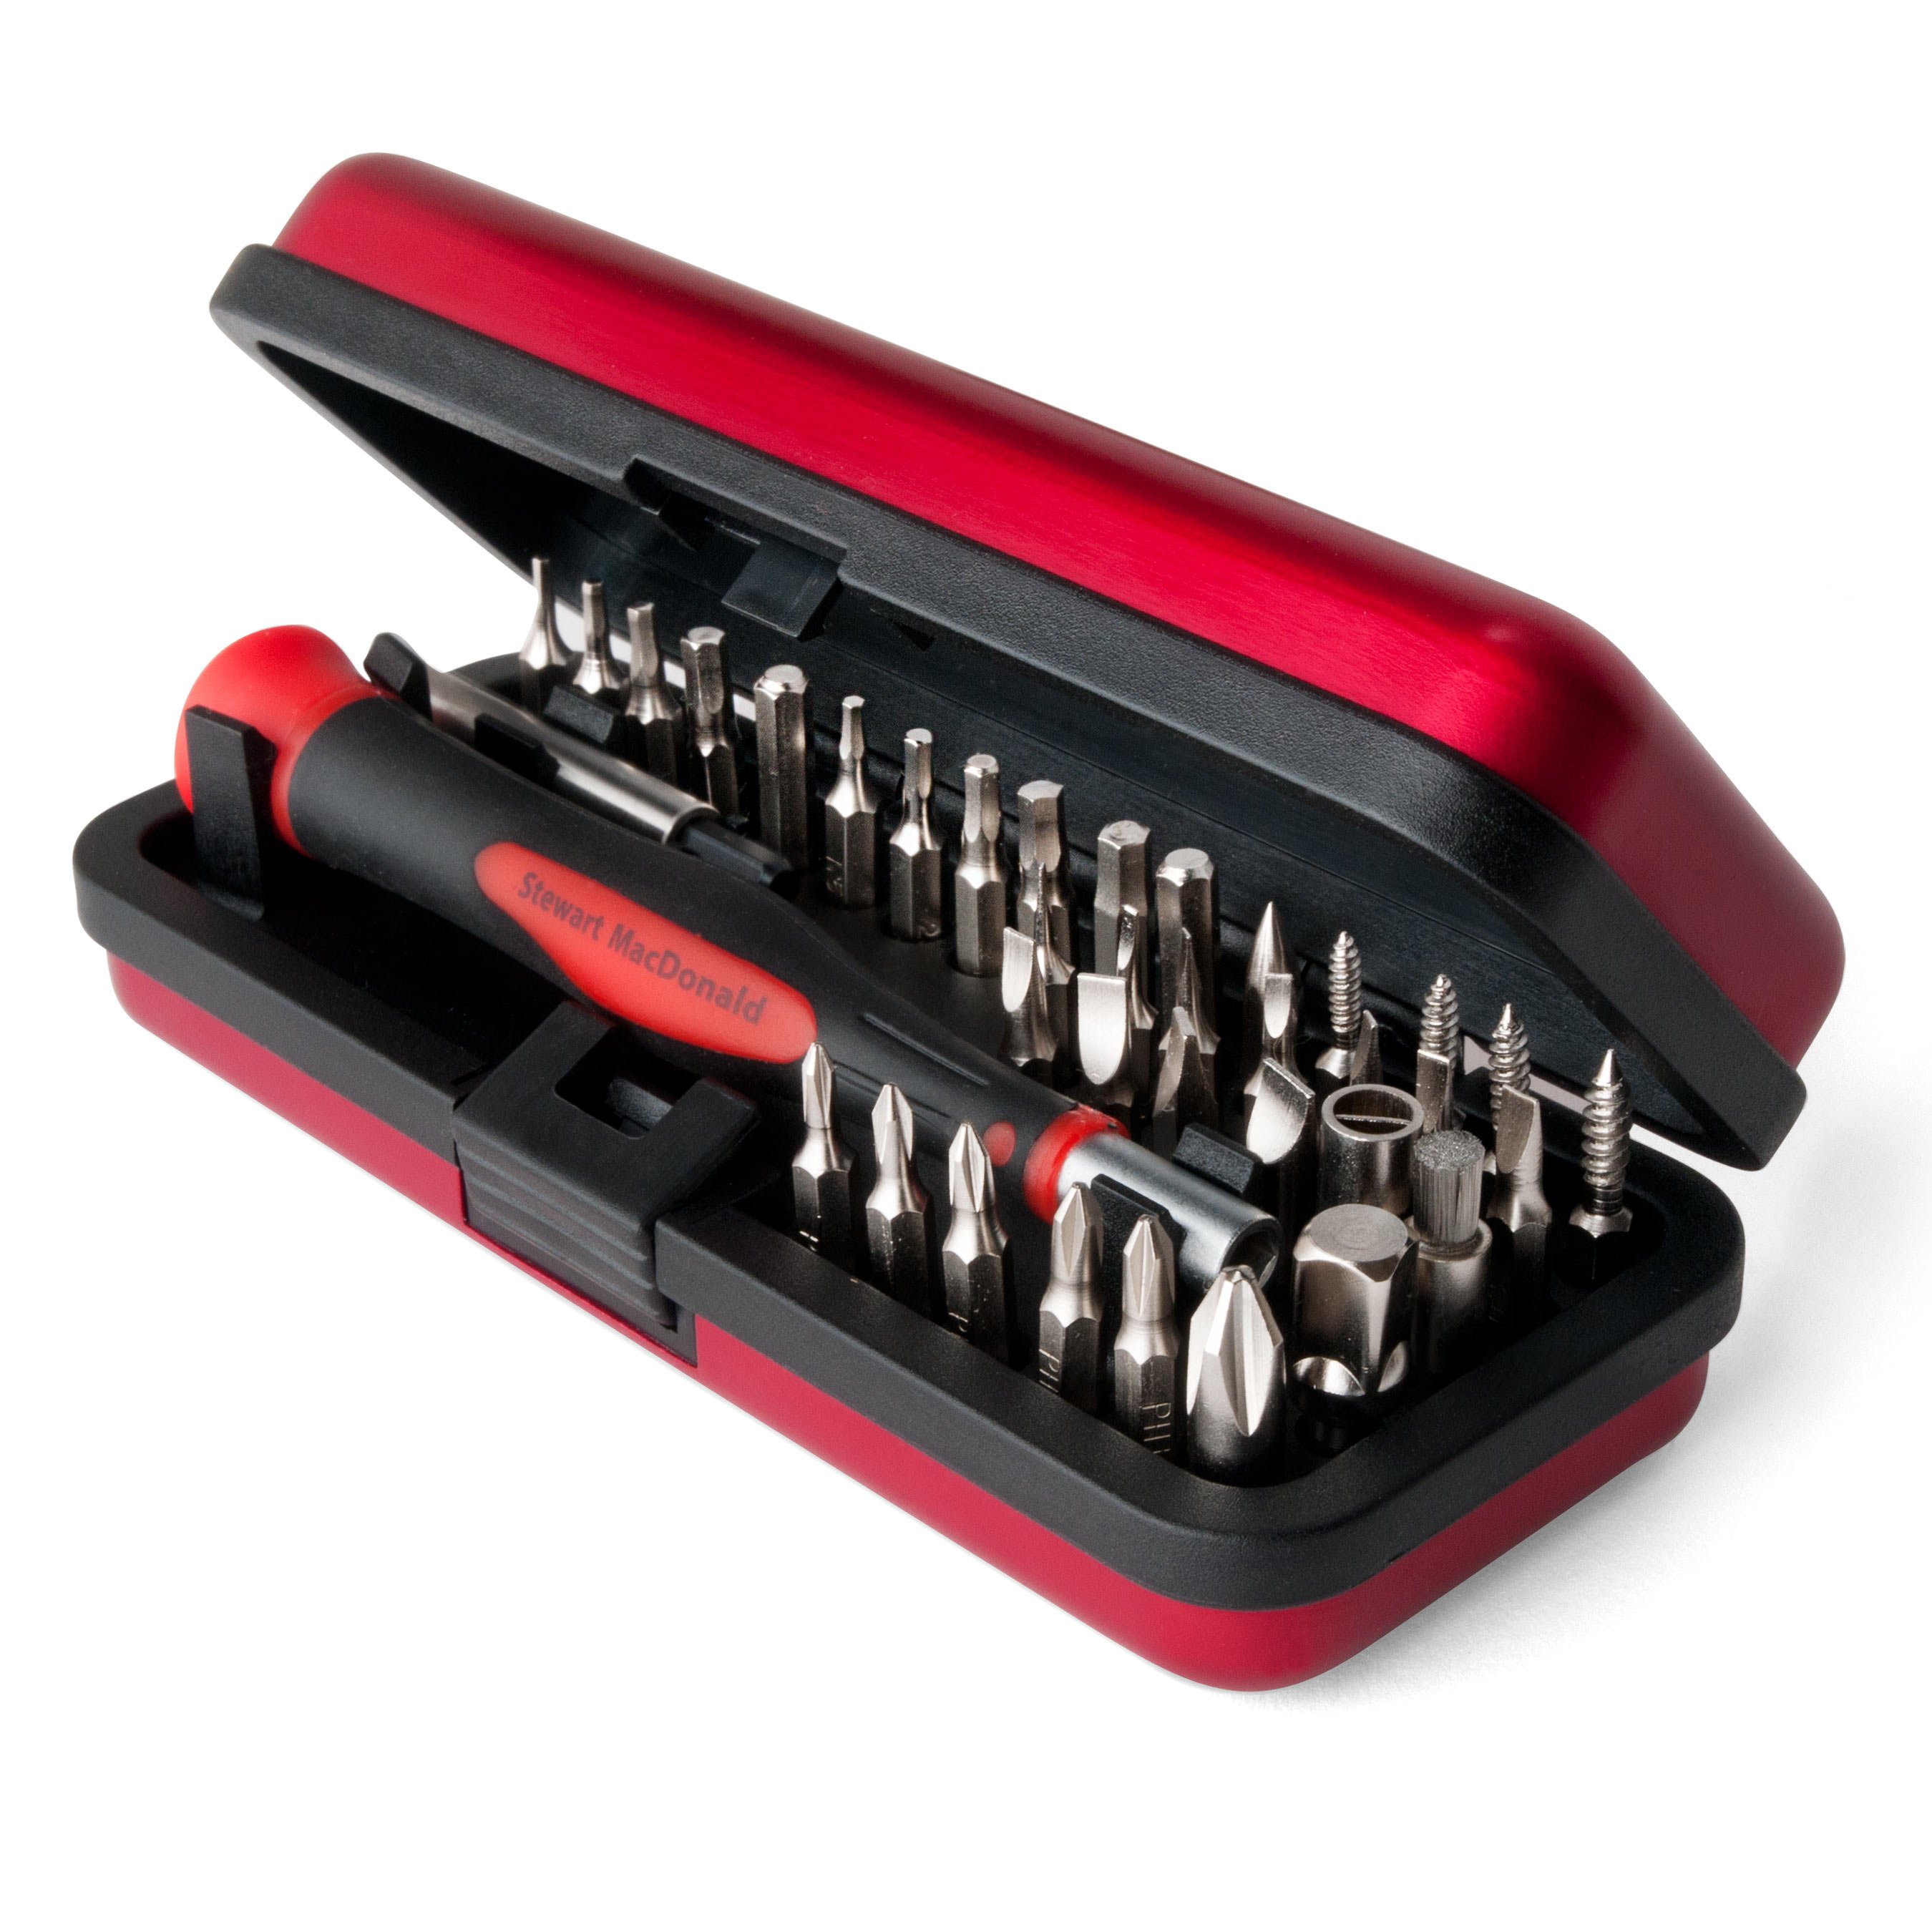
Eric Coleman: Yeah, the rest of the parts. Let's see what the controls tell us inside [on-screen text reads: Guitar Tech Screwdriver Set - stewmac.com].
[Erick removes the controls plate from the back of the guitar]
Dan Erlewine: Cool. That's what I figured that would be.
Eric Coleman: We see a nice, tidy harness, a big old Sprague Black Beauty in there. And then looking at the backs of the control pots here, you can see the number codes on them. And it says 134, 64, 14. The 134 stands for the company that made it, the brand. And that is Centralab. 64 indicates the year that it was made. And the 14 at the end tells us what week in that year in which it was made. So this pot is a Centralab made in the 14th week of 1964.
Finding the builder of this guitar
Dan Erlewine: And there's a name, the maker's name is pressed into the clay. And it's a long name and you can't read it all, but you can read Jack or Jake, R something. So it was a bummer for us that we couldn't identify this. That's why it came here in the first place. And then...
Eric Coleman: We did a little poking around on the internet and came up with a name. Turns out this guitar was built by a guy named Jake Kindlesparker in the northeastern Ohio area. And Jake was an employee of the Goodyear Tire Company working in the mold shop for 26 years. And unfortunately, Jake died a couple years ago, but we were able to get in touch with family members and they filled in a lot of the blanks about these cool instruments.
Dan Erlewine: His wife said that he made about half a dozen of these in those years. And this one is probably the first one because he applied for a patent in 1965. We have that patent. And he was approved in '68, so you see this guitar in the patent drawings. So all this stuff goes right along with what you dated. It's pretty awesome.
Eric Coleman: Yeah, very cool. Well, I got to get back to the shop, but thanks for having me able to see this.
Dan Erlewine: Cool, man.
Eric Coleman: See you later.
Dan Erlewine: Don't work too hard.
Eric Coleman: I will not.
Dan Erlewine: Here's a cool thing, man. I can take this plastic rod and slide it all the way down the neck. I could probably lose it in there and I'll bet it comes right up into the peg head. It's completely hollow. Jake was amazing. I want to know more, though. I'm curious, is this one whole piece or did he put the neck onto the body? And how do you drill holes in ceramic? And to find out, I'm in a good spot here in Athens, Ohio because we have the number three ceramics program in the country at Ohio University. And the professors and the grad students and all the students want to see this. And they've invited me down to show me the process that would've made this guitar. Let's go.
Visiting the Ceramics Department at Ohio University
Now, we're outside the ceramics department in the outdoor kiln area. And we're firing right now. And here are Brad and Brian to tell us all about how this instrument was made.
Brad Schwieger: [on-screen text reads: Brad Schwieger, Professor of Ceramics, Ohio University] Well, I can say after 35 years of being in the ceramics field, I've never seen a ceramic guitar. So we've kind of dissected it from our technical viewpoints. We think it was slip cast, which is a liquid clay process through an actual mold.
Brian Dieterle: It looks like it was probably fired in an electric kiln, probably in the low temperature mid range. So on the inside, there are a series of ceramic posts that were put in, as it is slip cast, to help keep the body from slumping during the firing. And that just helps keep that space there for the resignation of the sound and produce the beautiful instrument you see in front of you.
Brad Schwieger: And you can tell the inside of the guitar was glazed as well as the outside. And that keeps for more even compression in the firing stages. And it actually just makes the whole thing stronger. There's a little bit of a thud or a punky sound to it, unlike a really high fired porcelain like you would think of China. Before the keys and all the kind of metal apparatuses were put on here, all of these holes were probably pre-drilled before the firing process and then calculated so when they shrink, these things still fit on there nicely.
[on-scren text reads: Kilns like this reach temperatures over 1900 degress Fahrenheit]
Dan Erlewine: Man, this is a huge one. So you're saying that the guitar we have was probably made in the industry.
Ellen Kleckner: Yeah.
Dan Erlewine: They wouldn't have had a kiln like that.
Ellen Kleckner: [on-screen text reads: Graduate Assistant, Ohio University] They would've had to have a kiln large enough to fit the length of the guitar. But just to give you an idea, this is the biggest kiln that we have, but that kiln would've been much bigger than even this one.
Dan Erlewine: Can we open it?
Ellen Kleckner: Yeah, let's go for it.
[Dan opens the kiln door, scary music is playing and there are ceramic doll parts in the kiln]
Dan Erlewine: Of course, if you have a cast guitar, you need a cast amp to go along with it. And this one was made by Danny Crum. I can't believe we found a ceramic amp. What a coincidence. And it comes with a foot pedal too. Students from all over the art school came out to see this guitar. Ohio University Graduate student Allie Cochran gave us a slip casting demo and we left knowing how the guitar was made. You can watch that in a bonus video on our trade secrets page. After that ceramic lesson, I'm ready to go back to college.
Using heavy epoxy to level the frets
One thing I learned from it was that, in the firing process, since it's probably sat like this, it neck sagged backwards. What Jake did was countered that back ball by using heavy epoxy on the first three or four frets.
[Dan sets a straightedge on the fingerboard]
This one's the tallest under with a lot of epoxy [on-screen text reads: StewMac Precision Straightedges - stewmac.com]. This one goes a little bit shorter than that one, but taller than this. And this one's a little shorter than that, but taller than that. And it leveled in.
Making a vintage version of the original bridge
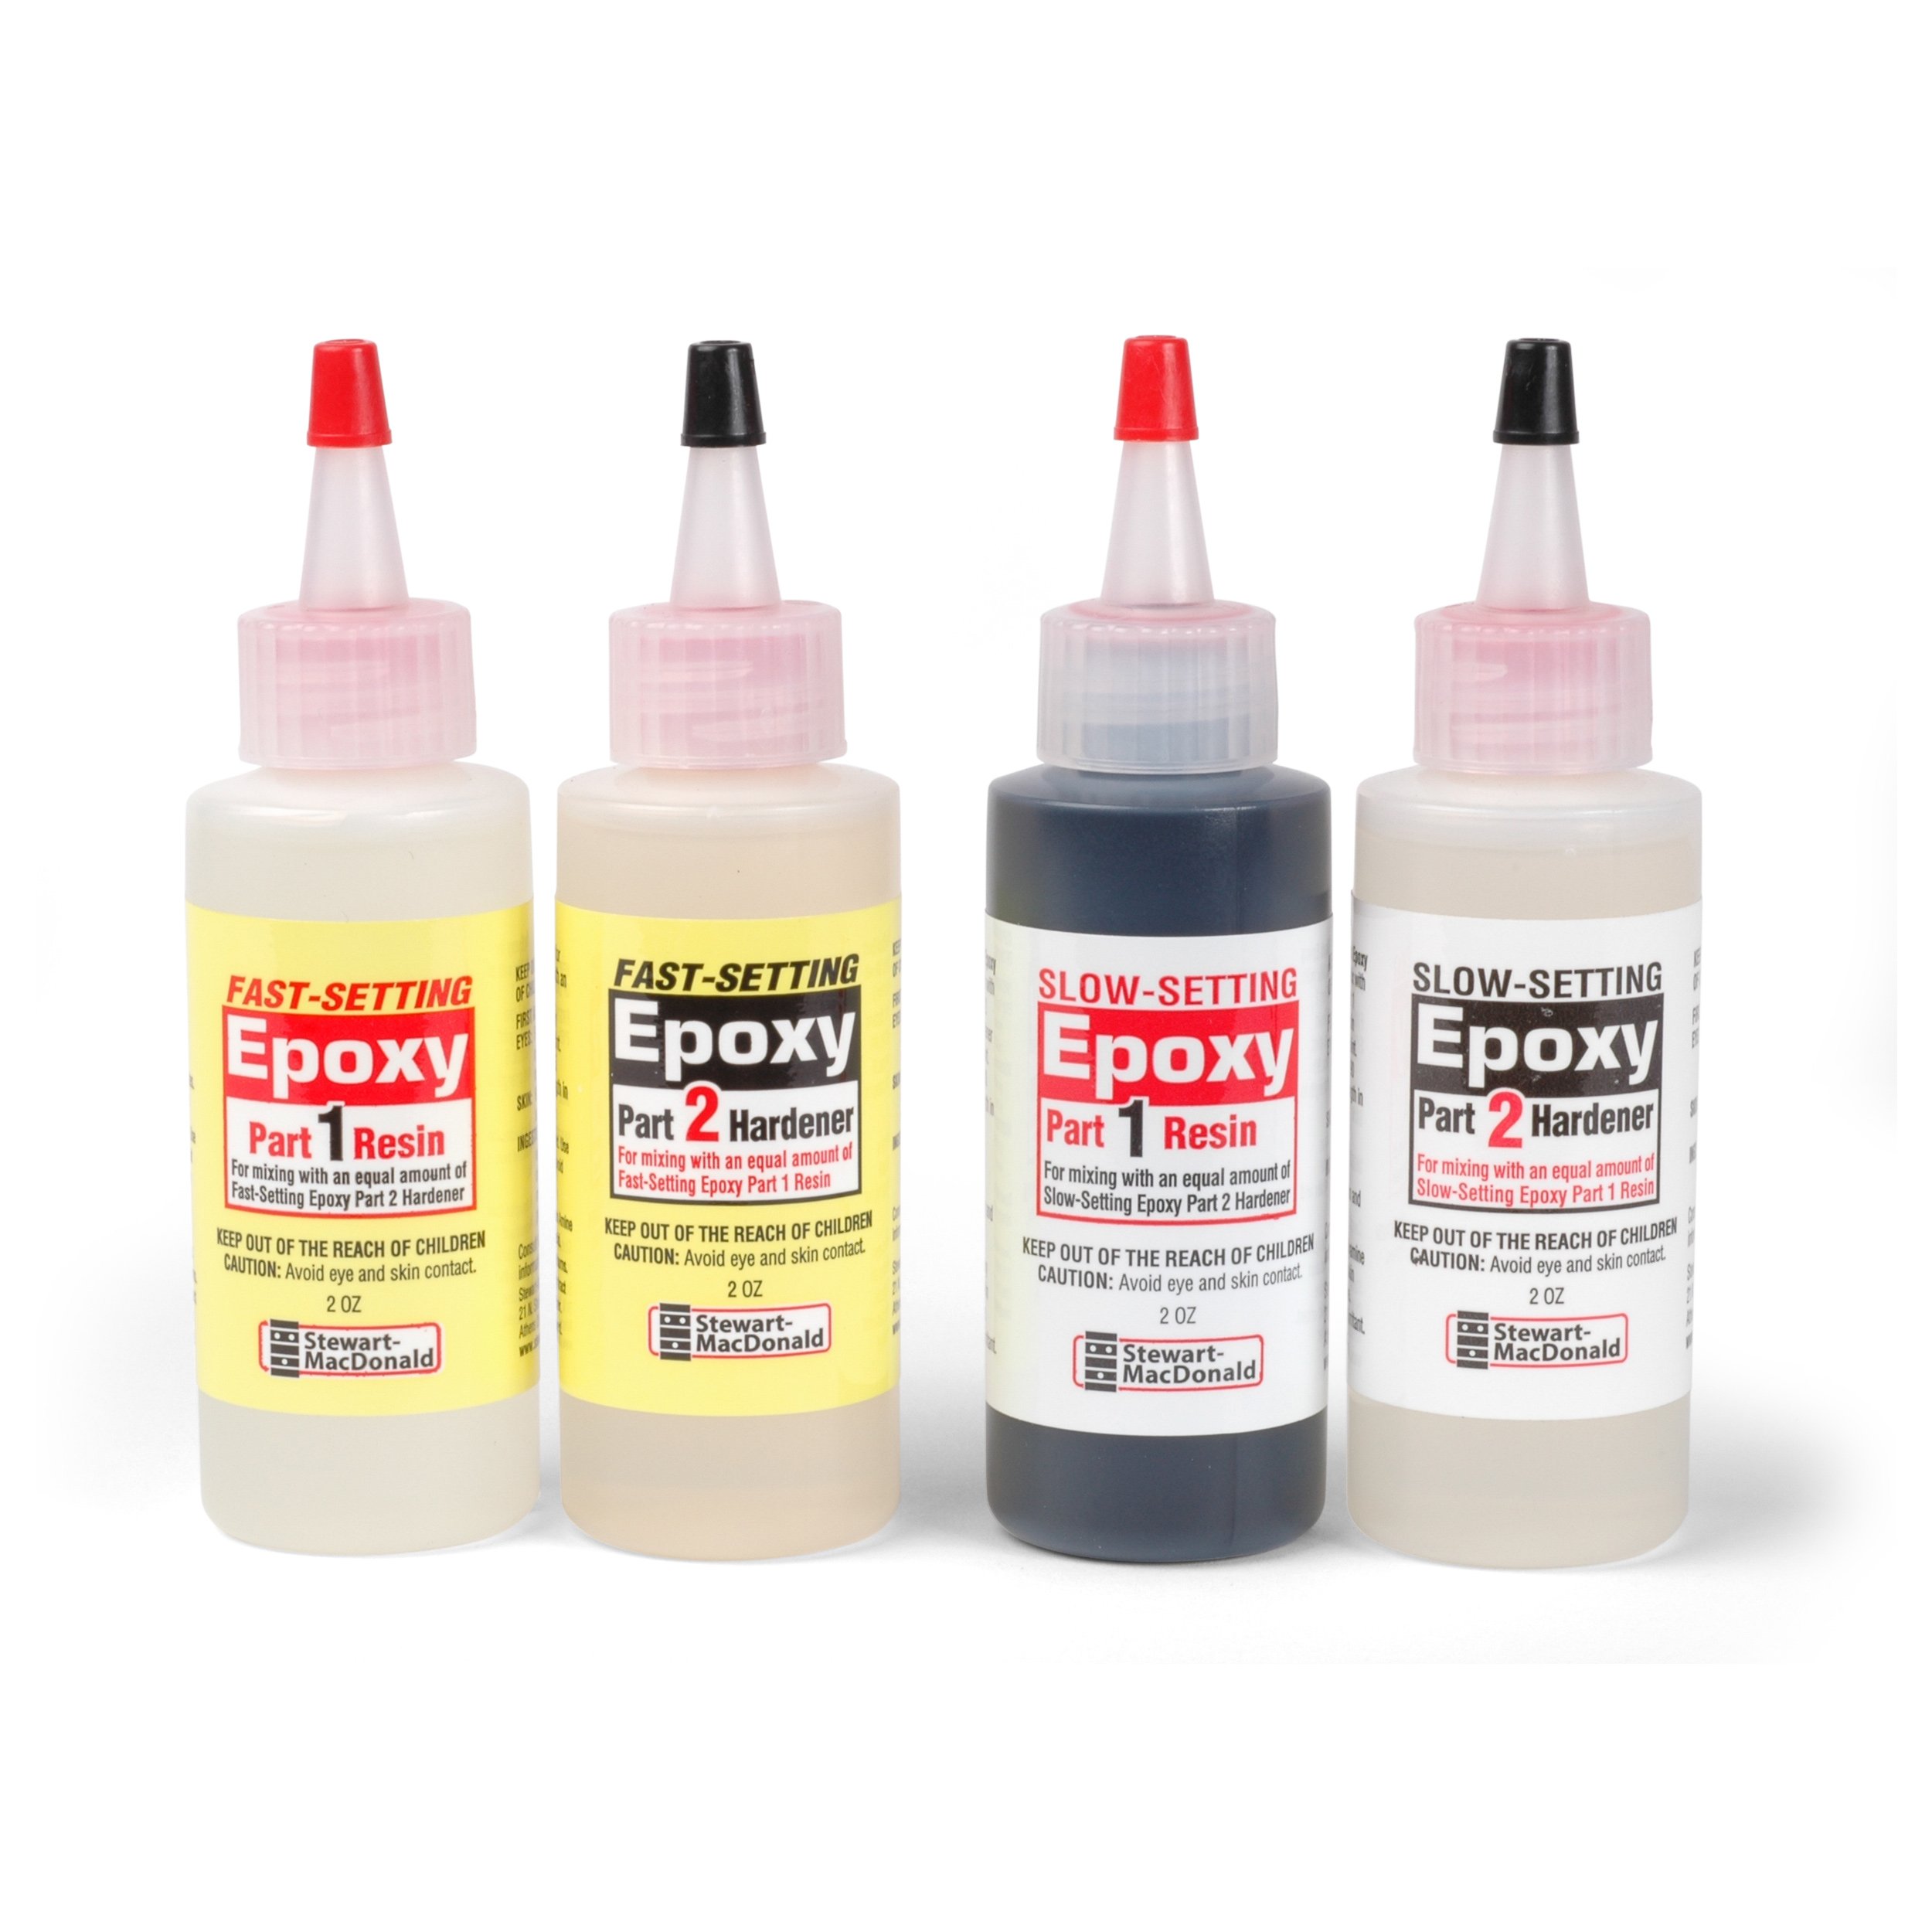
And while I was at OU, I came up with the fix for the bridge, and I think you're going to like it. What I'm going to do is leave this bridge alone and copy it. I'm going to make my own vintage version of that with taller posts so I can raise it up. I want to clamp it in the vice to hold it firm. Then I can go ahead and mix some epoxy [on-screen text reads: StewMac Epoxy - stewmac.com], put it in those holes, and see how this works.
It's very important to get equal amounts of that epoxy. I've gotten pretty good at it over the years. [Dan mixes the epoxy with an Offset Disassembly Knife] This is five minute epoxy. That's pretty quick. It doesn't take much ColorTone Pigment to get a gray [Dan adds and blends some ColorTone Liquid Pigment to the epoxy]. I'm only using the color because I can do it and it adds to the fun for me, and it'll look kind of like the part I'm replacing. Before it's completely dry, I'll probably unscrew the thumb wheels and clean some of this glue off, but it's sagging down to the bottom on its own weight [Dan applies the epoxy to the bridge and sets in the thumb wheels] . These are all waxed off, so my thumb wheels aren't going to stick. Let that dry for 10 minutes.
So here's the bridge I'm copying. That's the original. It's got the old formica saddles, I think it's called canvas phenolic. I like metal better. And those are just too short by about an eighth of an inch or more. I like how he cut little paper discs to protect the ceramic, and I'll do that on the next one as soon as it's dry.
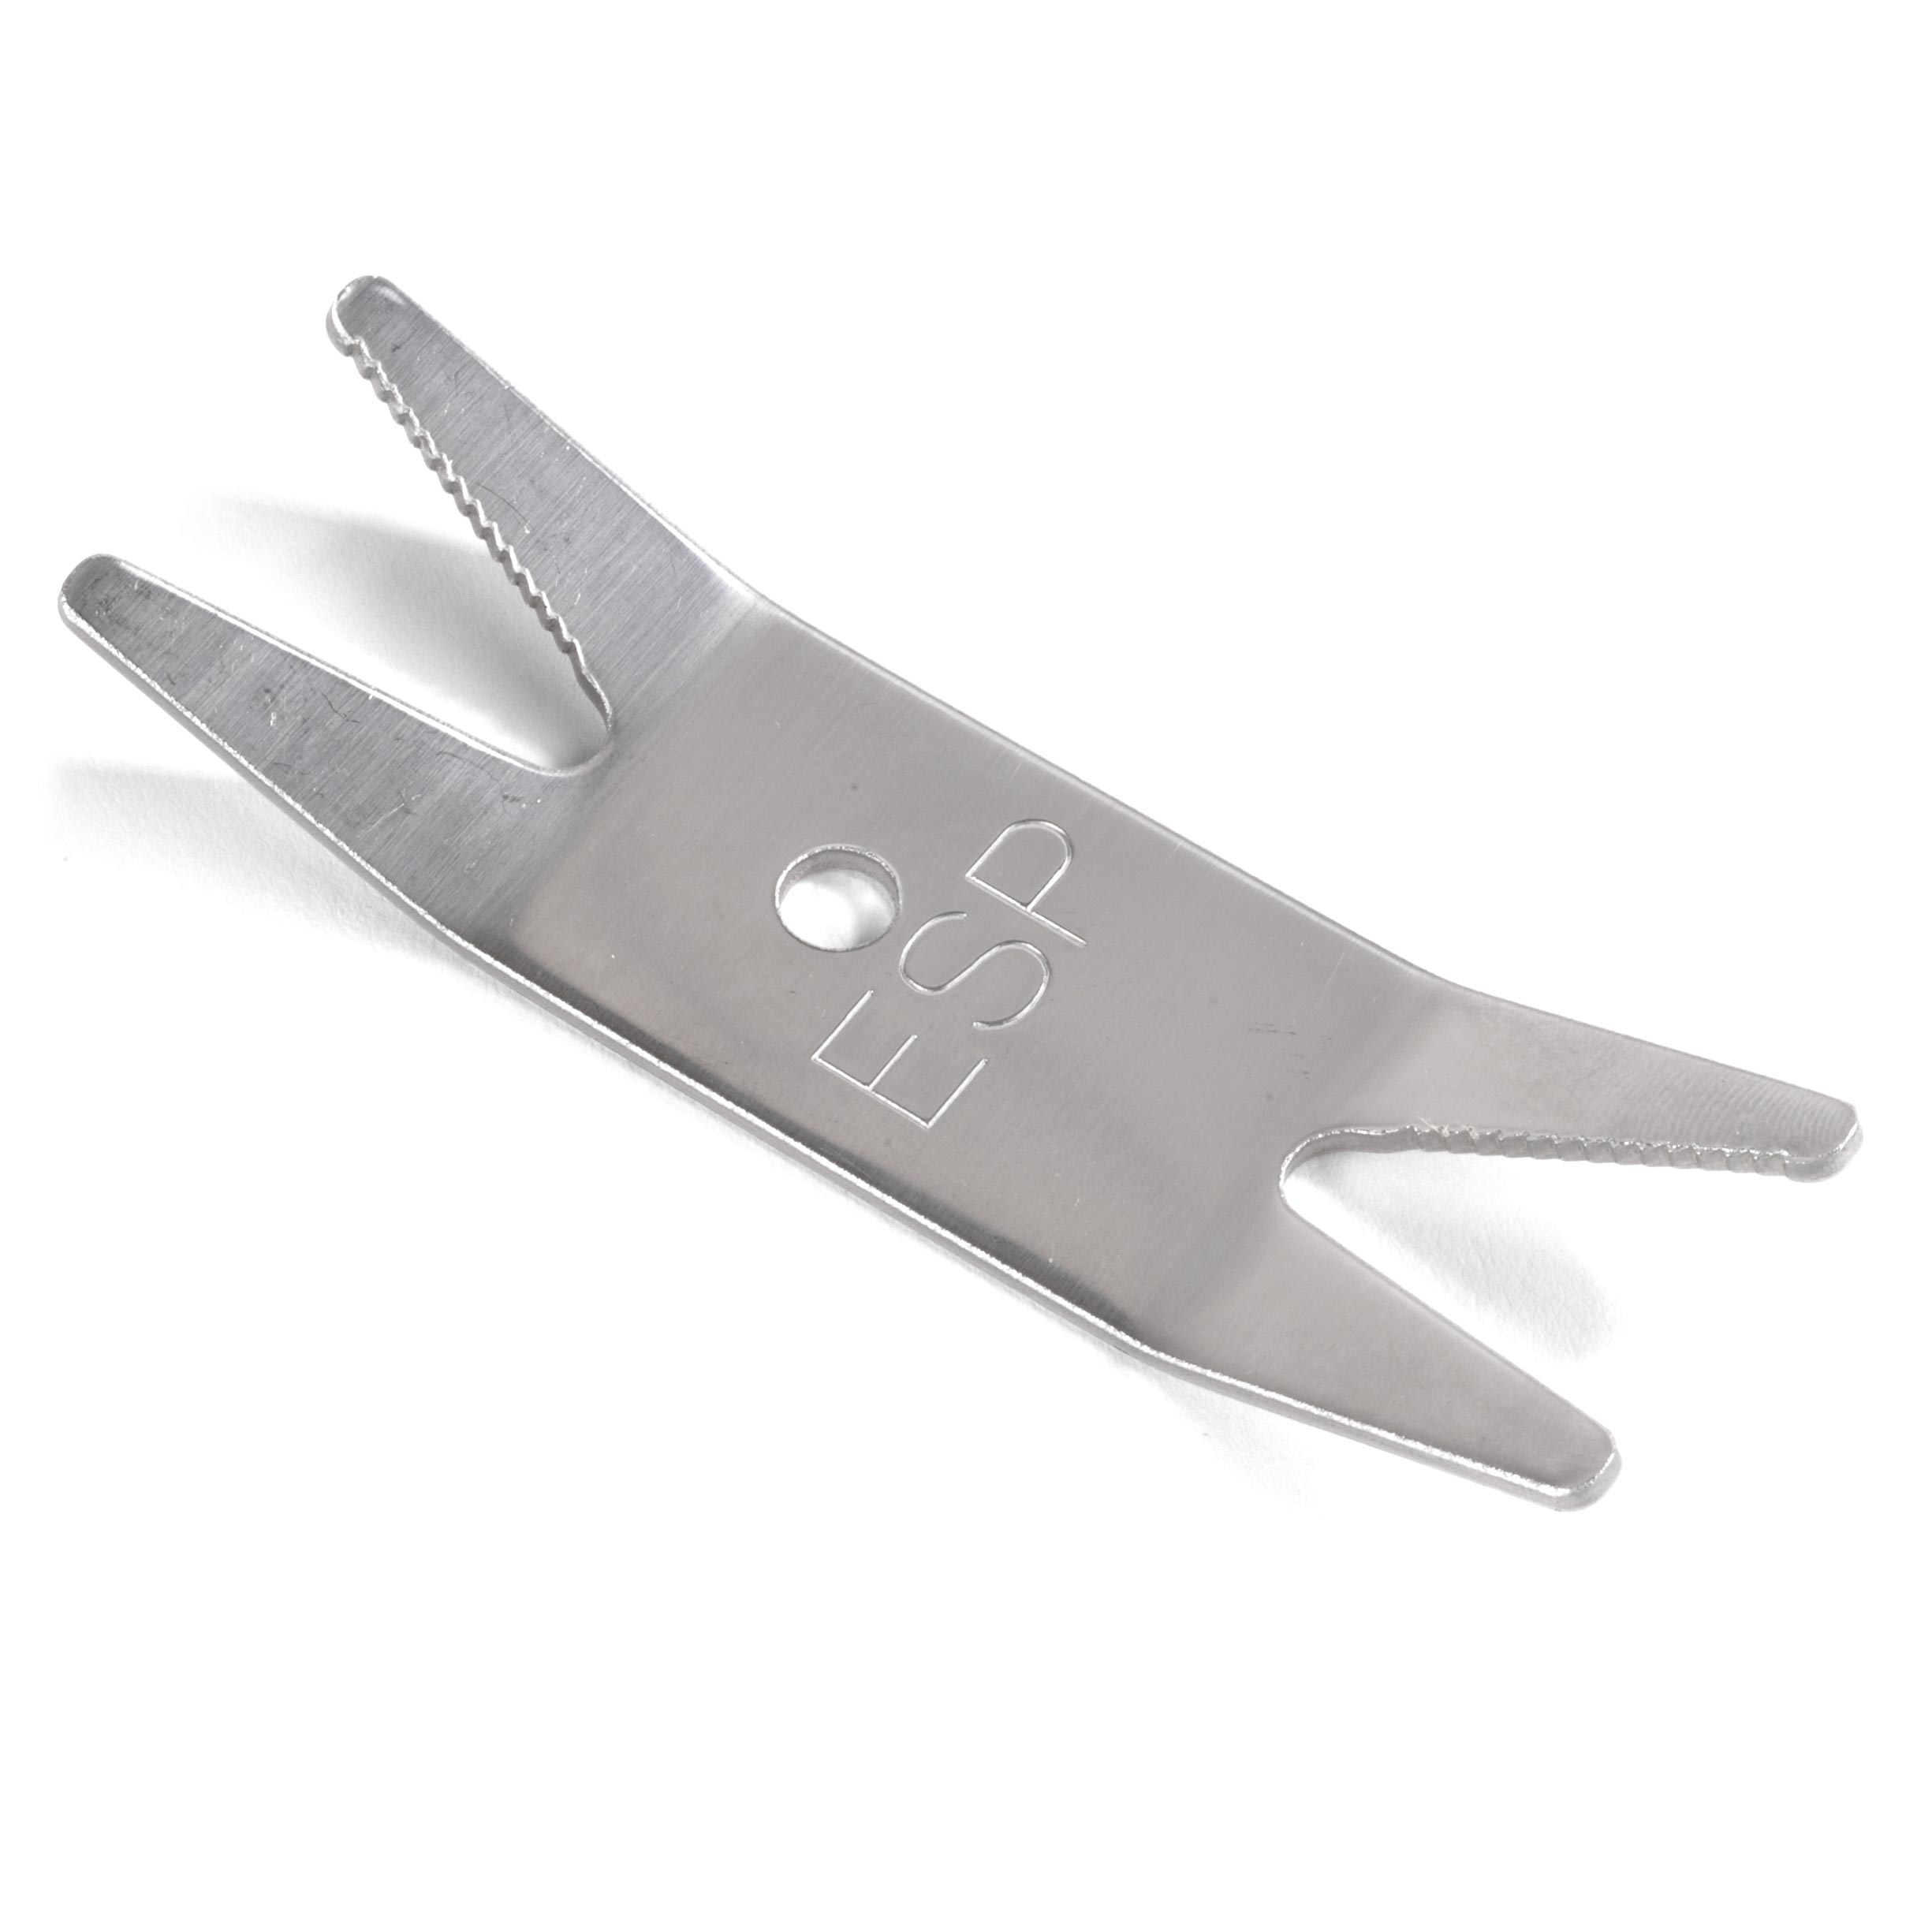
That's enough to loosen the thumb wheels now [on-screen text reads: ESP Multi Spanner - stewmac.com], and they'll break free in the wax [Dan uses the spanner tool to loosen the thumb wheels on the bridge]. Now they're loose and I can let these posts harden up a little bit more and I'll be able to get this guy playing. That's plenty of time. And I think this glue will just pop right off of there because I waxed it with paste wax. That's awesome. I wish Jake was alive to see the respect I'm giving to his work. He'd love this. That's great. It's just what I wanted. I've never been happier. That's killer. I'm even going to use the little paper washers that Jake made to protect that ceramic. And I got all the adjustment I could ever want. I'm way up in the air.
It's going to play. Man, I bet Jake was really proud of this when he made it. I would've been, and all the other ones he made. I'm proud of the work I did on it for him. It sounds killer. It has a ceramic, glassy sound I've never heard.
[Dan plays the ceramic guitar]


