Shimming a vintage bone nut by adding more bone
Issue 321 December 27, 2018
This 1956 Telecaster was just refretted. That calls for a new taller nut, but Dan Erlewine just didn’t have the heart to throw out it’s beautifully aged original nut. So he came up with a clever solution!
A clever way to keep the relic look!
- Original 1956 Tele is beautiful to see
- Why was there a cutaway under the nut?
- Adding a nearly invisible "bone graft"
- Original looks with fresh new frets
Video Transcription
[on-screen text reads: StewMac tools + ideas for guitarmaking. Shimming a Bone Nut By Adding More Bone]
How to raise the height on a vintage bone nut
Dan Erlewine: Here's a 56 Telecaster, the real McCoy. Gorgeous old thing. This is what they're trying to make guitars look like today. But it's all original. We just re threaded it. We were able to leave the lacquer alone because it has this beautiful old patina. Of course, new frets mean you need a new nut because now the old nut, true in this case for sure, is too low for the higher frets and it'll buzz open.
It would've broken my heart to make one for this because it just looks so right. So I figured out a way to make it work again. In fact, I took photos of what I did. There's the nut when it first came in. You can see what I'm talking about. It just sort of belongs. You can see that somebody has filed an arch groove in the bottom of the nut, right where it passes over the walnut truss rod fill.
Remove, clean and radius the old nut
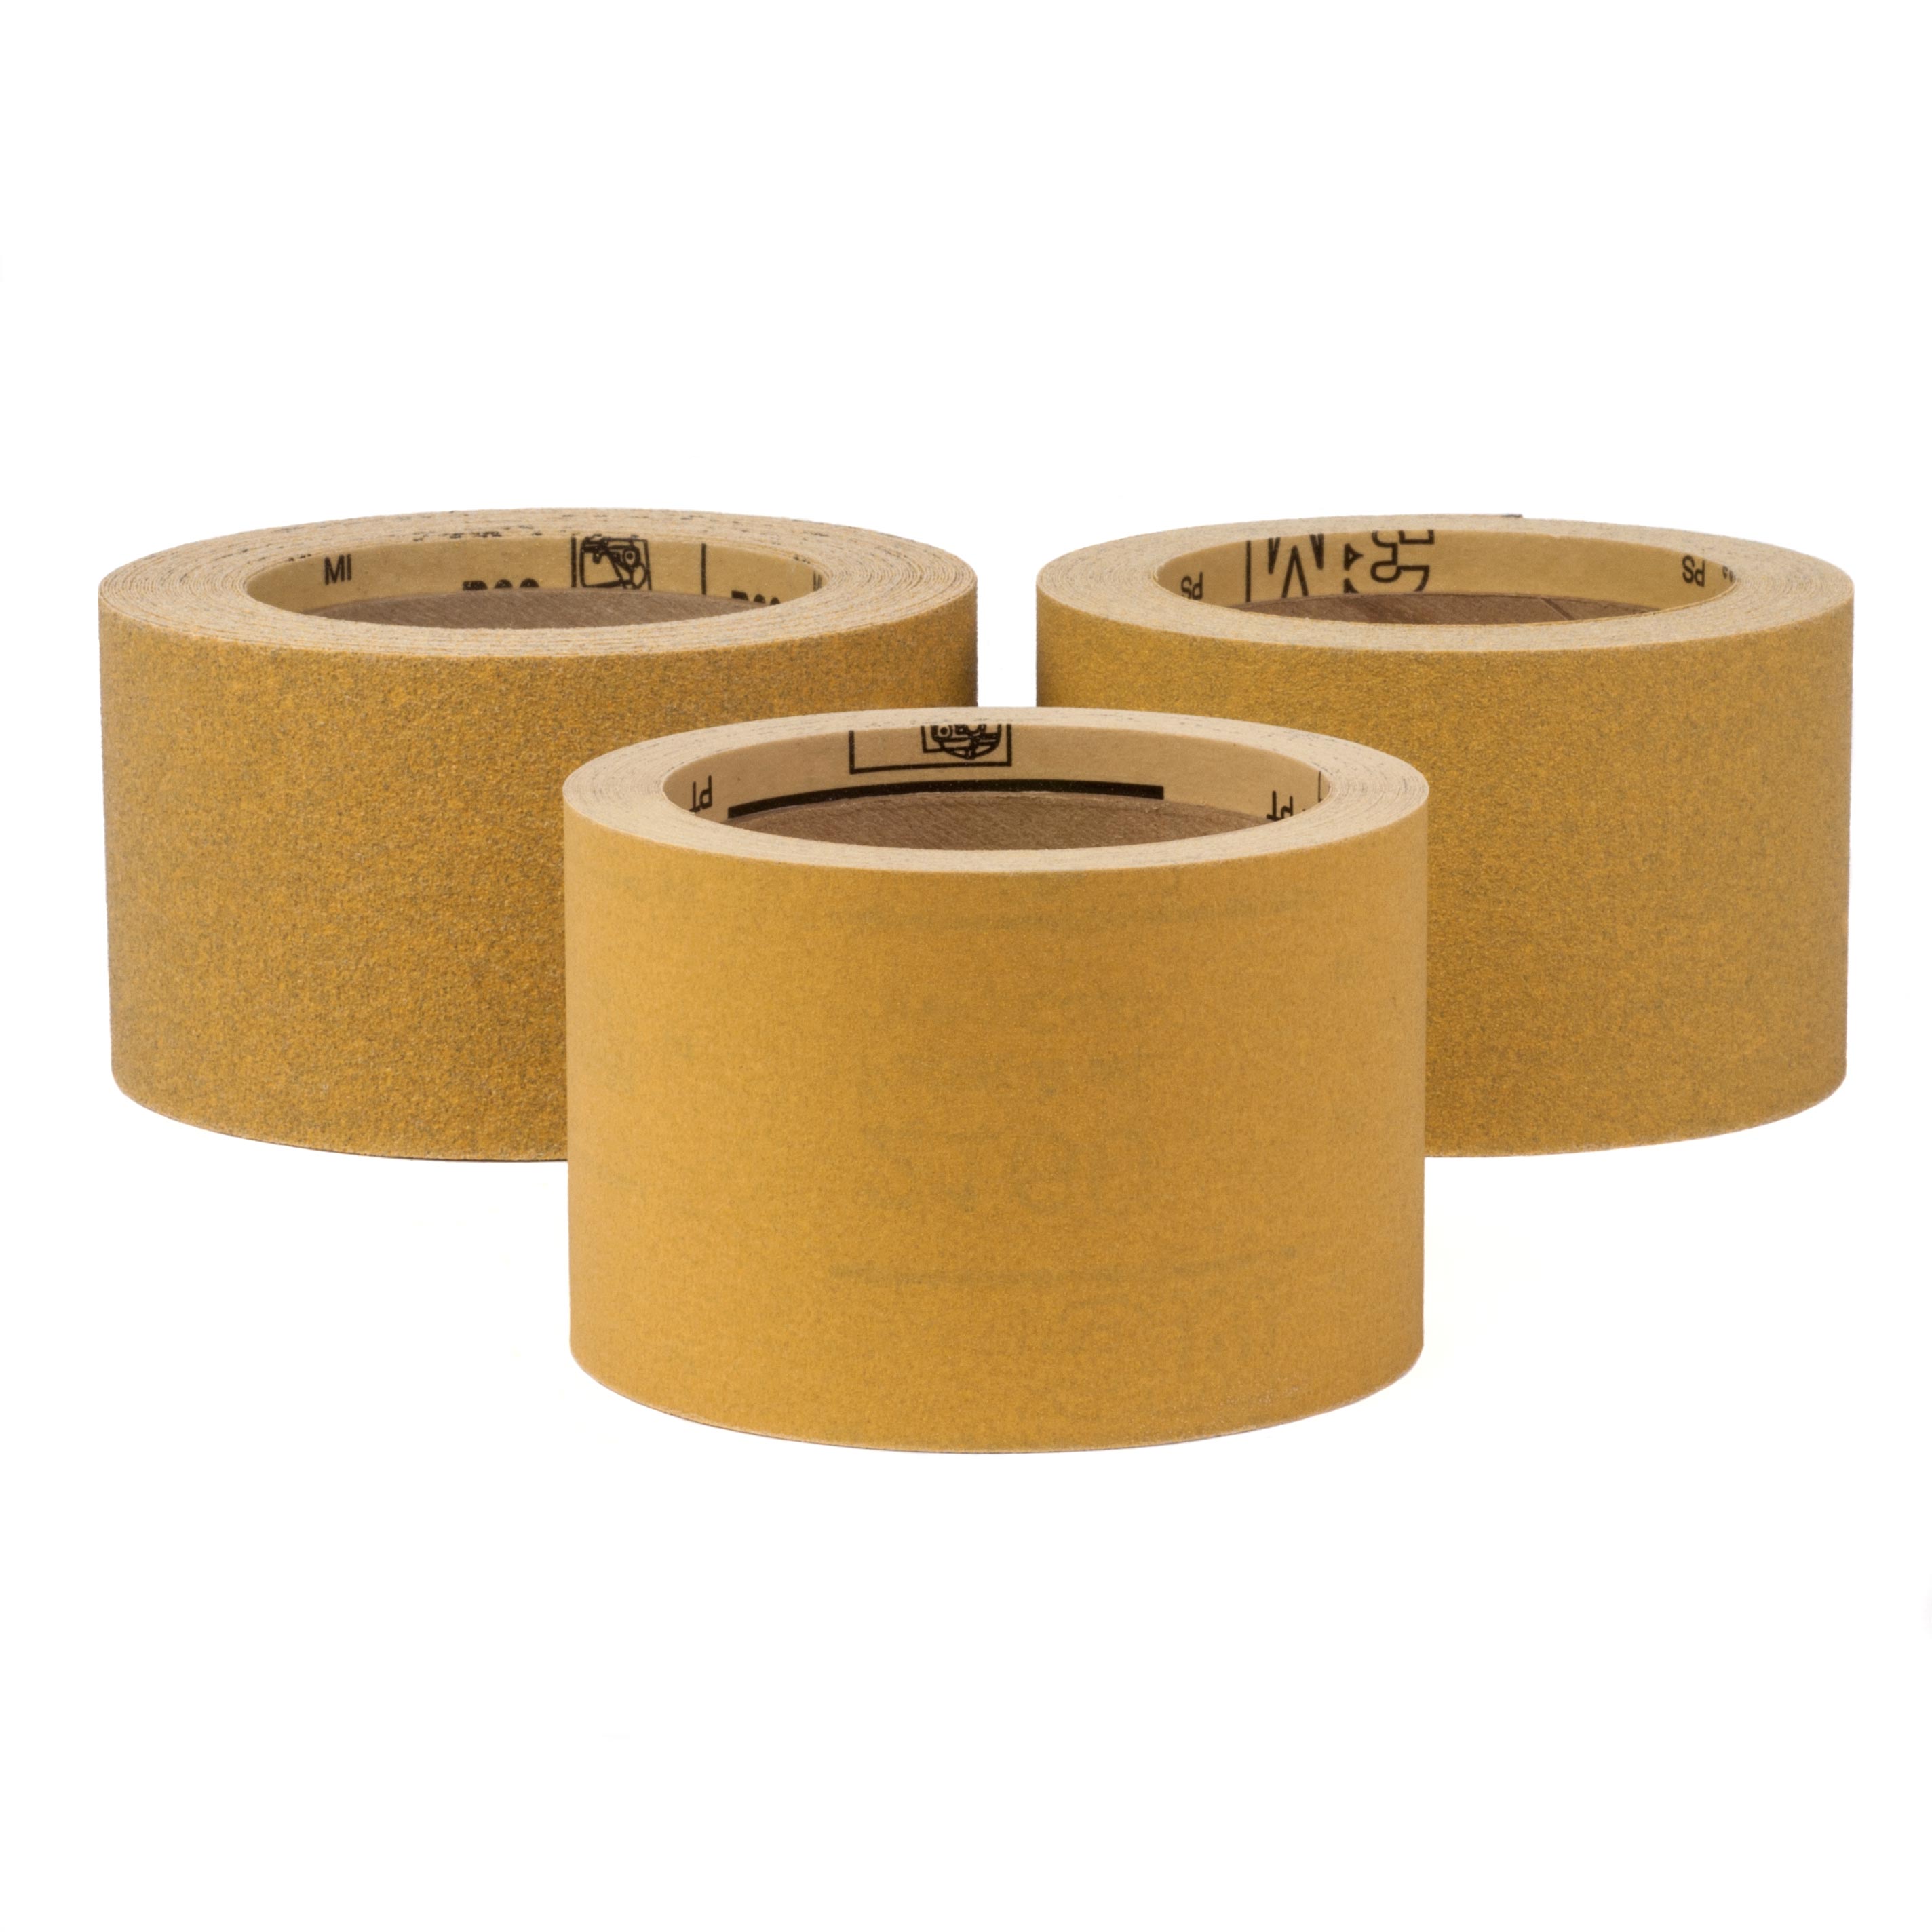
Maybe they figured those two woods contract differently or maybe something swelled up. I think it was done that way at the factory. Anyhow, I took it out very carefully, I penciled in the bottom of the nut and sanded it on 220 grit and 320 grit, Stikit Gold Sandpaper to clean it up to the fretboard 7 1/4" radius. That's what all those radius' were back at that time.
I wanted a clean gluing surface on the bottom of the original nut. Not the old glue that's left on it. Now you see the feet of that nut. The bottom are cleaned down to the bone. You can still see there's that little arch.
Glue new nut blanks together
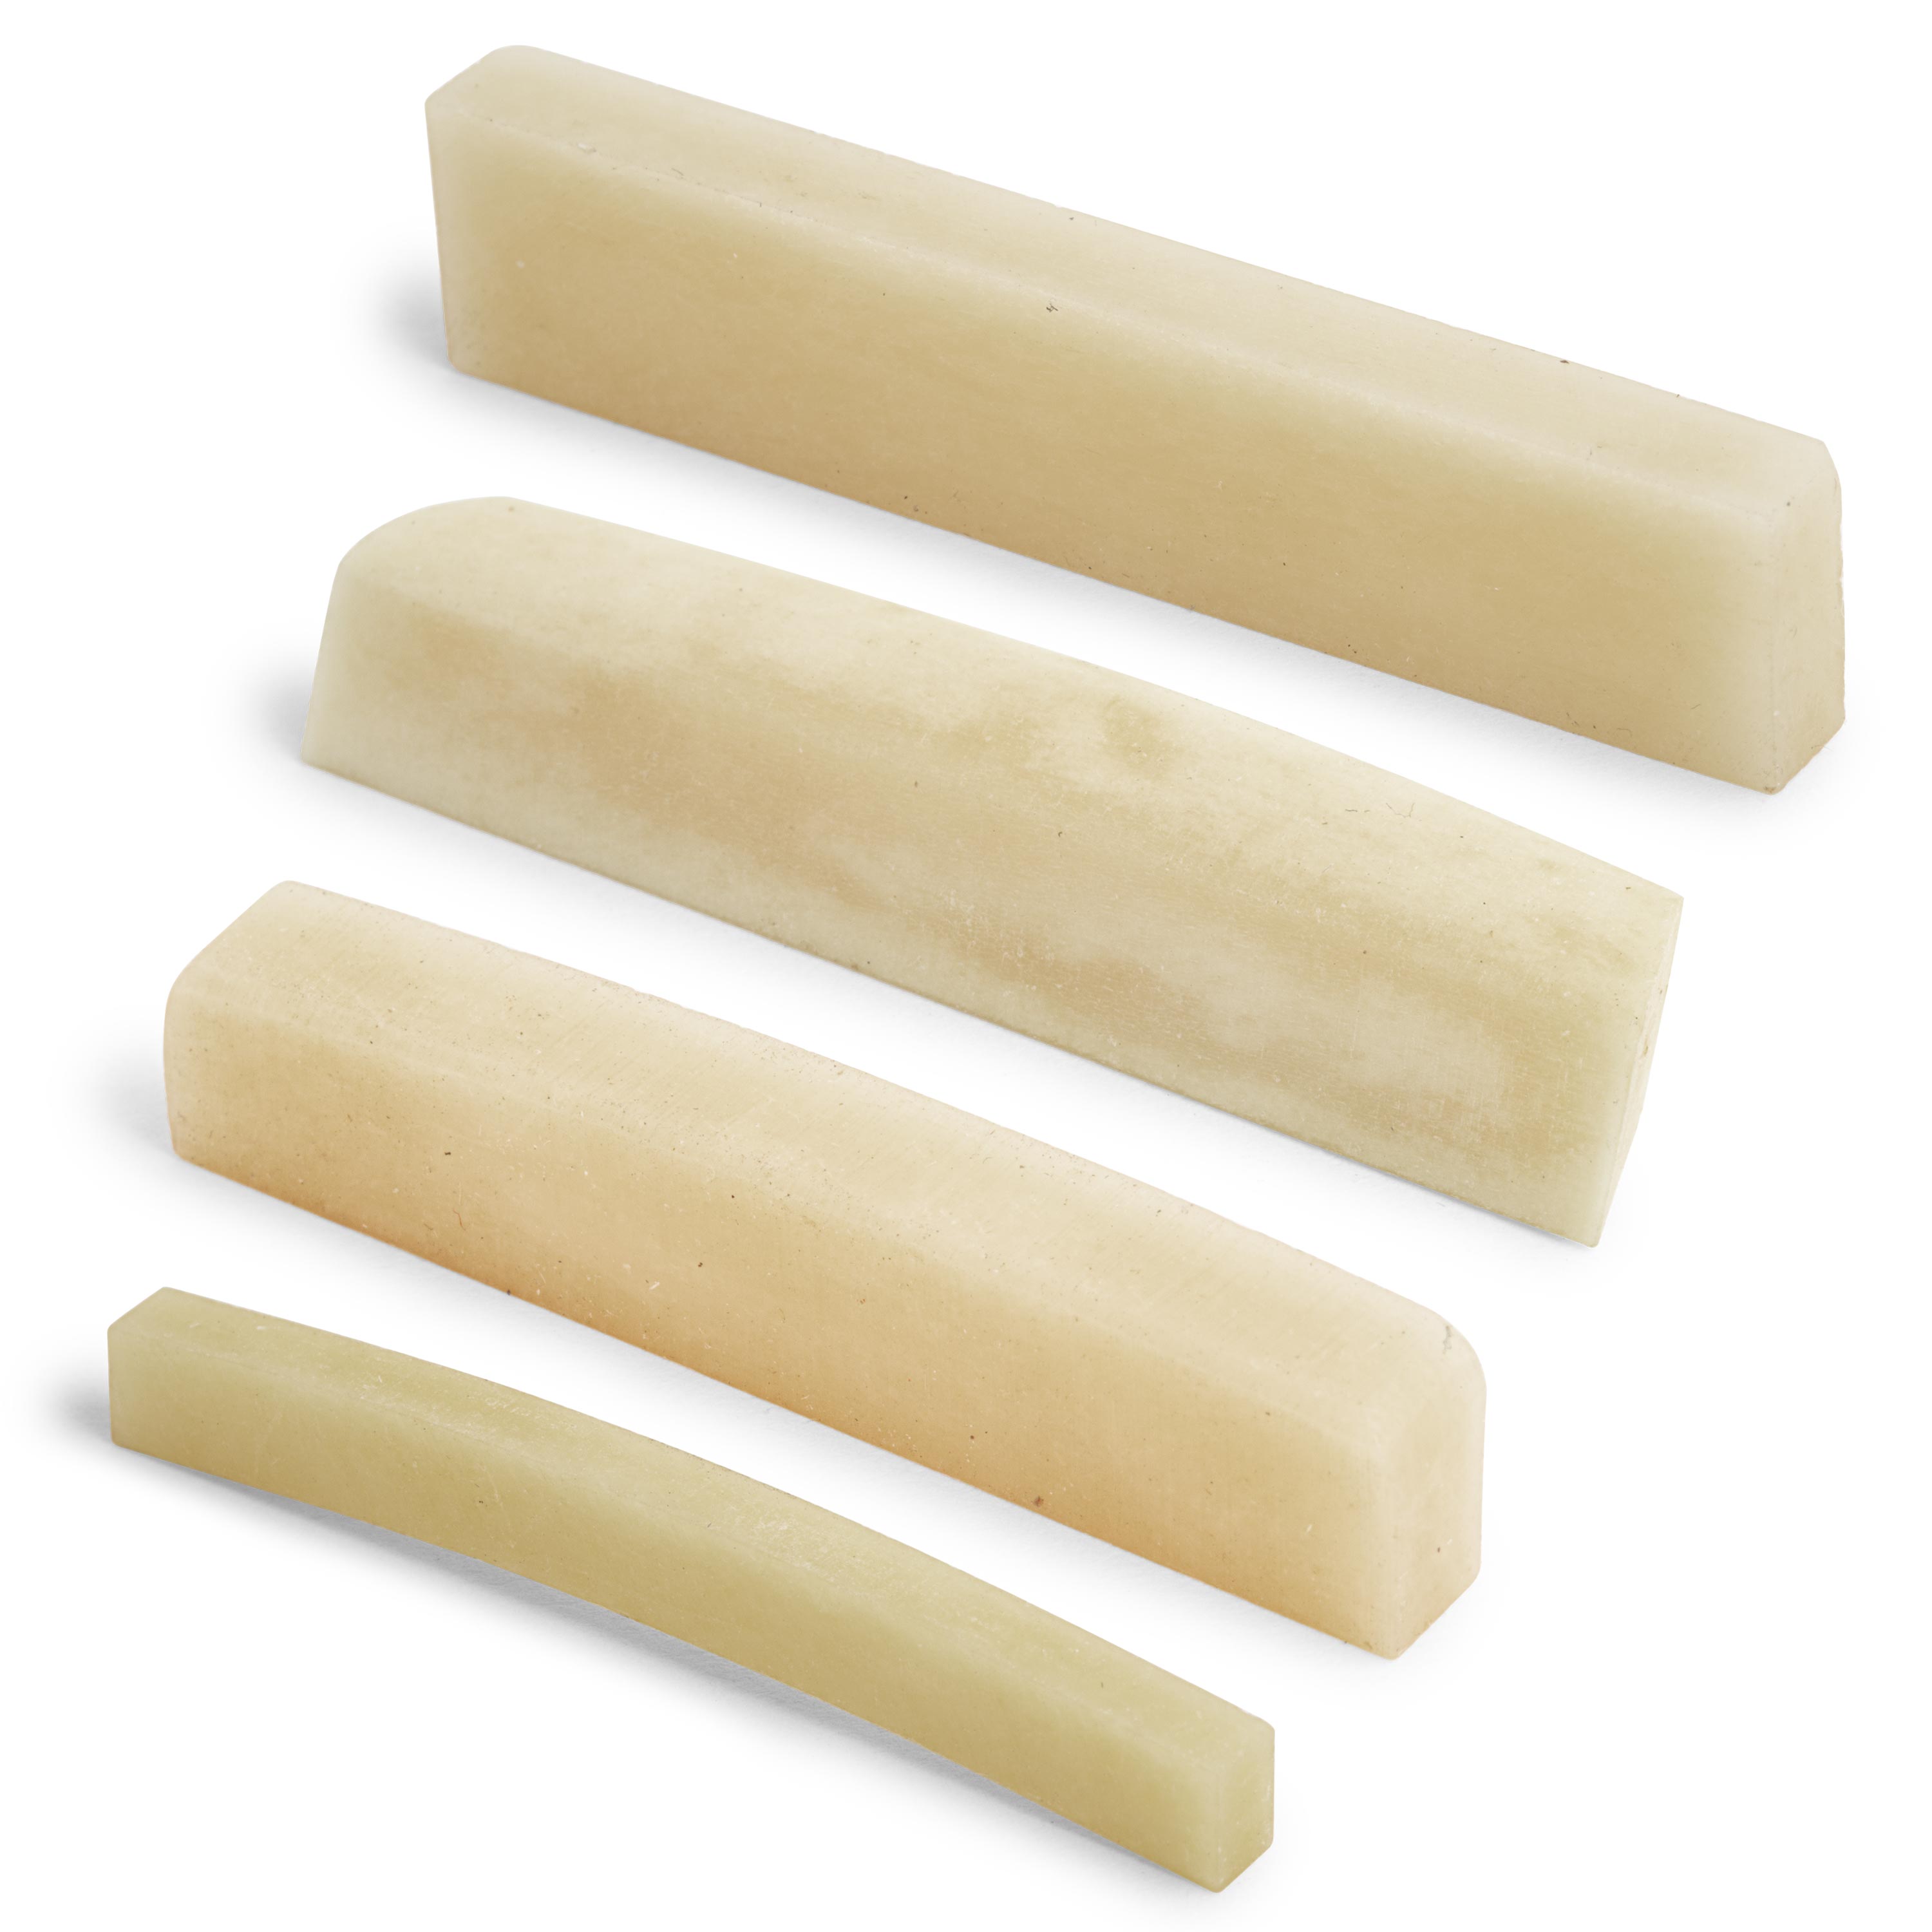
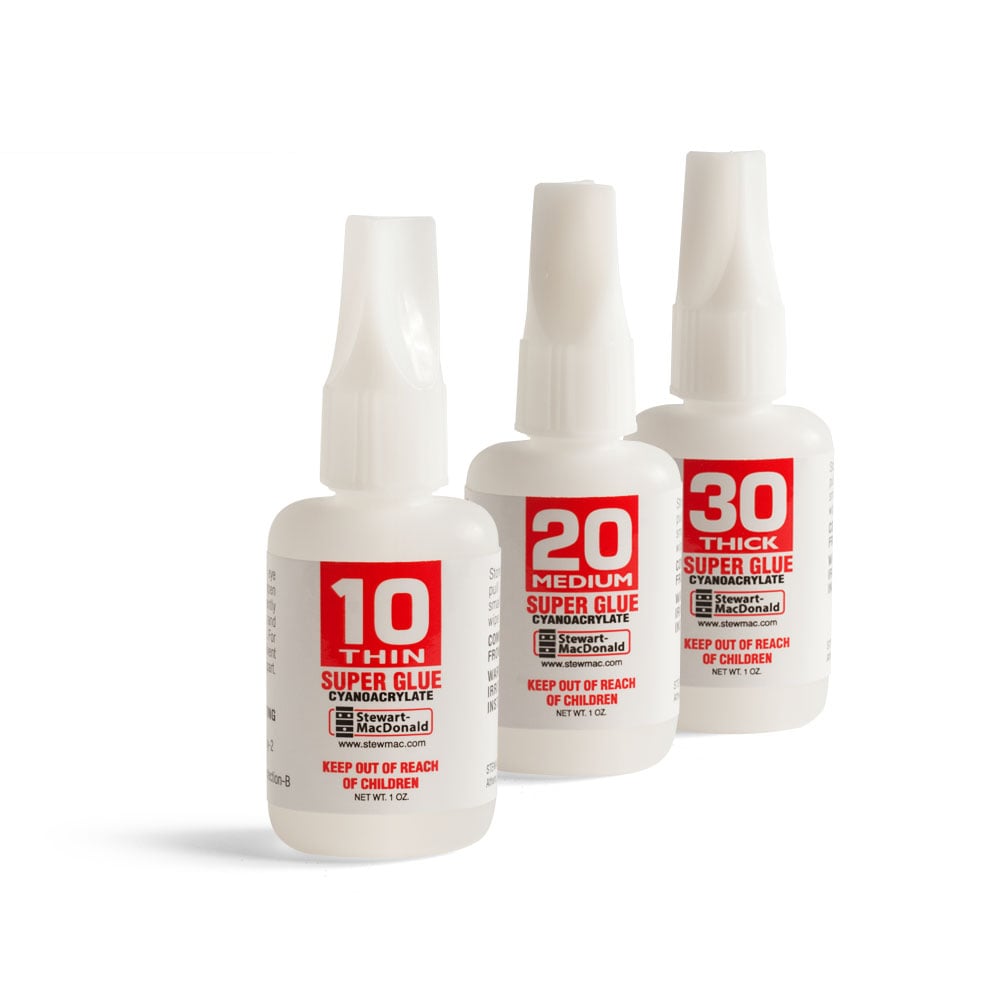
Next I took two StewMac 6001 vintage bone preshaped nut blanks [on-screen text reads: Unbleached Bone Nuts - stewmac.com], that's a mouthful. And super glued them together on some wax paper, so it wouldn't stick with number 20.
So I had a double nut. And the reason I did that is because I wanted something to hold onto when I ran through the bandsaw.
Saw the new nut blank shim and glue to the original
Next, I drew a 7 1/4" radius on the upper glued nut, and using that as a guide, sawed off the top. It's thicker than I needed, I'll shape it later. That's going to be a shim. It's what raises that old nut up. Then I glued that onto the bottom of the original nut, and left it to dry naturally. No rush.
Glue in bone dust
That little archway in the center, I filled with bone dust filed off another nut, stuffed it in and ran number 10 super glue into it [on-screen text reads: StewMac Super Glue - stewmac.com]. The water thin stuff, which wicks all the way through it. A couple of coats of that and it was filled. And then I used the diamond leveling file from the snap file set [on-screen text reads: Snapfile Diamond Leveling File - stewmac.com], just to lightly sand off that excess glue on both sides, the front and back of the nut.
Shape the new nut
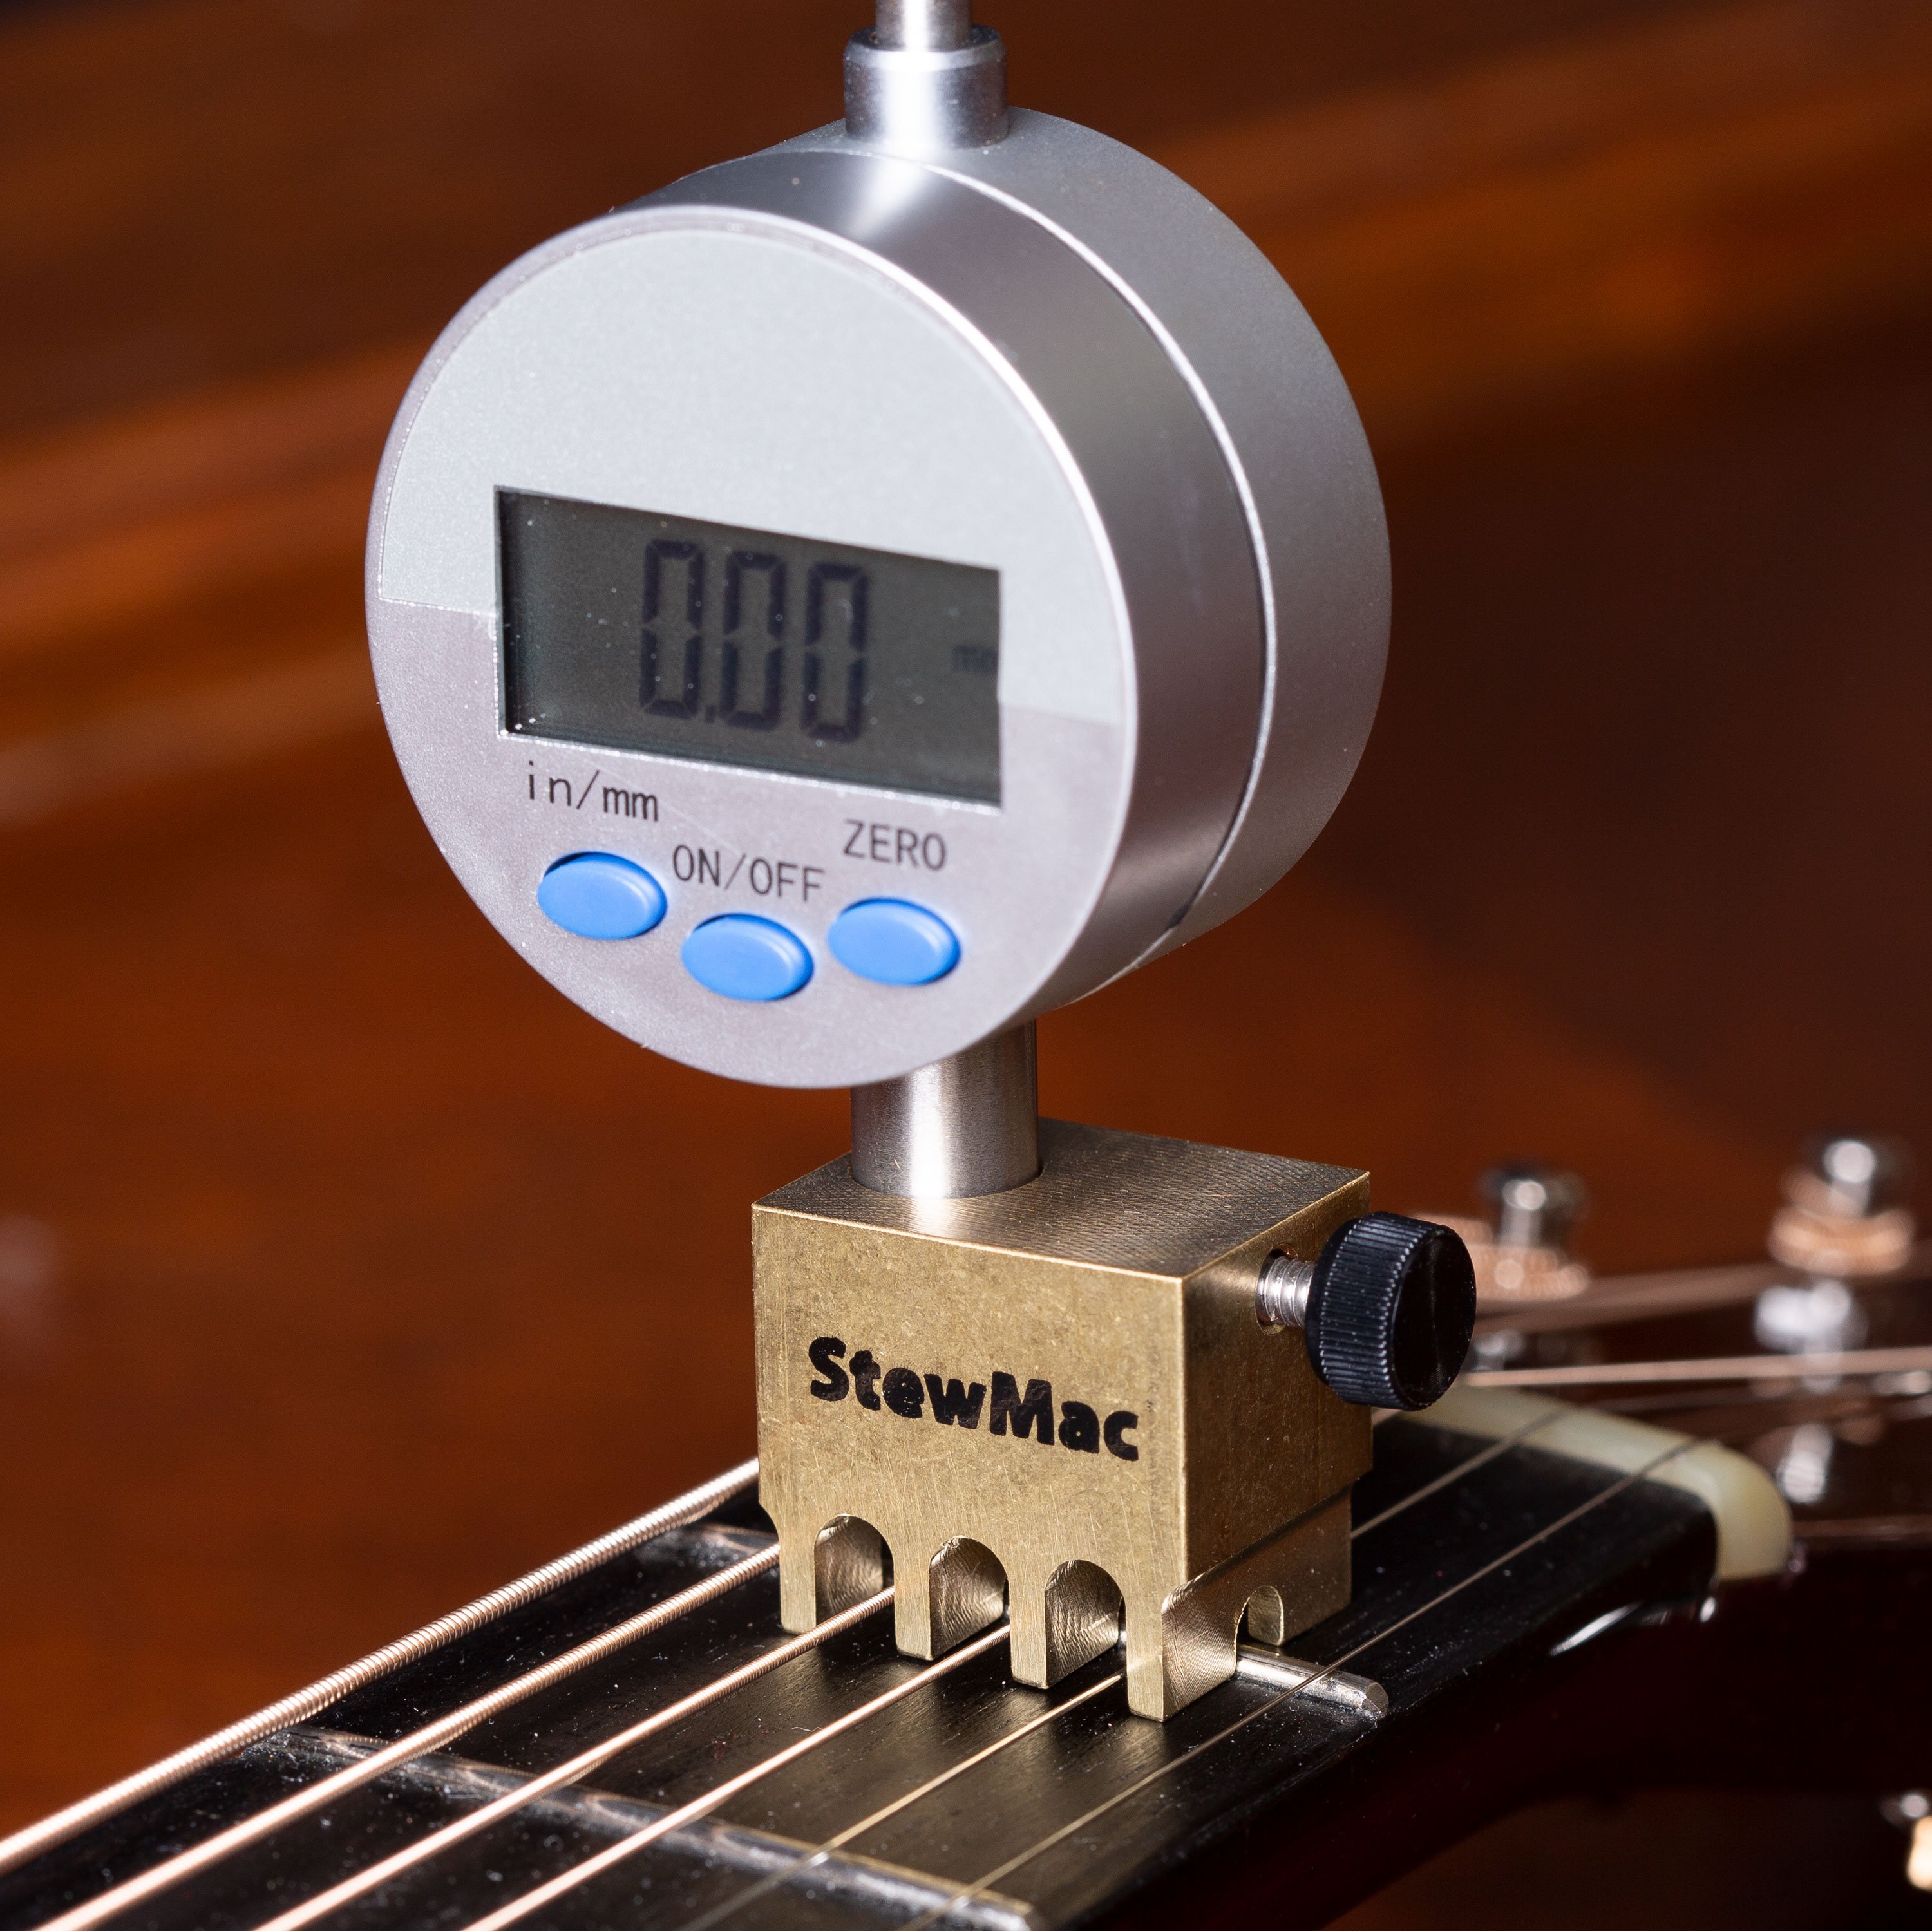
So now I had a new glued together nut that was solid but still original, and it would be one that would leave the original patina. And I was ready to fit it down to the final shape. I went through the sanding grits from 220, then 320, slowly worked the bottom down until it fit into the slot at the right height so that my string action was good. And that took a little while. I was being very careful to get the action right because I didn't want to blow it. Normally I do that by eye, but when I want to really be careful, I use the Nut Slotting Gauge. And up at the other end I use my Action Gauge, checking the height of the strings over the 12th fret. And that's where I'm at now. I've just put it back in and glued it in. And we're done.
So there you have it, a not too complicated fix, but one that had a lot of little steps. I've shimmed a lot of nuts over the years. It's usually just with a piece of papers, and banjo skin, just to make that guitar play quick and easy. But this was not a quick and dirty job like that. This was important to me. It just fits the glow of this guitar and I'm really happy I went ahead and did the whole job.


