Sharpening scrapers for guitar work: two simple jigs
Issue 203 November 07, 2013
Link Van Cleave is a sharp guy! He taught tool sharpening at the 2013 Northwoods Seminar. That was a class on professional techniques, but Link also gave us this foolproof Trade Secret for making your favorite scraper super-sharp. Check out this bonus video of Link sharing his tips on how to hollow-grind a chisel.
- Simple jig #1: to create a truly flat scraper on all 4 edges
- Simple jig #2: to square up the cutting edge
- Burnish the edge, and you're ready to scrape
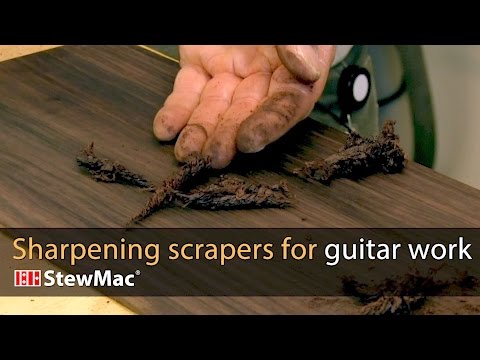
- Man, those are the kind of shavings you want to see!
Video Transcription
[Link runs the scraper down the length of a wood plank]
Simple jig #1: Create a truly flat scraper on all 4 edges
Link Van Cleave: Scrapers are some of the most versatile tools in the shop. I'm going to show you a few simple jigs that'll help you put an edge easily and quickly on a scraper [on-screen text reads: StewMac Scraper Blades - Find scraper blades at StewMac]. We need to get the sides smooth and polished, the edge polished and straight and 90 degree to the sides. I'm going to be using an 8,000 grit Japanese water stone. If this were a new scraper, I might use a coarser diamond stone to do a lot of the heavy lifting, but since this is already tuned up, the 8,000 grit stone will be fine.
A little water on there [Link sprays water onto the Japanese water stone]. I'm using this wood block to put even pressure because fingers alone won't give you a nice even pressure and ensure that you have even contact on the stone. So it's just a block of poplar, two little pieces of wood that are less thick than the scraper itself, and this will allow me to get even pressure and polish up the size of my scraper easily. There's no need to polish these areas in here as long. As I'm touching along the cutting edge and have an even polish all the way down both sides, we're good to go.
Simple jig #2: Square up the cutting edge
Now that we've polished the sides of our scraper, we need to make the edge straight and 90 degrees to the sides. This is a process that gives a lot of people problems. So I've made a simple jig to make this easy to do. It's a block of wood with a groove cut in it to accept a file at 90 degrees to the face. It holds a scraper flat and square to the file, and lets me easily put a perfect 90 degree edge on my scraper.
The filing created a burr that needs to be removed on the smooth stone. For this, I can use my fingers because I'm pressing lightly and I'm only trying to knock off this burr. You can use your fingers to feel when you've done that. So we're going to knock the burr off both sides, and then we're going to polish the edge to refine the edge that was created by the file. When we get a nice smooth edge, we go back, lightly knock off any burr. We're ready to go to the burnisher.
Burnish the edge with a burnisher
A burnisher [on-screen text reads: Scraper Burnisher from StewMac - Best tool for a scraper's edge] is a hardened piece of steel that's used to push an edge out of this metal. It literally pushes a metal into a mushroom shape and creates a hook on the edge. I like to put a little oil on the edge to smooth the action of the burnisher, and I'll start by just pushing down firmly at 90 degrees to start to create a hook. Then I'll start to lay the burnisher over at five to 14 degrees and start working it back and forth. You can feel for a hook.
One thing that some people do is they try to get too much of a hook, and that hook won't last and it'll break down. So a little bit of hook will work. You can kind of judge it. If you need a little more, you can put it back in the vice. Try to get more. You put one on both edges, so you work one side till you get a hook, then you work the other side. [Link runs the scraper down the length of a wood plank] It's what we're looking for. Nice shavings.


