Recreating a lost part from from 1917
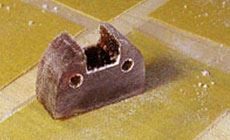
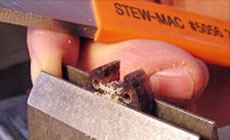
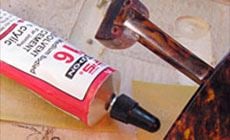
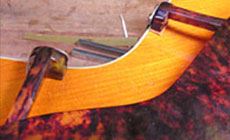
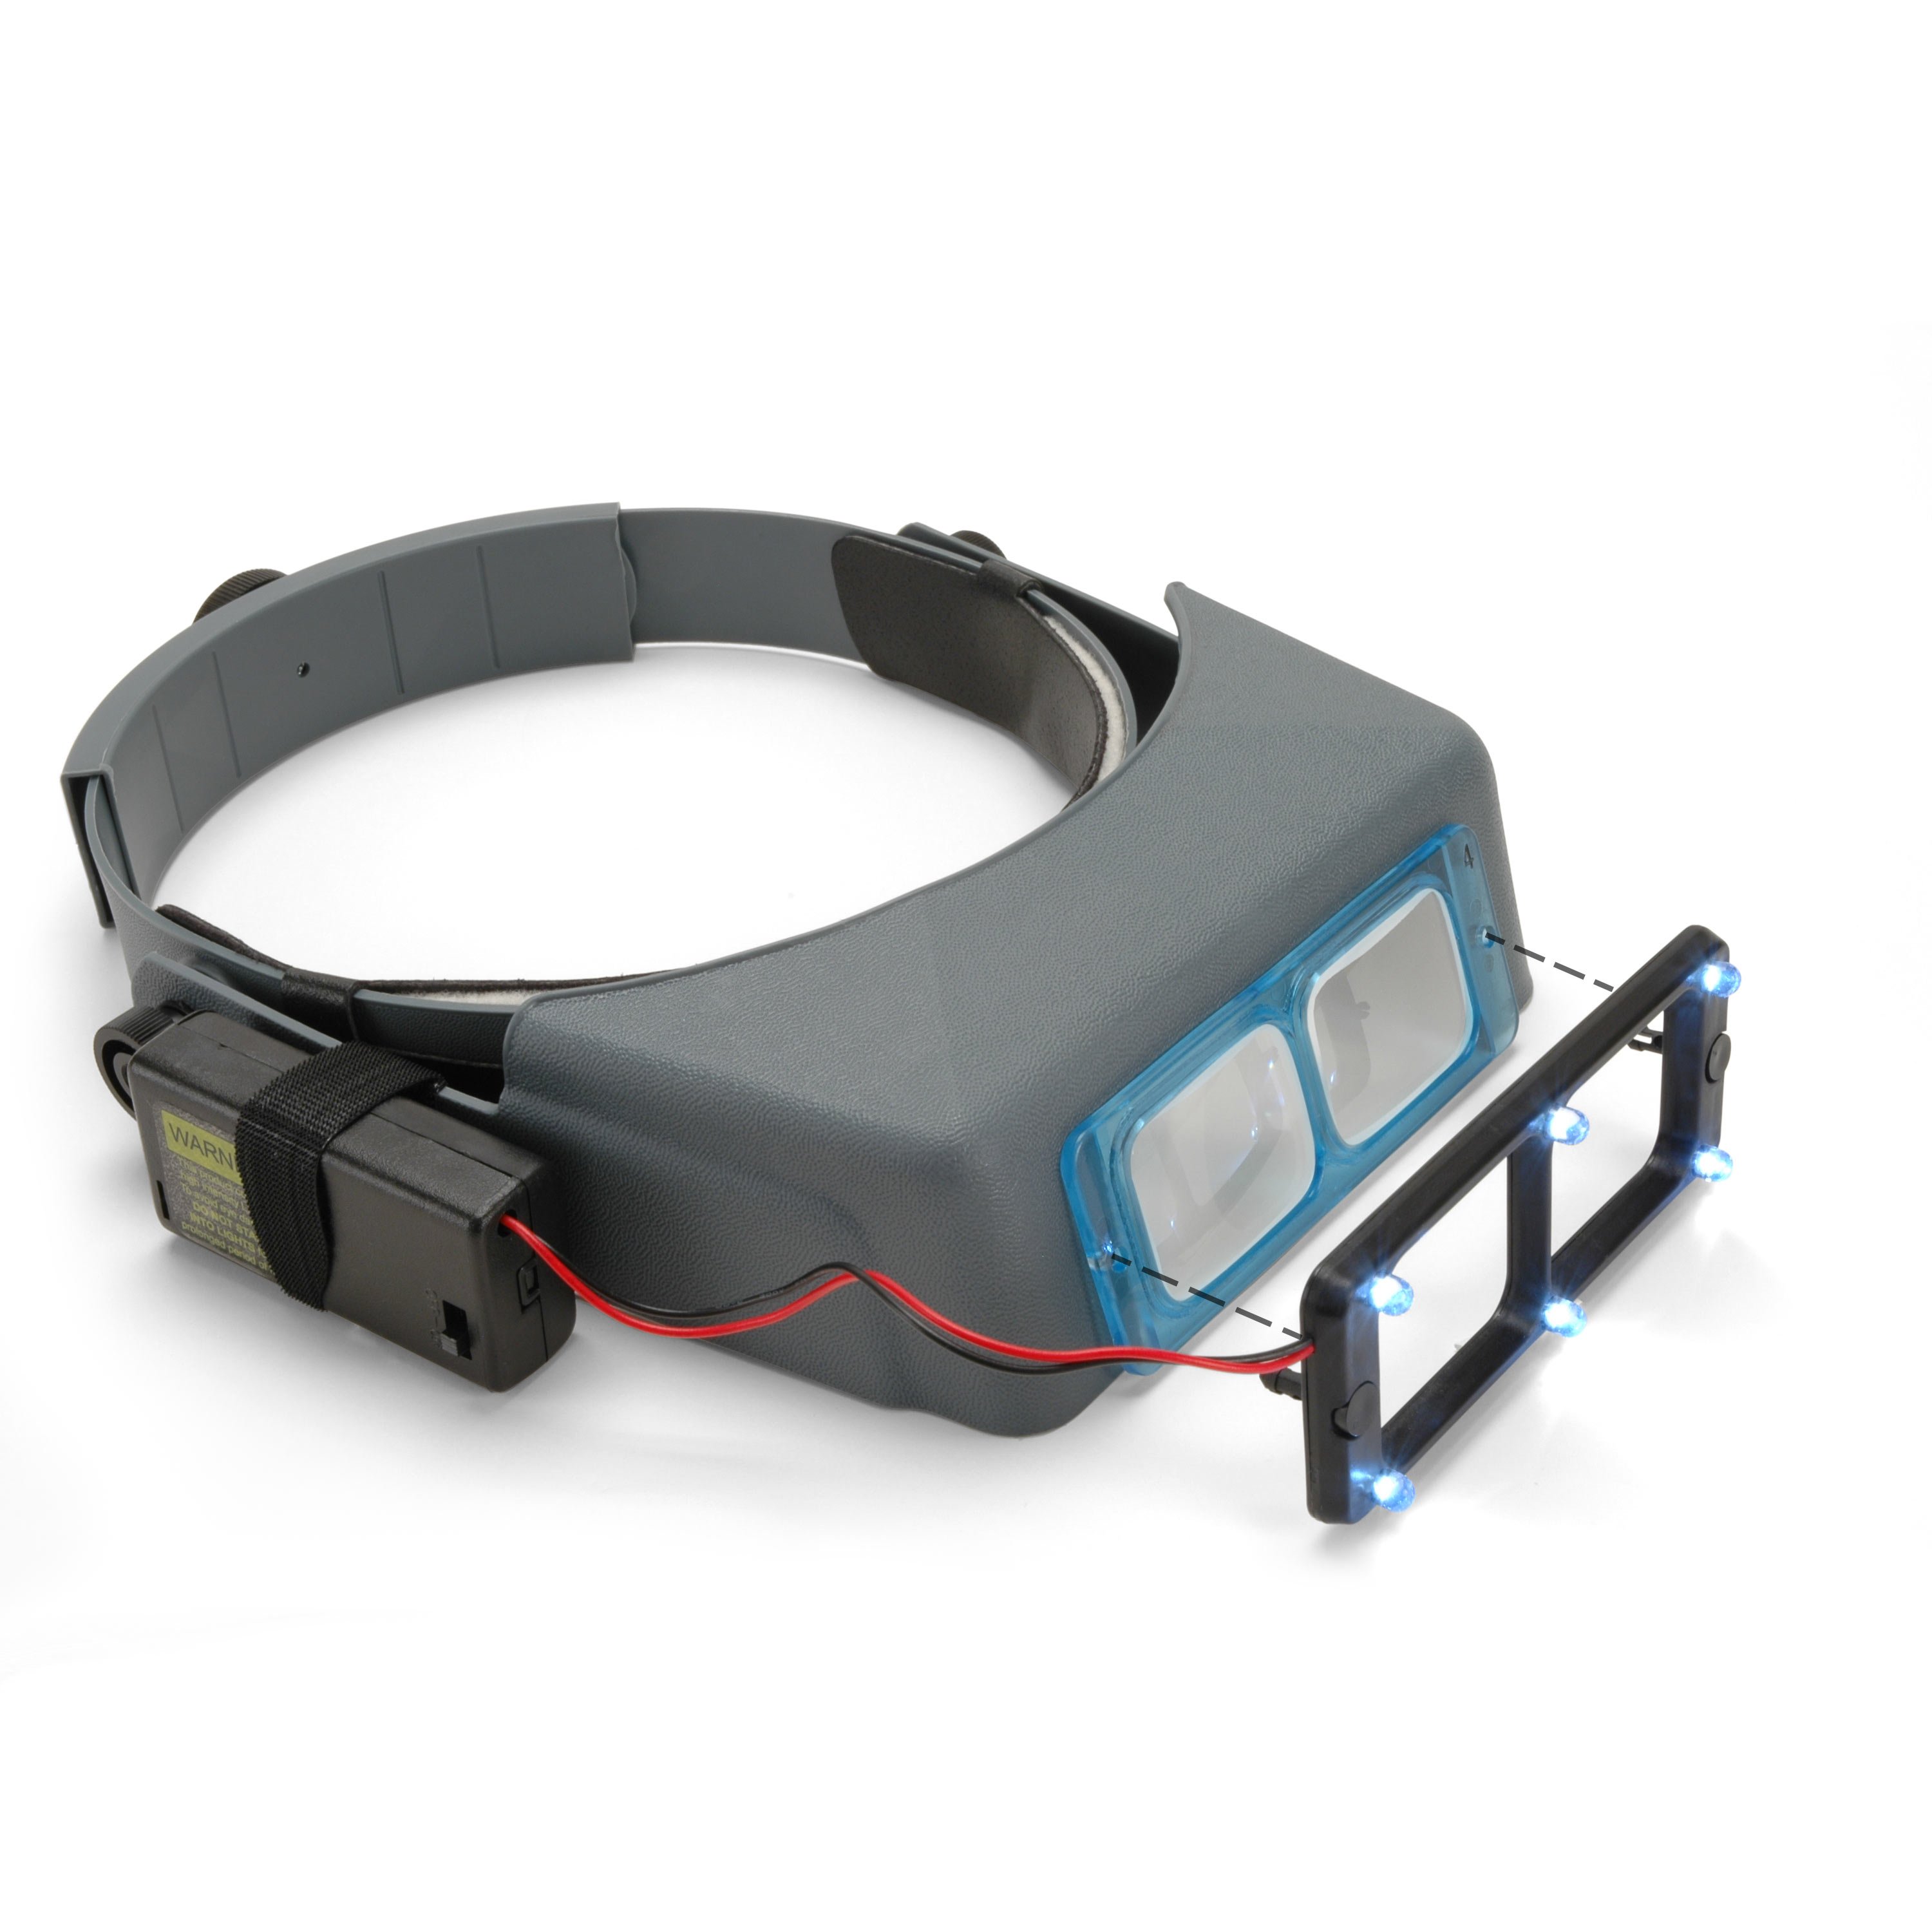
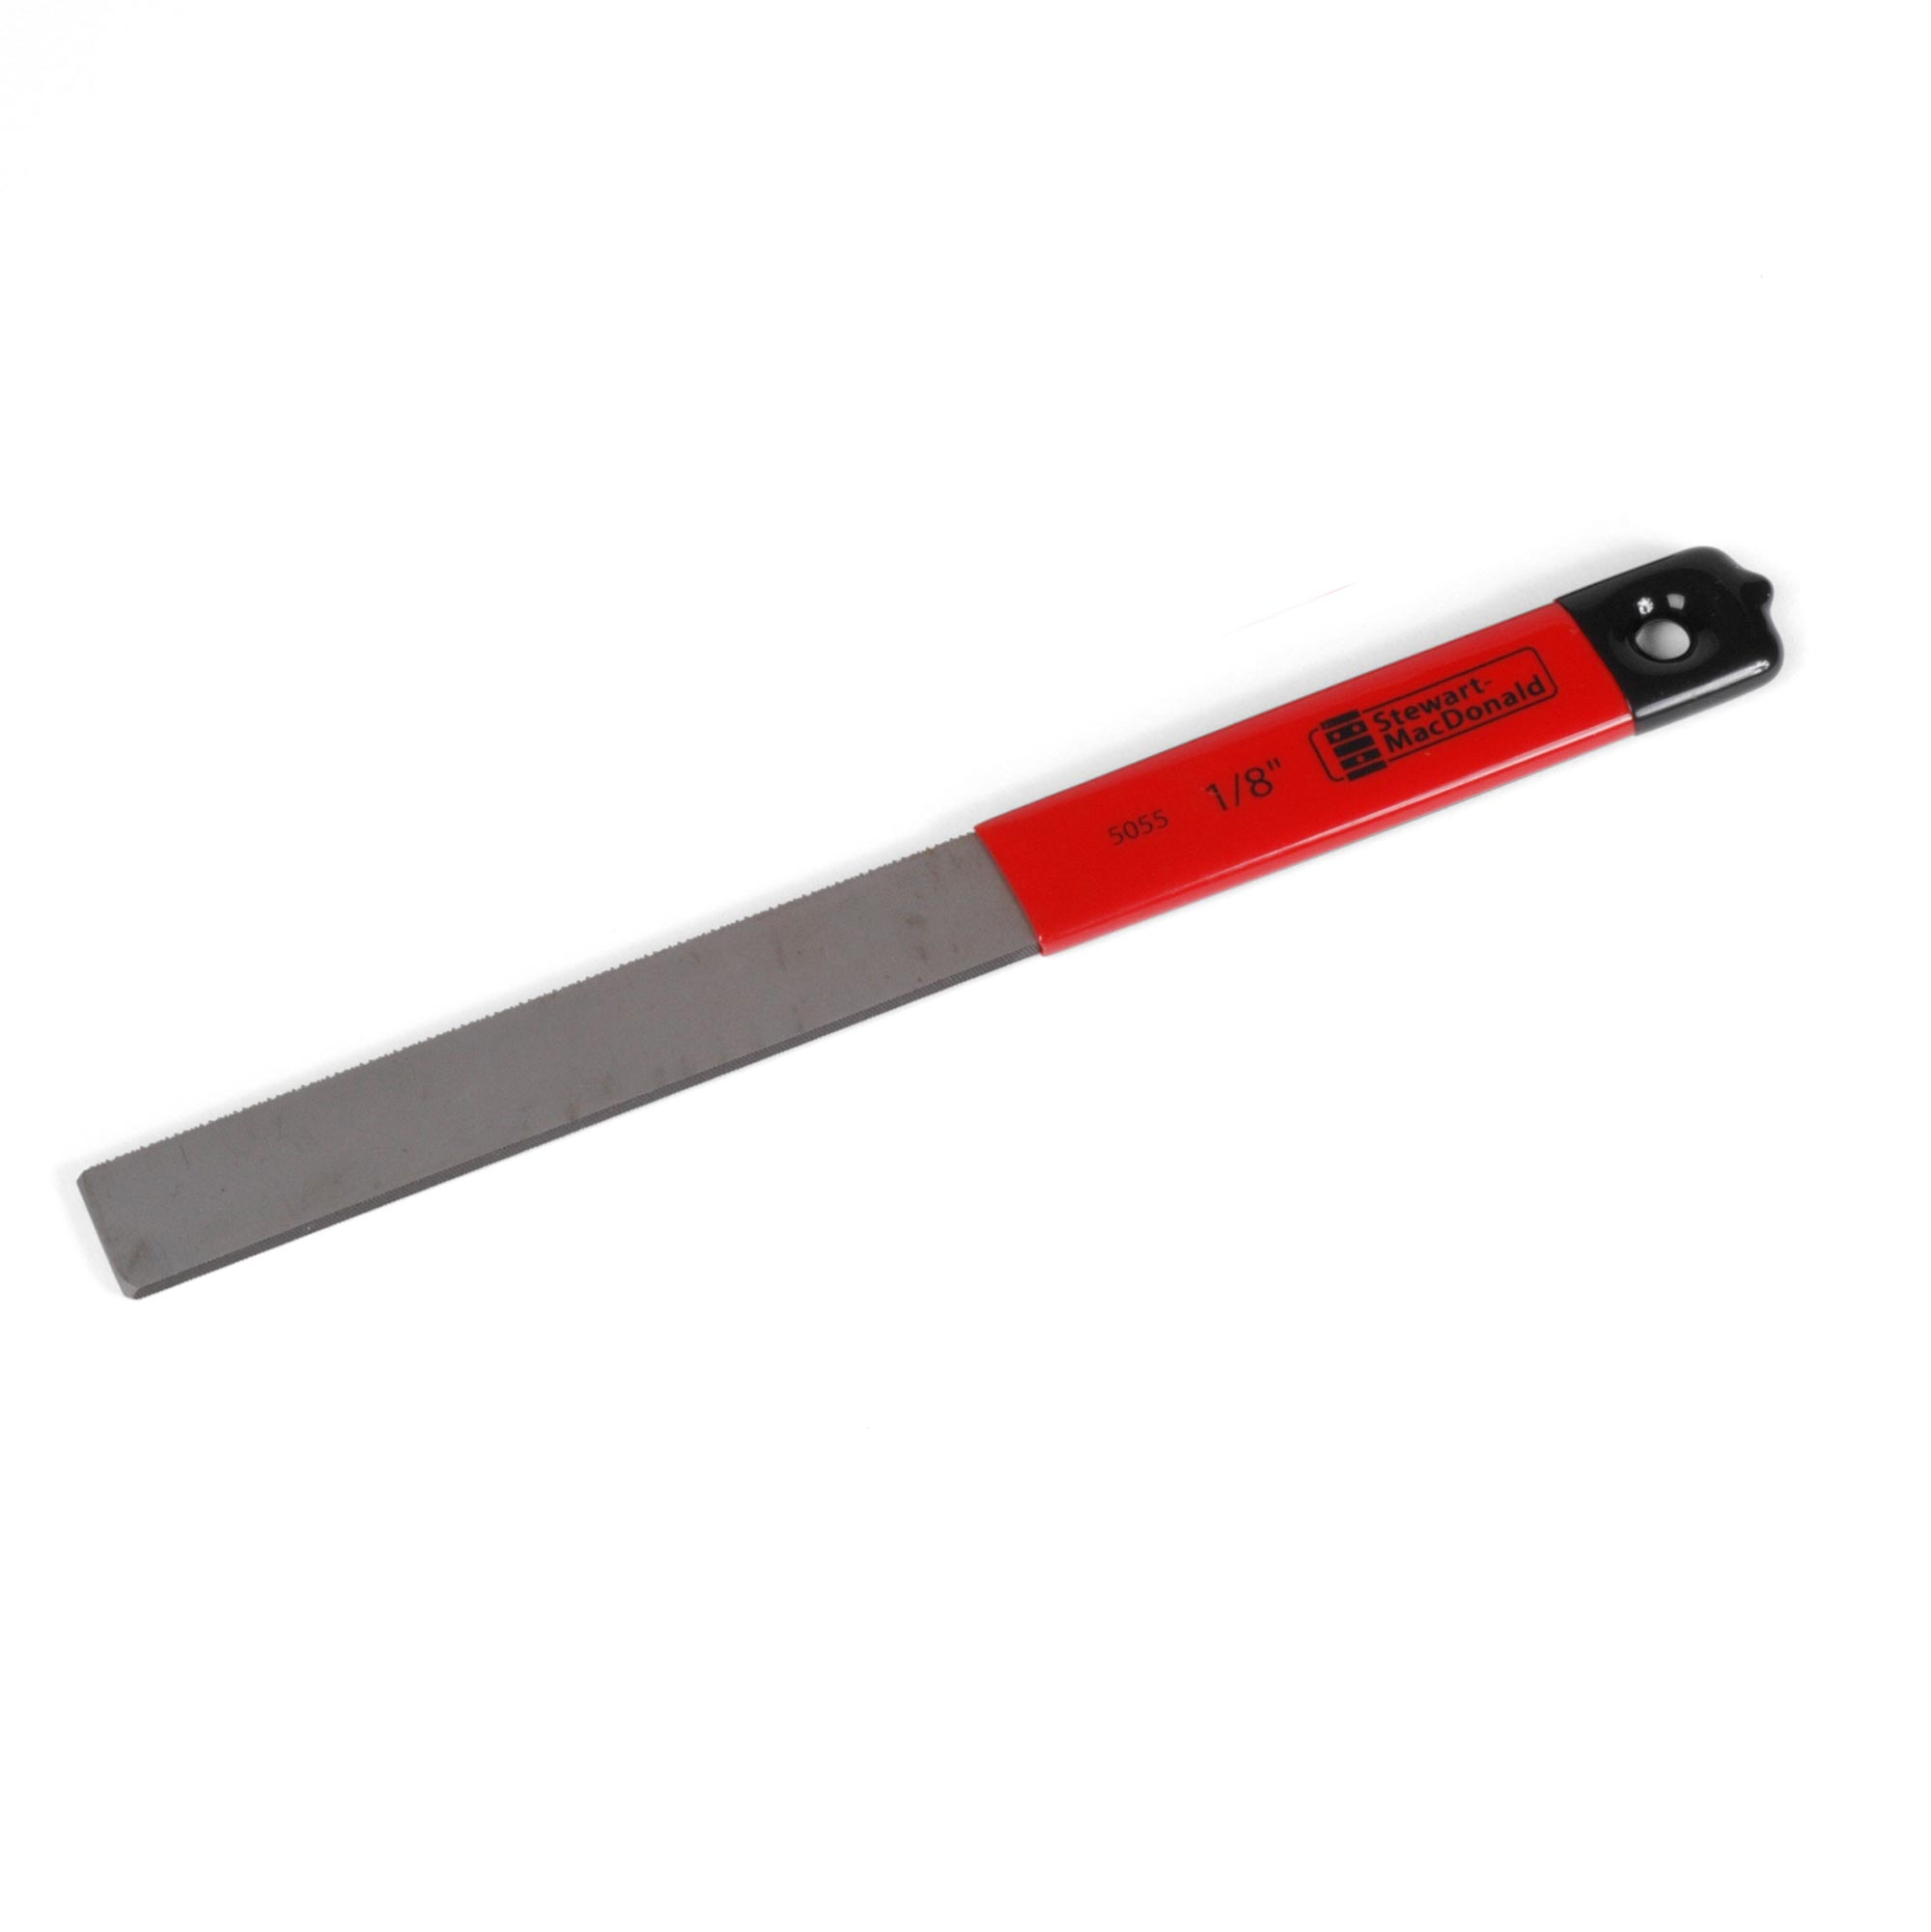
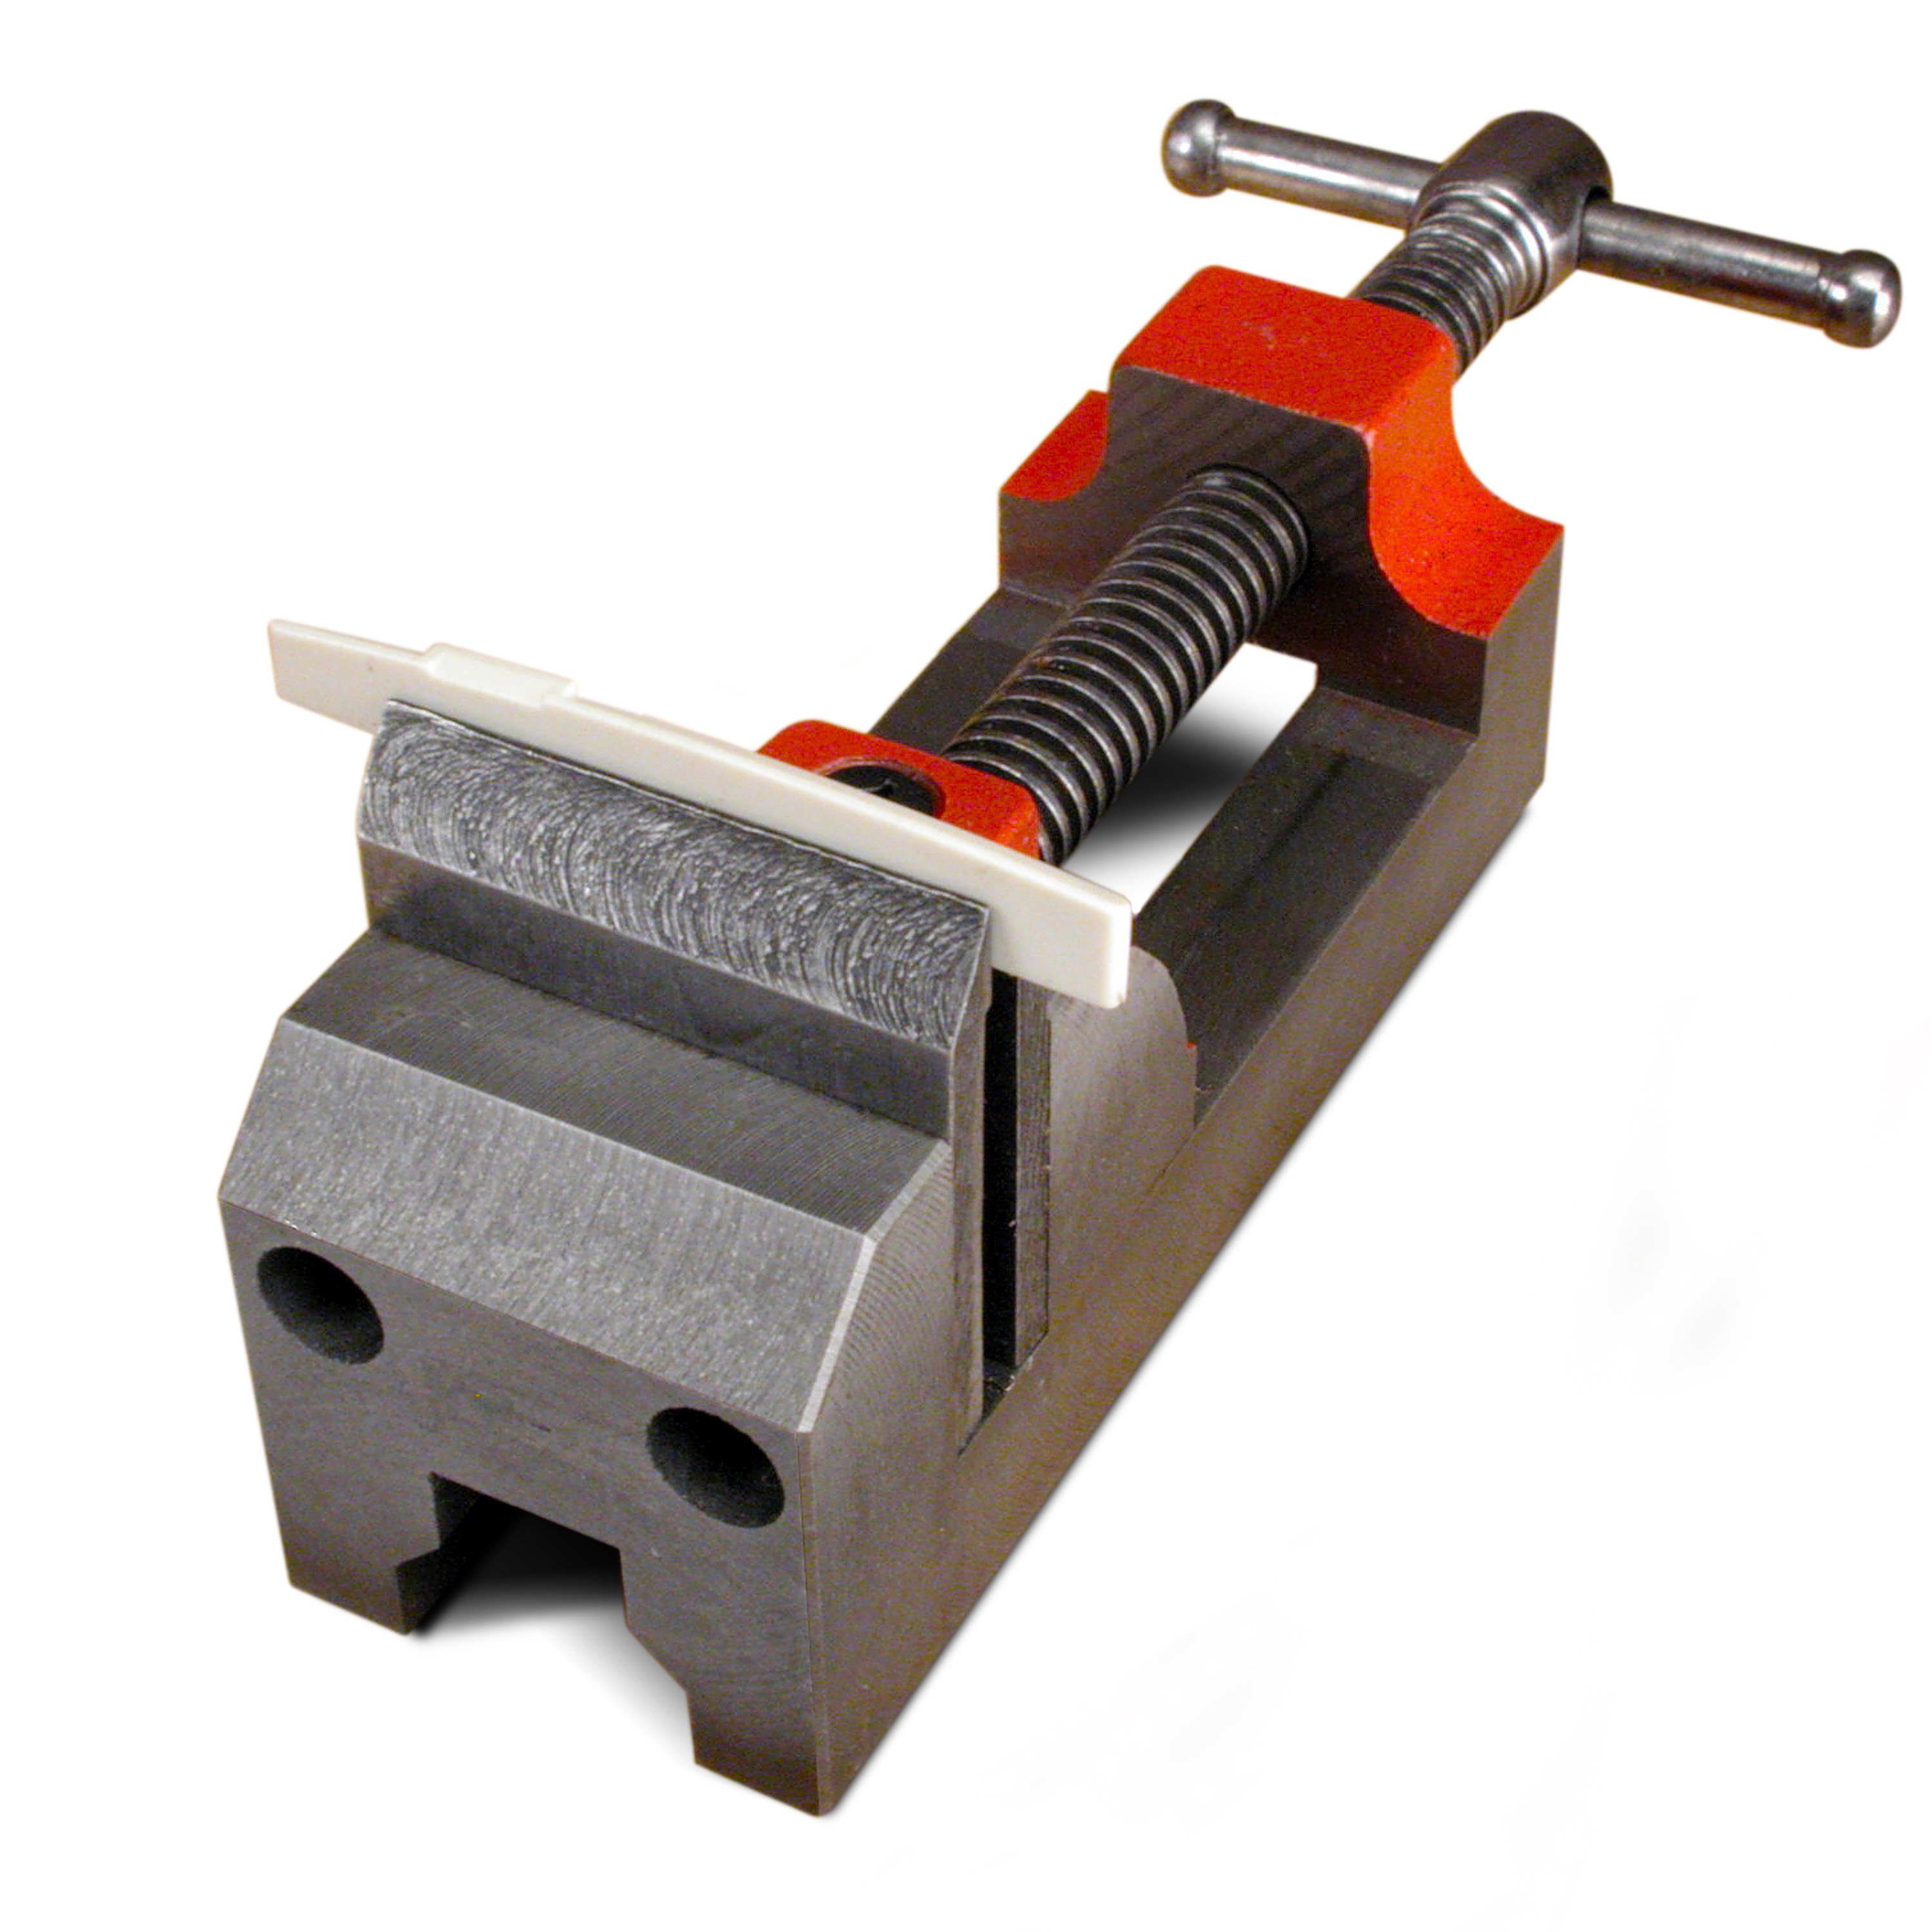
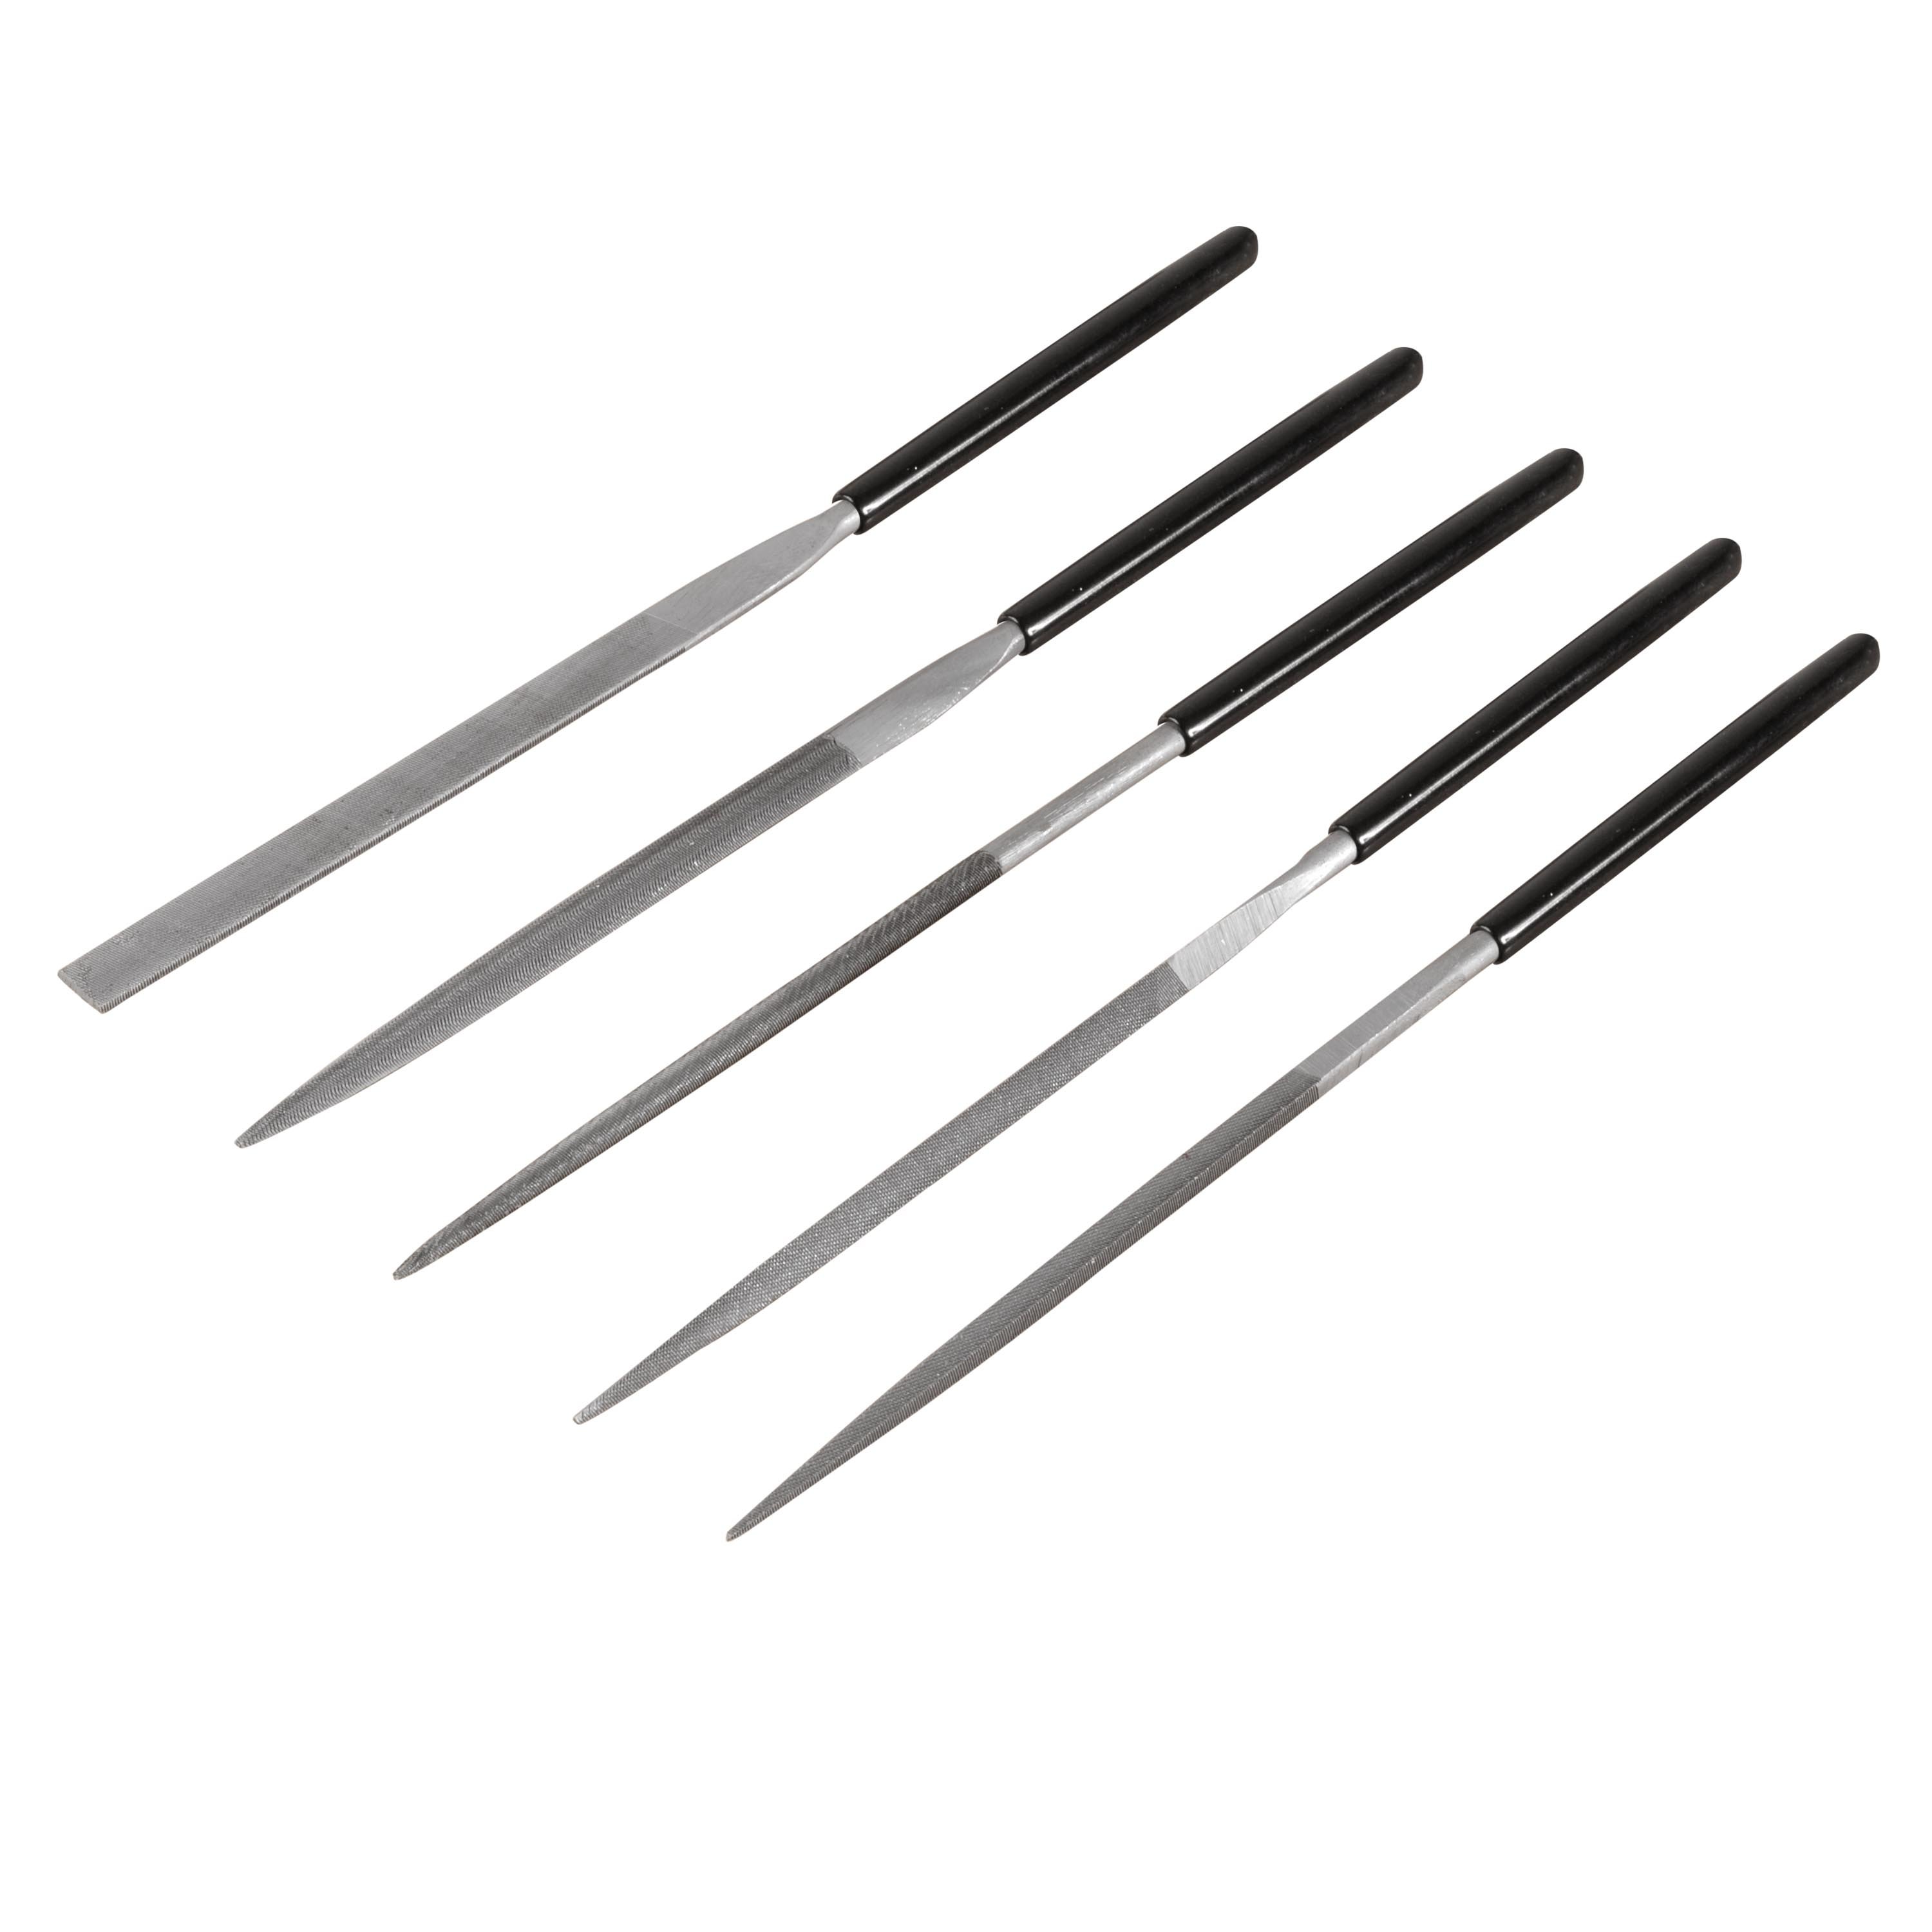
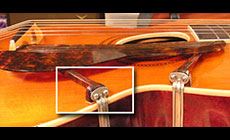
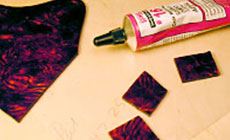
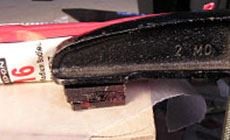
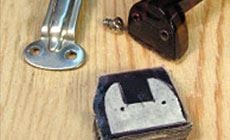
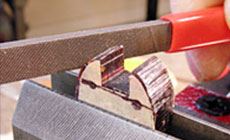
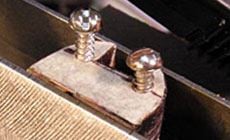
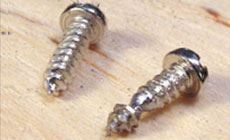
How I carved a block of celluloid out of a flat piece of pickguard This tip saved the day when I needed an extinct vintage part. It’s got a handsome pickguard of tortoise-look celluloid. This is supported by two arms of the same material, attached to metal brackets on the guitar’s side. One of these metal brackets was missing, but that’s where I ran into some really good luck. I called my pal Frank Ford of Gryphon Stringed Instruments in Palo Alto, California. When you’ve been repairing guitars as long as Frank has, you never know what parts might turn up in the dark corners of your shop. Sure enough, a package from Gryphon arrived containing an original metal side bracket. Yahoo! Thanks again, Frank! But one thing was still missing: the celluloid mounting block for fastening the support arm to the metal bracket. I didn’t have a ghost of a chance of finding that little item, so that’s where this Trade Secrets starts. I had to fabricate that carved block of tortoiseshell from a chunk of pickguard material. This worked for me, and I’ll bet it’ll help some of you replace missing plastic parts. I have a scrap of celluloid pickguard from an old Harmony guitar which I’ve cut up for various repairs over the years. I cut three small squares now, slathered them with Weld-On Cement, and clamped them together. I left this stack to dry for about five days, allowing the solvent to escape so this cures into a single hard block. Next, I drew the shape I needed onto masking tape and stuck it to my three-ply block of celluloid. In the photo, you can see the metal bracket and the other celluloid mount that mine will need to match. Holding the block in my nut/saddle vise, I roughed in the shape with a saw, then squared up the edges and filed into the profile I needed using saddle-shaping files. I started with the coarse file, and worked my way through the finer cuts. The original vintage mounting screws are smaller than anything I’m able to find today, but the slotted heads of a Waverly tuner screw had the perfect look. It fit a 3/32" hole nicely. The Waverly screws were too long for this small part, so I shortened them. I held their tips in the nut/saddle vise (clamped on its side) and filing them to correct length with a half-round needle file. By unclamping and rotating the screw, I filed all around it. A hacksaw would have left a blunt, ragged end on the screw, but filing created a pointed taper that allowed it to thread into the plastic part normally. I’m almost finished filing this screw on the right, compared to the untouched Waverly screw on the left. We have a storehouse of instructions, how-to articles, frequently asked questions and stories about instrument building. There’s even a fret scale calculator for finding the proper fret locations for any neck. The Free information link is on every page of www.stewmac.com. I smoothed all the surfaces by sliding the piece on four grits of Fre-cut Gold sandpaper double-stick-taped to a piece of plywood. I cleaned and squared the notch with a 3/16" nut seating file. Then I glued the new part onto the old extension arm using Weld-On Cement — it is the glue for a job like this. I let the glue dry for three days before final-shaping the parts so they blended together. The final step was to buff them to a gloss with all six grits of 3M Flexible Polishing Papers. The guitar’s done and ready for pickup. Sid, the owner, is happy. He figured there was no way to reclaim that pickguard. Here we both are, wearing my favorite headgear and having a little OptiVISOR jam!A thick part from thin material
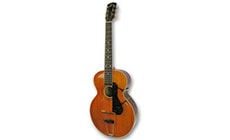
I’ve been restoring a 1917 Gibson L-1.
This solved 90% of my problem

Check it out!
Have you found the free tech help at stewmac.com?
Back to the celluloid part:
