Patching a hole in a 1953 Telecaster
Issue 274 November 03, 2016
This is an original 1953 Telecaster that someone routed holes in. Looks like it was modified to hold a Bigsby vibrato. Dan Erlewine replaces the missing wood with a darned good match so this guitar can go back on the vintage market.
About the guitar in this video: This Tele body is from 1953. In order to sell the guitar, the owner wants to restore it to nearly-original condition.
- Whatever happened to this guitar?!
- How to match the grain on a wood patch
- Routing the body to accept the patch
- Distressing the finish for a relic look
Video Transcription
[Stewart-MacDonald - Trade Secrets!]
Dan Erlewine: Here's the '53 Telecaster that someone didn't know better than not to inlay a Bigsby tremolo into it and some weird kind of bridge [on-screen text reads: Dan Erlewine, Guitar Repairman, Author]. I think they took a B3 and cut off the front and the back, screwed it down. I don't know what the bridge would've been, but the original bridge would've been about there.
How to match the grain on a wood patch
So I've been asked to restore this to original. I can't do that, but I think I can make a really good plug from this Swamp Ash Body Blank. They all have lots of swirls like this and it's a good match, if I can find the right match, which I'm going to do with a piece of Mylar pickguard material [on-screen text reads: Clear Pickguard Material - stewmac.com] that I can lay on the top. You see right through it and pick up my green pattern. So I have some idea later on what part of the swamp ash body will match this. I can pick up the corners of this bridge route. I can pick up the telecaster pickup shape, nothing accurate, just a rough idea. I want to put a center line on this. Gives me something to index to. Run down there with a straight edge [on-screen text reads: Precision Straightedge - stewmac.com].
I'm going to come up to this front edge of the bridge route. So right there I'm going to put another line. This line's as far forward as I plan to route. I'm going to get as close to the bad area as I can, so not to remove too much wood. Be something like that. And that's probably my basic shape.
These are the holes that's already in the body. I might be able to use those to screw down my template later, so I'm going to mark them. I don't want to drill new holes in the body, but this particular body has little plugged holes all over it. That's plenty of holes for me to use though later on.
I looked at this earlier. Now I think they're... These lines come in good; they all go that way. So now I pick up my lines. There's a center. There's a center. There's my shape and there's my shape. You can see why that makes such a good pickup.
That's the front of the route. There is my shape. Now I'm going to go cut this chunk out on the bandsaw and leave it long, so when I turn this on edge and slice it into the thinner pieces, I'll be able to run it through my planer. You couldn't run a short piece through a planer.
Routing the body to accept the patch
Right now the route thats in the body [Dan sets the square down onto the guitar body] is a half inch deep [on-screen text reads: StewMac Luthier's Square]. I don't know exactly how deep I'm going to route until it's clean, but thats shallower and this all gets routed away because it's going to be clean wood. So I'm going to go about that big. I want to smooth these rough edges from the bandsaw and the joiner. That gives me a nice smooth flat surface to sit on the bandsaw.
This piece will come right up to the front edge of that bridge cavity and cover it on both sides. But this ball bearing router bit is going to leave a round corner right in here. So now I'm going to transfer a circle, half inch round, to the piece of wood on the corners and sand that round, so it'll fit into the shape that the router left. Here's how I set up my routing table. I took my plug and put a few drops of super glue on it and glued it to the body, because that's going to be routed away. Once it dried, I took some 5/16ths poplar and laid it around and cut the shapes till they fit up tight, flush right against this piece. That's going to be my router guide now. I took my template from earlier, where I had traced all those holes and punched them out with an awl, and marked those on this template so I know where to drill holes for the screws that holds it down and I don't have to drill any holes into the body that weren't already there.
I only have to go a little over half an inch deep. I'm going to make my first cut back here as a test cut. When I get to that part I'll stop and raise the bit up because I don't want to take that much wood at once. I've already got my router bit set about three quarters of an inch down. And if you look from back here, it's only going to take off about a 16th of an inch or less. Pardon the light and the camera back here. We did this so you could get a better view of what I'm going to do from both directions. I turn on the router and take a small cut in this area and see what it looks like.
Okay, I took off about almost a 16th of an inch. But instead of routing all this out, I'm going to run over to the drill press and get a Forstner bit, drill a bunch of the wood that's in the way out so the router can have an easy job of just skim-cutting it. How strange drilling into this Telecaster, '53 Telecaster. It almost looks like this guitar was painted red. And here I can't tell, but some of the chips that are coming out have that green in them. Somebody painted it green but that red, that's weird. And there's black over red. Who knows what they did.
So removing that much wood makes the whole routing job easier. I can take more off with the chisel, Just get it out of the way. That's good enough. I'm ready to route.
[Dan sets the Otter Compact Router Table onto the area he prepped and starts routing]
This is a poncho; camera poncho [on-screen text reads: Hi-tech camera cover!]. Very expensive. Just for this shot we had it flown in. Lights, camera, action.
[Dan continues running the router over the area he is cutting out]
It's followed the template all around the sides. Most of the chaff is gone. I can just sweep over the bottom and clean it up. Okay, nice and smooth. I want to get the table off here and see how the piece fits. I think I'll save this little table, but I'll bet I'll never need it again. But that's why I have a lot of crap laying around my shop. Okay, real nice. I'll trim this off and glue it in. When this was still in the body, I marked the underside along the edge of the guitar. This is all waste now because it's been through the planer. Now I'm trimmed almost flush to the end. I'm going to glue it in with some hot Hide Glue. The grains come down with a real good match here. This one snuck in out of nowhere, but then this ends up here. So I think when this is painted, it's going to be invisible.
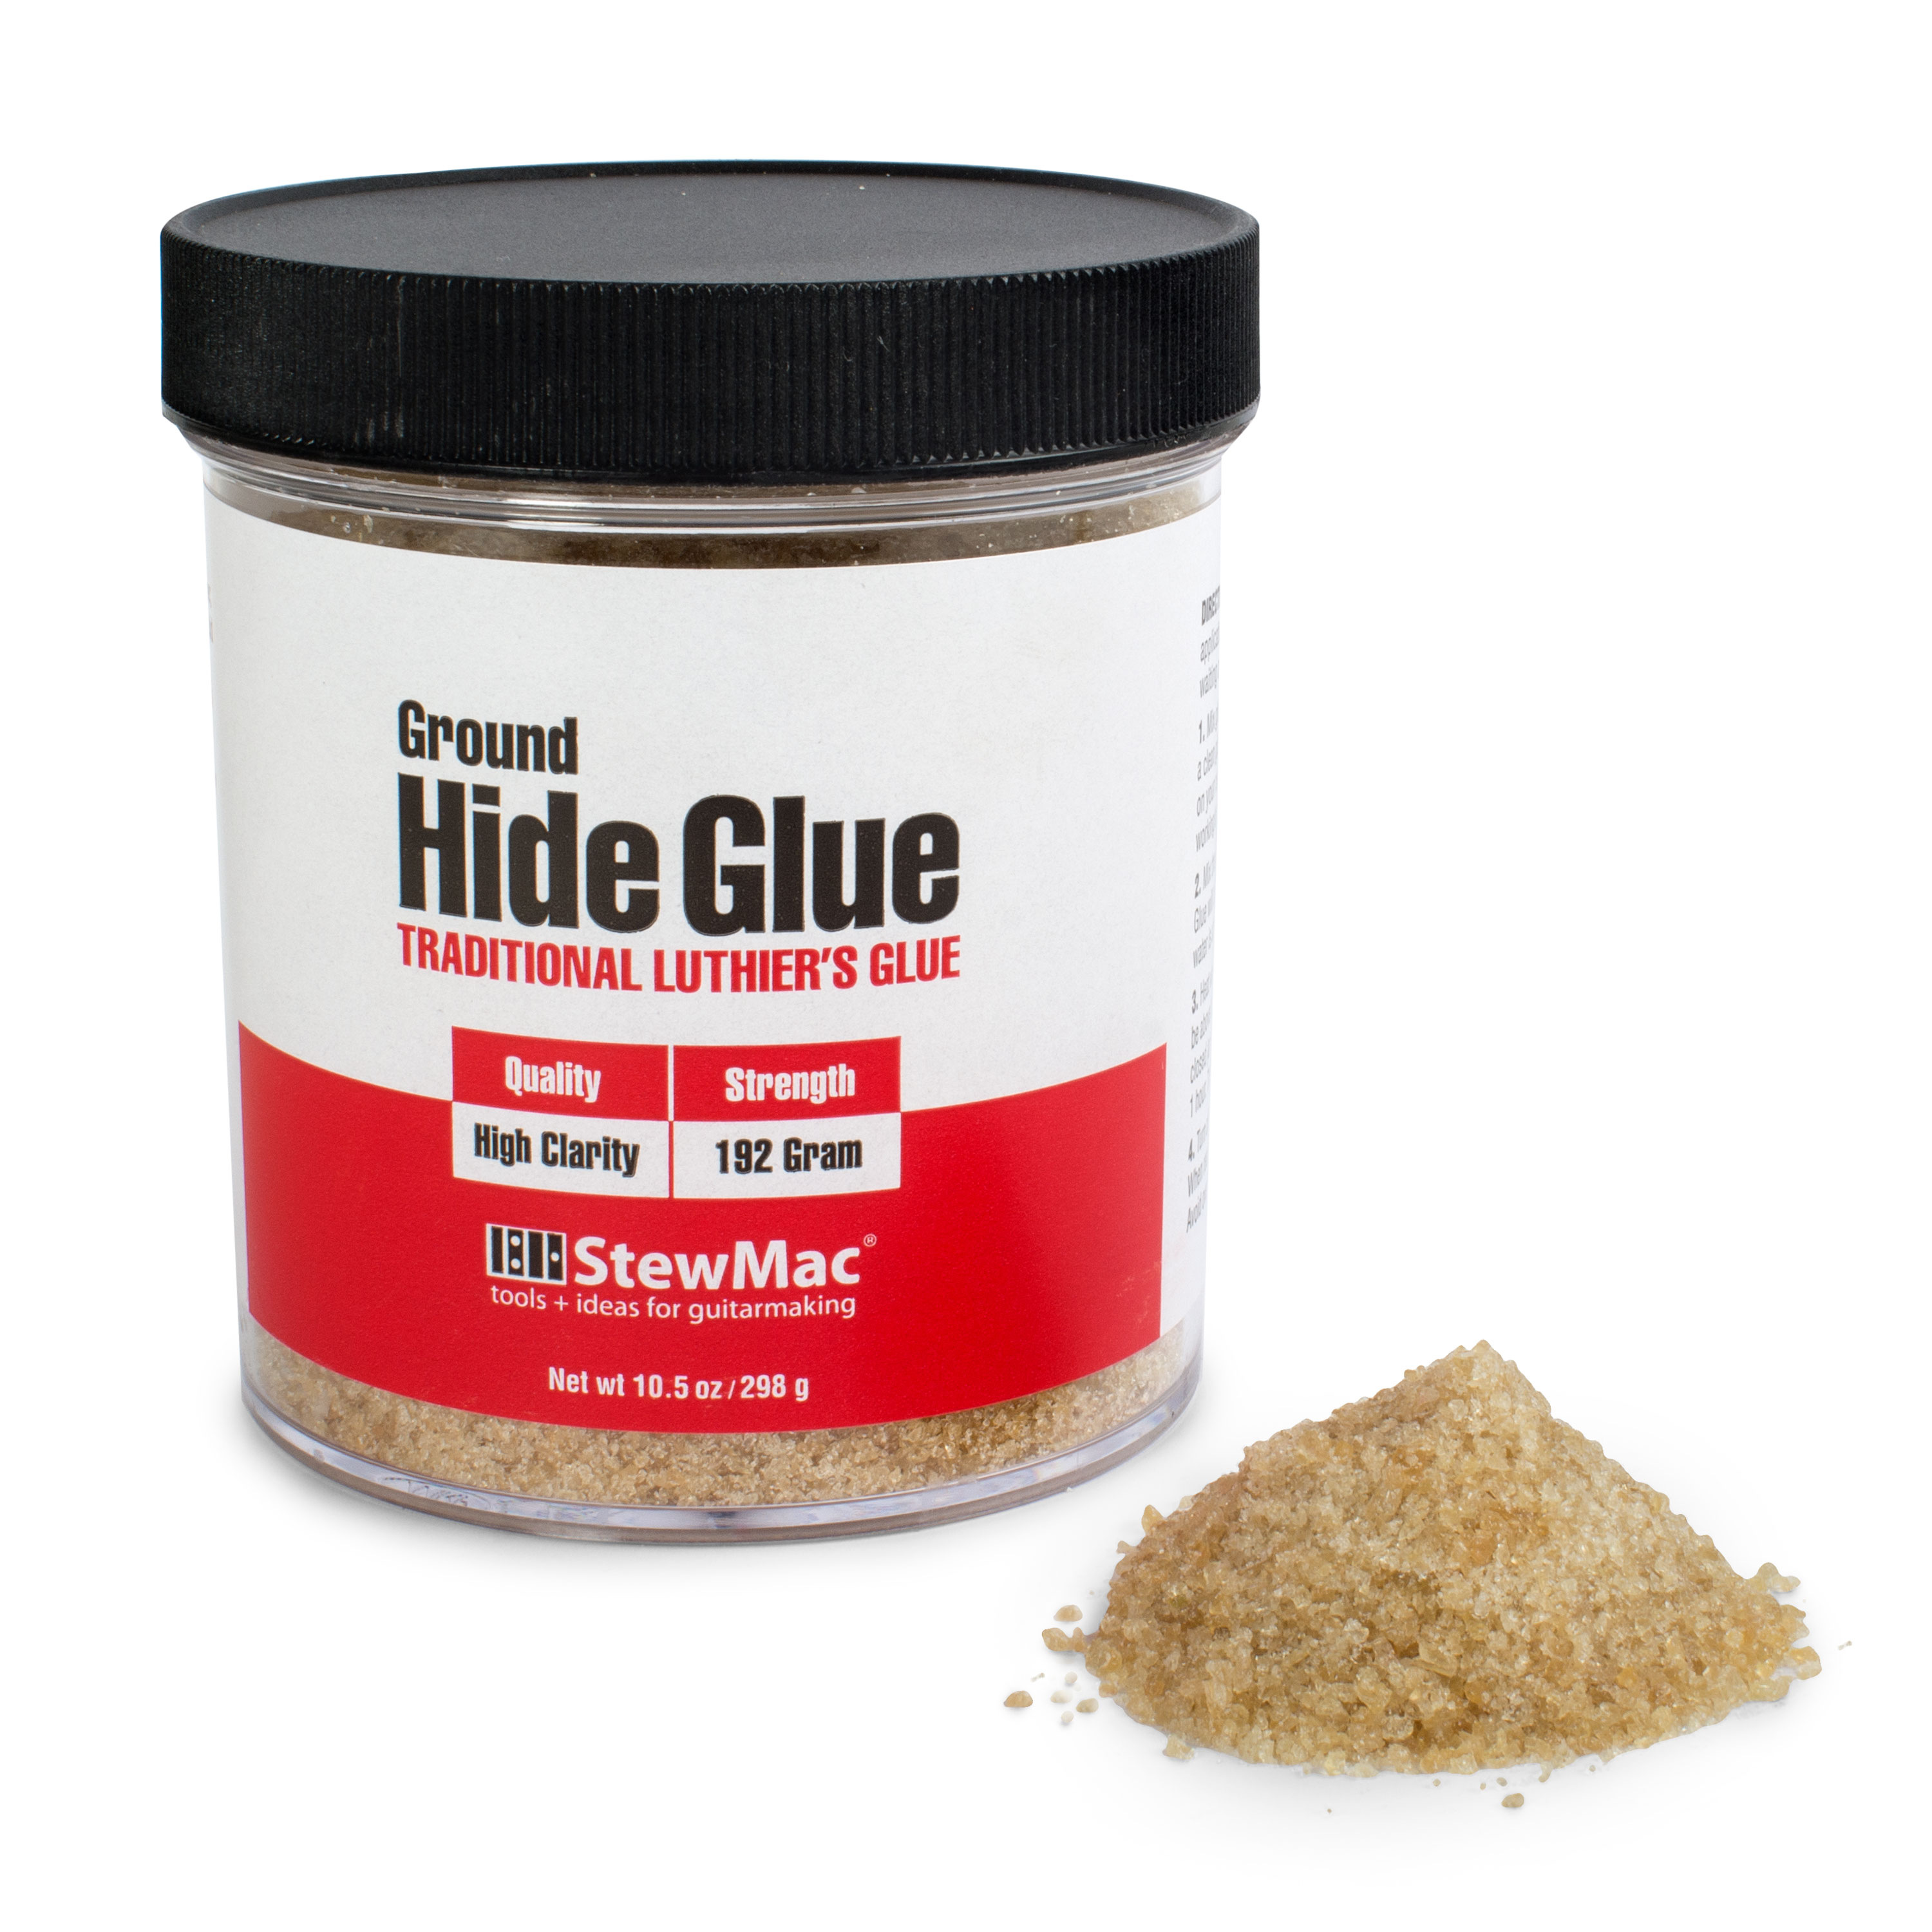
I'm quick and sloppy with this [on-screen text reads: Behlen Ground Hide Glue - stewmac.com] because you don't have lots of time. [Dan applies the hot hide glue to the area he cut out on the guitar body and places the new piece of wood into the cut out area]
Just getting that squeeze out. [Dan wipes down the area he glued with a damp rag]
Cap your glue back up and put it back in the water, hot water, and let it cook for a few minutes till it seals. Then put it in the fridge.
[Dan attaches a Swivel Handle Clamp to the guitar body to hold the glued wood down]
I want to have a little wax paper so it doesn't stick to it. That's in there. I'm going to give that five hours to clamp. I'll leave it overnight because it's 2:15 already. We have other work to do. And then tomorrow I'll give it a light sanding and then we'll see what happens.
I've got a bit of a hangover here and what I'll do about that is trim it off with a flush cut router bit that has the ball bearing on the bottom.
[Dan sands the area he just routed]
120 gold [on-screen text reads: 3M Gold Fre-Cut Sandpaper - stewmac.com]. I'll go 120, 220, 320. That's as far as I'll need to go. This is naphtha [on-screen text reads: Behlen Naphtha Solvent - stewmac.com]; it'll raise the grain up but it won't be like water. It'll flash off really quick and it still raises the grain. Then you can sand it down again. The grain raises up and scraper and sandpaper cuts it down. It's nice and flat. My customer's going to get it back and have his guy sand it out, the whole body and spray it butterscotch or blonde. Check it out with some wet naphtha on it. That grain's going to look really good. It'll be obscured by some pigment. I wish I was spraying it after all that work.
Finishing the patched body
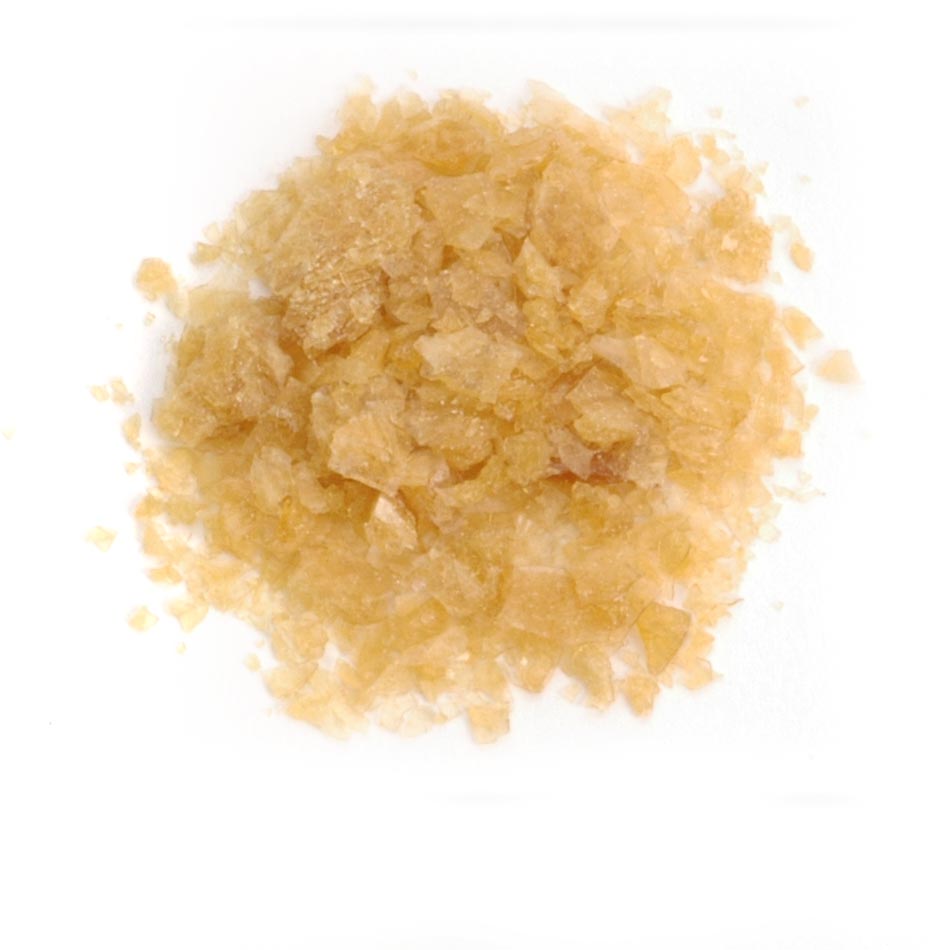
Hey, I got my wish. The customer wanted me to spray it instead of his guy and, since it's fall outside and beautiful spray days, I did. And I did it outside with aerosols. First I sealed the body with fresh ColorTone Shellac. This was mixed from flakes with Behkol [on-screen text reads: Behlen Behkol Solvent - stewmac.com] and hand rubbed on, three coats. Then I went to blonde [on-screen text reads: ColorTone Blonde Lacquer - stewmac.com]. That was the base coat; more of a white. Went on top of that with TV yellow [on-screen text reads: ColorTone TV Yellow Lacquer - stewmac.com] to bring it to a bit of an amber or butterscotch color. And I finished it up with clear gloss lacquer [on-screen text reads: ColorTone Clear Gloss Lacquer - stewmac.com], about eight coats, sanded every two or three.
Distressing the finish for a relic look
And now I'm having the fun of trying to make this thing look beat up and old because it is an old guitar and that's called relicing. I don't claim to be the best in the world at it, but I've done enough of it and I know the best guys at it and it's really fun. You do a lot of it with a knife. If you look at enough old tellies in pictures, you can see how the lacker cracks.
Another knife I like to use is just a Stanley knife. Come up right out of that pocket. And when you really want to get the rough look, I do things like found this stone outside. I put it right there and I smacked it and it looks great. Here's a little stone on a stick with super glue and it's good for getting right on the edges and making a particular kind of mark.
And this here... And I'm about to do it again... I take it outside and I just kind of scraped it on the sidewalk. I'm going to do that right here cause it wears it away real quick.
Well, I'm really pleased with the way that patch came out. To the average person it'd be pretty hard to see and I'm having a fun time finishing this, I got to tell you. I'm going to spend the rest of the day hacking away and scratching this thing until it really looks like a 1953 Telecaster that got in a few bar fights.


