Fixing fret buzz: seating a popped-up fret
Issue 258 March 24, 2016
Matt Brooker has a neck with some buzzing frets. He traces the problem to some poorly seated frets and shows two ways to clamp them down. Matt shows why seating the frets is the first thing to do before taking a file to your fretboard.
- Springy, popped-up frets that won’t stay down.
- Don’t file loose frets; seat them first. Matt explains why.
- How to fix popped up frets with and without our Jaws Fret Press.
- The advantage of using the thinnest super glue.
Video Transcription
[on-screen text reads: Stewart-MacDonald Trade Secrets!]
Matt brooker: [on-screen text reads: Seating Popped Up Frets] Hear that buzz? It's even worse there. That means that one of these frets is higher than the others [on-screen text reads: Matt Brooker StewMac Tech Advisor].
Pinpointing the high fret
And here it is [on-screen text reads: Fret Rocker - stewmac.com]. Looking down close at it it looks like it's popping up out of the fret slot and sure enough, you shouldn't be able to fit a piece of paper underneath your fret. It's important that the frets are seated all the way down into the slot so there's no gap between the fret and the fretboard. It looks like this one's become loose and popped up so we're going to need to get in there and reseat it. Let's get the strings off this thing and get to work.
Leveling down a fret with a Fret Leveling File
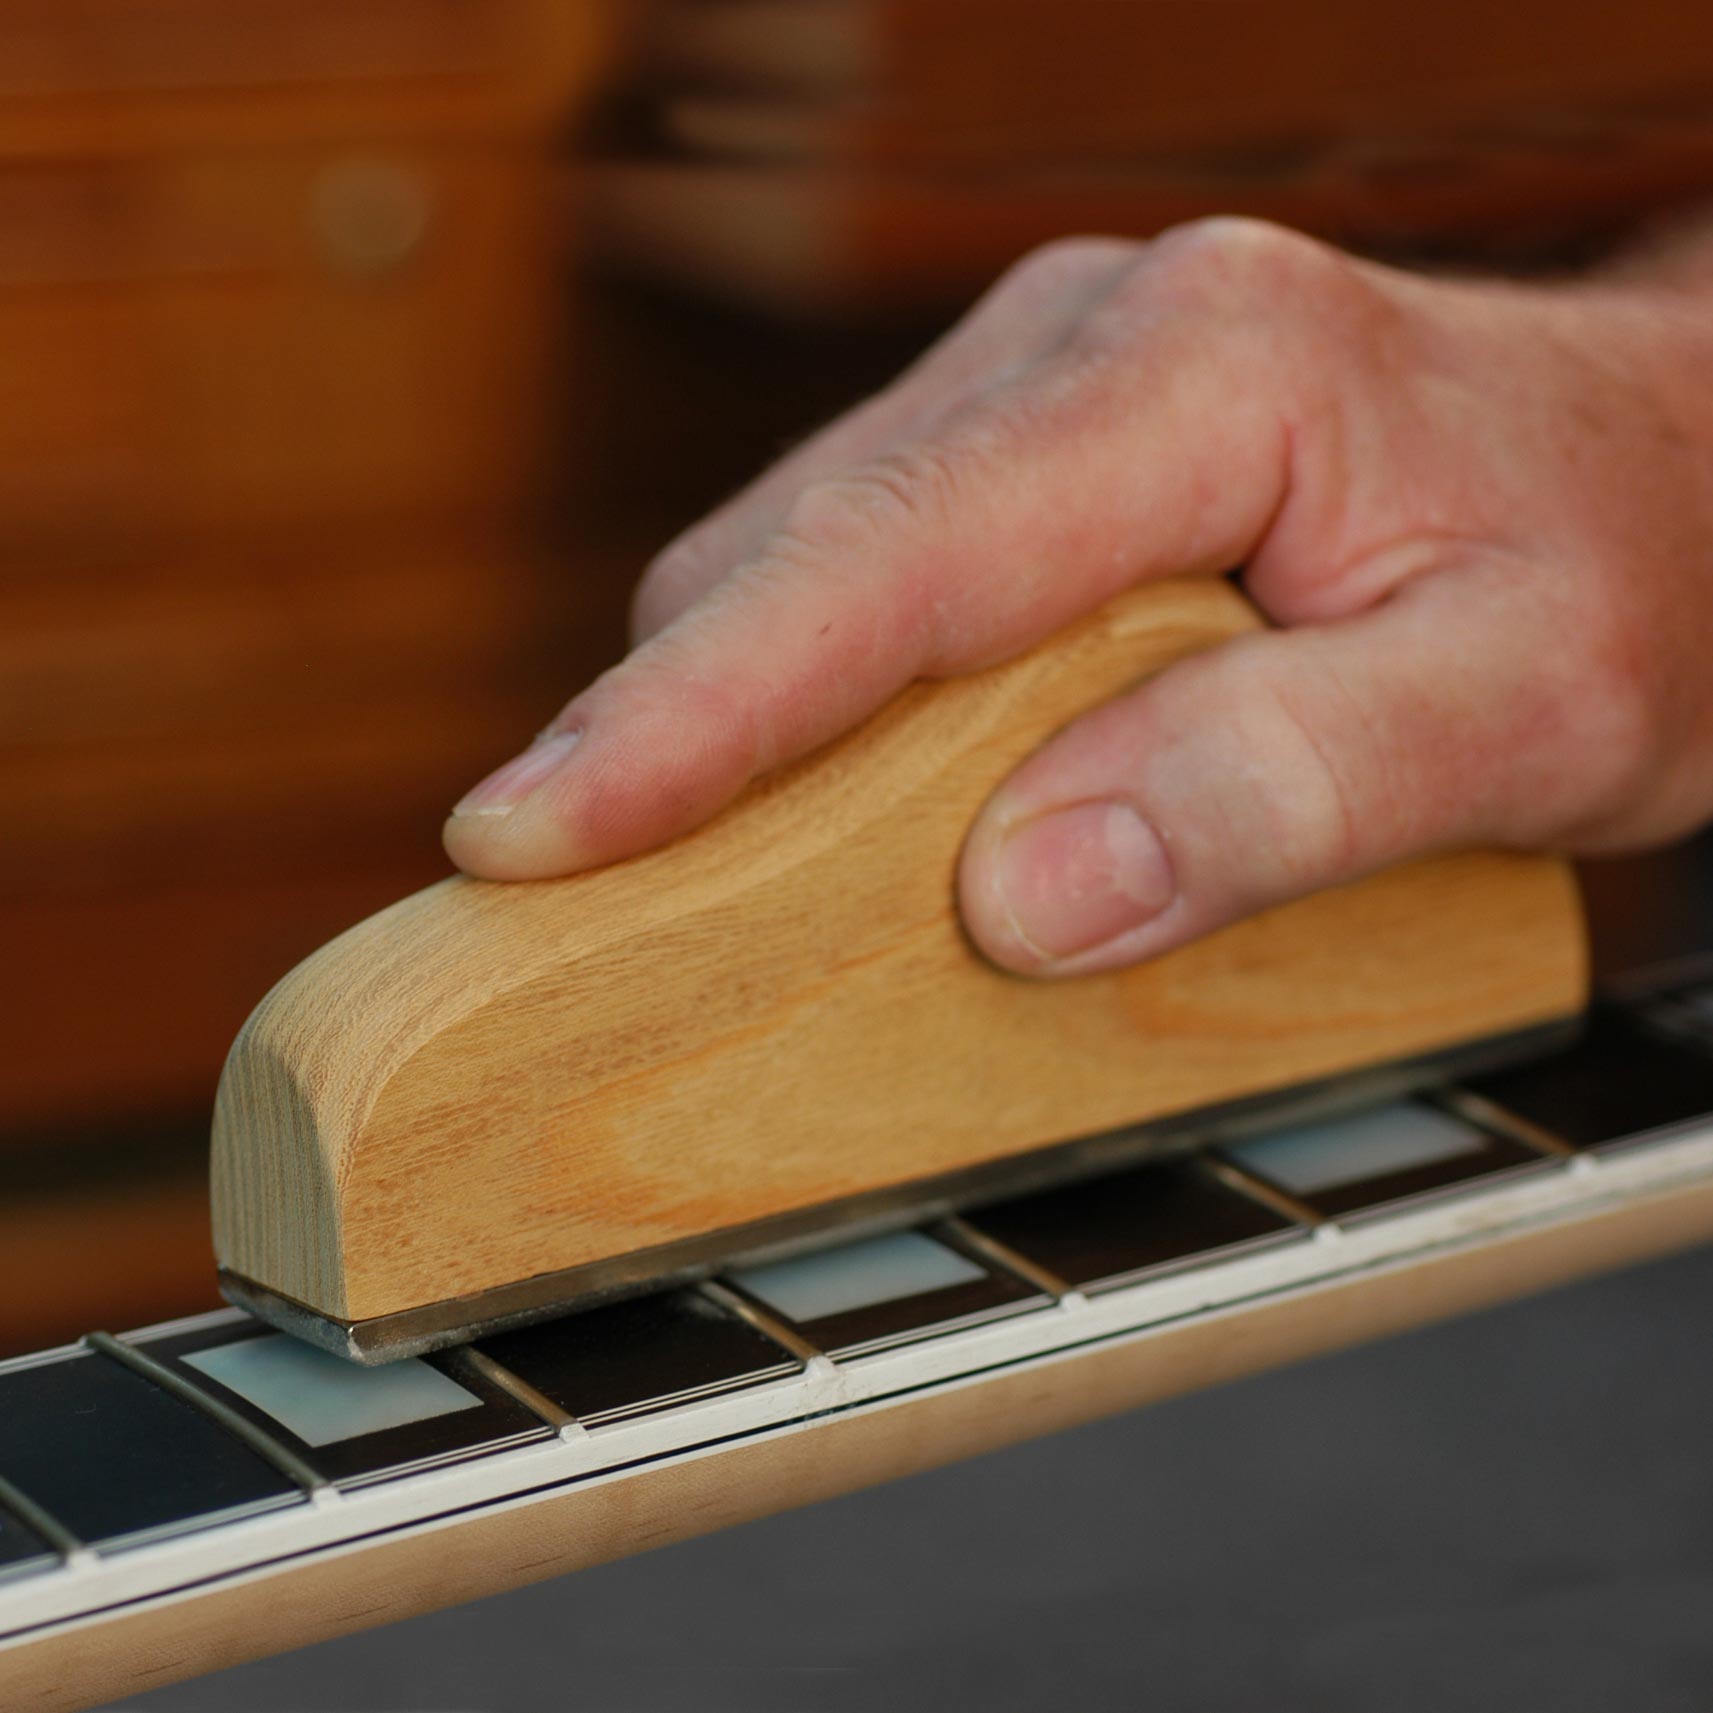
When you've got a popped up fret, that's sitting up high, but it doesn't press down when you push on it, you could take a file or leveling tool and level it down to be flush with the others [on-screen text reads: Fret/Fingerboard Leveling File - stewmac.com]. That'll fix the buzzing, but you're also shaving some height off the top of that fret that you really didn't need to. That means these frets will need to be replaced sooner and a refret is not cheap. In this case, where the fret is loose, if you just try to file on it, that fret is going to press down under the weight to the leveling tool and pop right back up afterwards. So it's still going to shave height off the top, but it's still going to be sitting high and causing a buzz. In either case, what you really want to do is seat that fret [on-screen text reads: Deadblow Fretting Hammer - stewmac.com].
Seating a fret with a Deadblow Fretting Hammer and Super Glue
Sometimes all it takes to seat a high fret is a couple taps with a fretting hammer. Ideally, you could knock it back down into the slot and it'll stay there. When a fret stays down like that you don't have to glue it, but I usually like to, just to make sure it won't pop up later on. Aside from holding the frets down, there's another benefit to gluing them. Any small gaps between the fret tang and the slot are going to absorb vibrations from the strings. Having those filled with a hard glue, like super glue will transfer that energy instead. The more you can transfer the energy from your strings to the guitar, the more sustain you'll have and the better your tone in general will be.
Seating a fret with a Radius Block and Super Glue
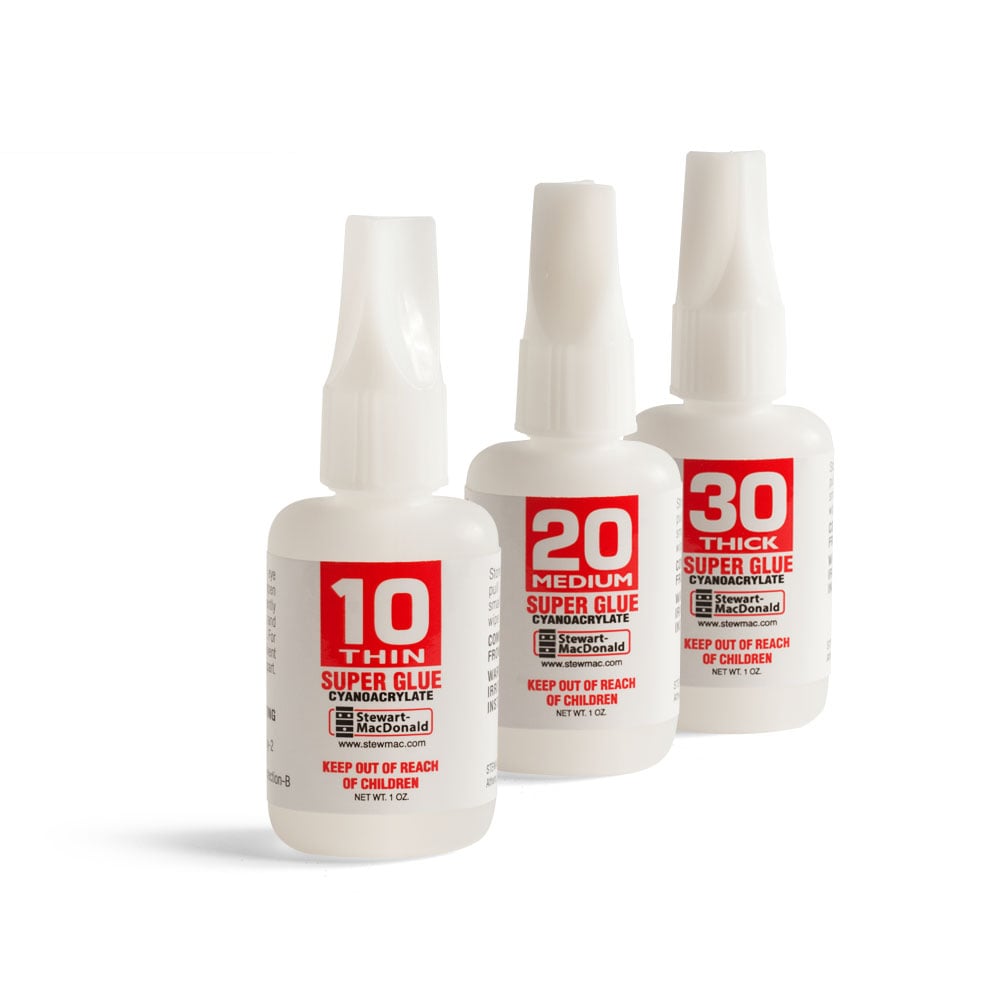
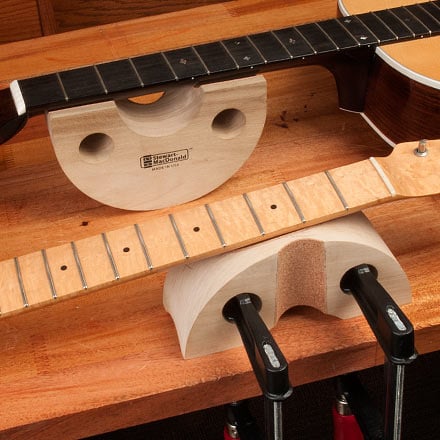
A little bit of paste wax on either side of the fret will help keep excess glue from sticking to the fretboard. StewMac #10 Super Glue is the best choice for this job because it's thin enough to wick down underneath the fret and into the slot, so you don't have to take out the fret to get the glue in. Once you've got the glue where you want it, you'll need to hold it down while it cures. Clamping is the best way to do this [on-screen text reads: Clamping is less risky than hammering on your frets] because it gives you a consistent pressure plus you don't have to stand there holding the fret just watching glue dry. A Radius Sanding Block is perfect for this because it has a curve that matches the fingerboard. You got to work quick when you're working with super glue, so you want to have your supplies all set out, maybe do a couple dry runs just to get the feel for doing it quick.
You would put in your super glue, a thin bead on either side, quickly, wipe away your excess with a paper towel [on-screen text reads: Deluxe Rock-n-Roller Neck Rest - stewmac.com], get your block in place and clamp it down. I'd let a set up like this it for five or 10 minutes, just to make sure the glue's really cured and you get a strong bond. This works great, but if you're doing a lot of repair work, this could be kind of slow going.
Using the Jaws Fret Press and StewMac Accelerator to seat a fret
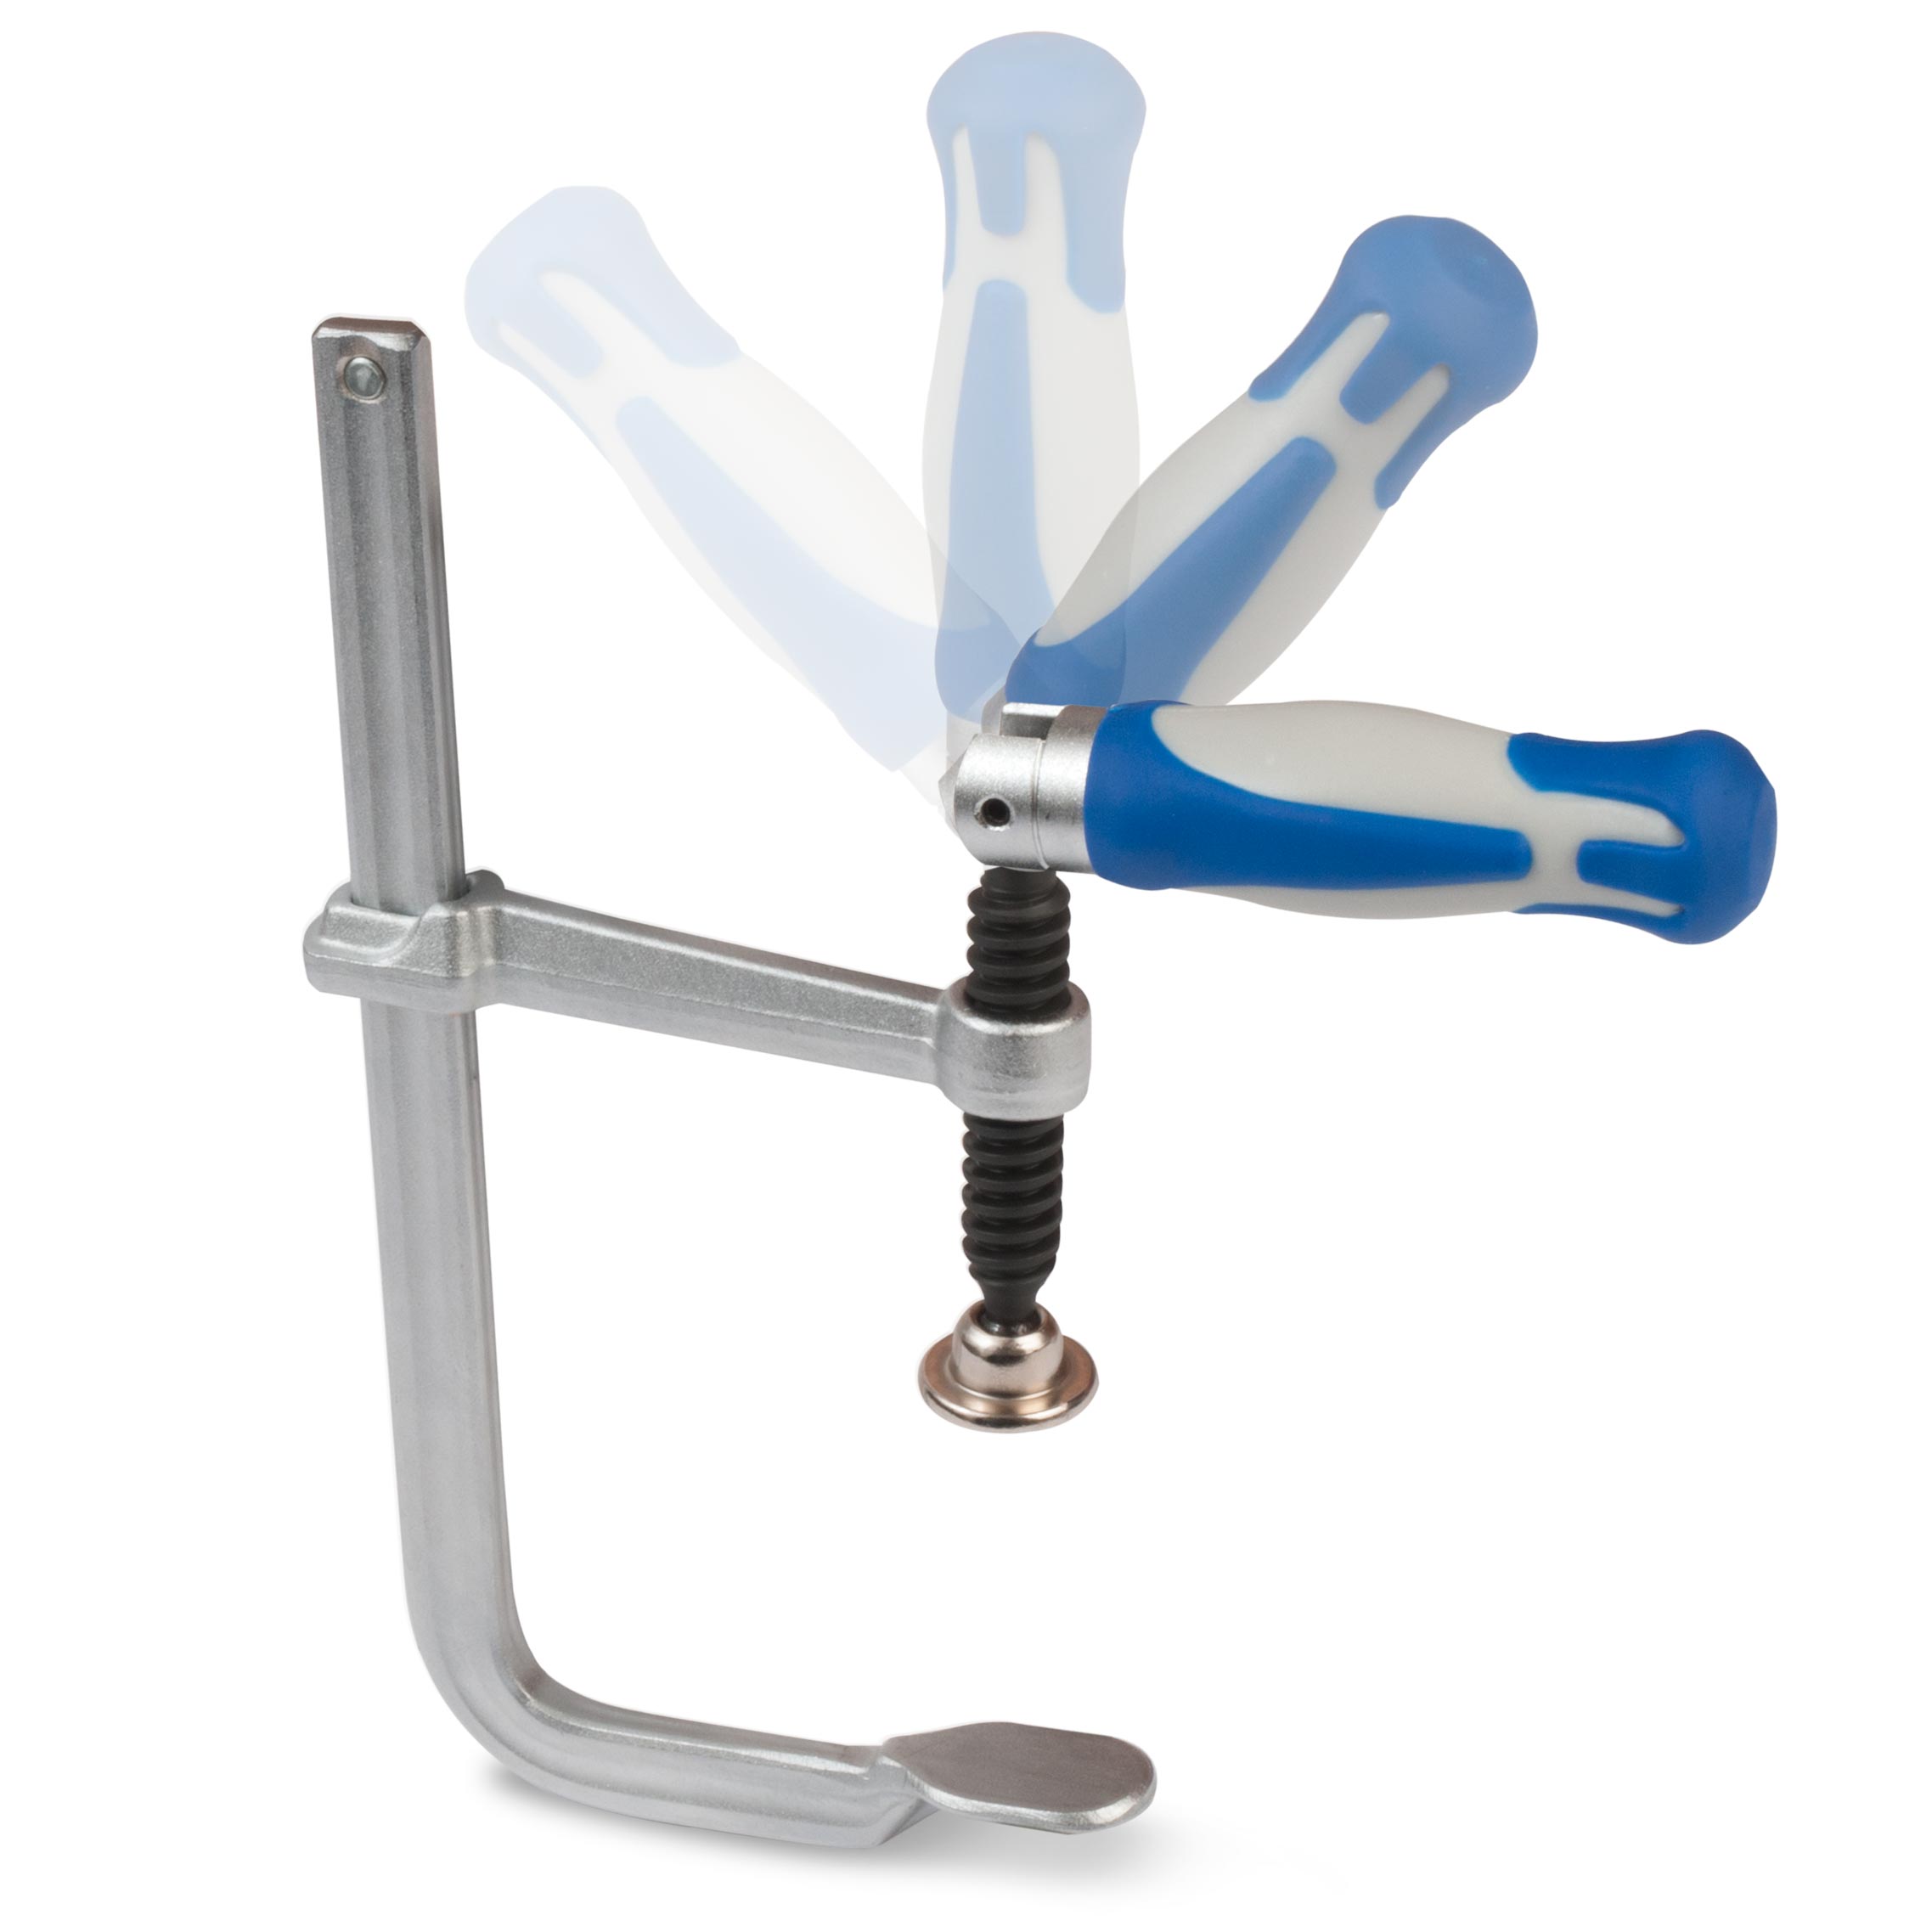
The Jaws Fret Press really speeds this up. You could press down a fret and clamp it all in one fell swoop. A little glue in there, and you can see it suck right down in. Put some on this side too, to make sure there's plenty of it. Here we go. All right. Wipe that off before it dries. Get my jaws in position. Get just enough pressure to seat that fret, and there we go.
With this setup, unlike the radius block, I can get right up to that fret. Run a little accelerator on a q-tip and that'll make that super glue cure almost instantly [on-screen text reads: StewMac Accelerator - stewmac.com]. I'll still let it sit clamped for about a minute, just to be safe. It might not seem like a big deal saving 5 or 10 minutes on that one fret with the jaws, but you figure there's 20 something frets on a neck, and that's going to add up to hours of saved time. Let's see how it came out. The gap is gone. The paper won't fit underneath anymore. That's a good sign. And checking that fret for level doesn't rock anymore. So it's level to these two that are around it, and it's really well seated. It doesn't get much better than that.
Check and fix all of the frets
Usually a neck that's got one loose fret is going to have several others. So I'll check the rest of this neck and glue and see all these frets that same way. Then after they're seated, I'll get a leveling tool and file them all so they're perfectly flush with each other and then reshape them to a nice rounded crown shape. So this neck will come out playing really nice with no buzzes. And since I didn't take more material off the top of the frets than I absolutely needed to, I know these frets have got a lot of years of playing ahead of them.

