Fixing a badly chipped fretboard on a '52 Les Paul
Issue 306 May 31, 2018
OUCH! Somebody really yanked the frets out of this 1952 Gibson Les Paul. Dan Erlewine and Paul Lampley repair these potholes with super glue and rosewood dust.
About the guitar in this video: This is a very early Les Paul from 1952!
- Dan's puff bottle for delicate glue acceleration
- Saved sawdust comes to the rescue
- Adding super glue in stages
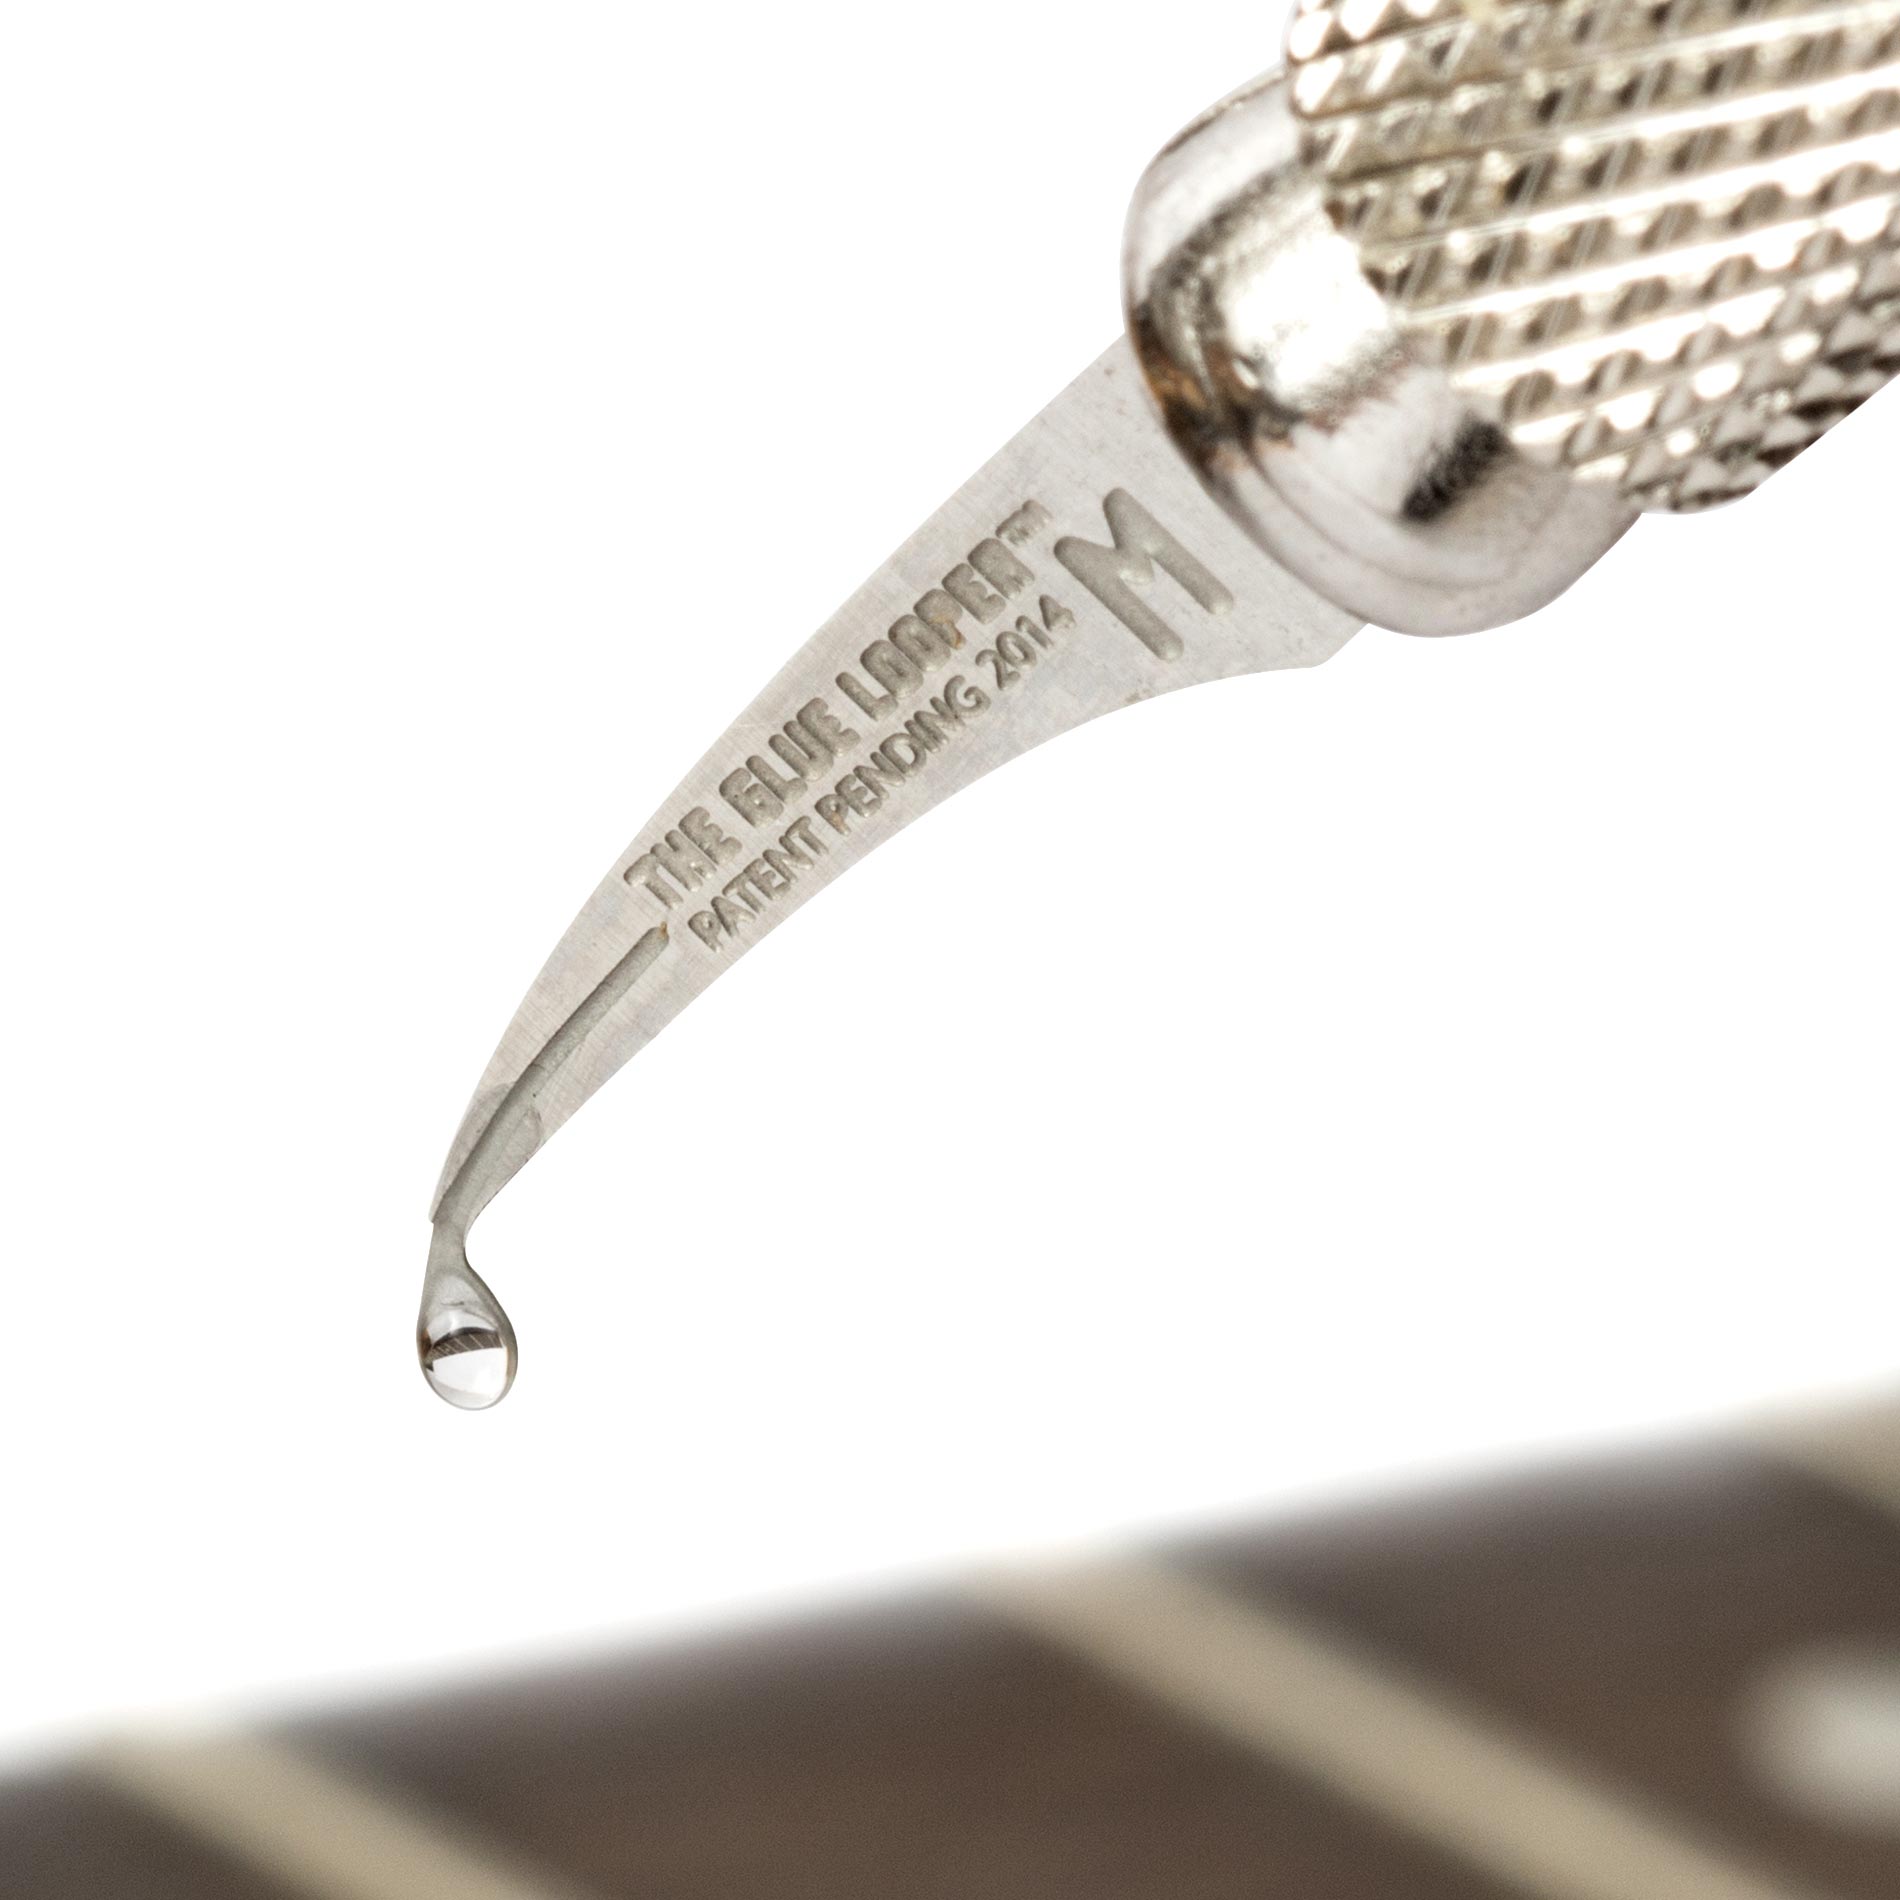
- Check out the Glue Looper
Video Transcription
[on-screen text reads: StewMac tools + ideas for guitarmaking]
Dan Erlewine: This morning we're working on a 1952 Les Paul, that's been through the ringer. It came to us in pieces. It's been stripped, painted black, peghead has been broken at least twice. But really today what I'm dealing with is the worst fret chips I've ever seen on a fretboard. Look at these.
They took all the frets out and stopped here because they were getting horrible chips. I wish they would've quite at the first fret and it would've been easier. So, I'm going to have my apprentice, Paul Lampley, who works at StewMac and works here in the shop, tell them about what you've been doing in this area.
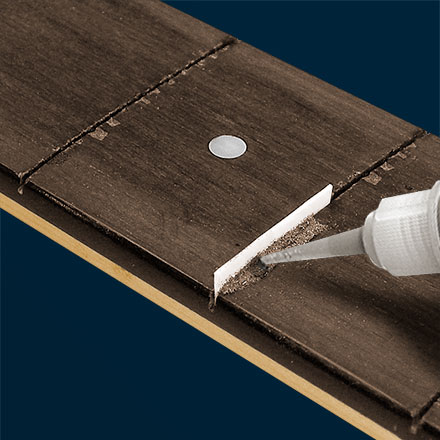
Drop filling the chips with dust and super glue
D. Paul Lampley: Well, we've been mixing rosewood dust with super glue to drop fill these chips. Some of them we leveled out just to see how they would turn out, and some of them are still pretty rough. You can see we're still building up in some spots and I just got to move down the neck.
Dan Erlewine: Oh boy. This is going to be a... Let's do this one today. Let's show how you fill that one.
D. Paul Lampley: Okay.
Dan Erlewine: That is bad as they can get.
D. Paul Lampley: Yeah. That one's really bad.
All right, so first we're going to start by prepping the chips. We're going to take a little bit of acetone in one of these cotton brushes [on-screen text reads: Micro Cleaning Brushes - stewmac.com] and just clean where the chips are, just so we know we have good adhesion with the glue. Not trying to get it soaking wet, just enough to clean any dirt or gunk that might be in there.
We're going to take some of the Teflon Fret Dam and we're going to cut just a 10 inch radius, just so it's close to the board, and then we're just going to put the dam in there [Paul sets the Fret Dam into the fret slot] and then we'll start the drop fill. Let's try the looper for this one. Yeah, the looper [on-screen text reads: The Glue Looper - stewmac.com].
It looks like a razor knife, but it has a tiny loop that just suspends the glue and releases it right where you press the tip. And with super glue, you don't want to build up too much, too fast. You want to build it up in smaller layers. I'm going to use some thin number 10 here. Pretty much just sealing the wood.
All right, so we'll take some of this Brazilian rosewood dust and just try to pack it in there. Then, tamp it down. Then we'll just kind of brush some of the excess off. And finally I'll go back in there with some number 10, sometimes number 20 and a Whip Tip. Just like that, it hits the sawdust and almost instantly turnd hard. And so while this side dries, we will work on the other side. This side's a lot nicer than other side, but still really bad.
My favorite way to make this dust is with a Razor File. You take a bridge, or fingerboard blank, and just run your file down it. Get as much as you need and save the sawdust in a little glass jar. So again, just tamping this down. Sealing it with some 20. So, we're just going to let this dry now and just come back and level it later.
Leveling the super glue
For leveling the super glue, we're going to use a couple different files. We'll start with this big float. This is used in the automobile industry. It's used to level body filler, and it's got wide, sharp blades and just floats over the fingerboard and just catches the bulk of the glue that's proud.
I'll switch to a large triangle file. This helps to level a bit more precisely than the float. Then we'll use a small triangle file [on-screen text reads: 3-Corner Fret Dressing Files - stewmac.com], which gets it nice and close to the perfect level.
At this stage, you want to quit before you get too far, because we're going to sand the board level and I'll move on since I got about a million other chips to fill today.
Touch-up using delicate glue acceleration
Dan Erlewine: Well that was Paul Lampley and he got us all the way up to here, but he had to go to work. Paul works the tech line at StewMac, so I'm taking over. I'm taking a lot of those sawdust fills that are kind of abrasive and I'm smoothing them down with a variety of same kind of files he was using and I'm finding little places that need a little touch-up.
Let's look at that one right there. There's still of a dent right on the edge and I'm going to put a little drop of super glue on it, number 10, and move it around like it was a paintbrush. And then my little trick is I have some cotton balls in this squeeze bottle. They're soaked with accelerator. So all I do is blow the fumes on it.
Sometimes if you put accelerator right on fresh super glue, it'll foam on you and this is introducing it real slowly. It's kind of like wind on the water. I can watch it set. It's dry. See the shine goes away. That shows you how fast this glue is filling a void in and I'm really only doing that where I think it's really needed. We want to fret this thing and not try to make a brand new guitar out of it.
Sanding the board
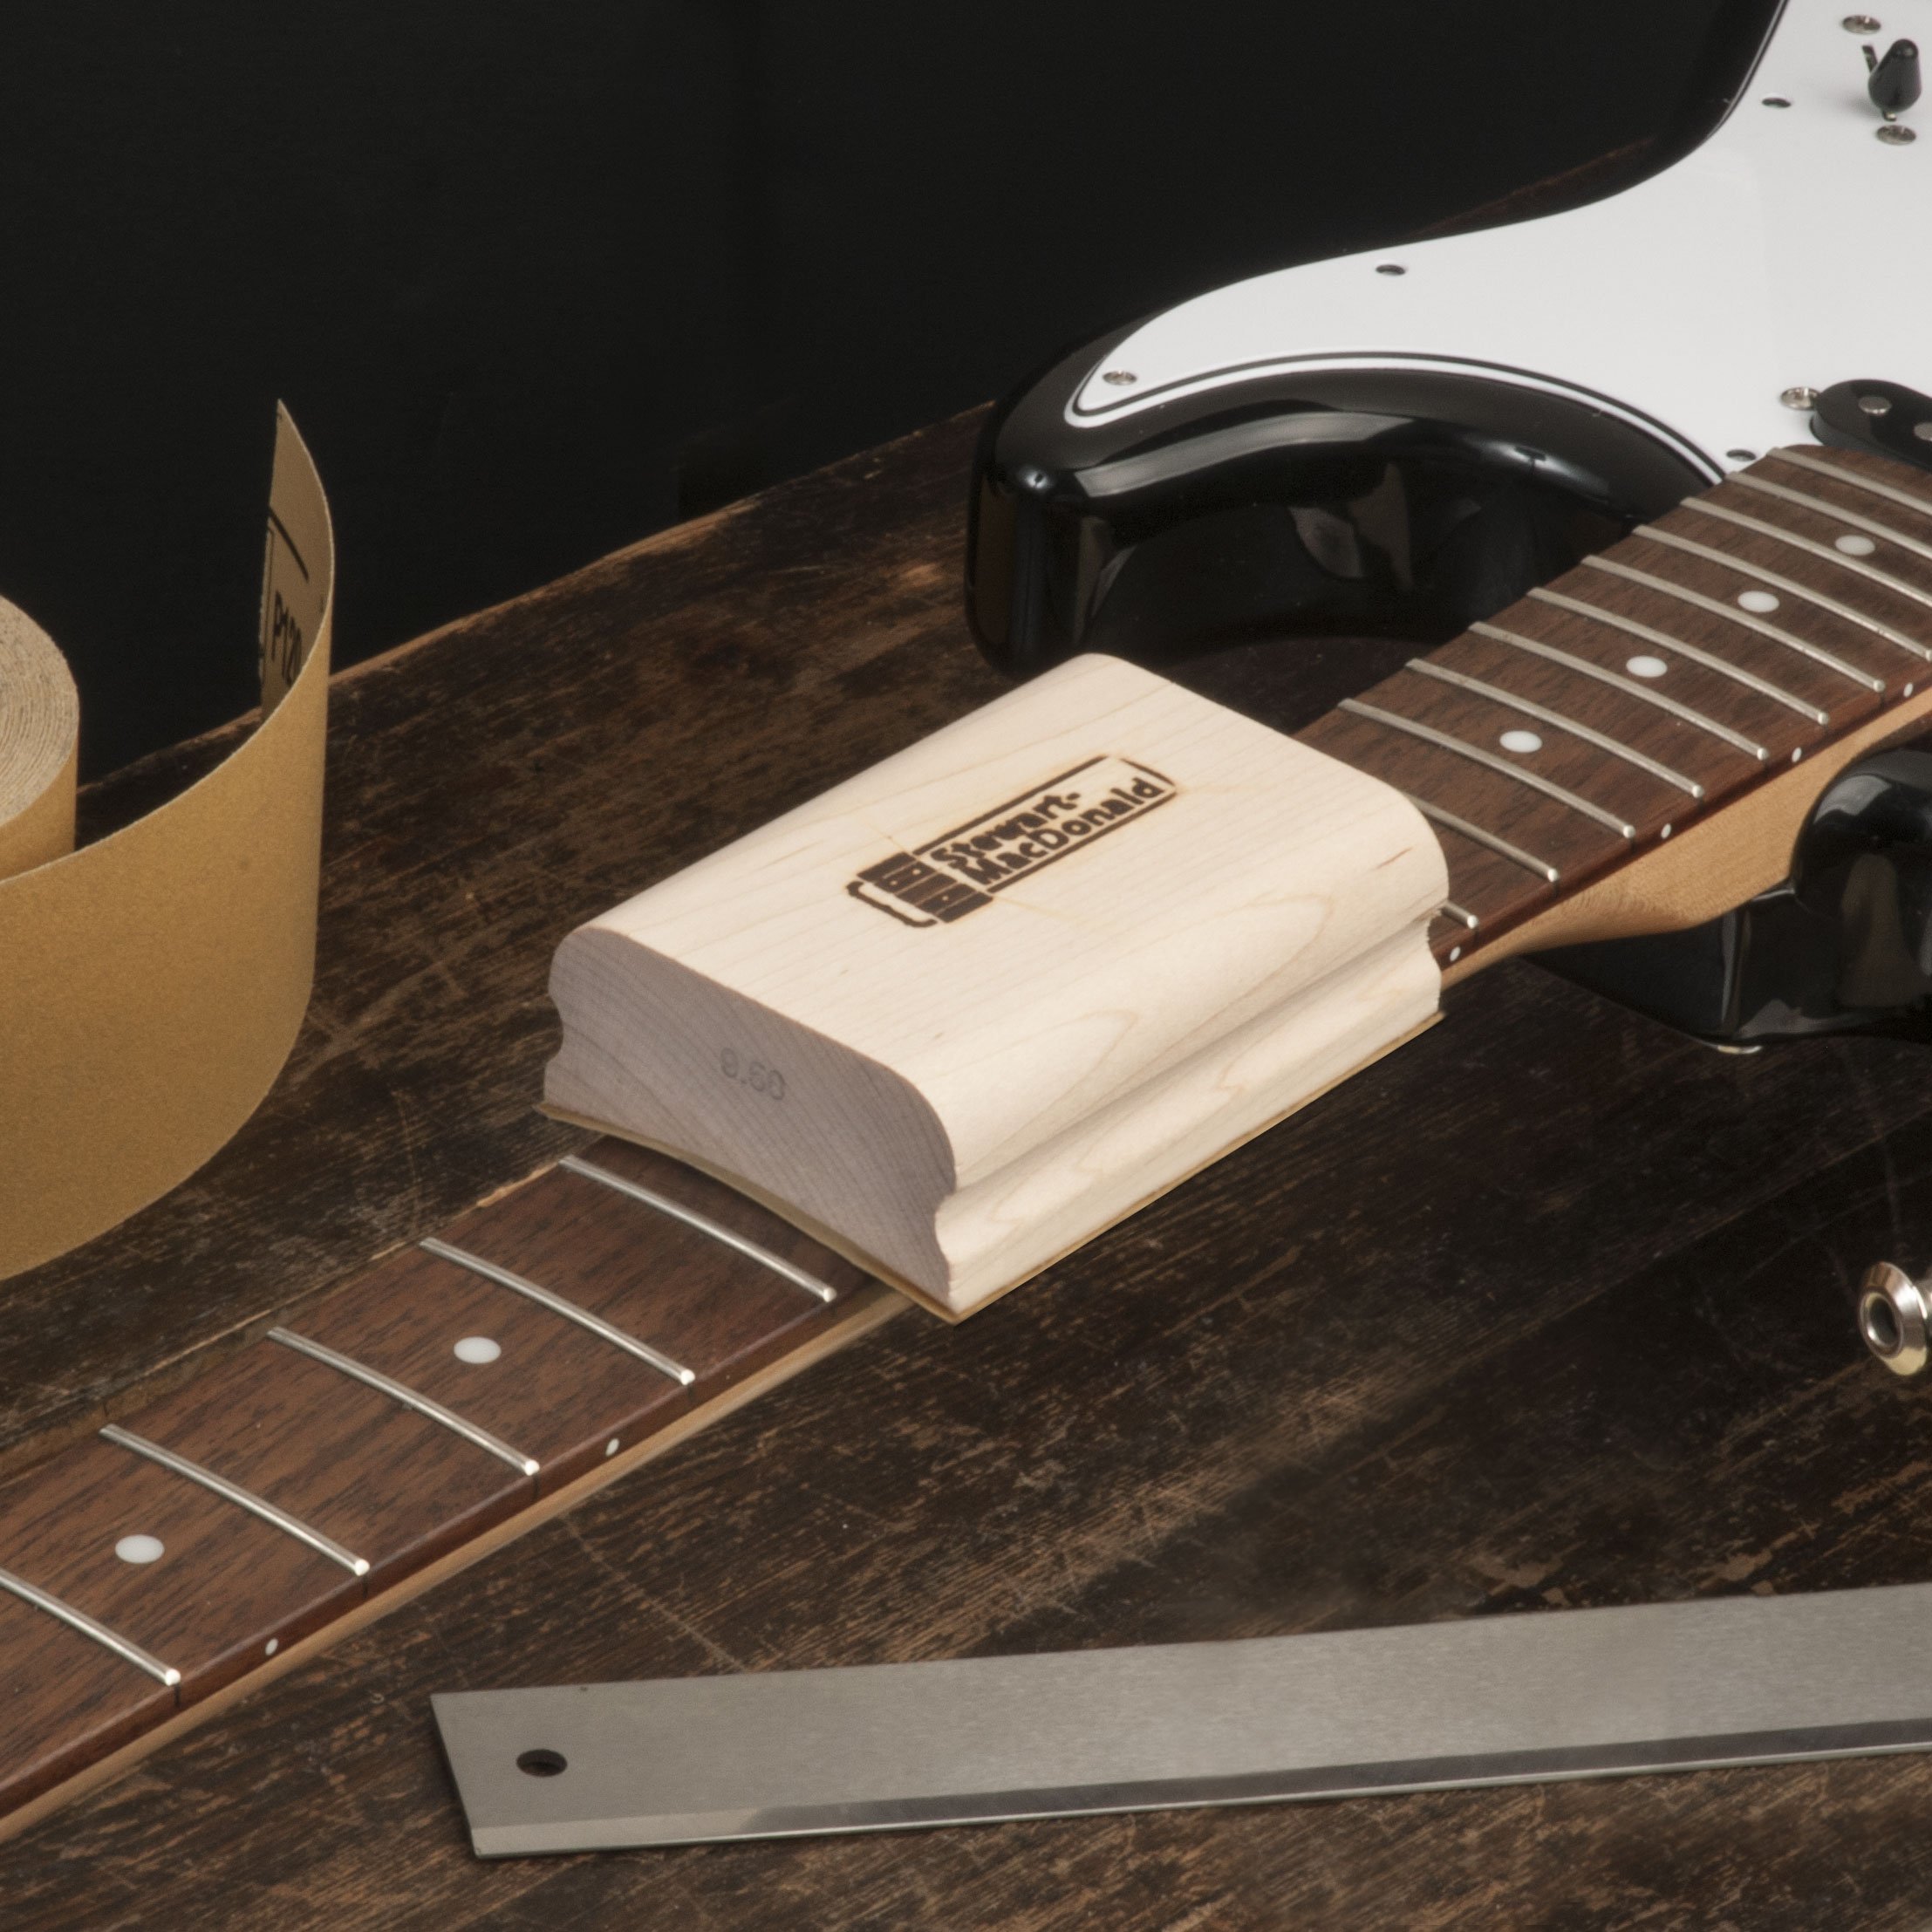
Got some 400, 600 and some 220. I curl up the end so it doesn't catch on the fret slots [Dan attaches the 220 sandpaper to the 4" Radius Block] and just skate down the board. I'm not applying a lot of pressure. I'm going to vacuum this off. This is Naptha. Takes a minute or so to dry off, but it'll take a lot of grease out. Periodically, I go in there with my Refret Saw. Just keep cleaning these slots of the sawdust and any super glue that's in there. That's good enough. So when you come back, we'll be putting some frets in it.
Installing the frets
D. Paul Lampley: So, I filled in the chips, and Dan sanded the board. We wanted to keep it as vintage as possible, including the shrunken inlays because it just looks cool that way. We cleaned the slots and glued on the neck to the body and I've tested some frets to see how they would go in and they're going in great, so we're just going to press some more in.
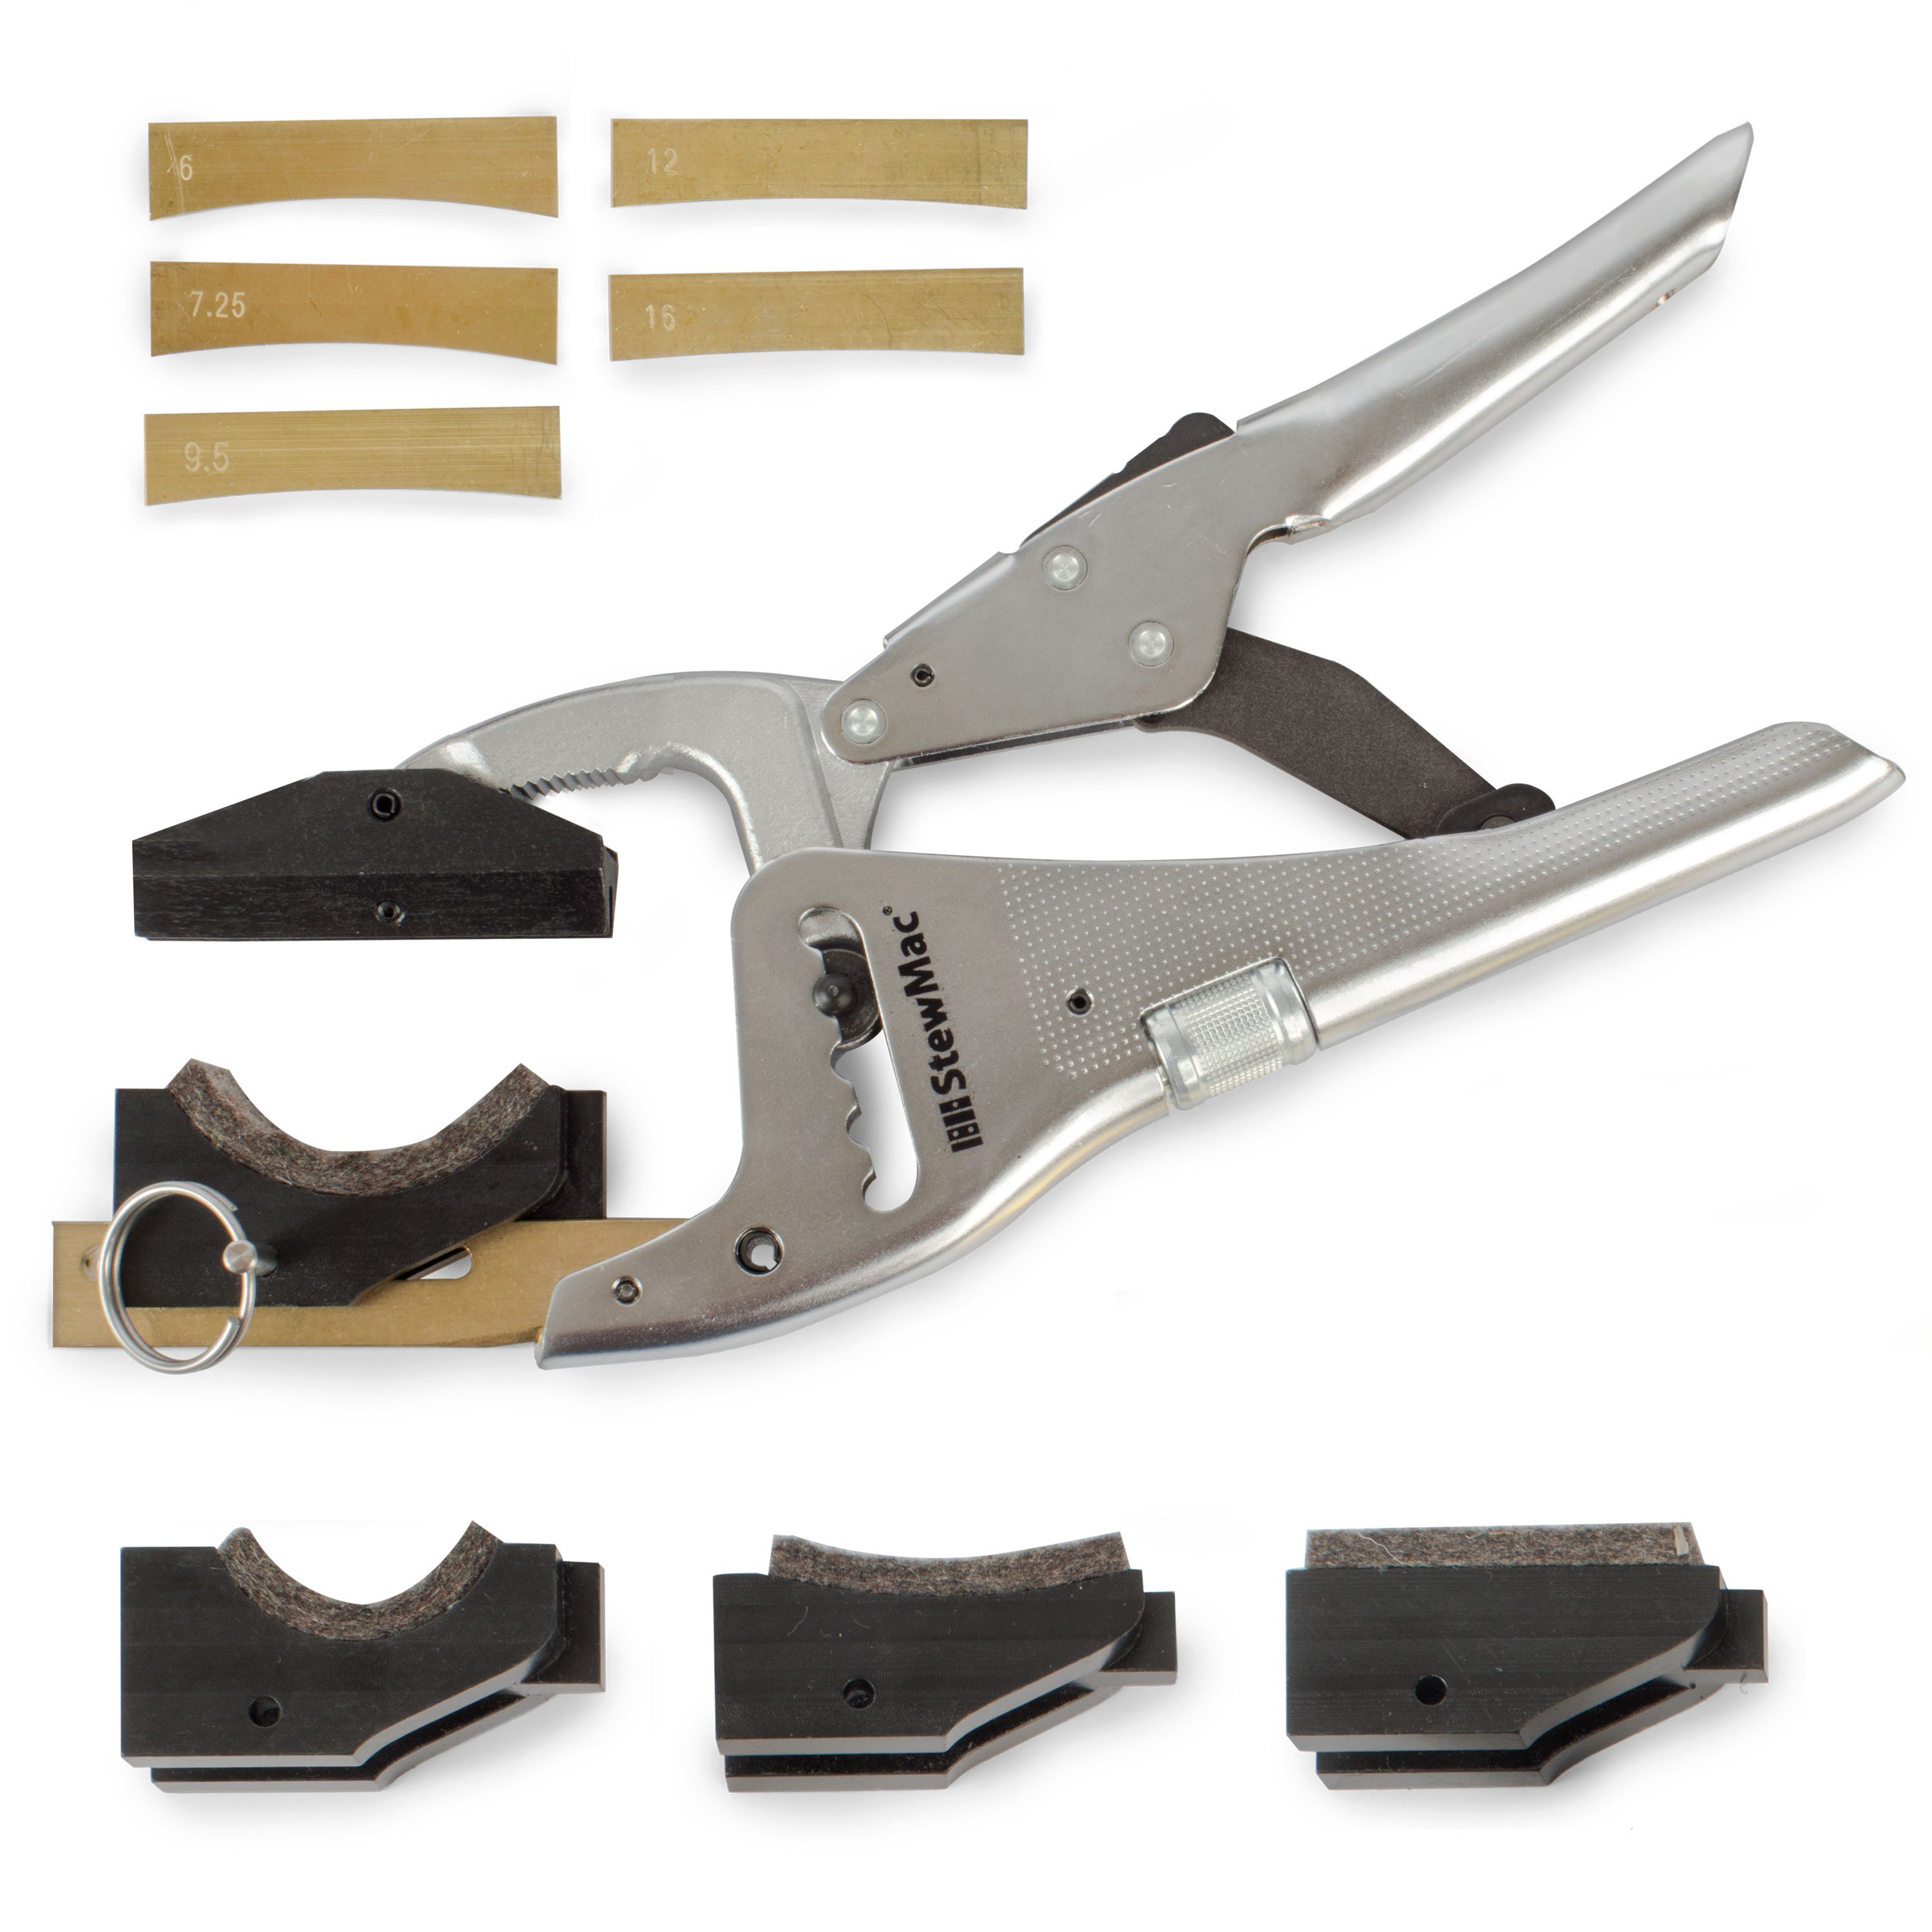
You want to start with a six-inch caul [on-screen text reads: Jaws Fret Press - stewmac.com] on the jaws to get the ends and then this is a 10-inch board, so that's what we're going to follow it up with. And that's perfect. I couldn't really ask for a better job and then we're just going to fret the whole board, then level dress and crown.


